last night’s progress…
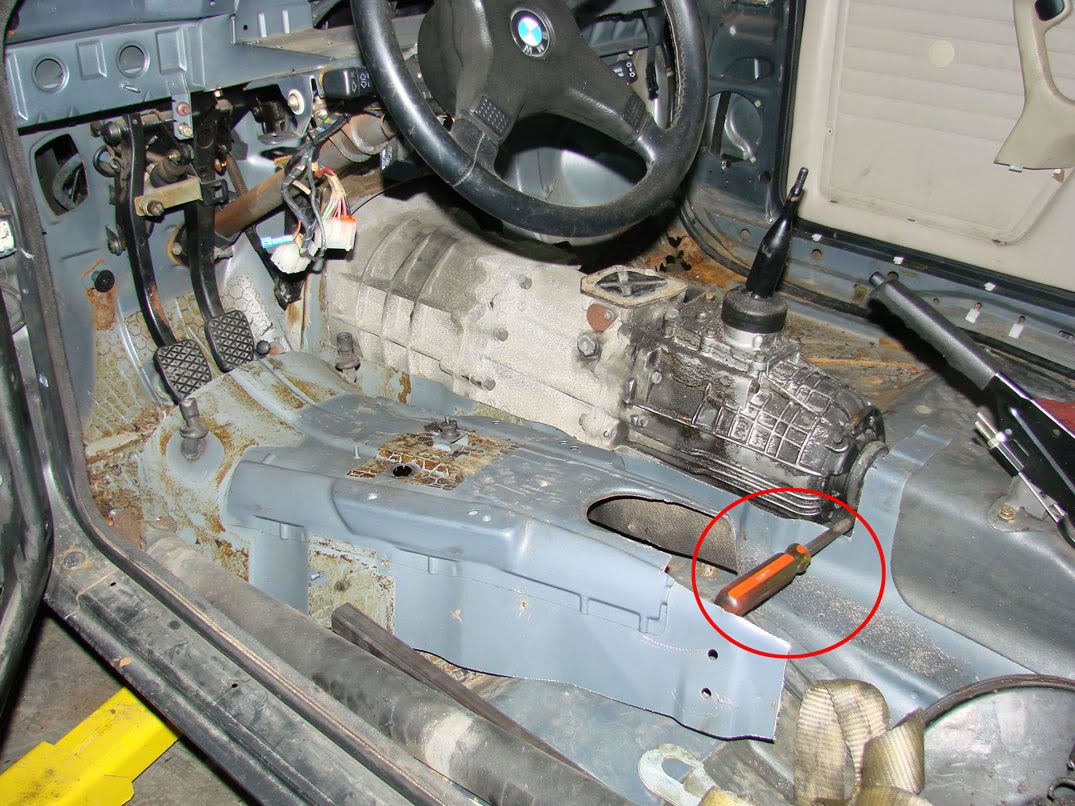
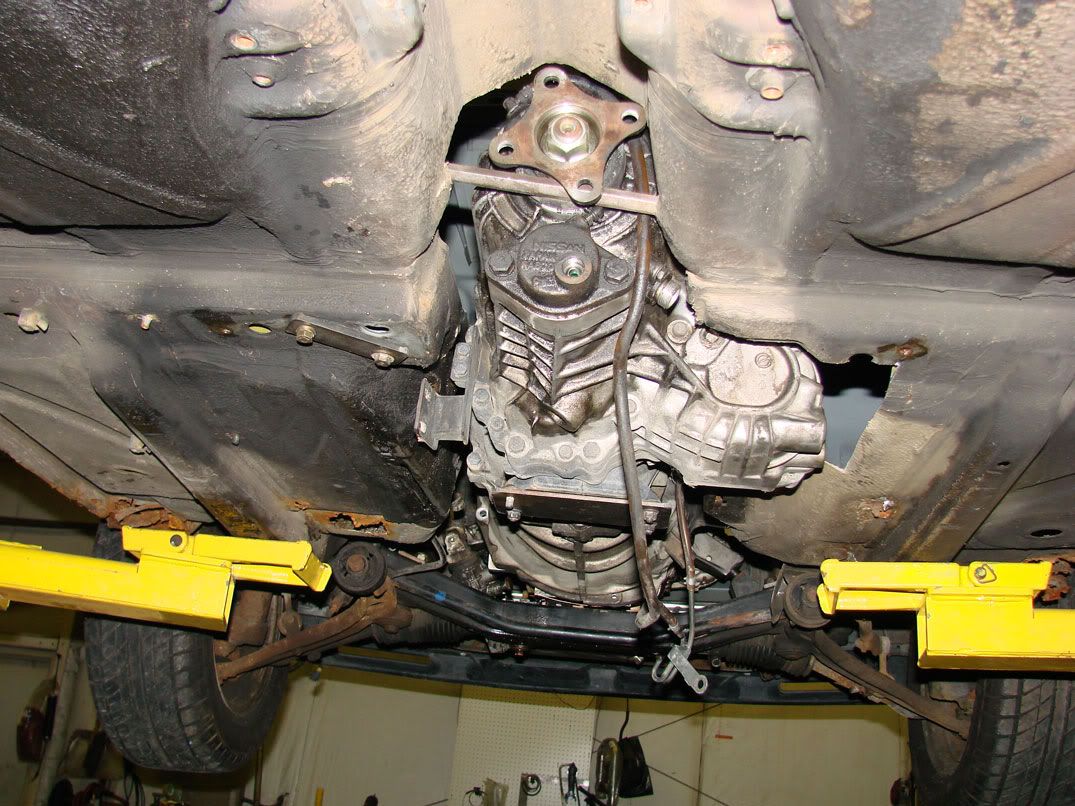
Cut the rest of the tunnel out (another 1" from the rear) and was able to bolt up the transmission. It fits nicely, there is no need to remove or even move the engine to access the transmission bolts… That’s a great feature. Especially for anyone who has ever tried to change the transmission on a 300ZX…
I made a temporary tranny mount out of this prybar:
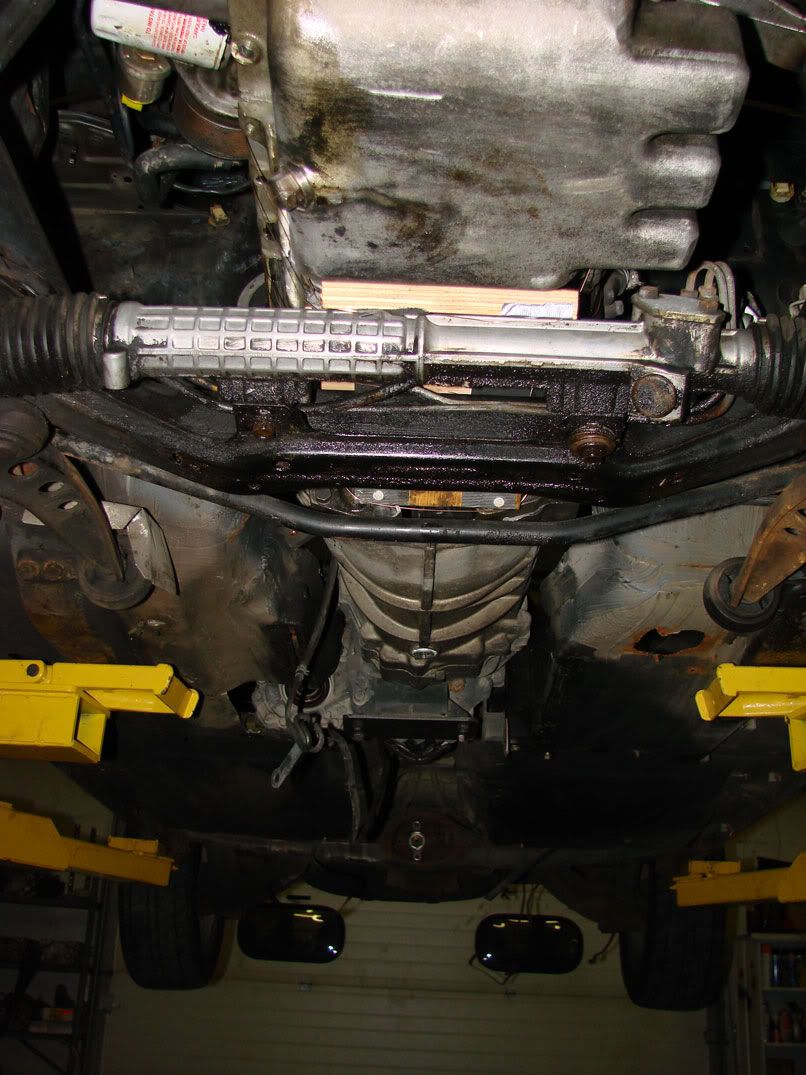
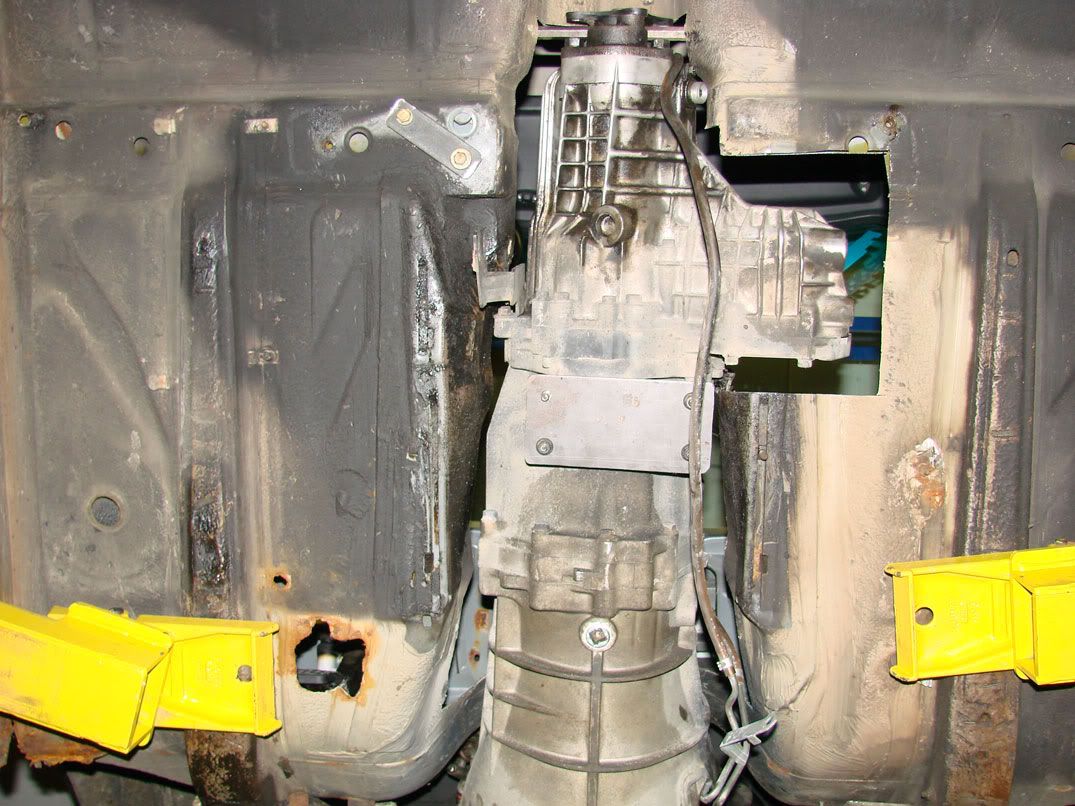
Here are a few shots of the trans in the car:
Next, I began planning a transmission mount. The first step was to make bolting plates. You can see the two i made here:
The main transmission bolting plate is made from 7GA Mild steel. You can see it bolted to the rubber transmission mount. We decided on keeping the stock rubber trans mount, despite the fact that we are using solid engine mounts. Need to have some compliance somewhere!
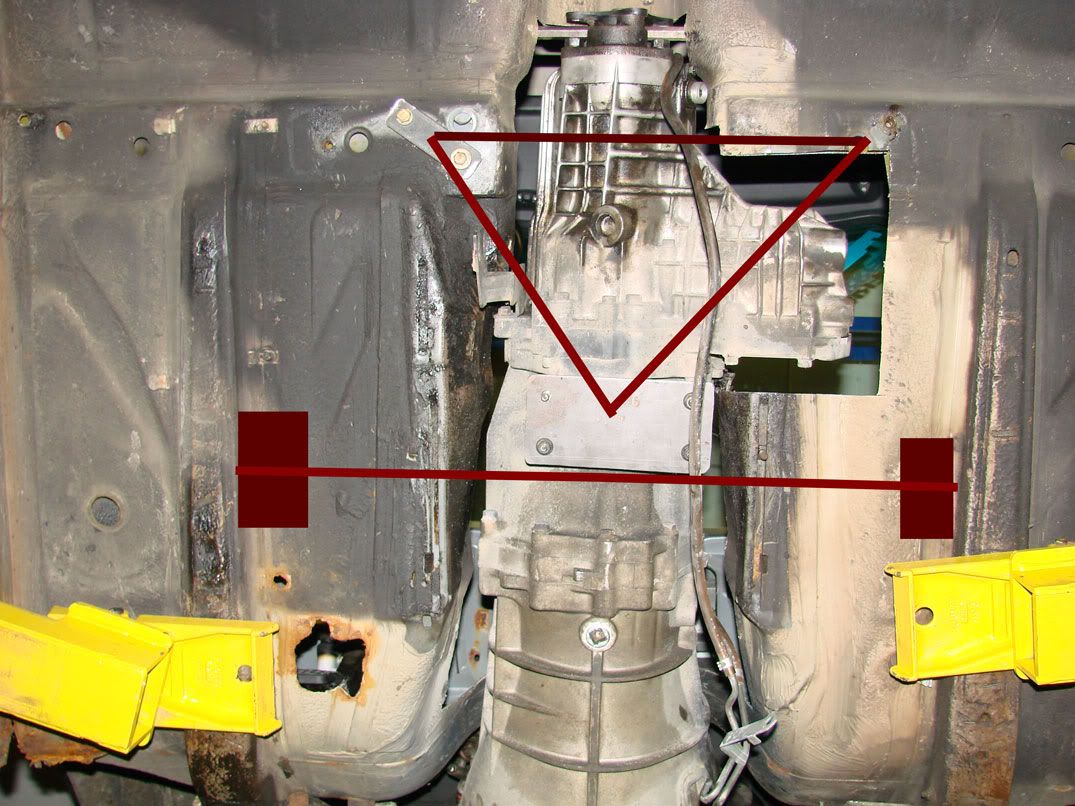
The other bolting plate picks up the two bolts for the stock transmission mount. Notice the distance from the rubber trans mount to the stock location. Since the transmission utilizes the rubber mount, simply joining the rubber mount to the stock location would result in a point loaded cantilever beam. The chassis is not meant to maintain such loading especially at a point that has already been compromised by tunnel modifications, so an alternate solution, or a dual cantilever beam must be incorporated.
As I mentioned a few days ago, since so much material was removed from the tunnel, a support brace would be desired. This brace was to be located midway down the tunnel, underneath the transmission.
Since the forward face of the rubber mount on the transmission is about midway back on the tunnel, it was decided that a transmission mount/chassis brace “subframe” could be constructed. Bolting plates will be welded to the chassis floor, then the “subframe” will be bolted to that.
Here is an artist’s rendition of the proposed solution:
