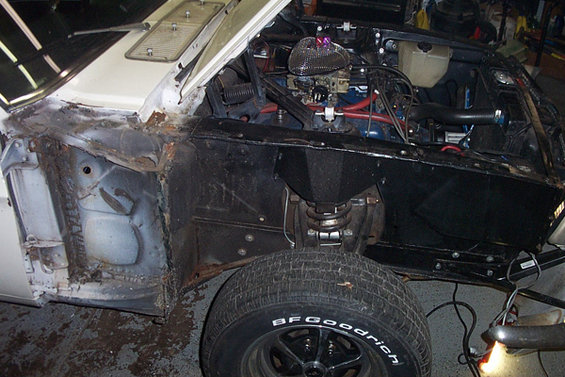
I figured now would be a good time to get some pictures in here about the teardown of my '68 FB. The job I’m working on currently is replacing a rotted out cowl that subsequently killed my front floor pan (that will get replaced later.)
Here’s the pics:
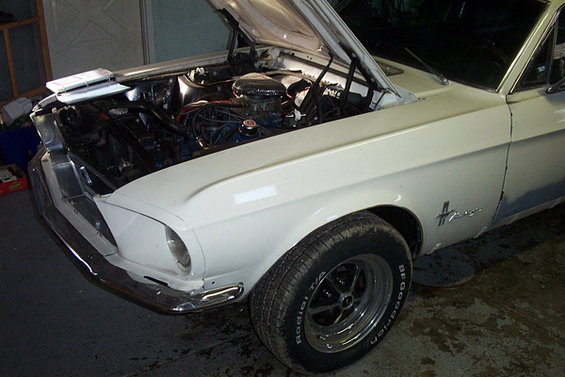
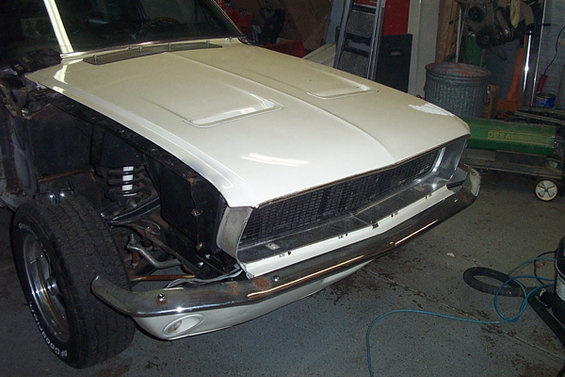
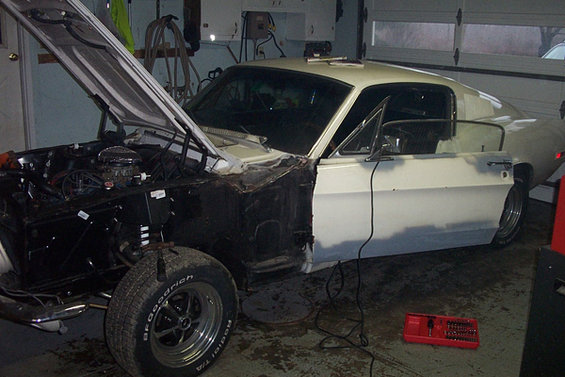
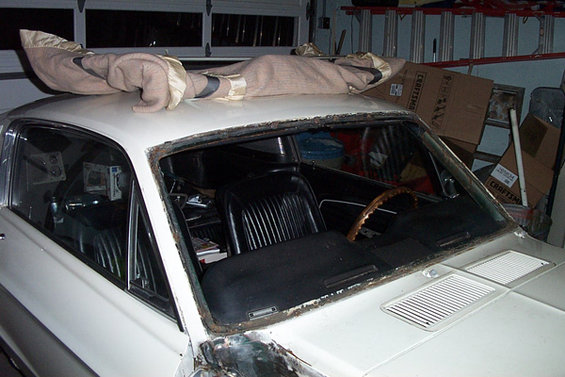
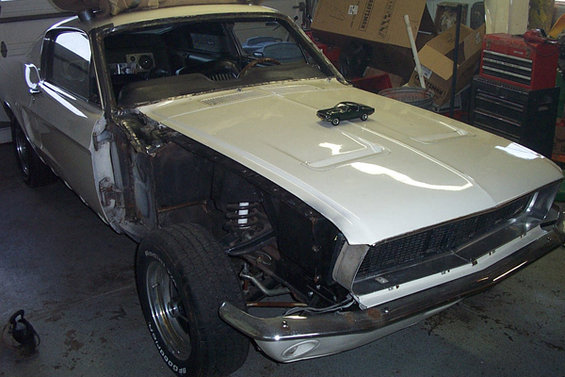
Before disassembly.
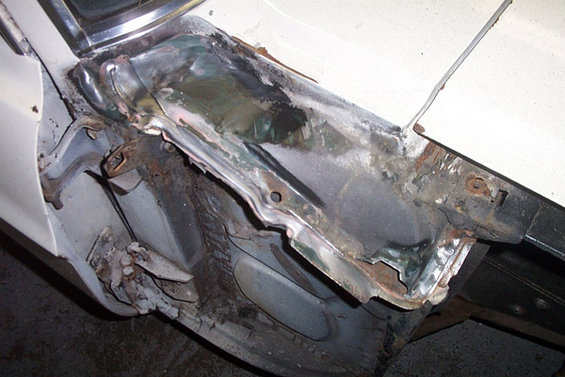
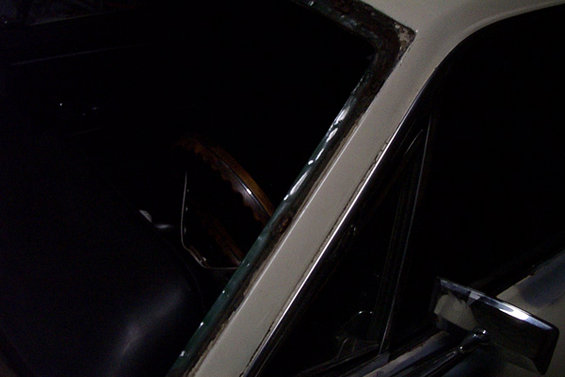
The area of focus. Note the plastic cowl cover that blocks the vent from the outside.
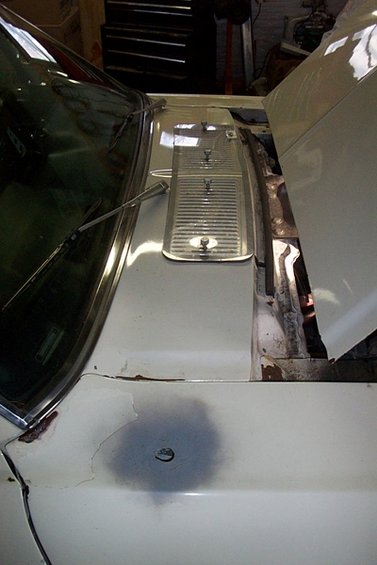
I can tell you after parking it outside that it’s not helping. 
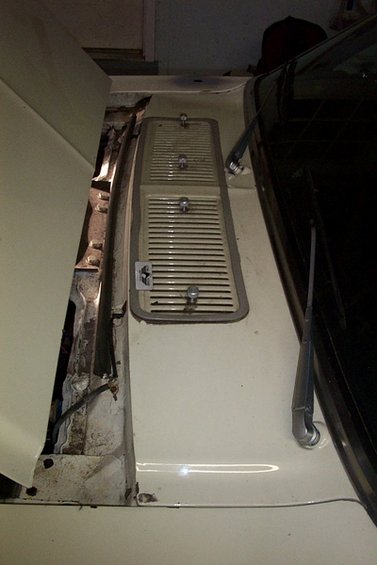
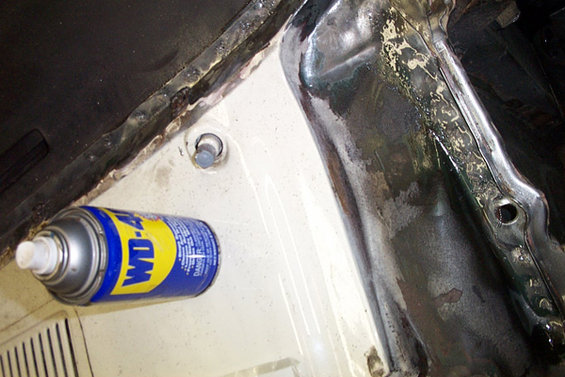
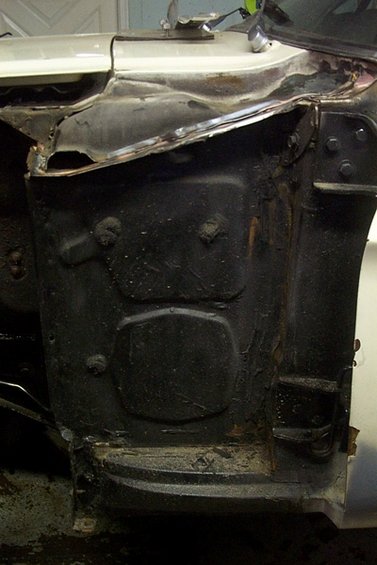
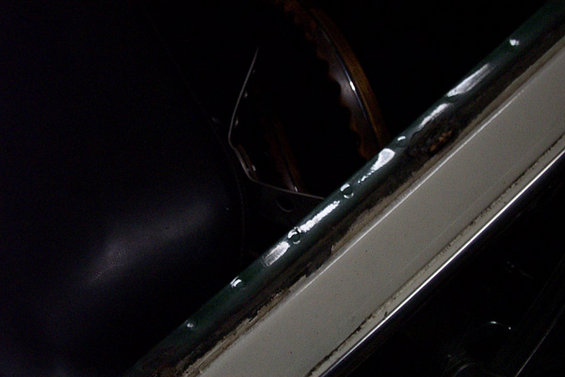
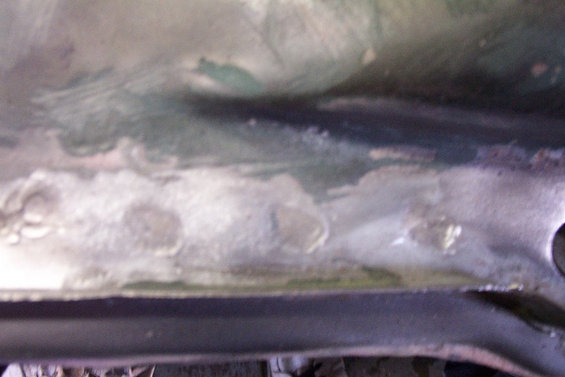
Here’s the sealer, at top.
Before I get started, something that just had to be done. '68 Mustangs have a trim ring, horse, and “corral” in the grille that just doesn’t do it for me.
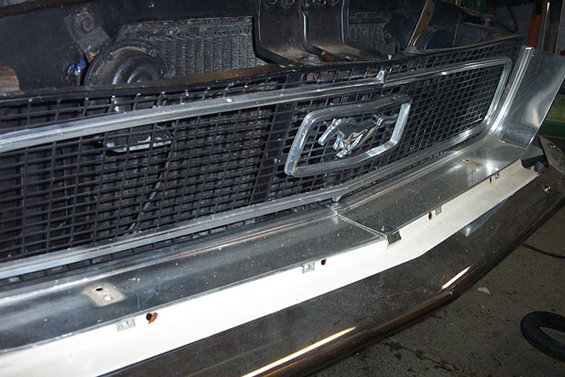
Removed. The grille will get repainted. Lots bettah. 
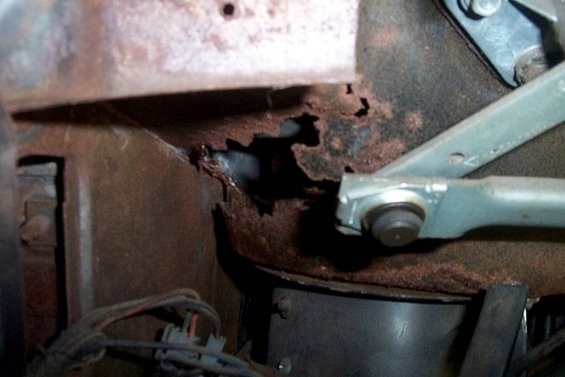
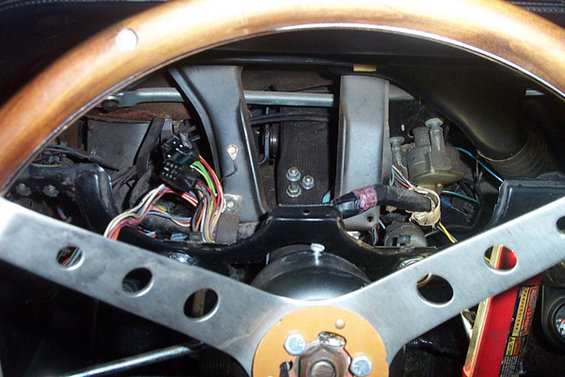
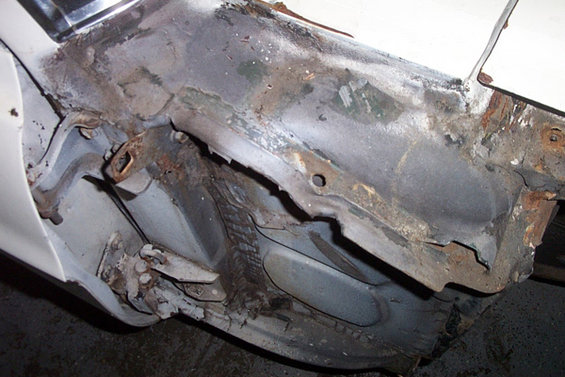
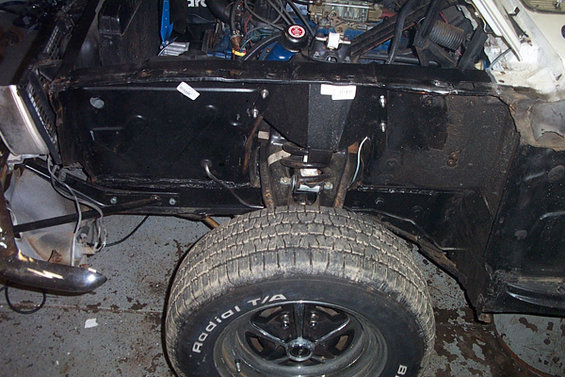
Why the whole project is taking place… this is driver-side, under the dash looking up, you can see the wiper arm. Rotted completely through.
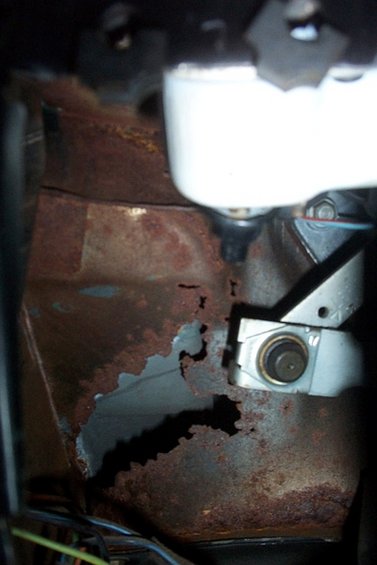
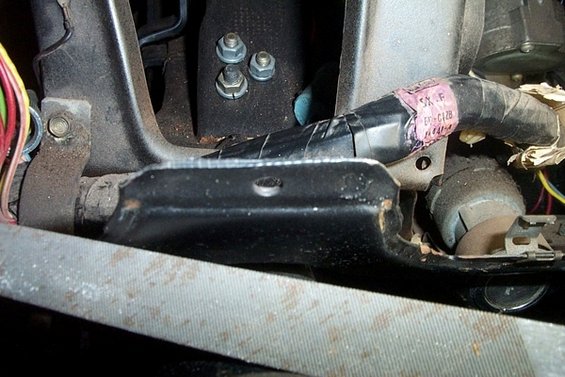
Better pic. Passenger side isn’t quite as bad.
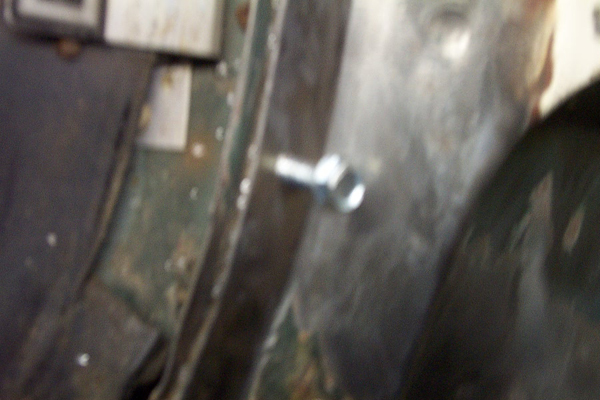
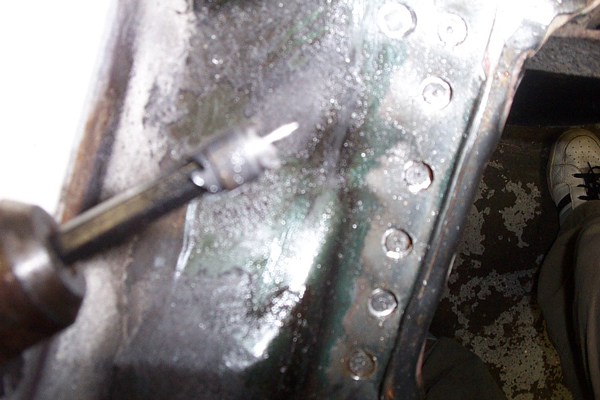
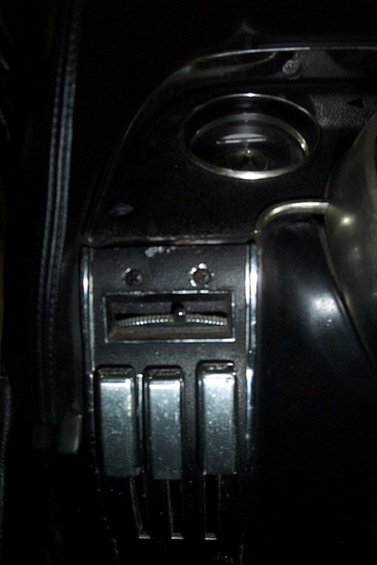
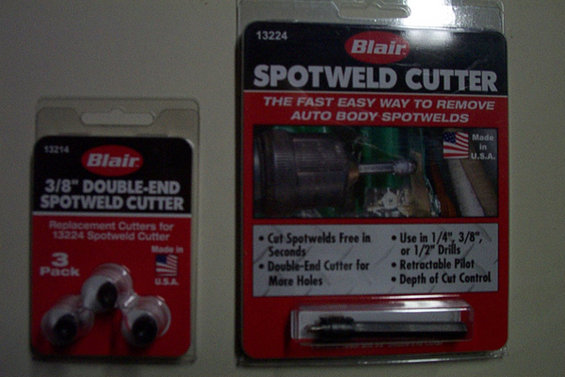
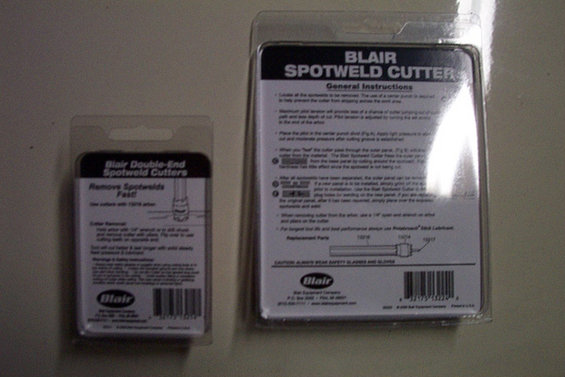
To get at the 200 spotwelds that hold the cowl to the unitbody, you must remove the fenders, hood, windshield, and dashpad. So, start by pulling the ashtray…
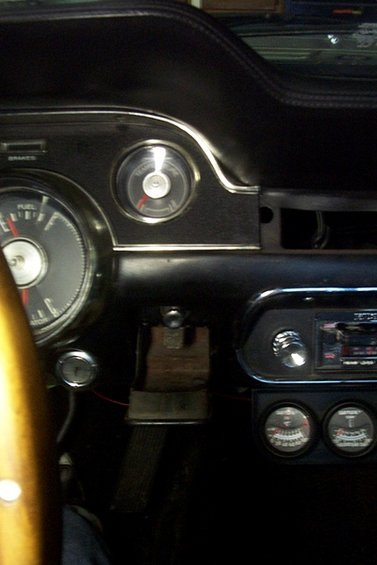
Heater controls, which aren’t operational at this time…
Dash trim…
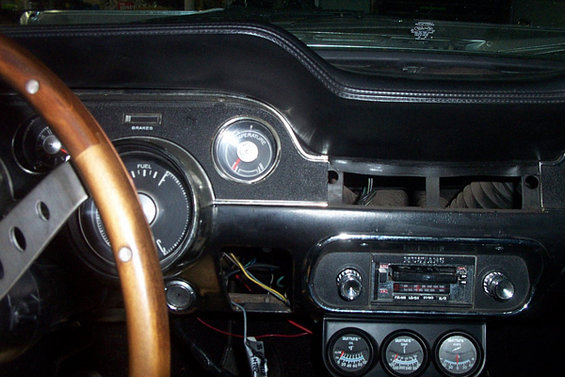
And gauges. Not shown: my %&%^*& bloody palm after the sheetmetal bracket just below center caught the flesh as I pulled the gauge pod out.
One file, 2 minutes, no more edges.


 )
)