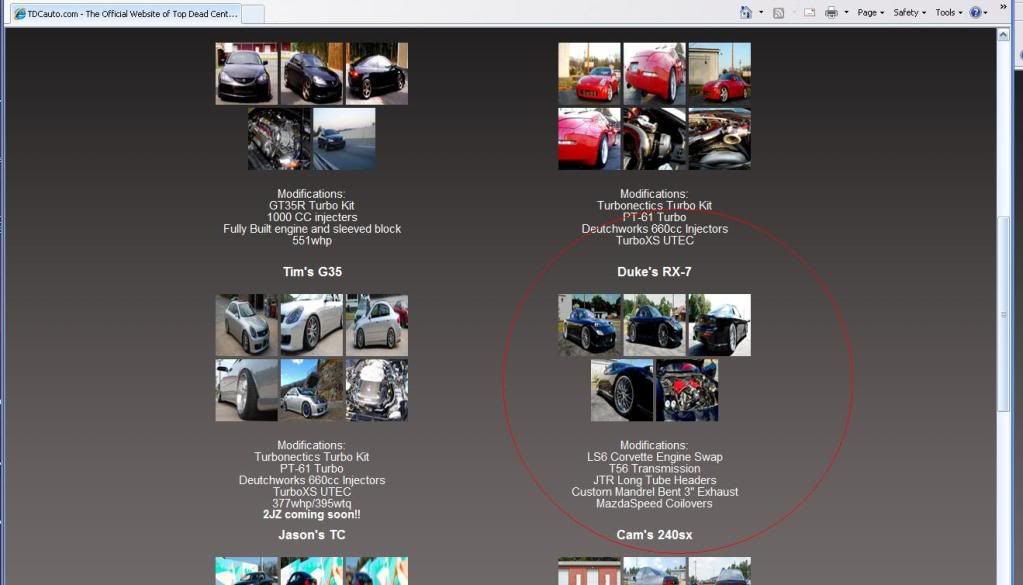
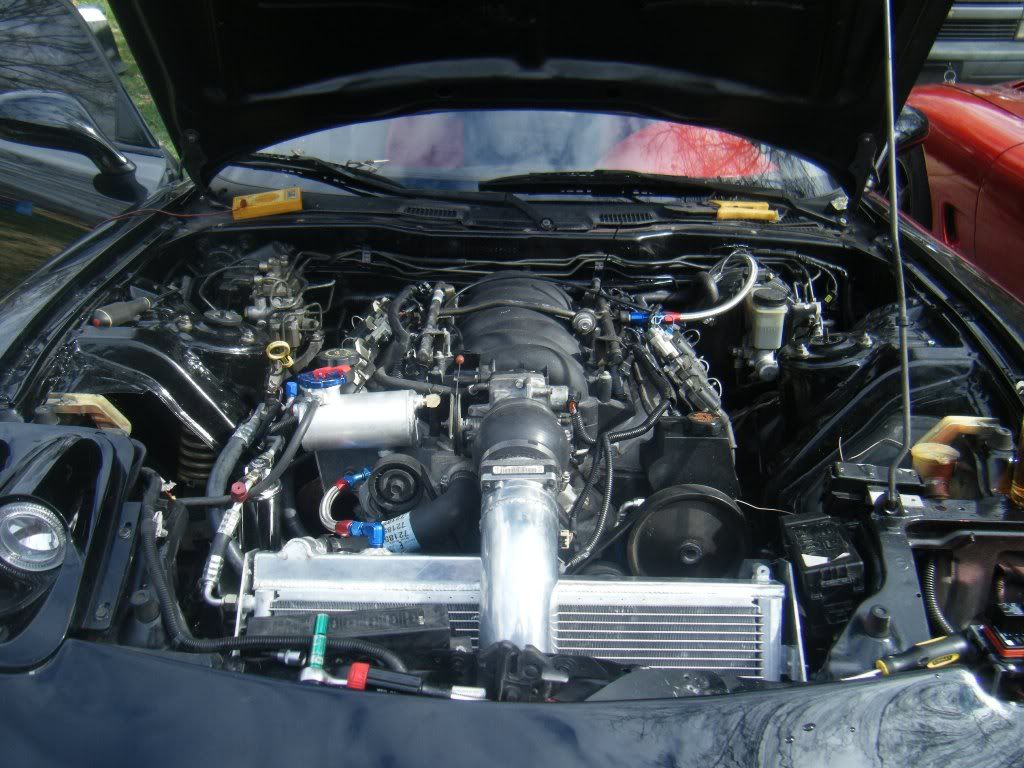
This is going to be the longest post I’ve made in a while. There’s a story in here, but there will be plenty of educational pictures to show people who have never built a car like this, what NOT to do, what clean work can be, and what a little bit of extra effort can do for your car. The story is about Duke’s LS6 RX7 (from the builder’s site)
Image has been scaled down 22% (800x458). Click this bar to view original image (1023x585). Click image to open in new window.
I’ve got a friend who used to be local to me (recently moved). He’s the most knowledgable rotary RX7 guy I personally know. He’s about 21 years old, but he’s a sharp kid. He just finished building his 101mm turboed rotary. The damn turbo is as big as the engine! Highway monster. Granted, he’s 1 bad-tank-of-gas away from a blown motor, but you all know what I mean.
Anyway, he sometimes hangs out at a shop in the next town over called Top Dead Center. They build imports and cater to the ‘tuner’ and ‘drifter’ crowd. I went up there once when he organized a Steve Kan tuning session to hang out.
About a year and a half ago, he told me that TDC was having a ‘dyno night’, 7pm until. $40 for 3 pulls. Well, I just got my van’s swap done and I had recently gotten HP Tuners, so I figured I would put the van on the dyno and play with my program.
I showed up around 7 because I wanted to get the tuning done and get out of there since the Honda boys aren’t really my crowd. There was a bunch of people hanging out and loud music playing, but no one on the dyno. I asked about it, and they said that they’re ready whenever someone wants to put their car on. I said, “I’m ready”
“What do you got?”
“That van over there.”
“It wont’ fit.”
“I’ll take the ladders off.”
For those who don’t know, here’s what I’m talking about.
http://www.youtube.com/watch?v=FlIvn19xgfQ
Well, we went back and forth, and they kept telling me it wouldn’t fit on the dyno. The shop owner came over and said it wouldn’t fit, but asked, “why do you wanna put a work van on the dyno anyway?”
“Because it has a motor swap”
I took him out and popped the hood … “Whoa… Hey, we’re getting ready to get an RX7 in here to do an LS1 swap, do you know anything about those?”
“Does a hobby horse have a wooden dick?”
I tell him that I can help with the wiring or AC or whatever, give him my card, and leave. Well, they never called.
A few weeks ago, I was at my friend shop (the guy with the Ecotec in the TR4) and the phone rings. I hear him answer it and say, “Hello?.. Well, he’s standing right here.” and hands me the phone. It was the guys up at the local hydrolics shop. They were looking for me, but didn’t have my # and knew Jim would have it. I go up there a lot because the customers there are either buying custom hoses for heavy equipment, or custom cars. The reason he was looking for me was because the owner of the RX7 that TDC was swapping (going on a year and a half now) was up at the hydrolic shop because TDC couldn’t get his clutch hydrolics right, so he was taking it upon himself to start looking for an answer. He discribed the problem and I knew the solution. This guy isn’t mechanically inclined, so I told him to bring his car over and I have the parts at the house, ready to install.
A week goes by and the car never shows up, then I get a phone call from him. He’s at TDC with the car and they were trying to talk him out of taking it to me and saying they can fix it. He puts me on the phone with their tech and he discribes the problem and asks what I would do about it. I tell him, “Listen bro, I’m sure under different circumstances, we would be great friends, but I know what you guys charged this guy for this swap ($14k they supplied everything but the roller, btw) and I know that you guys don’t know what the hell you’re doing. Now, if you wanna pay me to come up there and fix it, I will. Or if you wanna paypal me a consultant’s fee, I can do that too, but I can’t GIVE you information for a job you’re overcharging for. For what you’re charging, you should know what the fuck you’re doing. And there’s no way that the route you’re going will lead you to a working clutch.” He just says something to the extent of, “well, I guess I’ll just have to keep on researching.” I text the owner a few mins later telling him that those guys didn’t know what they were doing. A week later he brought me the car.
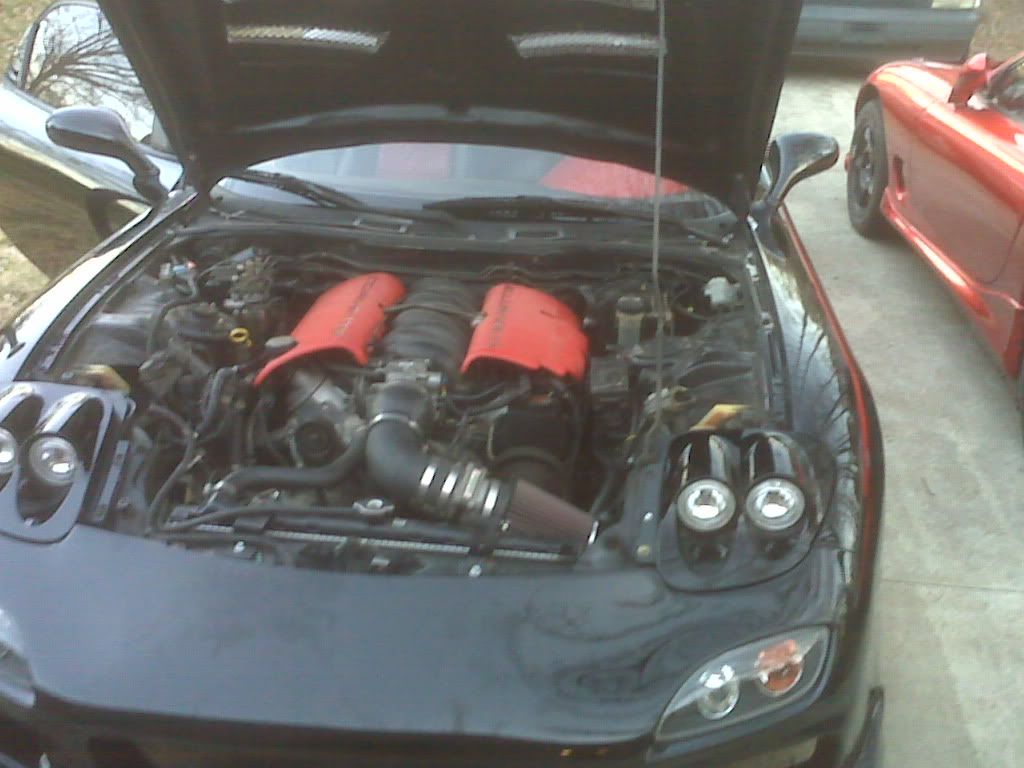
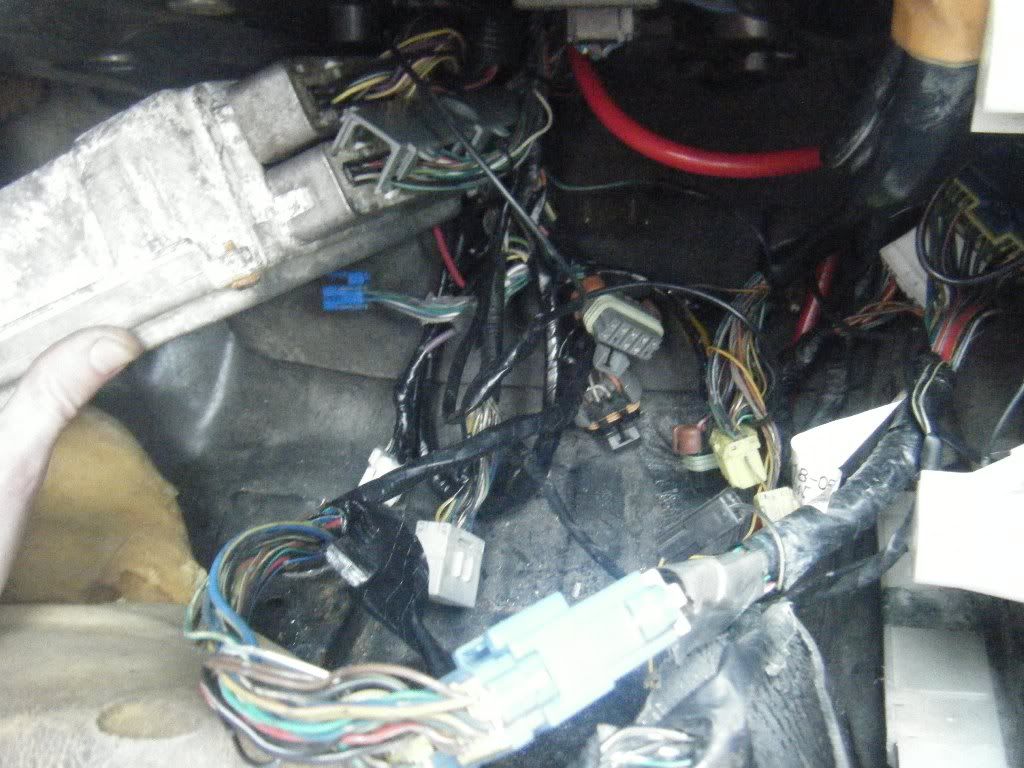
He wanted me to get the gauges working and give it a general once-over. The car was running like shit, BAD exhaust leaks, terrible handling and all in all, shitty craftsmanship. The bad part about it is that it’s a very pretty car. He’s got a fresh paint job a good looking carbon fiber hood, and a nice set of rims. But crack the hood… ugg.
Image has been scaled down 22% (800x600). Click this bar to view original image (1024x768). Click image to open in new window.
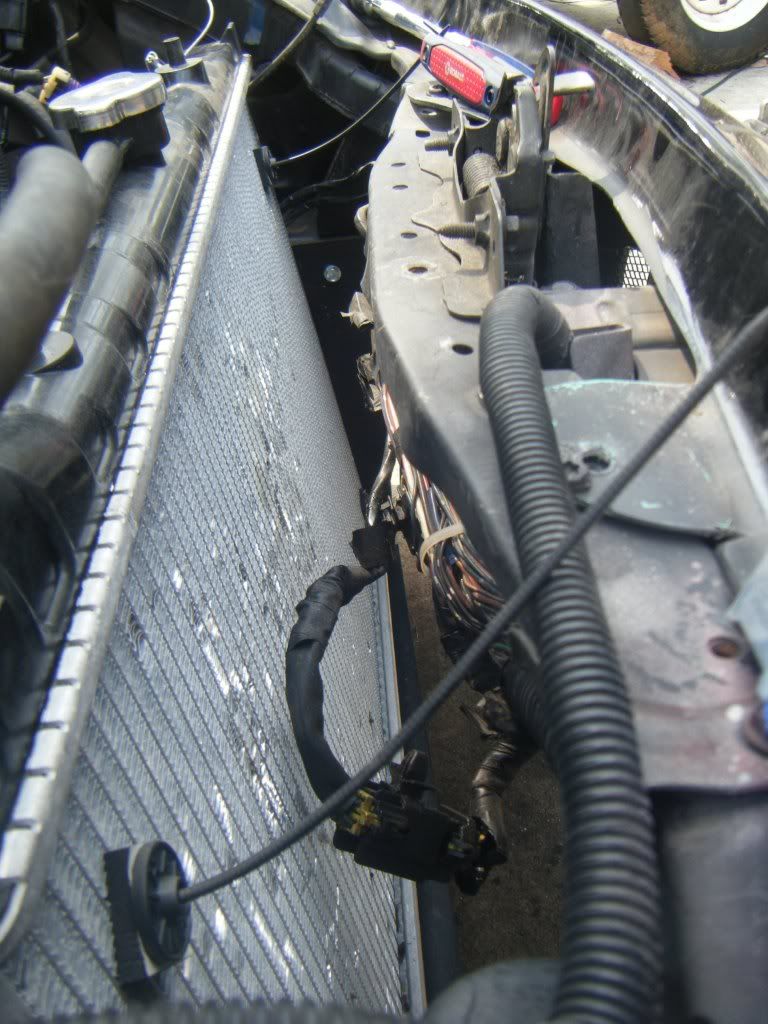
Where do I start with this thing??? It was a glittering jewell of colossal fail. Ok, they used a stock S13 radiator… wtf? I mean, if they’re going through that much trouble, why not use the stock FD radiator? I mean the rotary was much more of a heater than the KA. No radiator shrouding and no fan shrouding. Just some of those radiator zip tie thingies to hold the fans on.
Granted, I’ve used those before, but NEVER on a customer car, especially one paying $14k.
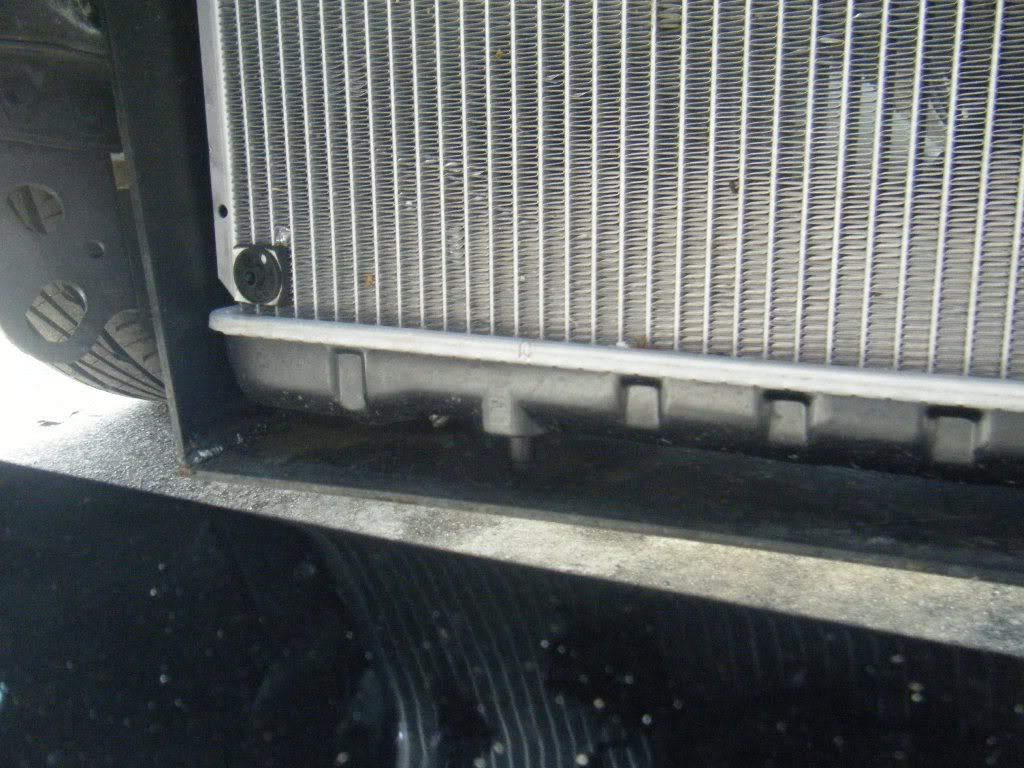
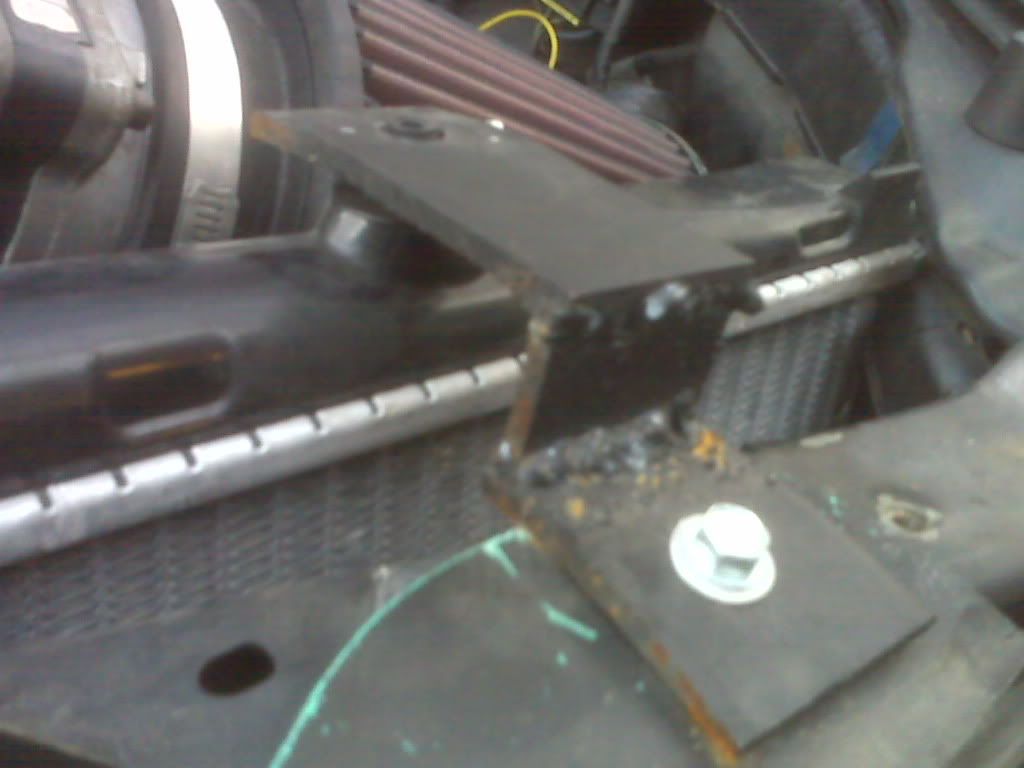
No bushings on the radiator
Image has been scaled down 22% (800x600). Click this bar to view original image (1024x768). Click image to open in new window.
Awesome, bushingless, upper radiator supports. Looks like they used a 110v Harbor Freight welder.
Image has been scaled down 22% (800x600). Click this bar to view original image (1024x768). Click image to open in new window.
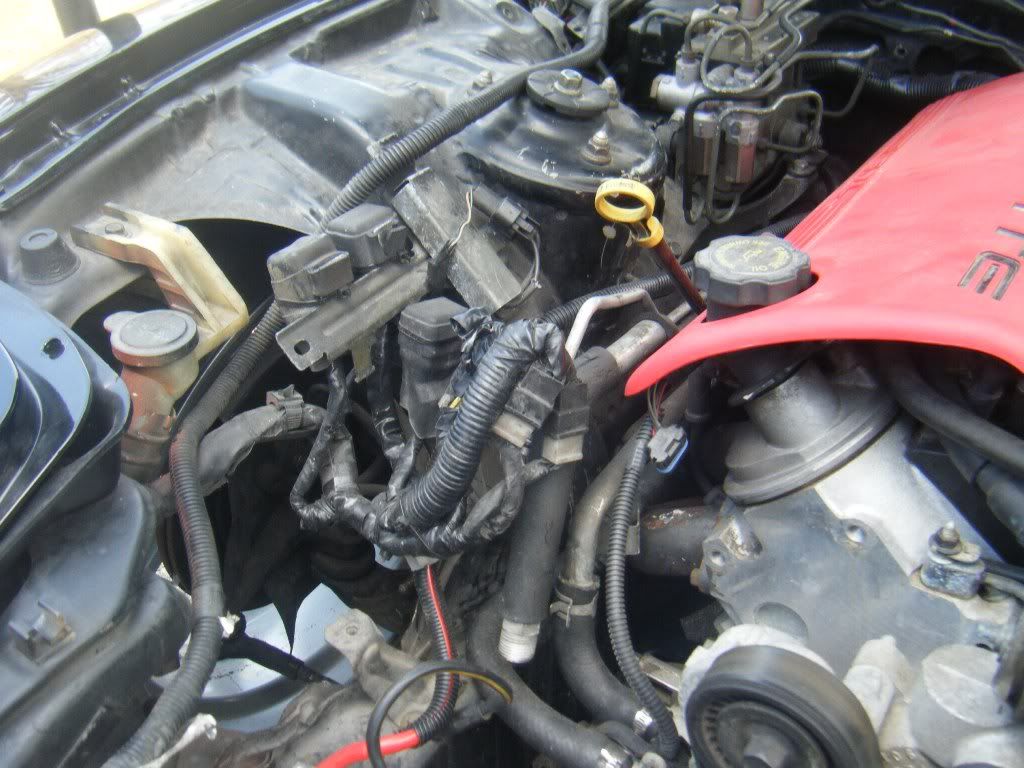
Don’t know what to say about this clusterfuck, but it’s not something that belongs on this car
Image has been scaled down 22% (800x600). Click this bar to view original image (1024x768). Click image to open in new window.
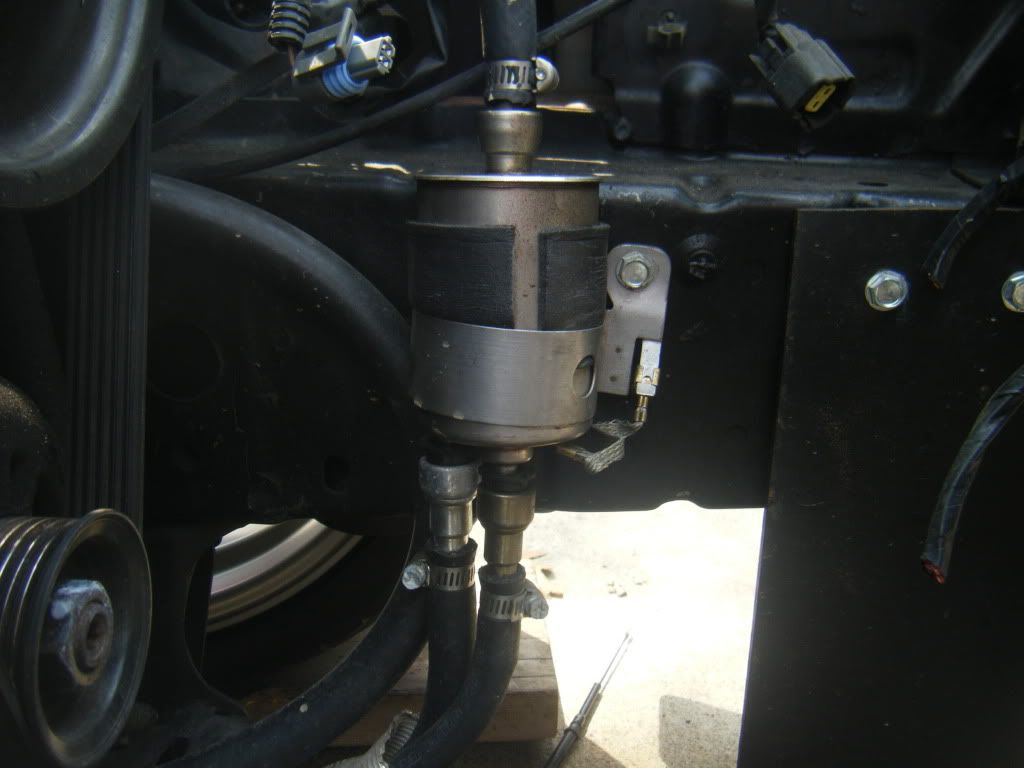
Behind the radiator, on the frame rail, secured with a self tapping, sheetmetal screw is the FPR, or as I have started calling it the FMFPR (front mount fpr)
Image has been scaled down 22% (800x600). Click this bar to view original image (1024x768). Click image to open in new window.
Image has been scaled down 22% (800x600). Click this bar to view original image (1024x768). Click image to open in new window.
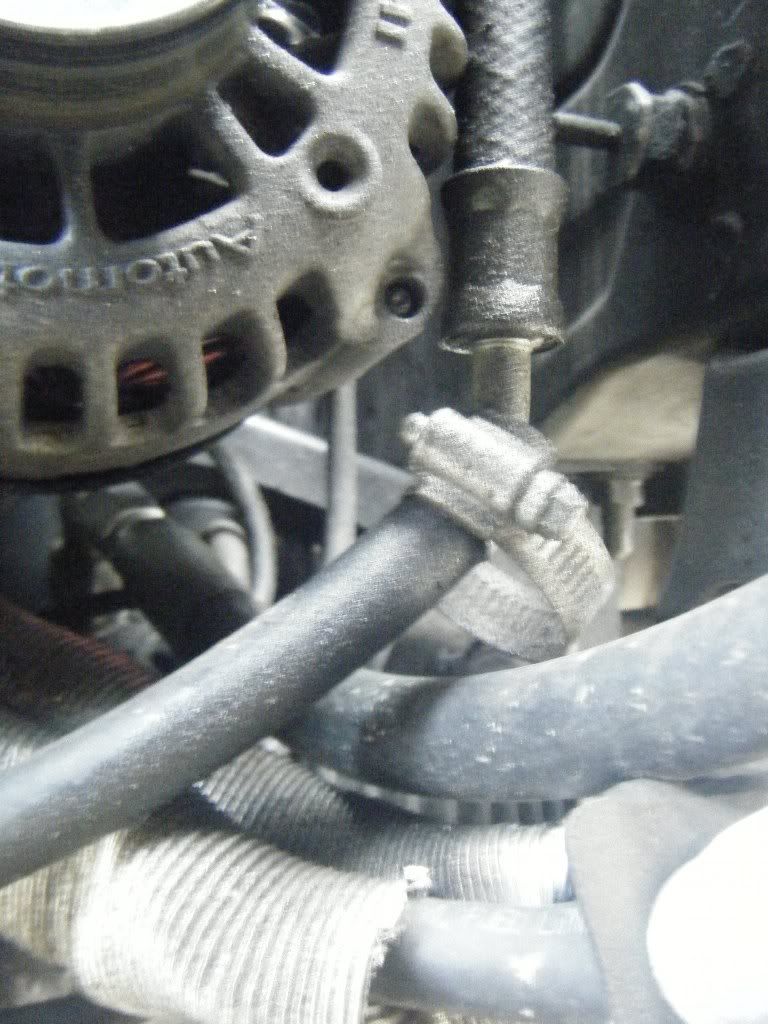
Worm gear on the fuel line… that’s a fire waiting to happen
Image has been scaled down 22% (800x600). Click this bar to view original image (1024x768). Click image to open in new window.
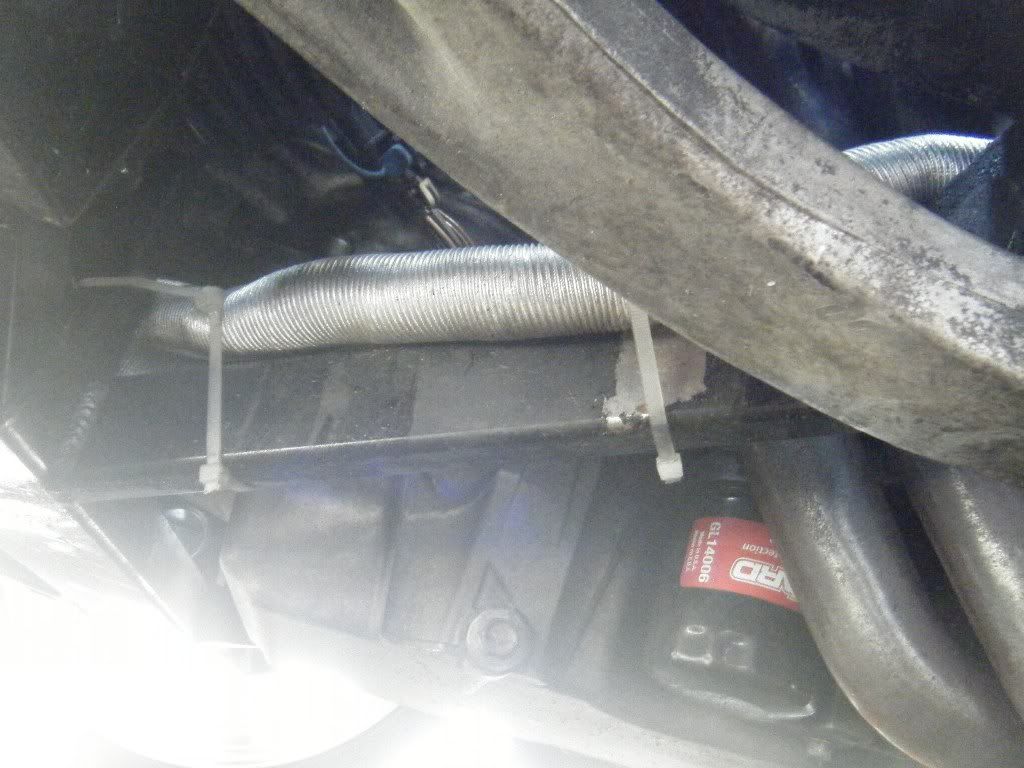
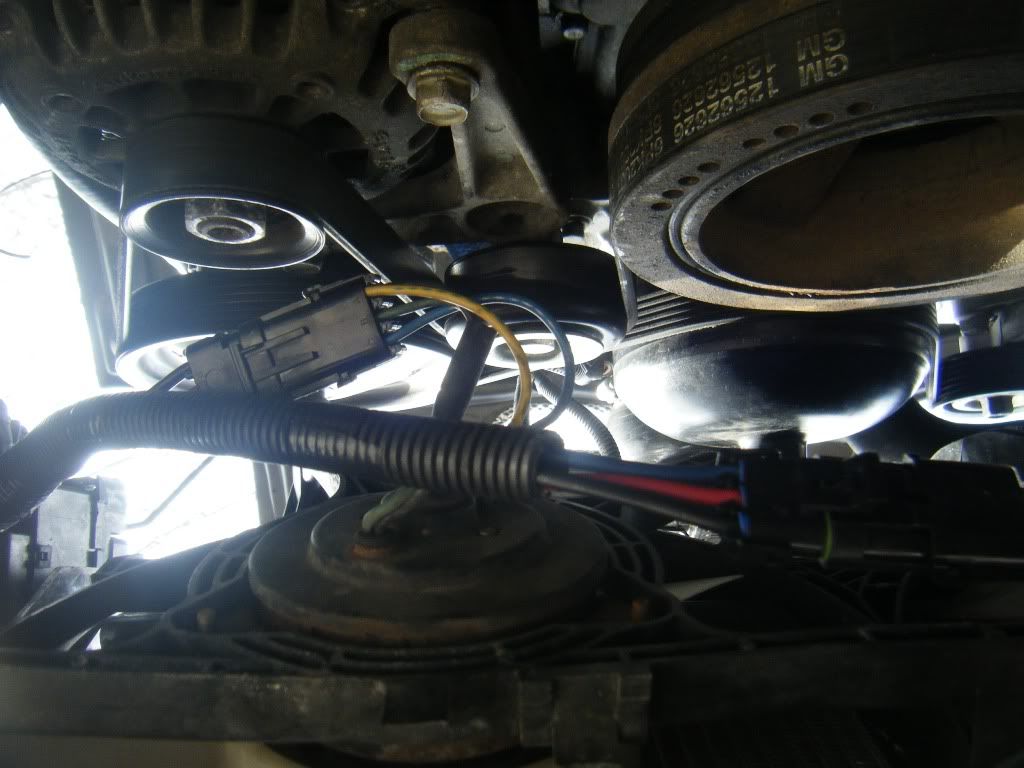
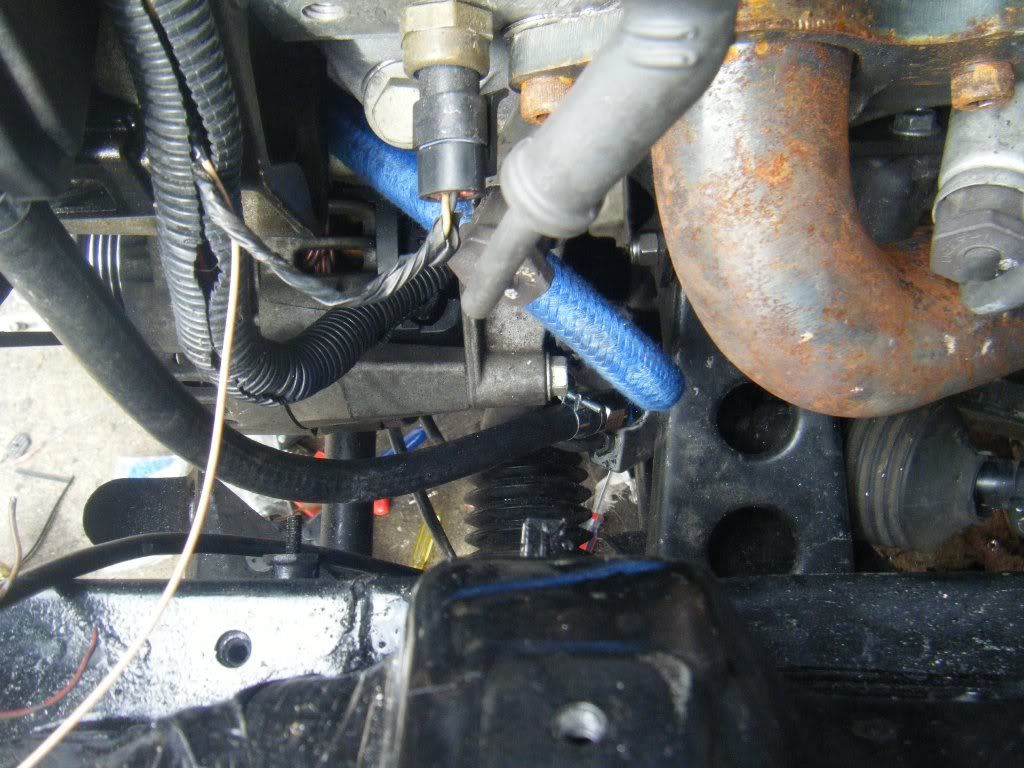
Appearantly, they followed Granny’s instructions because everywhere Granny got it wrong, they did too. Like the oil pressure sender being above the header. How do you like that sender wire protection???
Image has been scaled down 22% (800x600). Click this bar to view original image (1024x768). Click image to open in new window.
I’ve done it this way on manifold cars, when there wasn’t enough room behind the intake, but NEVER on a header car. The headers are about 1/8" from the tapped aluminum piece that is tapped for the sender. The constant heating and cooling, and the differences in expansion and contraction of aluminum vs brass is an oil leak waiting to happen. Wait, whut?
Image has been scaled down 22% (800x600). Click this bar to view original image (1024x768). Click image to open in new window.
Here’s another angle on that sender wire. Clean routing, aye?
Image has been scaled down 22% (800x600). Click this bar to view original image (1024x768). Click image to open in new window.
We all know what this is. I’ve seen alot of this, but this is by far the worst
Image has been scaled down 22% (800x600). Click this bar to view original image (1024x768). Click image to open in new window.
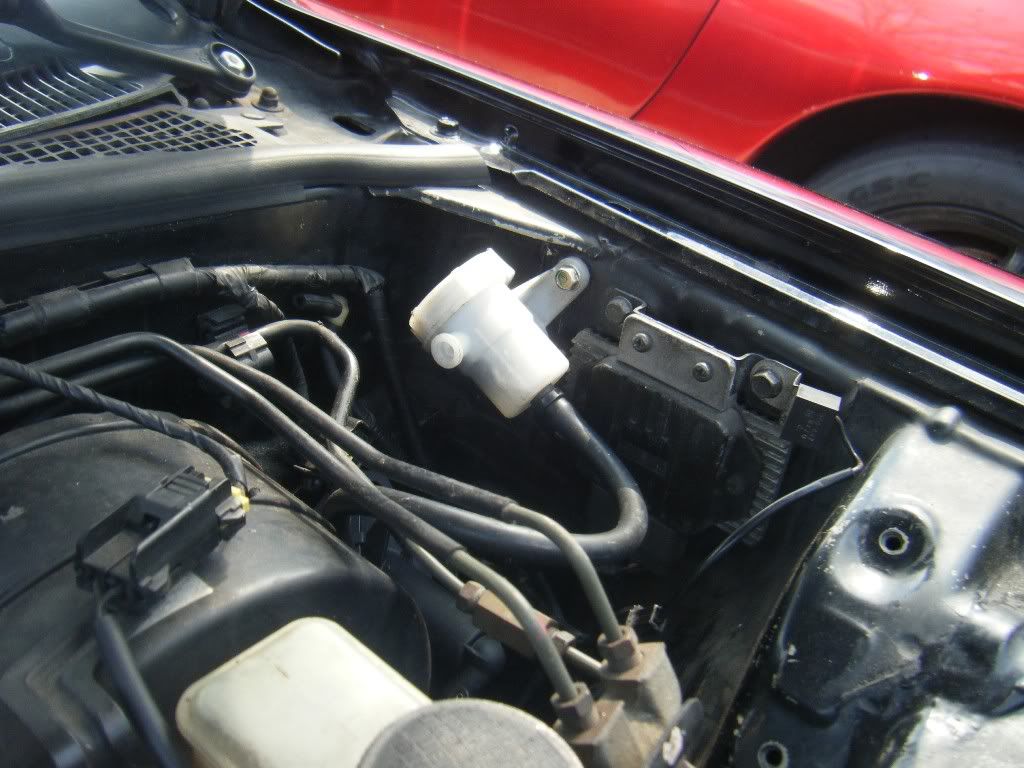
After going through 3 F body clutch MCs, they somehow get one to work (found out later, not so well). I don’t have a picture of their adapter brackets, but they were shit. How bout that crooked rez? Would’ve been so hard to mount it in the Igniter’s spot? Or just share the brake rez?
Image has been scaled down 22% (800x600). Click this bar to view original image (1024x768). Click image to open in new window.
Image has been scaled down 22% (800x600). Click this bar to view original image (1024x768). Click image to open in new window.
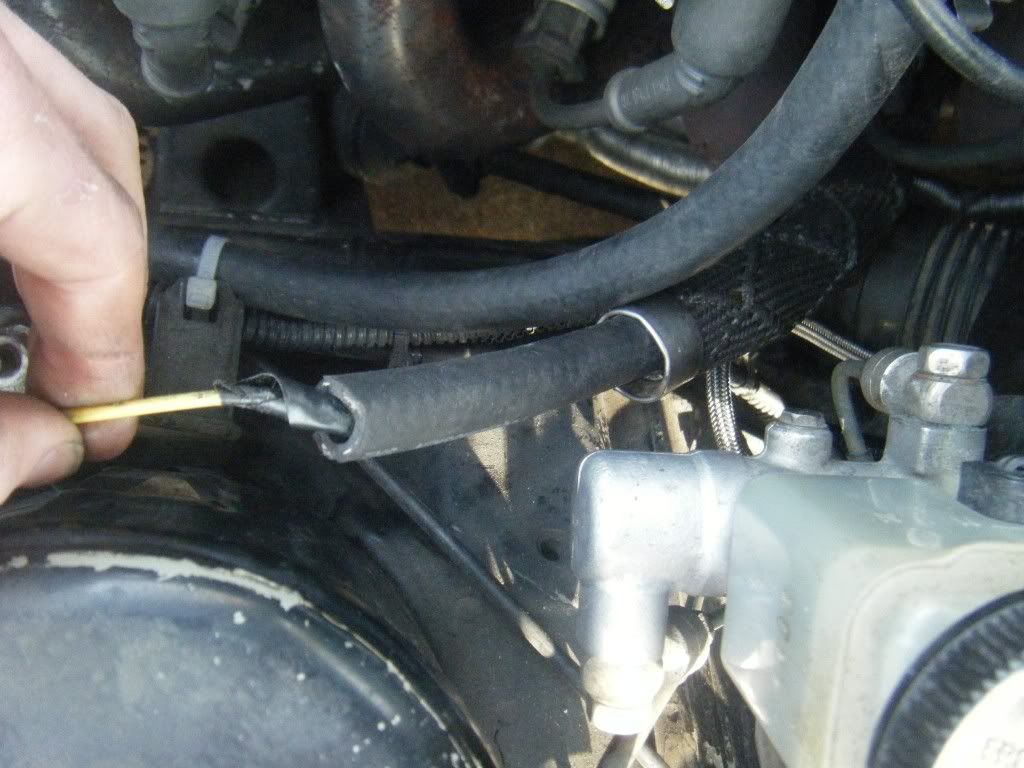
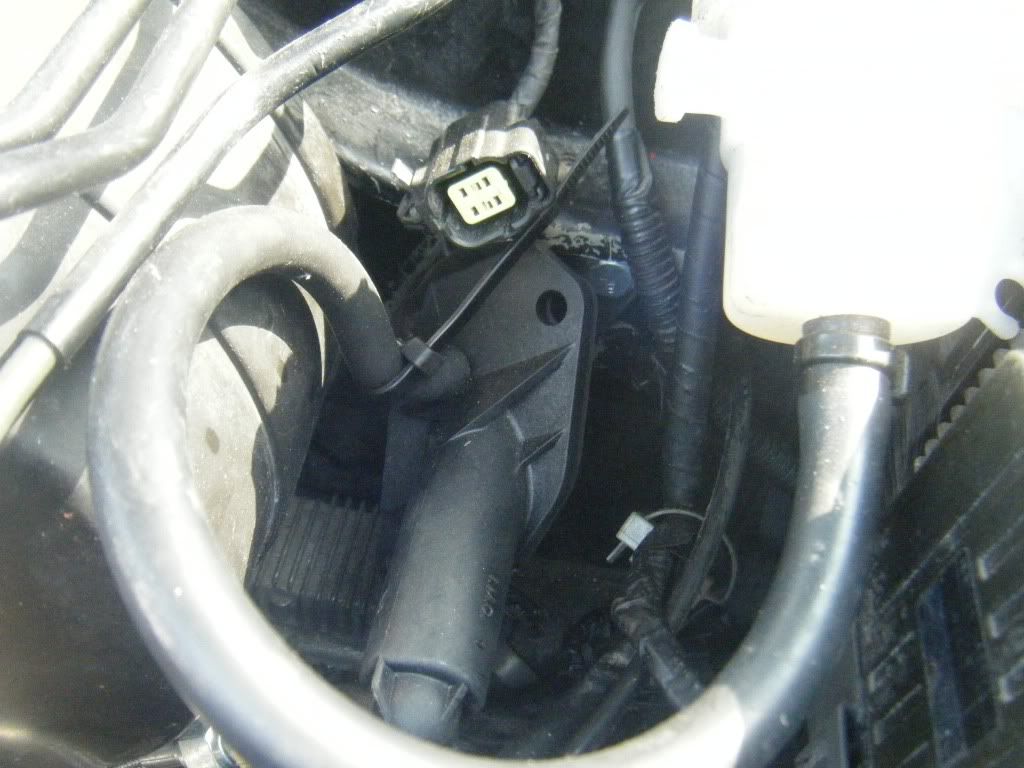
How bout that PS line???
Zip tie to hold in 16psi?
Image has been scaled down 22% (800x600). Click this bar to view original image (1024x768). Click image to open in new window.
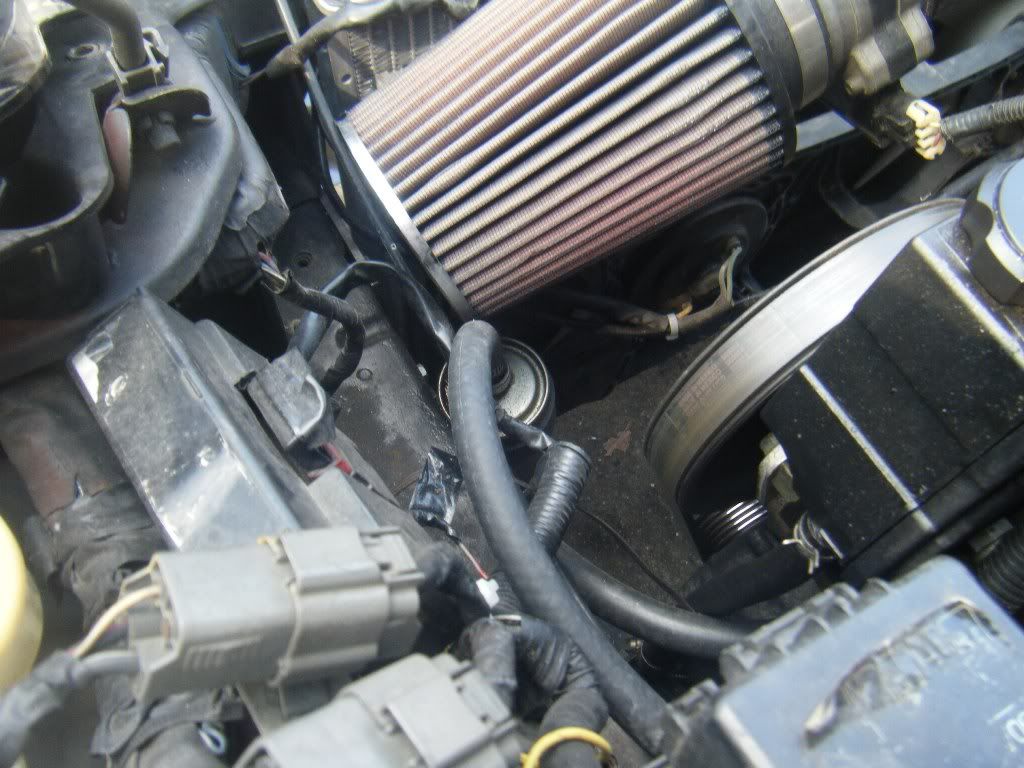
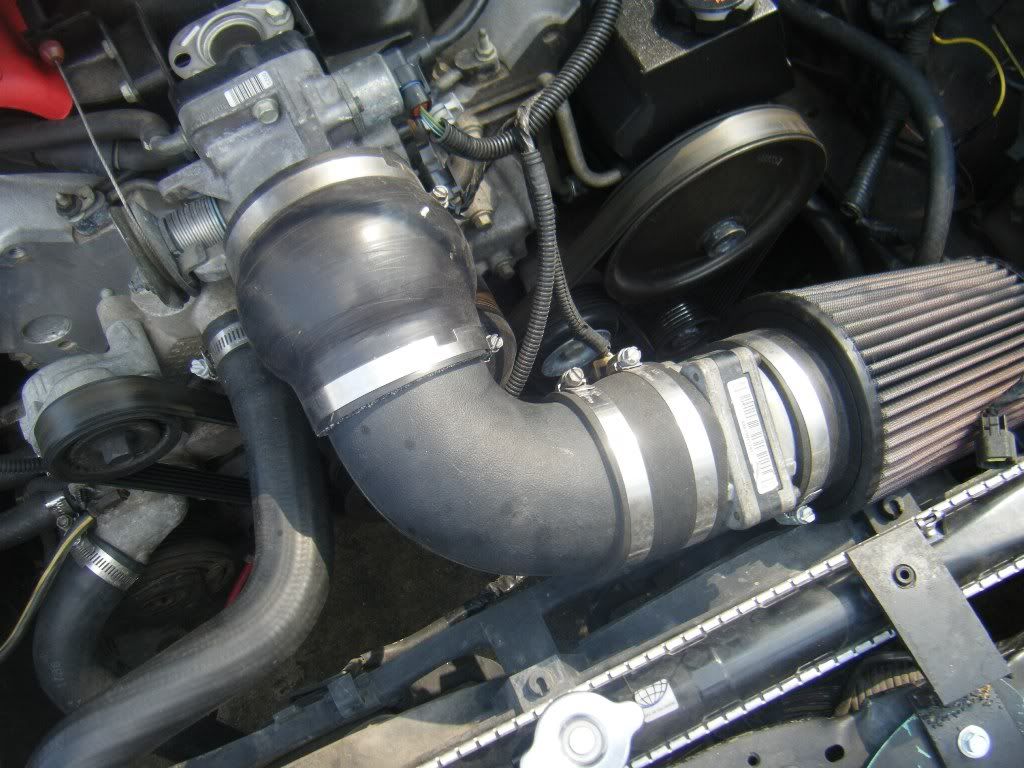
4" TB reduced to a 3" elbow, enlarged to a 3.5" MAF… nice
Image has been scaled down 22% (800x600). Click this bar to view original image (1024x768). Click image to open in new window.
Remember this thread is about an LS6 swapped FD? The shop charged him $12k + $2k for the LS6 upgrade. Huh?
Image has been scaled down 22% (800x600). Click this bar to view original image (1024x768). Click image to open in new window.
Image has been scaled down 22% (800x600). Click this bar to view original image (1024x768). Click image to open in new window.
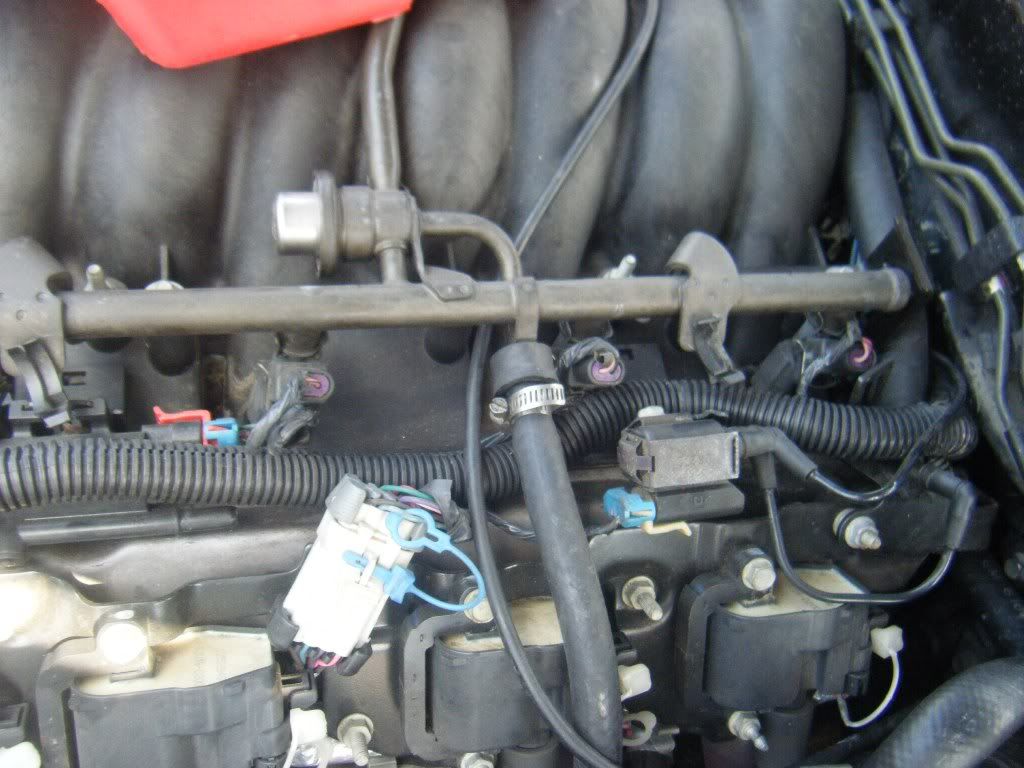
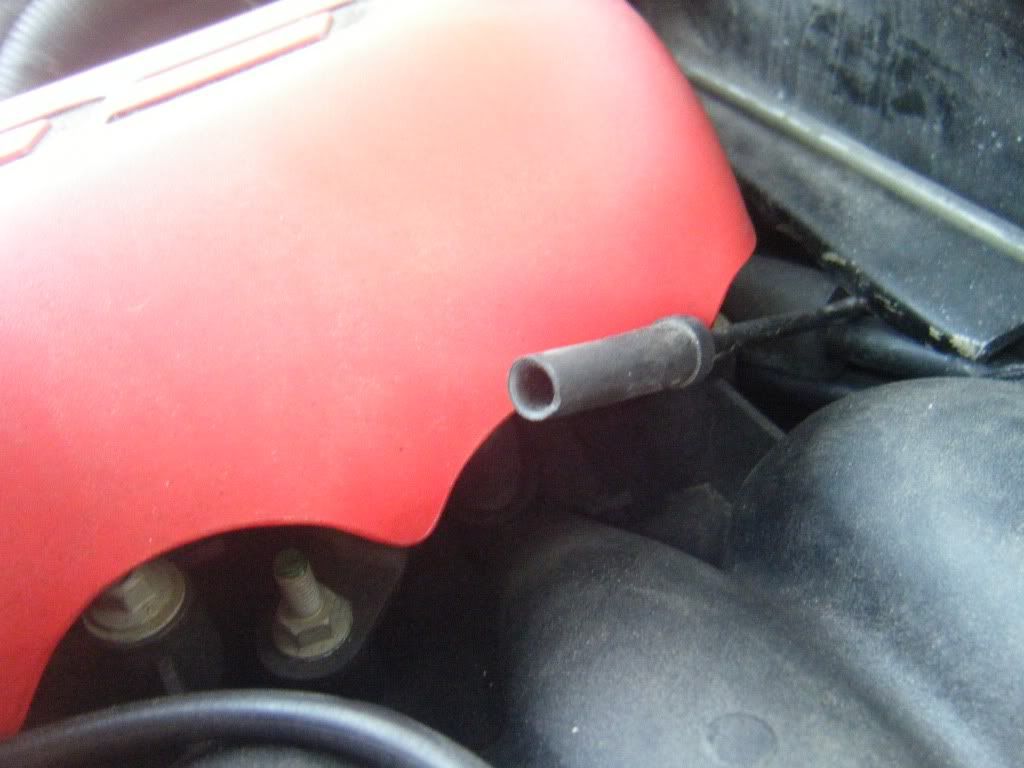
Unfortunately, the only upgrade he got was the plastic LS6 fuel rail covers…
Maybe this could have something to do with the high idle?
Image has been scaled down 22% (800x600). Click this bar to view original image (1024x768). Click image to open in new window.
Image has been scaled down 22% (800x600). Click this bar to view original image (1024x768). Click image to open in new window.
Image has been scaled down 22% (800x600). Click this bar to view original image (1024x768). Click image to open in new window.
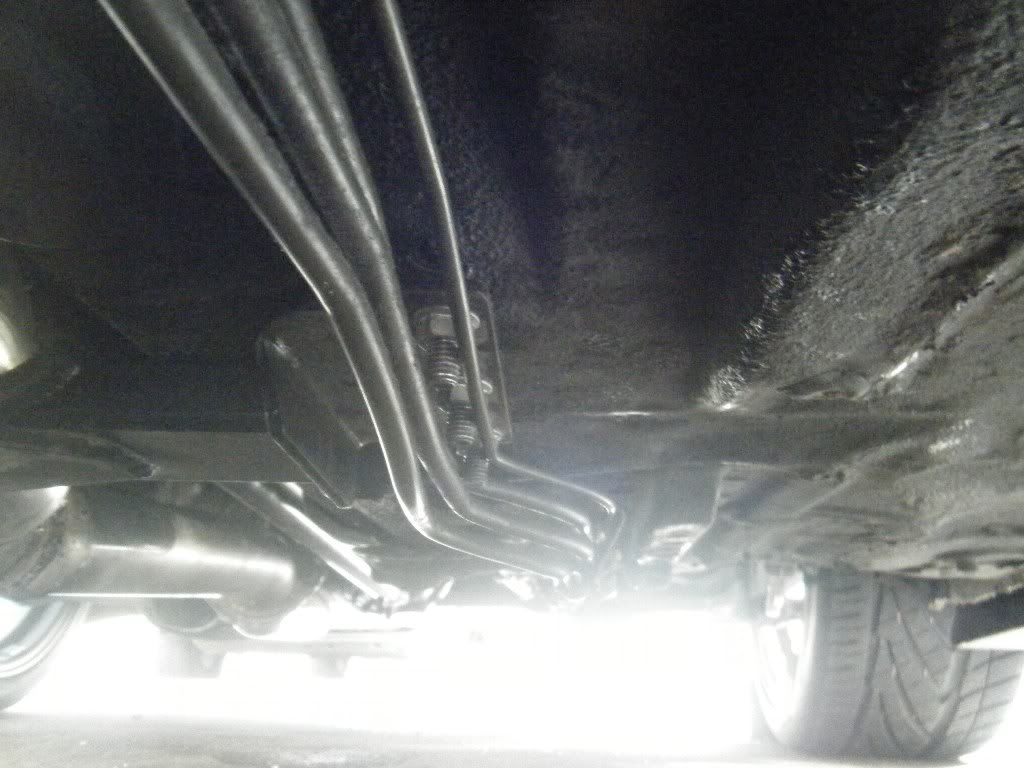
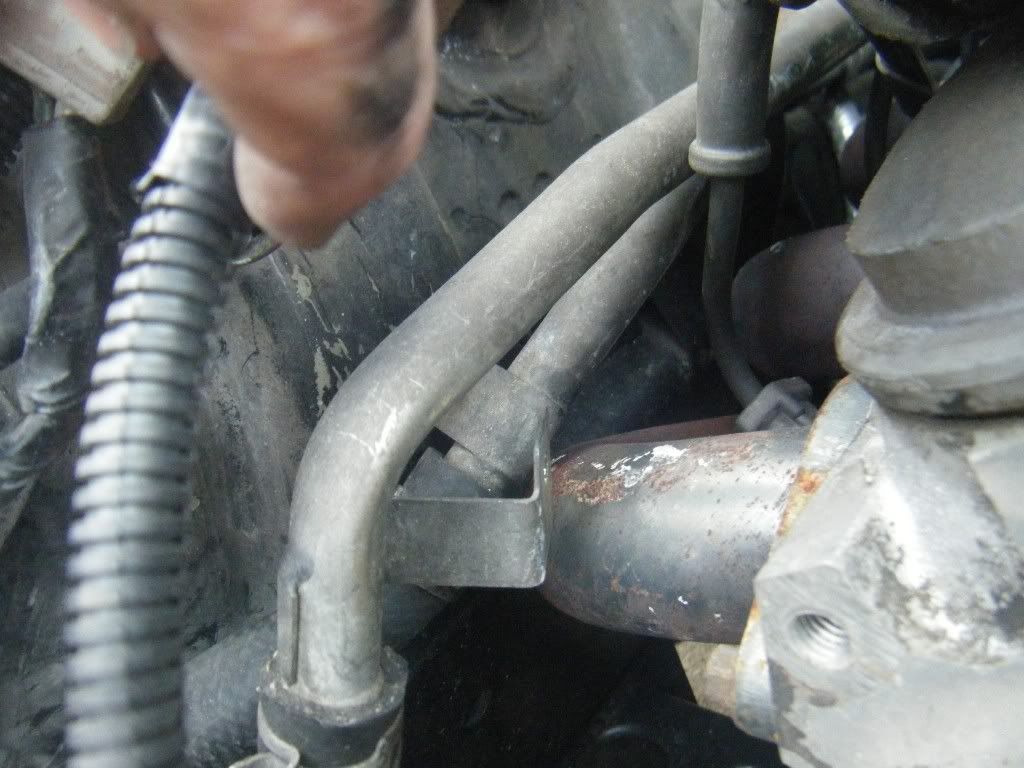
Now, most of use reuse the stock fuel hardlines. But do we bend the fuel line holder down to hold the lines 2" below the floor board?
Image has been scaled down 22% (800x600). Click this bar to view original image (1024x768). Click image to open in new window.
Fuel line and brake line rubbing the tranny bolts… that’s a fire or a wreck waiting to happen… whichever comes first…
Image has been scaled down 22% (800x600). Click this bar to view original image (1024x768). Click image to open in new window.
Fuel lines, covered in Buck Rogers style heat protection, making their way up to the FMFPR
Image has been scaled down 22% (800x600). Click this bar to view original image (1024x768). Click image to open in new window.
This might explain the shitty handling
Image has been scaled down 22% (800x600). Click this bar to view original image (1024x768). Click image to open in new window.
Reused heater hoses. One from the FD, one from ???
Image has been scaled down 22% (800x600). Click this bar to view original image (1024x768). Click image to open in new window.
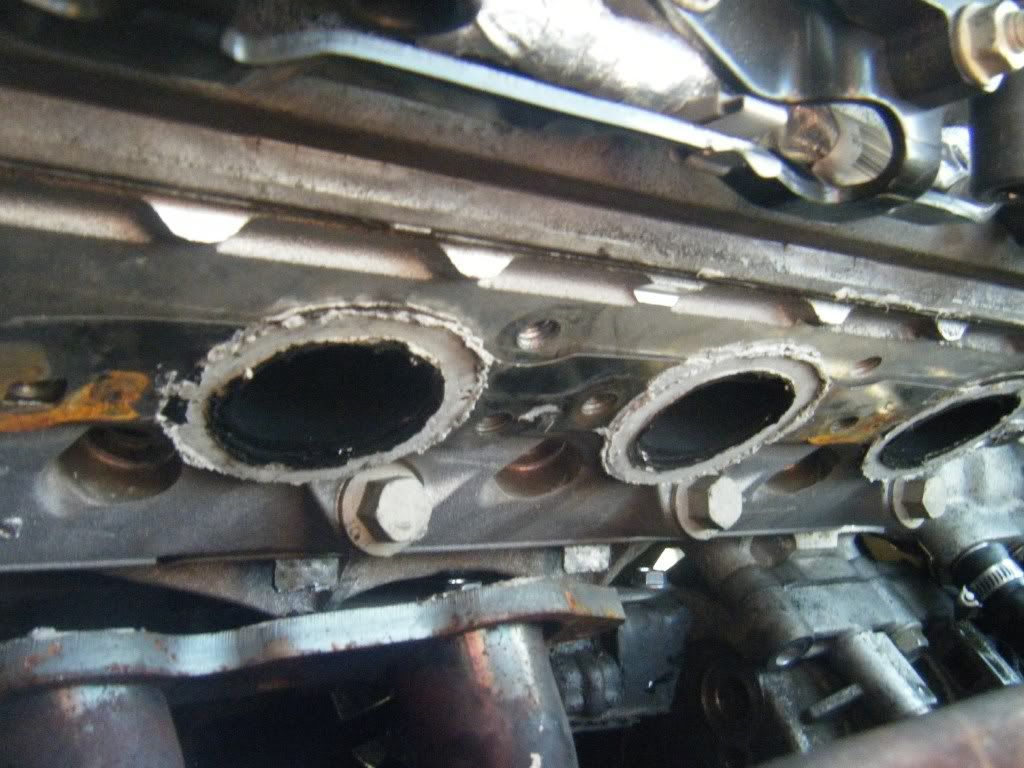
The car had terrible exhaust leaks, but you’ll find out later that this wasn’t the problem
Image has been scaled down 22% (800x600). Click this bar to view original image (1024x768). Click image to open in new window.
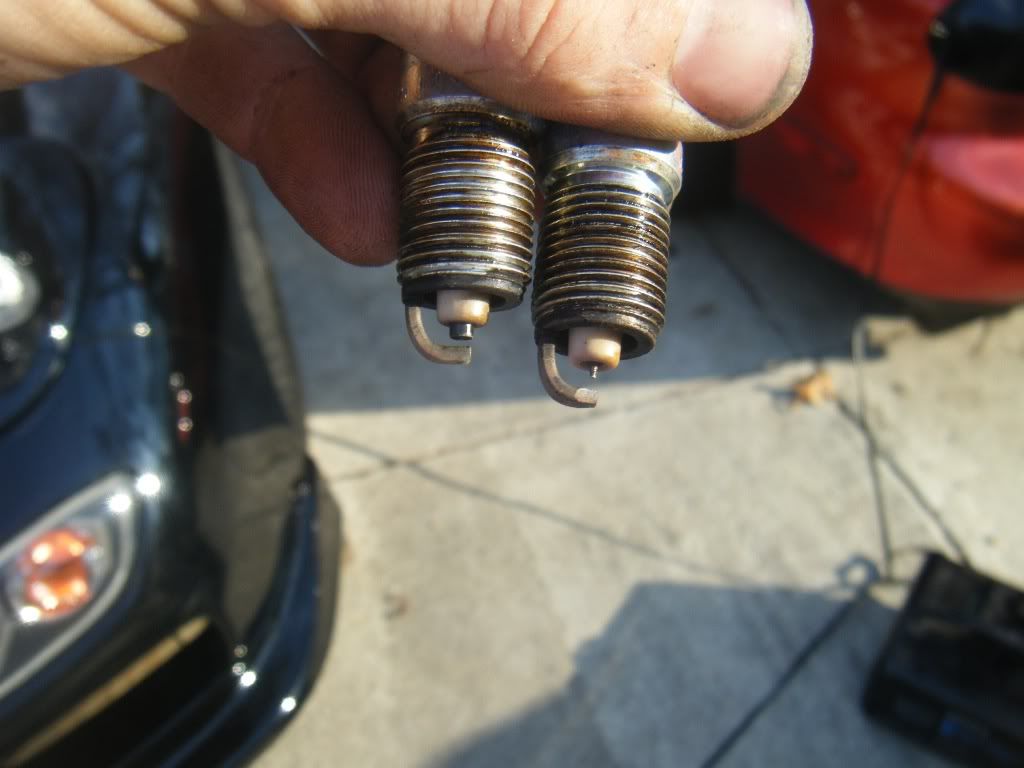
Will mismatched spark plugs work? Ya… would I put them on a customer’s car… hell no.
Image has been scaled down 22% (800x600). Click this bar to view original image (1024x768). Click image to open in new window.
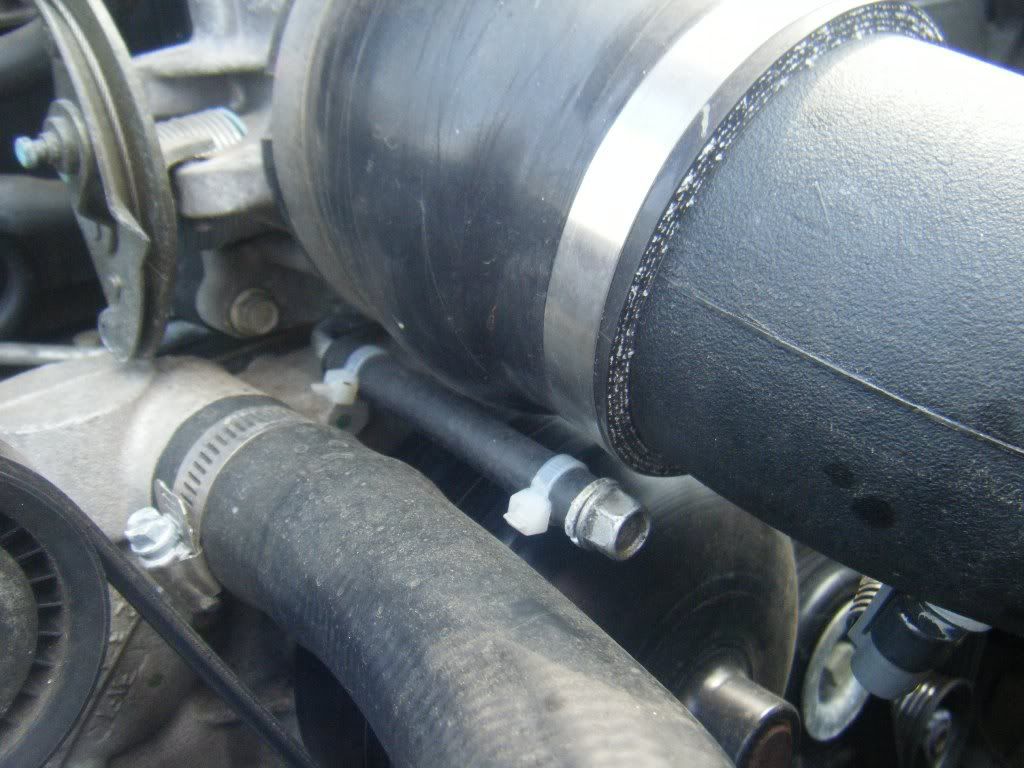
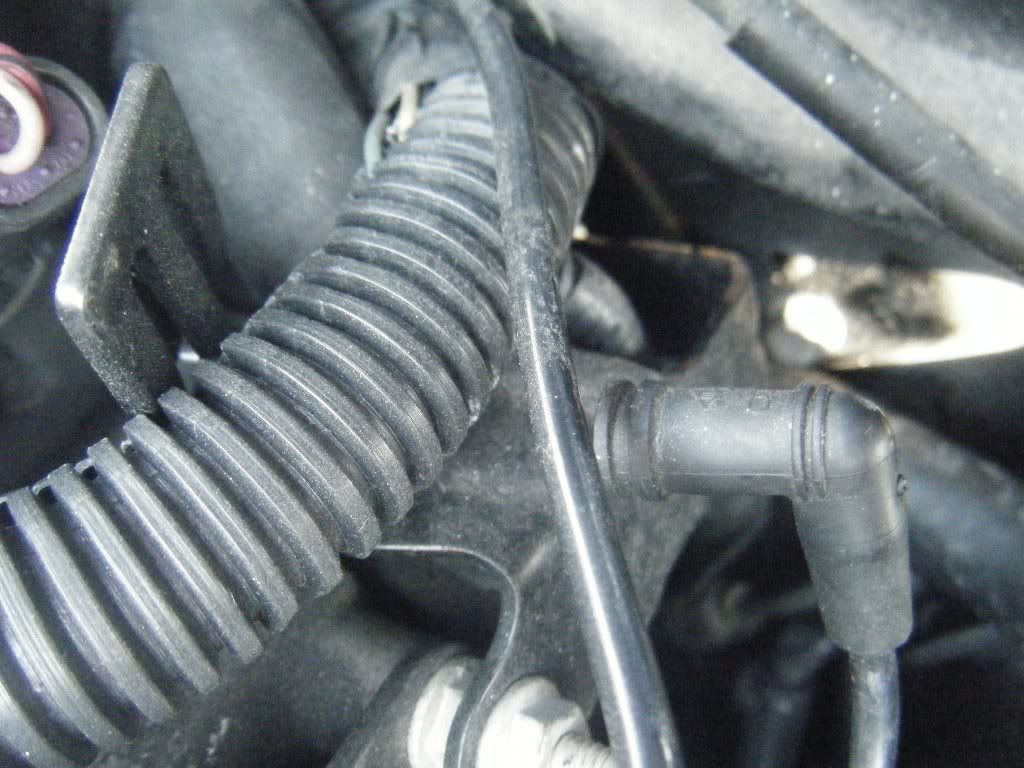
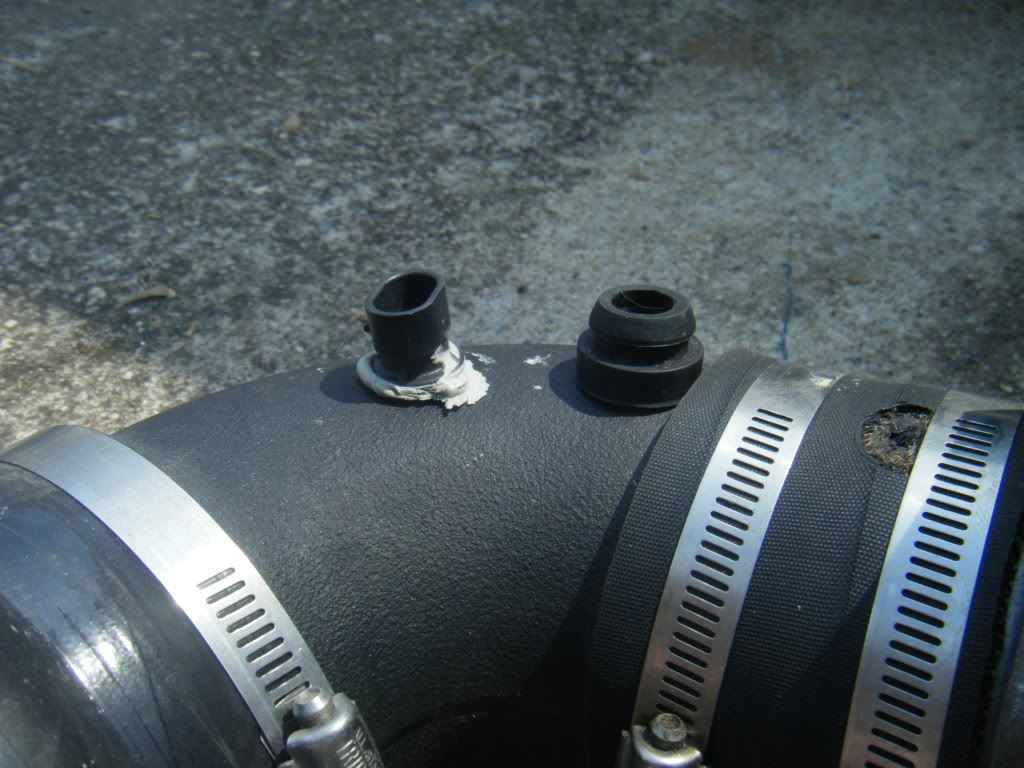
How bout that intake boot and IAT siliconed inplace. Hell, if the silicone is good enough for the headers, must be good enough for the IAT too, right? Or they could use the stock gromment… right beside it…
Image has been scaled down 22% (800x600). Click this bar to view original image (1024x768). Click image to open in new window.
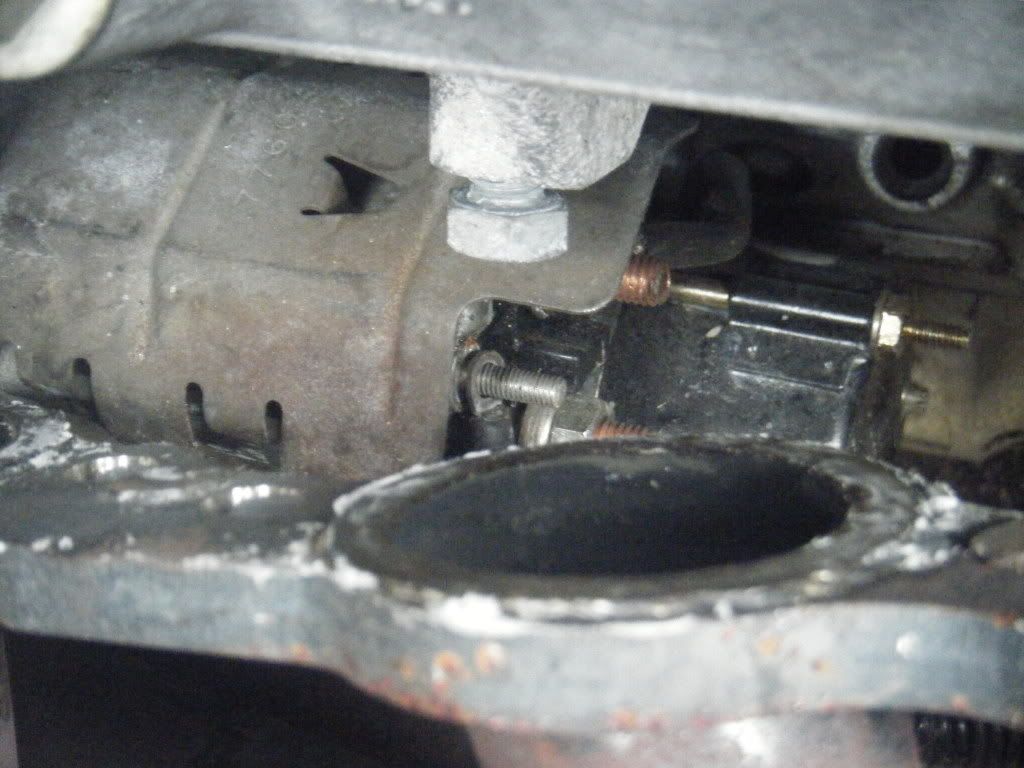
Starter solenoid missing something?
Image has been scaled down 22% (800x600). Click this bar to view original image (1024x768). Click image to open in new window.
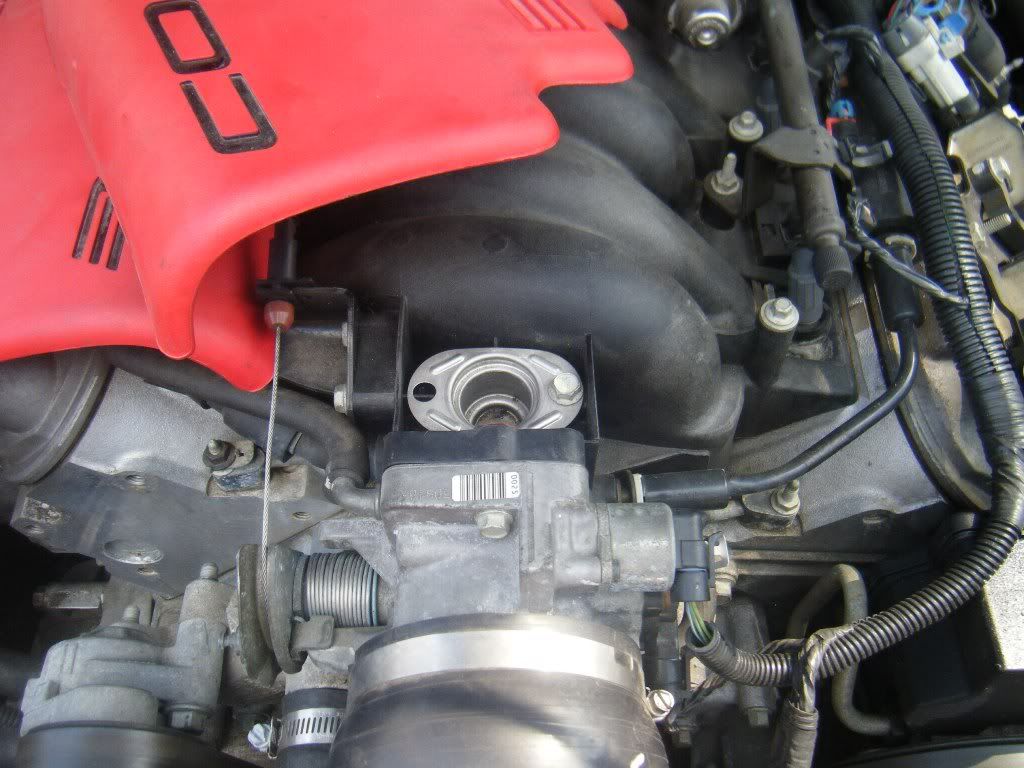
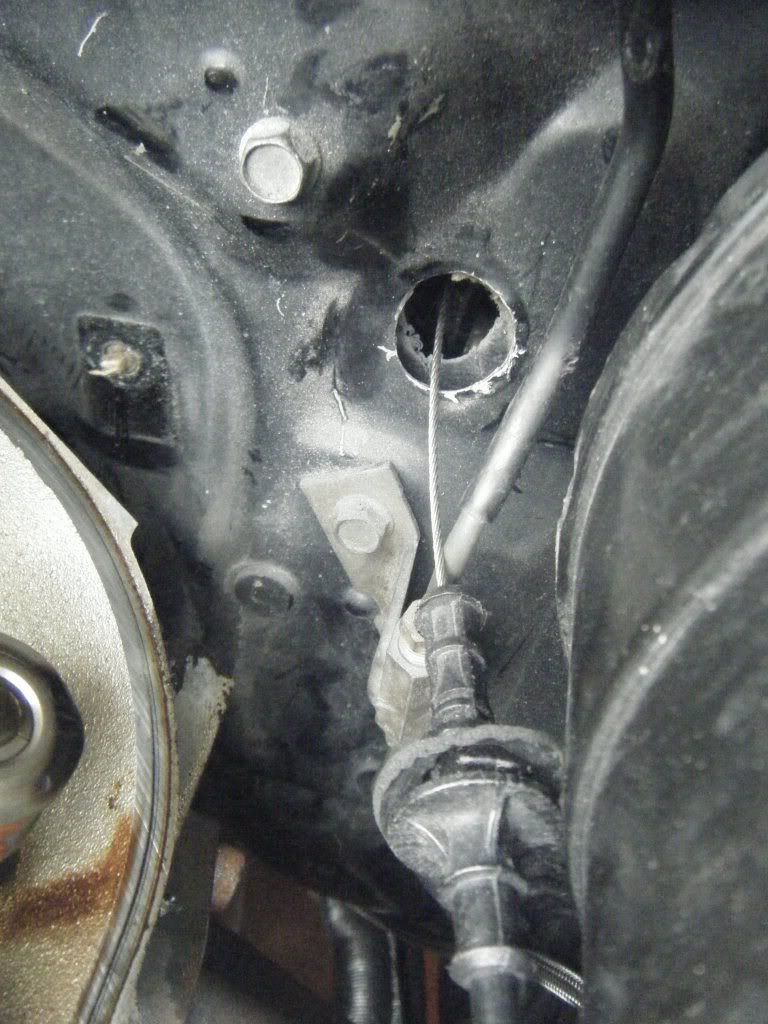
Ya know, if you trim a little plastic indexing ridge off of the F body throttle cable, it’ll fit the FD hole. Or, you could reuse the stock FD cable… or you can hog out the firewall
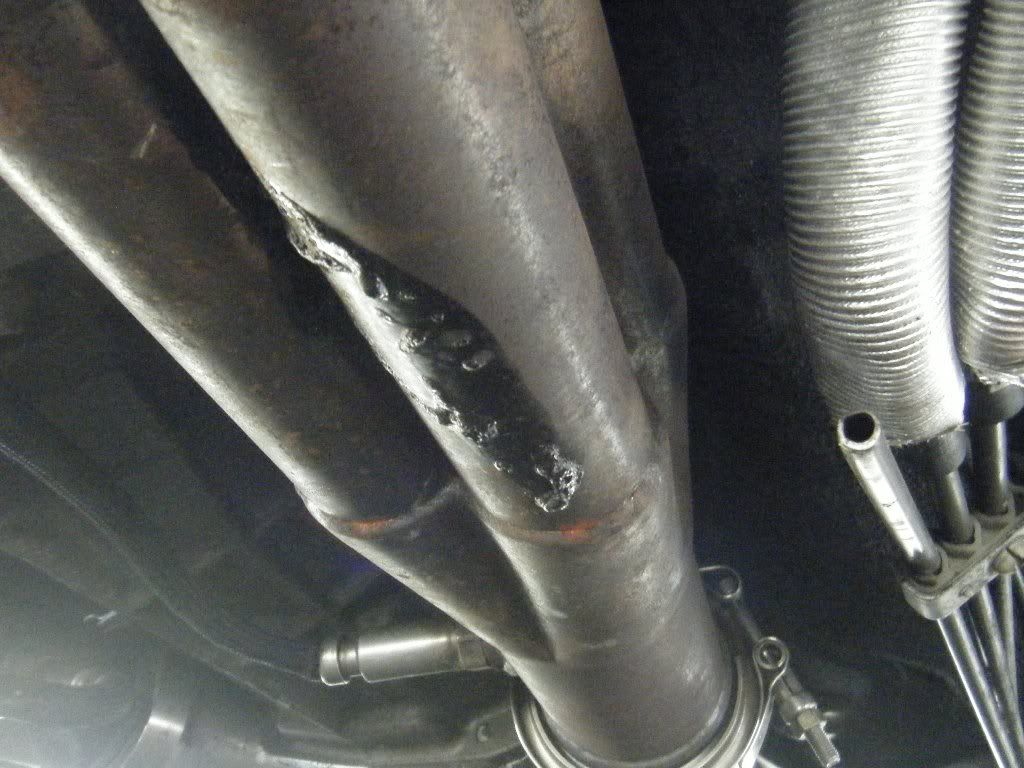
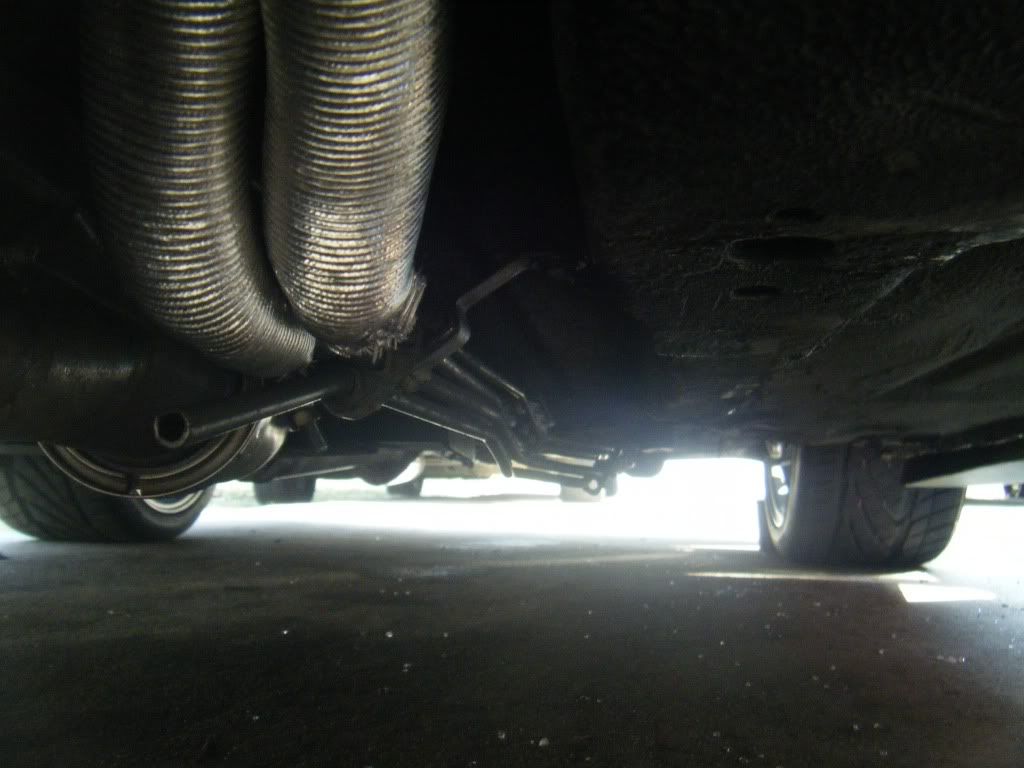
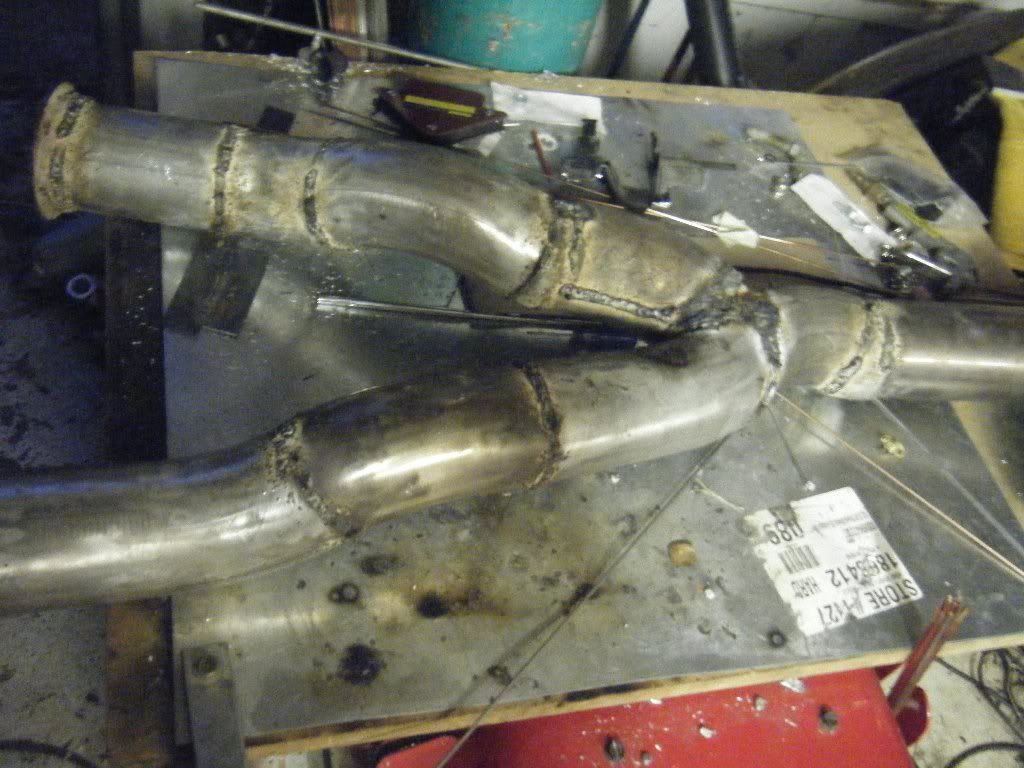
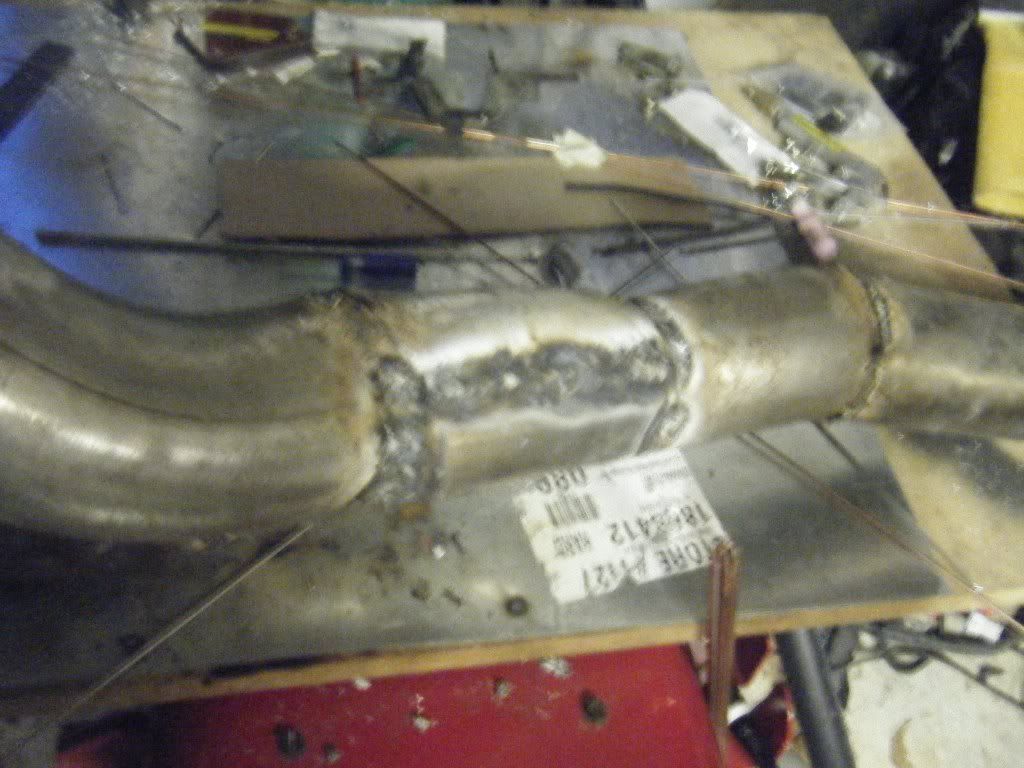
Remember, the shop’s website said “Custom 3” Mandrel Bent Exhaust"? They were half right… this is come custom shit! Here’s the source of the exhaust leak. From the sound of it, I thought it was 2 or 3 big leaks. Turns out, it was about 40 small leaks with 2 or 3 big leaks. Also, they tried to MIG stainless to mild with their 110v Harbor Freight welder… awesome
Image has been scaled down 22% (800x600). Click this bar to view original image (1024x768). Click image to open in new window.
Notice the mild/stainless/mild/stainless patern. Kind of artistic, just not very practical. This piece here is mild on top and stainless on the bottem.
Image has been scaled down 22% (800x600). Click this bar to view original image (1024x768). Click image to open in new window.
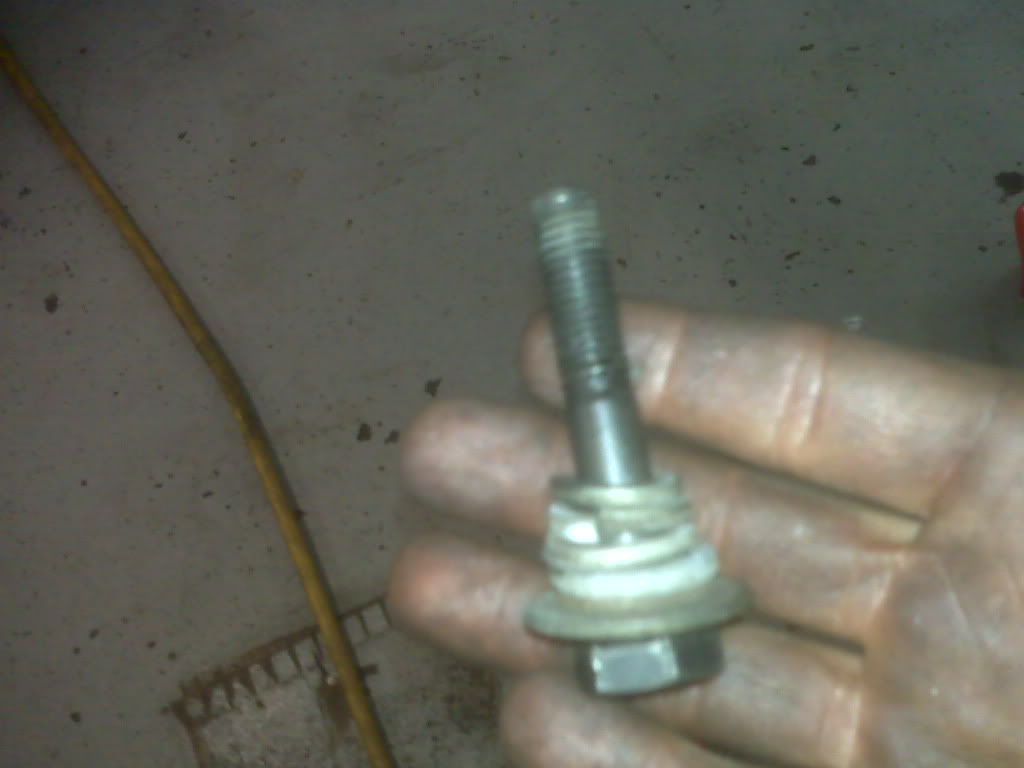
The tranny was bolted to the bellhousing with quite an assortment of bolts, that were, sadly, all too long. So they were spaced with an assortment of washers, lockwashers, fender washers, rusty washers, black washers, white washers, skinny washers, fat washers, tall washers, small washers, I’m calling all washers
Image has been scaled down 22% (800x600). Click this bar to view original image (1024x768). Click image to open in new window.
Image has been scaled down 22% (800x600). Click this bar to view original image (1024x768). Click image to open in new window.
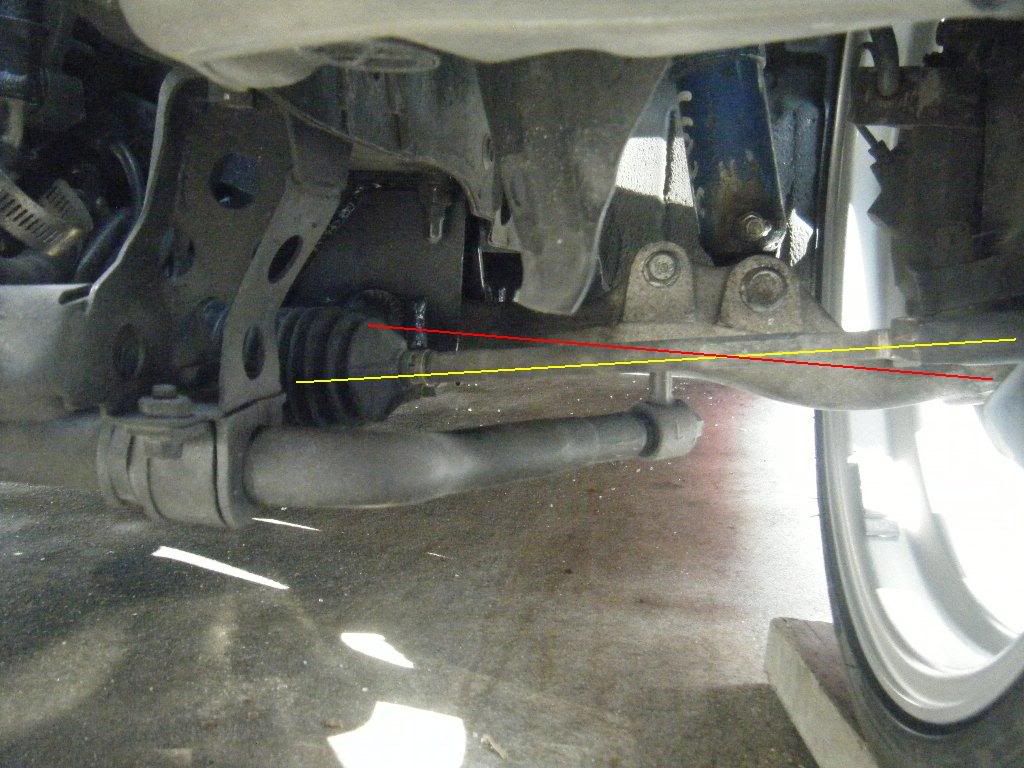
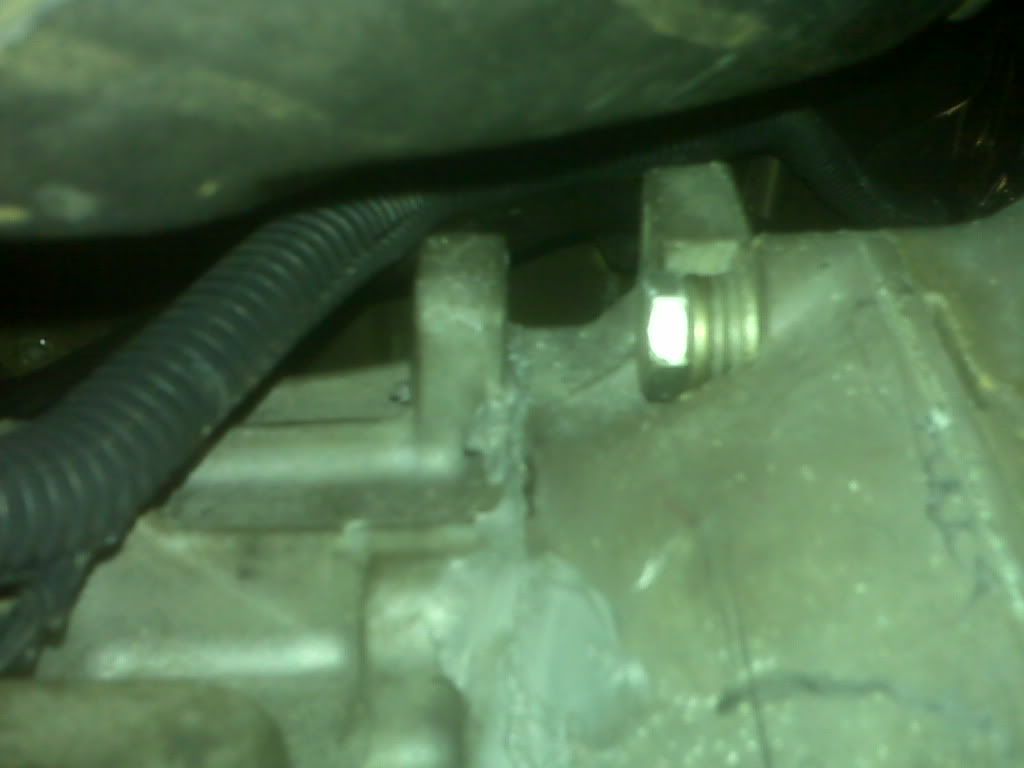
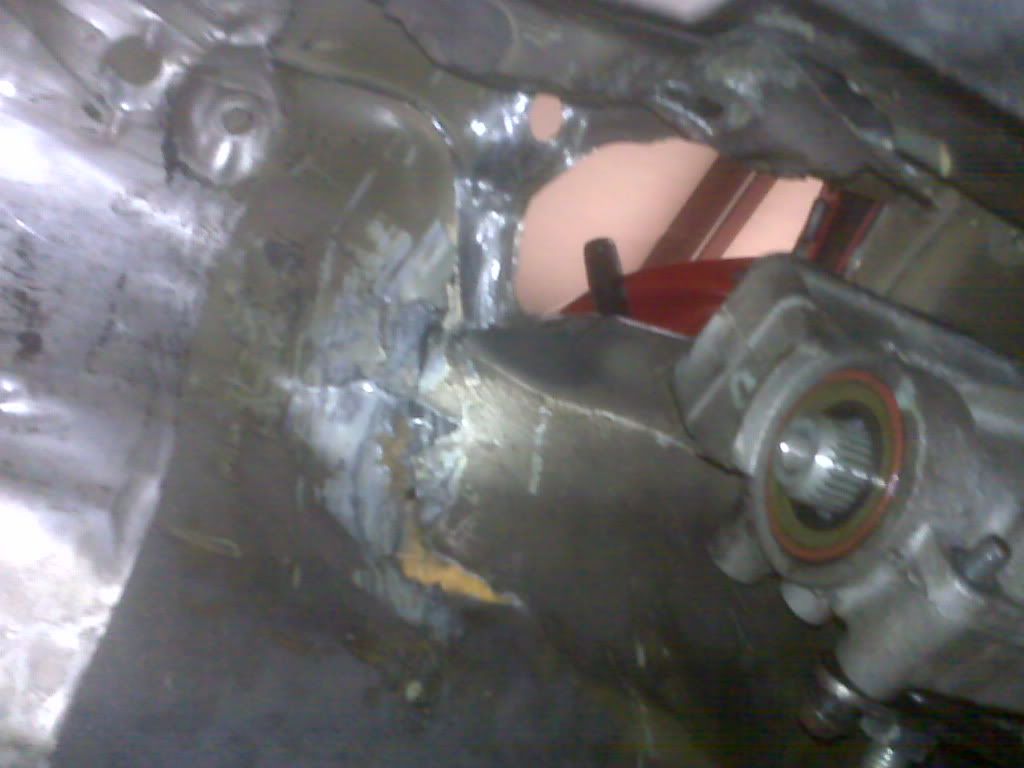
Appearantly, since the tranny didn’t have a polymount (those who have tried a stock mount know what I’m talking about) there was some driveline flexing, enough to break the U-joint
Image has been scaled down 22% (800x600). Click this bar to view original image (1024x768). Click image to open in new window.
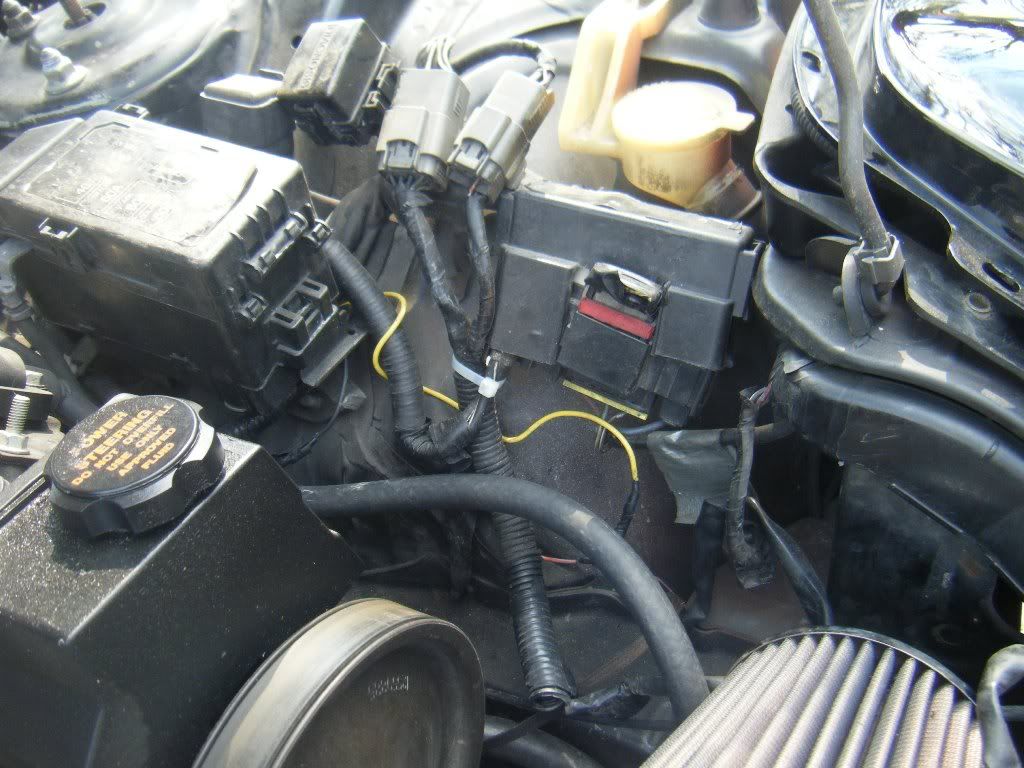
There was so much more, like the 1/4" driveshaft bolts, stupid messy harness, O2 extensions, nasty fan wiring, the stock Fbody shifter arm, gauges didn’t work, but here’s the kicker
They reused the stock FD fuel pump wiring and bypassed the resistor, like some of us so. The problem is that they just connected the resistor wires together, put a bit of solder on them, and let it ride… After I put my braided fuel line in place, the solder joint crawled out of its hiding place and started arcing to the fuel line… Luckily the only thing that caught fire was the wire’s insulation…
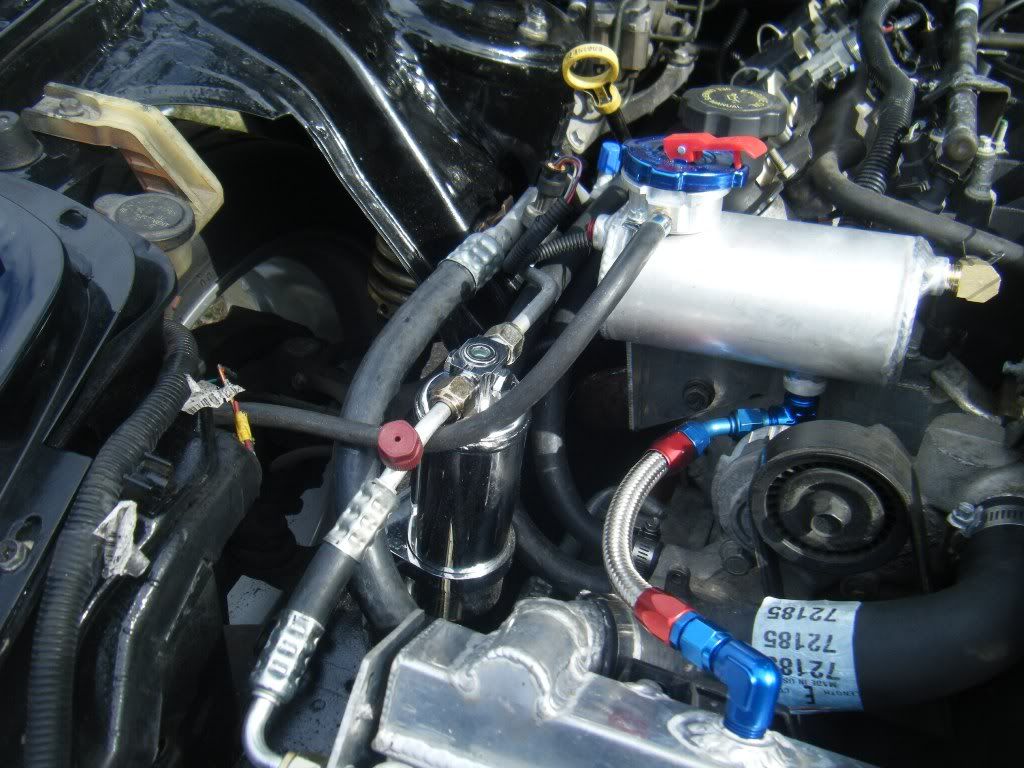
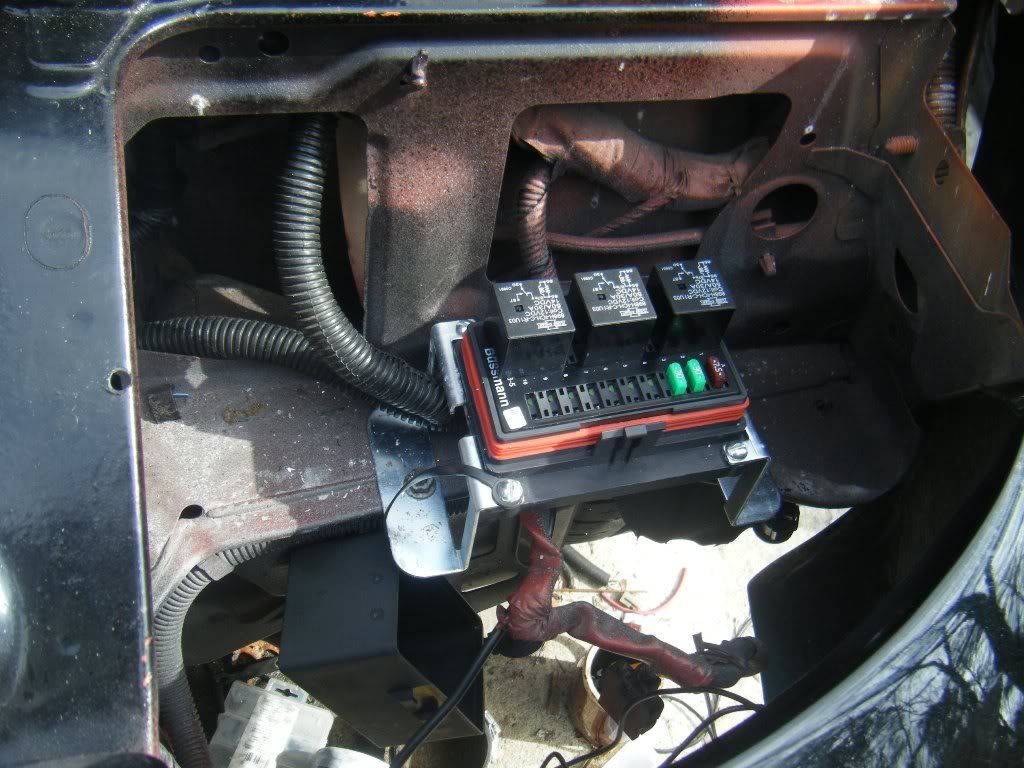
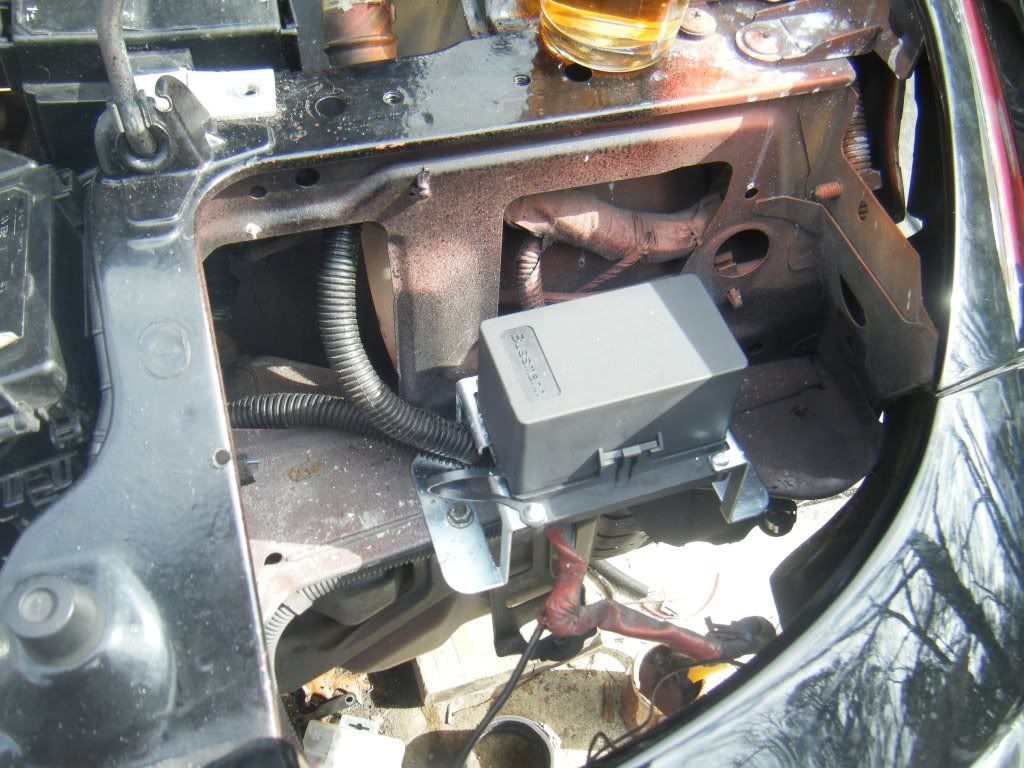
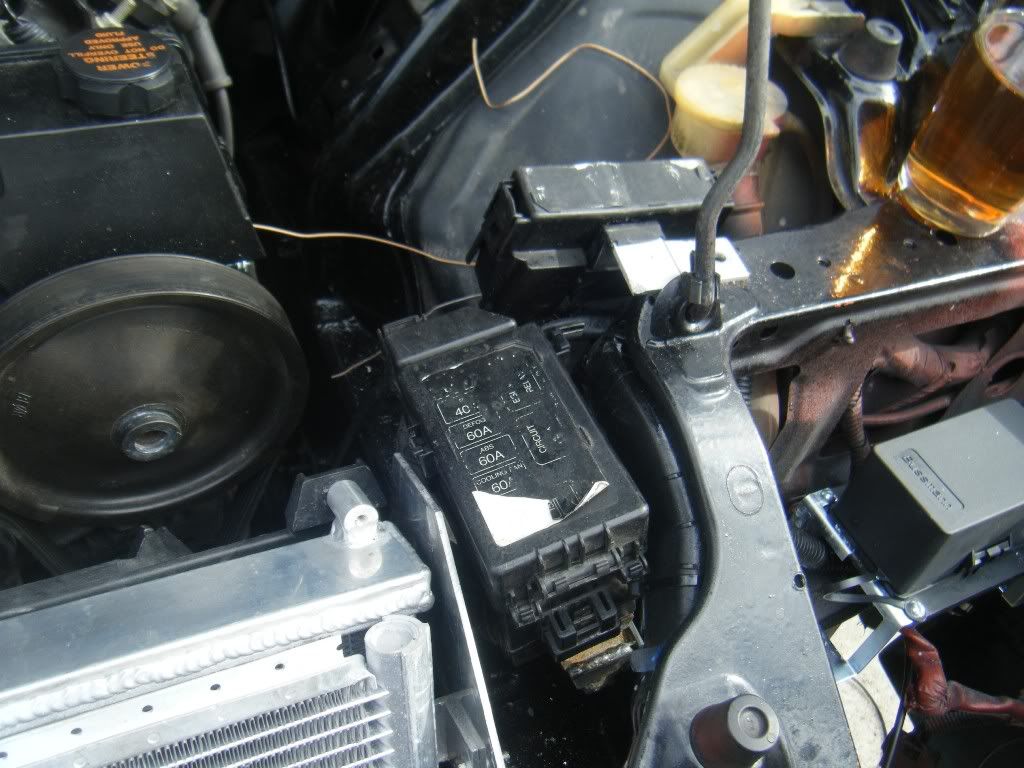
NOW. I spent a little time on it and here’s what I came up with
Image has been scaled down 22% (800x600). Click this bar to view original image (1024x768). Click image to open in new window.
Image has been scaled down 22% (800x600). Click this bar to view original image (1024x768). Click image to open in new window.
Image has been scaled down 22% (800x600). Click this bar to view original image (1024x768). Click image to open in new window.
Image has been scaled down 22% (800x600). Click this bar to view original image (1024x768). Click image to open in new window.
Image has been scaled down 22% (800x600). Click this bar to view original image (1024x768). Click image to open in new window.
Image has been scaled down 22% (800x600). Click this bar to view original image (1024x768). Click image to open in new window.
Image has been scaled down 22% (800x600). Click this bar to view original image (1024x768). Click image to open in new window.
My work here is done.
Nothing good can come out of being friendly to a shop that performs work like this. Would you want somebody to think of this when they think of CSCC?
