New viper?! Even my bolt on Gen 2 would walk heads /cam ls2s… theyd need at least a 150 shot to pull on me a bit…
My bolt on gen 2 made 500/550 wheel (with slightly ported heads and intake)
New viper?! Even my bolt on Gen 2 would walk heads /cam ls2s… theyd need at least a 150 shot to pull on me a bit…
My bolt on gen 2 made 500/550 wheel (with slightly ported heads and intake)
Oh, no…not a new one. It was a 2nd gen and had been modified. If you say Viper three times I bet we could get more info on it lol.
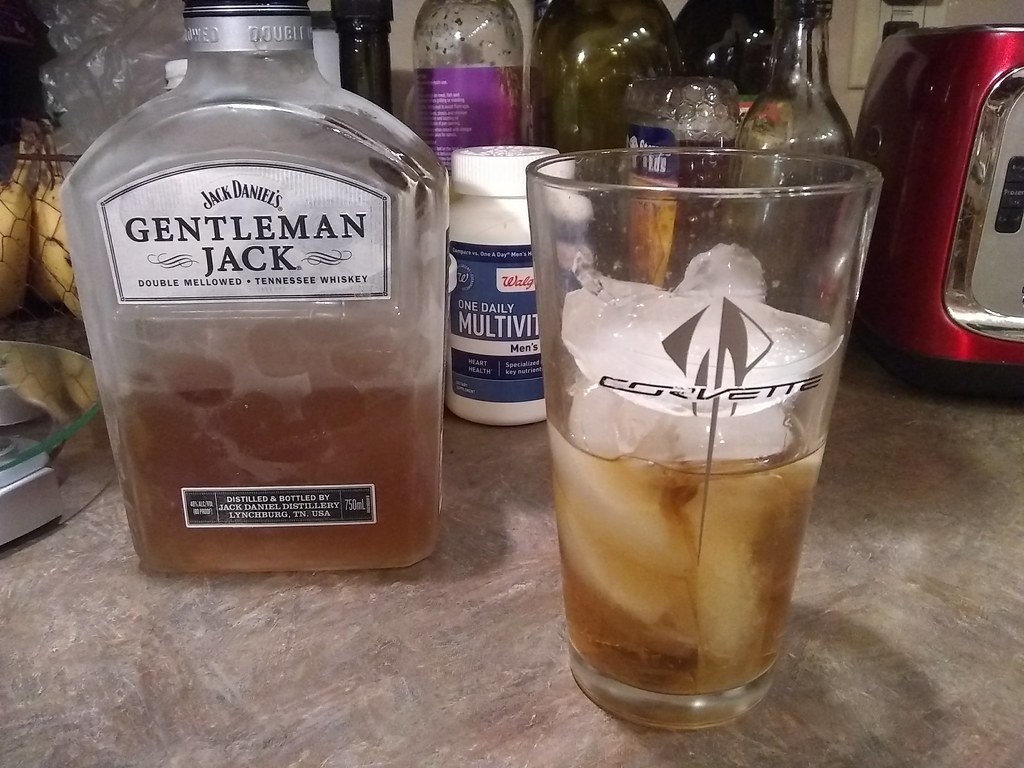
Norb, let’s drink some of that bottle I brought you…that way more bolts can be broken.

@GV1390 Haven’t touched that bourbon since I last saw you. I might use it in this year’s Christmas ham.
anyhow I haven’t done squat on this since I’ve been busy with home projects but nobody is in here to hear about that.
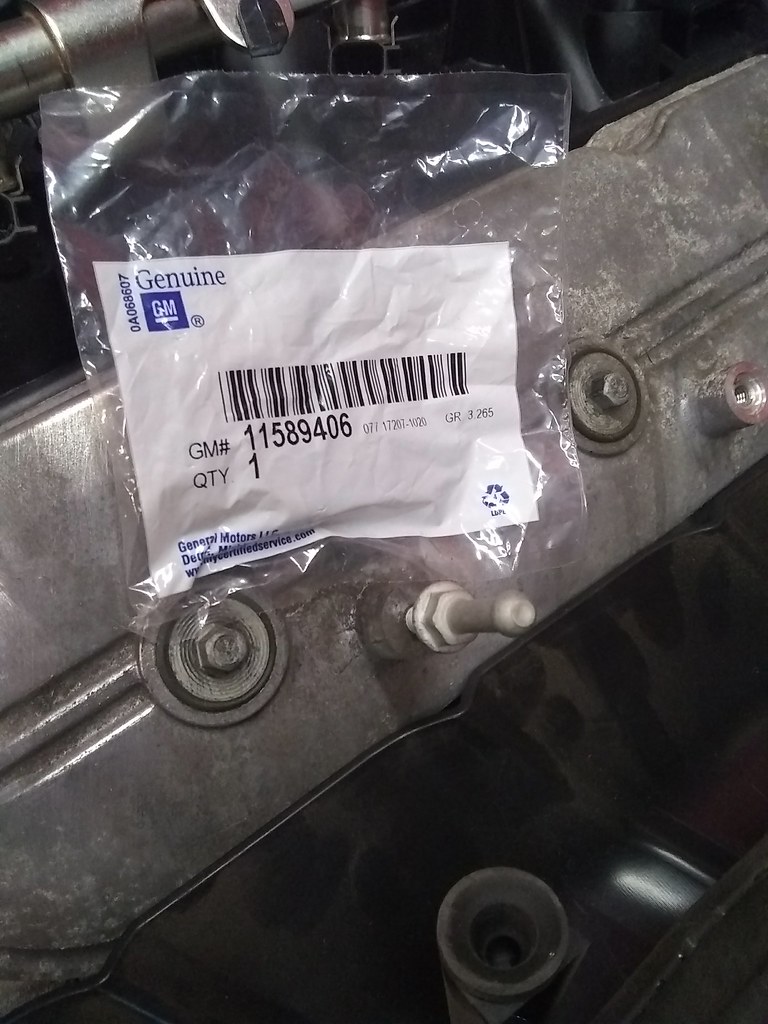
The L92 uses a different mounting system for the Cadillac engine cover, so in order to mount the LS3 covers I bought, I had to pick up some of these mounting studs.
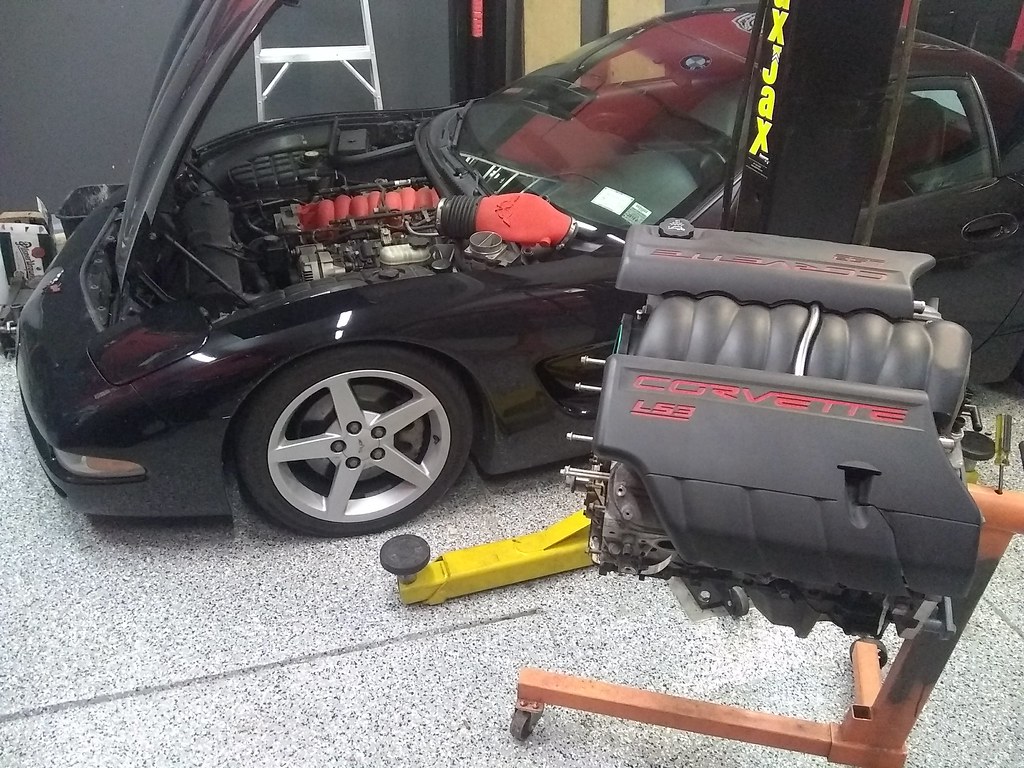
Looks at least a little more complete now.
Next up was stripping off other L92 specific stuff, like the truck balancer, front cover, and VVT components.
Removing the Jesus bolt actually wasn’t that bad
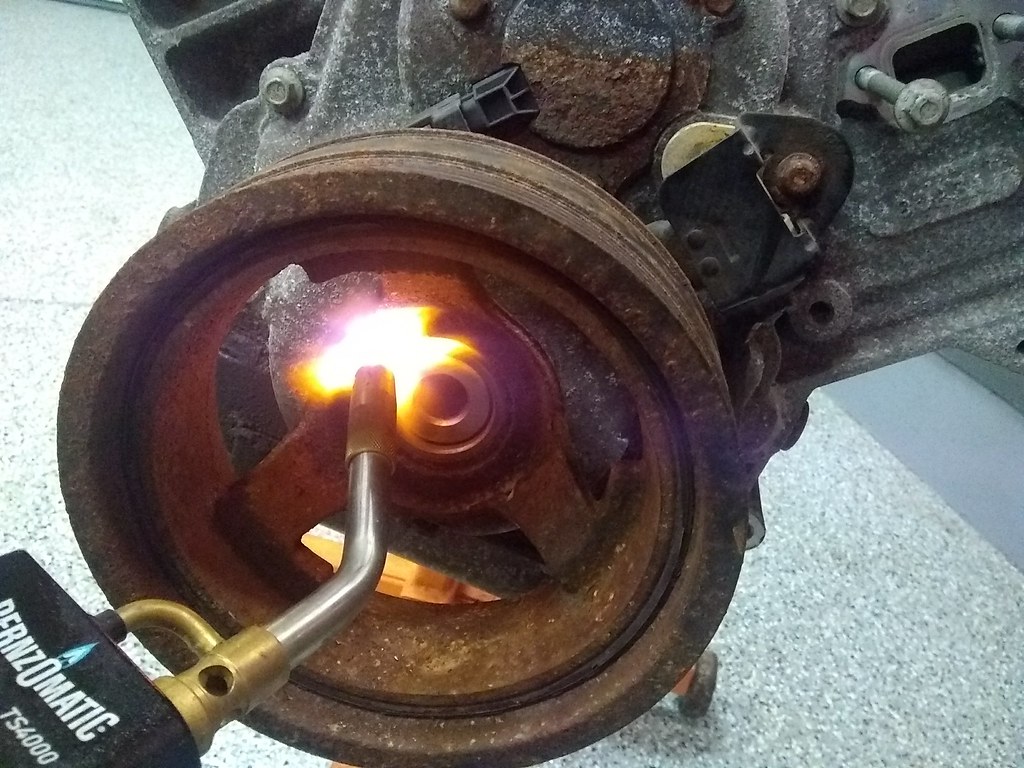
A touch of heat to help the balancer expand (I don’t think this did anything but it was fun.)
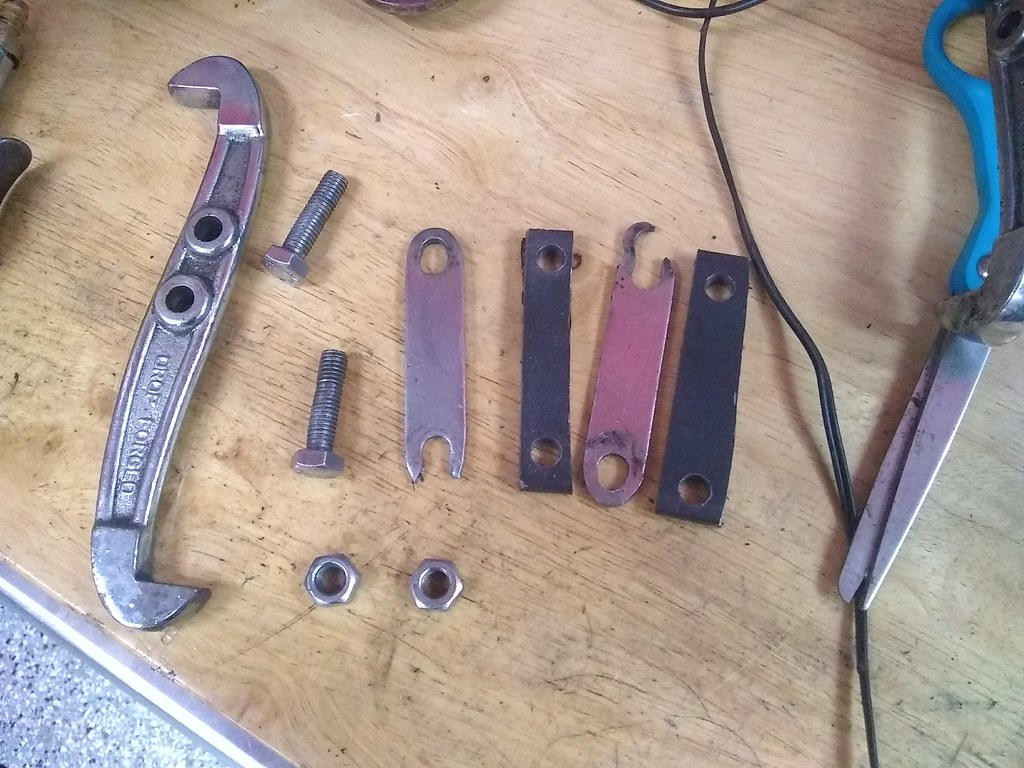
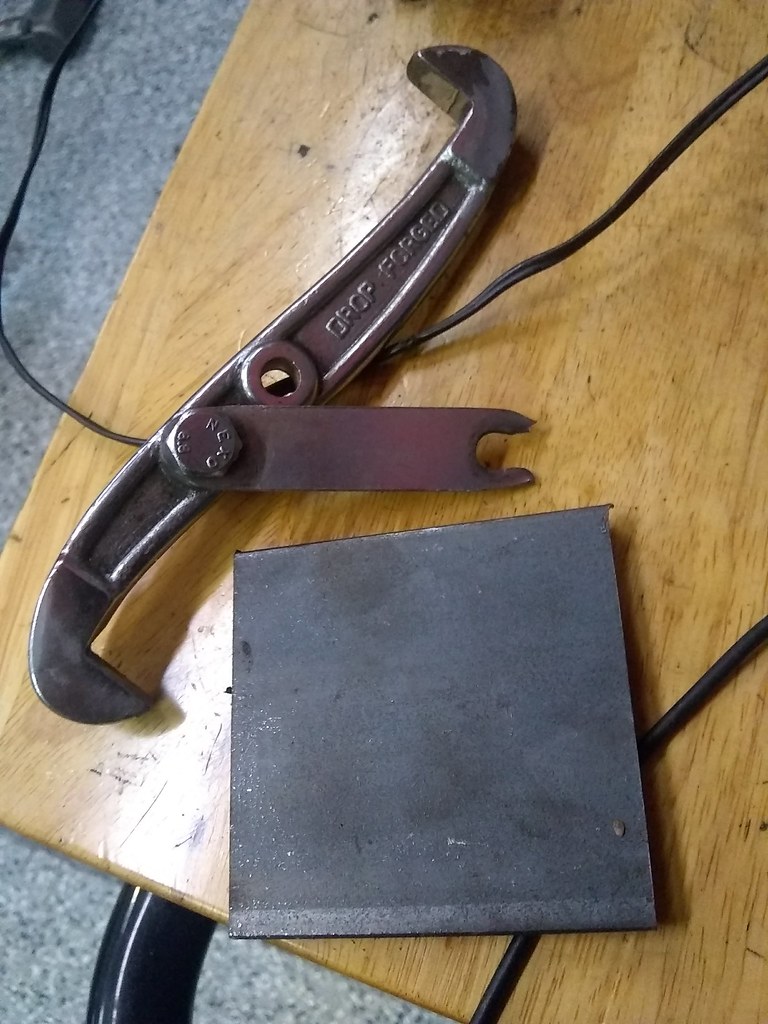
I dug my old 3 jaw puller out of the toolbox and found that whatever I used it on last didn’t end well. Time to make up some new links.
 IMG_20171217_173124869 by Norbert Ogiba, on Flickr
1 cutoff wheel, some time on the drill press, and 2 beers later, good as new.
Off came the balancer and timing cover to expose the VVT that will be getting deleted in favor of the traditional 3 bolt system.
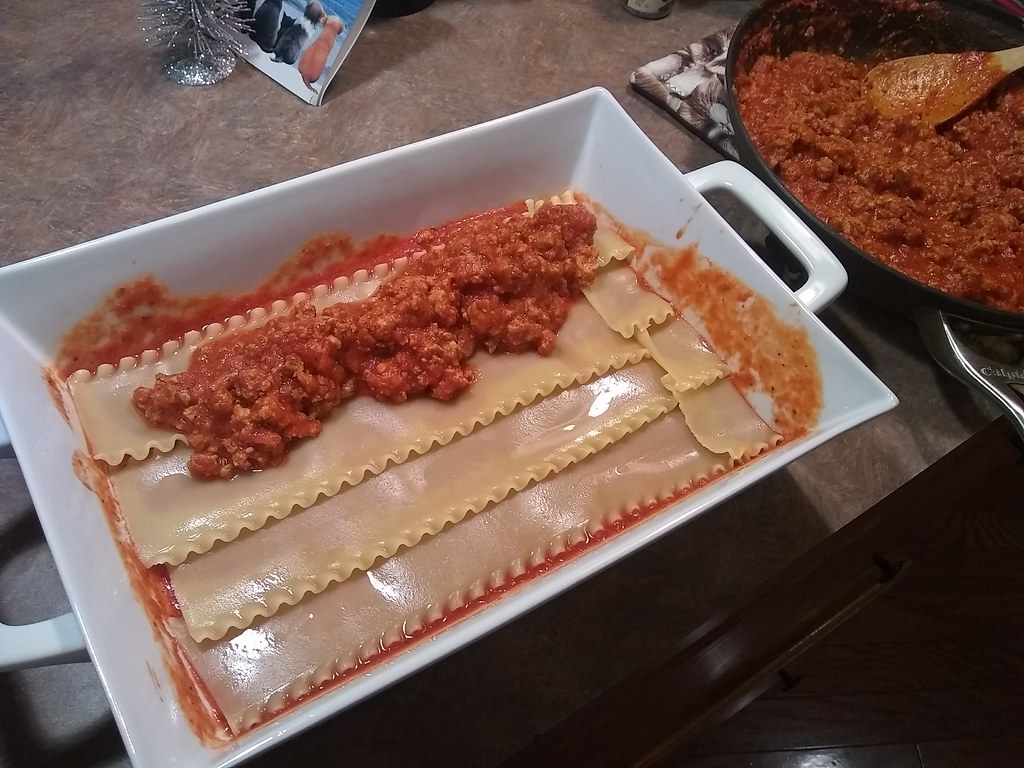
That was as far as I made it for the evening - went inside and made an awesome lasagna.
anyhow I haven’t done squat on this since I’ve been busy with home projects but nobody is in here to hear about that.
The L92 uses a different mounting system for the Cadillac engine cover, so in order to mount the LS3 covers I bought, I had to pick up some of these mounting studs.
Looks at least a little more complete now.
Next up was stripping off other L92 specific stuff, like the truck balancer, front cover, and VVT components.
Removing the Jesus bolt actually wasn’t that bad
A touch of heat to help the balancer expand (I don’t think this did anything but it was fun.)
I dug my old 3 jaw puller out of the toolbox and found that whatever I used it on last didn’t end well. Time to make up some new links.
IMG_20171217_173124869 by Norbert Ogiba, on Flickr
1 cutoff wheel, some time on the drill press, and 2 beers later, good as new.
Off came the balancer and timing cover to expose the VVT that will be getting deleted in favor of the traditional 3 bolt system.
That was as far as I made it for the evening - went inside and made an awesome lasagna.
Next time…I have the LS specific pulley tool.
Where is the finished Lasagna picture? WTF kinda build thread doesnt have the completed project?!?!?!
Like most LS builds the lasagna was cheap and way overdone, ended up okay anyways though
it’s 10am and I am hungry now. In fact so hungry I could care less about the rest of this build. I will have to revisit after lunch. LOL
x…
Ok, more food pics in the future, got it. NYSpeed -> NYHomes -> NYFood
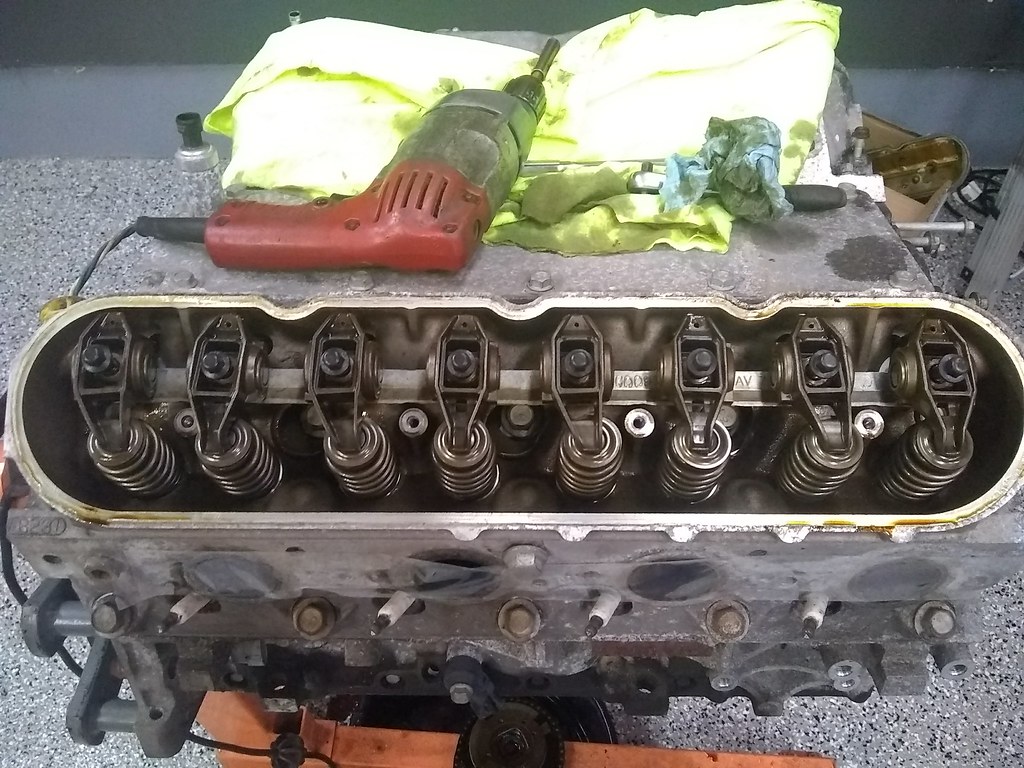
The teardown continued last night. I was really interested in seeing how the valvetrain looked after 9 years and 78K miles. Opening up these engines that haven’t been touched since they left the plant is always interesting, never know what you’re going to find.
Since I already had the front cover off, it was a good time to line up the timing dots. Hasn’t changed much from the Gen 3 stuff, minus the VVT looking way different.
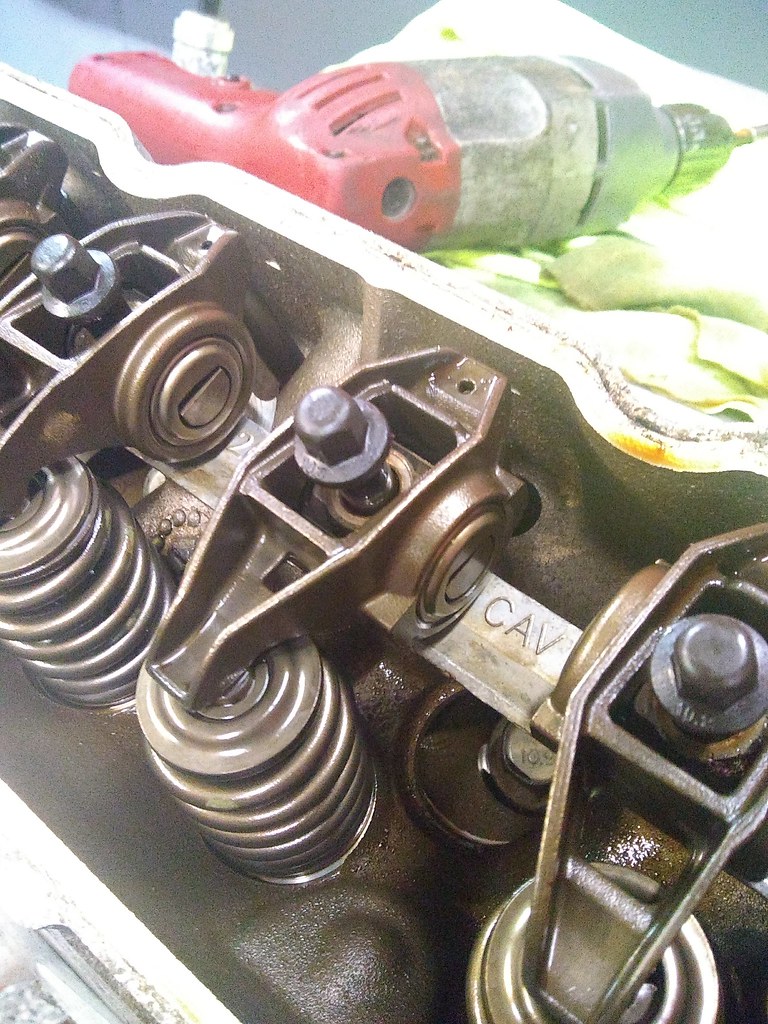
Zip off the valve covers. Seeing those offset intake rockers is weird…
Overall pretty clean for the age and mileage.
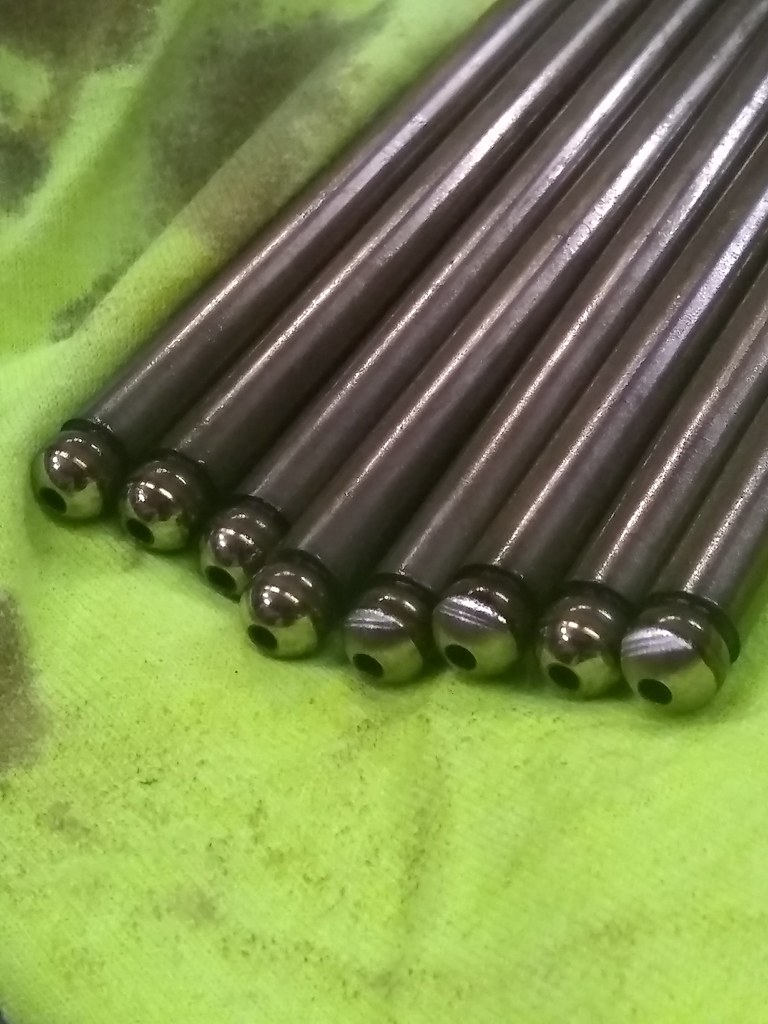
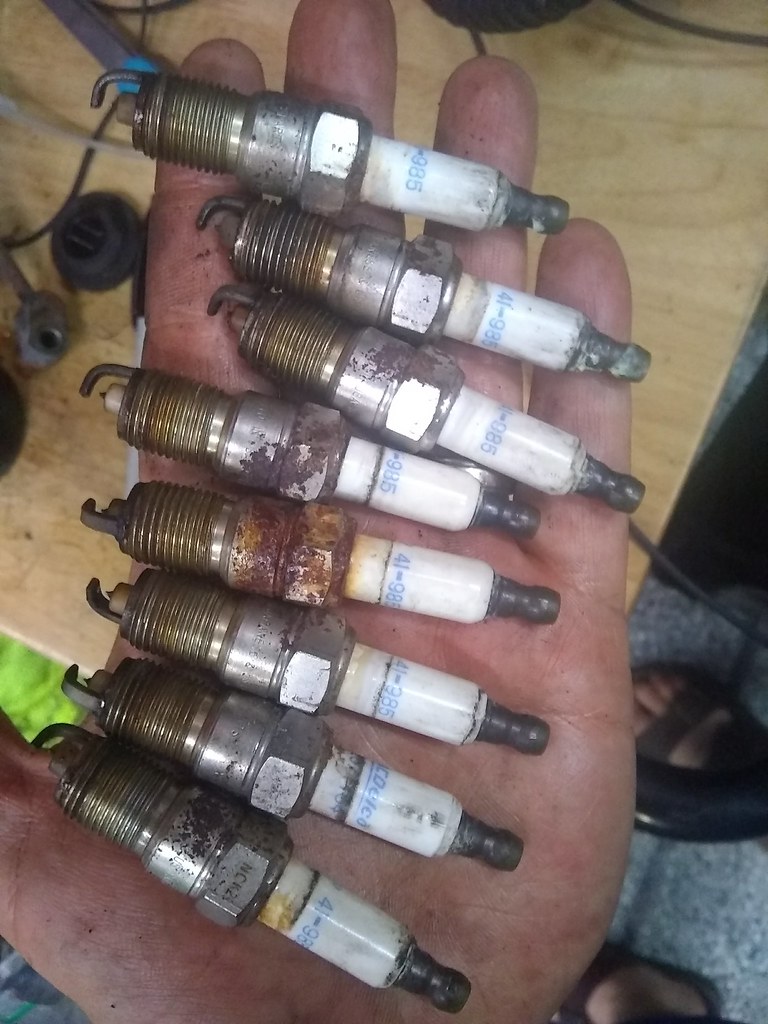
One area of concern is the pushrods. We are looking at the rocker end. Notice how #5 , 6, and 8 all have a “brushed” finish on the tip, where the rest have the usual polished mirror finish. They’re smooth to the touch and don’t catch a fingernail, but when you look at the direction of the marks, you can almost see a football/oval shape to them. I thought this might be due to the offset of the intake rockers, but I found this scenario on a couple exhaust rods also. The pushrods are getting chucked anyways for beefier chromoly parts, but I need to inspect the underside of the rocker to make sure there’s no unusual wear there.
At this point I was ready to pull the heads, but saw something else…
Who’s got the magic decoder ring? No clue what this is.
Flip her on her back so the lifters don’t fall out when removing the VVT cam.
Original plugs. This thing had definitely been sitting for a bit.
I originally wasn’t going to pull the heads but seeing how cheap new headgaskets and lifters are, it’s peace of mind to inspect that stuff. That’s up next.
Upgrade the trunions while its apart?
That too. Wanna keep stock rockers. Suggestions?
BTR/LJMS has a kit, Comp has a kit, Summit has a kit
They’re all about the same price I forget which one is currently the hotness
I contacted 4 manufacturers and gave them all the same info when asking for a cam/hardware setup.
CamMotion recommended their Titan Stage 3
Tick recommended their Street Heat Stage 1
Texas Speed recommended their Stage 2
https://www.texas-speed.com/p-5761-new-texas-speed-stage-2-ls3-229244-629615-camshaft.aspx
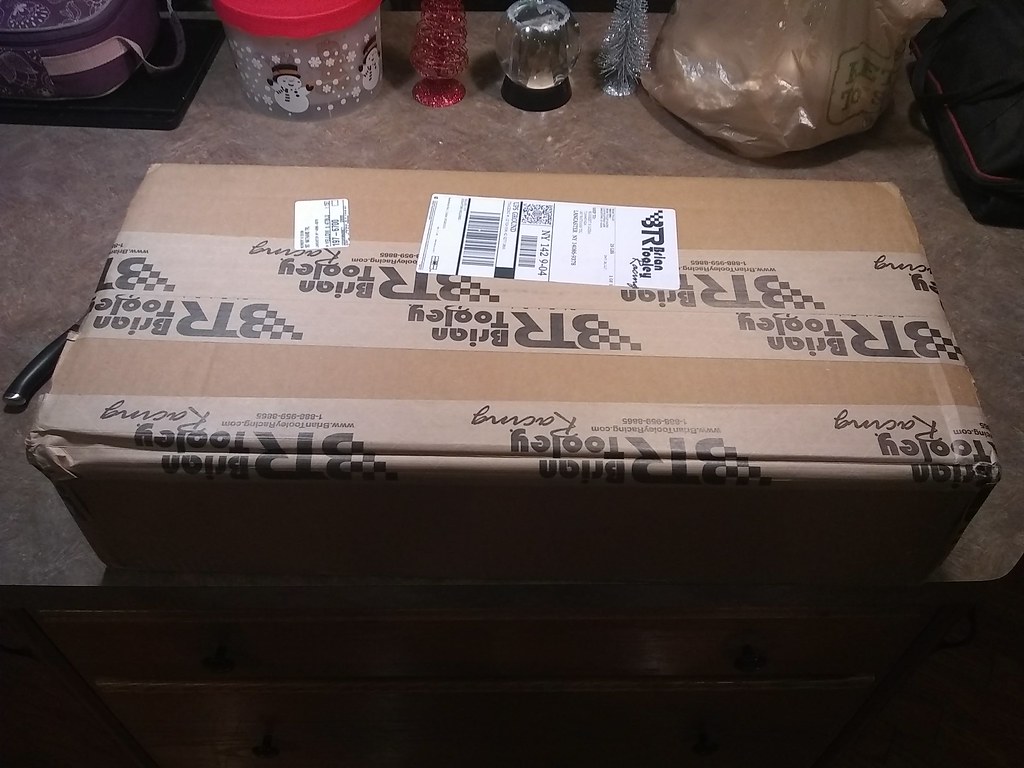
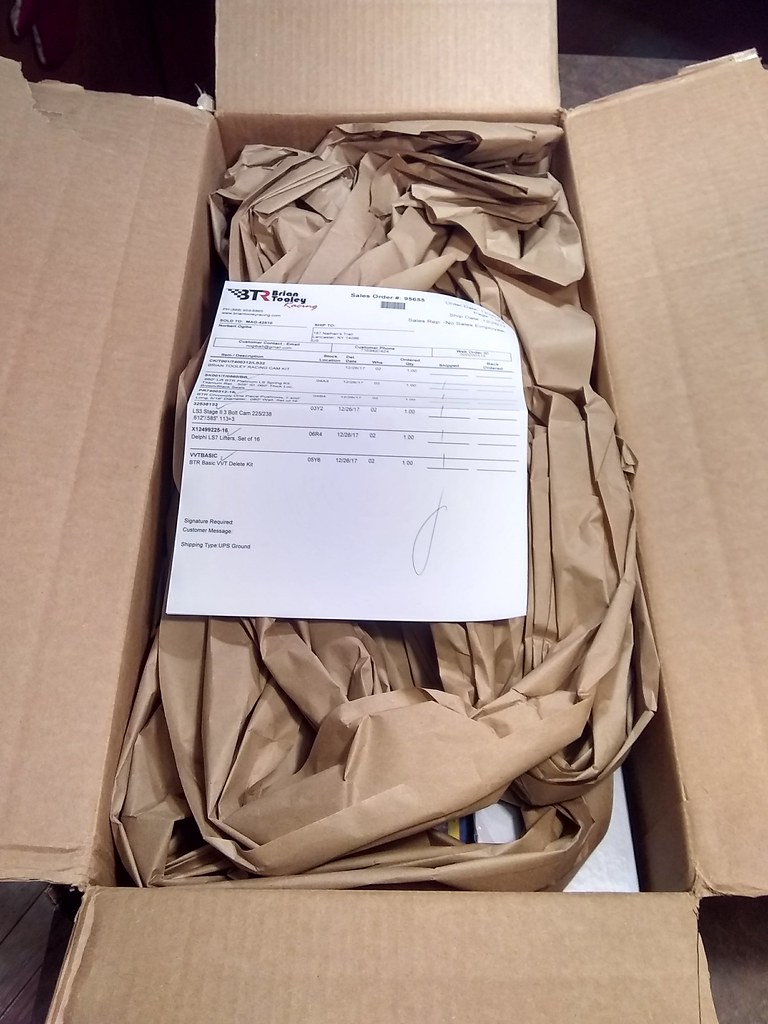
Brian Tooley Racing recommended their Stage 2 NA LS3 cam.
https://www.briantooleyracing.com/ls3-n-a-stage-ii-3-bolt-cam.html
I put together a spreadsheet of all the parts needed and found that BTR had the best prices for the whole package I needed (keep in mind I am also deleting VVT, etc) along with free shipping.
All vendors responded within a day or two and were helpful in providing me with information on not just the cam but supporting hardware (springs, lifters etc), but I’m kind of surprised that nobody suggested a custom grind. Maybe my application just isn’t that specialized, I’m sure the short gears and light weight help it get up and go.
So, I ordered:
LS3 Stage II 3 Bolt Cam 225/238 .612"/.585" 113+3
“This cam has made over 470rwhp in LS3 Camaro and Corvettes.” I was told this cam would drive much nicer than the Stage III at the expense of 10-20 rwhp which I’m fine with.
.660" Lift BTR Platinum Springs, Titanium retainers
BTR GM LS ROCKER ARM TRUNNION UPGRADE KIT TK001
Delphi LS7 Lifters, Set of 16
BTR Basic VVT Delete Kit
Regardless it’s a great time to be an LS enthusiast, the aftermarket is rich with good information and selection.
Im partial to LJMS/BTR cams
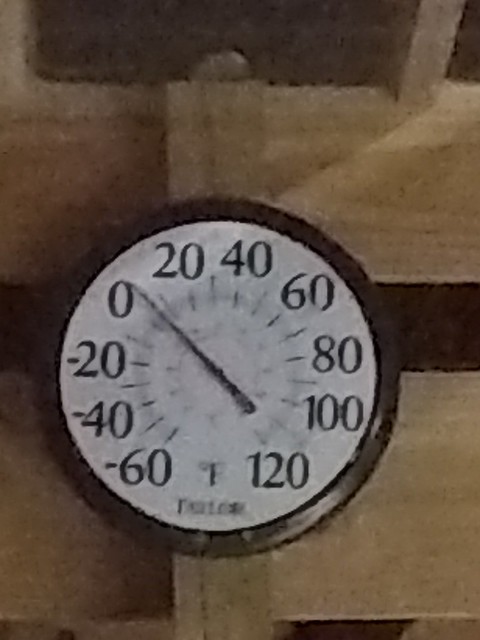
It has been really cold here
So I’ve been doing my best to stay warm. The glass came all the way from the NCM in Bowling Green.
Some parts came in…
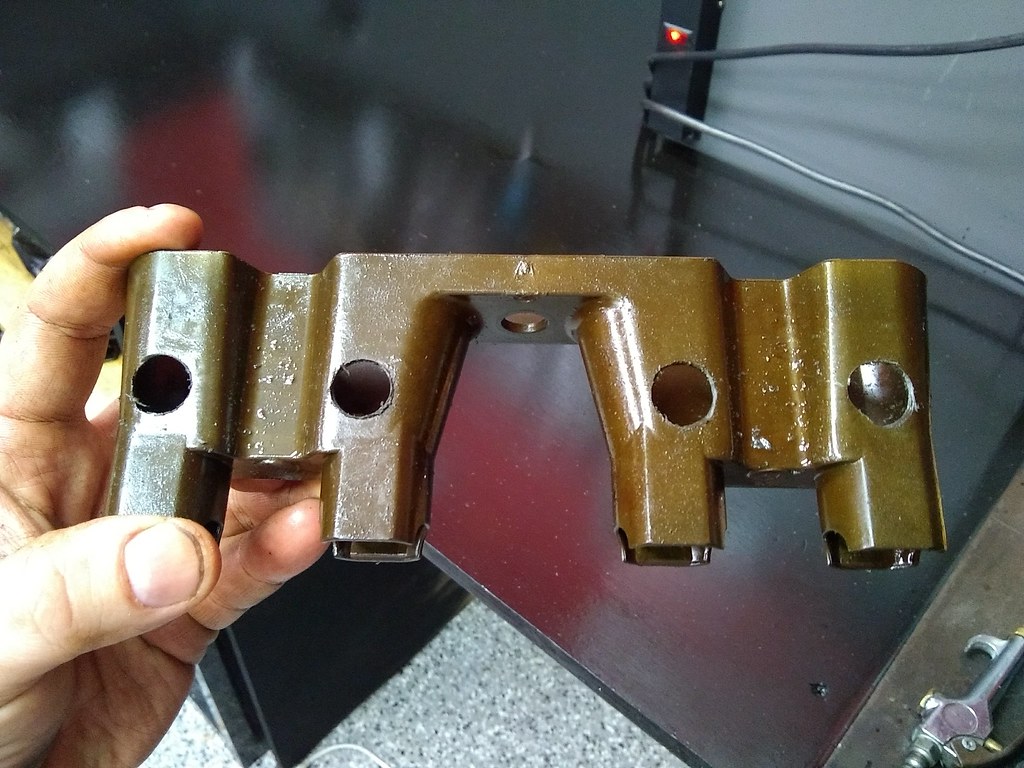
Drilled drainage holes in the lifter trays. Never did this on any other LS engine builds, but then again I never ran those cars on the road course.
Although the L92 valley cover features O-rings to seal these DoD towers, I will drill and tap them for 1/8" pipe plugs for peace of mind. (This will occur with the engine upside down on the stand, to prevent chips from falling into the oil galleys.
Spent an hour per side with a razor blade, solvent, and rags cleaning the deck surface.
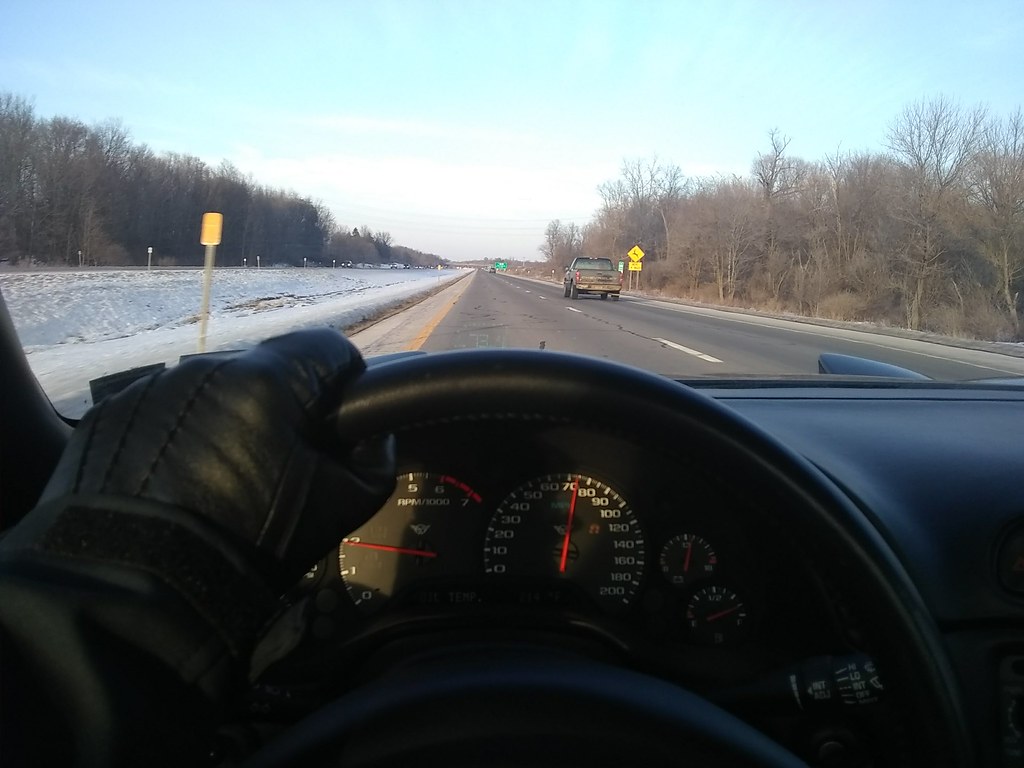
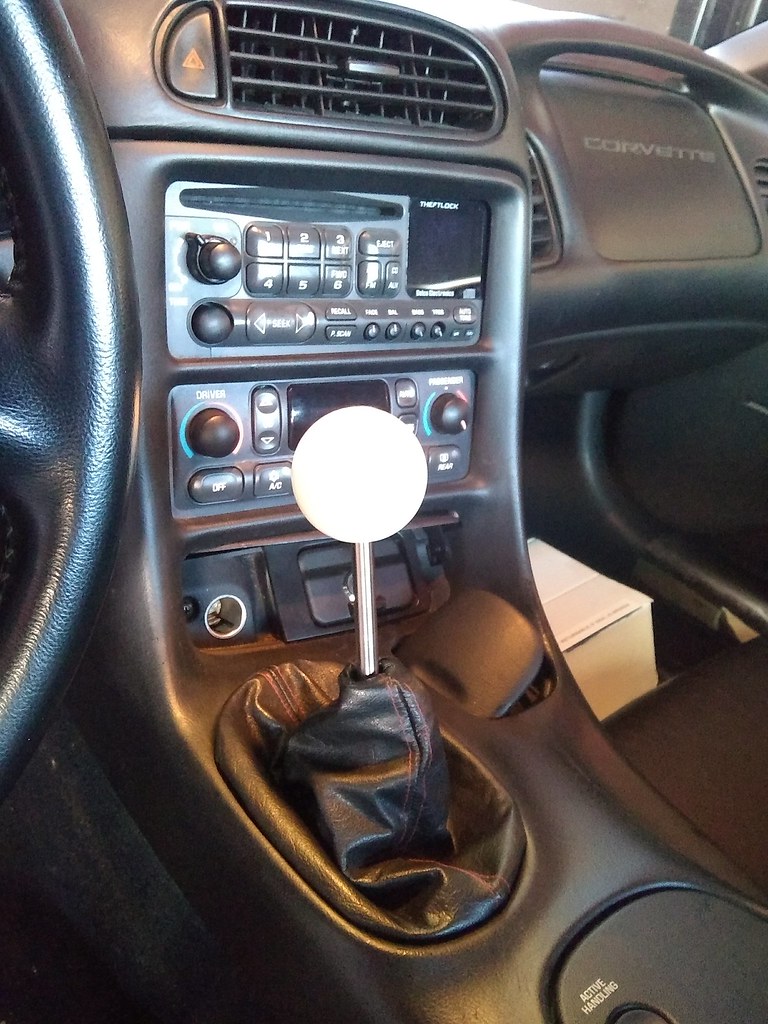
The weather was actually decent over the weekend, so I took the car out for a cruise to a buddy’s place to pick up a part:
Which was a threaded adapter, allowing me to use this old cue ball knob with the MGW shifter assy.
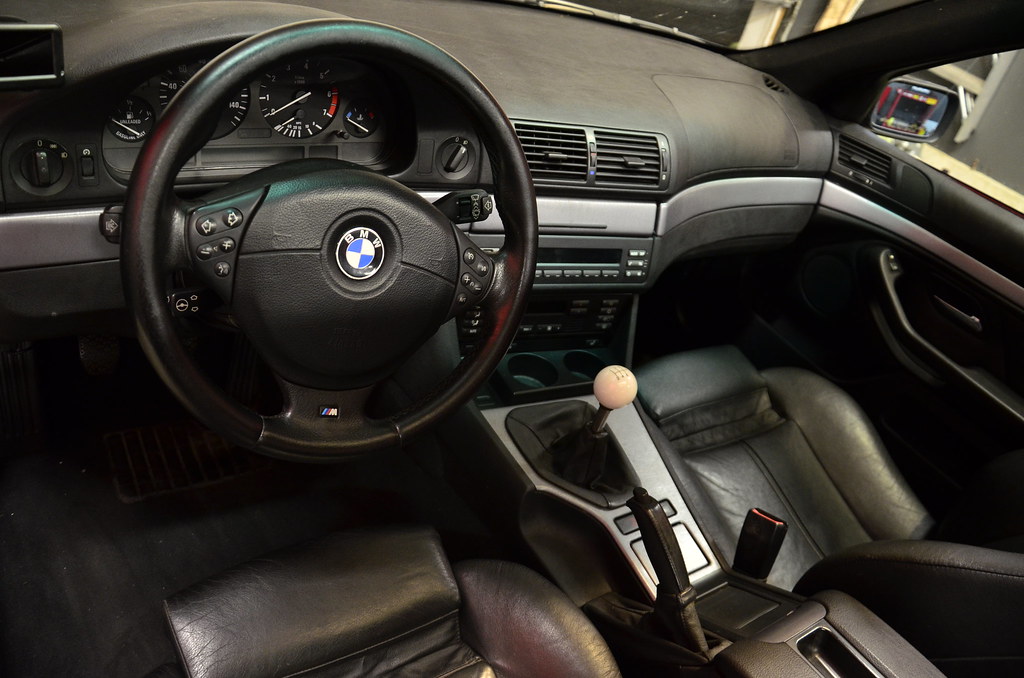
The cue ball has sentimental value, I ran it in my old LS swapped BMW, everybody hated the knob and thought it didn’t match the character of the car, which I thought was hilarious.
Finished up the weekend on Sunday night pulling the old valve springs off the heads while watching the game.
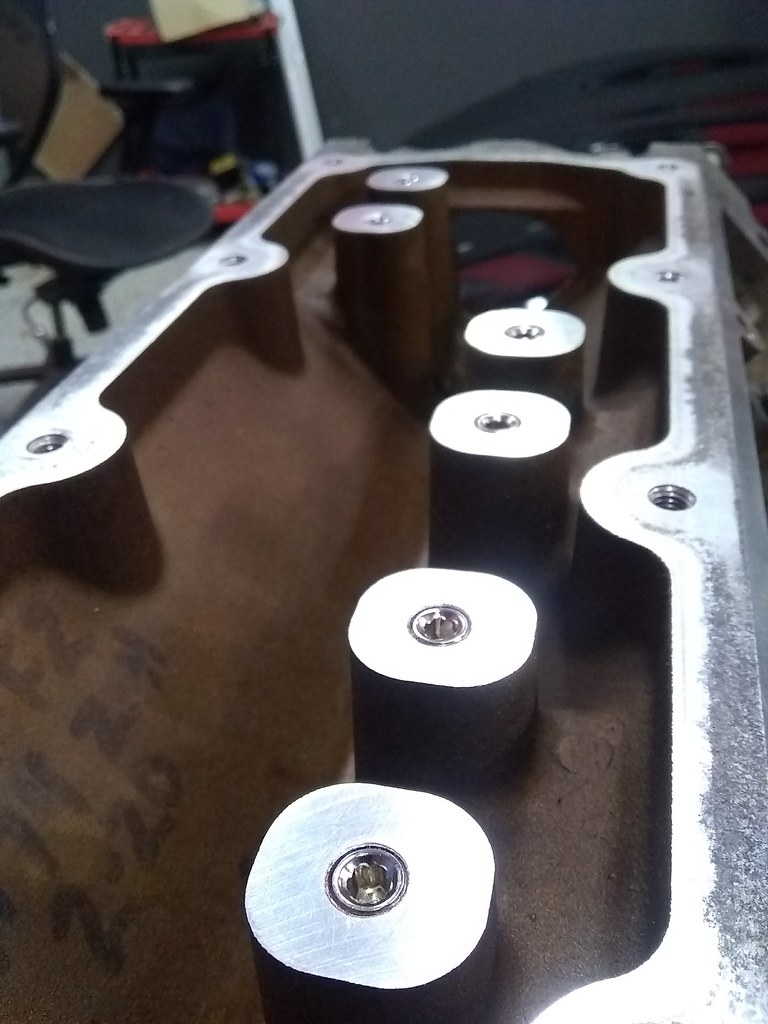
Snuck in a couple hours Sunday night to finish tapping the DoD towers for 1/8 NPT. The pipe plugs came from Summit racing and were very affordable (I used the steel ones). These were torqued in place using Red Loctite as extra security.
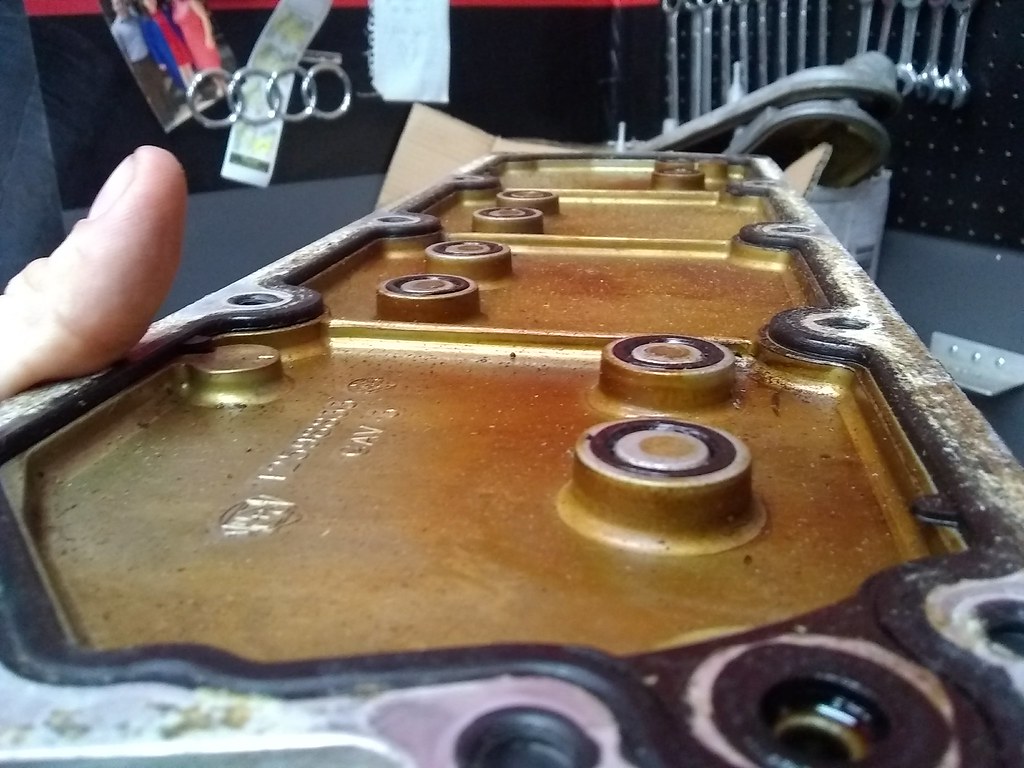
The old L92 valley cover was nasty and the o-rings were smashed pretty flat. Pretty sure these would have eventually caused a low oil pressure situation…
Buying a whole new L92 cover (which included all new o-rings, bolts, and the main gasket) was somehow cheaper than buying the o-rings individually, so that went on and got torqued to 18 ft-lbs.
I dropped off the heads at Klispie’s, a local machine shop that I used in the past. To keep costs down, I removed all the valve springs/seals/keepers/retainers, but kept each valve in its original location. The guys over there bead blasted the heads to look brand new again. As a precaution, the heads were checked for flatness and only needed a .006" skim cut on each to bring them back in again. Pics to come, I really have to start using my Nikon for this again.
Lots happening recently, spring is approaching quick so it’s time to get stuff done.
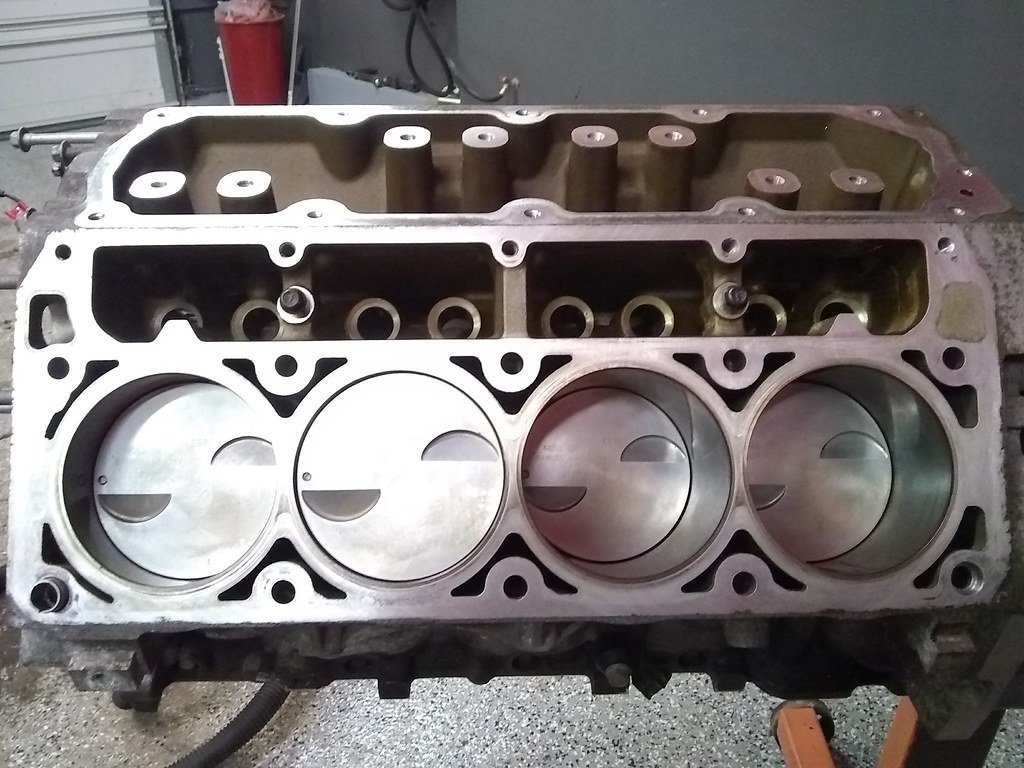
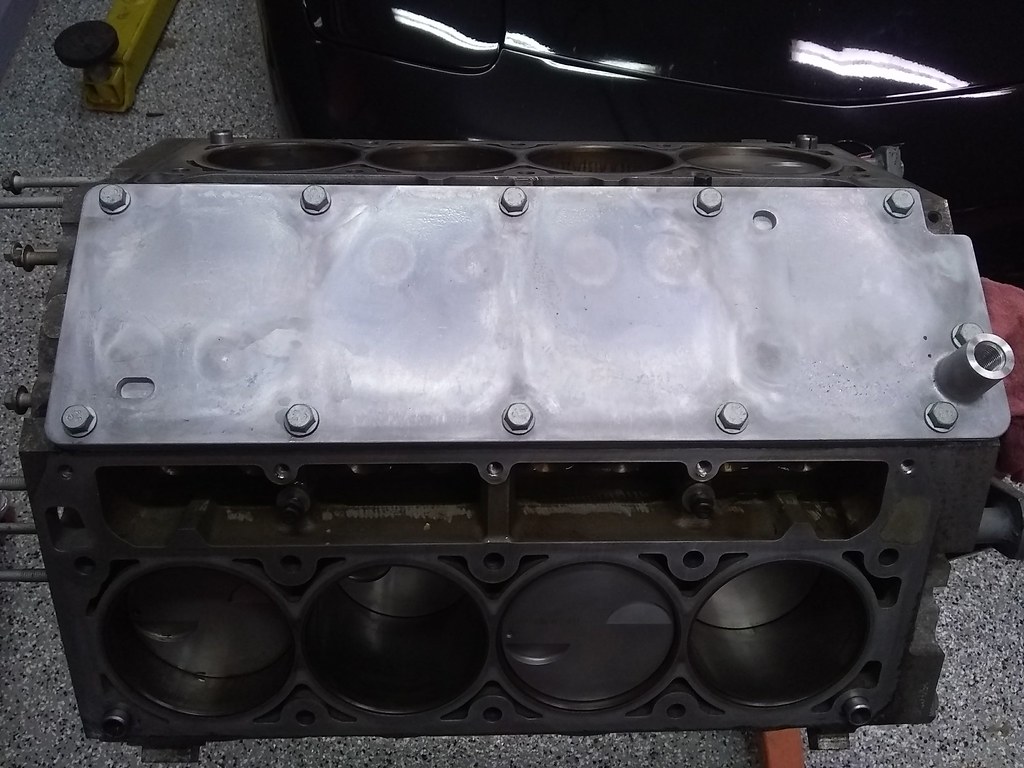
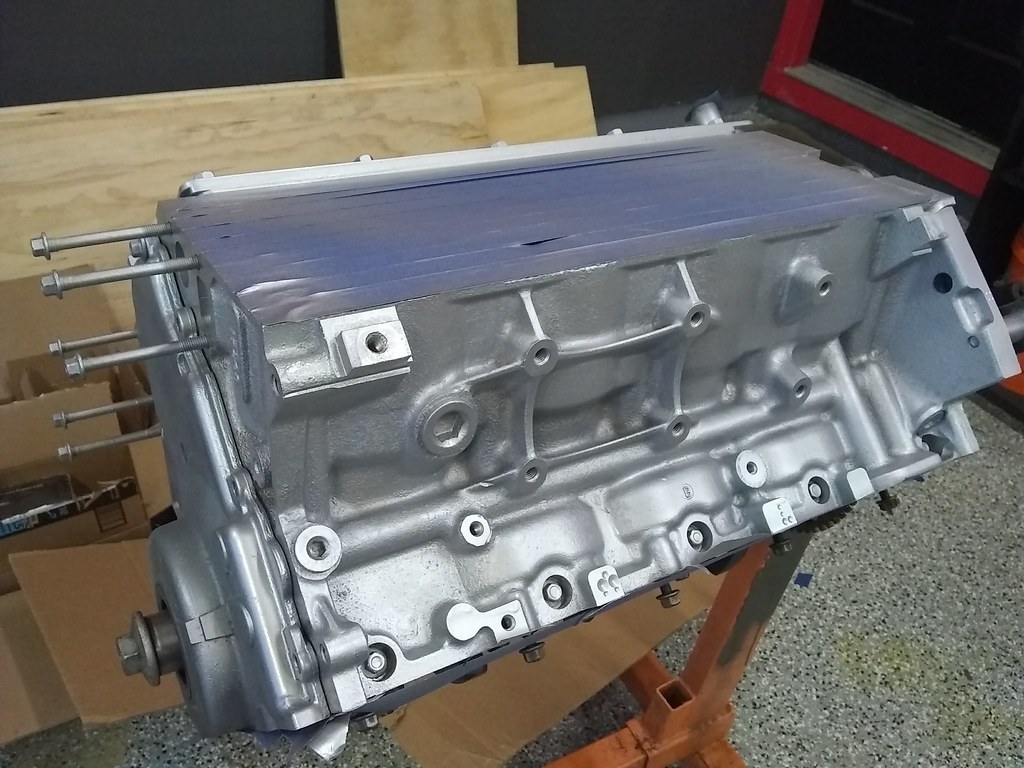
Although the aluminum block was fairly low mileage it was obviously a north eastern truck with lots of scale and oxidation on the surface. This was after a couple cans of degreaser, brake cleaner, and compressed air…
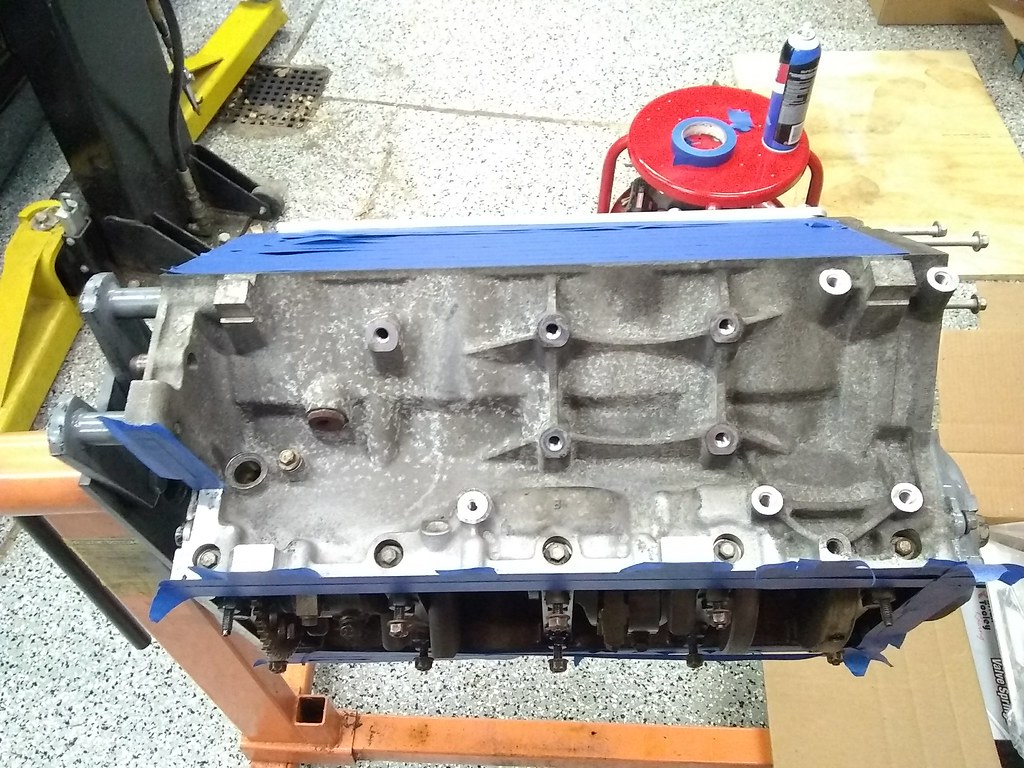
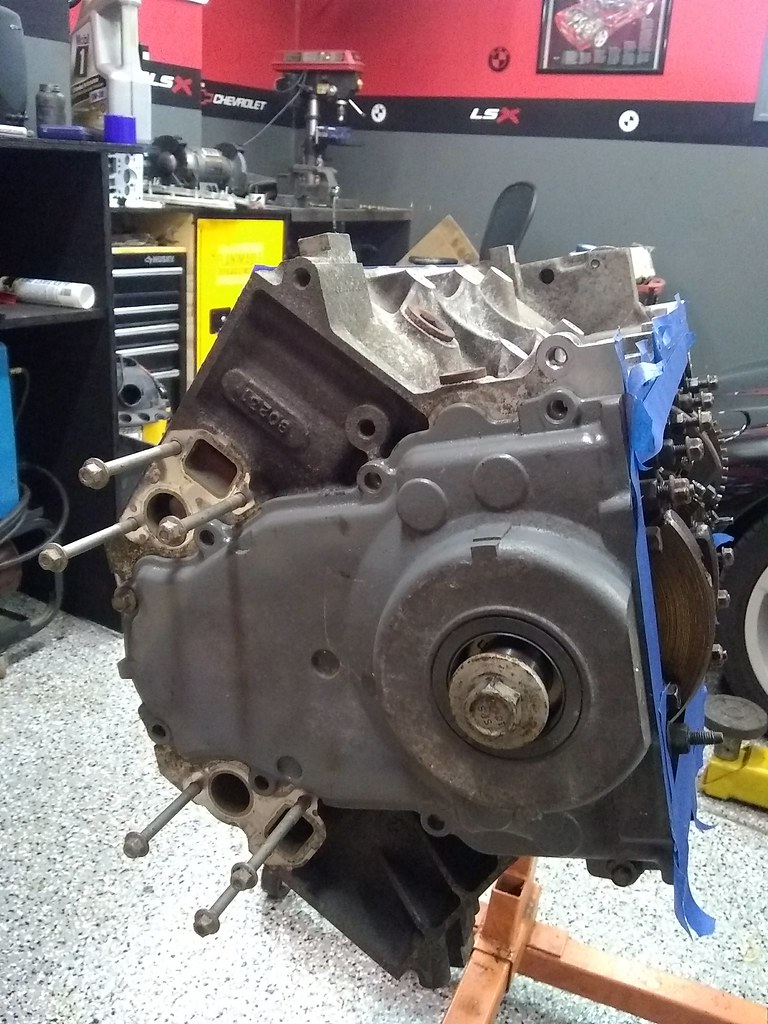
Threw on an old front cover from an iron 6.0 to protect internals.
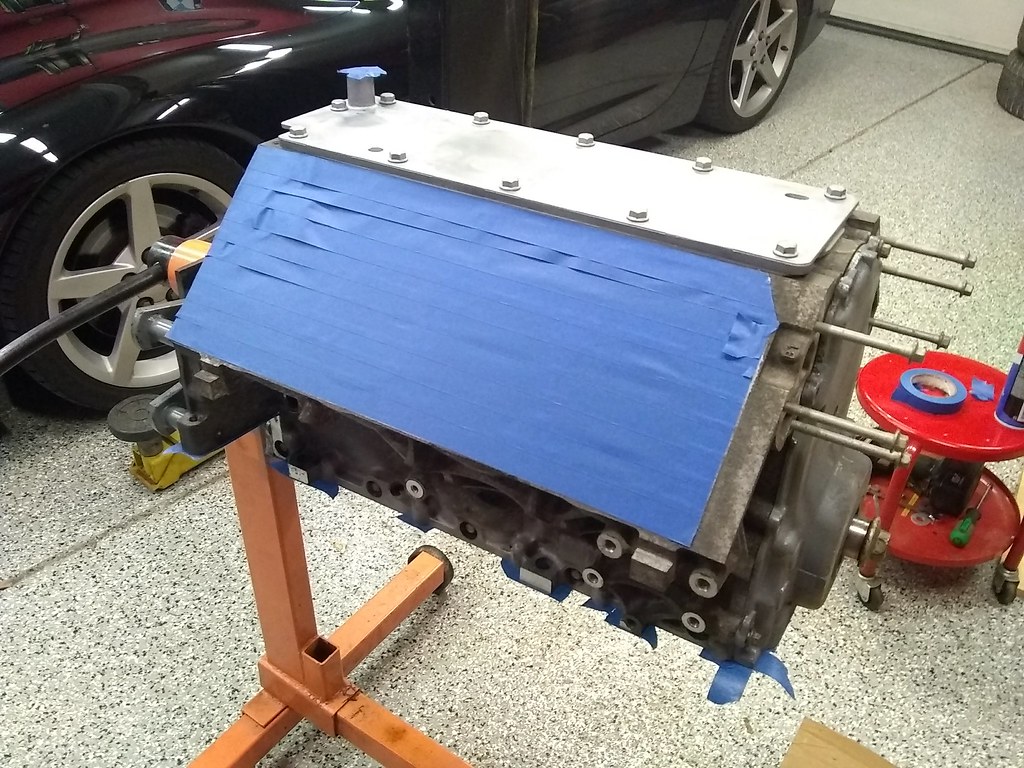
Taped up and sprayed with high heat engine enamel.
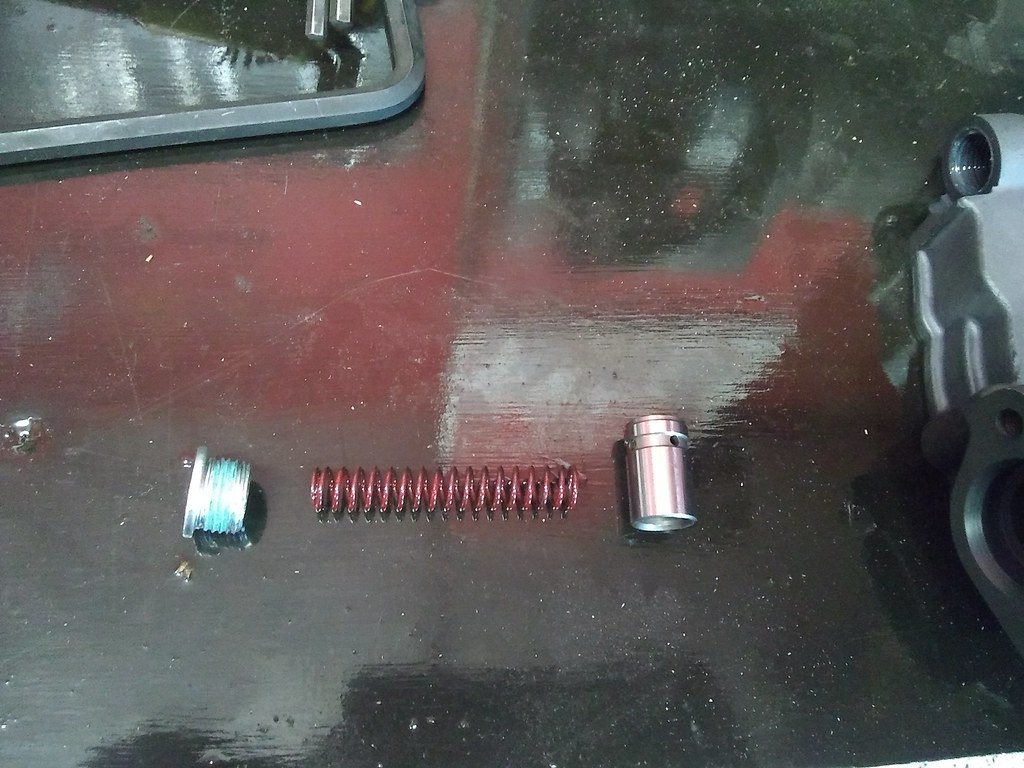
Since I’ll be installing the new oil pump this weekend, I’m dropping these helpful videos I found here as a reminder on how to put it all together. I went with a Melling 10295.
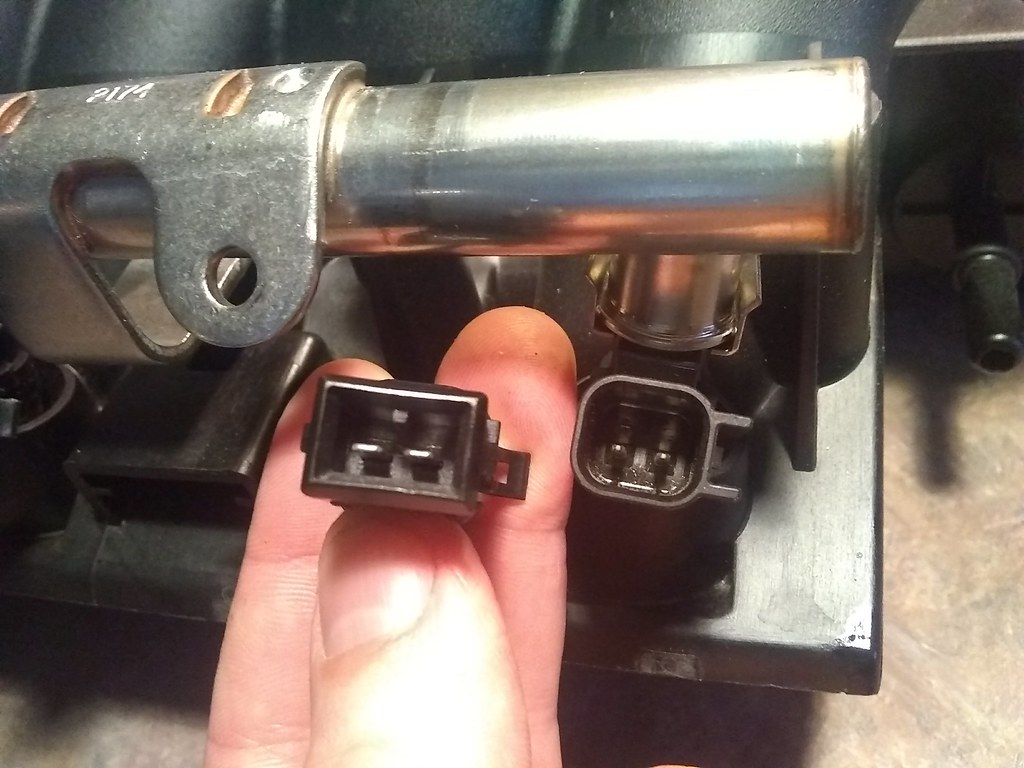
EV1 to EV6 injector pigtail adapters to be able to use the LS1 harness on the LS3 injectors. I did not want to use the 2 piece units that are connected by the 4" lengths of wire, so I picked up these one piece units on ebay for $12. Hopefully they’re robust, the seller did include a couple extra.
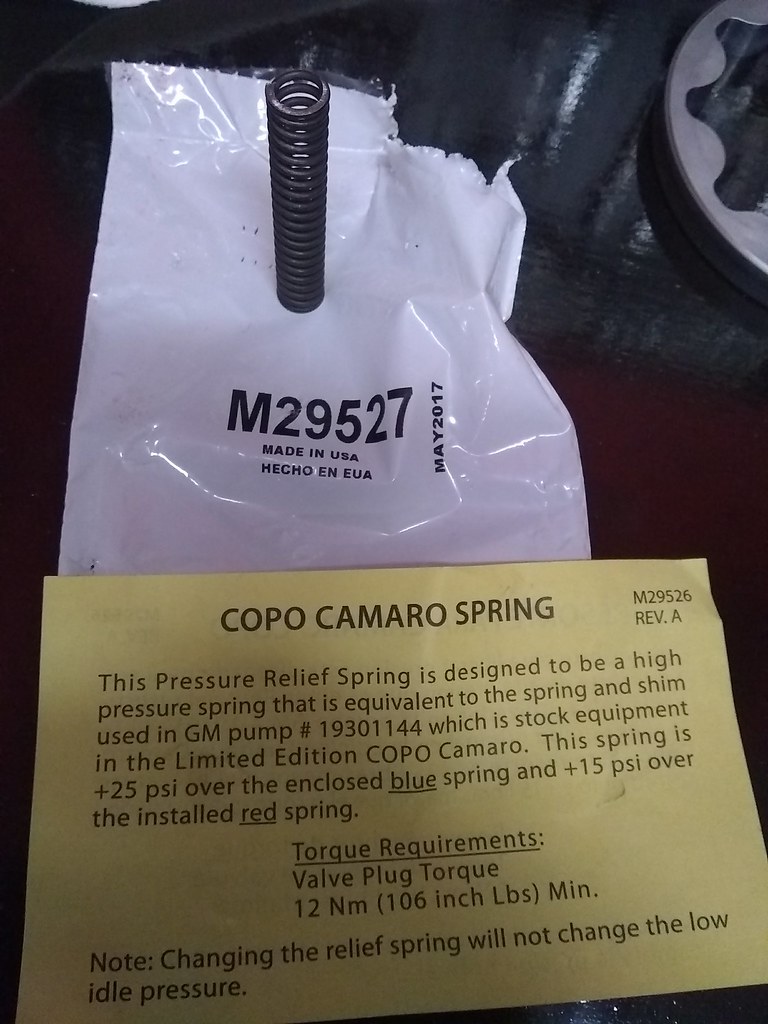
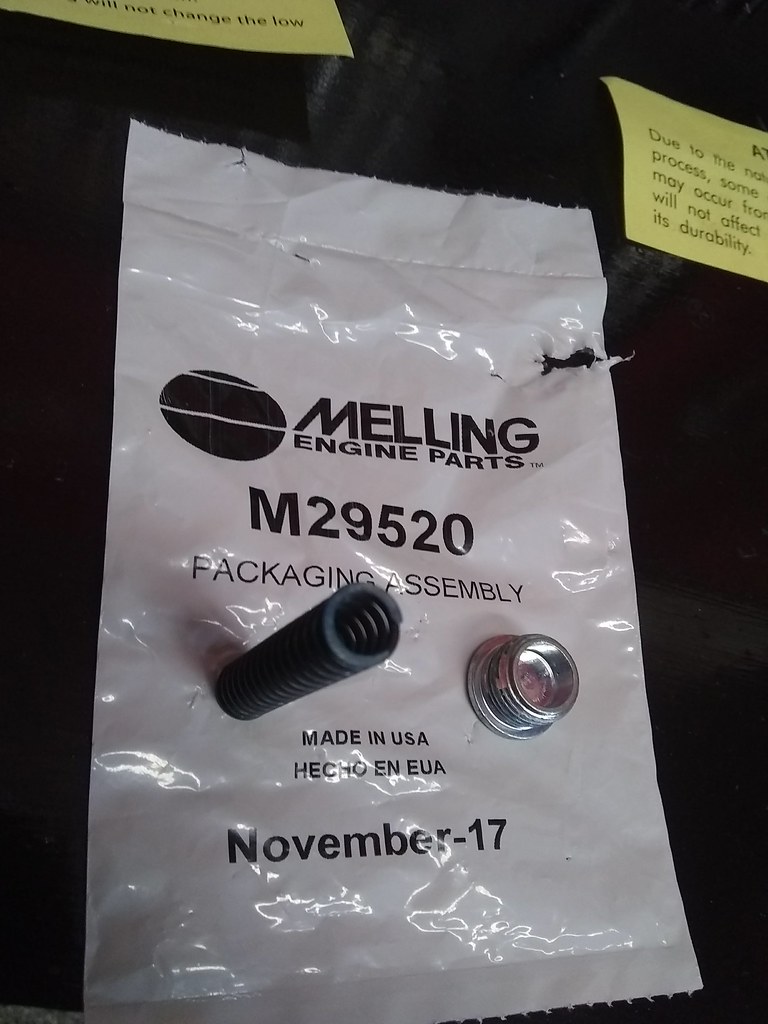
Melling 10295 disassembled, inspected for the right relief spring (they offer a couple options), cleaned, oiled, reassembled using Loctite and their torque specs.
Not using this high(er) pressure spring
or this one
The red spring is what I’ll be using, and what came in the pump.
No pictures but I did install the pump onto the crank snout using .002" brass shim stock to evenly center both gerotors around the crank drive gear.
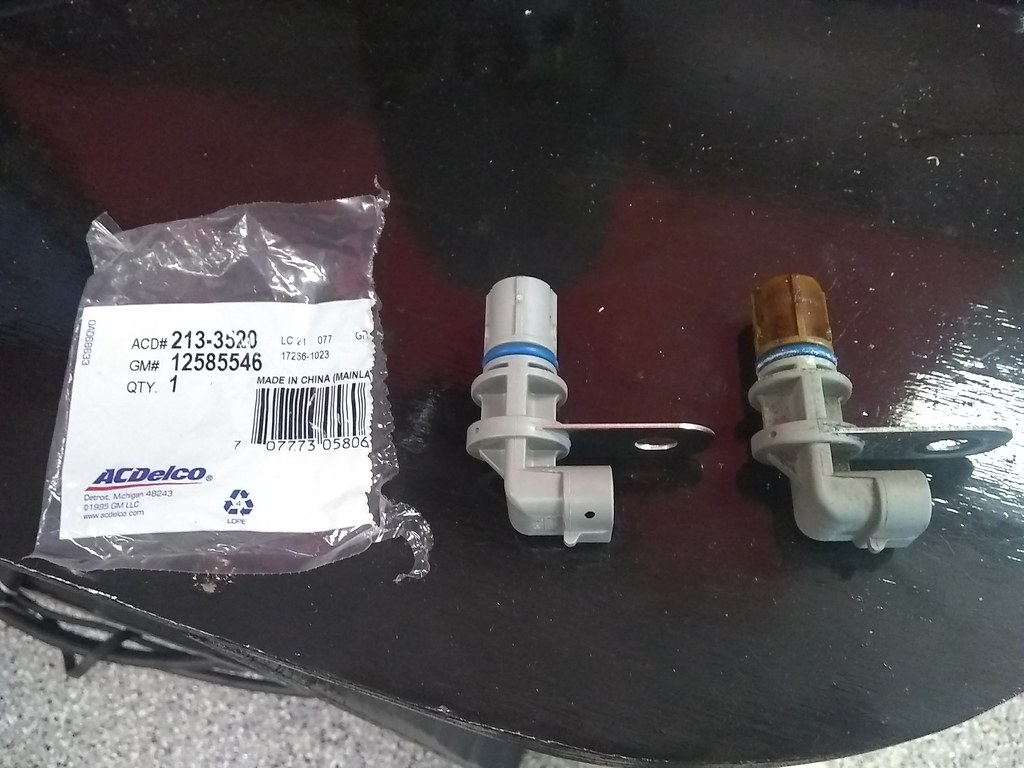
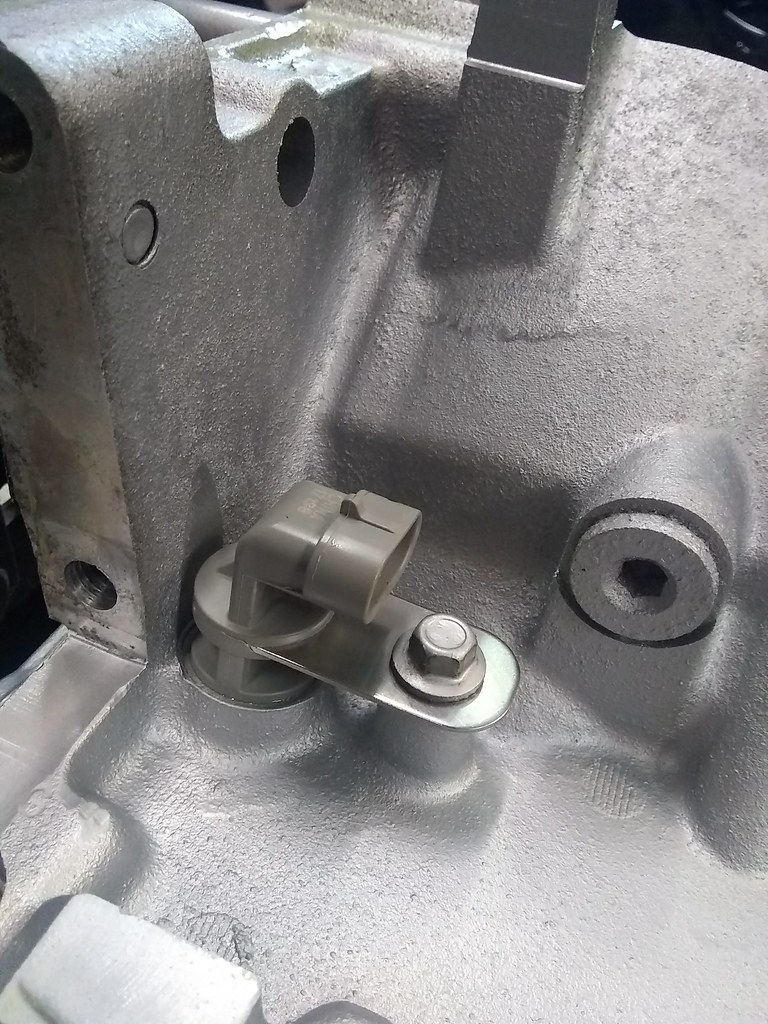
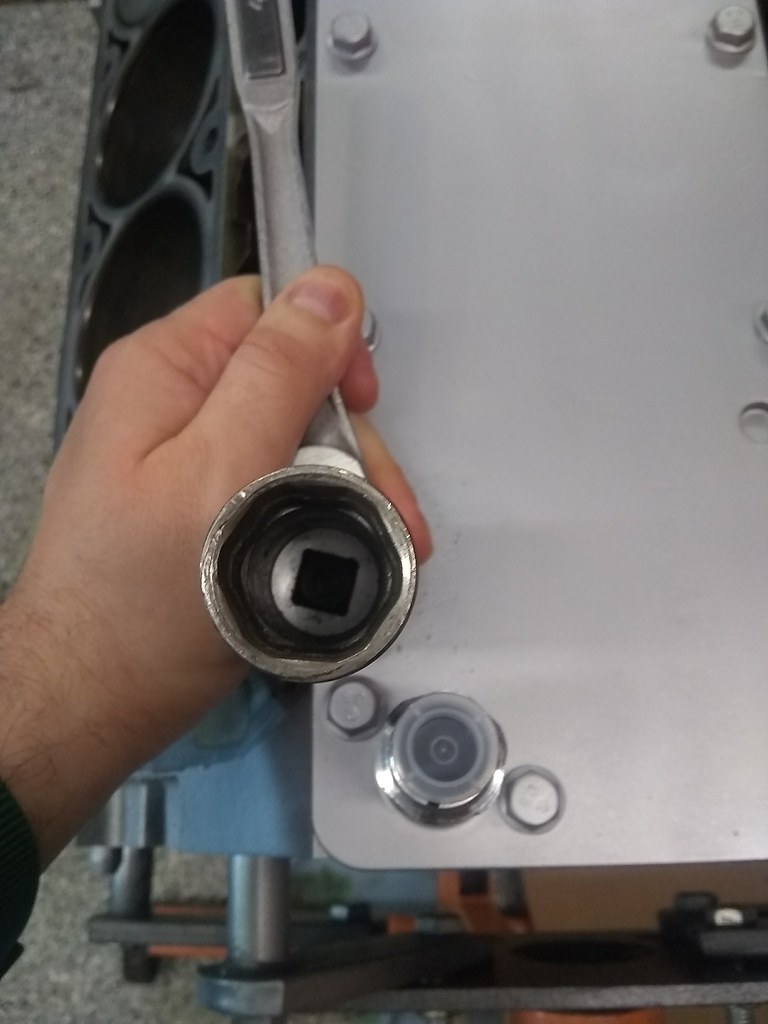
The engine is getting all new sensors in areas that are hard to reach. Nothing wrong with existing units but if they fail down the road it will be a pain to access them, so now is the perfect time to get in there.
CKP
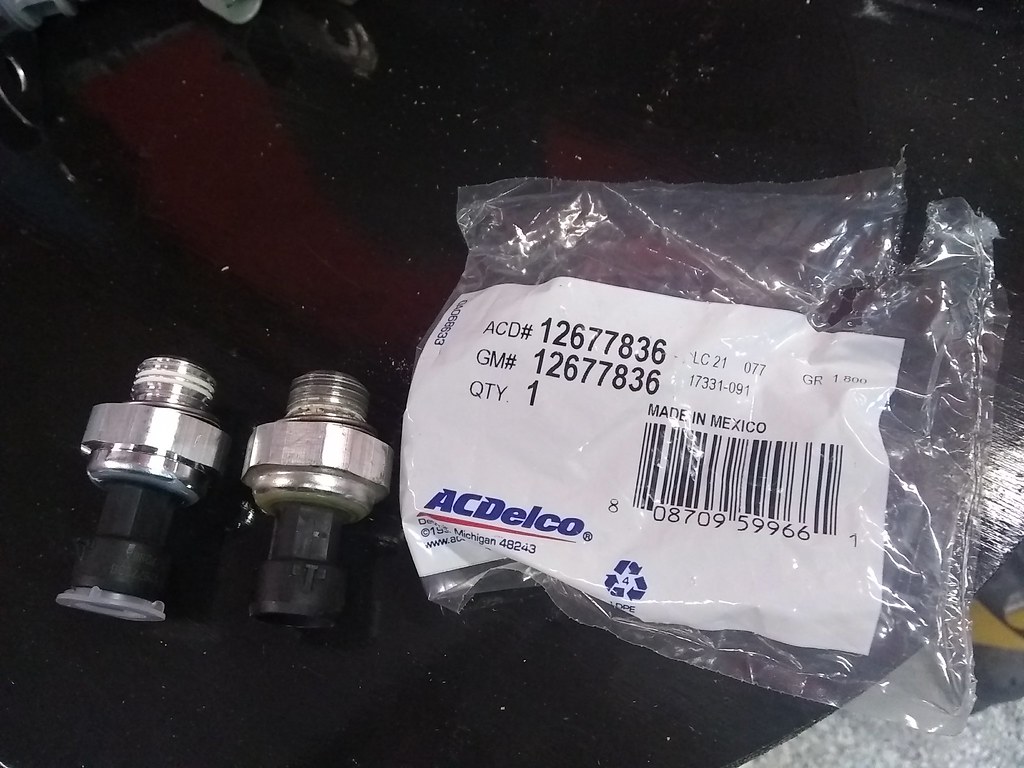
OPSU
These have an unusual semi rounded hexagonal body so you need a special socket to R&R. Luckily I had one laying in my toolbox…
Looks like a lot of fun! Great work as usual!
Moving to the bottom end, the stock windage tray was carefully removed and thrown into the scrap bin
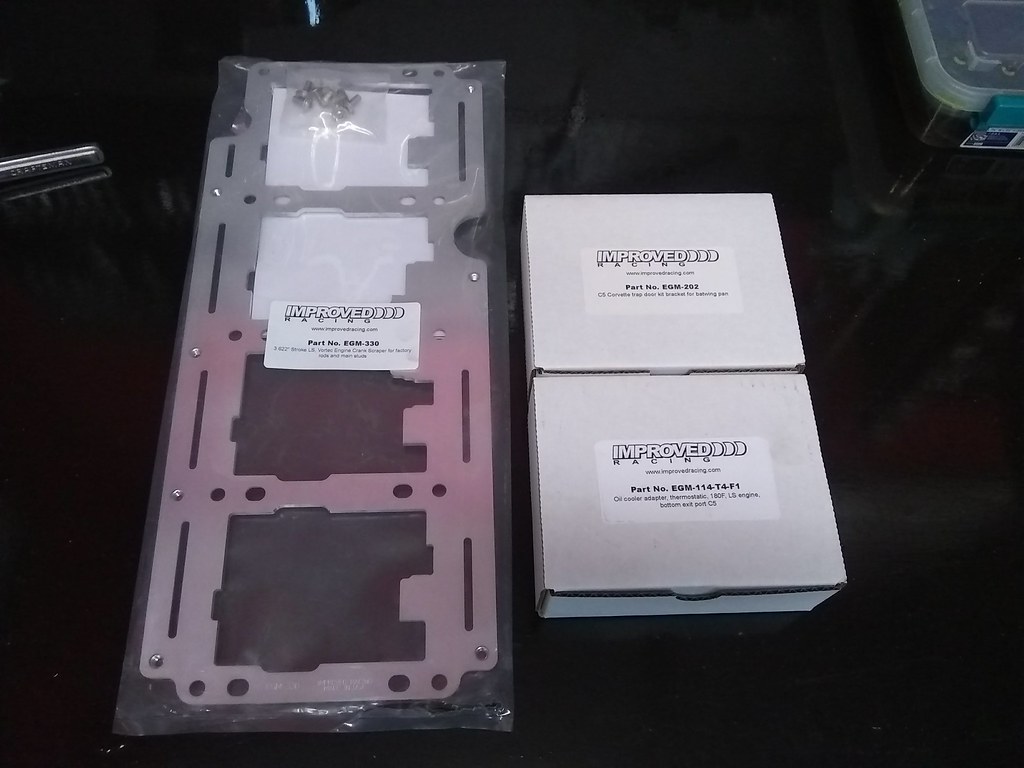
In order to beef up the oiling control I purchased a couple items from Improved Racing.
C5 Batwing pan crank scraper
Thermostatic oil cooler block with -10 AN lines
Trap door baffle kit.
Their website includes a pretty interesting chart showing oil pressure around a circuit both with and without their parts installed.
Oil Pump Pickup Tube Brace
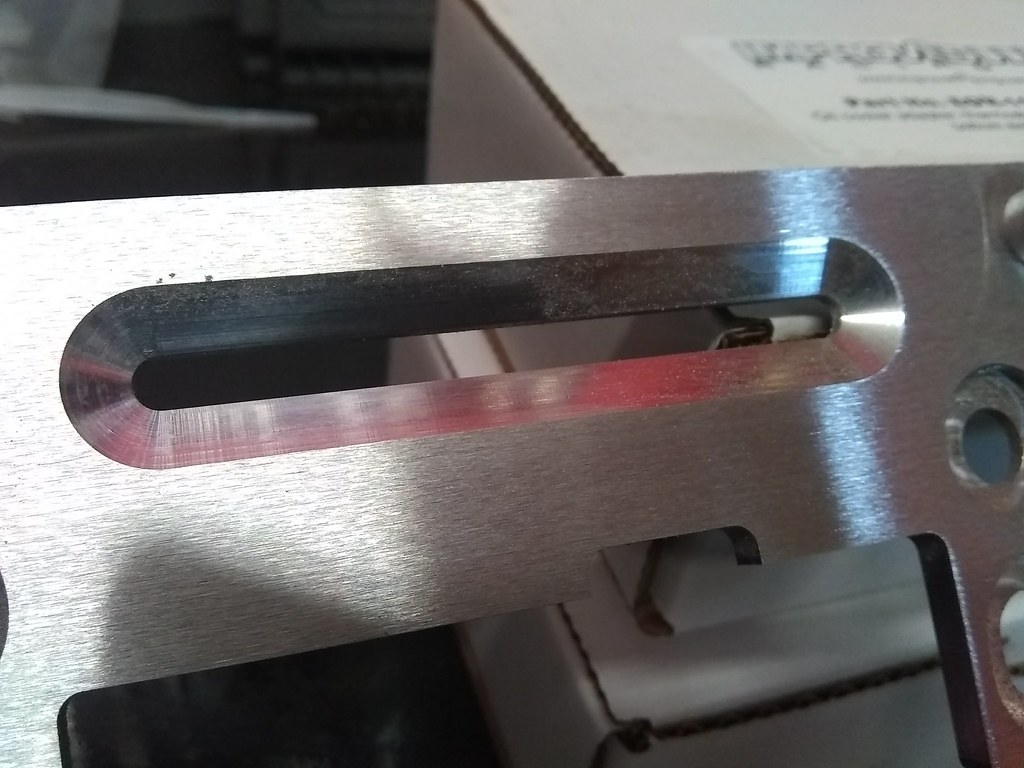
The instructions were very good and mentioned that it’s important to clean off the crank scraper from any dirt, dust, or machining chips.
I thought they were kidding until I sprayed it down with some Brake Cleaner on top of cardboard and watched the aluminum dust come off it in waves. Check out all that FM…
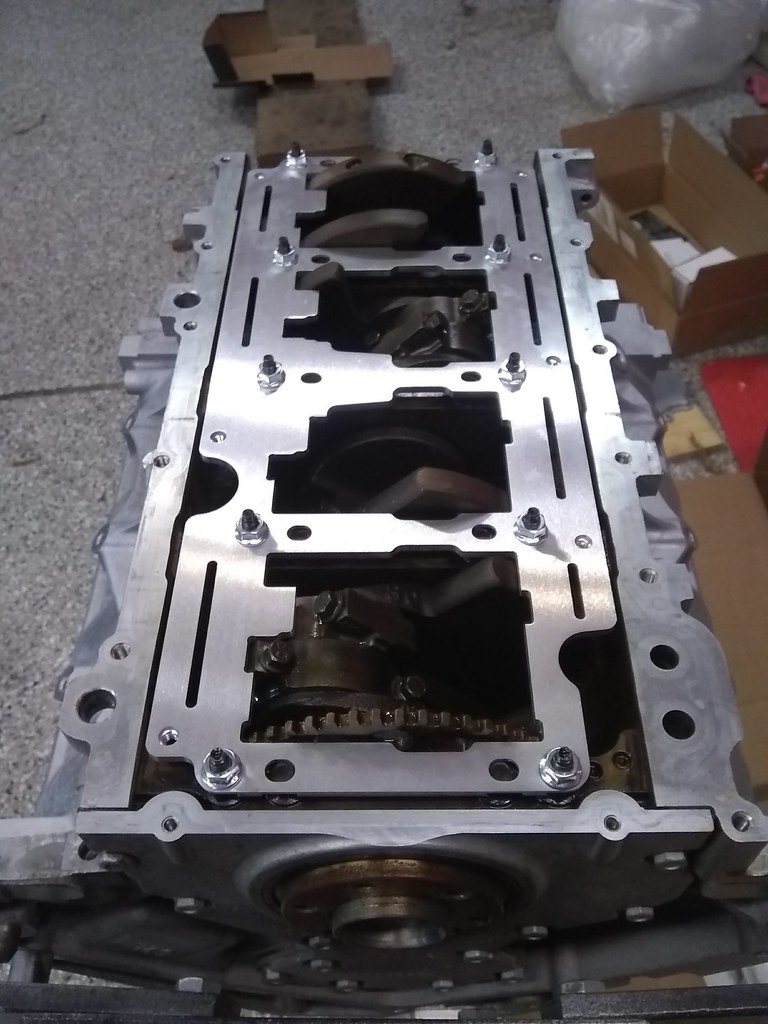
After cleaning it up I mocked it up on the engine and started checking for any interference with a .020" shim.
The trap door baffles and oil cooler block get mounted to the oil pan so they’ll need to wait until the old LS1 is out of the car. Still undecided on the actual cooler itself or where it will be located. I was thinking of cutting out the plastic behind the front license plate cover, since the cover itself is removable; then just removing the panel for track days