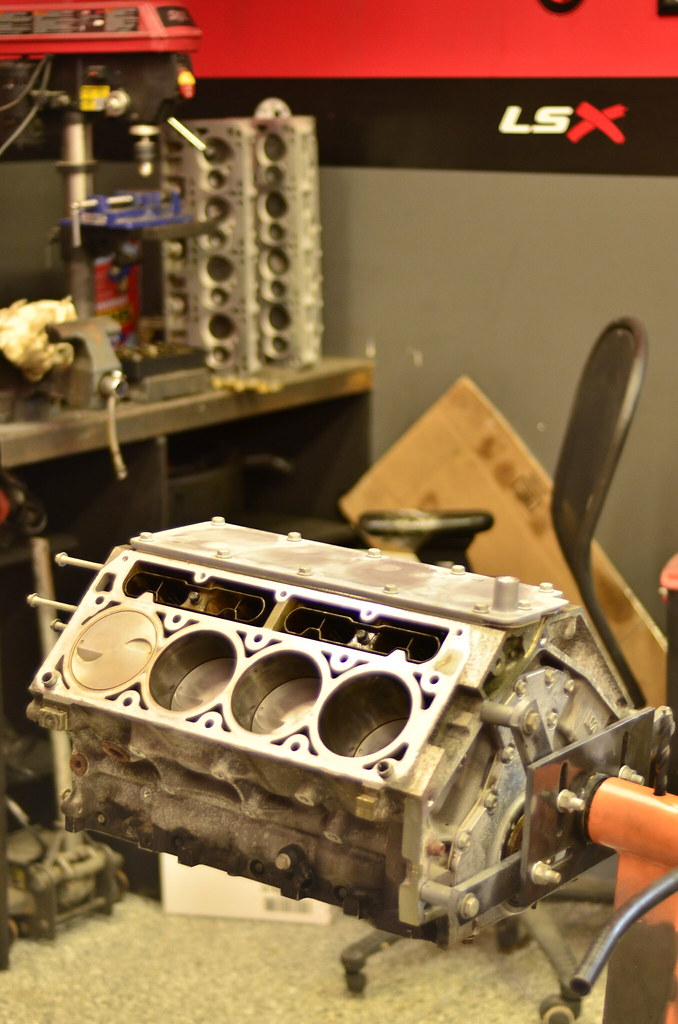
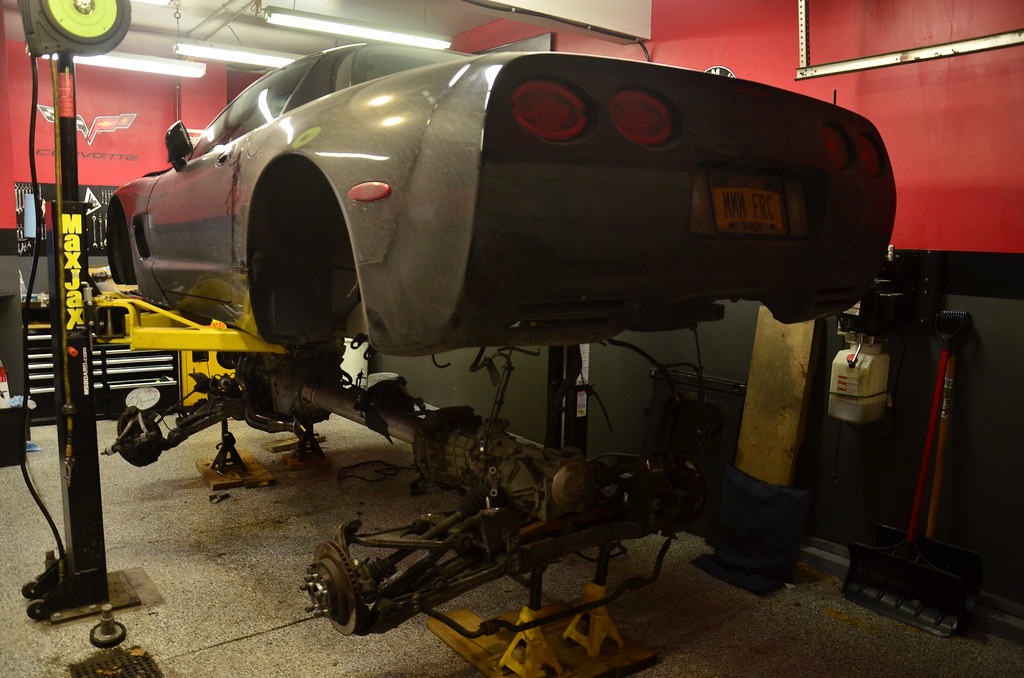
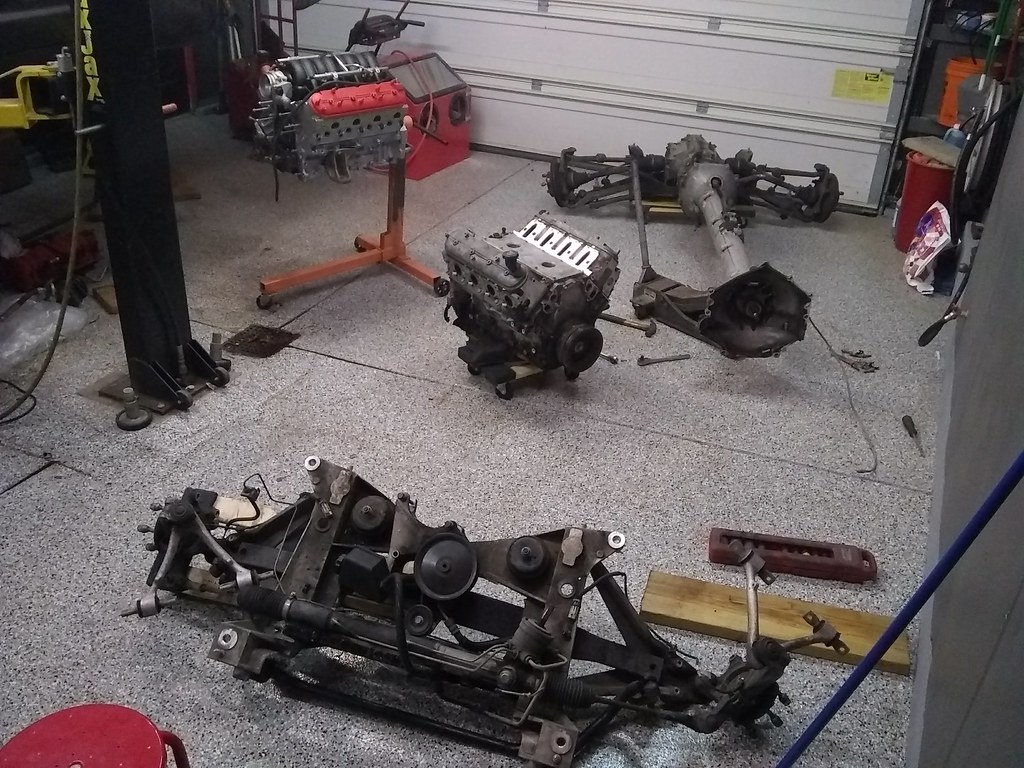
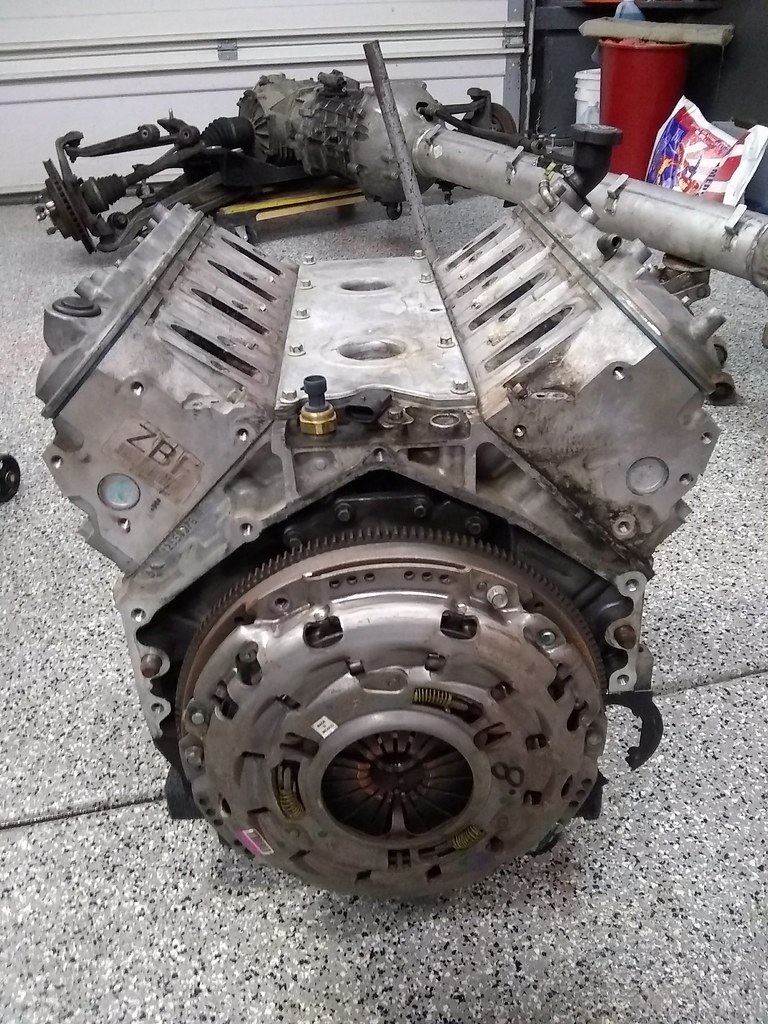
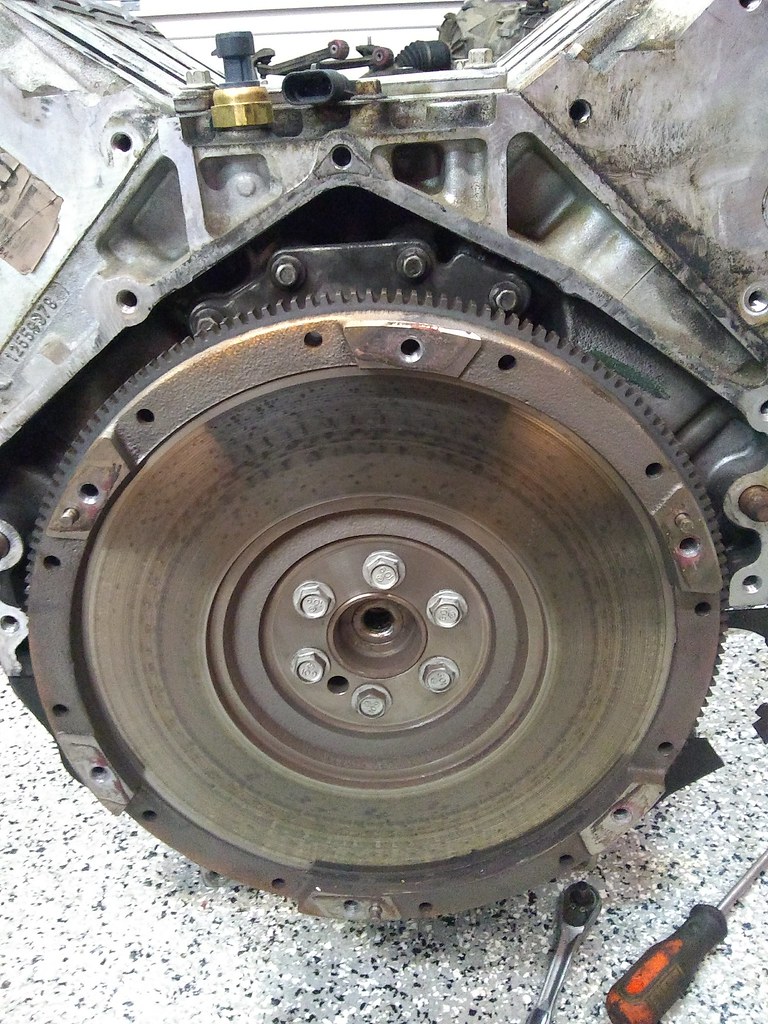
I got a whole lot done today (including the last ride with the original LS1) and took a lot of pictures. Those updates will come later but for now I just want to keep a log of what I have started disassembling; once the reassembly comes, I’ll use it as a guide to see if I forget anything when it’s going back together 
This list starts with a running, driving car
Drained coolant
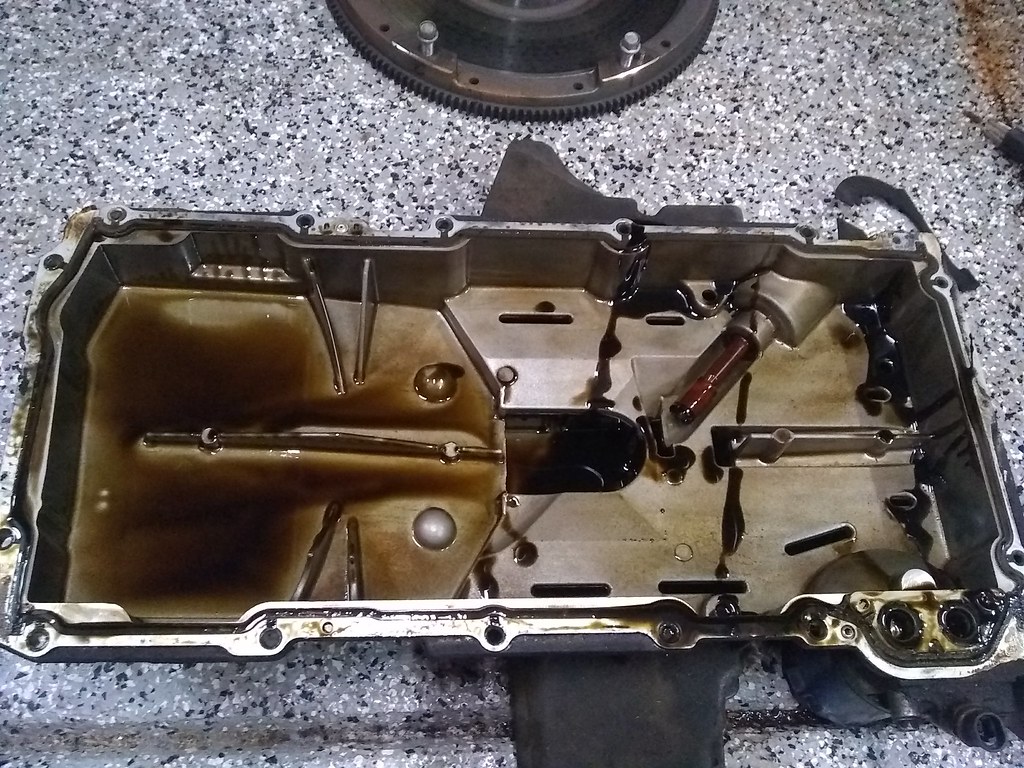
Drained oil
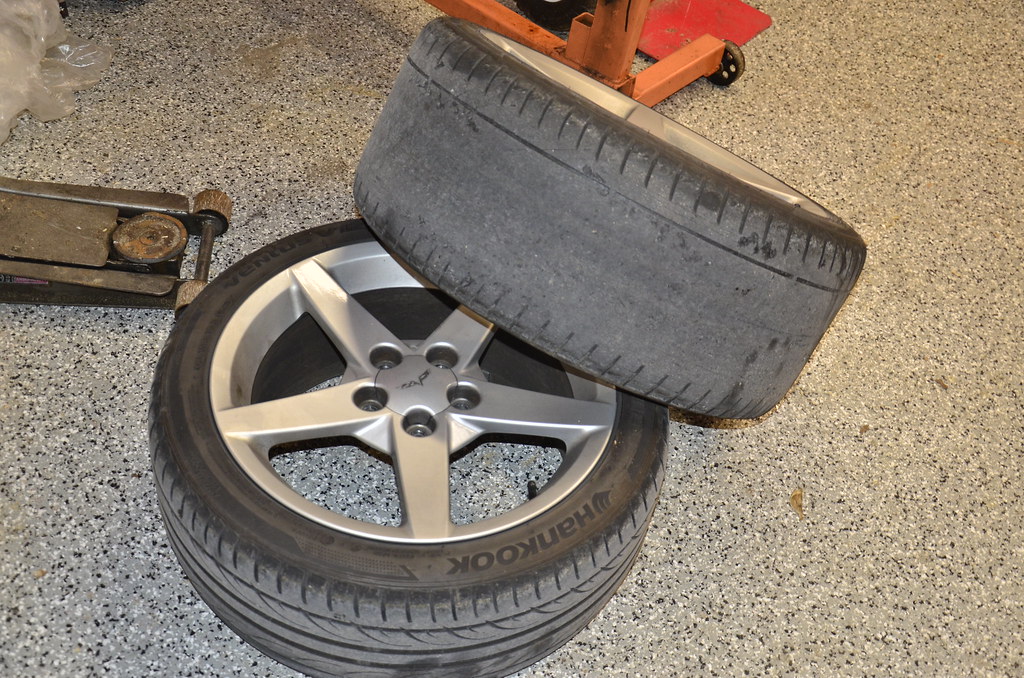
Removed wheels
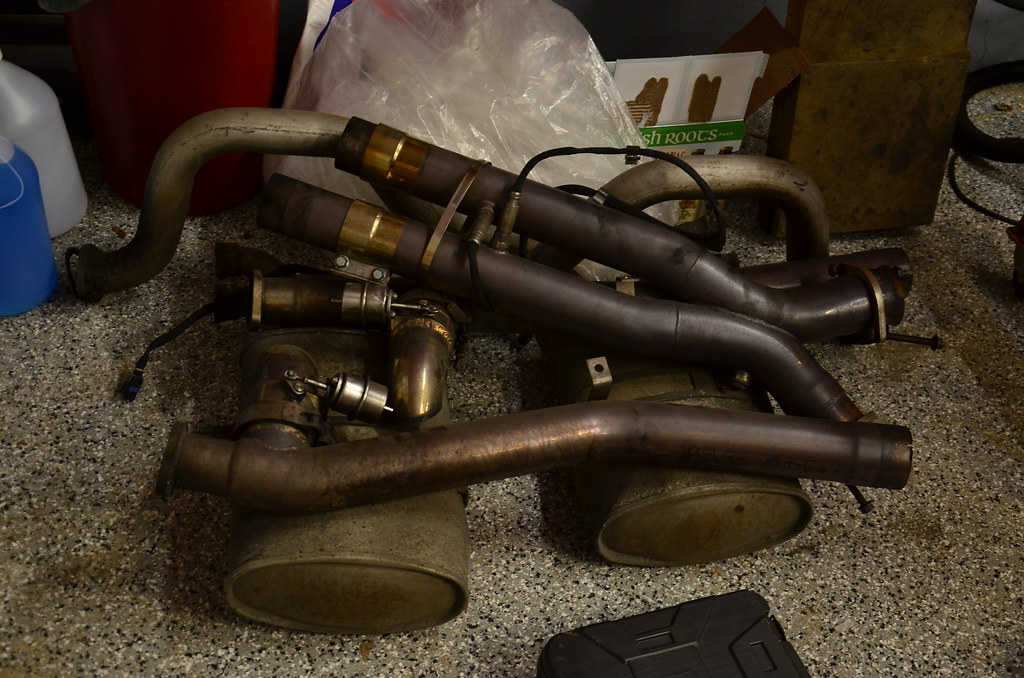
Removed axle back, disconnected vacuum lines to cutouts
Removed midpipes, unplugged and de-routed downstream O2 sensors
Unplugged and derouted primary O2 sensors.
*Note, standard off the shelf white zip ties were really brittle due to longtube header
heat and snapped with little effort. Need higher temp solution to secure wiring
Disconnected left rear outer frame ground point (10mm), rear large harness on pass. side wheel well
Disconnect large 10 pin connector on rear passenger side of tunnel
Disconnected rear wheel speed sensors
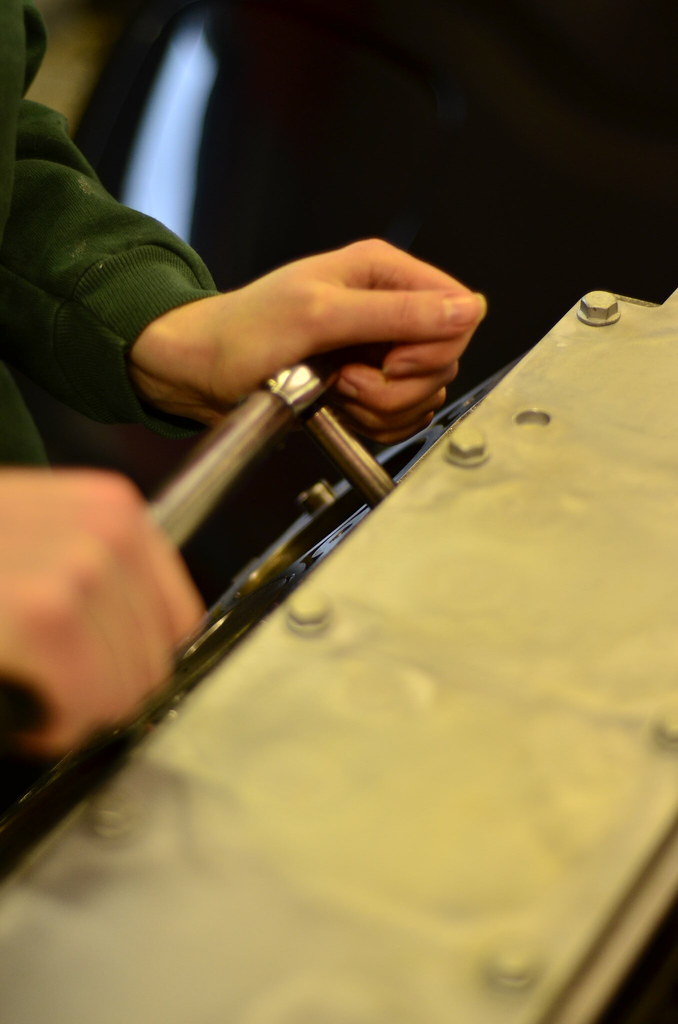
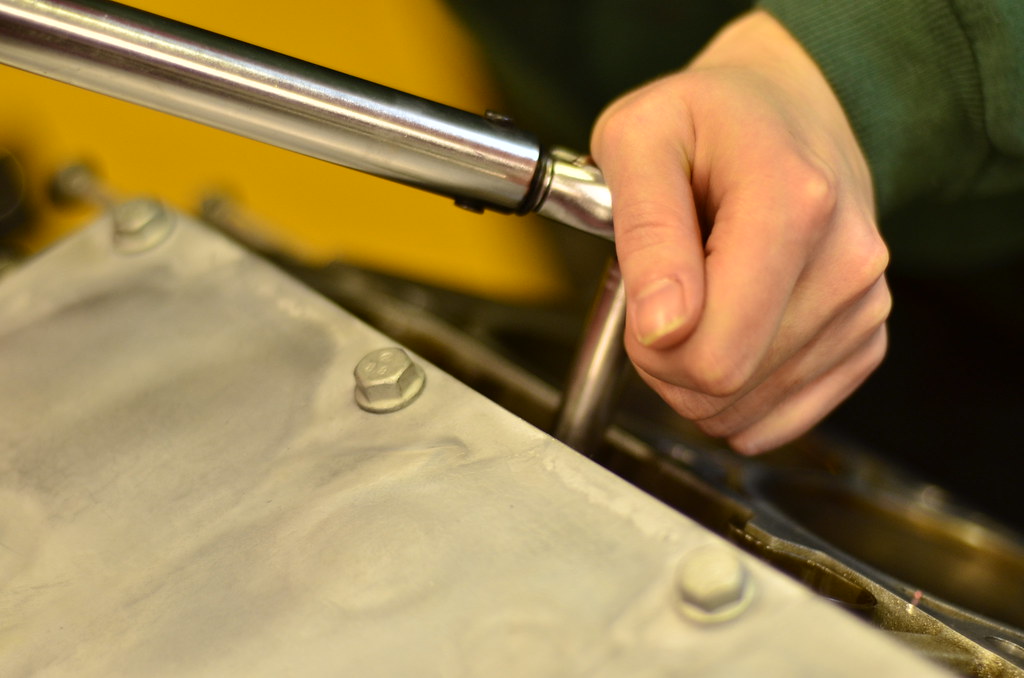
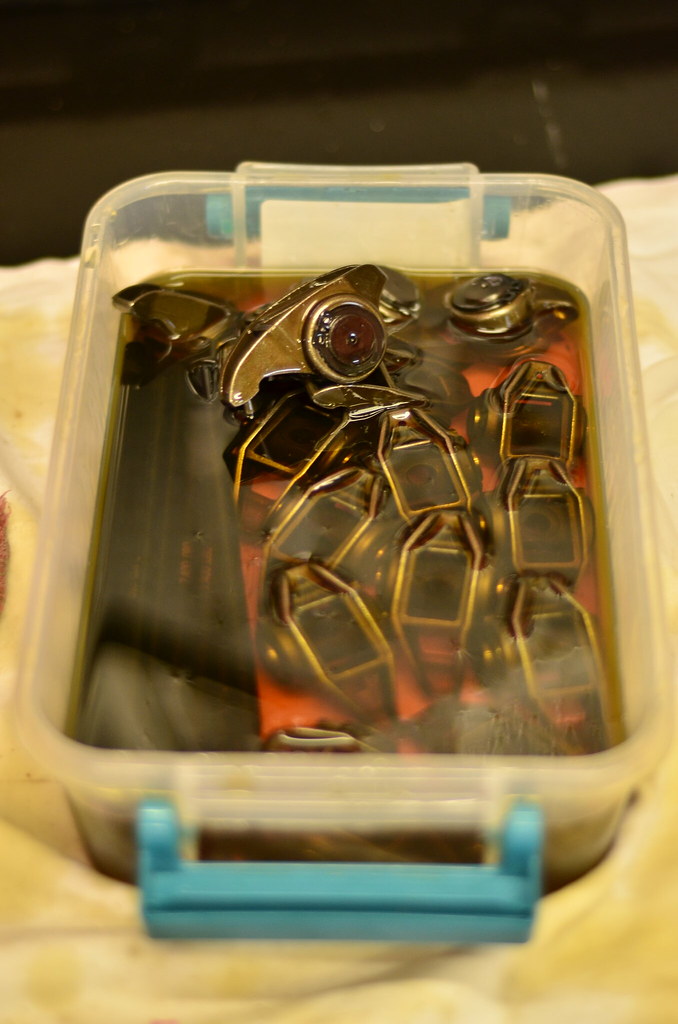
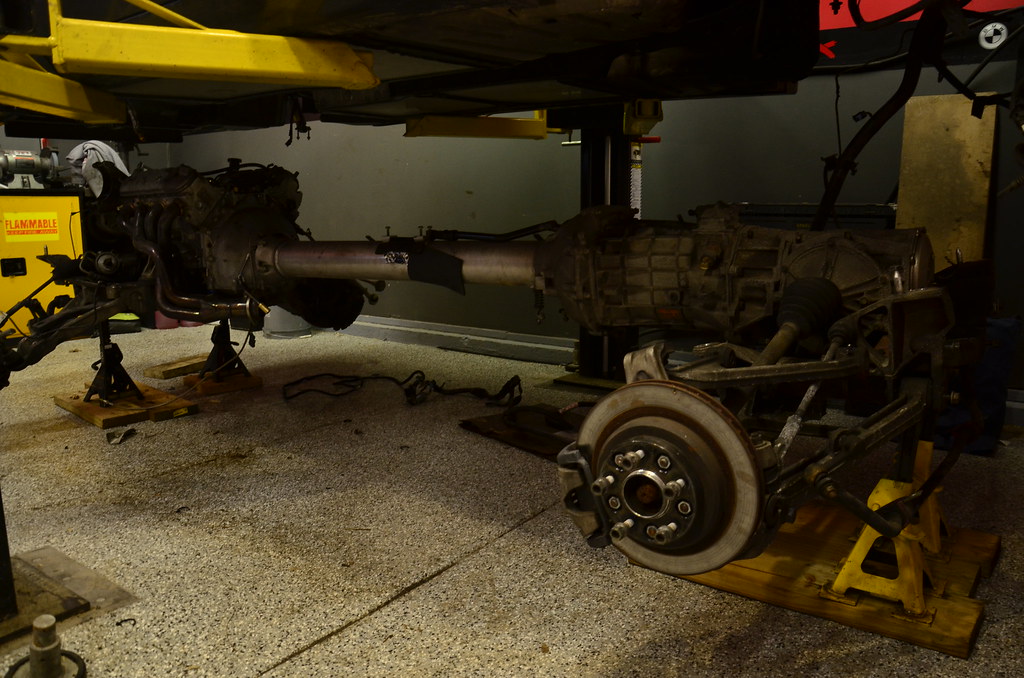
Removed zillion tunnel plate bolts and plate itself. Thank God for power tools
Rear upper control arm bolts removed
Parking brake brackets removed
Rear brake lines removed and plugged to prevent fluid loss. Normally not necessary but I’ll be upgrading to stainless lines when it all goes back together.
Rear lower shock bolts removed
4x brake line 10mm brackets removed
Front upper control arms removed, attention to washer/shim location
Front brake hoses removed and plugged, etc.
Disconnect pigtail that loops under front sway bar
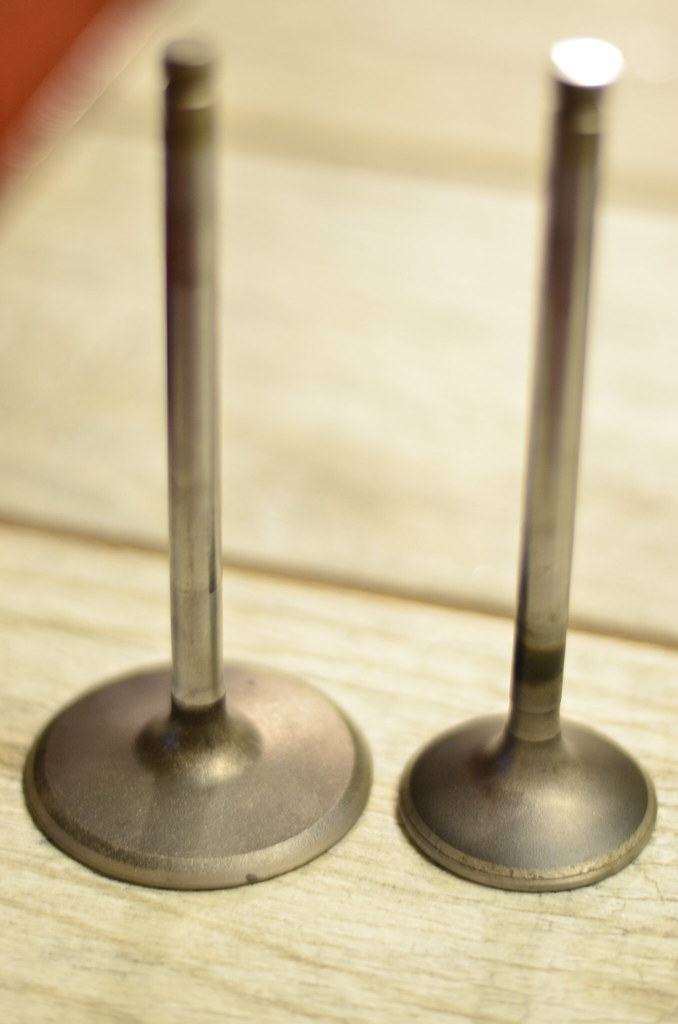
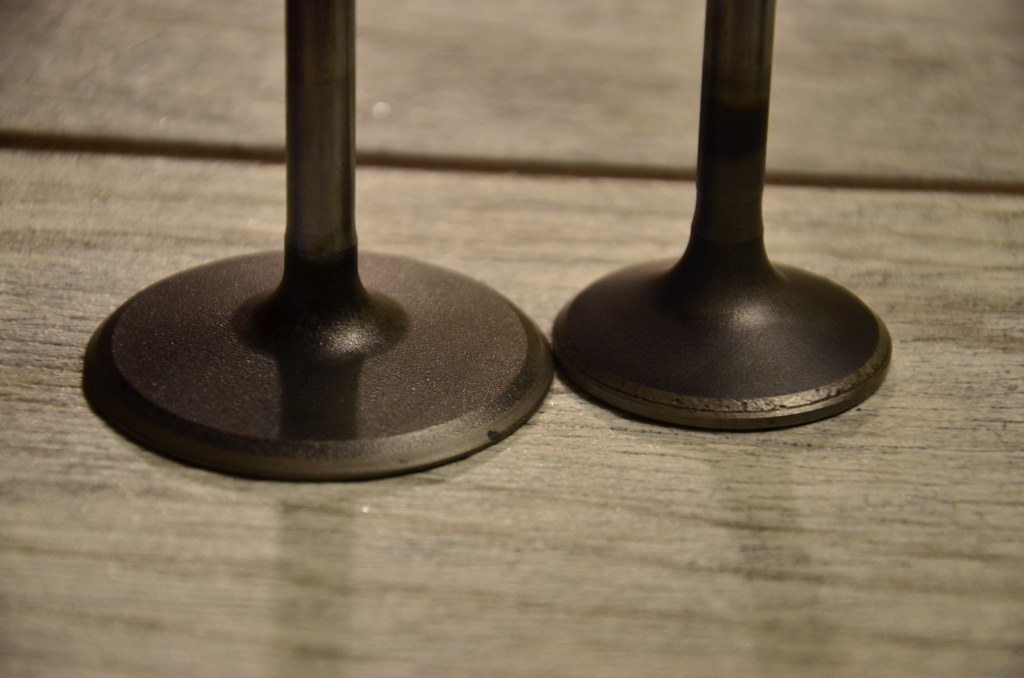
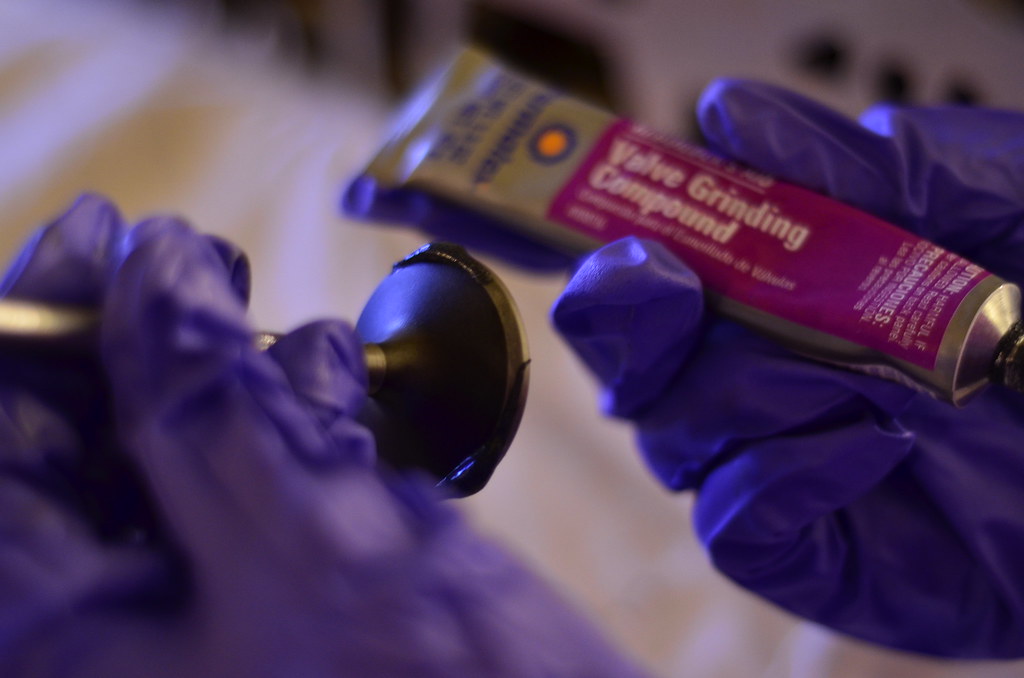
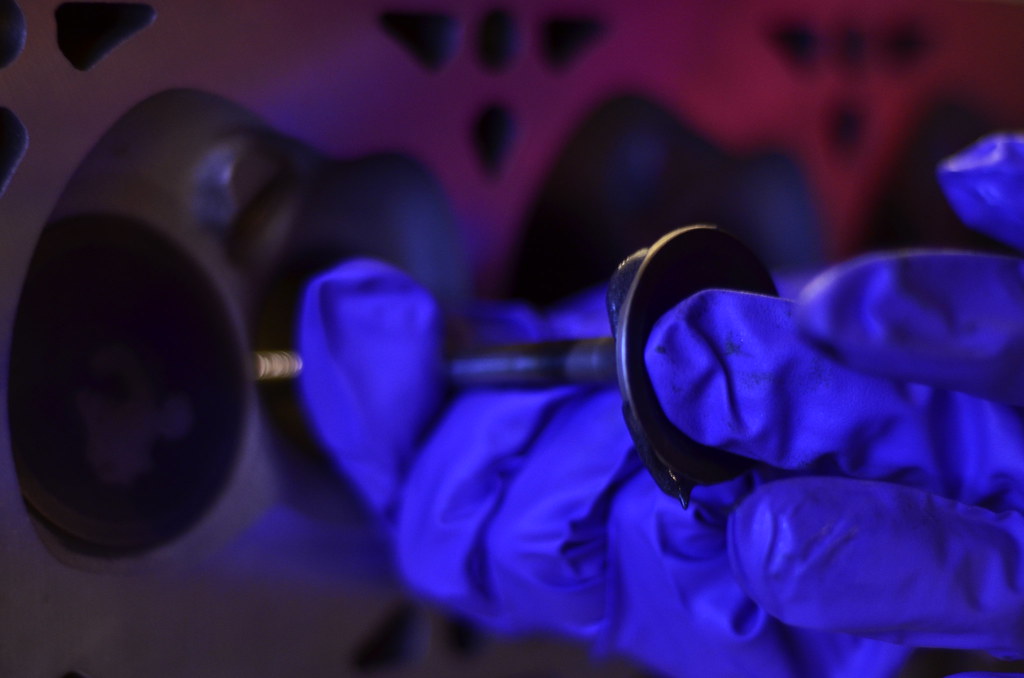
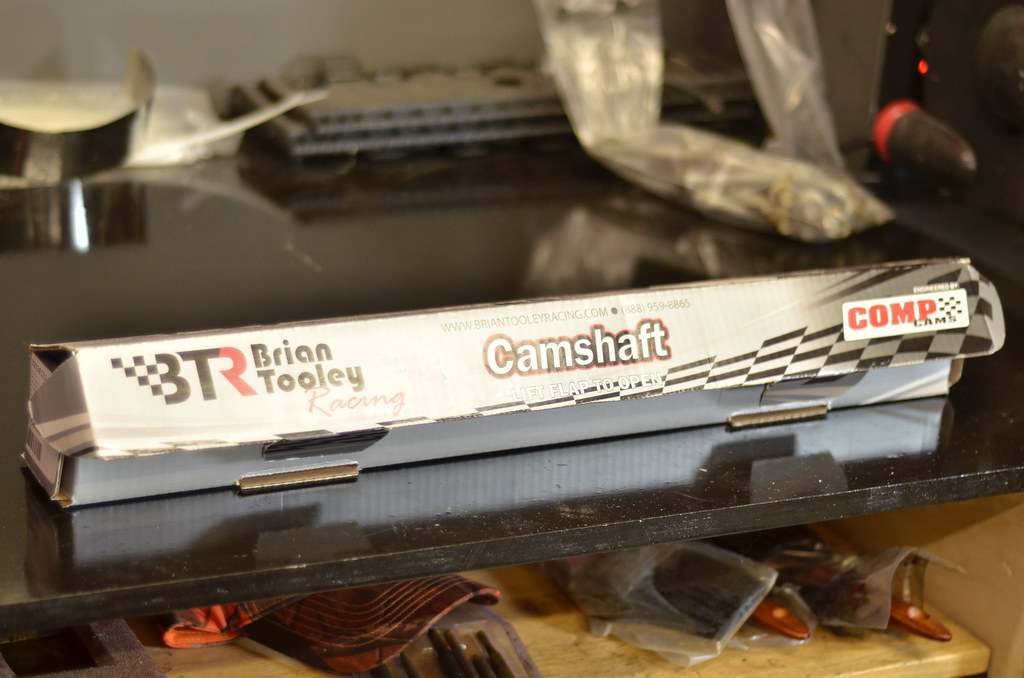
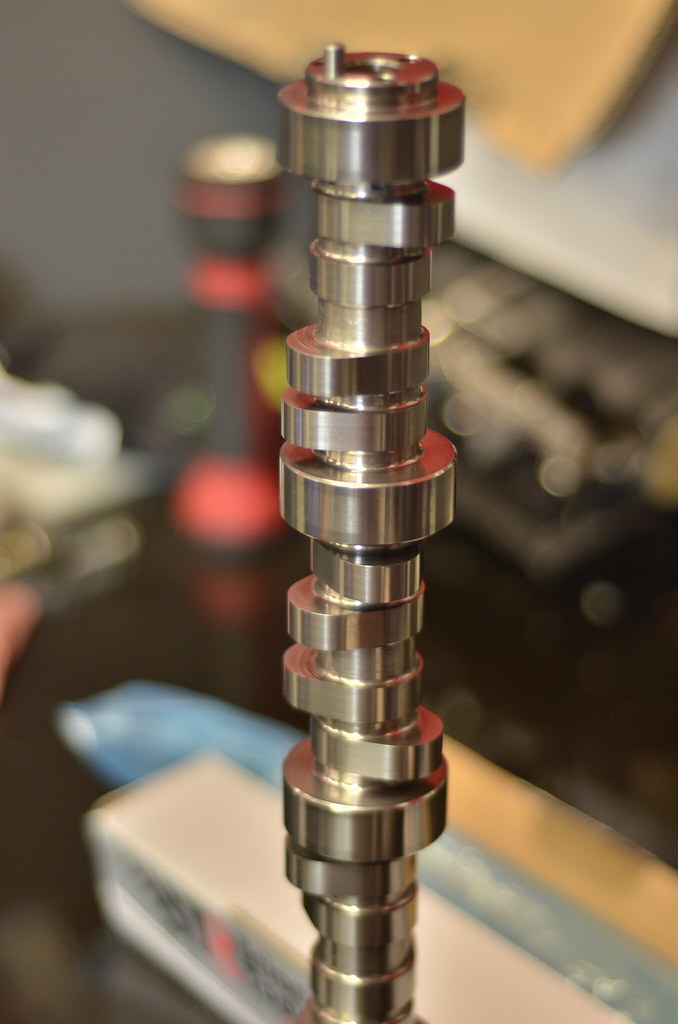
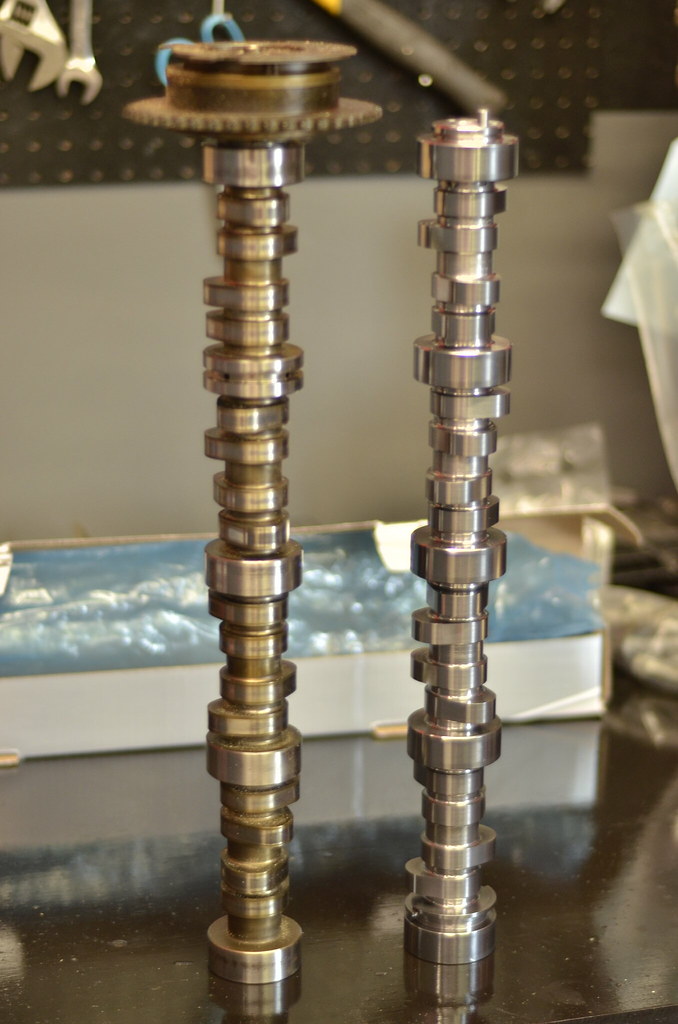
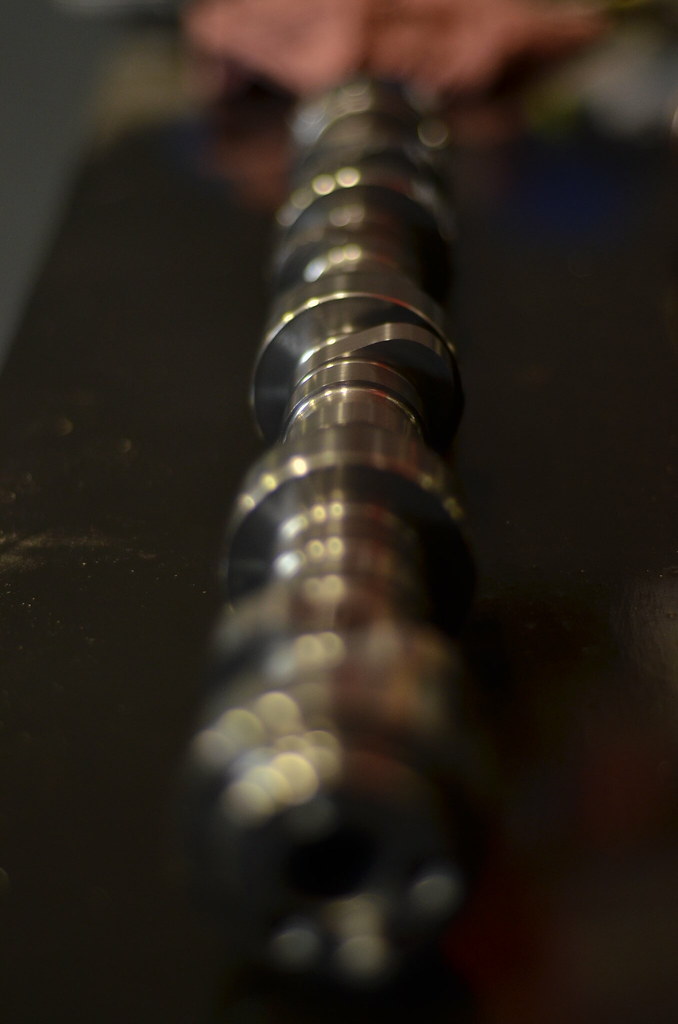
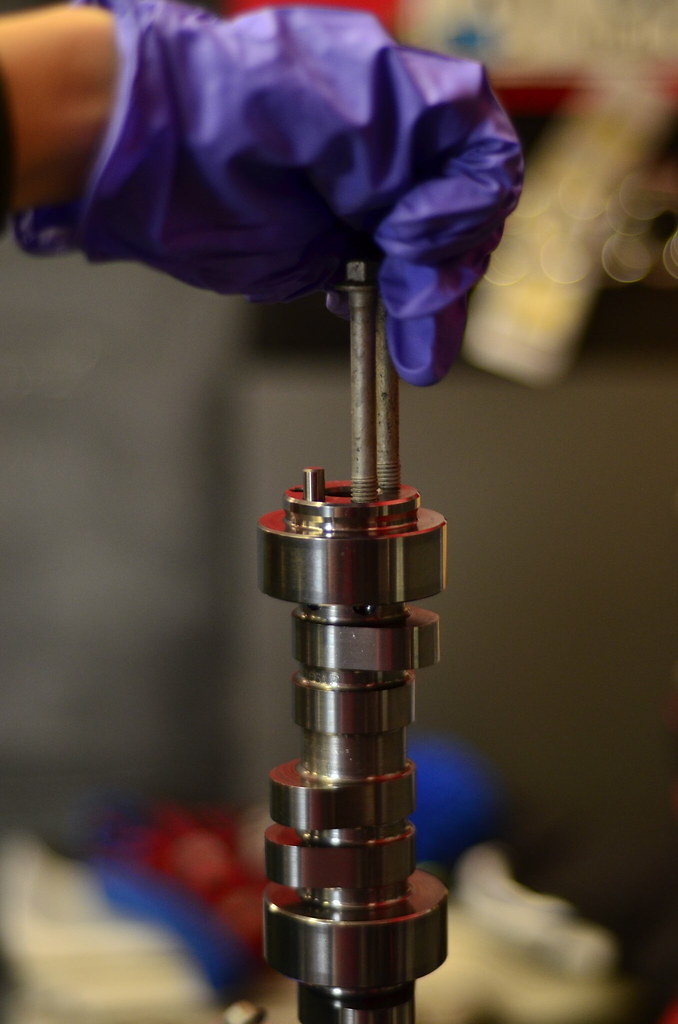
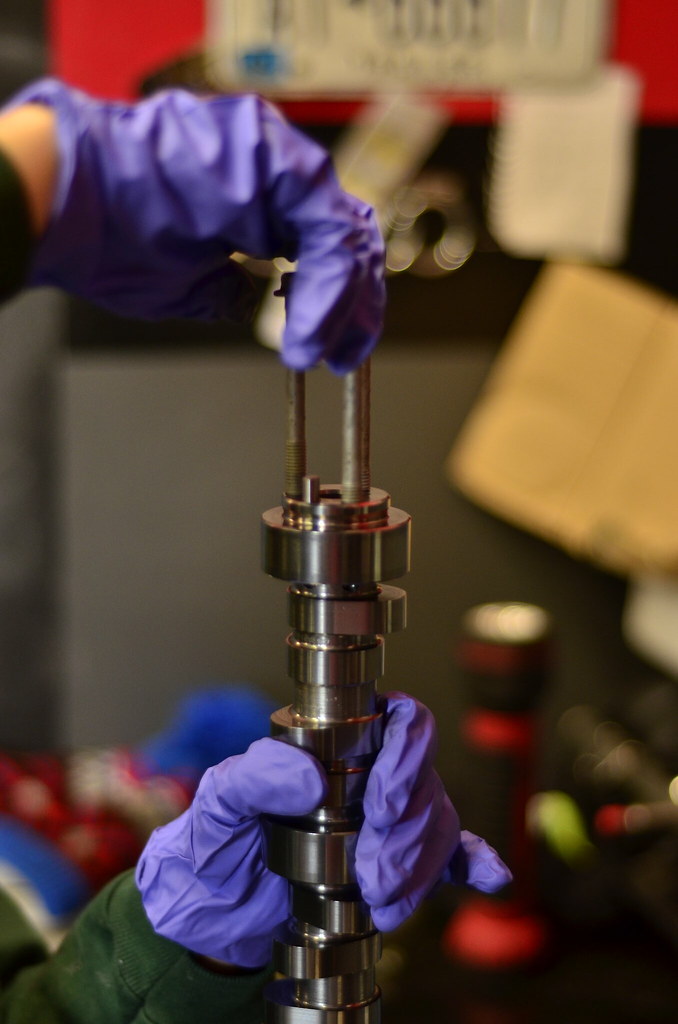
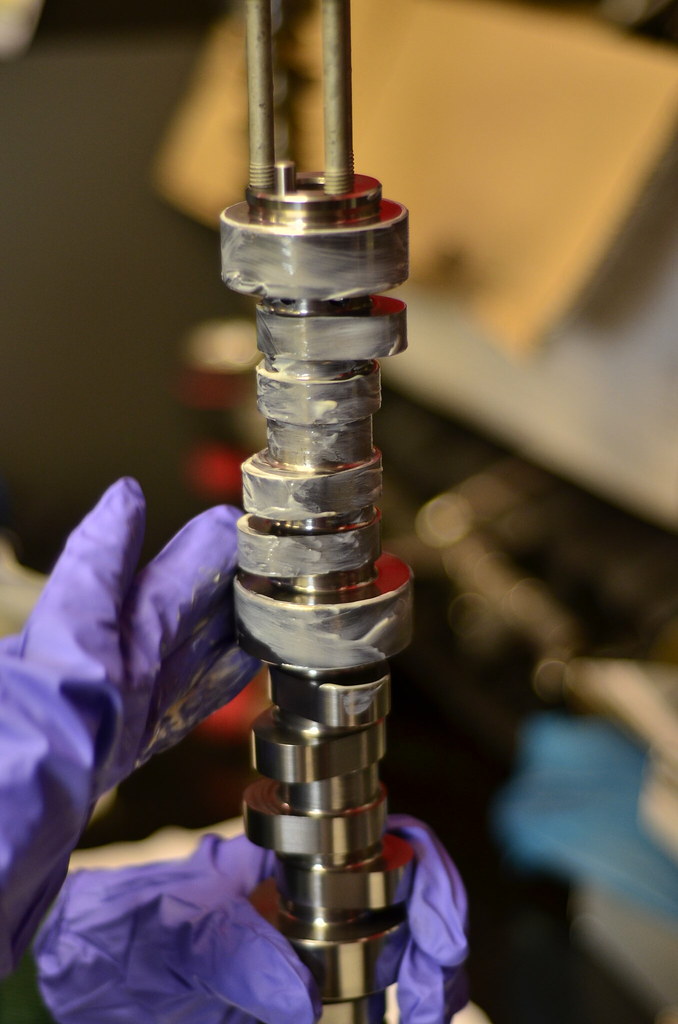
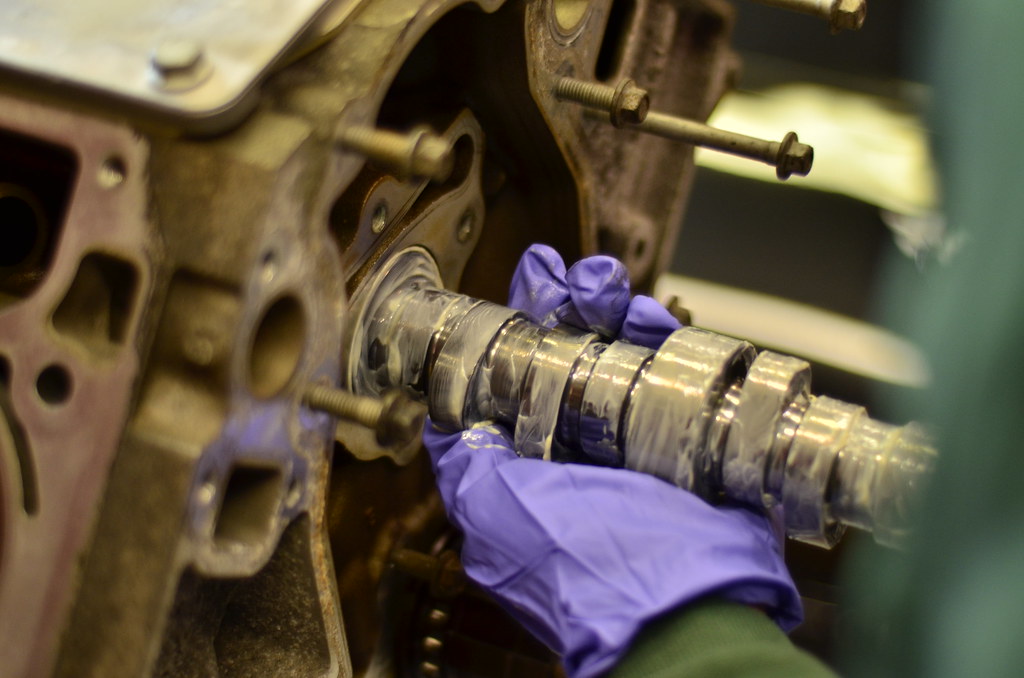
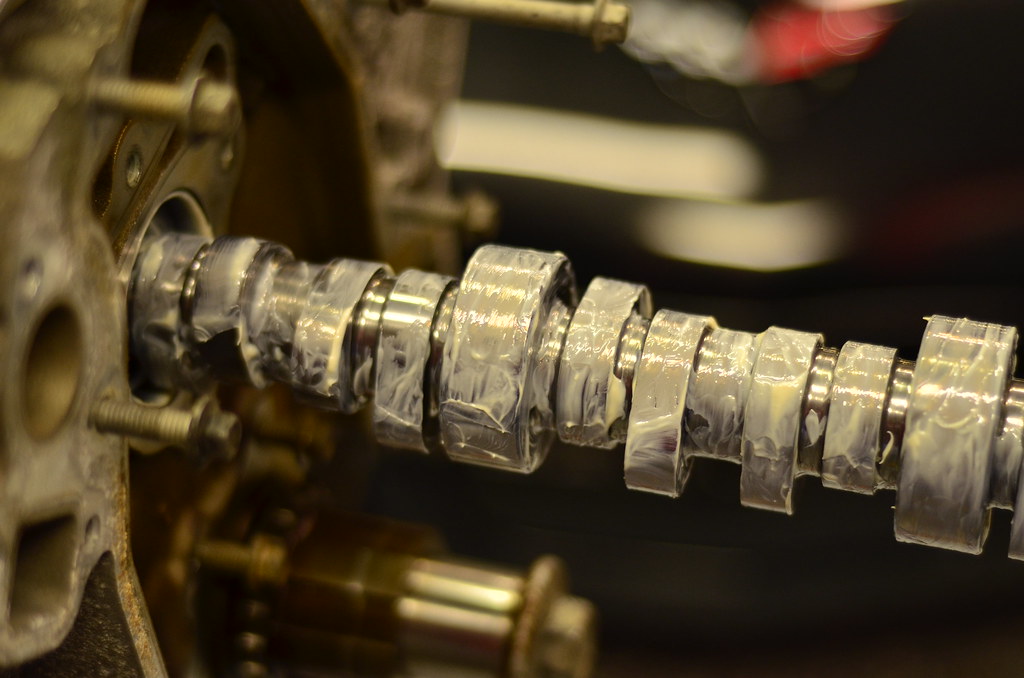
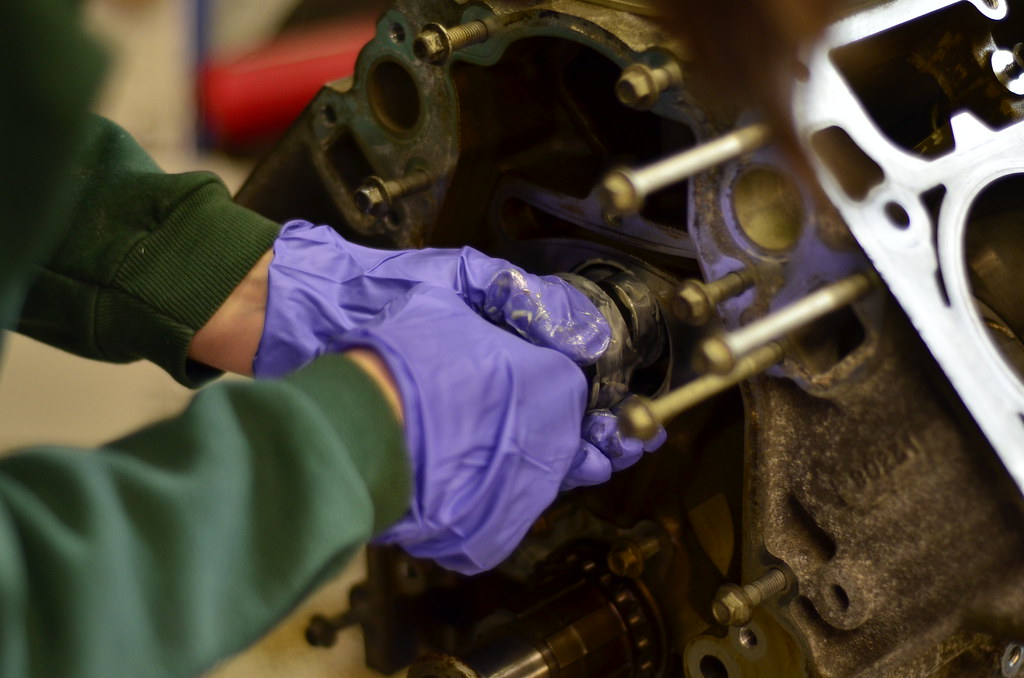
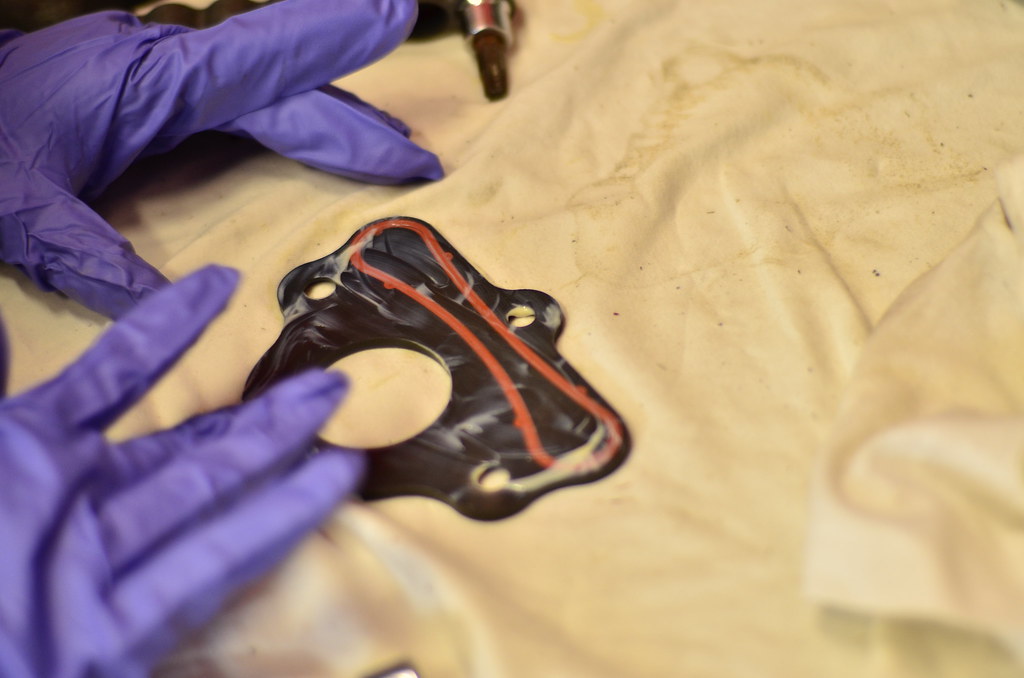
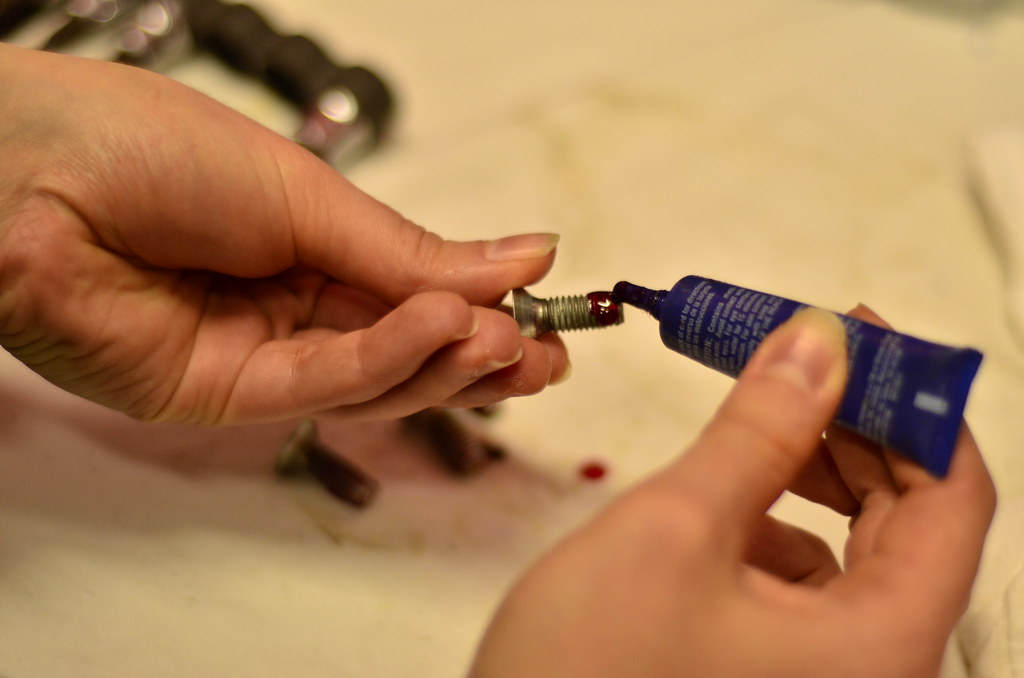
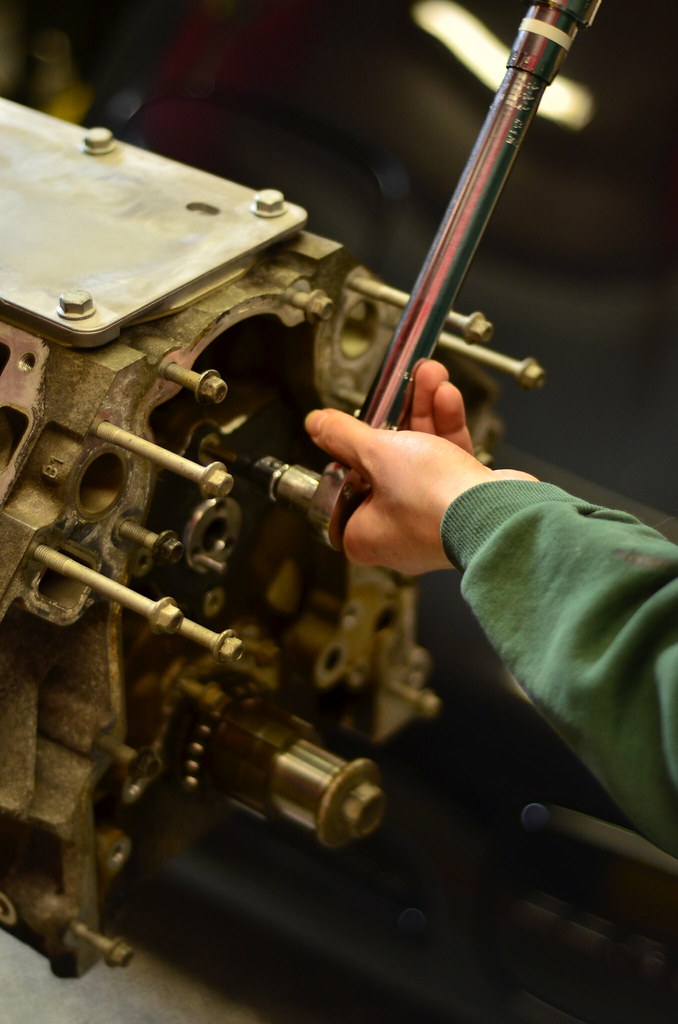
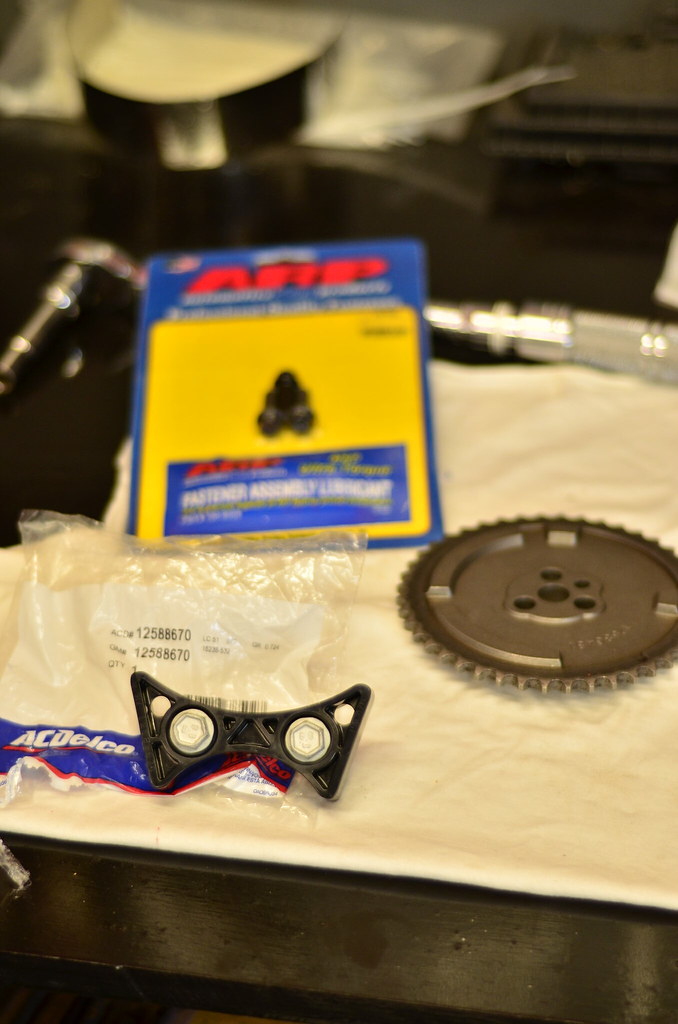
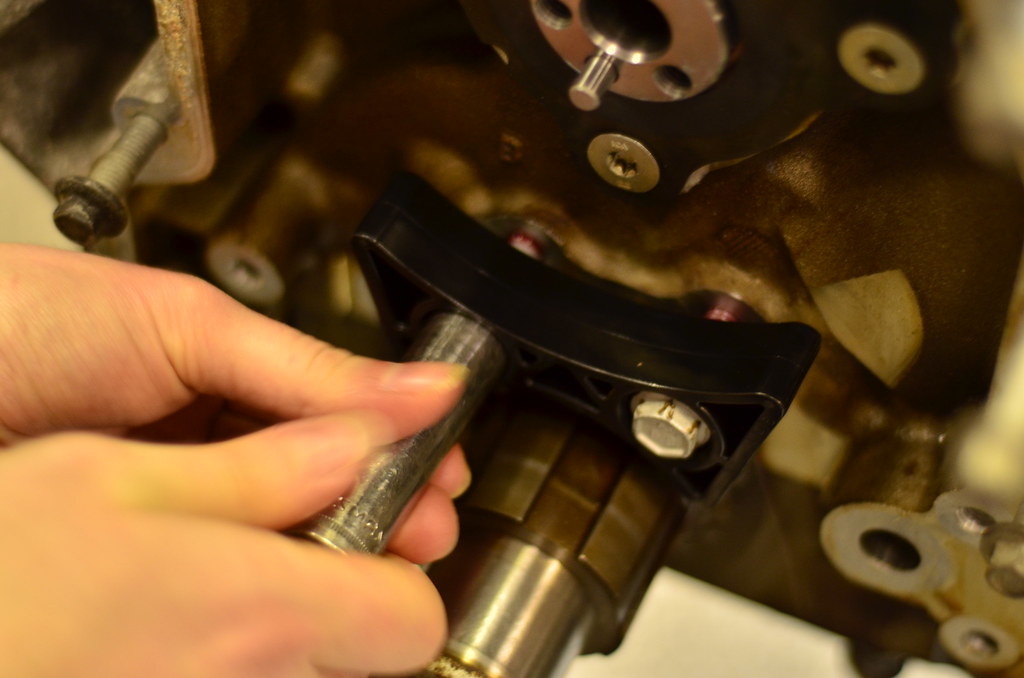
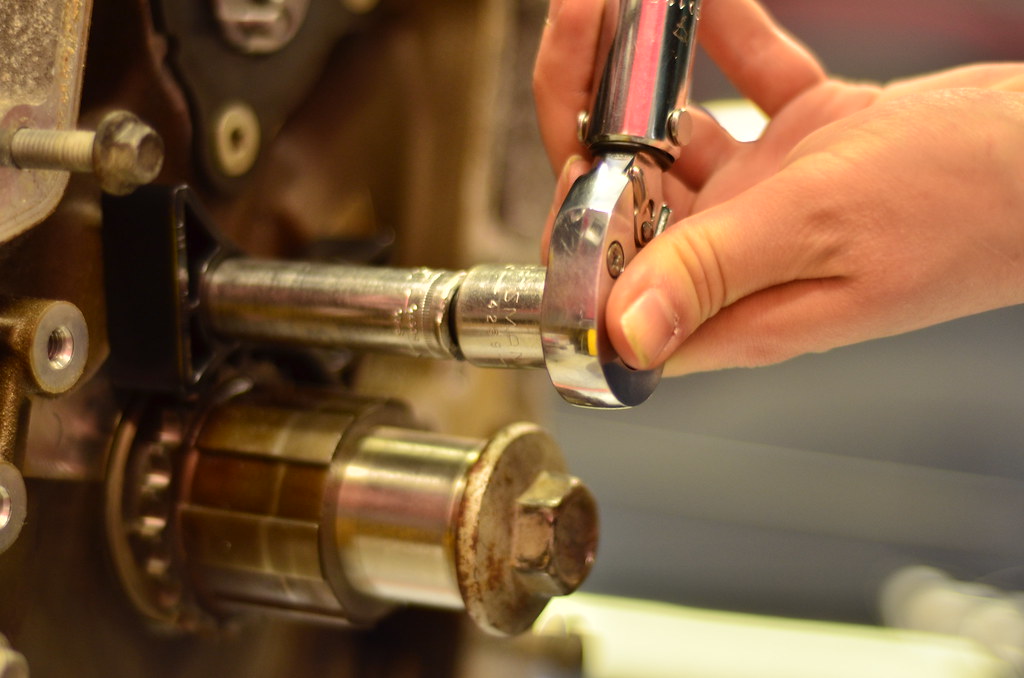
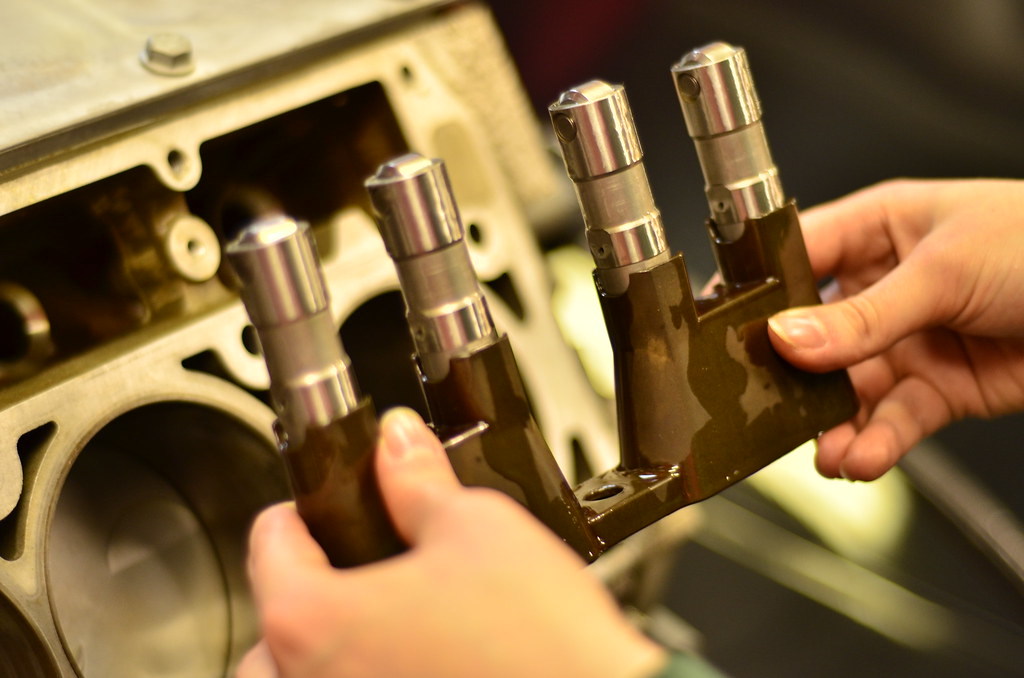
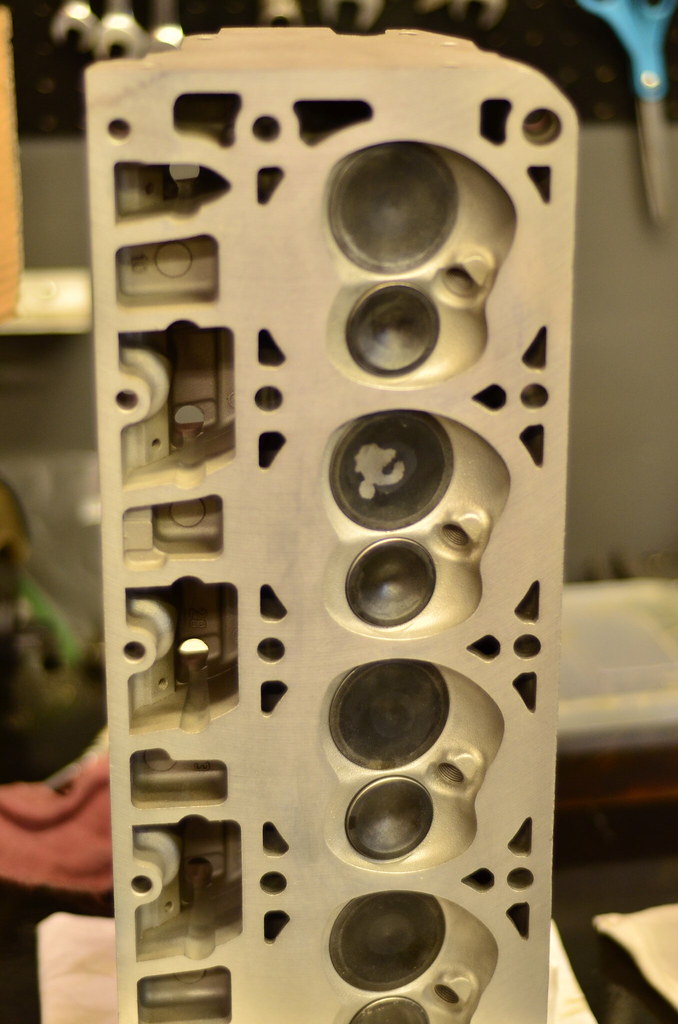
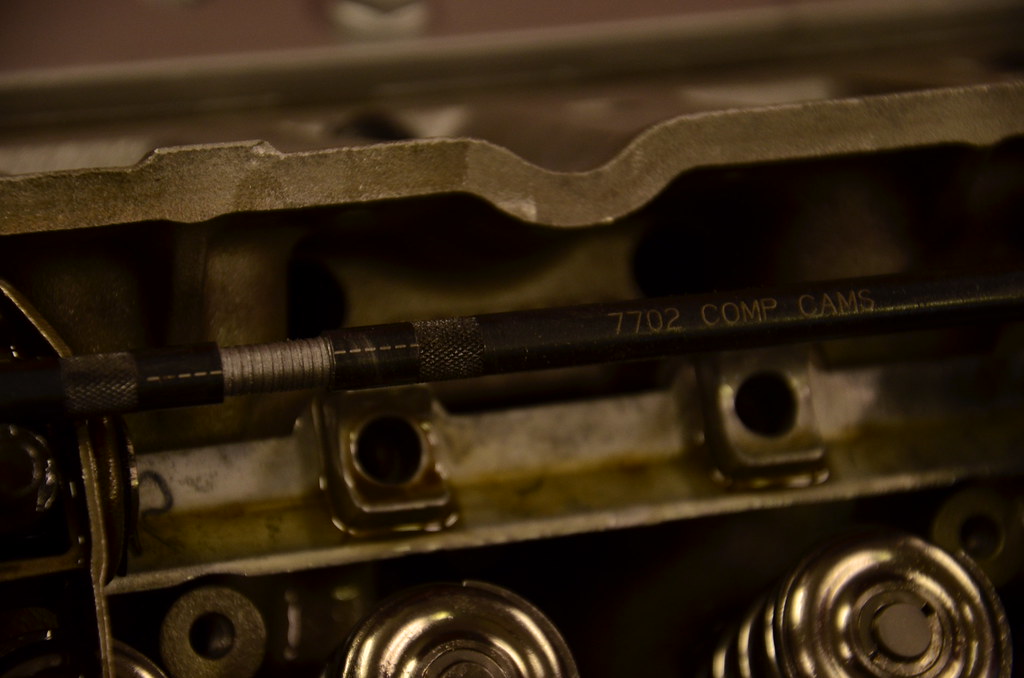
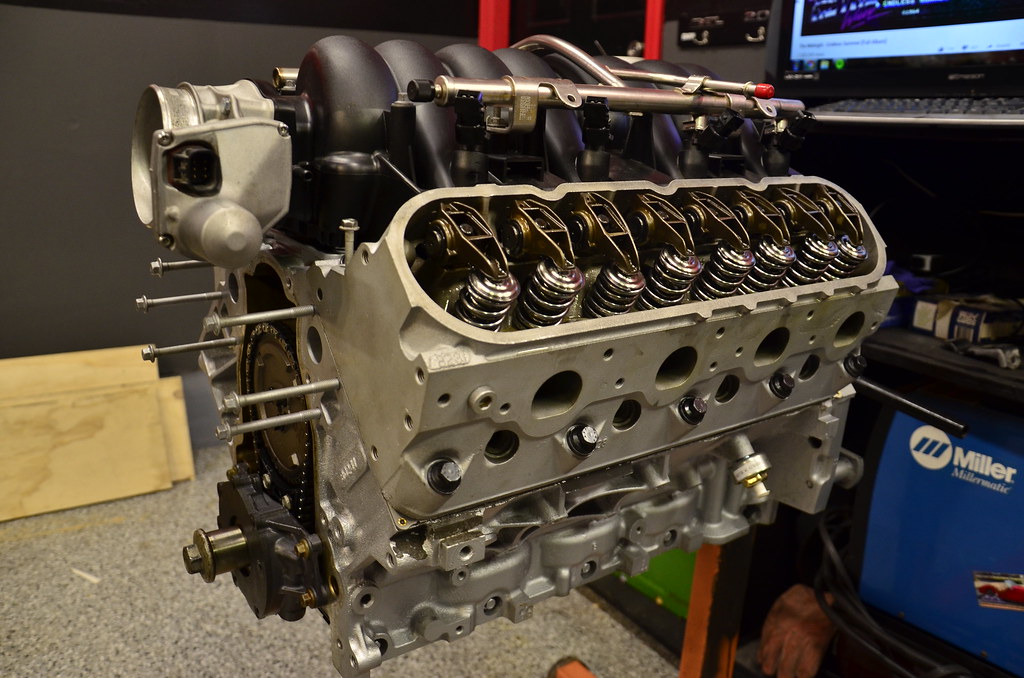
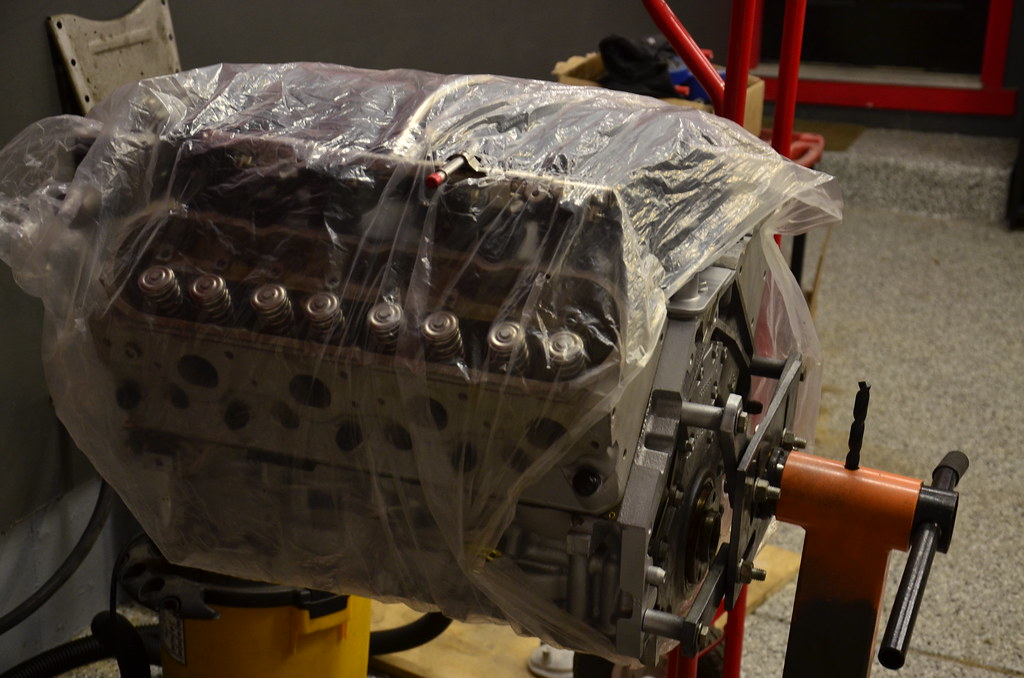
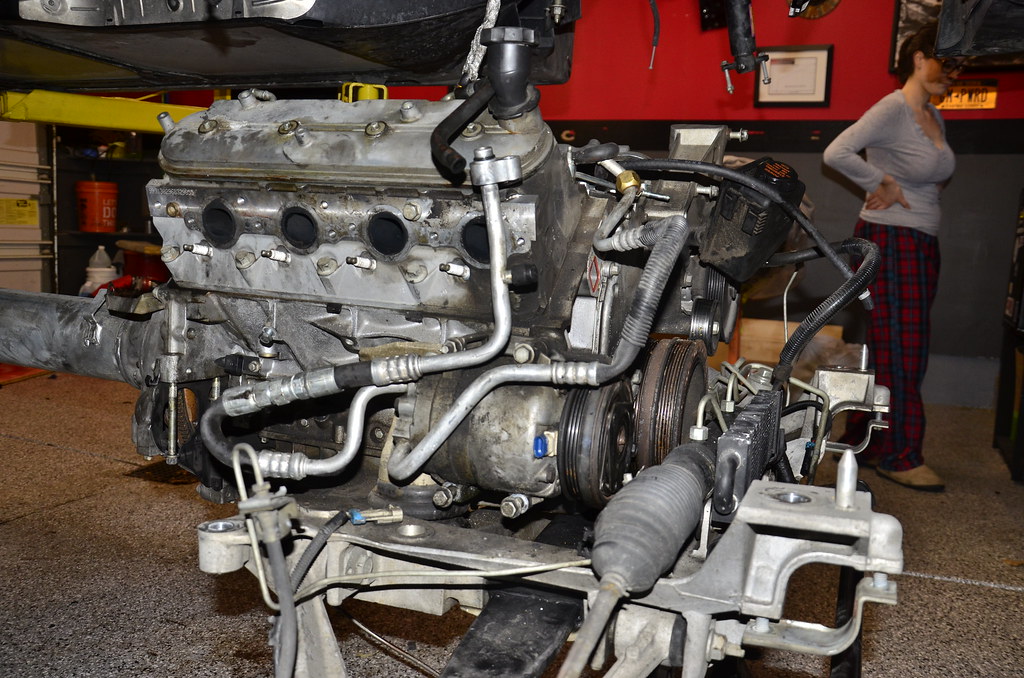
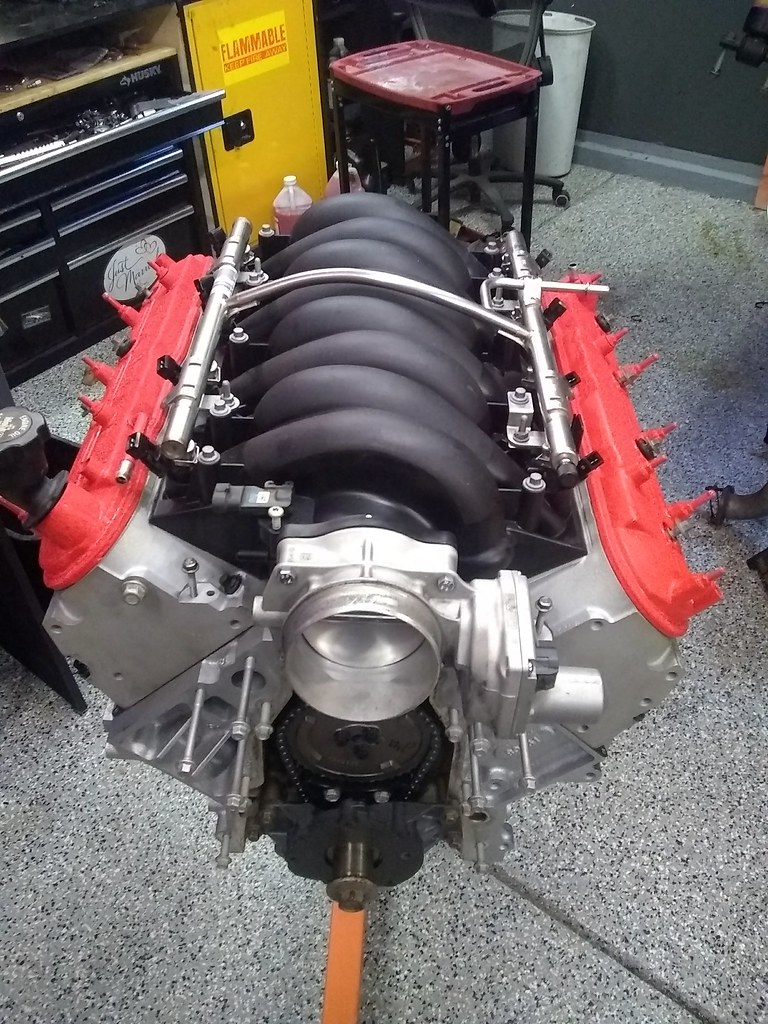
I need to buy a 12 point socket to install the pushrods and rockers tomorrow, then the new motor is nearly done. Now it’s beer time.