Dat floor doe
lol had a little labia minora and majora action going on
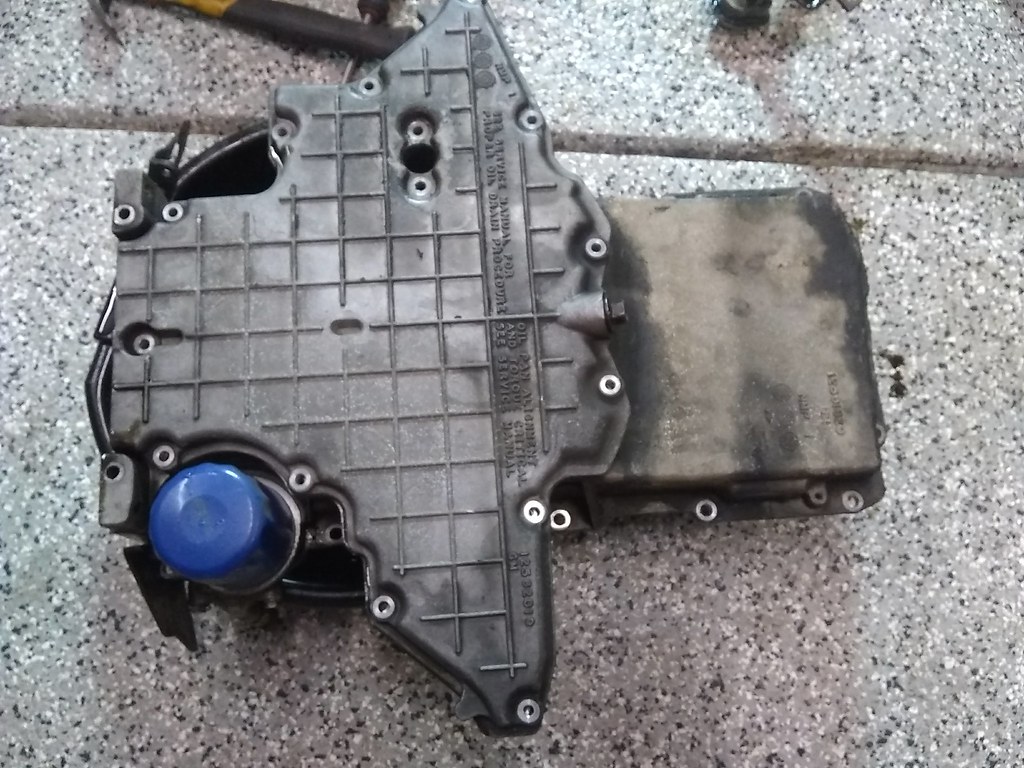
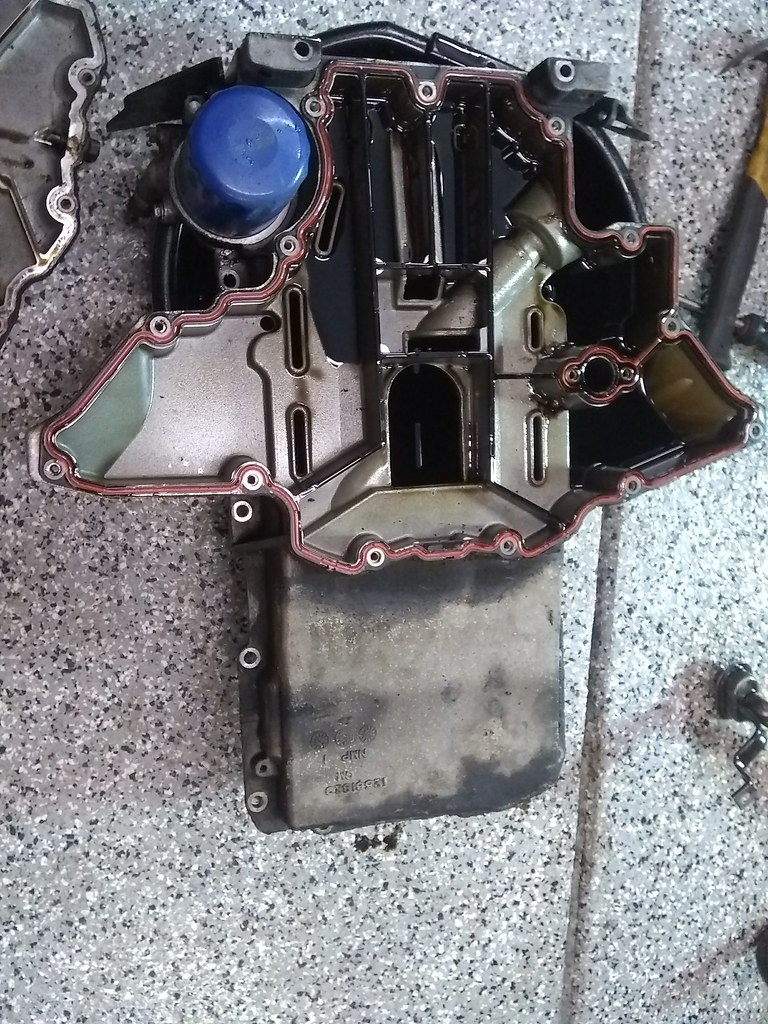
Finally split the oil pan in 2, I need to power wash it and install the Improved Racing trapdoor baffles and Oil Cooler Tstat. Again, pretty clean inside…

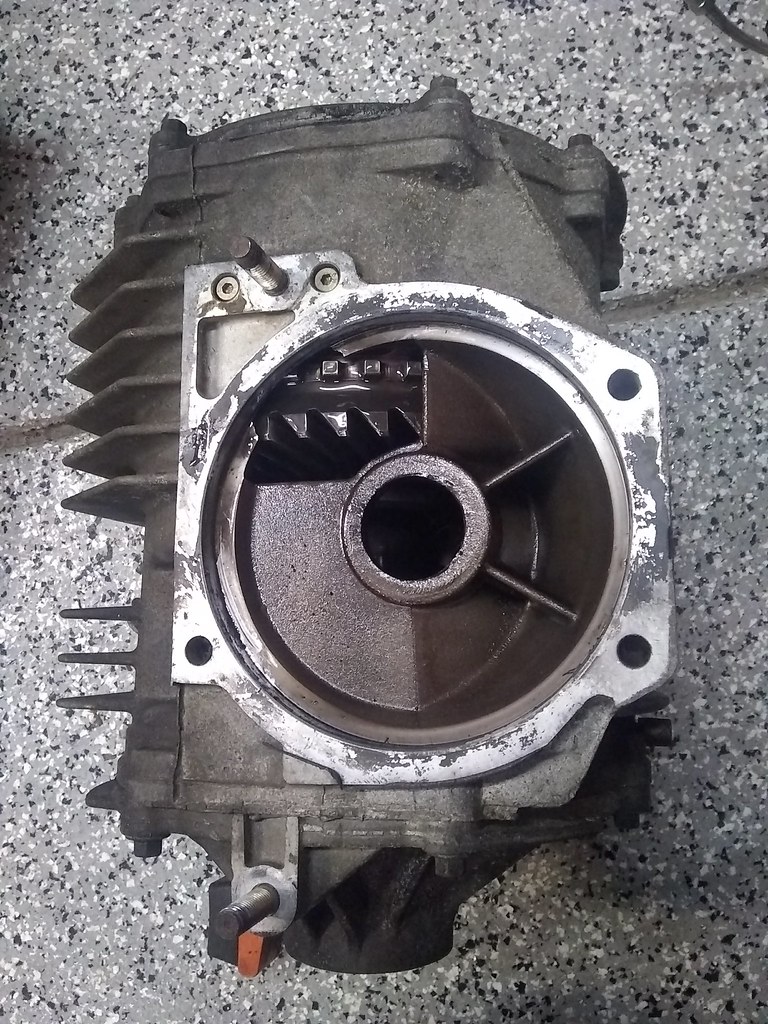
Separated the diff from the trans, gotta send it out to have the gears replaced…started whining pretty bad halfway through last summer.
Long time no update, but I’ve been cranking away on this thing at least a couple days a week. I have a ton more pictures on my Nikon, but these potato pictures will have to do for now. Some of the future posts may be a bit out of order…
I bought the Improved Racing oil cooler adapter that was specific to the C5 Corvette and of course it didn’t fit. The outlet port went right into my long tube header. Nothing about any potential fitment issues on their website…

I then bought their universal “low profile LS” version and it will work fine, but will require some trickery. I’m big on using the OEM sensor wherever possible for the sake of reliability and ease of replacement, but 1) the location of the sensor points it too far away for the factory harness to reach, and 2) the adapter only accepts a 1/8" pipe thread, where the sensor is an M12x1.5 thread. More on that later.

Had my dad make up some oil cooler lines
 IMAG0719 by Norbert Ogiba, on Flickr
I installed the other Improved Racing product (oil pan trap doors) and got the oil pan installed. New oil level sensor and temp sensor of course


Starting to look like a motor

Time to get the ARP bolt cranked down to a million foot pounds. Since the ATI damper has a cut out for a keyway (and I’m not installing a key), the underside of the bolt head and face of the crank snout got a coating of RTV, with plenty of red loctite on the threads.


Brace the engine underneath and lean on the torque wrench until your eyeballs pop out of your head (aka 240 ft-lbs)

I like the extra wood brace for torquing :tup:
How’s the floor holding up?
My cherry picker casters were starting to bind up so I grabbed some big ole rubber replacements from HF and welded them right on. So much easier to roll over cracks in the concrete now, especially when you have 500 lbs hanging. My wife saw it and asked, "are you taking that thing off roading anytime soon?
[url=https://flic.kr/p/23mh1zf]
My rebuilt 4.10s came back, I am hoping they are silent once broken in.

The old LS1 went to a new home, it will get refreshed and stuck in another C5.

LS7 flywheel was cleaned liberally with brake parts cleaner and bolted back up with Red Loctite

While I was waiting on some parts, I finished the refresh of the calipers. They were blasted down to bare aluminum, painted with high temp silver, red paint applied to the lettering, then high temp clear. Lastly I installed new piston seals and boots, pin boots, and hardware. Once they’re on the car I’ll install new stainless braided lines all around and flush with fresh Motul 600.


With the majority of major components finished up internally there was no reason not to bolt it all together and hang it on the subframes.


One thing that bothered me since Day 1 of owning this thing was the awful condition of the power steering cooler. It obviously had tools dropped on it over the course of 18 years, so the fins were all other the place. I used a set of feeler gauges to straighten everything out. Here’s a 50/50 shot.


Right before paint

-
-
- Updated - - -
-
Once the drivetrain assembly was back together I stuck it back in the car. Nothing really to document there, just slow reassembly using the “list” I wrote when taking apart the car. Made it really easy to follow.
One thing I really wanted to retain was the LS3 acoustic cover and the LS3 Corvette engine covers for the “OEM+” look. The acoustic cover had to have the rearmost “rib” chopped off to clear the cowl, and the engine covers needed some trimming at the rear (invisible when installed).
There’s nothing quite like taking a cutoff wheel to a new engine cover. I used to cringe at this stuff, now I love it


God damn very nice! Also just FYI, when I torqued down the crank pulley on the viper I had a 6 foot bar on the wrench and I still don’t think it reached its spec 
Diligent work on that cooler :tup:
Looks like its almost done! Looks great!
I thought you might want to know, you have a twin (sort of).
https://hudsonvalley.craigslist.org/cto/d/1998-chevrolet-corvette-6/6529187538.html
C5 Mafia!
I was thinking the same thing.
![]()
You’d think we would be extra cautious with that oil cooler adapter after our incident with my car, haha.