Went out for some folding chairs

How much did the Huron exhaust setup set you back? I have their turbo kit on my fbody, they seem to do some pretty nice stuff for the price.

I’ll be interested in hearing it. I’ve been pondering long tubes. But I’ve also been pondering selling one or both of my cars…I wish I could keep my mind on one desire for more than a few days haha

solid pick up man. good call on the exhaust option. i probably would’ve done the same thing in your situation lol :tup: to v8 noises

http://shop.huronspeedproducts.com/XSPower-C5-Longtube-Header-System-XSPC5LTH.htm

They are having a sale now, $50 and free shipping

Yeah, I am pumped to get it back together and start driving it.

Longtubes came in much earlier than expected! I ordered them Sunday night and they were waiting for me Thursday afternoon. Not bad for a company that is closed this week and didn’t expect to ship til next.

Boxes were wrapped up nicely. Cat was looking over the boxes, unfortunately I got the catless model, sorry lil guy

https://farm2.staticflickr.com/1479/24499373713_83a4bf9101_b.jpg_DSC4721 by Norbert Ogiba, on Flickr

https://farm2.staticflickr.com/1581/25032928181_1cfd319455_b.jpg_DSC4723 by Norbert Ogiba, on Flickr

https://farm2.staticflickr.com/1644/25032916021_e43931f949_b.jpg_DSC4725 by Norbert Ogiba, on Flickr

https://farm2.staticflickr.com/1481/24499334983_1fd65295bf_b.jpg_DSC4726 by Norbert Ogiba, on Flickr

https://farm2.staticflickr.com/1561/25126164285_a203062615_b.jpg_DSC4727 by Norbert Ogiba, on Flickr

https://farm2.staticflickr.com/1569/24830510870_51354d3b4d_b.jpg_DSC4728 by Norbert Ogiba, on Flickr

https://farm2.staticflickr.com/1451/24495459904_81792238bd_b.jpg_DSC4729 by Norbert Ogiba, on Flickr

I didn’t look too closely at the fabrication quality yet but initial impressions are good. We will see how the fitment is, I have heard good things.

Starting the install. The midpipes were already removed since I had been repairing the stock ones
https://farm2.staticflickr.com/1597/25099789226_14cde66686_b.jpg_DSC4730 by Norbert Ogiba, on Flickr

Fuel Rail Covers off. I need to scrub these things in some hot soapy water.
https://farm2.staticflickr.com/1595/24758429359_cdfa9bb6fa_b.jpg_DSC4731 by Norbert Ogiba, on Flickr

Battery disconnected and removed.
https://farm2.staticflickr.com/1579/24495422574_ae41d73578_b.jpg_DSC4734 by Norbert Ogiba, on Flickr

Belt de-tensioned. Also note that I wrapped the radiator cover in 3M CF vinyl. Started wrapping the headlight bezels as well.
https://farm2.staticflickr.com/1639/24830450260_8fb7c89d20_b.jpg_DSC4735 by Norbert Ogiba, on Flickr

Alternator removed and placed aside (I didn’t remove the big battery positive terminal)
https://farm2.staticflickr.com/1718/25126079345_2d83438917_b.jpg_DSC4737 by Norbert Ogiba, on Flickr

There’s not a lot of room by the accessories so rather than remove the belt completely I just tucked it in the alt bracket so that it’ll be easy to slip on later.
https://farm2.staticflickr.com/1702/25126066765_4f90b834d4_b.jpg_DSC4738 by Norbert Ogiba, on Flickr

Driver’s coils and AIR stuff removed. I’ll probably end up pulling both valve covers and scrubbing them clean
https://farm2.staticflickr.com/1585/24499211593_ce419046d1_b.jpg_DSC4740 by Norbert Ogiba, on Flickr

Also started fabbing the cutout pipes that will be welded to the x-pipe. Need to deburr and tack this flange (the cutout valve and turndown will bolt to the flange)
https://farm2.staticflickr.com/1652/24758579919_d2b892735f_b.jpg_DSC4714 by Norbert Ogiba, on Flickr

saddle cut with a hole saw. I may need to cut it with a 3" hole saw to saddle to the new x-pipe properly
https://farm2.staticflickr.com/1656/24758546089_b8b365f5bb_b.jpg_DSC4720 by Norbert Ogiba, on Flickr

I have a giant hole saw kit at the shop if you need anything :tup:

I’ll take a 3" for sure

Im sure you would

http://gifsec.com/wp-content/uploads/GIF/2014/08/Dear-God-Its-beautiful.gif?gs=a

Nice progress!

From the factory is this car rated at 385hp or was it 345hp?

i think 345

they bumped it to 350 in 2001-2004 for non-Z06 models by using the LS6 intake and changing a few other things
2001 Z06 (LS6 motor) was 385hp, 02-04 Z06 was king of the hill with 405hp using 243 heads, hotter cam, LS6 intake, less restrictive exhaust, and a few other things

MMMMMMM Chicken

Fried Rice Combo

I’ll post up a pic of the vanity plate later. time to go ride sleds now

Cut off and weld up those EGR ports.

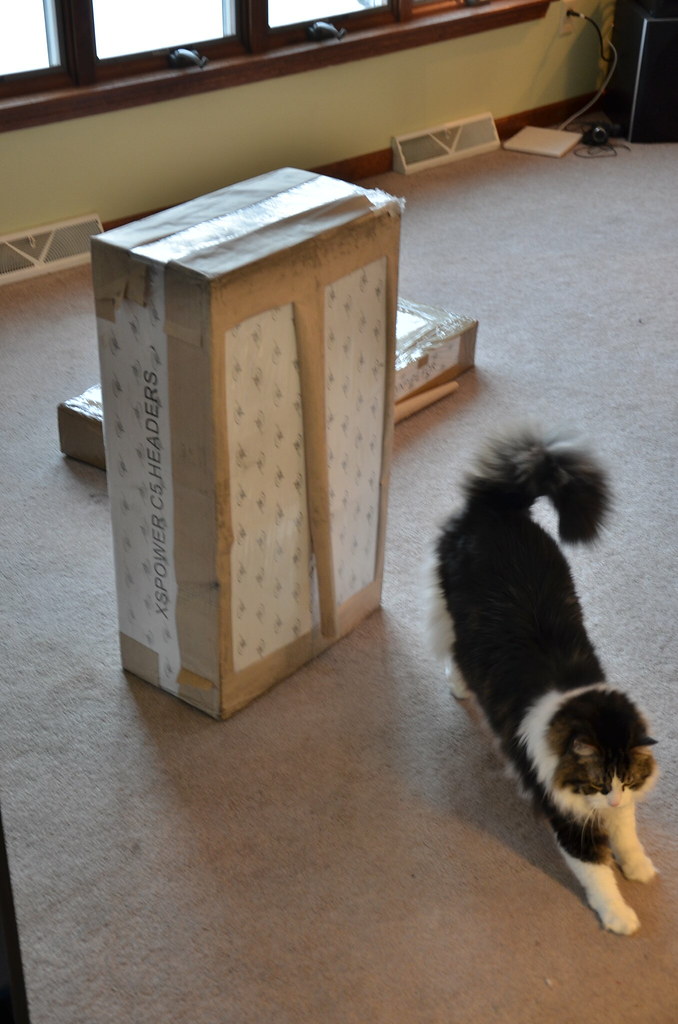
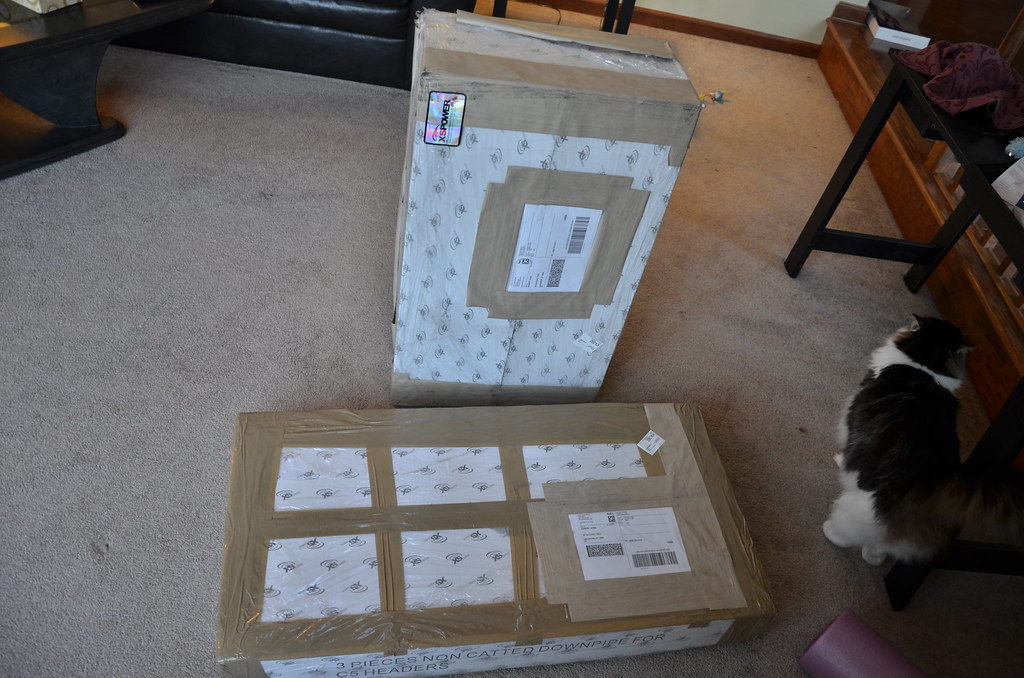
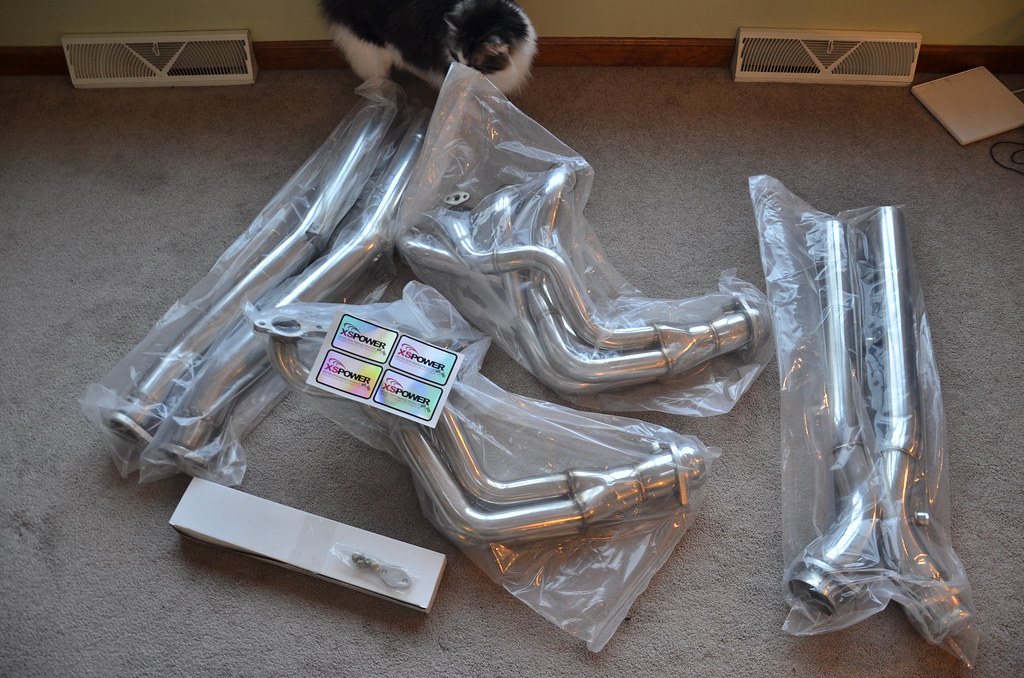
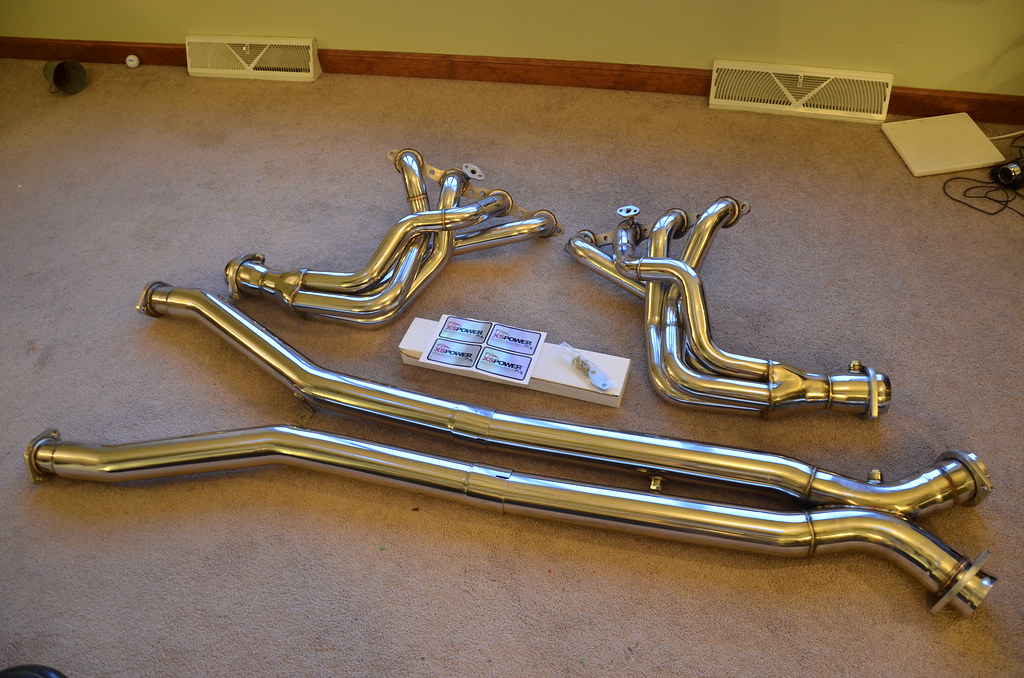
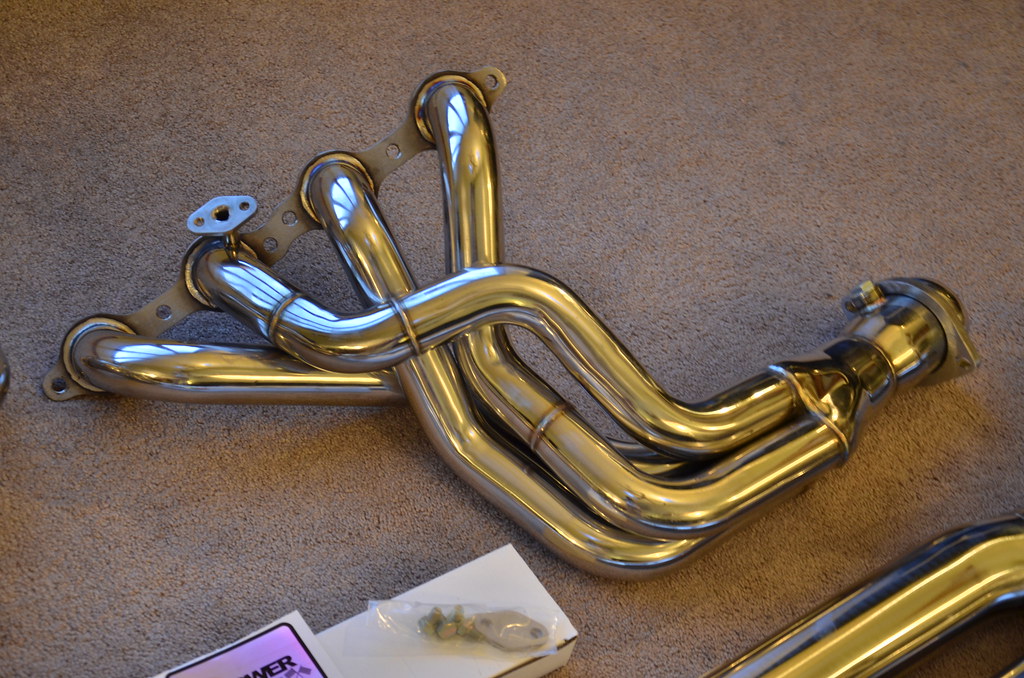
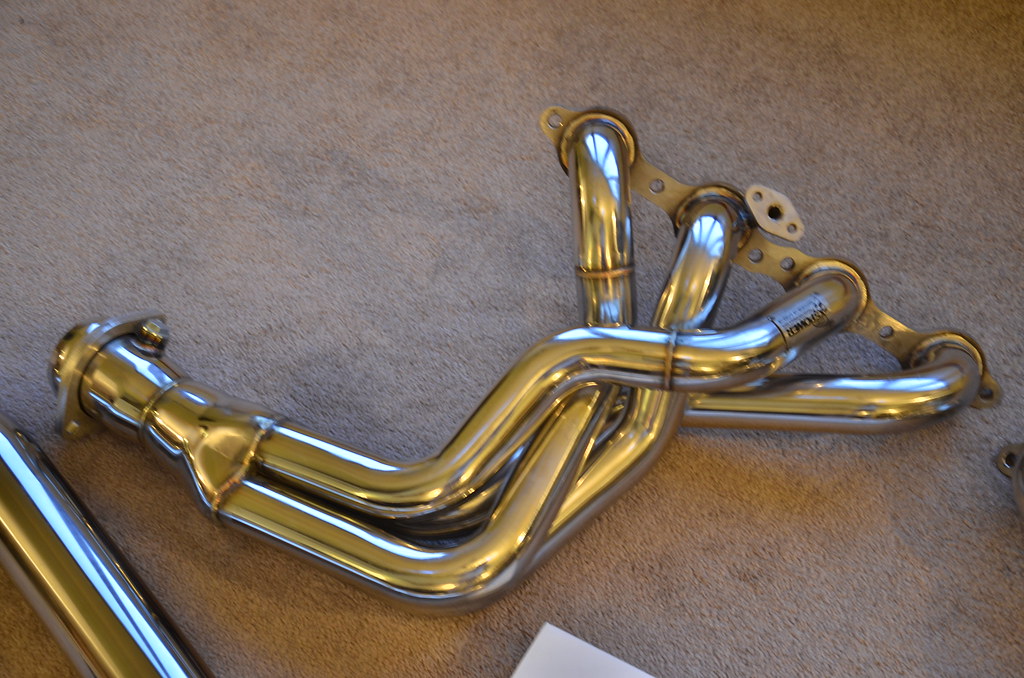
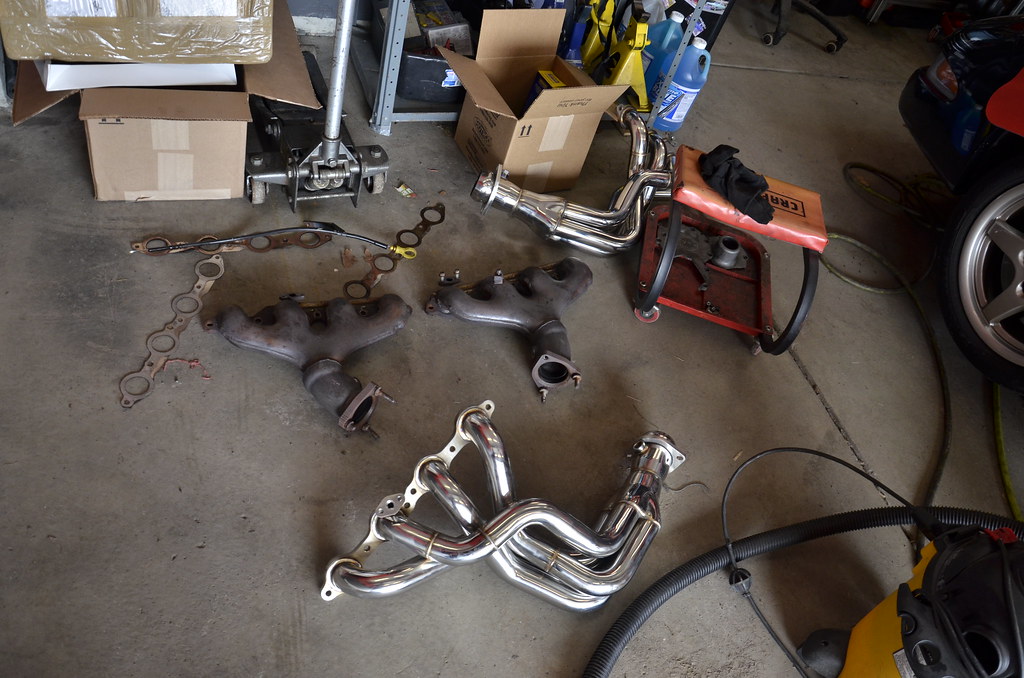
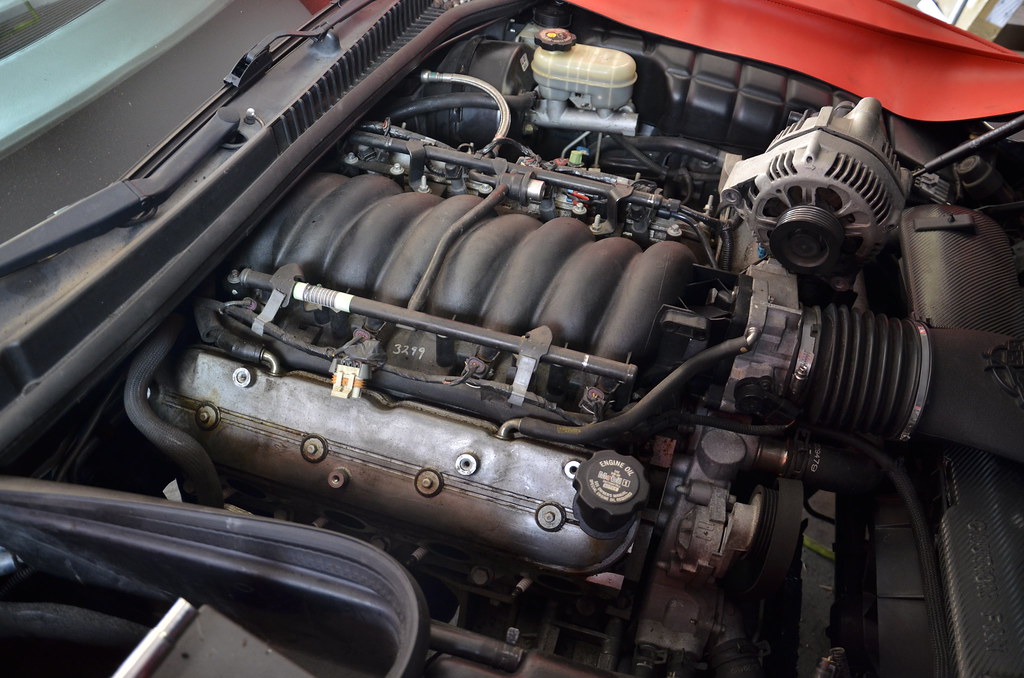
been busy. installed the headers over the weekend

got the old stuff out, came out pretty easy

https://farm2.staticflickr.com/1566/24928376070_bb3172e418_b.jpg_DSC4741 by Norbert Ogiba, on Flickr

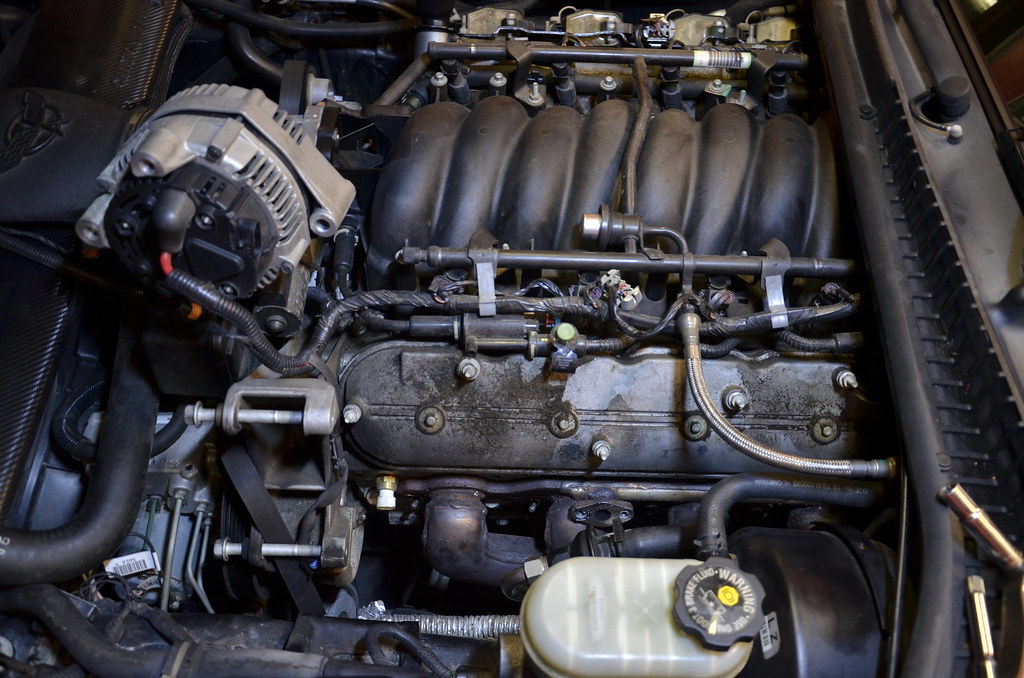
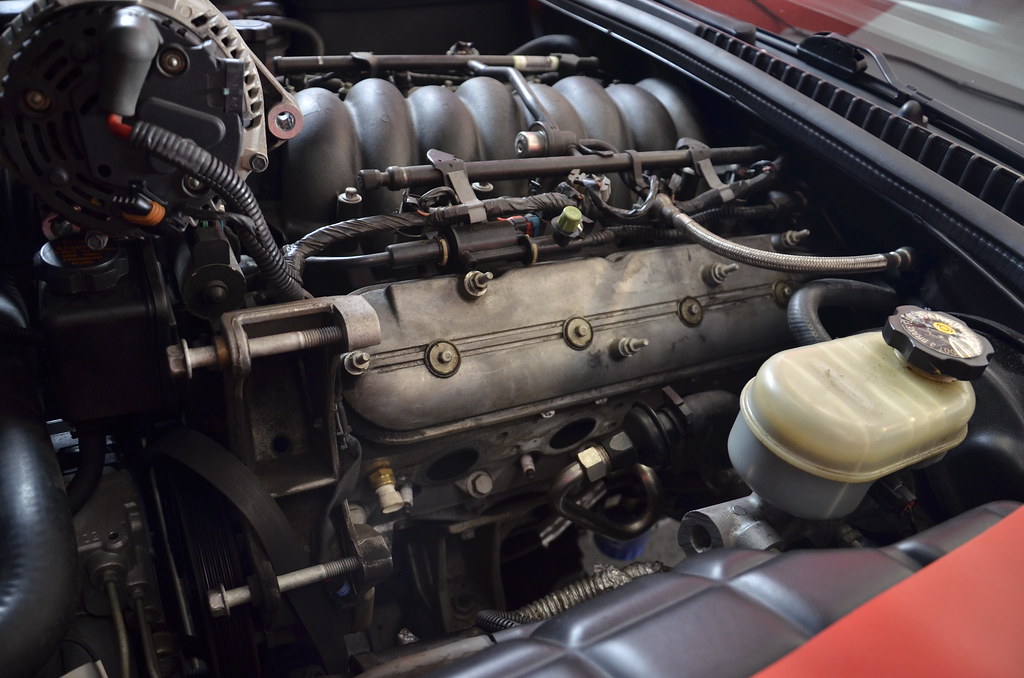
shop vac’d and cleaned the valve covers, 16 years of grime
https://farm2.staticflickr.com/1569/24597153923_6547bff6b9_b.jpg_DSC4742 by Norbert Ogiba, on Flickr

https://farm2.staticflickr.com/1603/25130748181_9c524af423_b.jpg_DSC4743 by Norbert Ogiba, on Flickr

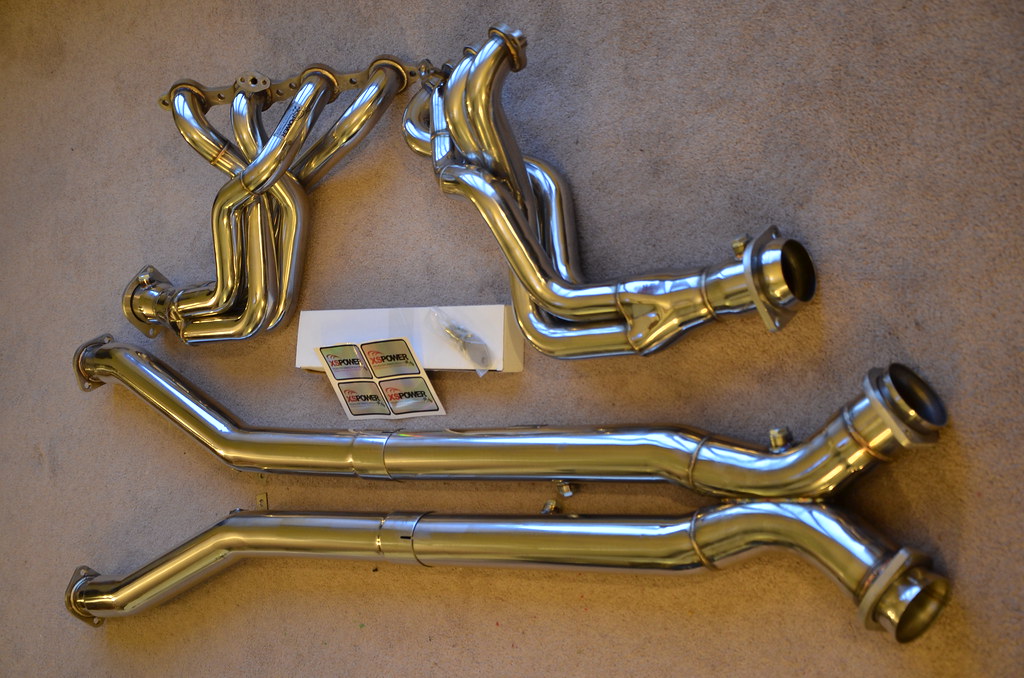
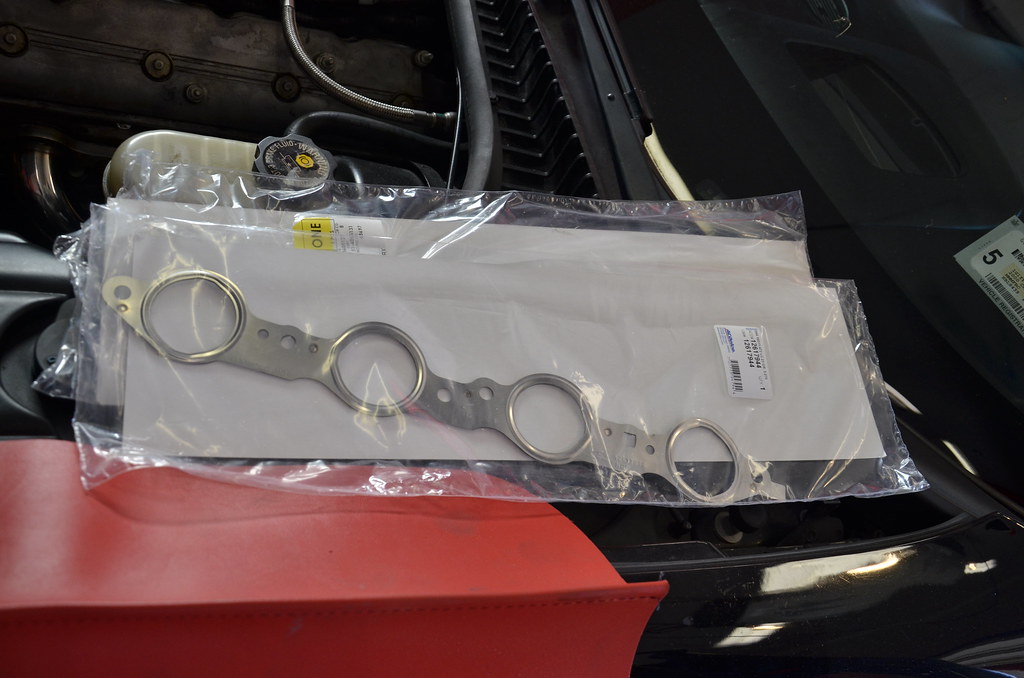
dropped by the dealer around the corner for some new MLS gaskets. I thought the ones that came with the headers would be the crappy imported perforated metal/paper type by they also seemed to be of the MLS construction. Never had a bad experience with the OEM GM gaskets though so they went in.

https://farm2.staticflickr.com/1681/24597130203_d855b195b3_b.jpg_DSC4744 by Norbert Ogiba, on Flickr

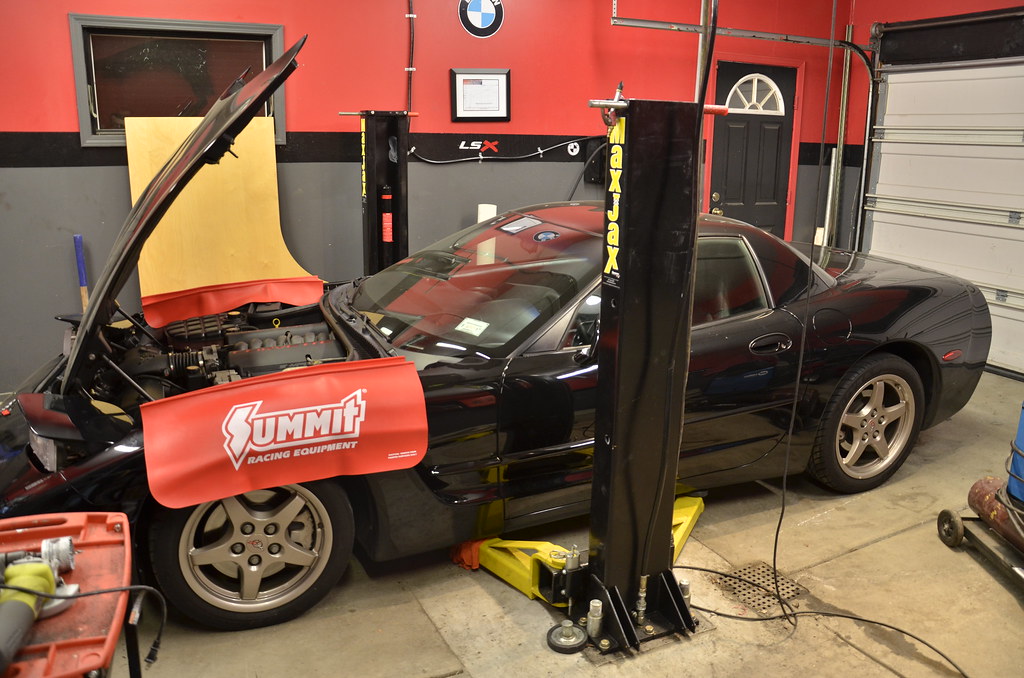
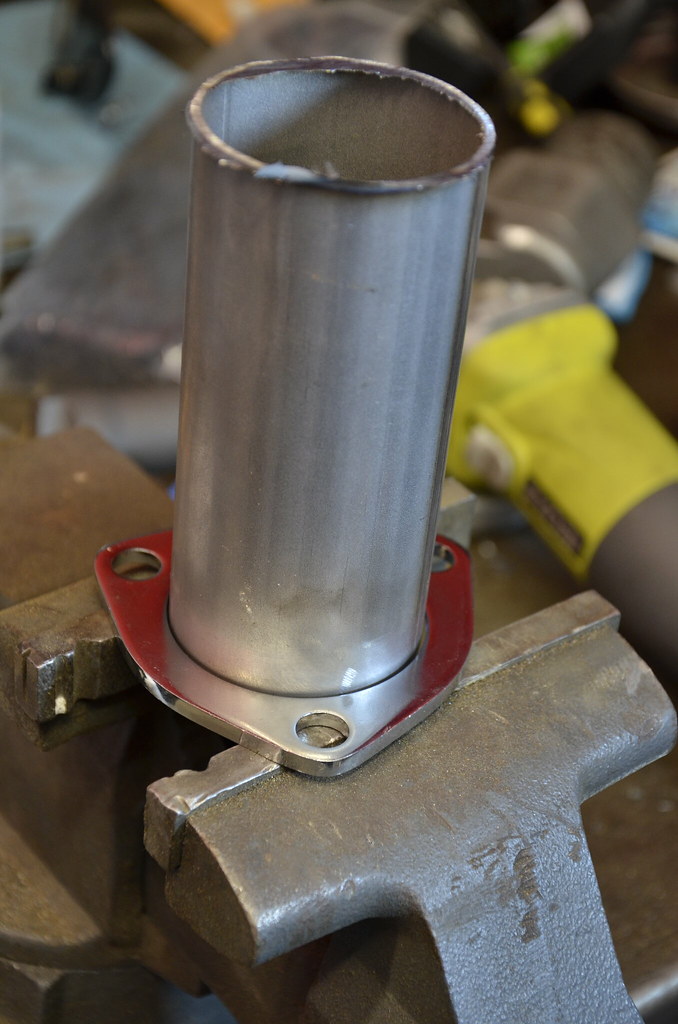
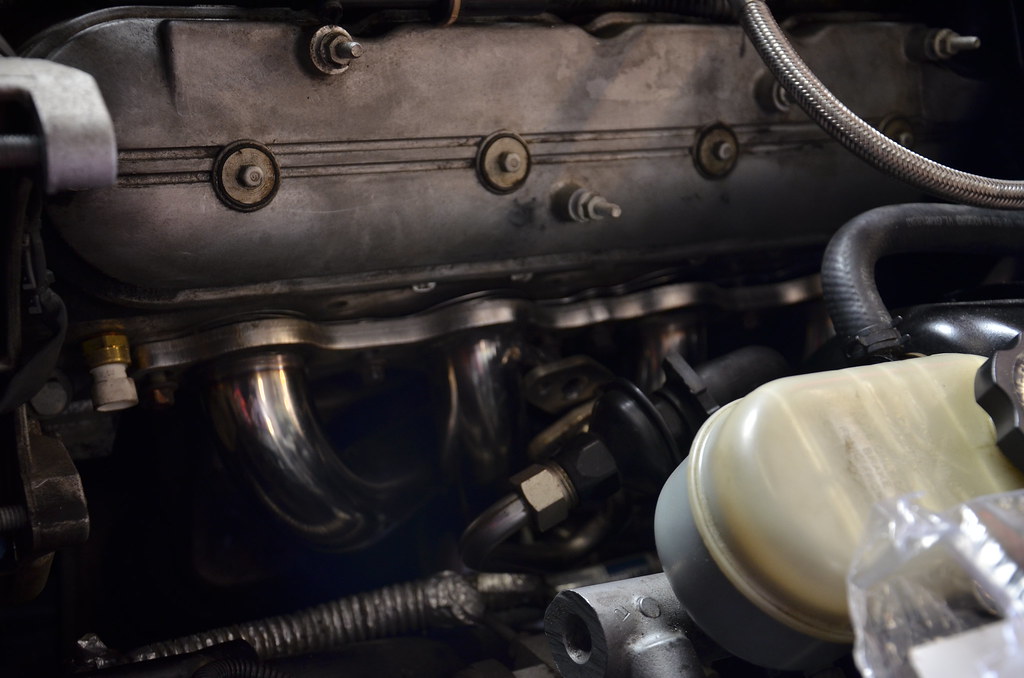
at this point I dropped the hammer and got the longtubes in. they fought me at first but I finally wrestled them in. It’s a tight fit on both sides for sure. Had to grind a portion of bellhousing on the driver’s side and slid those in from the bottom. On the passenger side they went in from the top after removing the starter and dipstick.

https://farm2.staticflickr.com/1624/25105666822_8d14f91264_b.jpg_DSC4745 by Norbert Ogiba, on Flickr

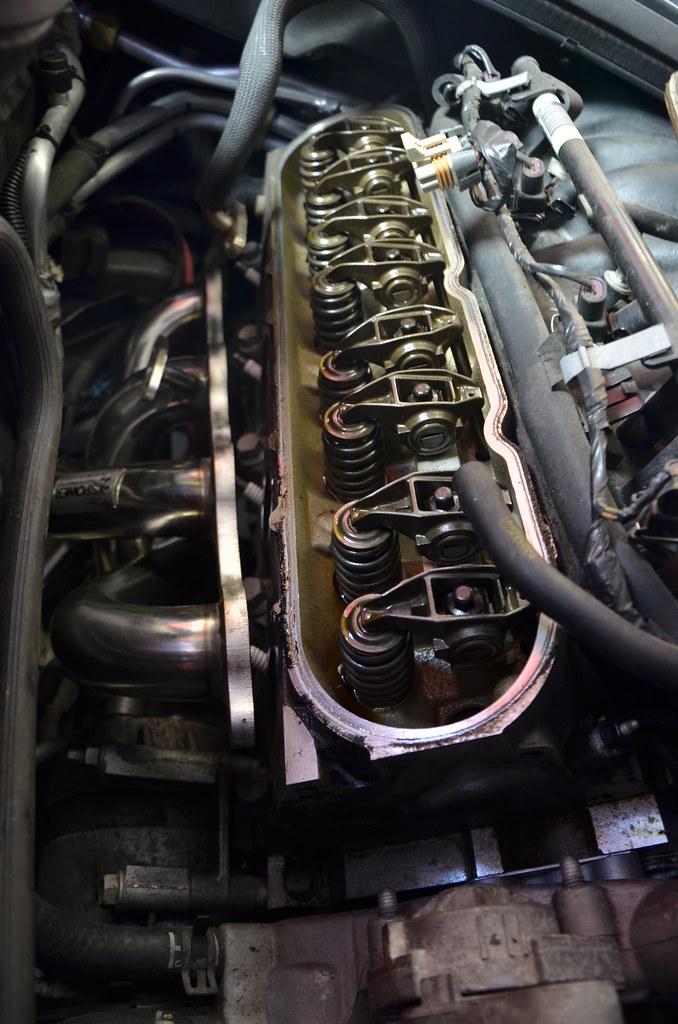
on the passenger side the valve cover had to come off to make some room. good time to inspect the valvetrain, very clean for 105K.

https://farm2.staticflickr.com/1669/24856230029_1986222d72_b.jpg_DSC4746 by Norbert Ogiba, on Flickr

while removing the rear sway bar end links to make room for installing the Z06 Ti’s the looked to be trashed, so I picked up metal construction, beefy Moog replacements with nice grease fittings for serviceability.

https://farm2.staticflickr.com/1618/24856217289_0773ba6969_b.jpg_
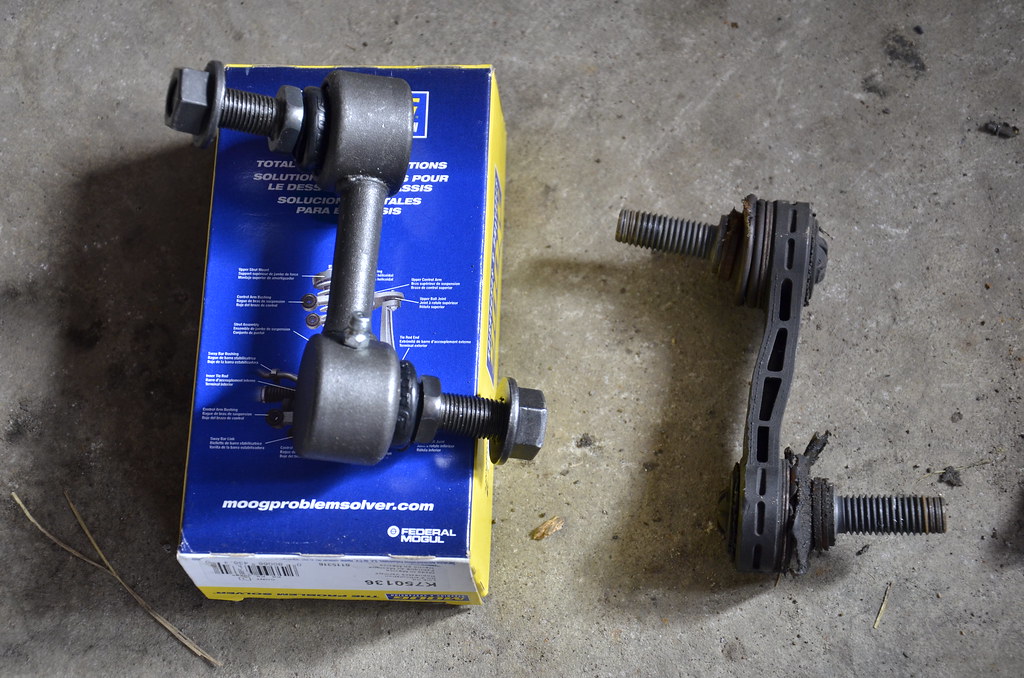
DSC4747 by Norbert Ogiba, on Flickr

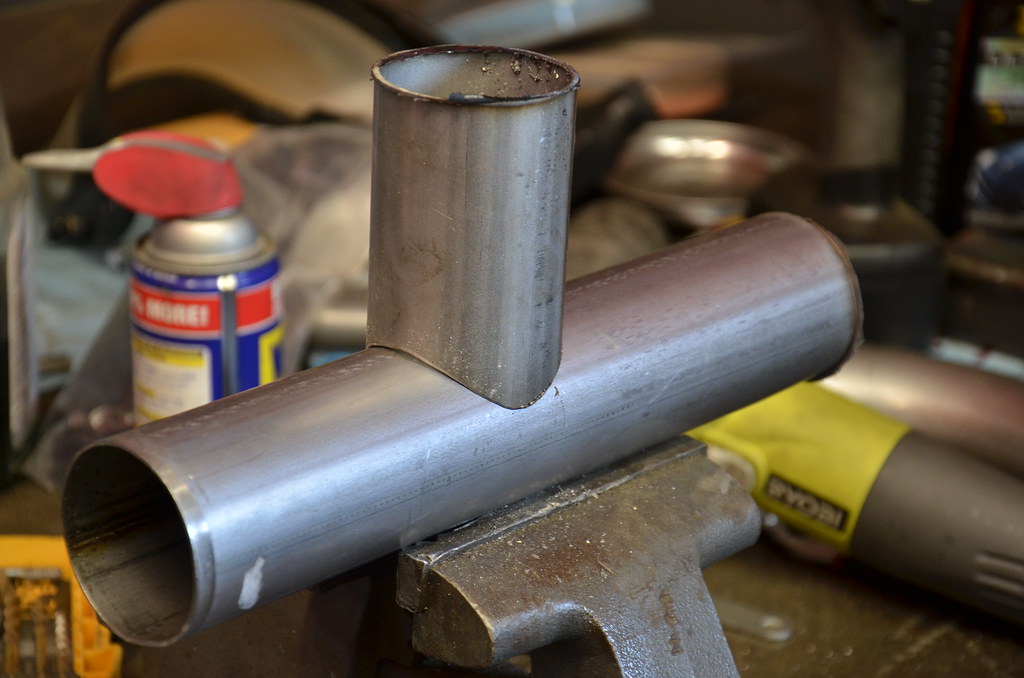
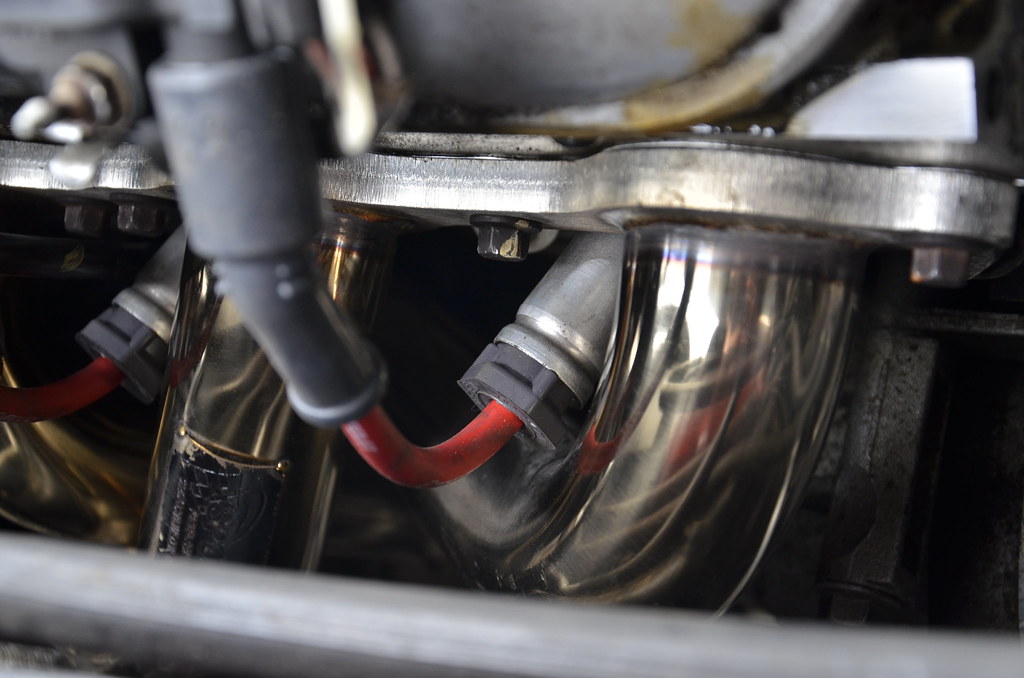
with the headers loosely bolted in I installed the x pipe and intermediate pipes underneath and connected everything. Everything tucked up nicely, no problems. Finally I tightened down the headers, x pipe, intermediates, and axleback. Before wrapping up the install I cleaned everything with IPA so that any fingerprints/grease wouldn’t get burned onto the pipes and look bad.

https://farm2.staticflickr.com/1671/25105630652_eb0c3f4c5a_b.jpg_DSC4748 by Norbert Ogiba, on Flickr

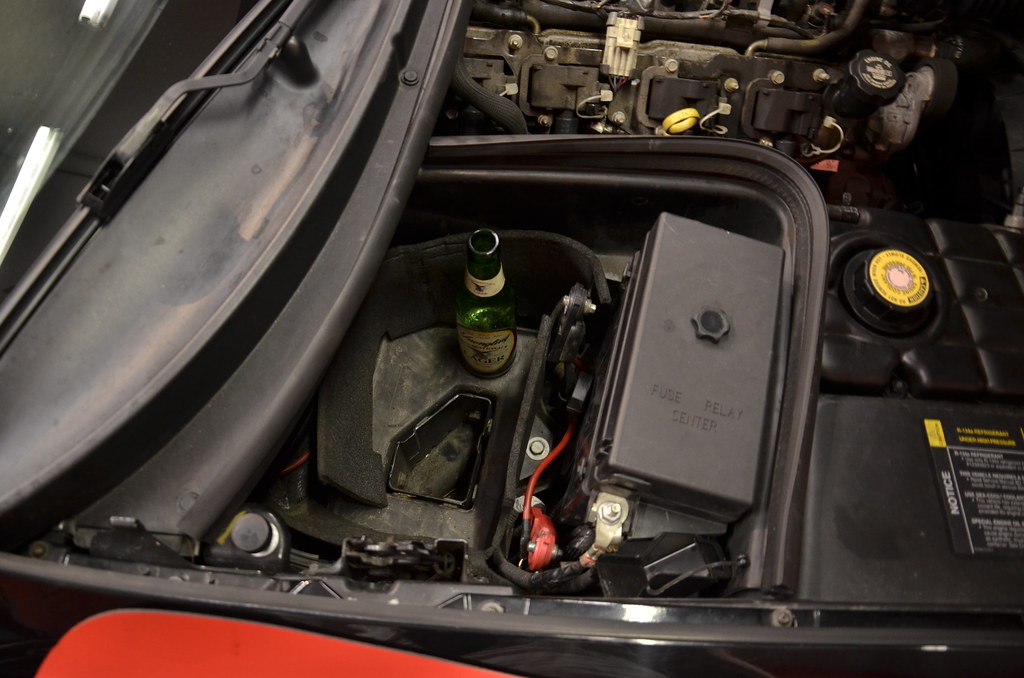
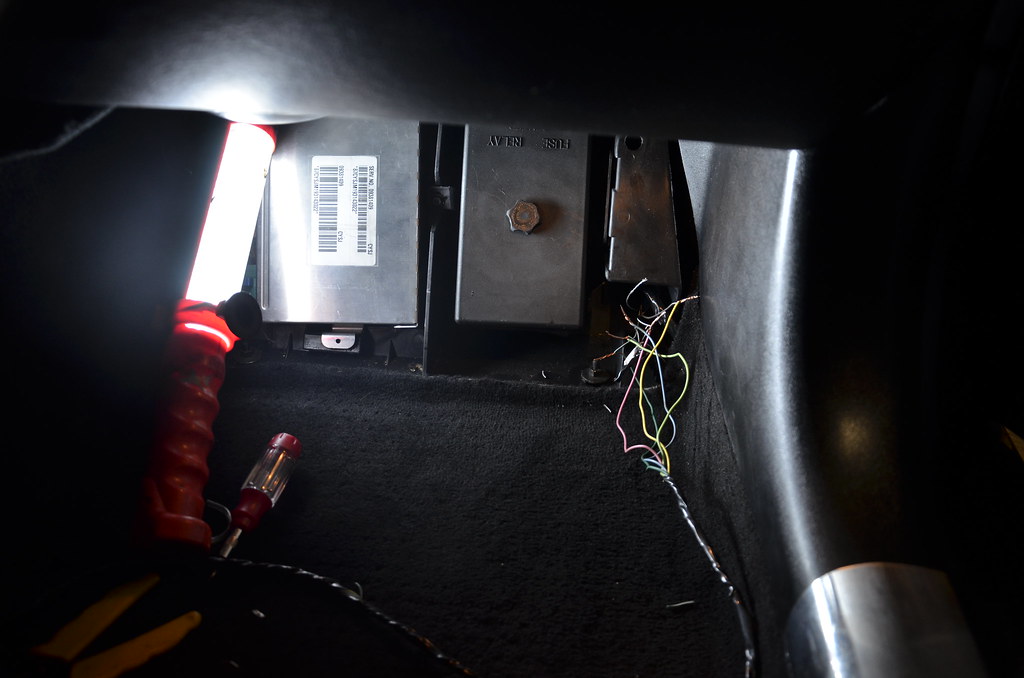
Coil packs, wires, AIR crap all back in.

https://farm2.staticflickr.com/1496/25223891495_181cfe15fb_b.jpg_
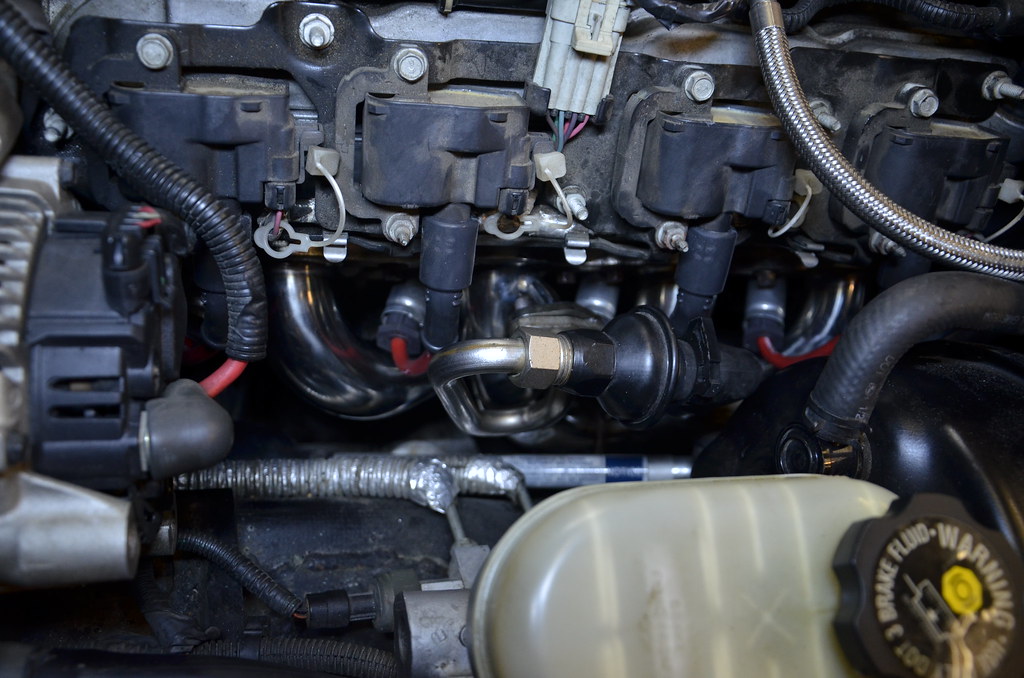
DSC4749 by Norbert Ogiba, on Flickr

https://farm2.staticflickr.com/1513/24928267850_3267973e1f_b.jpg_DSC4750 by Norbert Ogiba, on Flickr

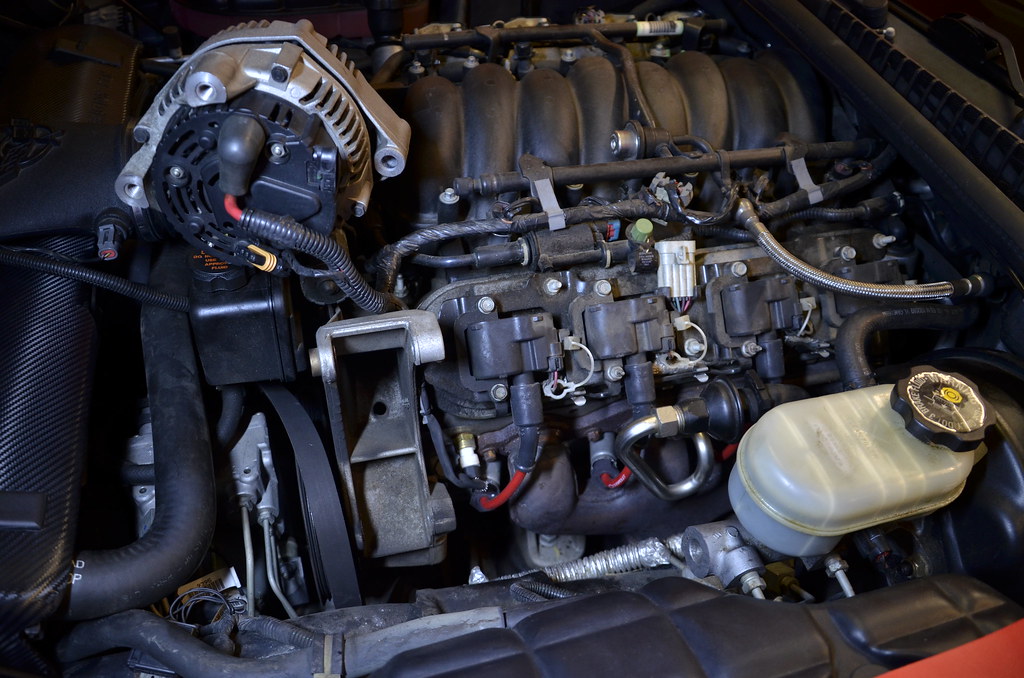
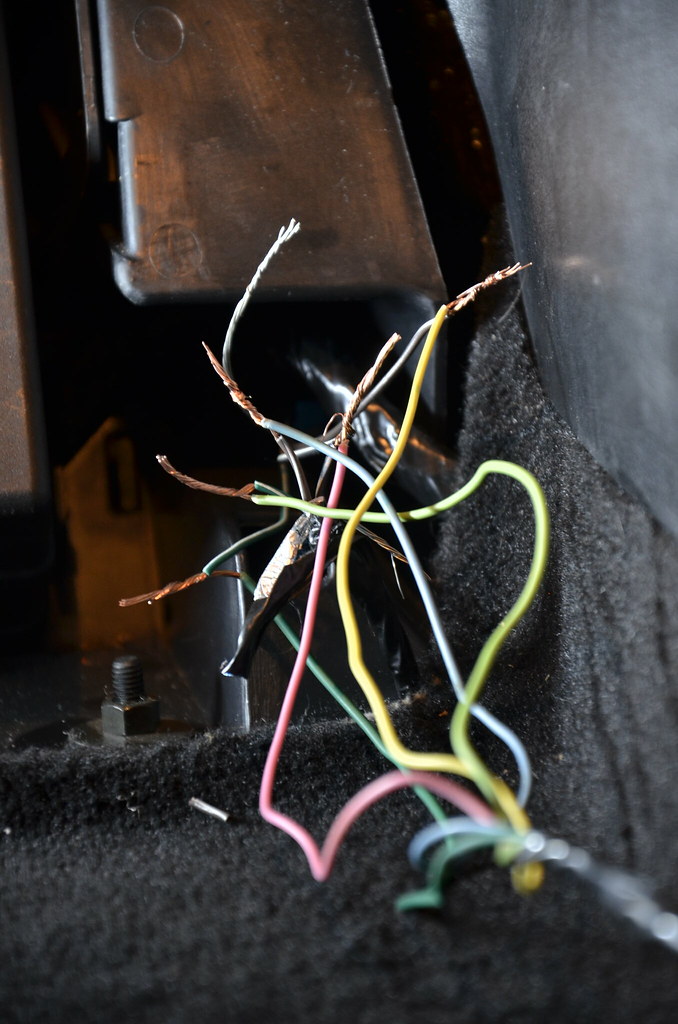
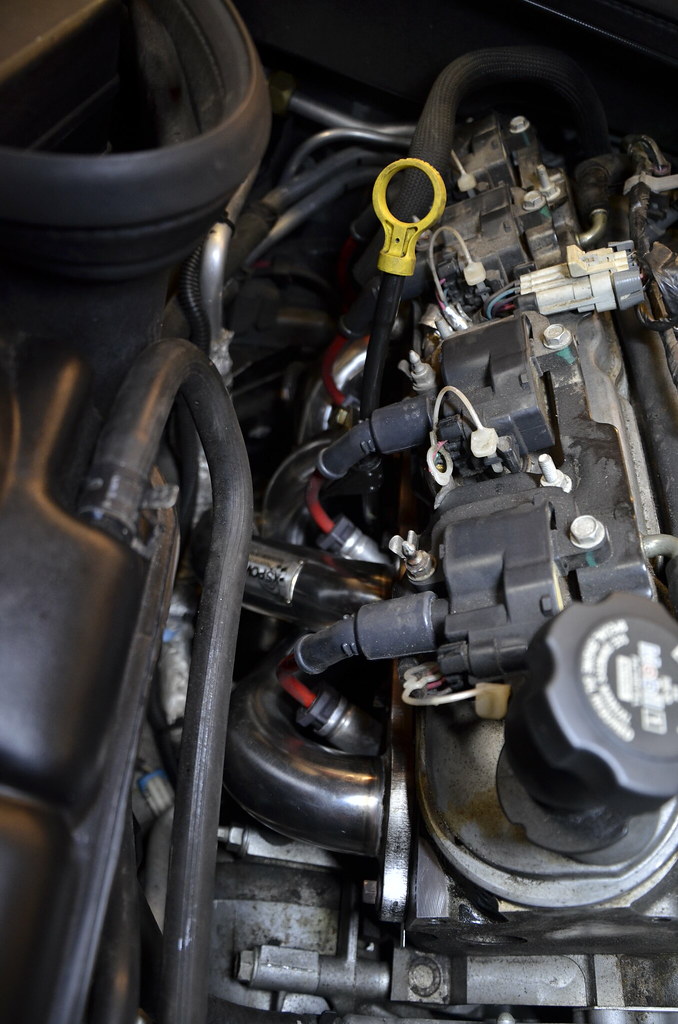
Wire clearance on one of the passenger side primaries was closer than I’d like, but I’ve put a couple hundred miles on so far with no issue. I’m really glad I kept the factory metal heat shields

https://farm2.staticflickr.com/1609/24593205474_78388bf2c5_b.jpg_DSC4751 by Norbert Ogiba, on Flickr

rather than upgrade to the newer 01-04 dipstick I made the older version work by bolting to the AIR fitting. the AIR won’t be around for long, will wait until I install the LS6 intake before tuning

https://farm2.staticflickr.com/1703/24928164630_f3c9d32820_b.jpg_DSC4752 by Norbert Ogiba, on Flickr

Fired her up, checked for leaks, the band clamps on the intermediate pipes suck, so I’ll replace those with proper quality ones

pipes getting nice and golden with heat, paid off to wipe them down

https://farm2.staticflickr.com/1559/25223857035_737c958d5d_b.jpg_DSC4755 by Norbert Ogiba, on Flickr

https://farm2.staticflickr.com/1687/24593184174_f37b6f3e8b_b.jpg_DSC4756 by Norbert Ogiba, on Flickr

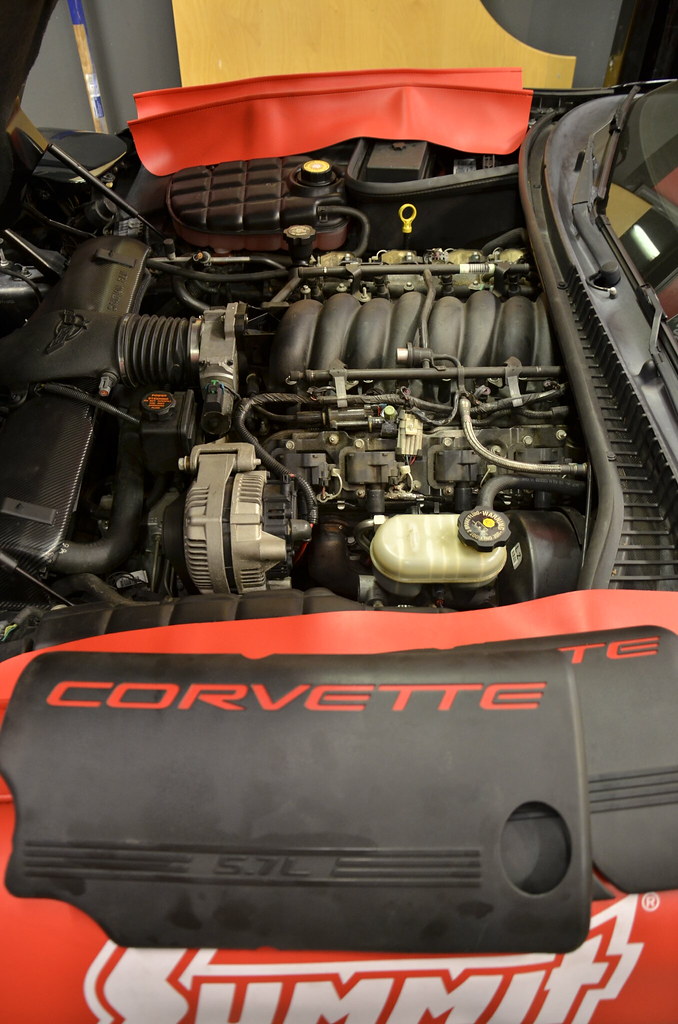
Looks stock otherwise, fuel rail covers are off to get scrubbed
https://farm2.staticflickr.com/1597/24597016003_f91e990066_b.jpg_
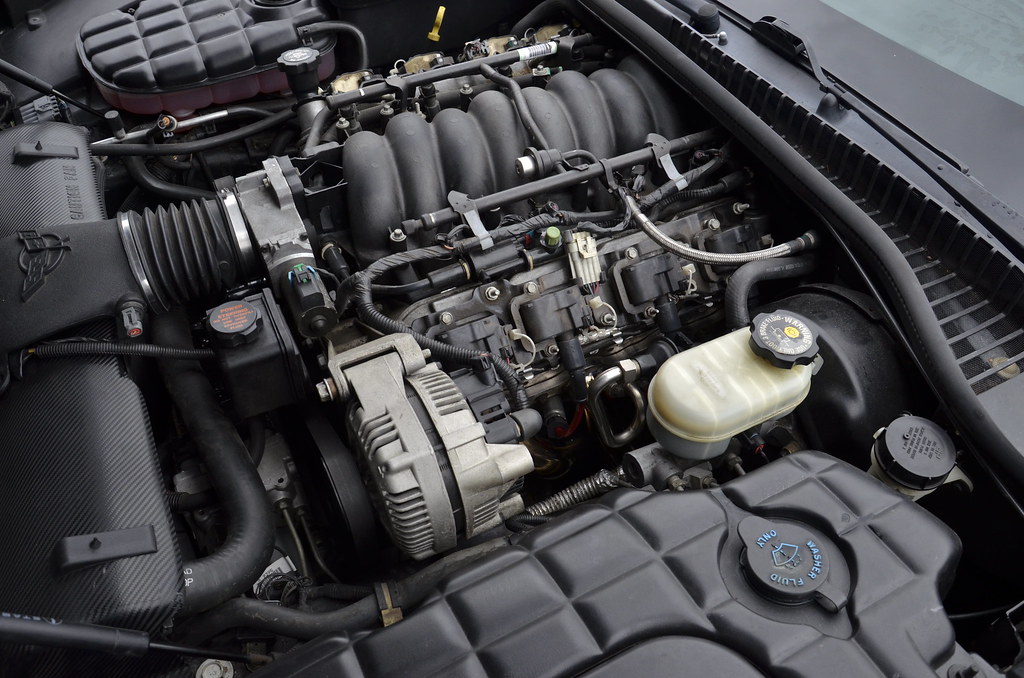
DSC4757 by Norbert Ogiba, on Flickr

removed the headlight bezels and wrapped with Carbon Fiber Vinyl, ended that night with a treat

https://farm2.staticflickr.com/1659/24593153494_618b7b720e_b.jpg_
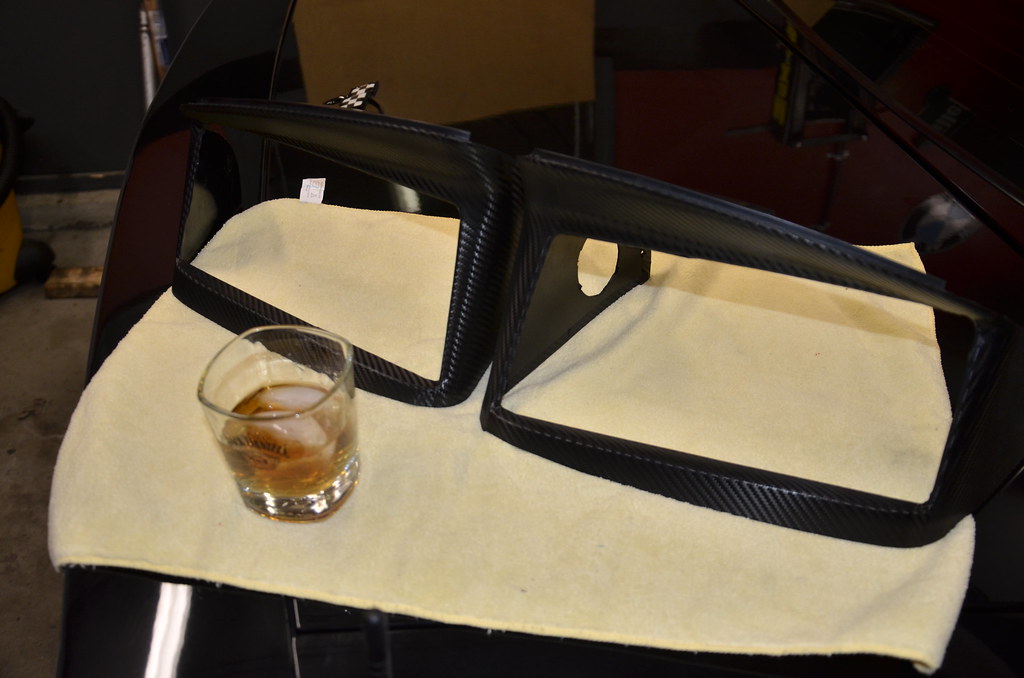
DSC4759 by Norbert Ogiba, on Flickr

https://farm2.staticflickr.com/1718/24856097509_09a73eaf77_b.jpg_
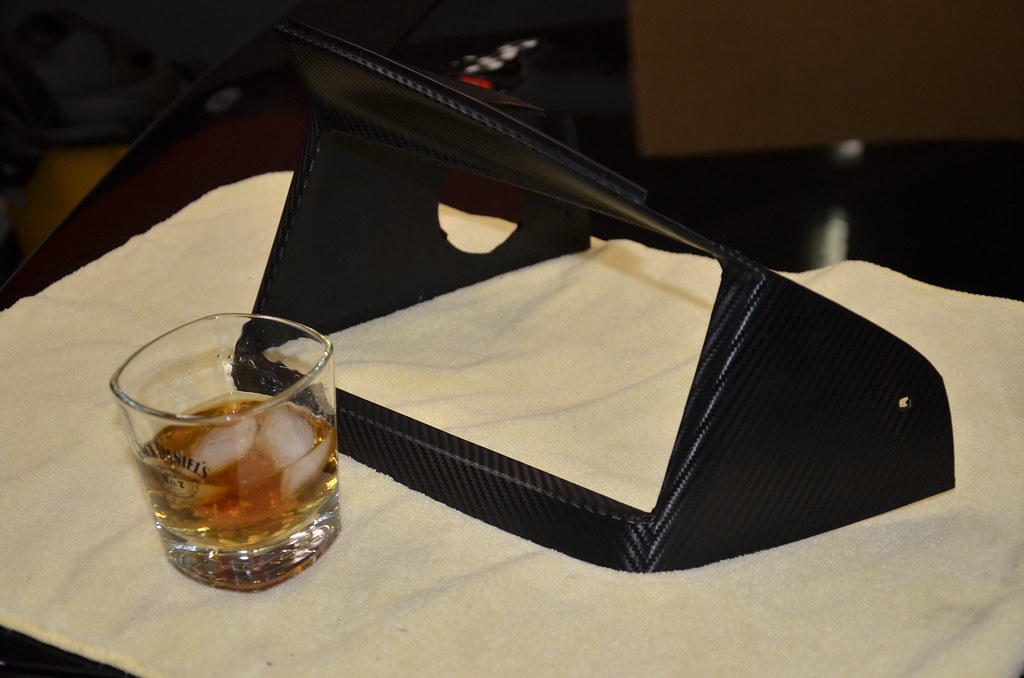
DSC4760 by Norbert Ogiba, on Flickr

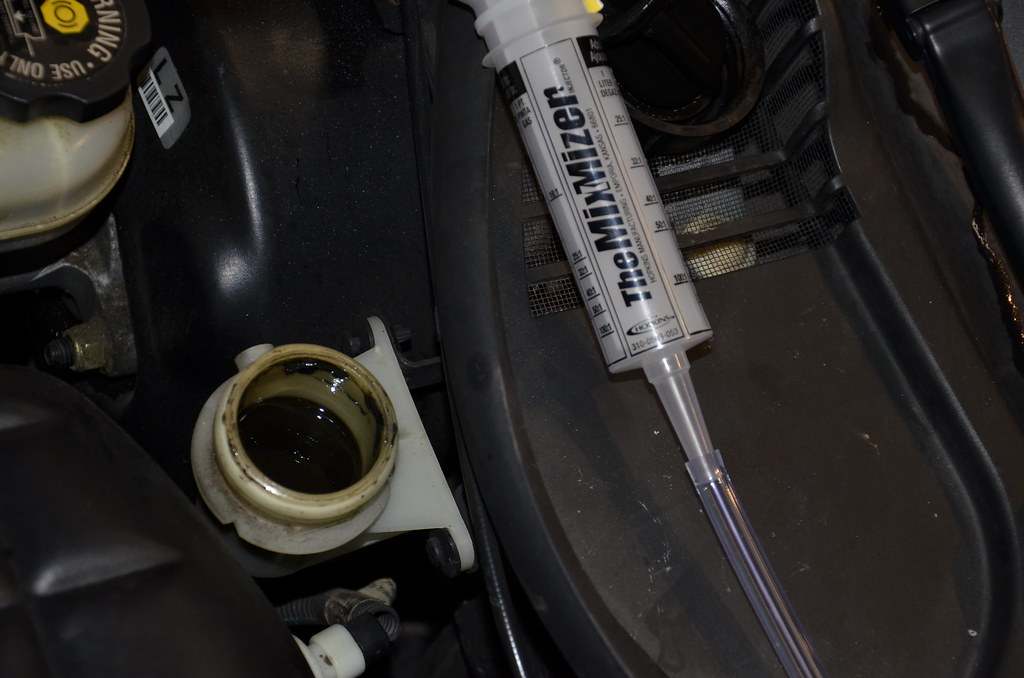
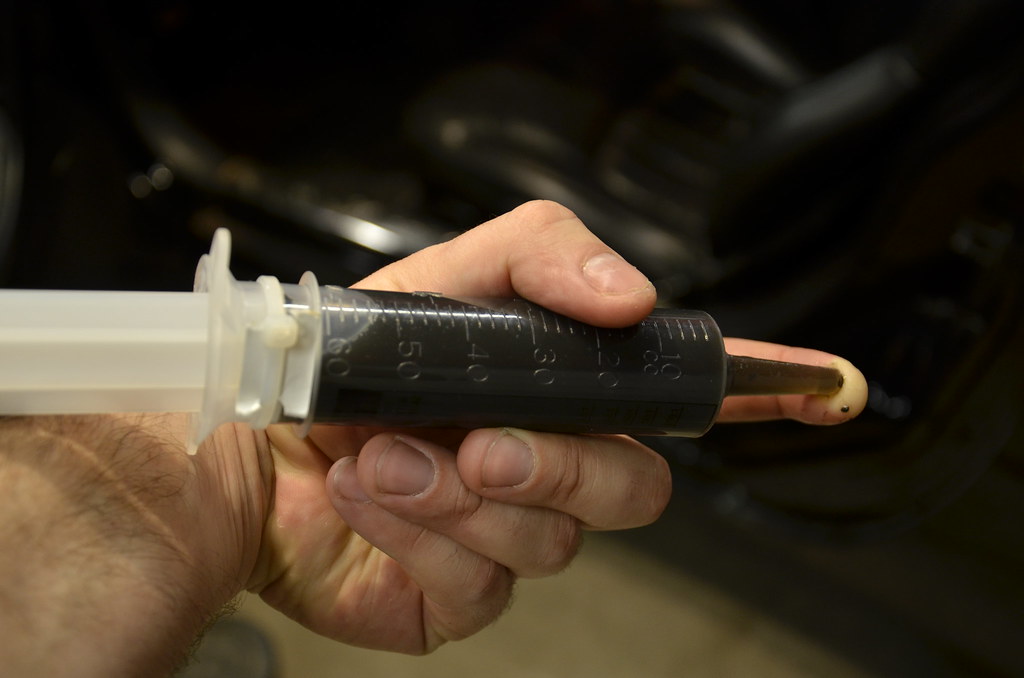
Finished up by doing the Ranger method for clutch fluid. Put 100 miles on it Sunday in the countryside, clutch went to the floor after a couple gear changes at very high RPM. Hopefully this helps.

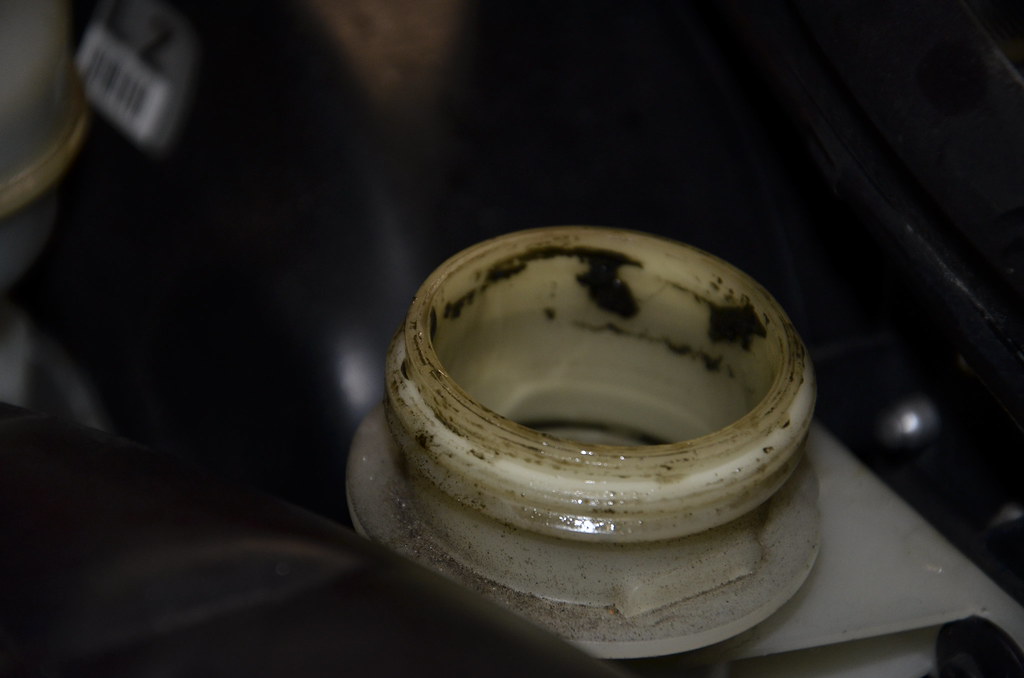
Fluid definitely original
https://farm2.staticflickr.com/1523/25105511322_71bb6d4b16_b.jpg_DSC4763 by Norbert Ogiba, on Flickr
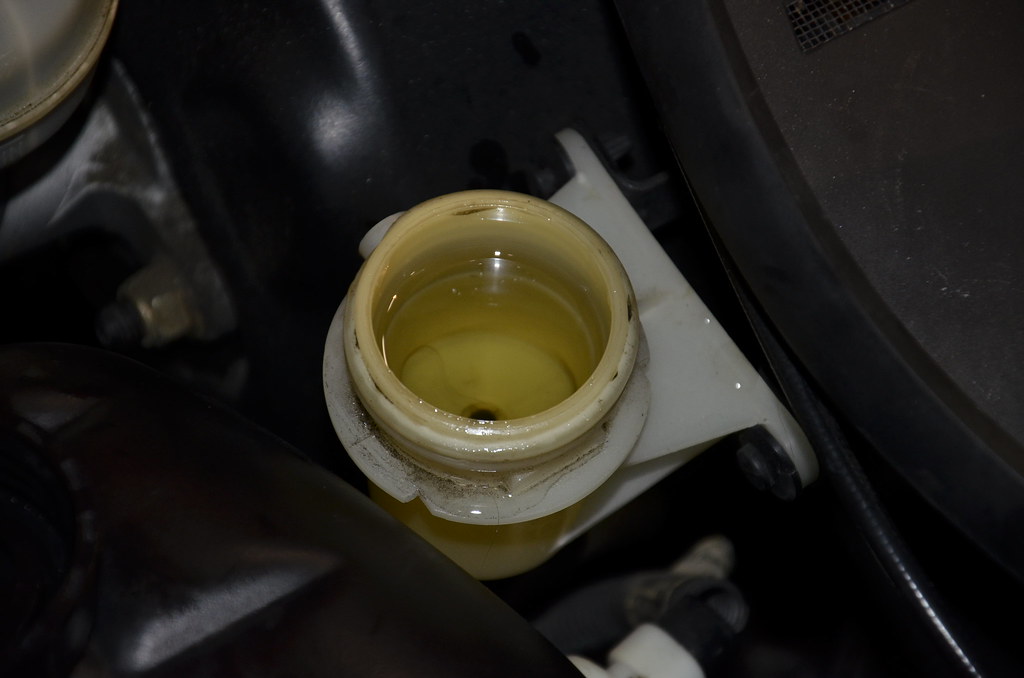
totally opaque
https://farm2.staticflickr.com/1551/25223733485_97314a9644_b.jpg_DSC4764 by Norbert Ogiba, on Flickr

https://farm2.staticflickr.com/1560/25197431536_9d0b469830_b.jpg_DSC4767 by Norbert Ogiba, on Flickr

getting there
https://farm2.staticflickr.com/1614/25197421636_6ce6cff1be_b.jpg_DSC4769 by Norbert Ogiba, on Flickr

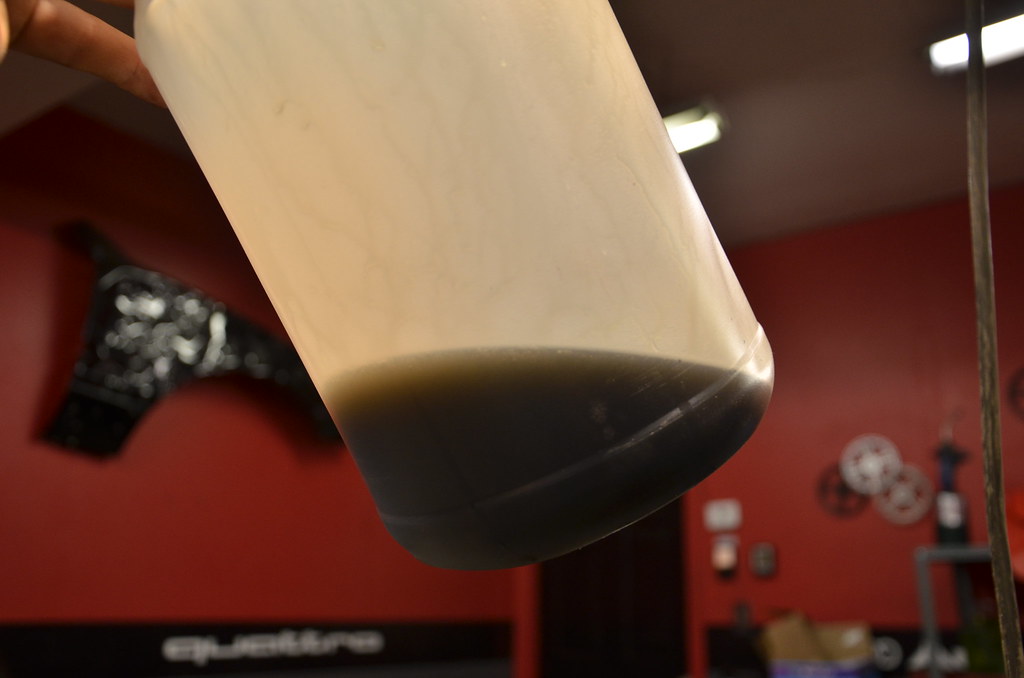
Final product of what was removed
https://farm2.staticflickr.com/1524/25130479701_b48ee6f2f7_b.jpg_DSC4770 by Norbert Ogiba, on Flickr

More to come this week, I’m working on installing an AUX connection for my phone with Bluetooth capability

Damn that fluid was hammered

Nice progress! Hows the car feel?

Yeah my gto i noticed when i go to first start it, i push in the clutch and it feels stiff,not sure if its a sign that the clutch/pressure plate is old or maybe the slave cylinder.

I already syphoned the clutch fluid and put new stuff in once, it didnt get too dirty yet but we will see when spring hits as i do the needed maintenance. I was hoping to not have to do a clutch this year lol

Just drive it and see what happens, I don’t think the F-body/GTO hydraulics are as bad as the Vette stuff since the slave is so close to the master. I will eventually put a Tick master in this because I ran a GM slave with a BMW master on the swap and the thing was bulletproof (dont think I even changed fluid ever)

It feels awesome after the headers. Noticeably quicker but the best part is the change in sound. The old bullets droned everywhere especially around town and on the highway as well. Now you really can’t hear the exhaust while cruising (all road nice, need to get rid of these wooden runflats). Get on it though and it howls, definitely a much more “exotic” sound with the Ti’s.

Nice pickup.

I have a 98 Vette that was purchased from a friend with ~20k miles, and the clutch fluid looked about the same. He barely drove it, and I know for sure it was never at a drag strip, track or abused. Based on the line routing and some reading on Corvetteforum, my feeling is that it’s caused by the long lines running next to the drivetrain and heat everywhere along the way. I’ve been using the same method as you every time I change the oil or wash the car. After 5 or 6 reservoir swaps it started to clear up. After 12 it is still murky, but mostly clear. Hopefully RBF fluid will help in the long run.

^ What’s the result of the fluid change? Do you get clutch on the floor after multiple high rpm shifts?

Time for some tunes

So i pulled the passenger foot kick panel and cut the CD changer connector, and after thinking about how I wanted to route the radio shack connector, I sat down at the kitchen table and soldered wires to the 5 pins using bits of my old GM truck harness from my swap. small scale soldering is not my strong point but I got it done.

I made temporary connections to everything (left the bare shield wires disconnected from anything), stuck a CD in the changer, crossed my fingers, reconnected the battery, and let her rip

https://farm2.staticflickr.com/1521/24639641953_d4c2c3648c_b.jpg_DSC4771 by Norbert Ogiba, on Flickr

SUCCESS! Using a 3.5mm to 3.5mm I was able to get my phone to play music and it sounded great. Figured I’d take it one step further, and plugged in my Miccus Mini Bluetooth adapter, which is a tiny portable unit that takes a bluetooth audio signal (like from your smartphone) and converts it to audio output through a 3.5mm jack. After making sure it was paired properly, that worked perfectly as well! So now I have wireless bluetooth AUX audio through my smartphone, which will be great this summer on those long road trips. Sure beats those expensive AUX converter units

Now I need to clean up this mess, solder and heatshrink everything, and run the aux port into the center cubby where the bluetooth module will be housed.

https://farm2.staticflickr.com/1630/24639633733_25fb9fb456_b.jpg_DSC4773 by Norbert Ogiba, on Flickr