Update time.
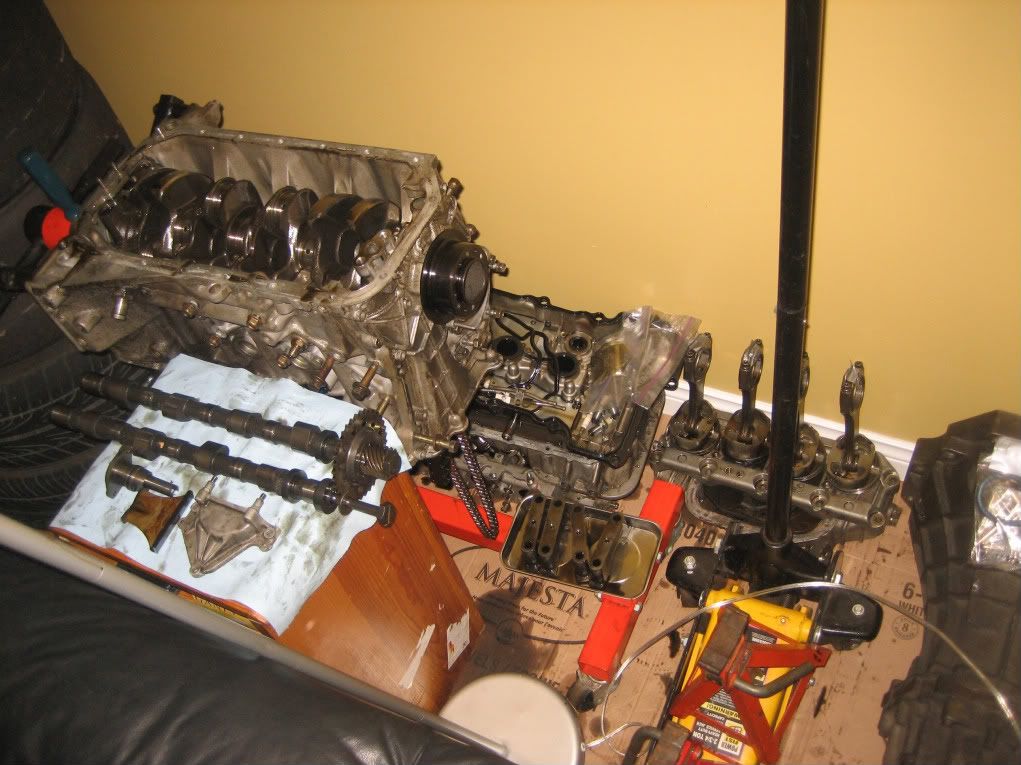
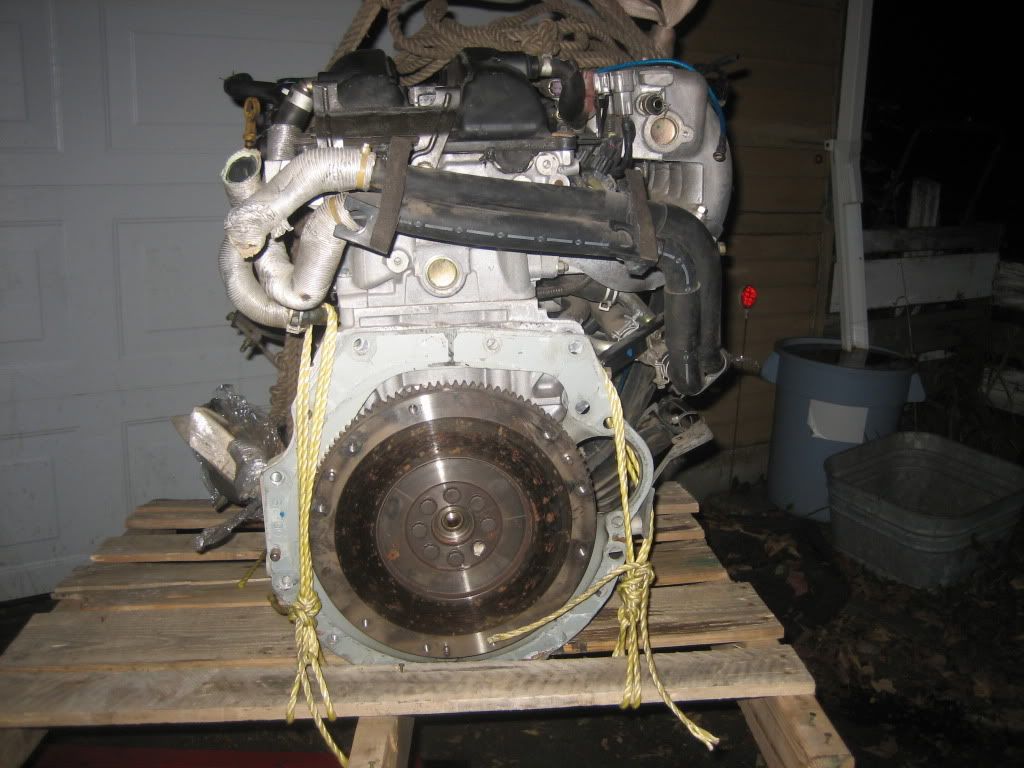
I decided to fully strip the block, and bring it to a local machine shop.
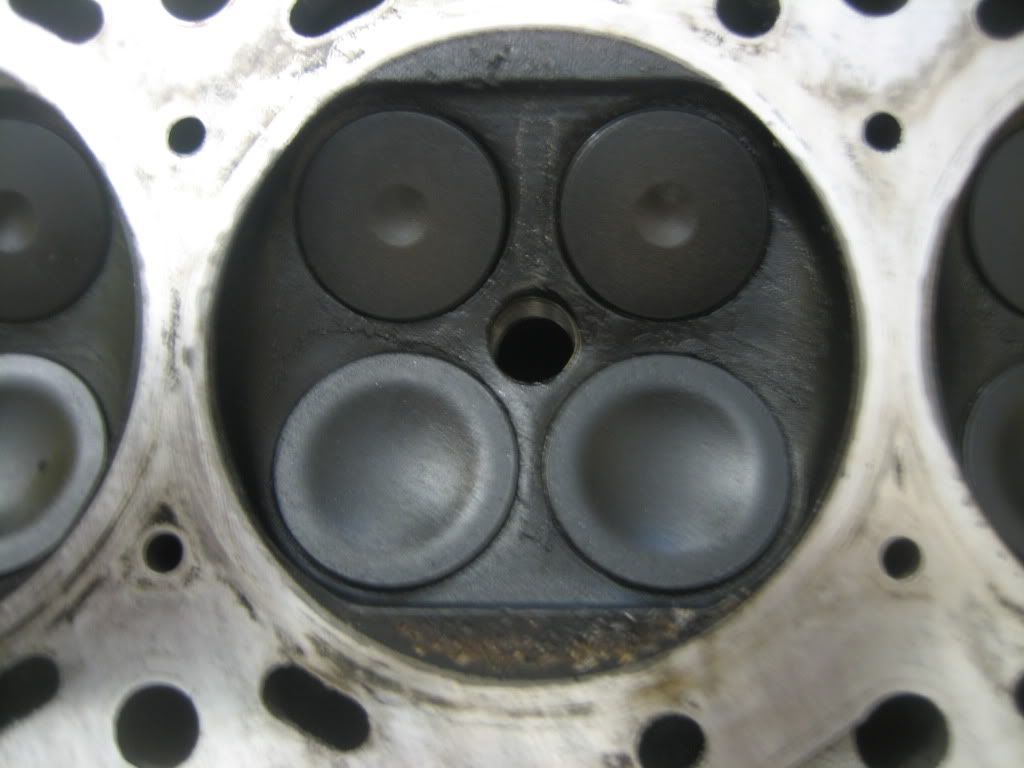
I also brought my head there to see what they could do for me.
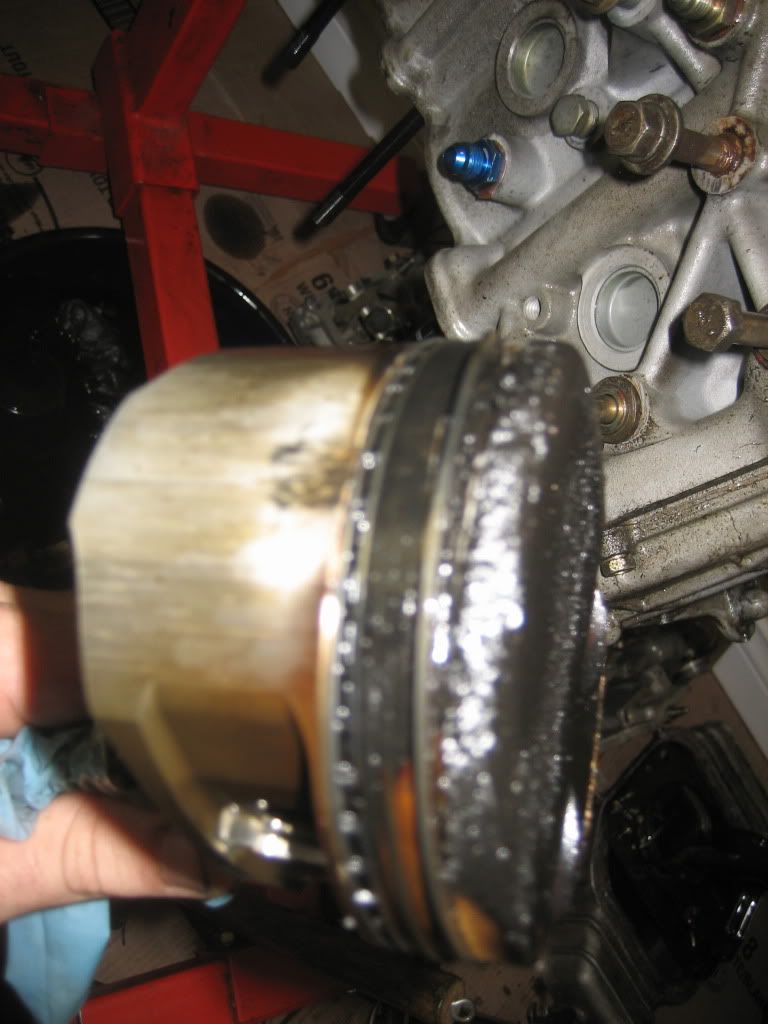
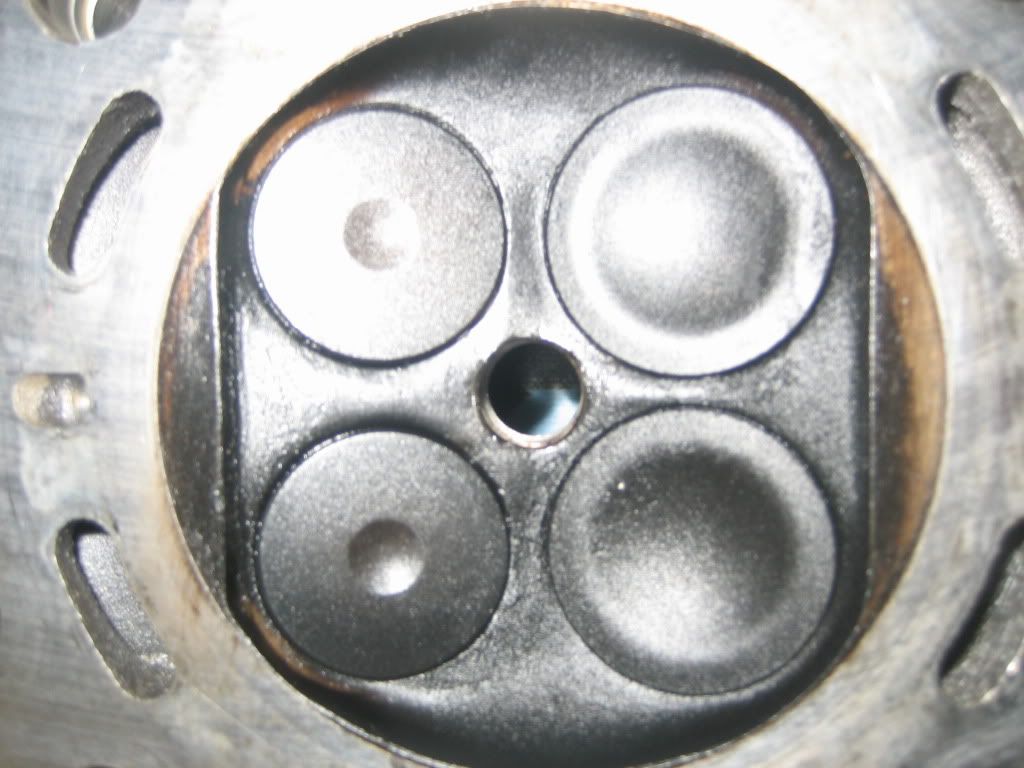
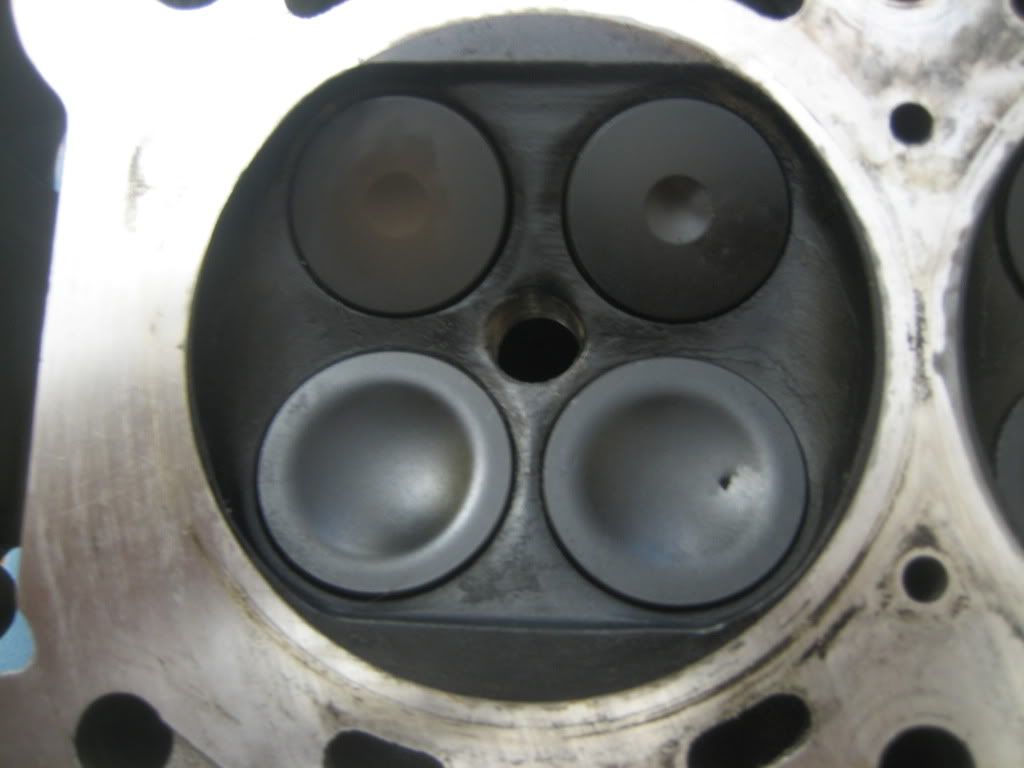
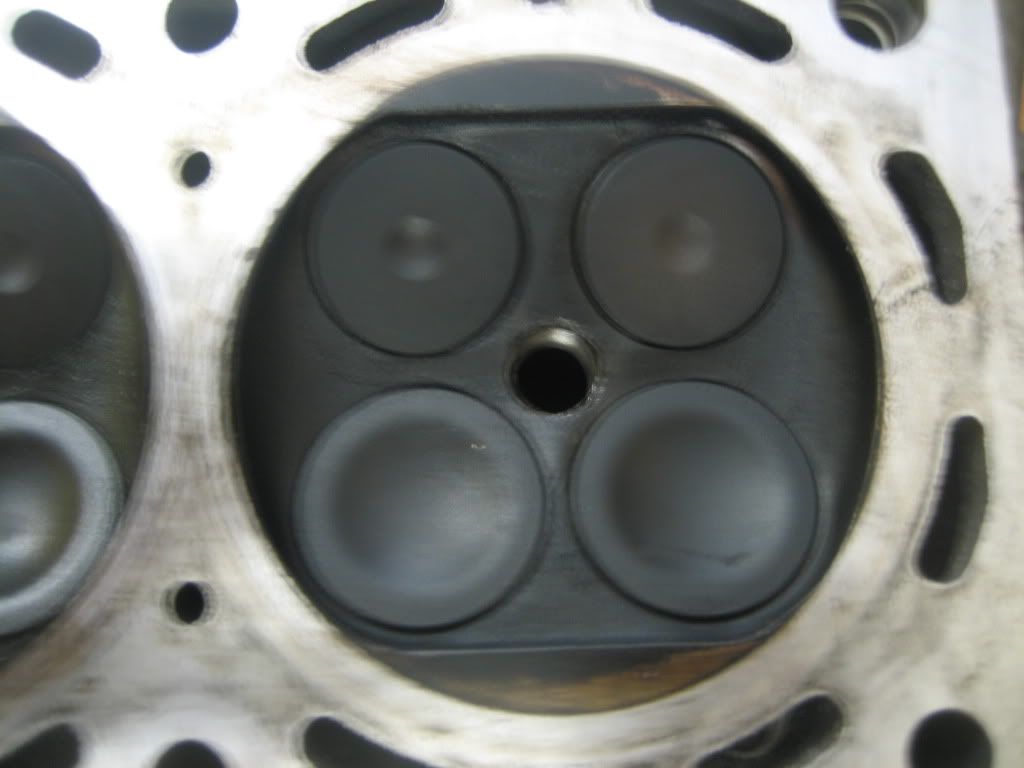
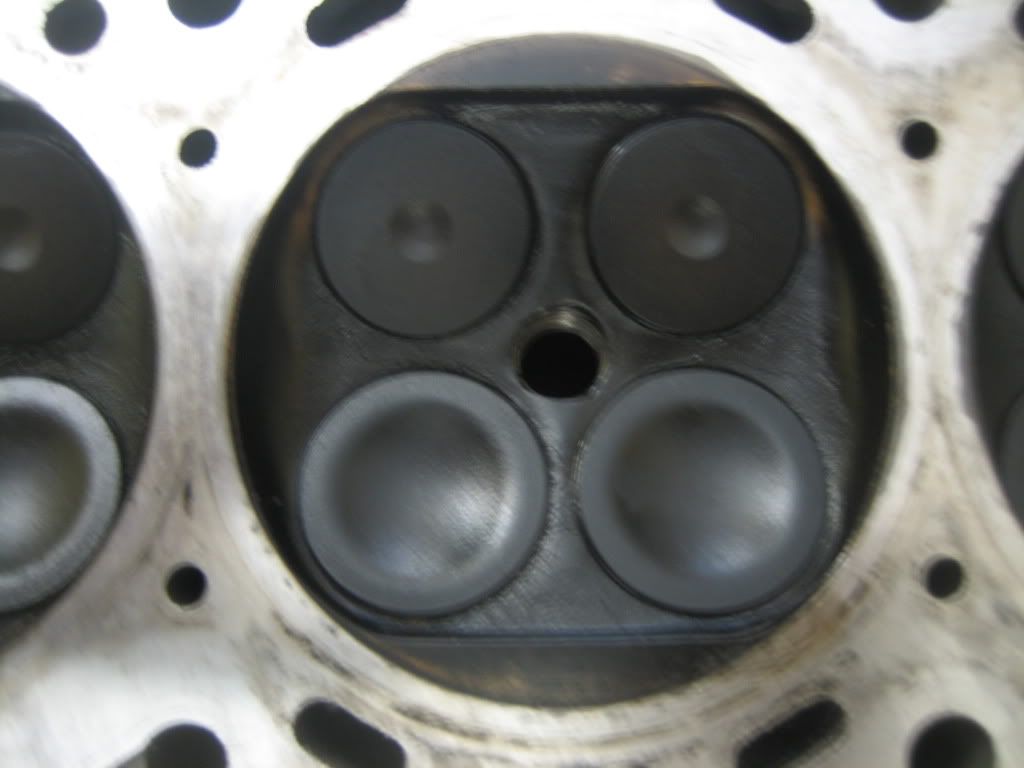
Their idea of fixing the head was to mill the detonation marks down until they weren’t visible anymore. They wanted to know how much that they could mill off the head. I told them I didn’t think very much at all, and before I agreed to this, I made some phone calls.
I won’t mention any shops in particular, but I called a shop in the states that deal with a lot of SR20 heads, and they fully disagreed with this approach. They were all for welding the head and surfacing, to remove as little material as possible. They told me that for $500-$700 US, they could do a full refresh of the head, including a rework of the combustion chamber to remove the sharp edges.
I also contacted a shop in Ontario, who told me to just junk the head and start over with a new one. They suggested that welding that area of the head would distort it (as I had concerns with originally), and the head would have to be decked quite a bit. This shop also suggested that the distortion may cause the valve seats to loose their overlap and may fall out while running.
So you see my predicament.
I’ve talked with 3 shops, all of which have vastly differing opinions on how I should proceed.
I have no doubt that the shop that suggested welding the head could do it, and I wouldn’t have any problems going forward. However, for that price, I can almost buy a full longblock and move on.
The shop that didn’t like the welding idea builds a lot of race engines, but again aren’t SR20 specialists. Any advice from that shop seems to be good advice so far (on another topic), but this one is up in the air.
I think I may choose to just buy another long block and start over.
I’ll loose all of my headwork, and I’ll have to build the head again, but it’s probably the most economical way to do it.
What do you guys think?
Cyl #4
Cyl #3
Cyl #2
Cyl #1
Cyl #4
Cyl #3
Cyl #2
Cyl #1
Cyl #4
Cyl #3
Cyl #2
Cyl #1
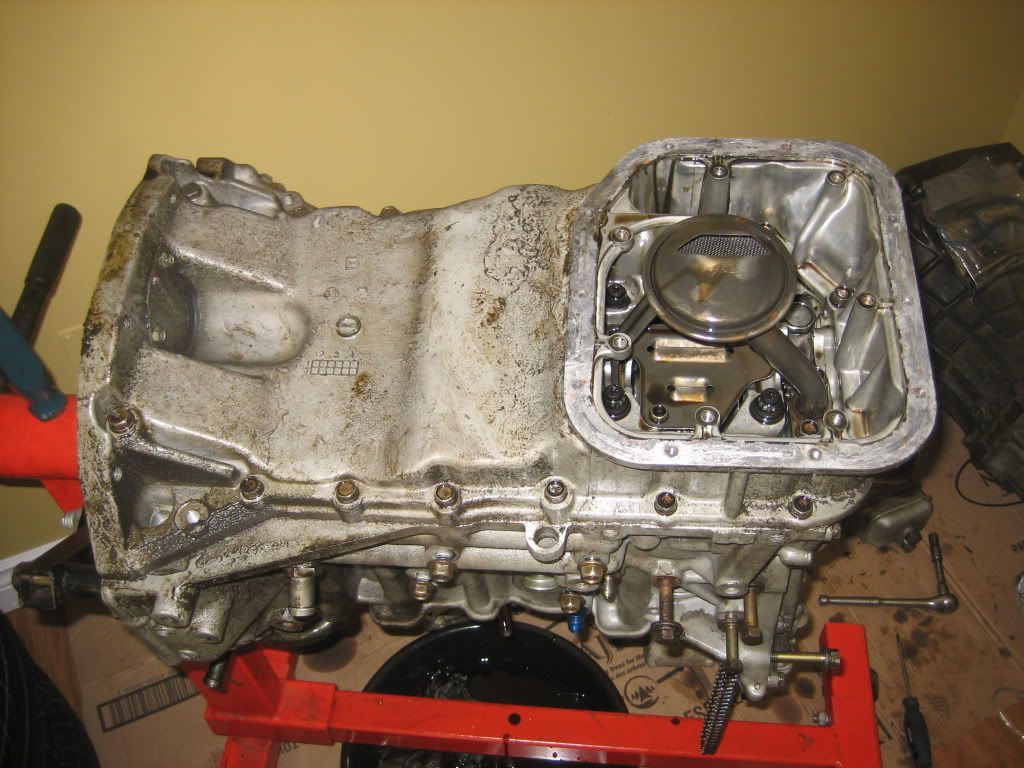
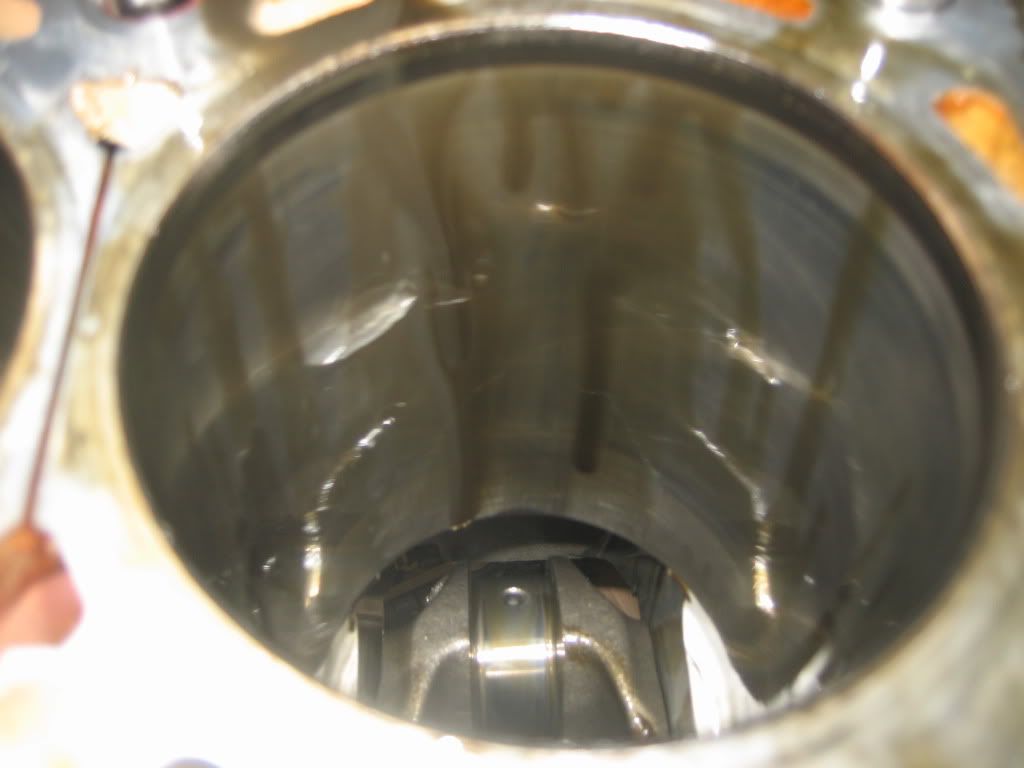
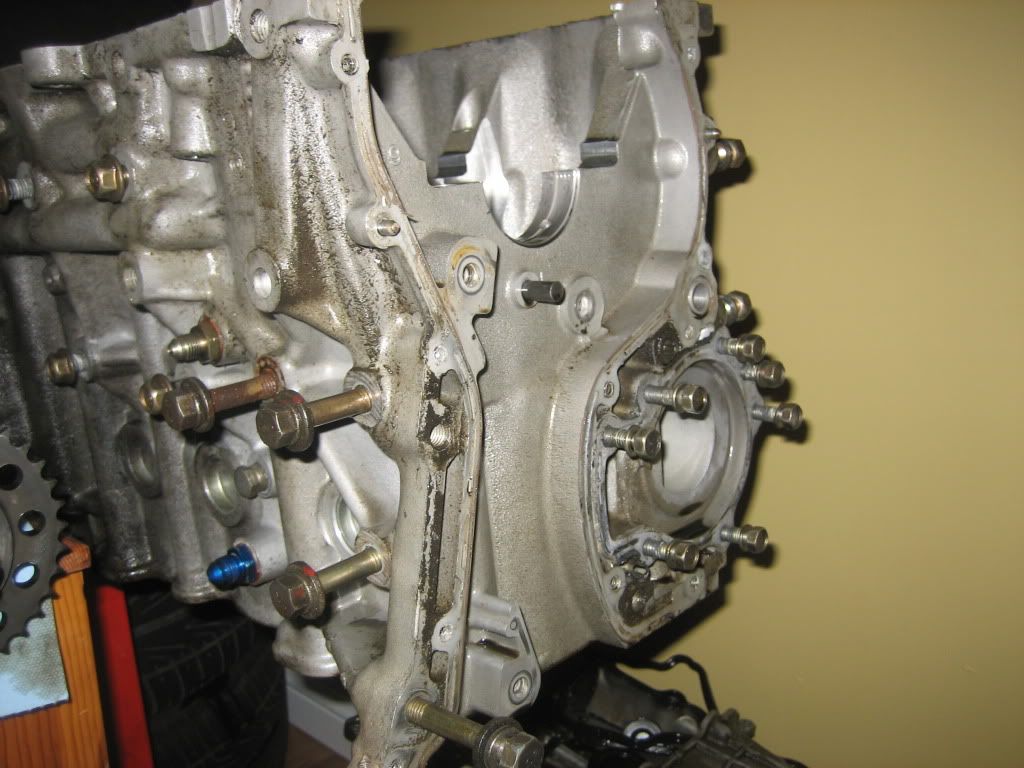
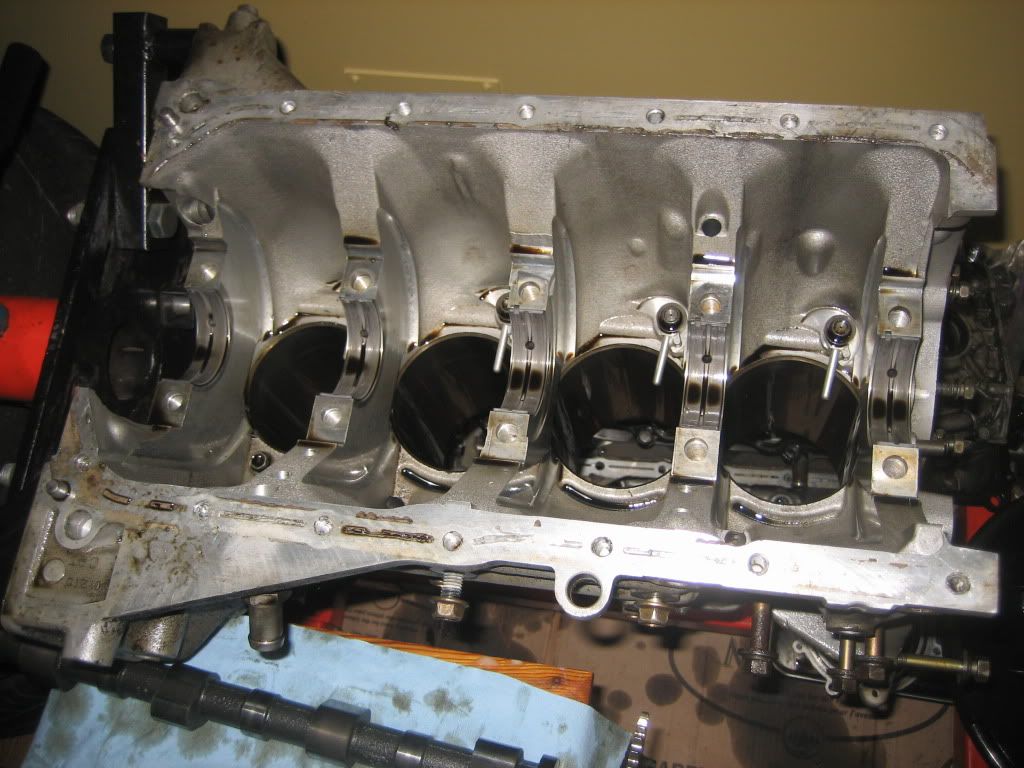
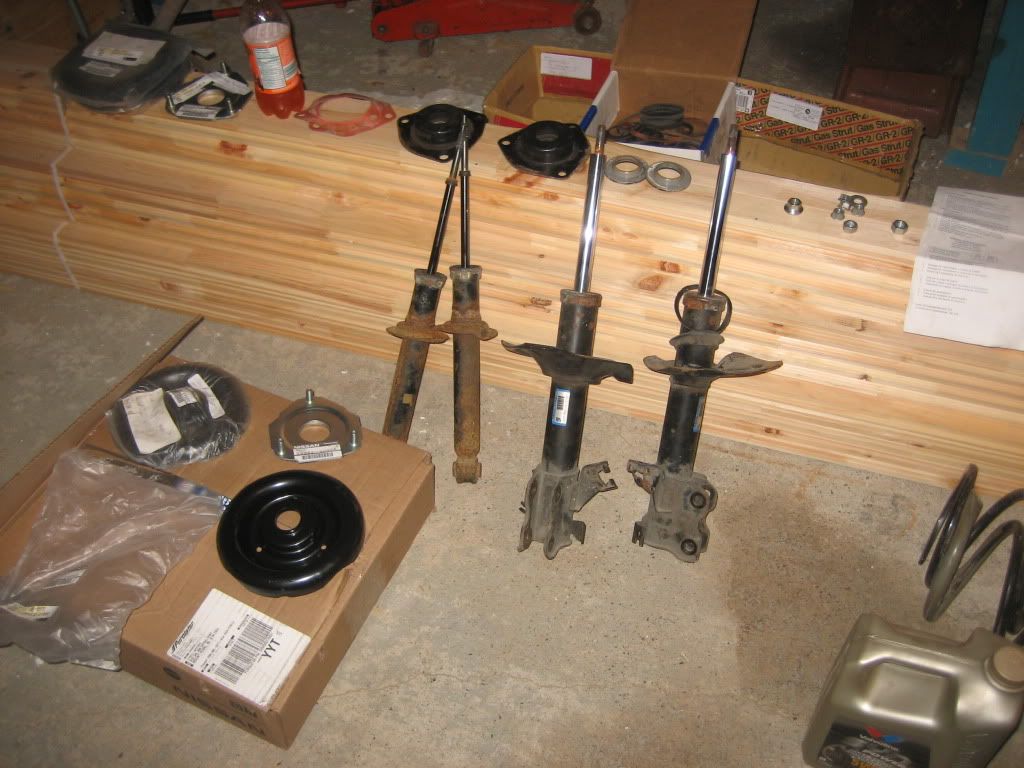
On to the block.
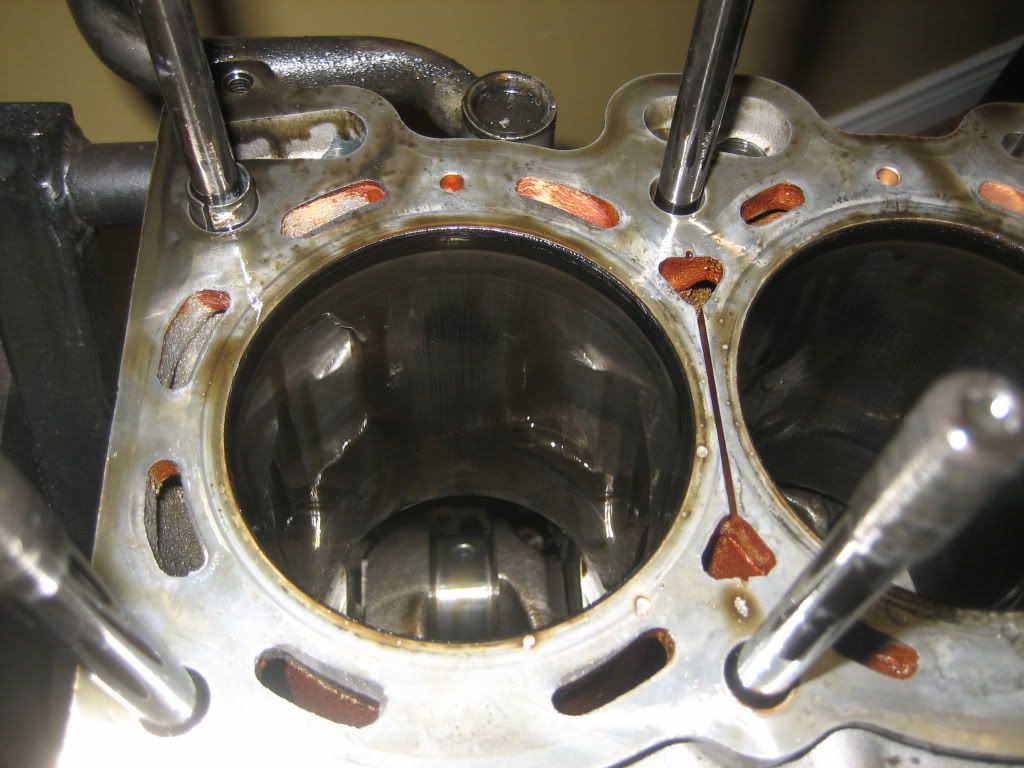
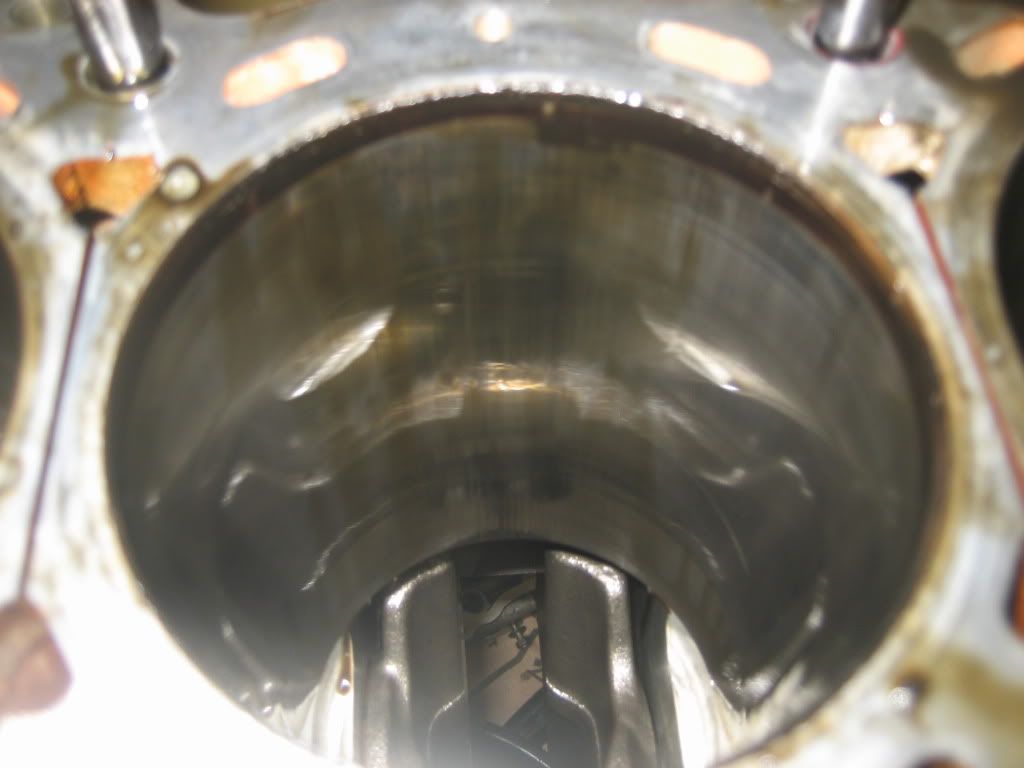
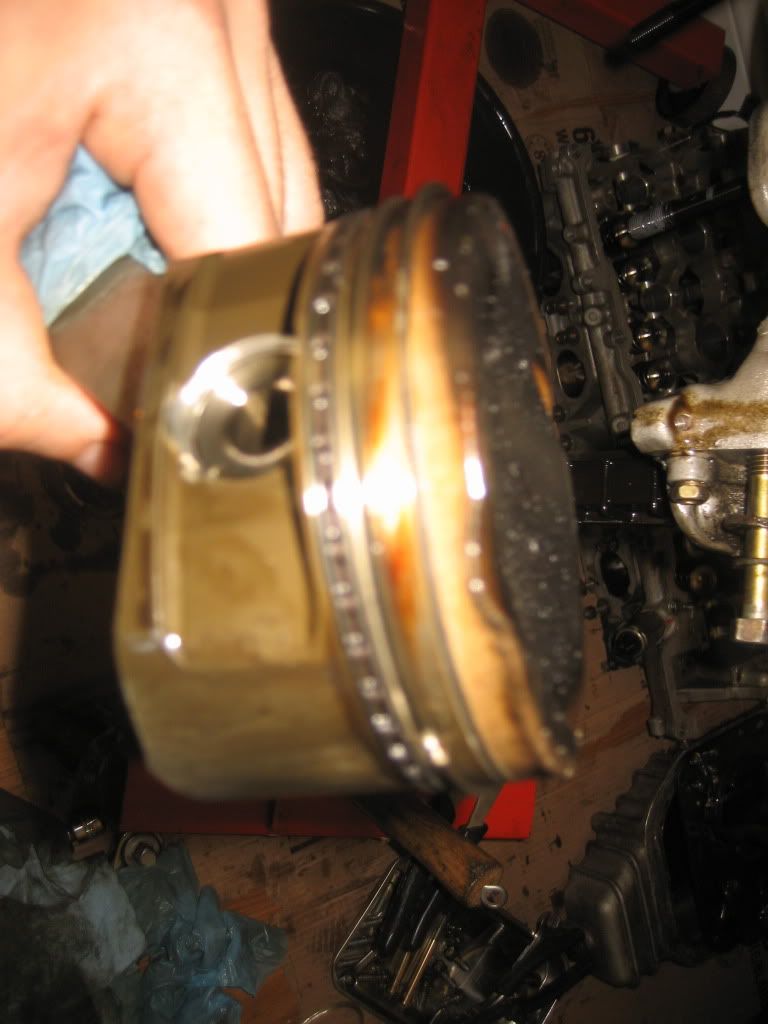
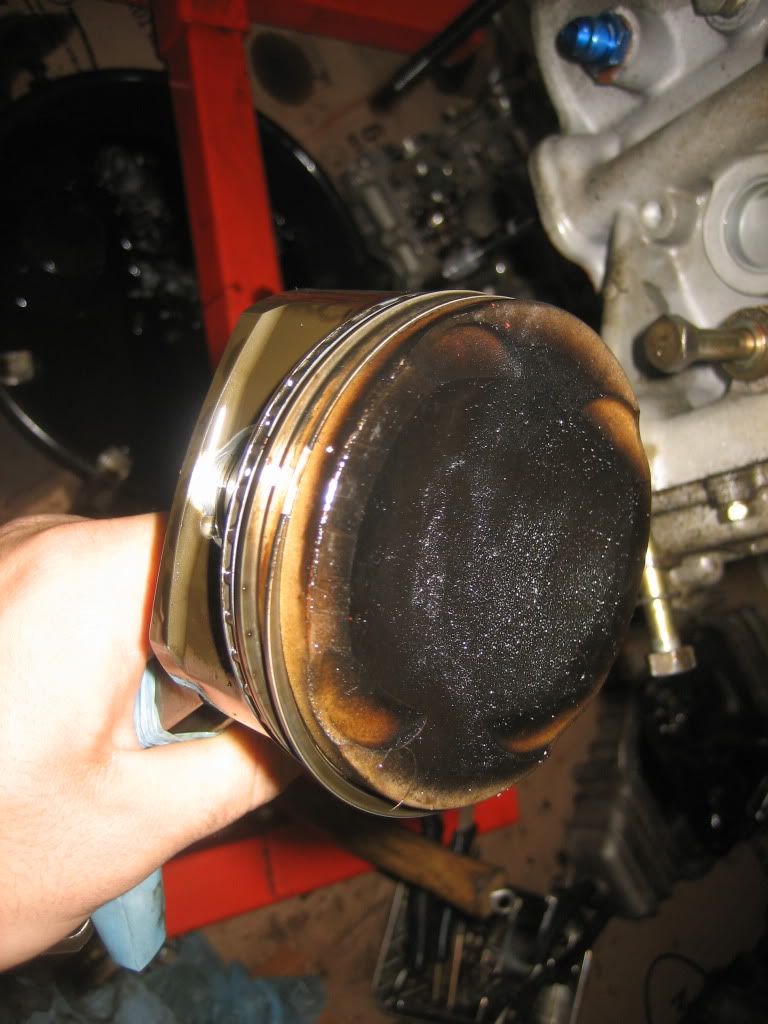
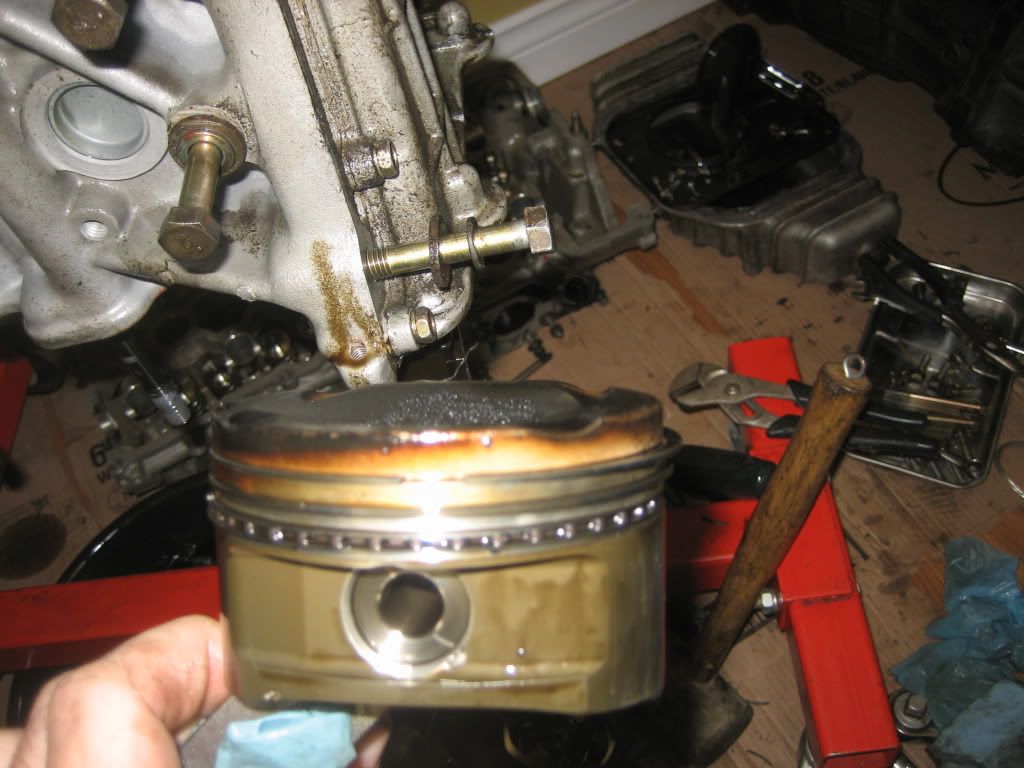
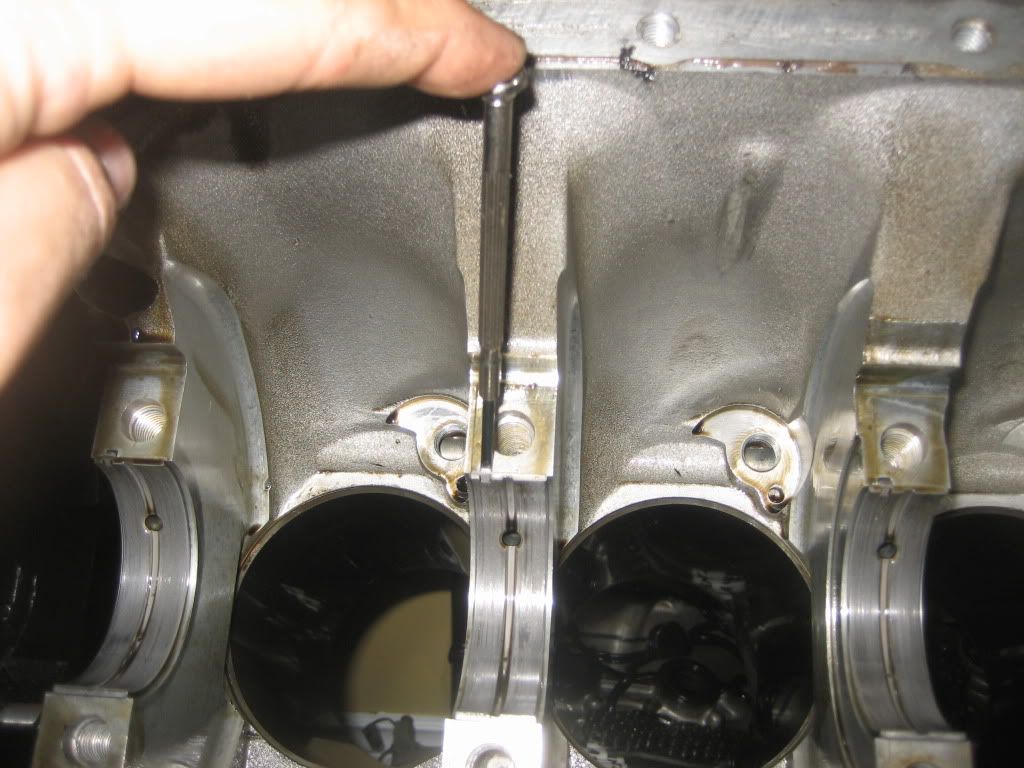
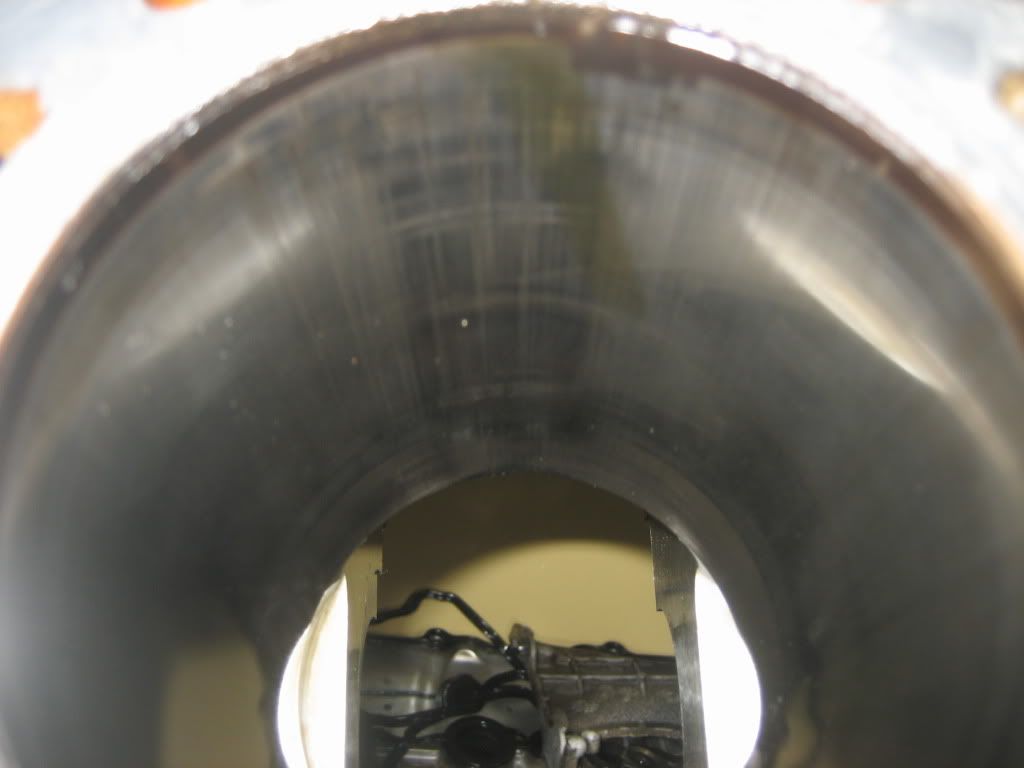
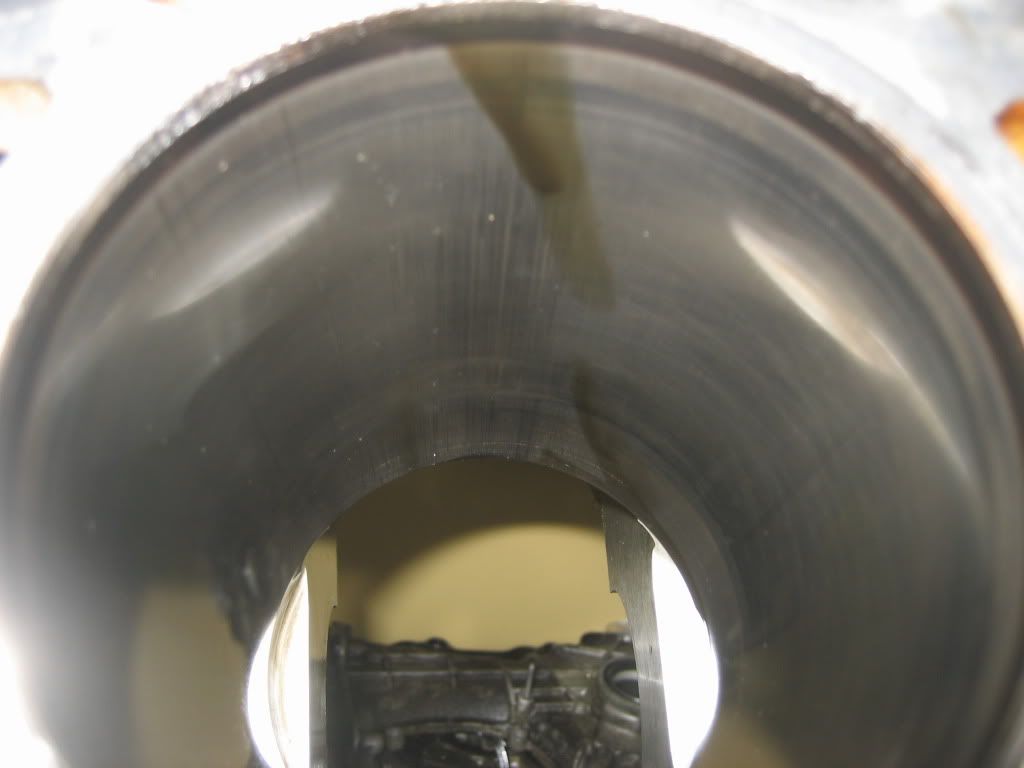
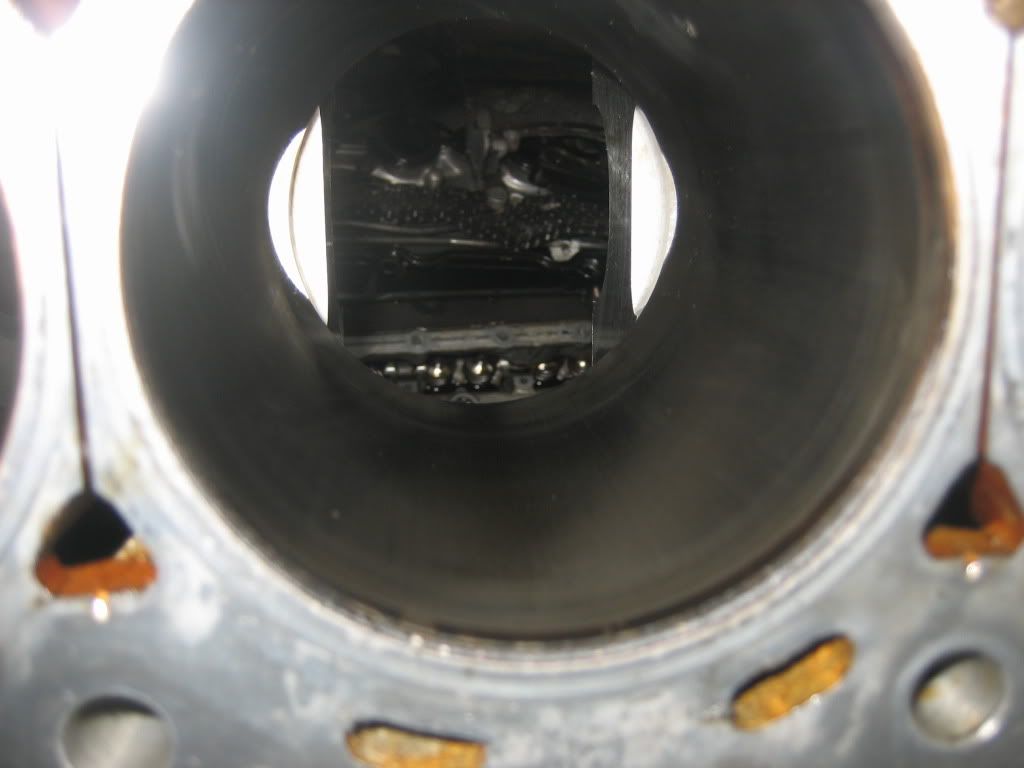
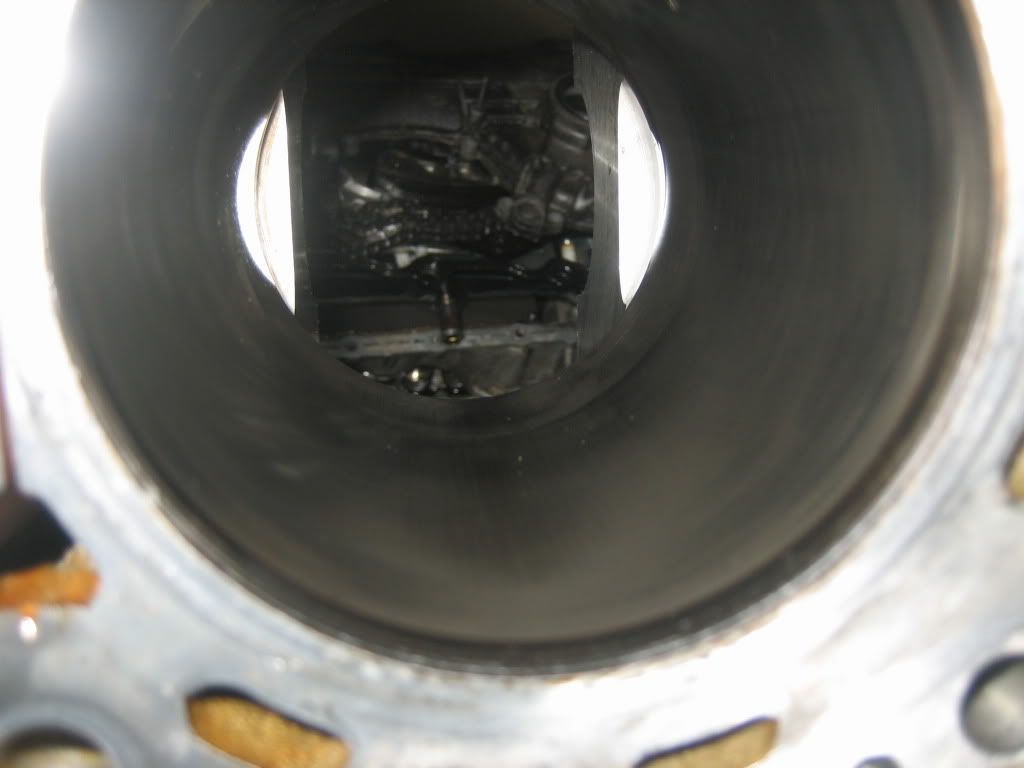
I think that I’ll get the local shop to repair the slight scour marks left behind by Piston #2. I may not have to bore, but if I do, I’m safe for another 0.020".
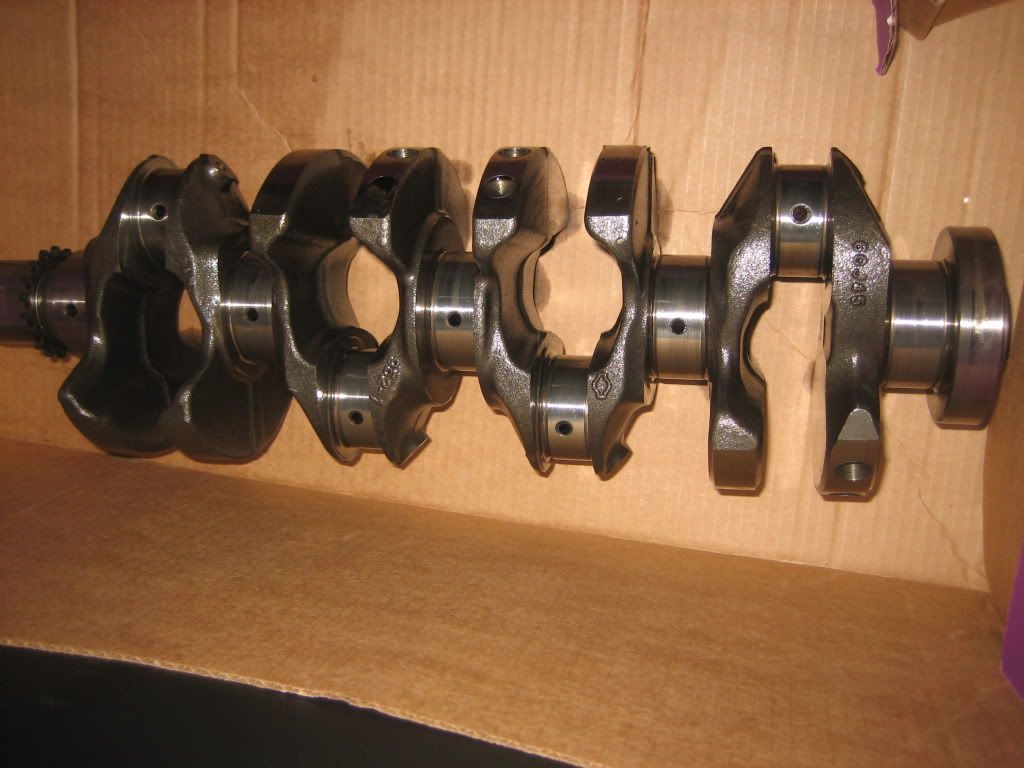
Currently I’m at an 86.5mm piston, up from the 86mm stock piston (0.020" over). I can safely go to 87mm from all that I’ve found, so I think I’m going to tell them to go ahead and fix the cylinder walls for a spare. I’ve still go the entire bottom end, I’d just need some 87mm pistons and I’d have a “built” bottom end again.
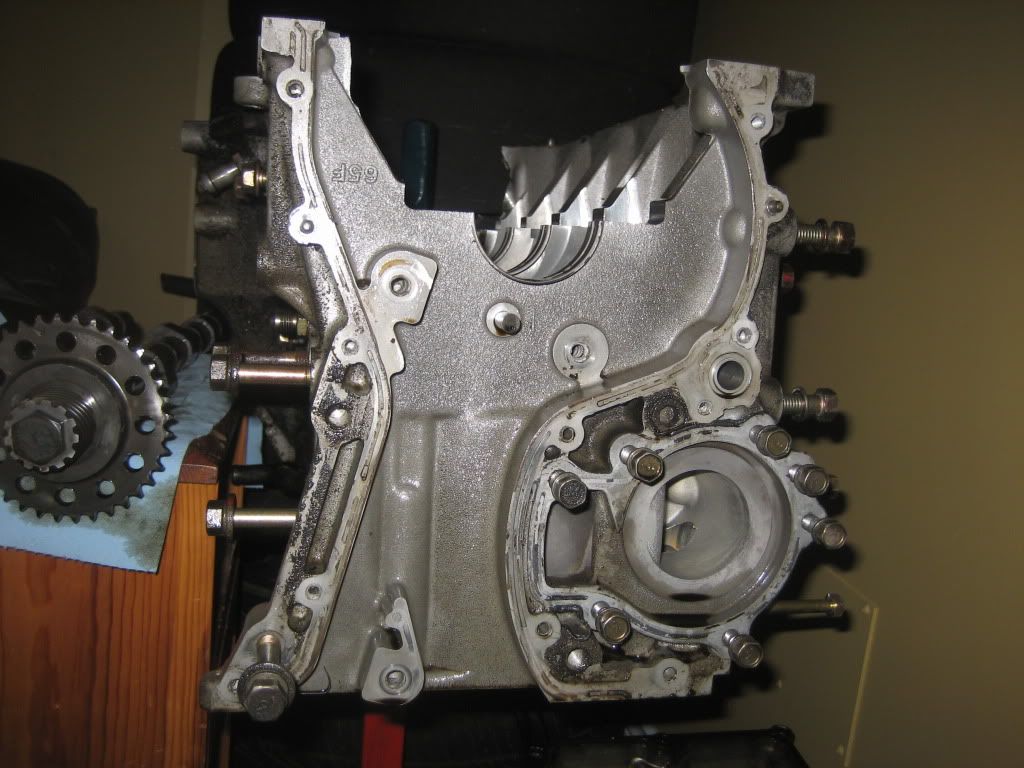
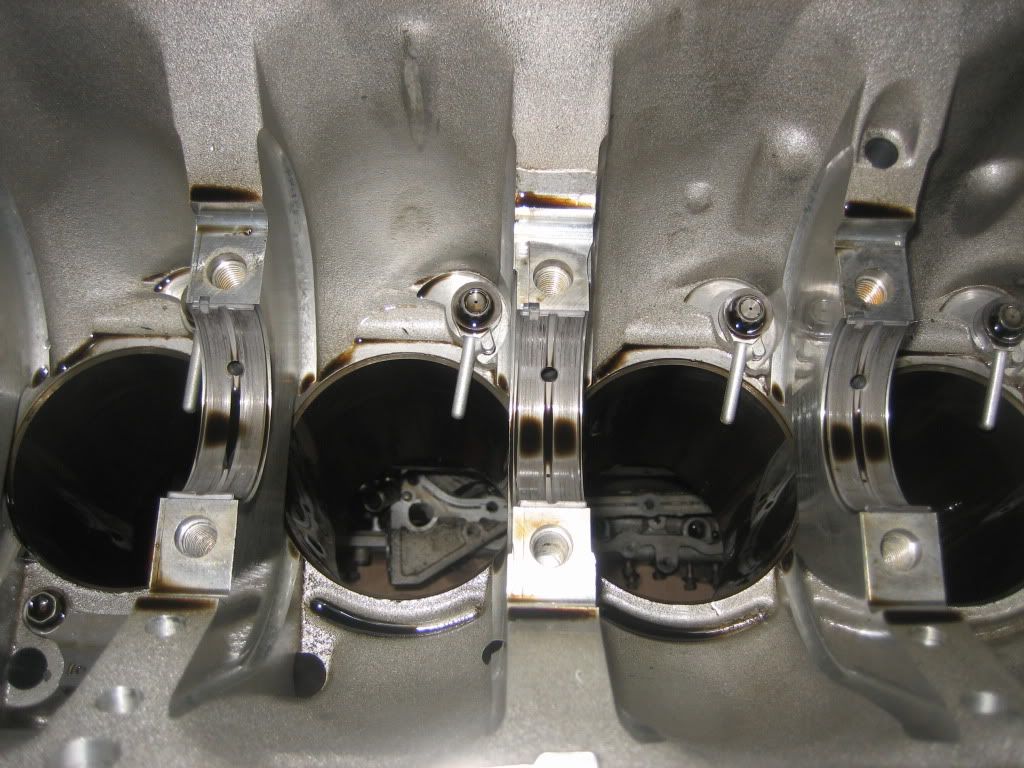
It appears from these pictures that each piston left some slight marks, but you can only feel slight marks on #2, so I’m sure a none would clean them up just fine.
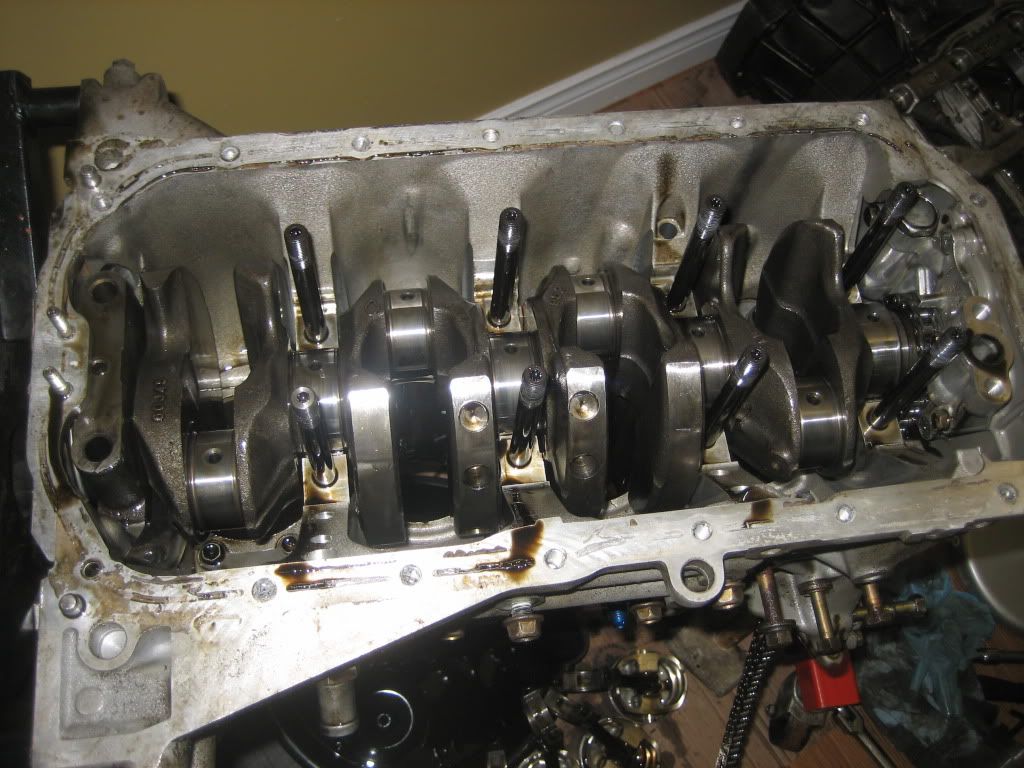
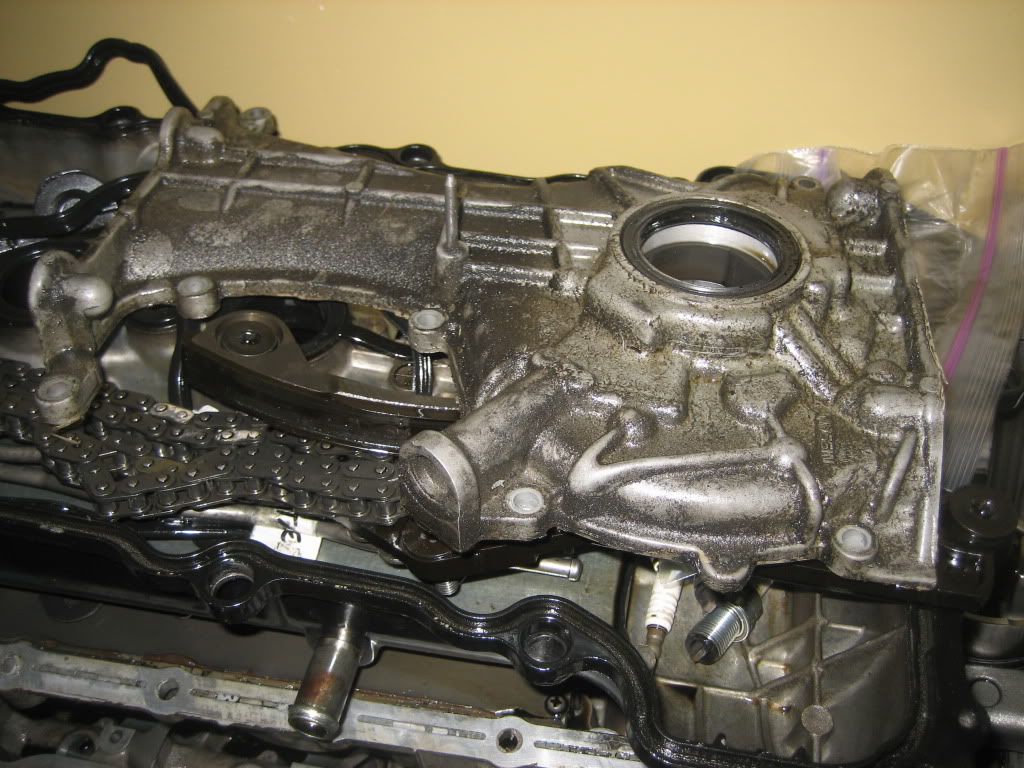
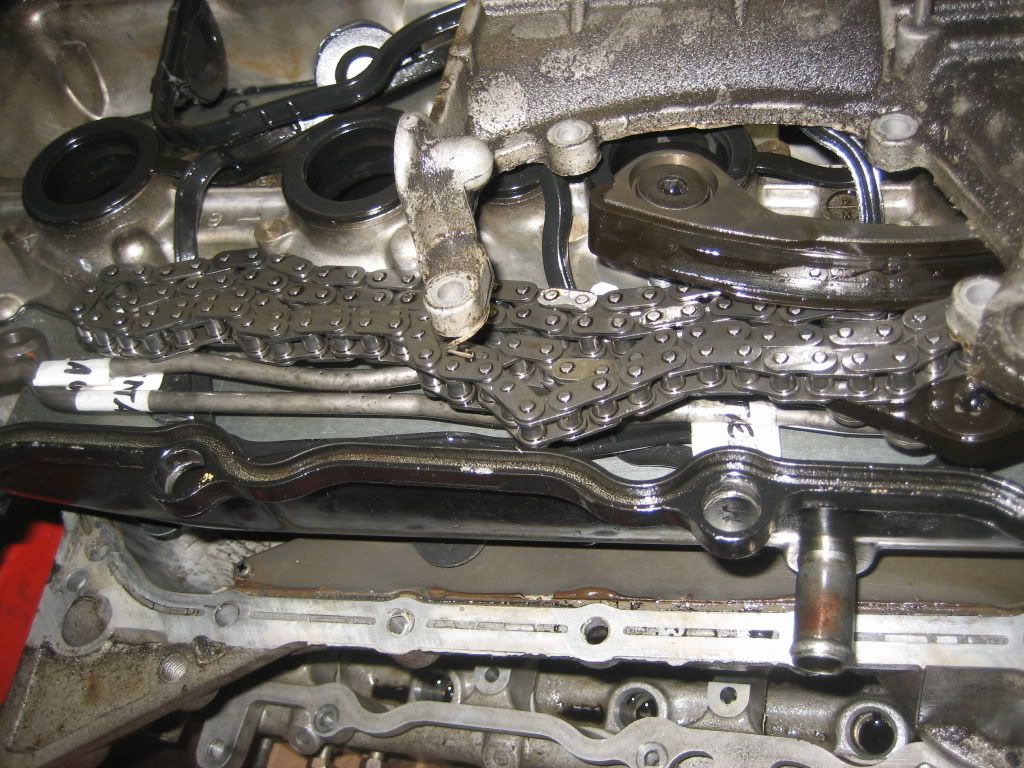
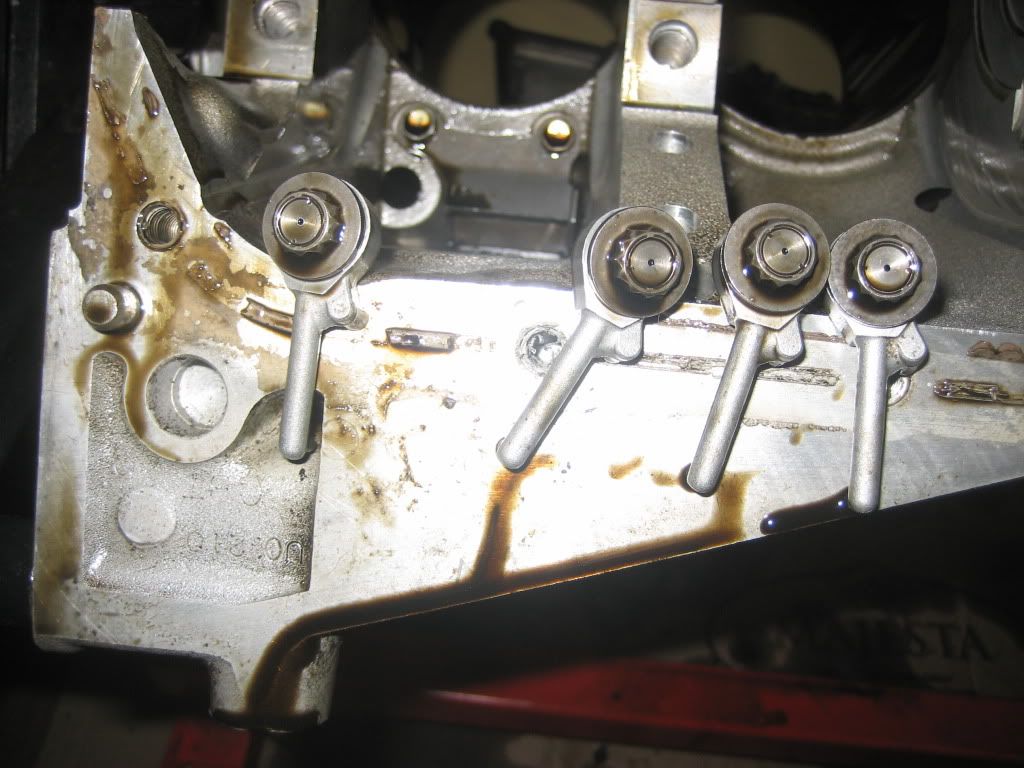
Basically all that was left to strip the block was pulling all the bolts and fittings, the oil squirters, bearings, etc.
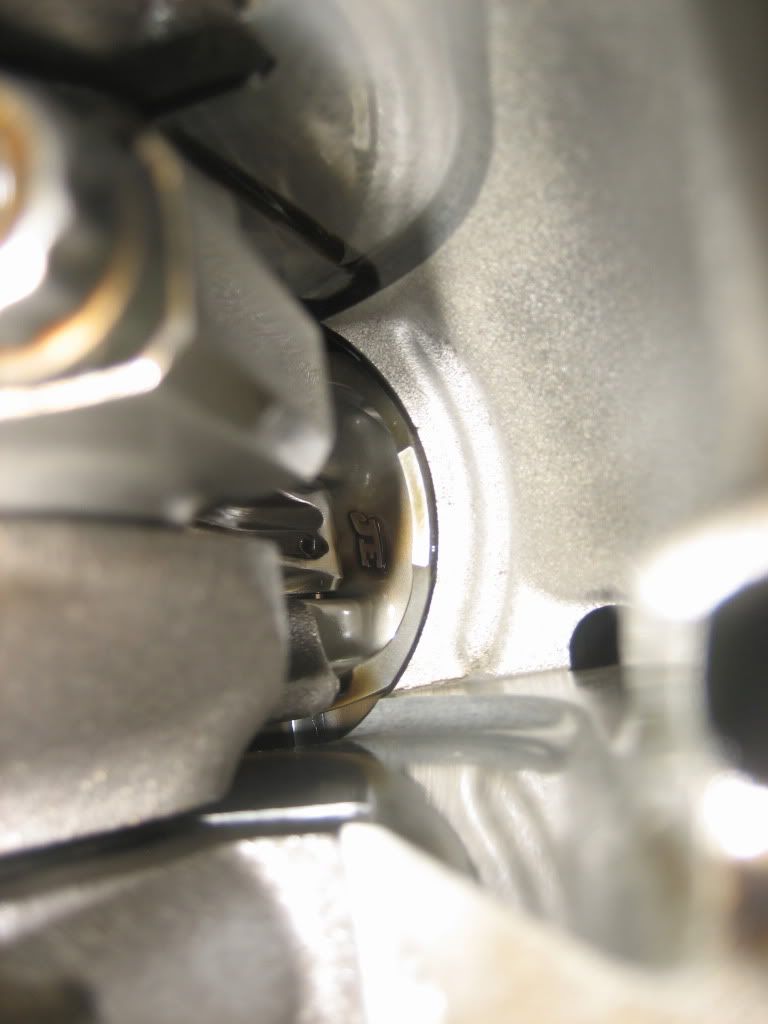
Here’s a quick way to remove your bearings.
Take a small electronics flat head screw driver, and just slip it behind the notch. Put a minimal amount of pressure on it, and they pop right out.
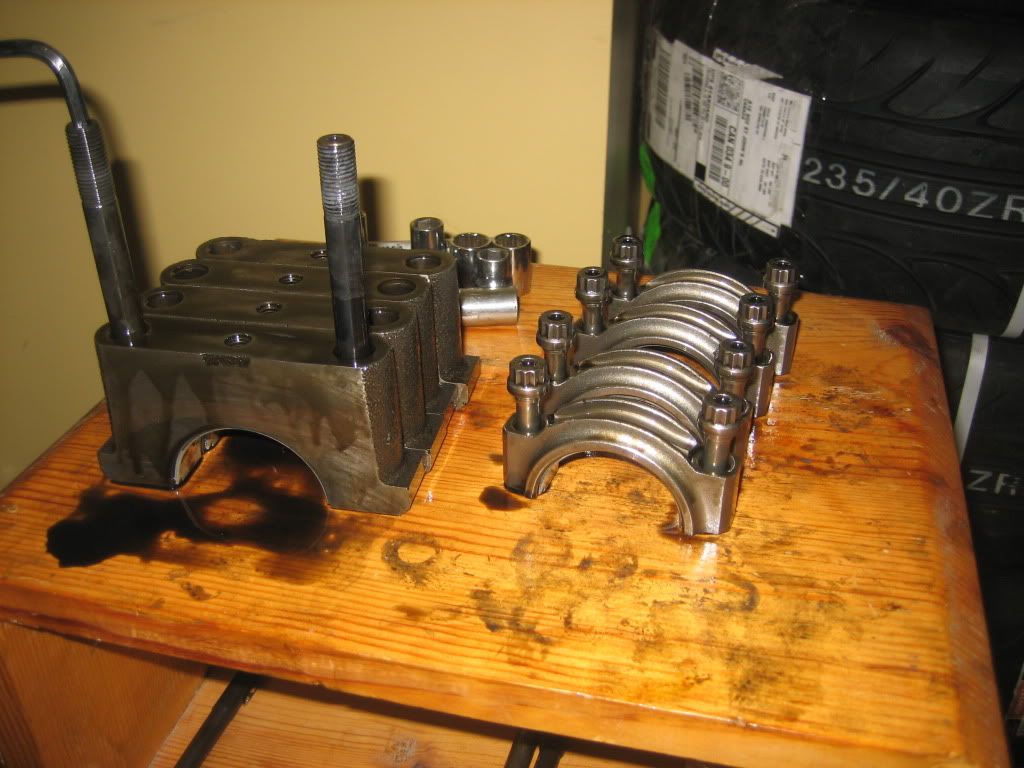
Squirters
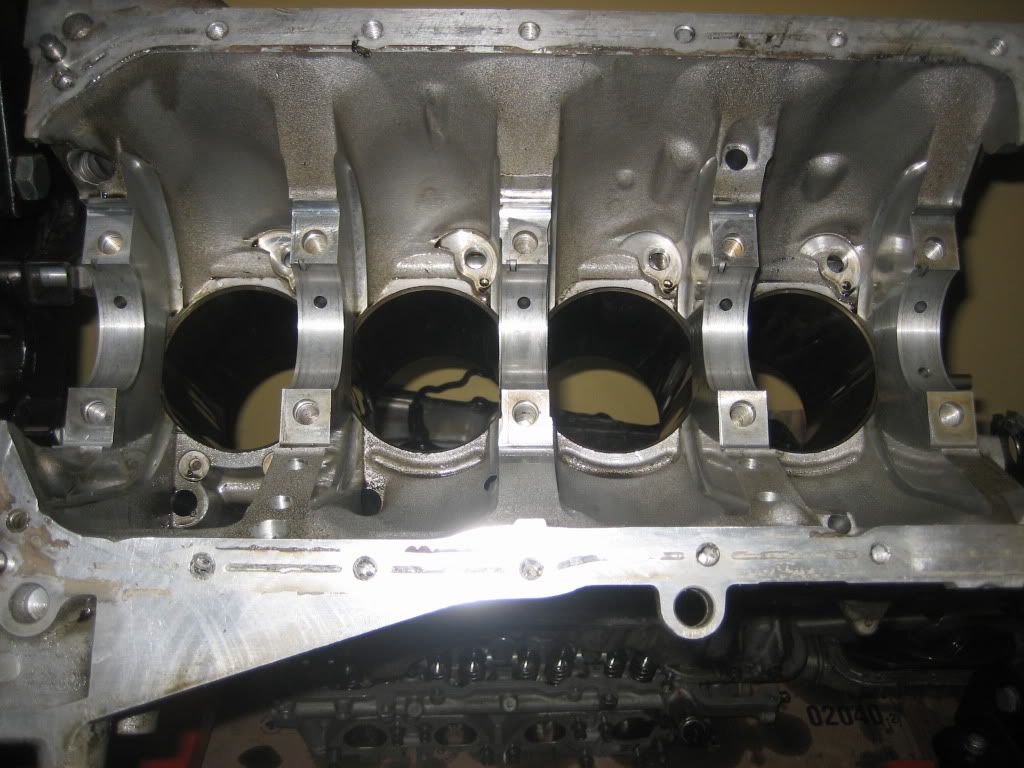
Fully Stripped.
Here are the cylinder walls.
Cyl #4
Cyl #3
Cyl #2
Cyl #1
Cyl #4
Cyl #3
Cyl #2
Cyl #1
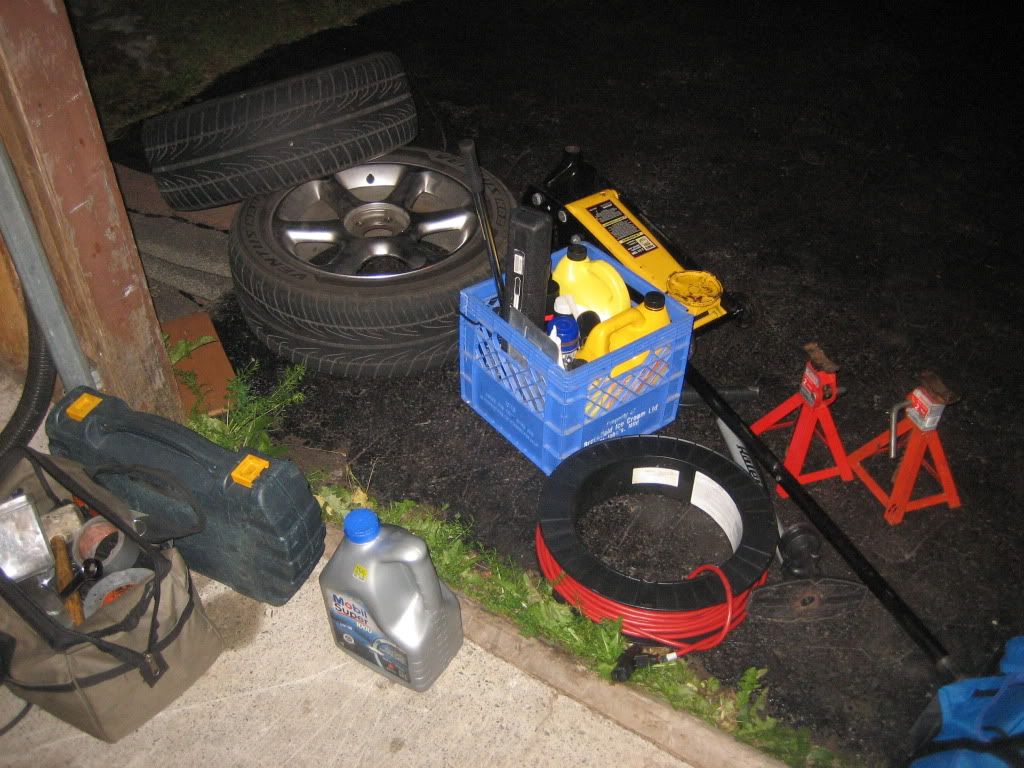
So after I dropped my engine off, I had nothing to do…
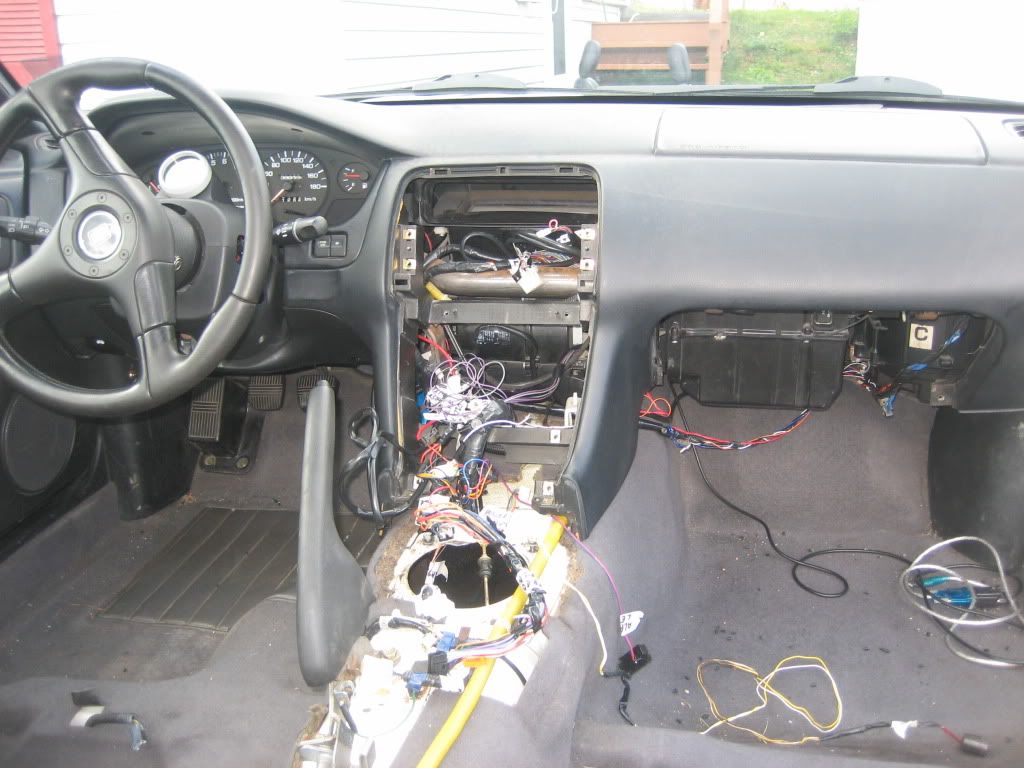
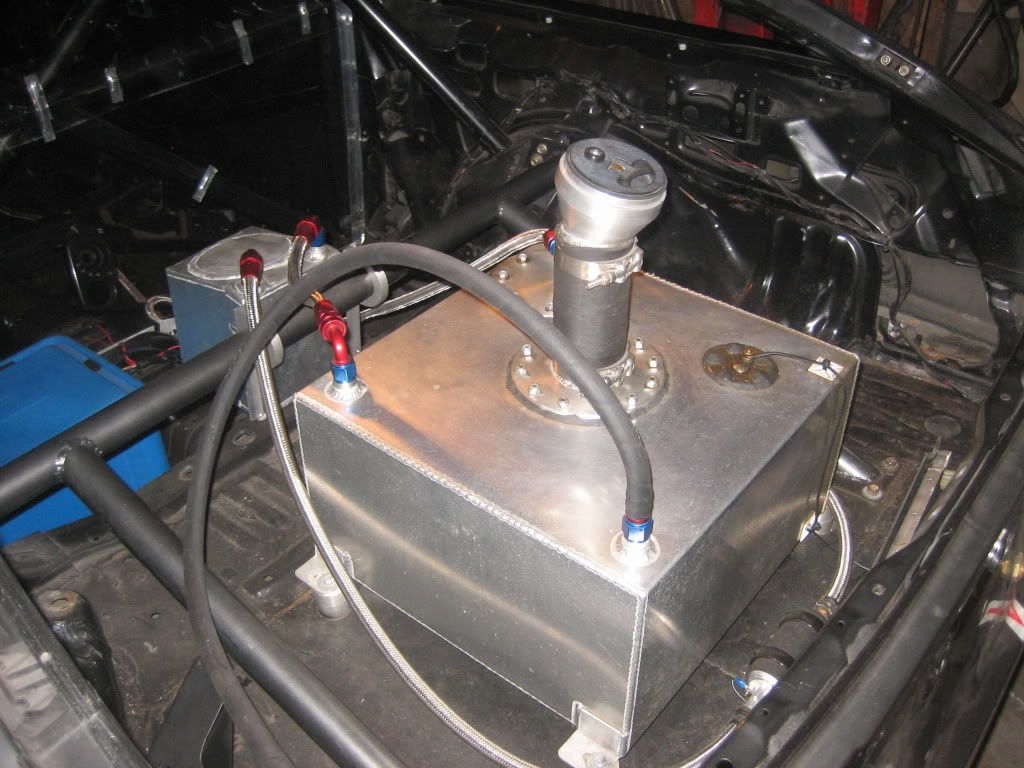
I decided to start into the wiring.
This car was once an automatic, zenki, ka24de powered little guy.
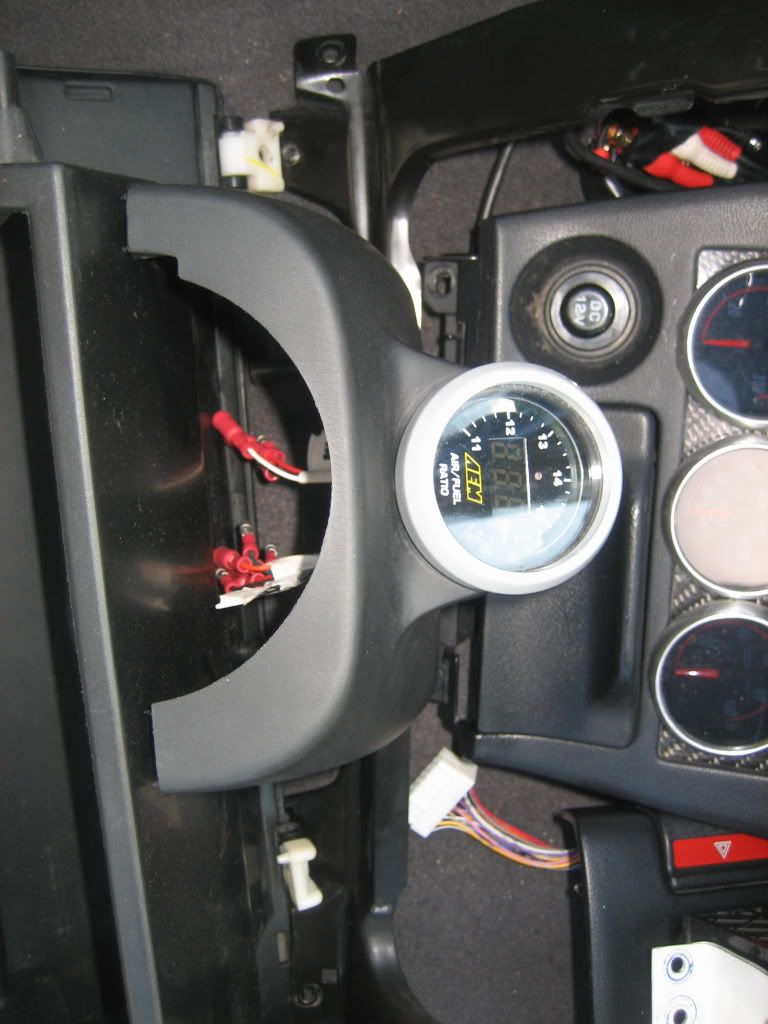
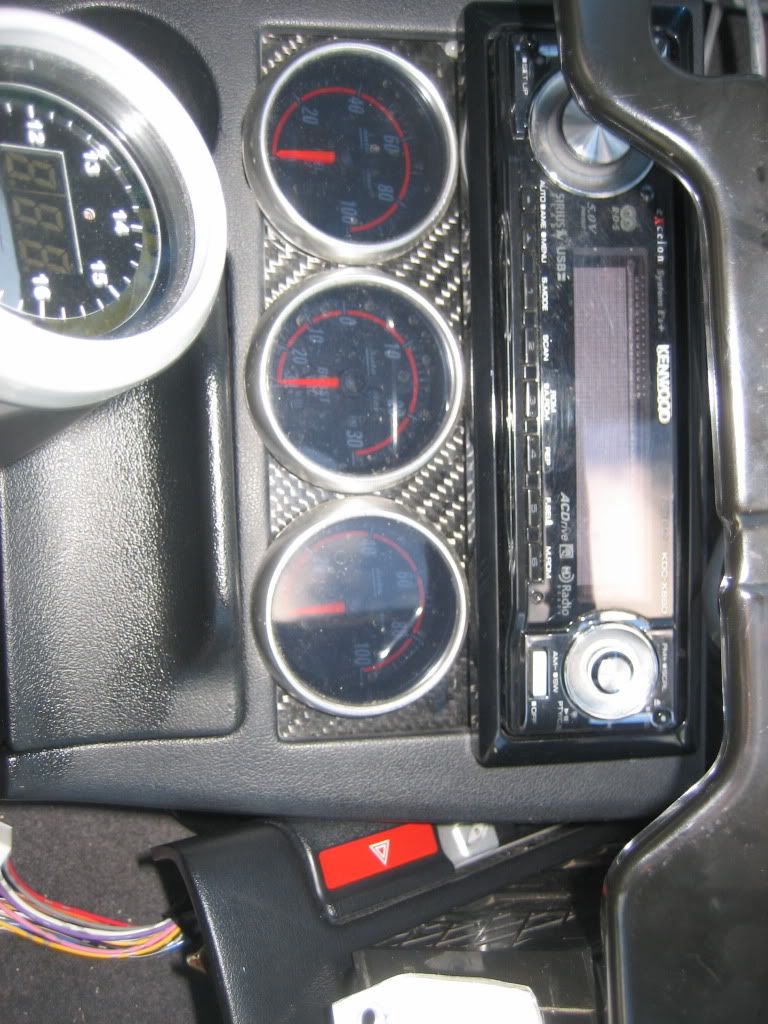
I don’t have the full history of the car, but I know it’s went through a lot of changes. It’s had a 5 speed swap, it’s had an SR20 swap, the boost was controlled with an AEM TruBoost, it’s gotten an AEM standalone to scrap the ecu and boost controller, it’s gotten a viper 2-way, it’s gotten a number of sound systems…etc.
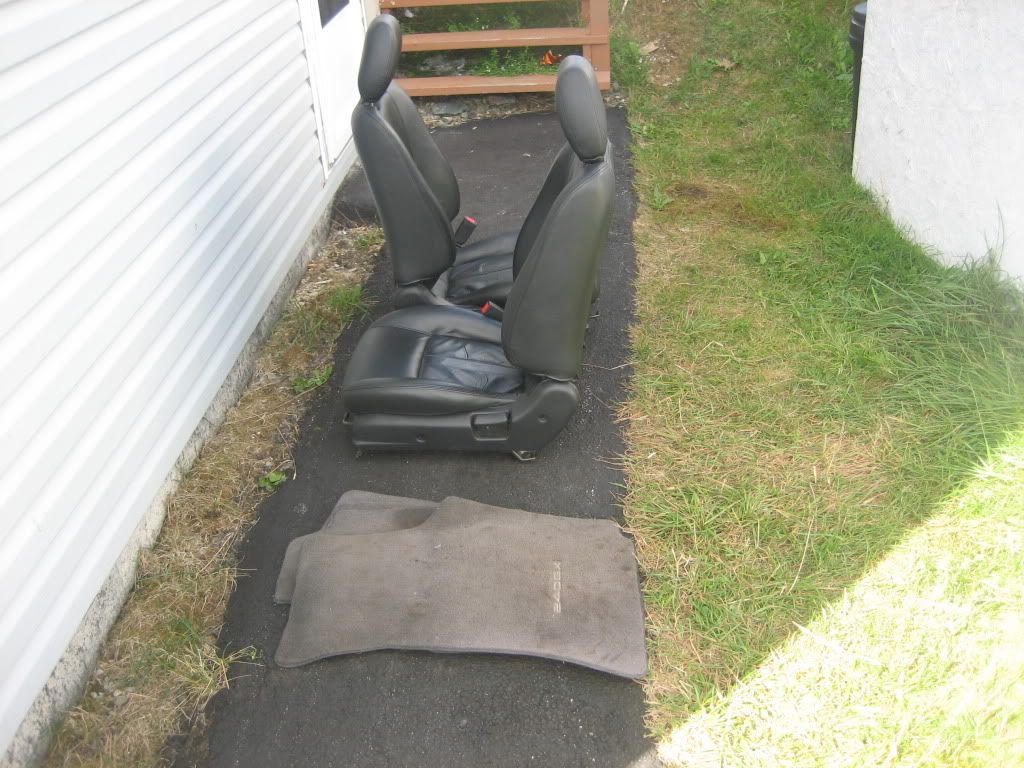
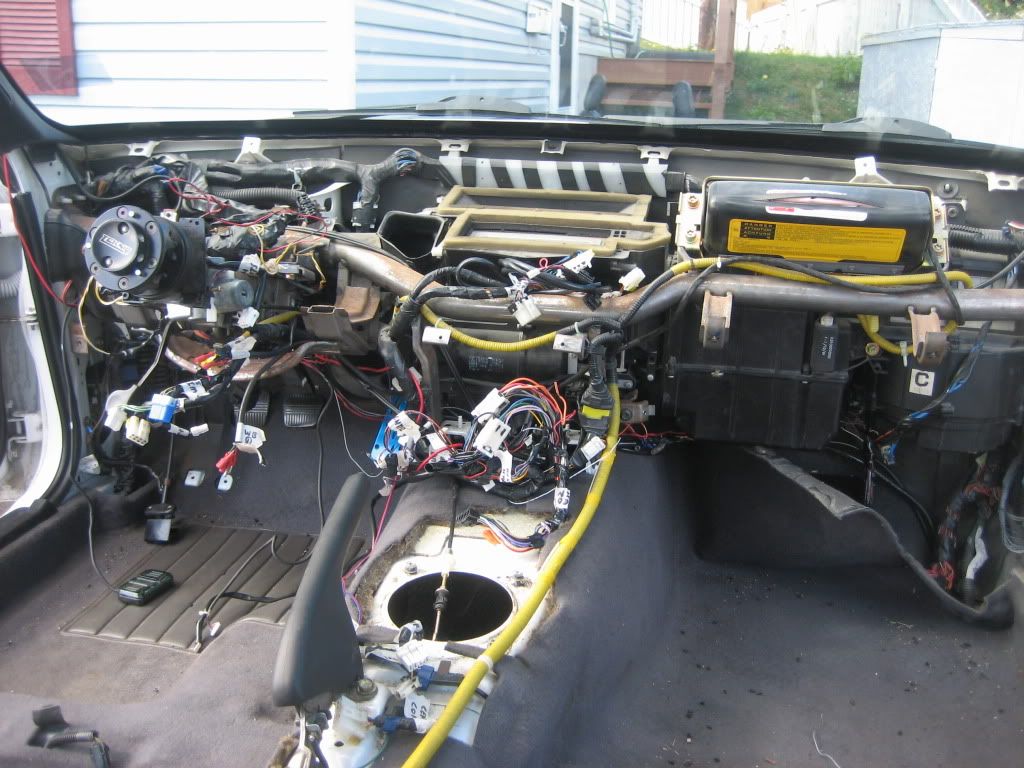
So to say the least, the wiring in this car is a mess. I tried to clean it up a little bit in April when I scrapped the full interior while waiting on engine parts. Basically at that time, it was just to reroute all the wiring, and bundle things together, etc. This winter I’m going to try and tackle the job of cutting open the harnesses, and eliminating what I don’t need.
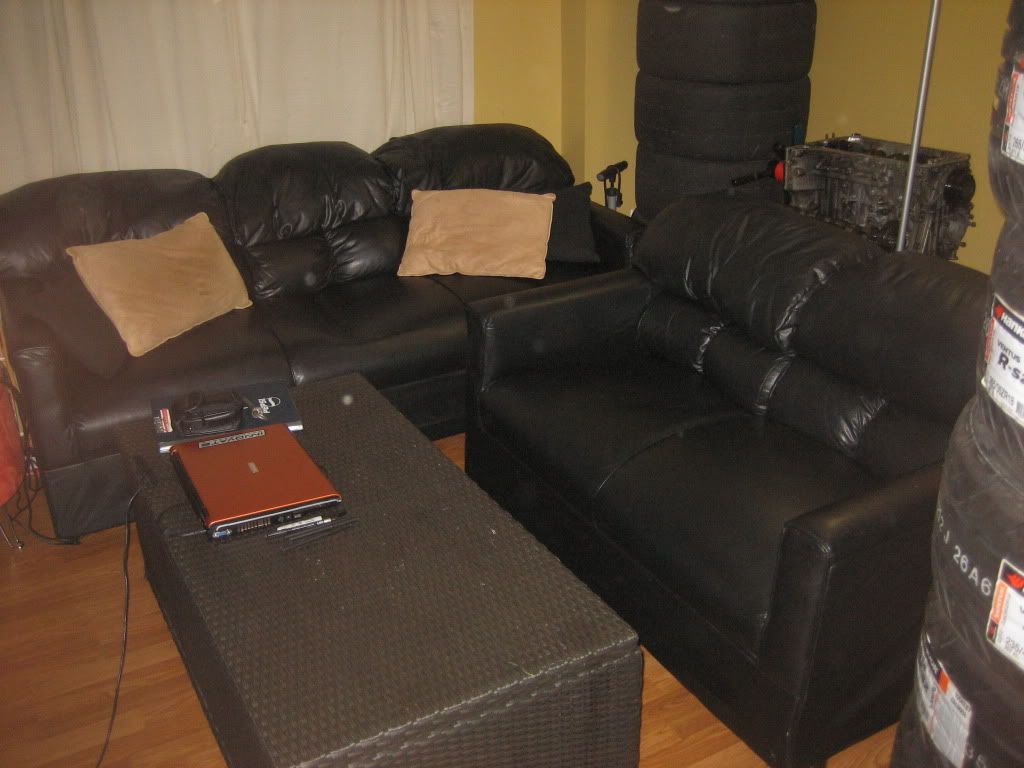
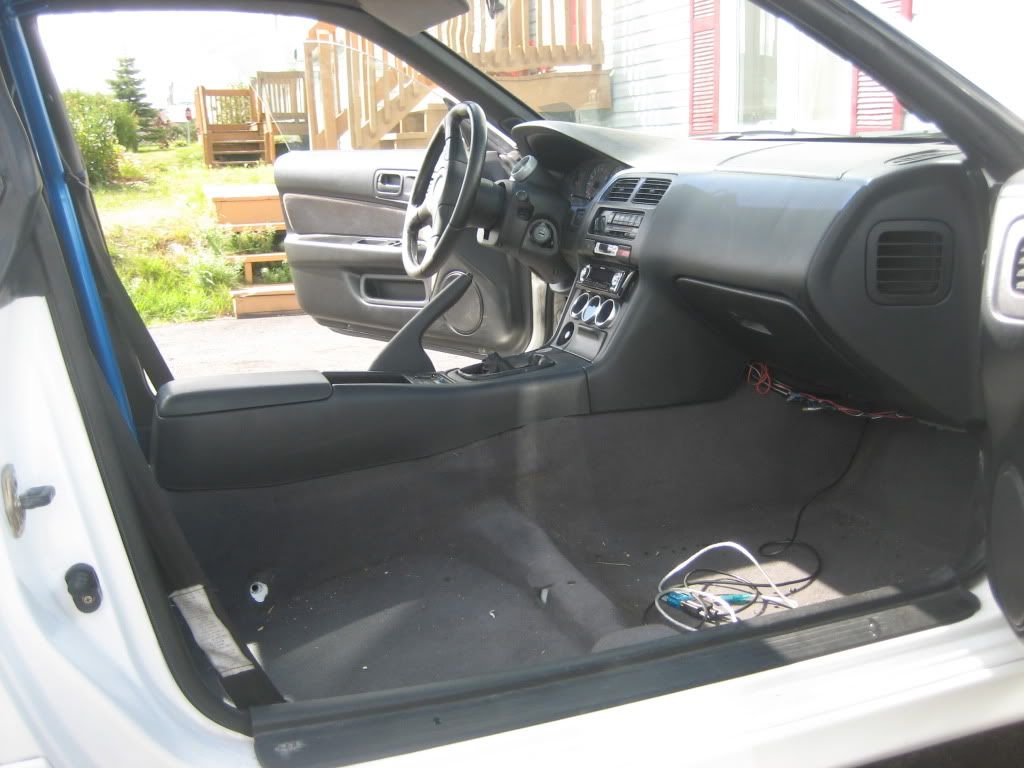
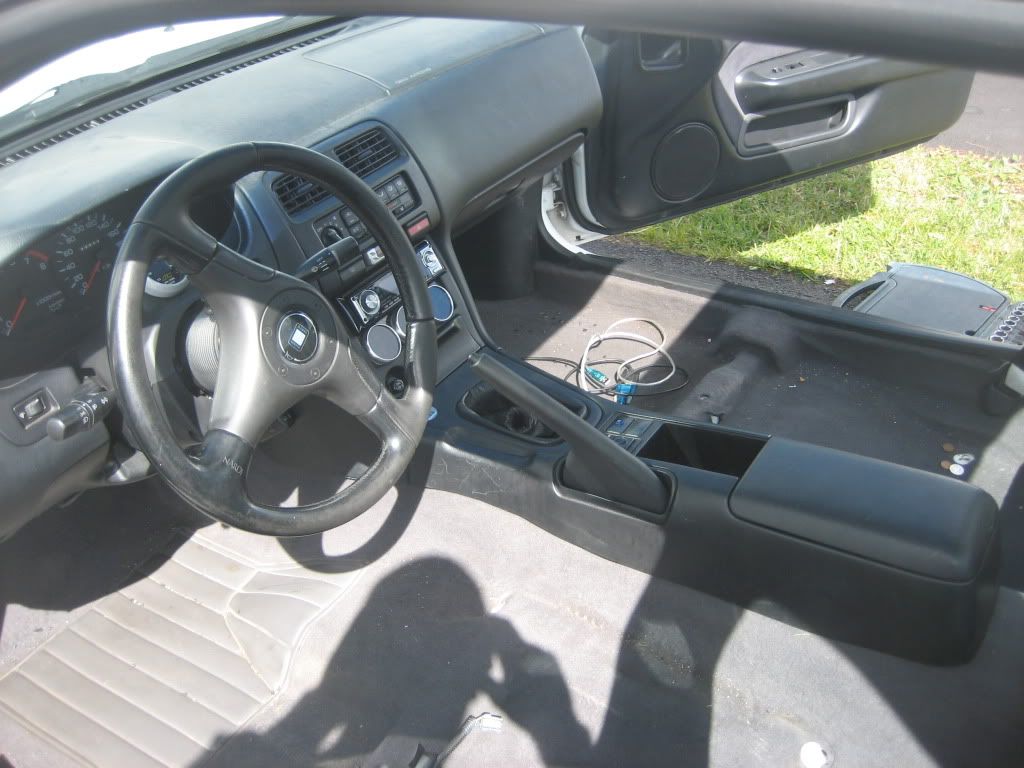
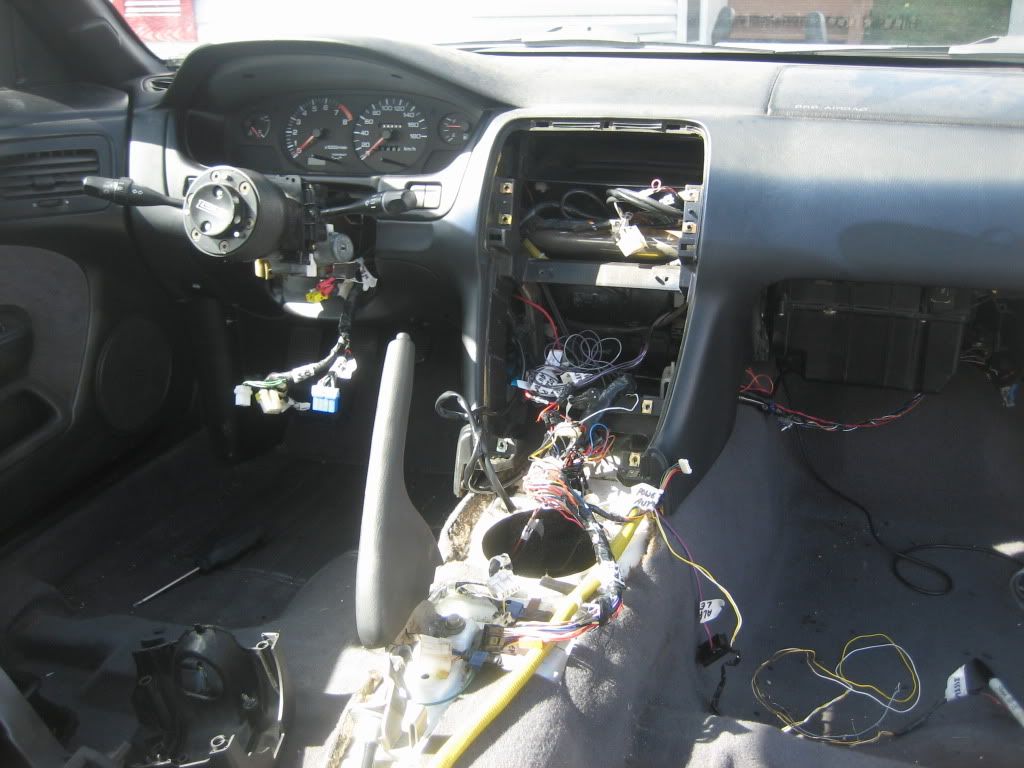
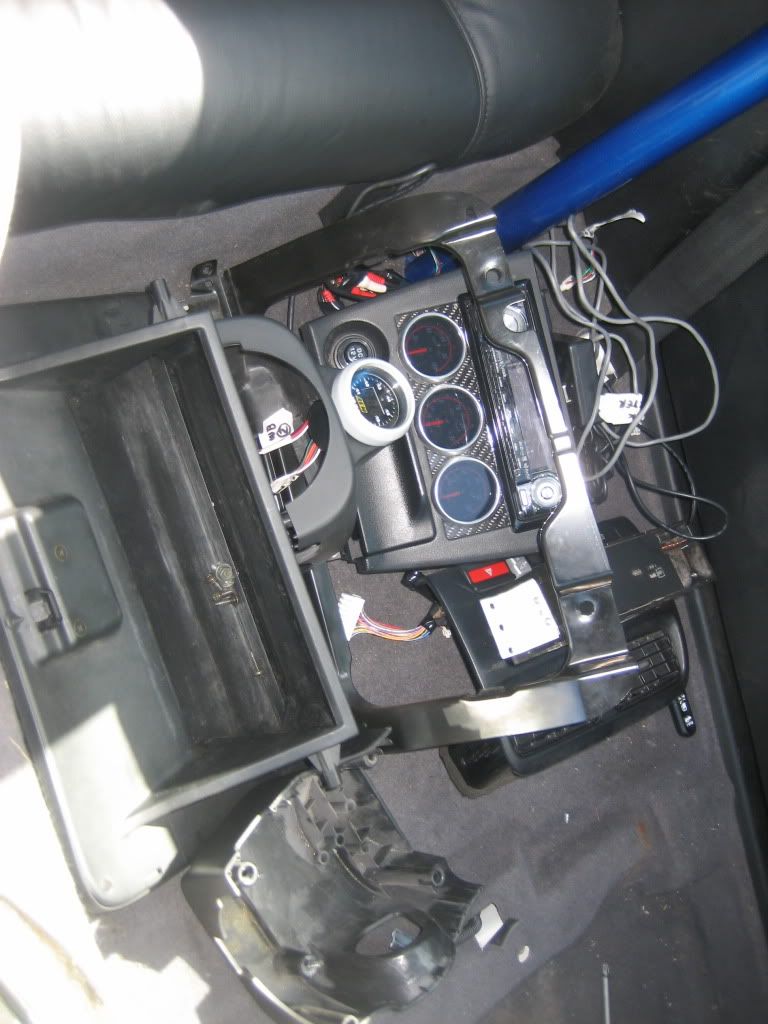
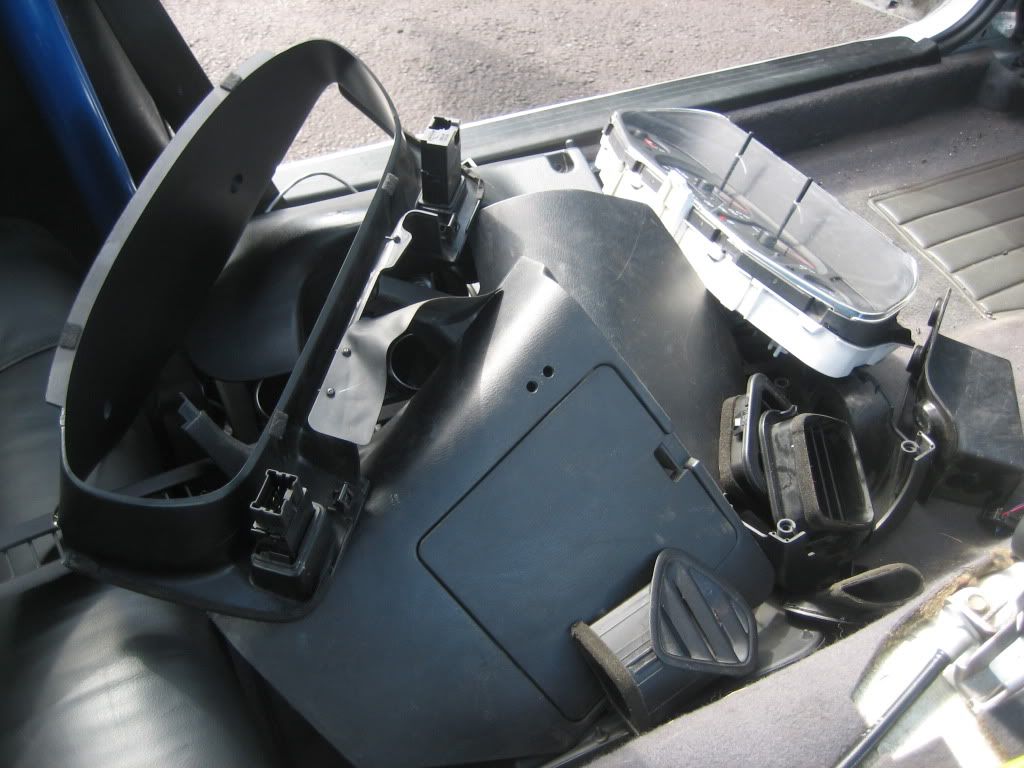
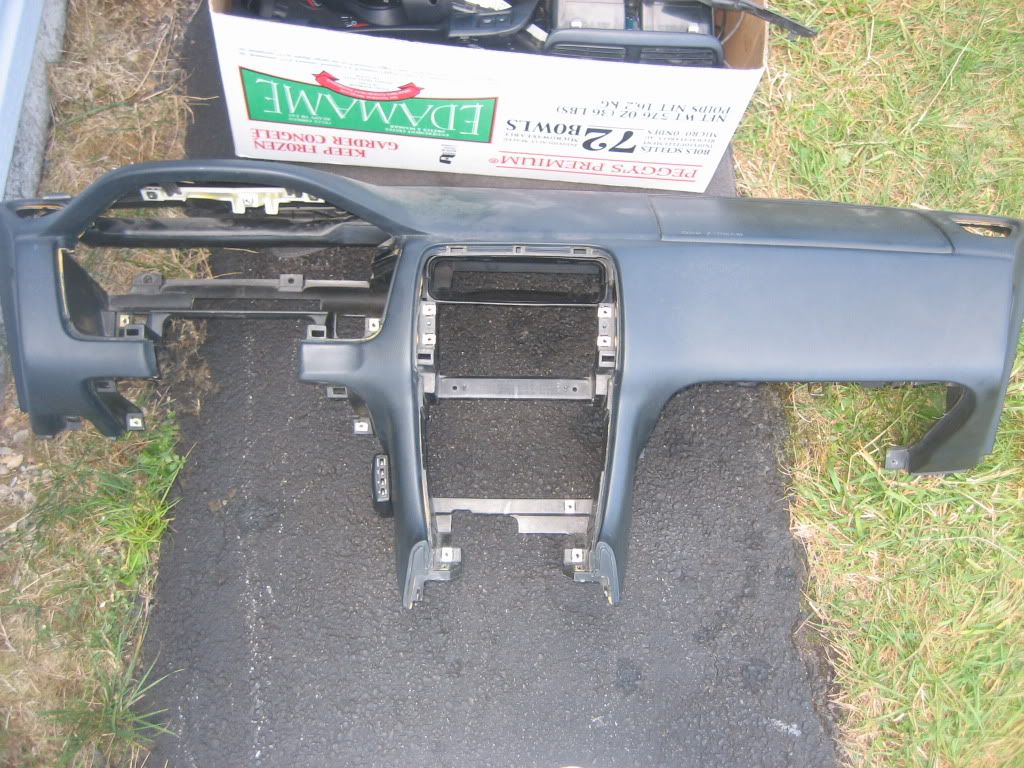
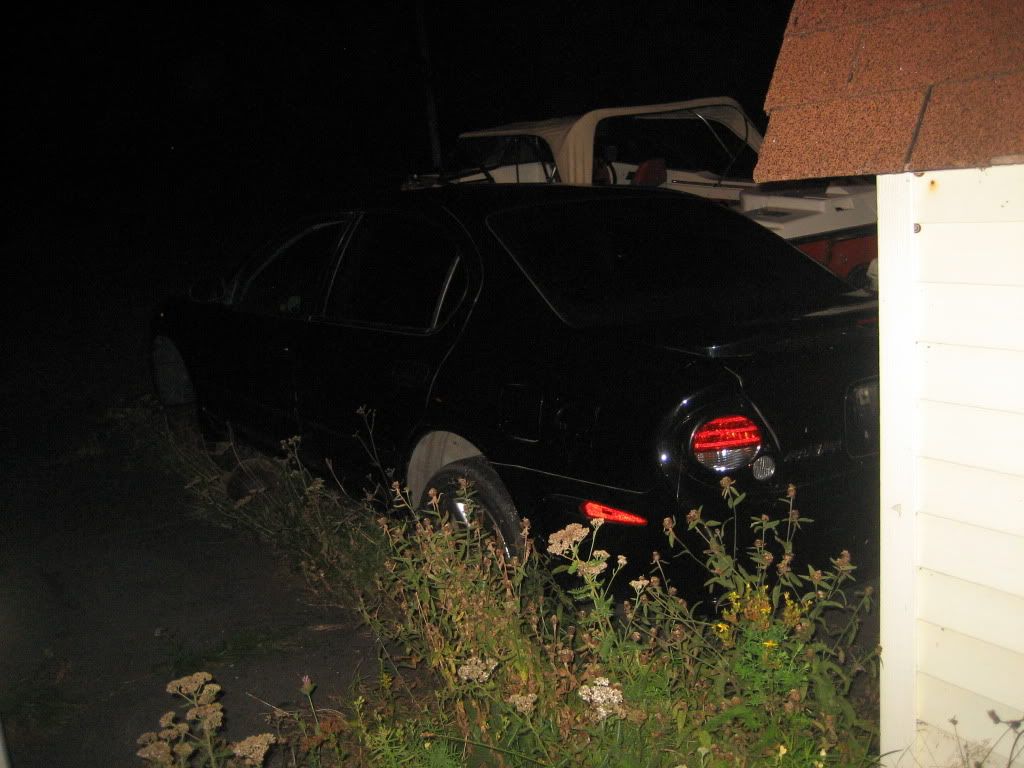
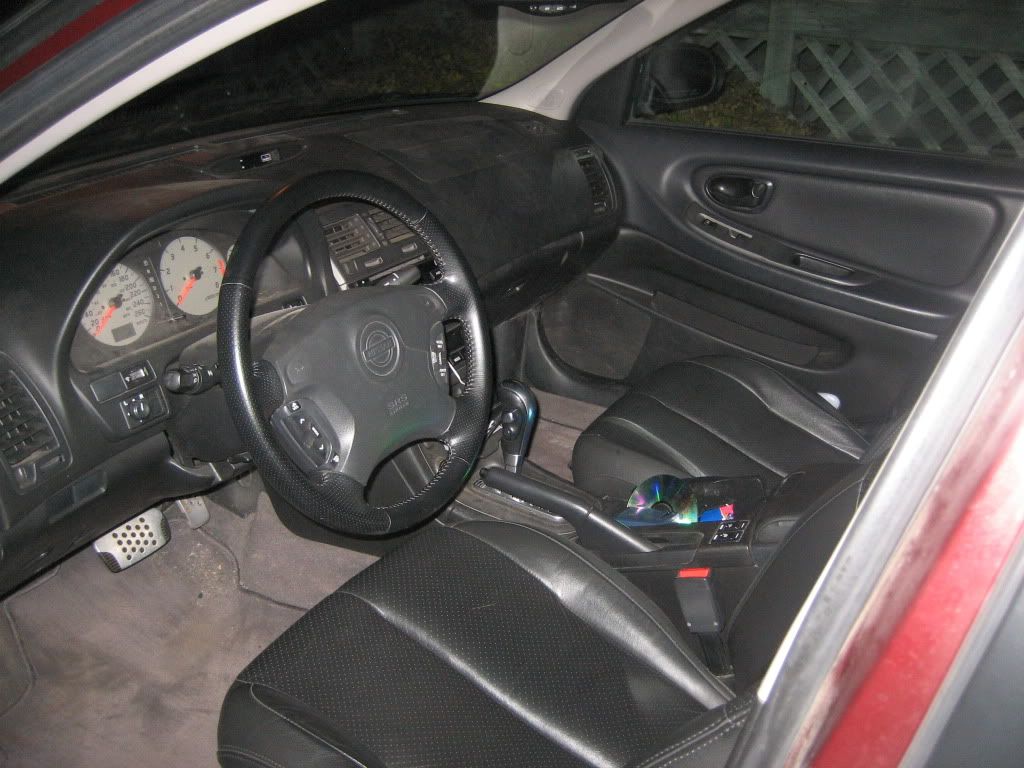
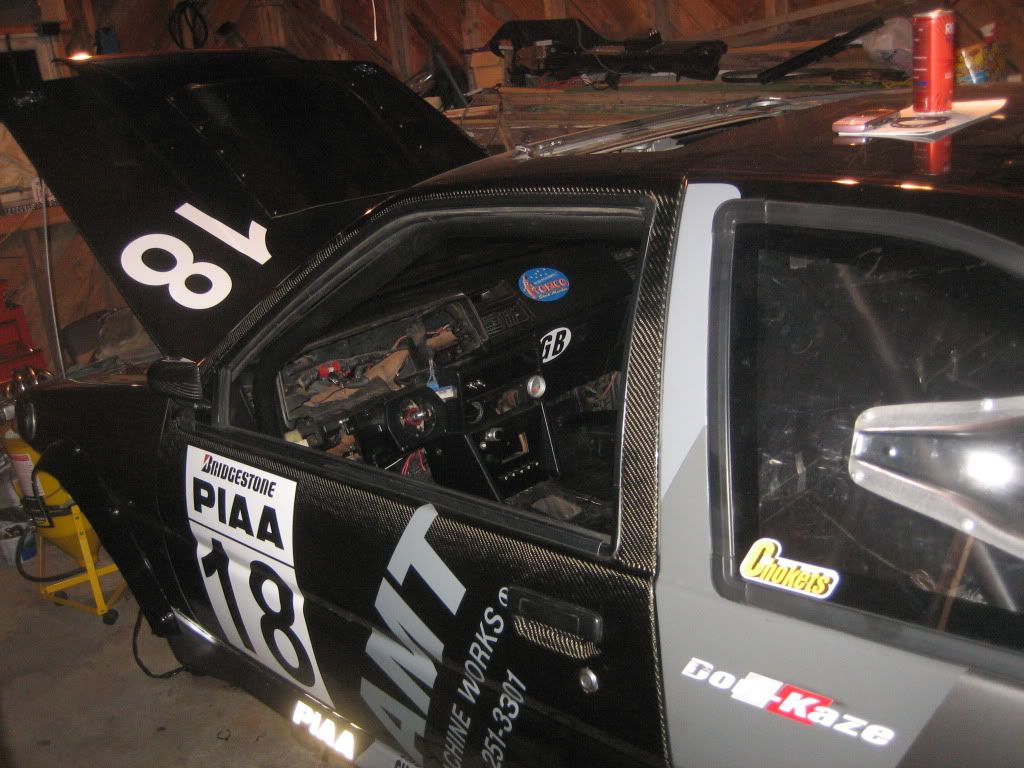
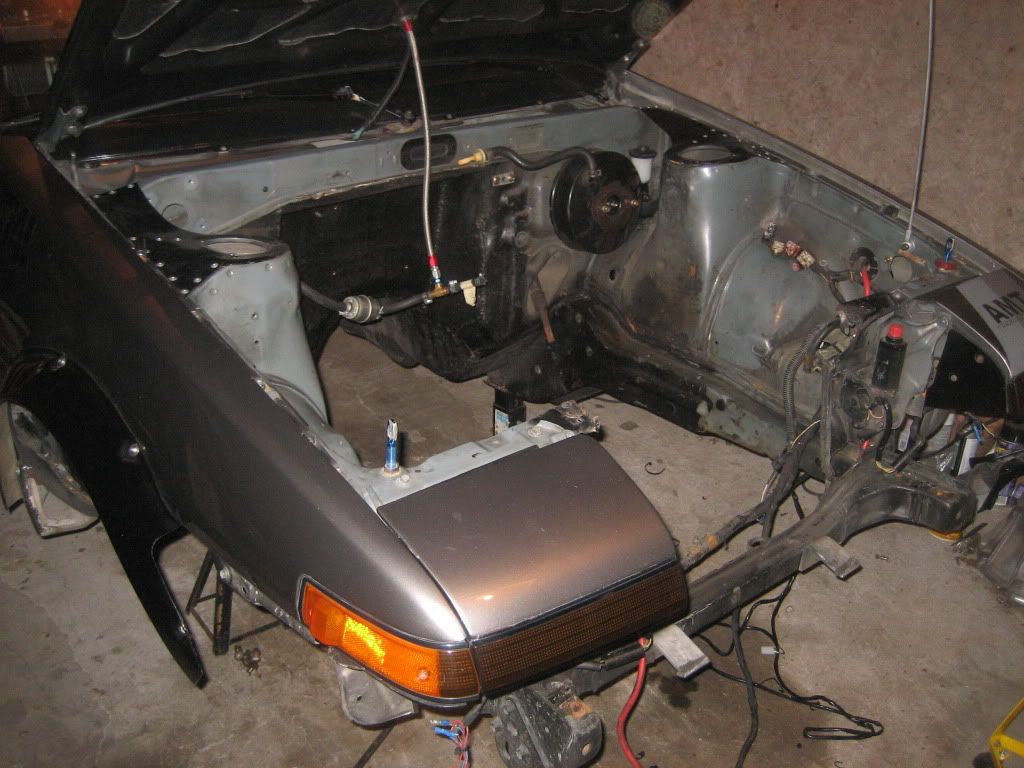
Here are some pics from the interior removal yesterday afternoon.
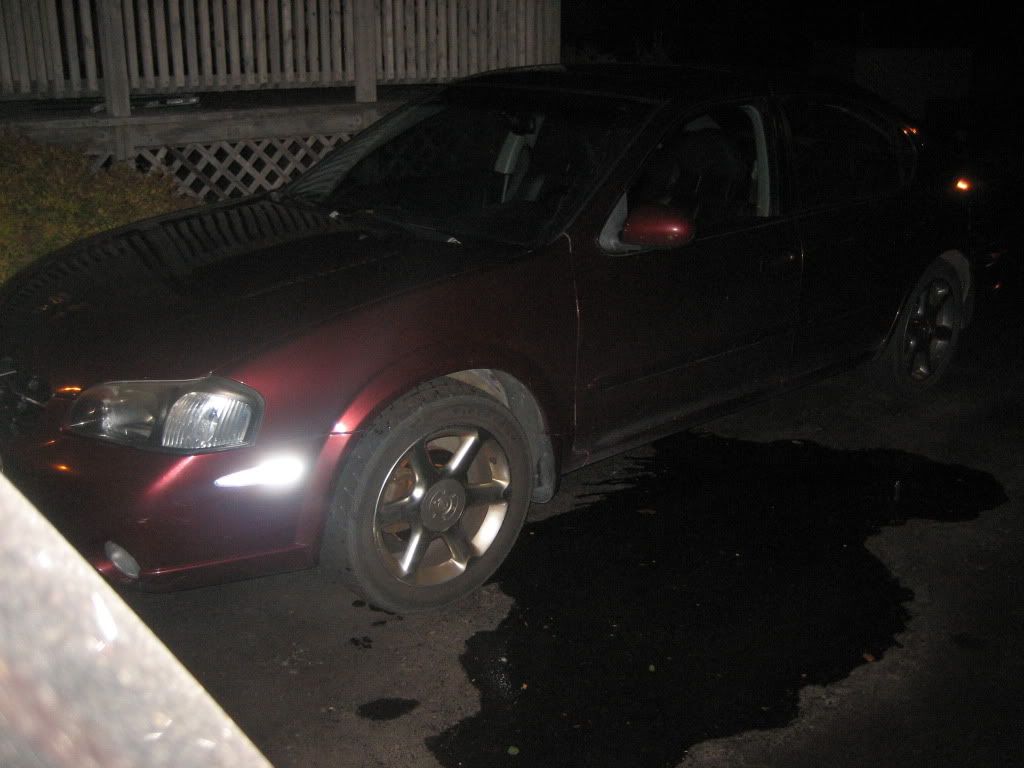
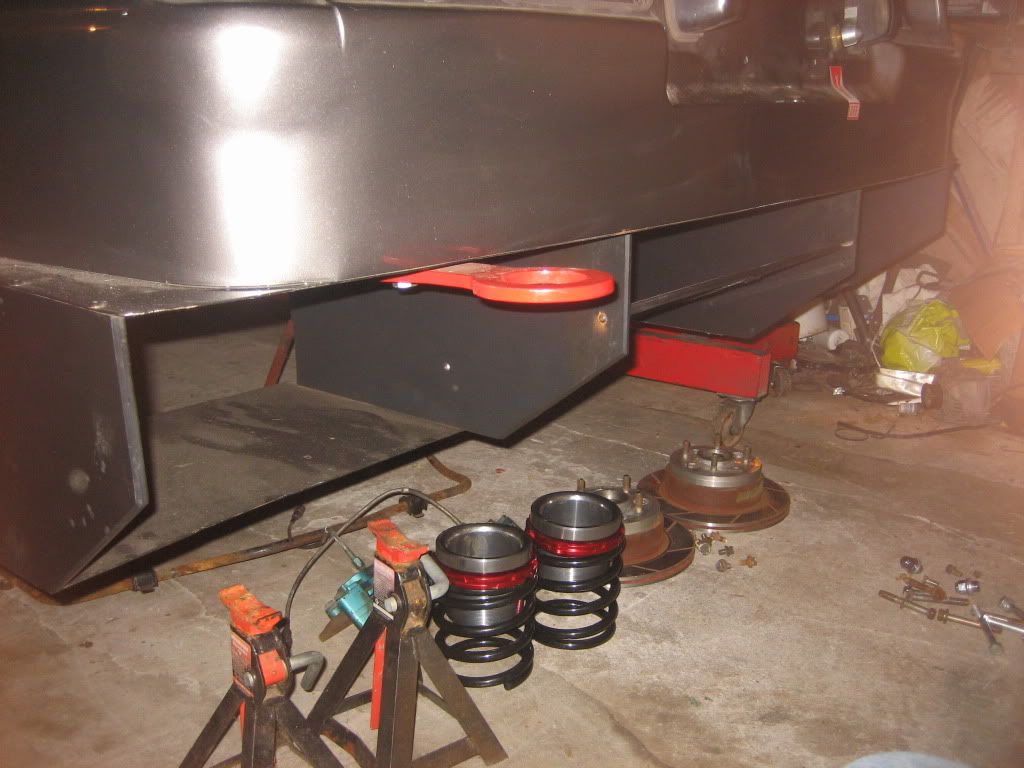
Look at how high the front of the car is with no motorset, and with the trunk packed full of heavy parts. It really looses some of its stance like this…lol
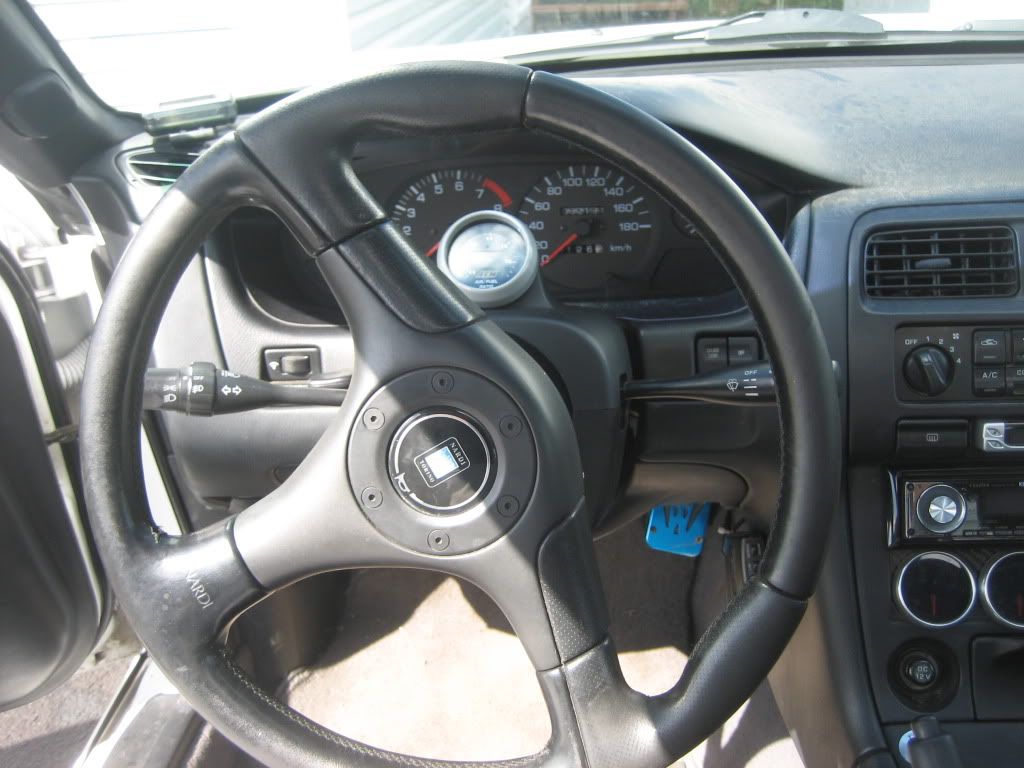
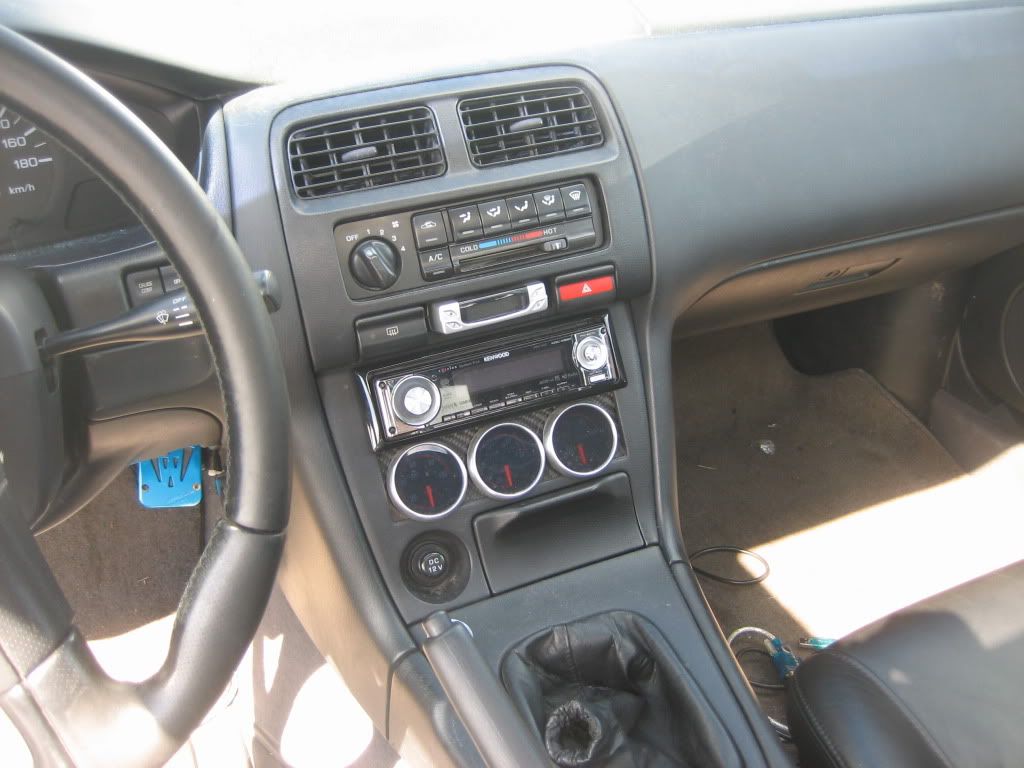
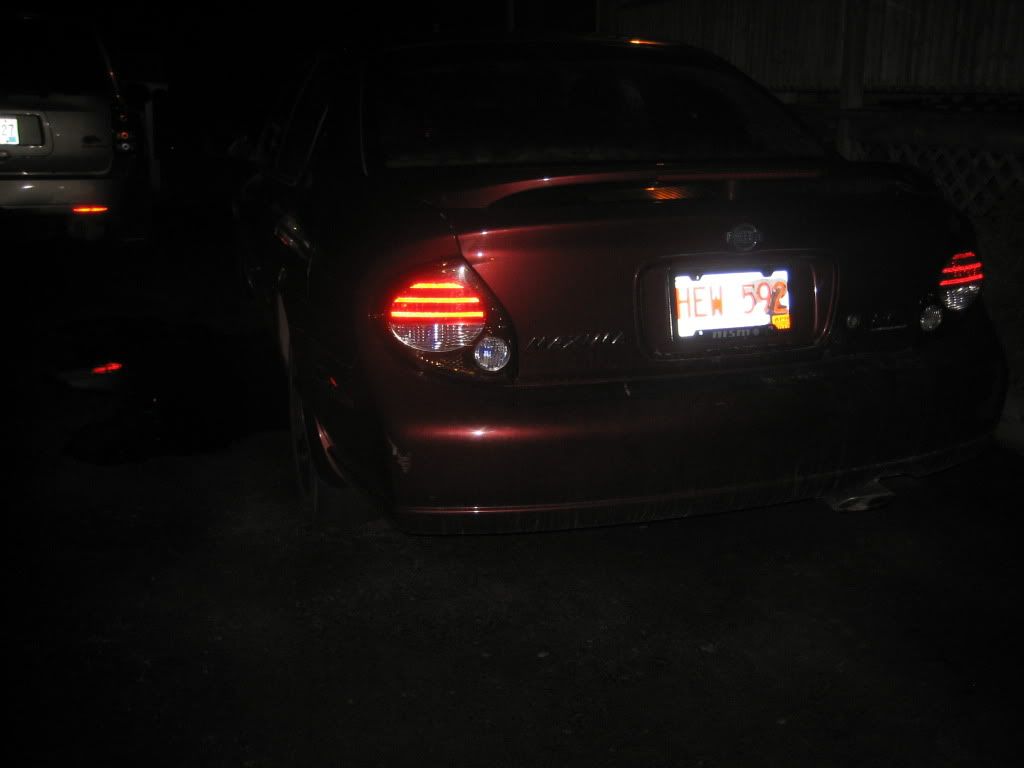
I took some interior shots before I started to strip it…why not right.
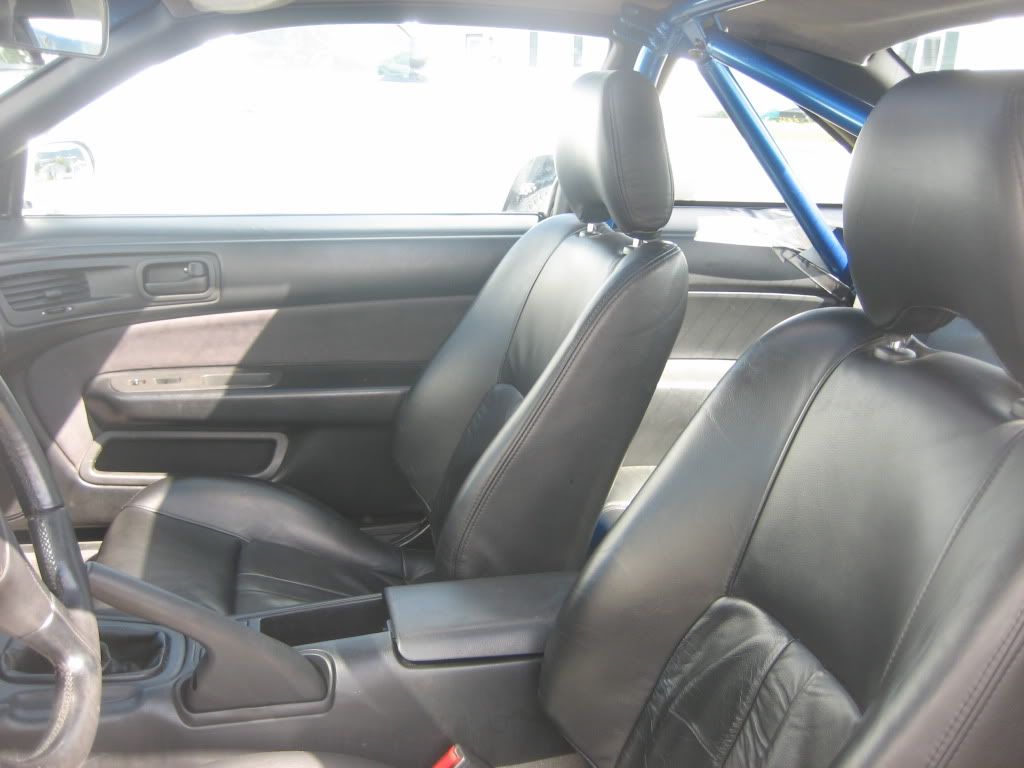
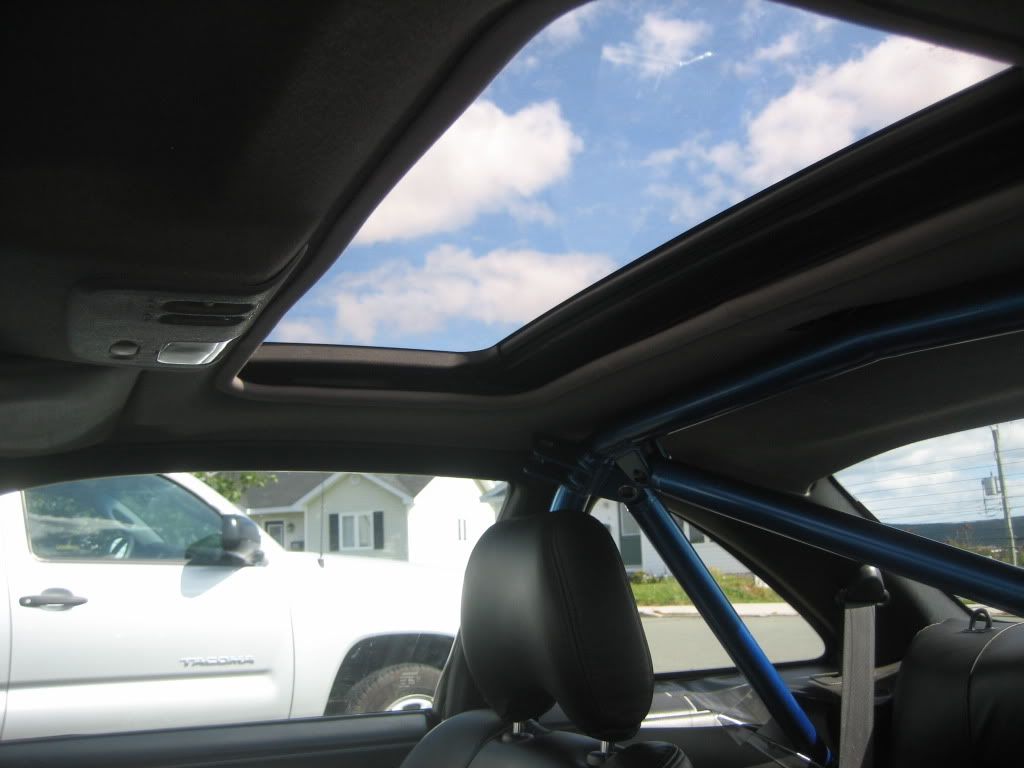
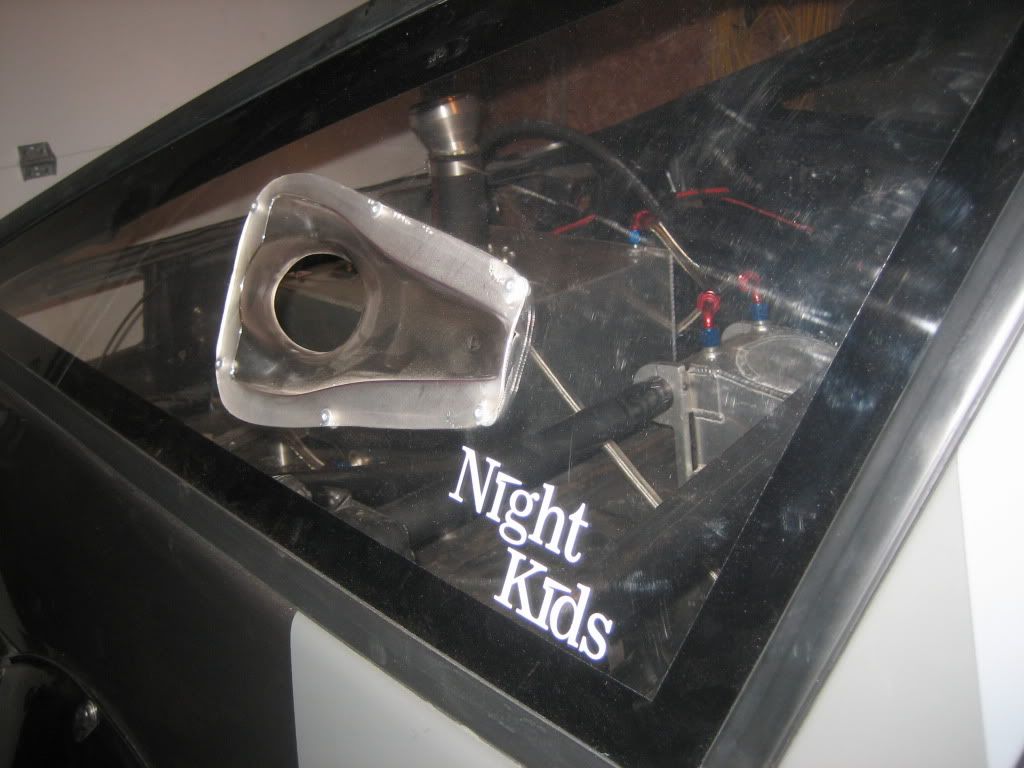
And check this…I have an S14 with a (Working) sunroof and a Cusco cage.
Yes, it can be done.
Cusco only makes their cages for non-sunroof models, but I decided to give it a shot.
Here’s a quick how-to in a nutshell.
- Basically you drop the headliner and the whole sunroof assembly out of the car. I did this on a “misty” night, so remember to cover the roof with a blanket or something while you’re inside modifying your sunroof.
- Pull the carpet and cut out the sound deadening under the main hoop.
- Drill out the dome light brackets on your sunroof assembly.
- Remove the dome light bits from the headliner, it won’t be reused.
- Fit the sunroof assembly back into the car, but don’t reinstall all the side brackets.
- The sunroof assembly bolts to the roof, but there are 6 black brackets that also bolt to the roof and to the assembly. I didn’t reinstall these brackets on the rear section of the sunroof assembly, I might have installed the front ones.
- Removing these brackets and drilling out/removing the dome light assembly, coupled with the sound deadening removal on the floor does the trick.
- Bolt up the sunroof assembly, and reinstall the headliner.
- With the carpet still removed, tilt the main hoop back toward the rear window and place the legs where you want them.
- There is a small “step” in the floor if I remember correctly, I placed it at the base of this step.
- While holding the legs in place, push the main hoop up into the roof, and into position.
- This will be quite tight against the headliner, but it should fit right into place where the dome light once sat.
- There are two cross-members in the sunroof assembly, and the dome light bracket is in the middle of these. Once the dome light bracket is removed, the main hoop will sit between these two members.
- Mark/drill for your bolts/plates and install.
- I used some autobody cocking on the plates to seal them.
- The rear members go to the rear wheel wells.
- Same deal with the plates & cocking.
- Then I installed the cross brace, and there’s another one that fits straight across the rear seat about half way up, kind of like a strut bar, not pictured here.
- I keep that one out sometimes so that all I have to do is remove the cross-member and I can fit people/stuff in the back seat.
Don’t hold me liable if you follow any of that and mess up your car.
It’s just how I did it through trial & error.
But it worked.
The sunroof can’t go back anymore obviously, because it used to go back into the headliner, and now there’s a roll bar there. It can however still tilt, which is what I use most of the time anyway. It’s nice to be able to cruise at night with the sunroof cracked, or even on long highway runs.
I don’t have any AC, so I usually leave the sunroof cracked and circulate the air on low on the highway, and it’s perfect.