I took a break over the past couple weeks. I was getting burned out working 40 hours a week, and then working on this 40 hours a week.
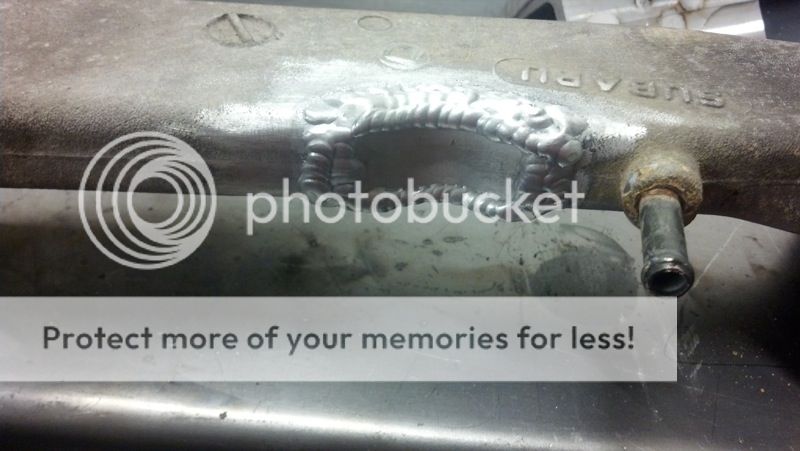
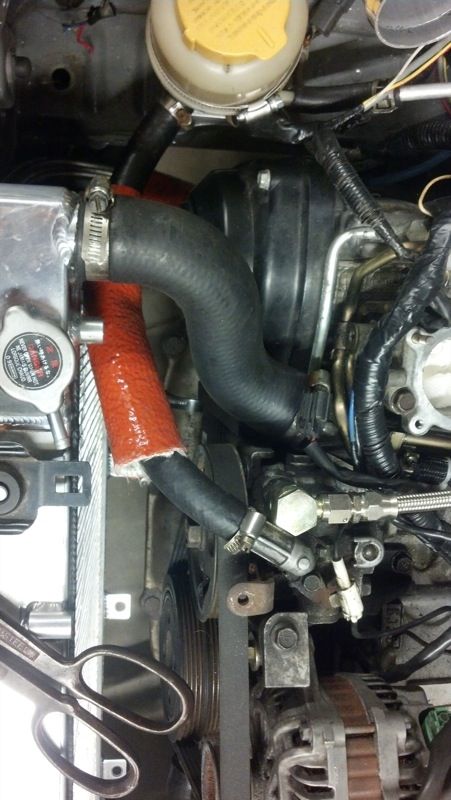
Back at it though. I decided that in order to fix the upper radiator hose issue, I would switch out the coolant crossover to one that matches the radiator. Conveniently, Harvey had a parts car laying around so I pulled the crossover out of that.
The older ej25’s dont have this vent on top of the block. I had to cut and weld a relief into the crossover to clear the vent. This is the first time I have welded cast aluminum-- hoping that the damn thing holds. I threw extra beads on there just in case.
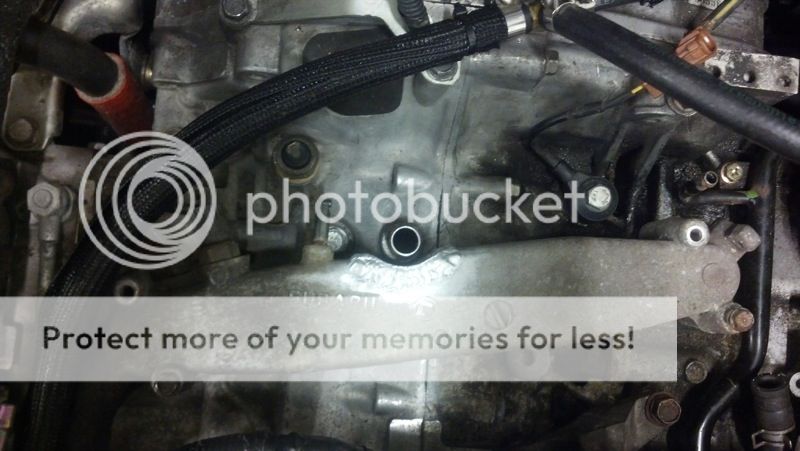
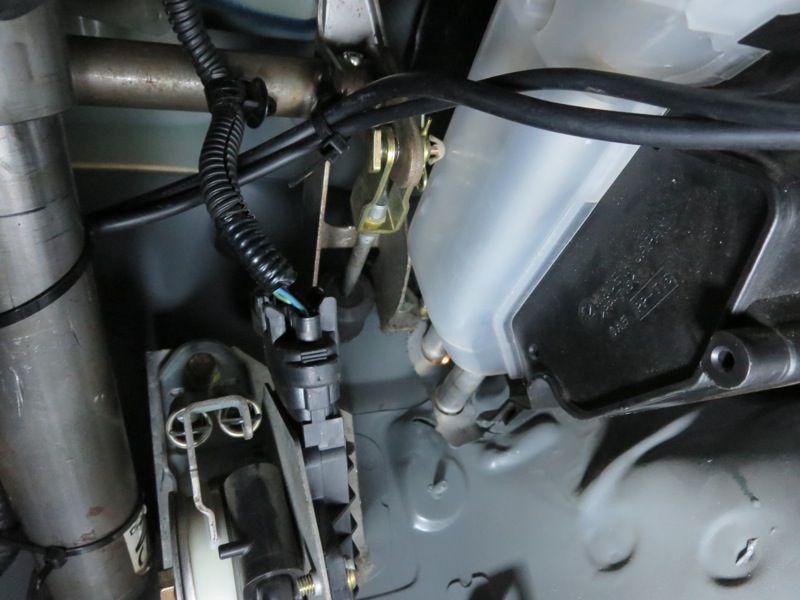
I will need to extend the harness for the OEM temp sensor, as it is in a different location on the new crossover. Need to stop at the dealership to get some gaskets so I can button it all back up. Spent a while cleaning gasket maker from the mating surfaces. My back hurts.
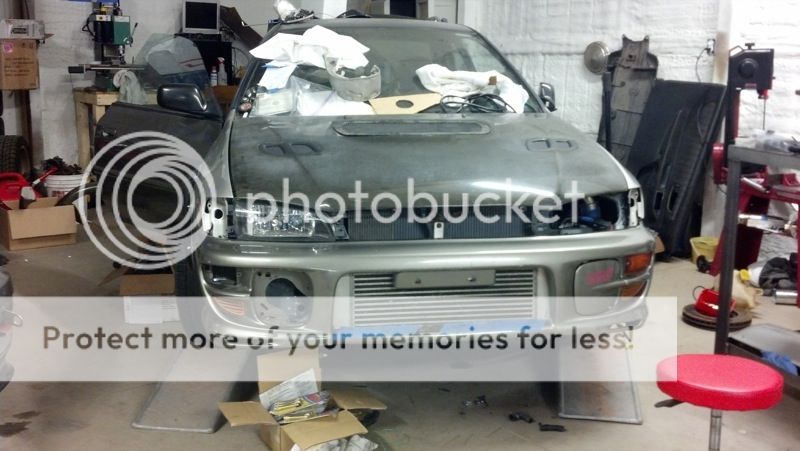
The carbon fiber trunk has horrible fitment. Started working on that. Found that the latch doesn’t seat right, and part of the mounting “plate” is separated from the frame of the trunk. Slabbed some JB weld in there to see if it will hold it a bit better, and started modifying the latch to allow the trunk to sit lower. I should be able to get it fitting at least 50% better but I think there will always be a small gap.
Stopped at northtown and they were useless. Not sure how they dont have the intake manifold to TGV gaskets. Got the o-rings though. Will have to stop at innovative today. Worked on a couple other peoject’s today so I didn’t get a ton done.
I need to fab up a battery box and a coolant reservoir. I’m having trouble finding a place that sells affordable “caps” for the reservoir. All of the weld on/screw on ones are 40+ bucks.
I got a new camera for christmas so hopefully the pictures will be a bit better.
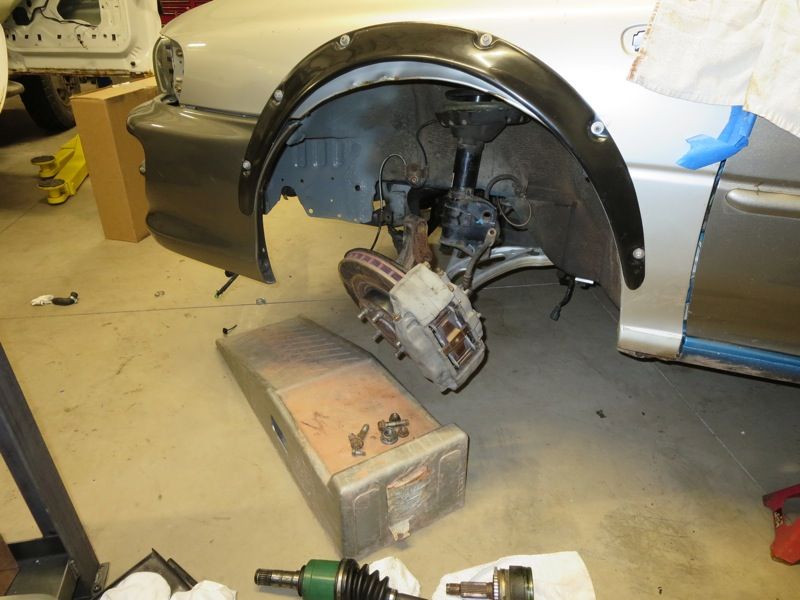
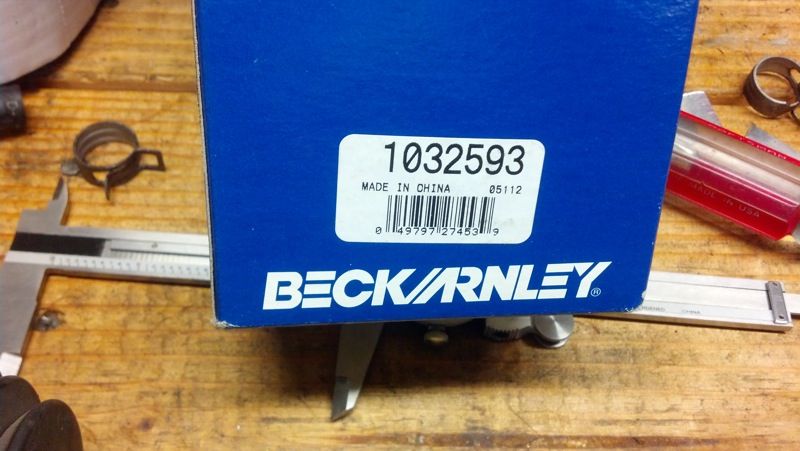
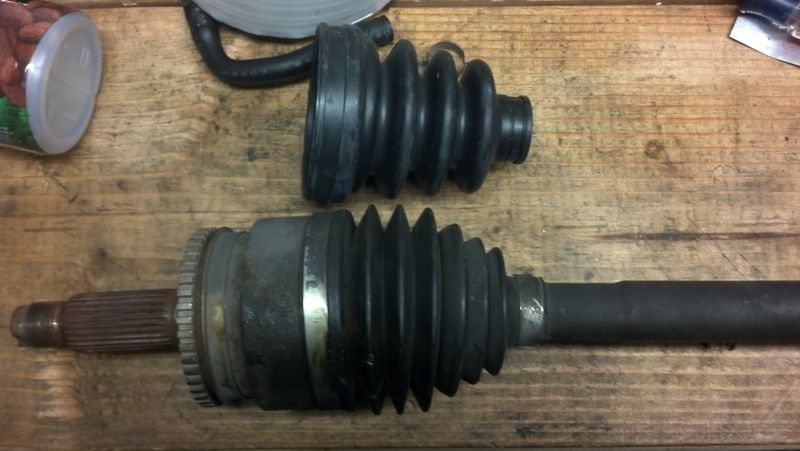
Took the front end apart to replace the front outer CV boot due to a pinhole leak. Got it apart to realize that the beck/arnley part number is incorrect-- the boot is the INNER not the outer. Bah. I searched and couldnt find anyone who stocked this so I had to order it from the dealer.
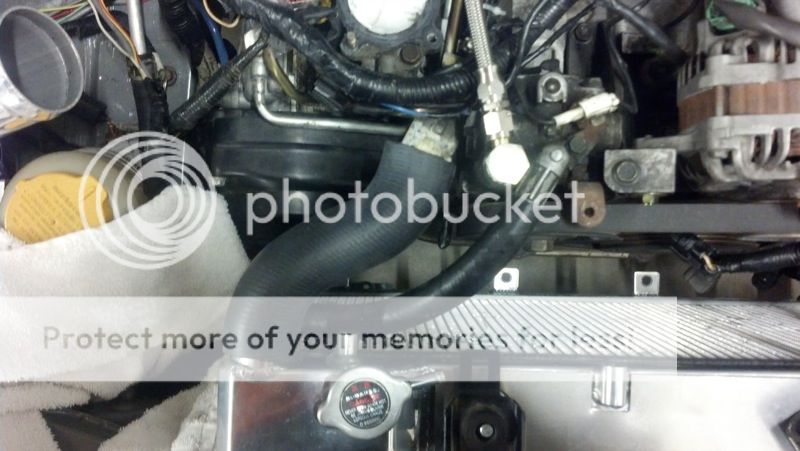
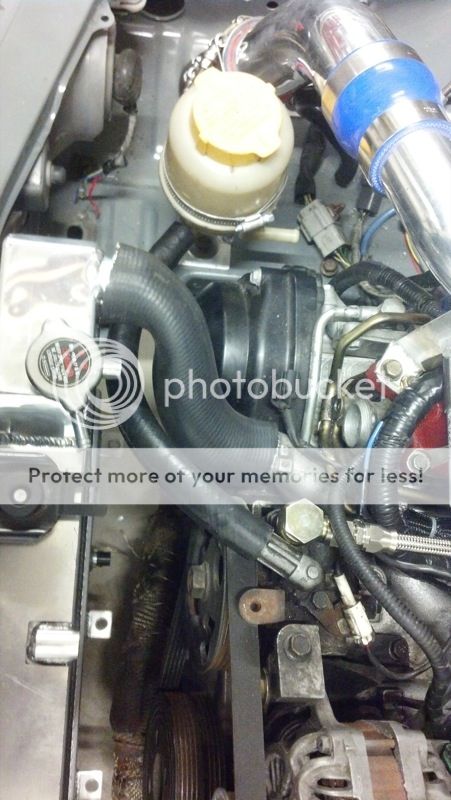
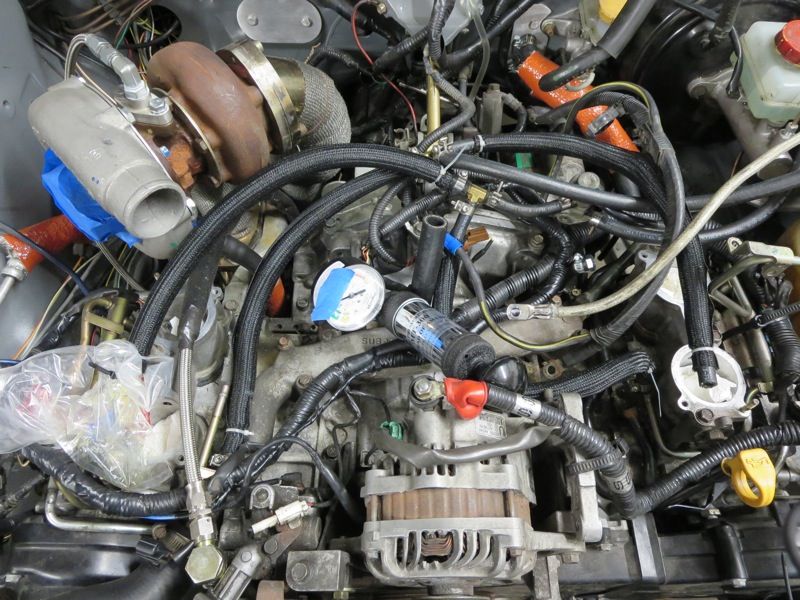
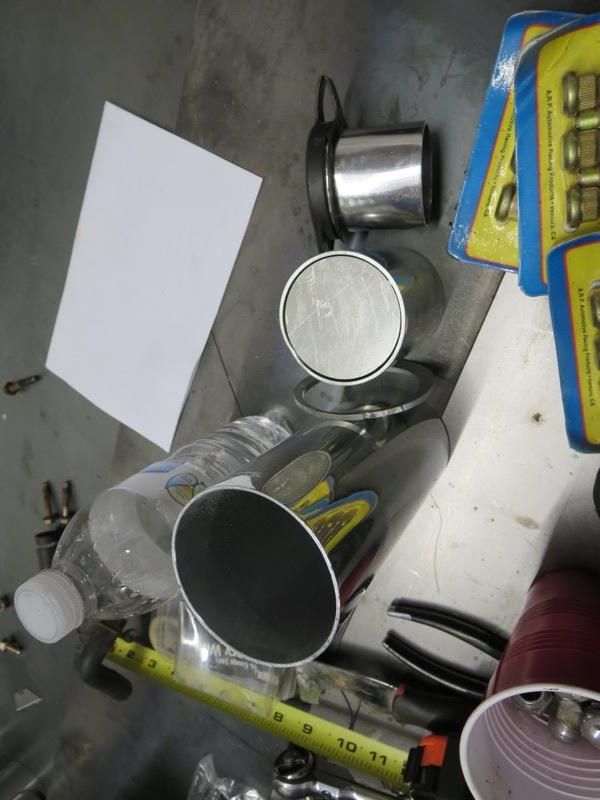
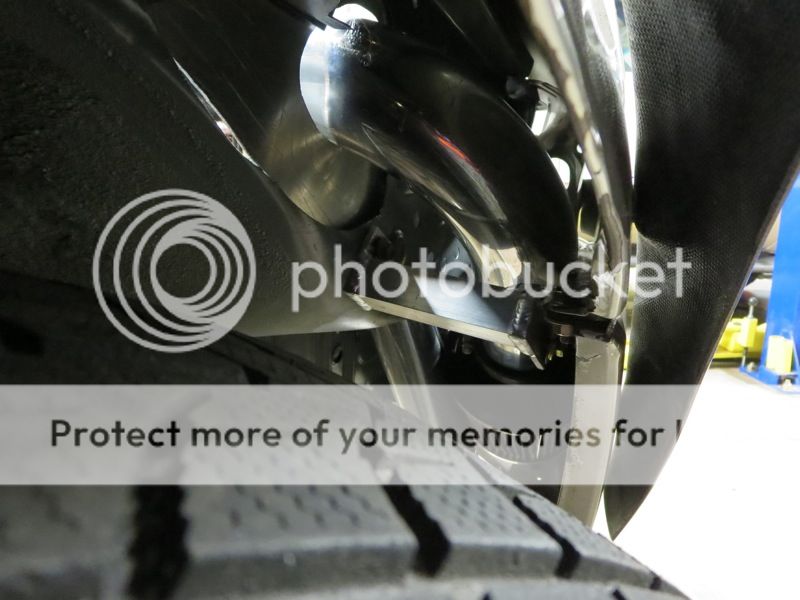
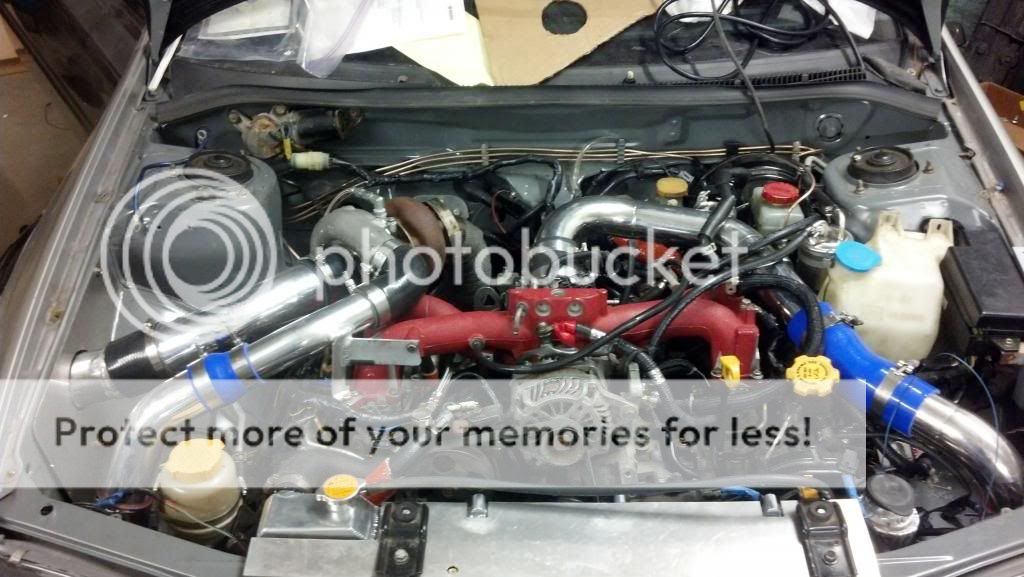
In the meantime, I rented a coolant system pressure tester. Got the modified crossover pipe in and tested the system. After a few fixes, the system held pressure for 5 days. Done! I put the intake manifold back on and started re-connecting the stuff I had removed (fuel lines, plugs, yada yada). I re-routed some stuff to make it easier to take the intake manifold off in the future. I also got the 3" aluminum pipe to make a cold air intake. Still working on how that’s going to be routed, as the big K&N filter doesnt have a nice place to fit in the fender.
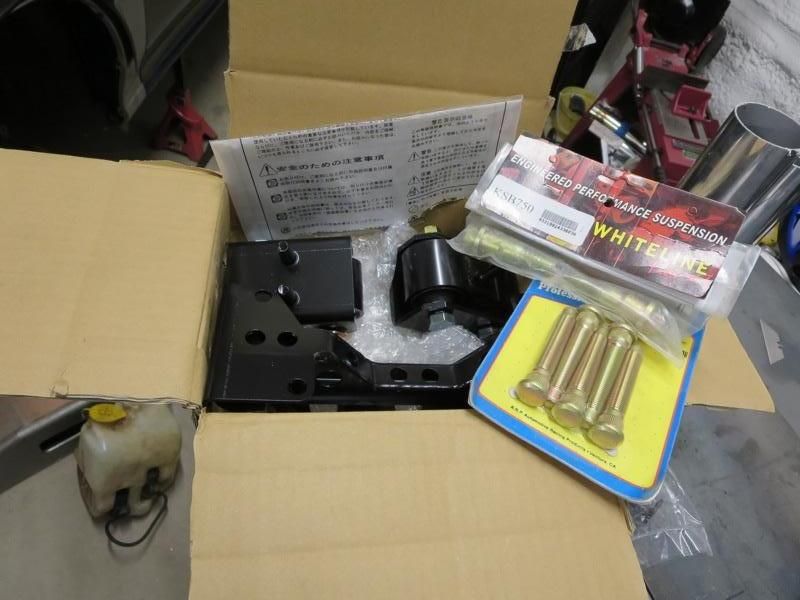
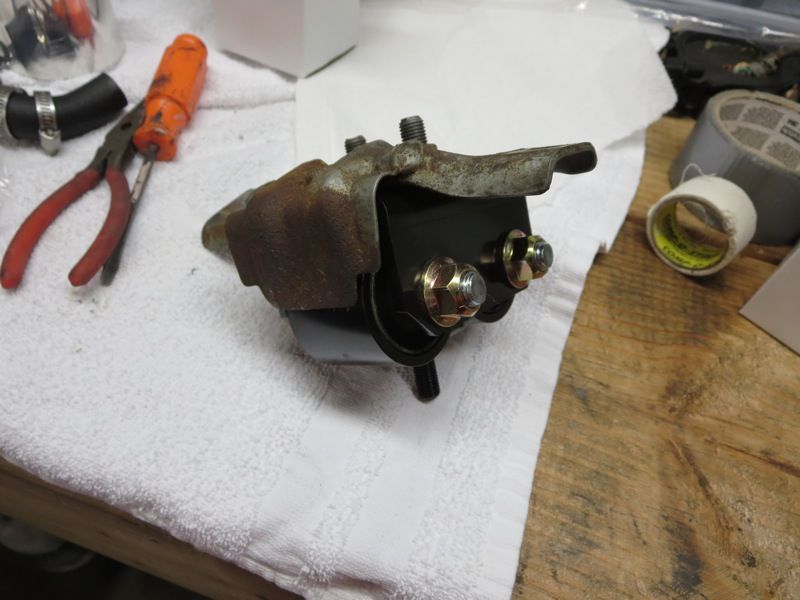
Got some nice parts for xmas! Thanks a bunch to Mike at Innovative for having this stuff in stock. Make it easy for my parents to shop. Cusco solid motor and transmission mounts, ARP extended wheel studs, and whiteline rear subframe lockdown bolts.
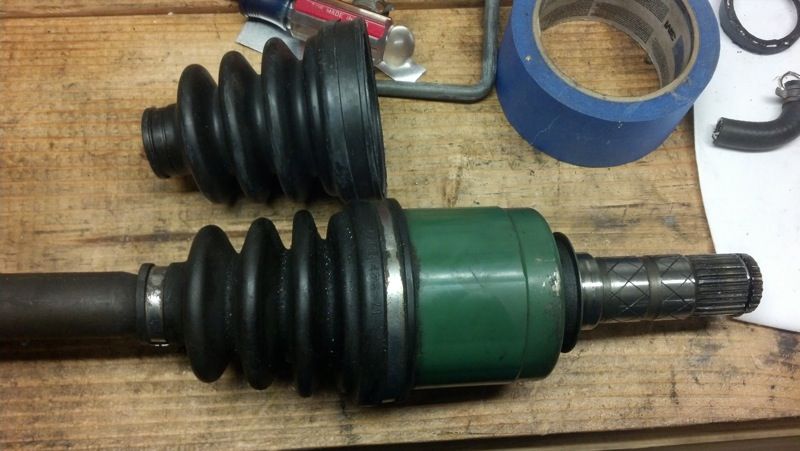
Not too happy with Northtown subaru this week. I had them order me a new CV boot/clamps as I could not find the proper one aftermarket. The boot itself it fine, but the clamps are a joke. It appears that for the small clamp, they just took a generic parts store clamp, wrote the OEM part number on some tape and sold it at OEM price. If I wanted that style clamp I could have bought it on amazon for less than a dollar, not the almost 5 dollars I was charged for it. I know it sounds trivial, but I expect to get OEM parts when I order them and pay oem premium-- or for them to say “we just use this cause its cheaper and works the same, here it is for xx dollars”.
The larger of the two clamps IS an oem piece with a real OEM sticker and all. Too bad it appears to be the wrong part. There’s no way to get that much slack out of that style clamp. Ill have to look up the part number to verify that it is in fact incorrect.
They didn’t have a few pretty common parts that I needed last week. I guess I will just have to order this stuff myself from out of state dealers from now on and pay the ridiculous shipping costs so I know I at least get the right parts. Its sad that something as simple as a CV boot is such a runaround to find parts.
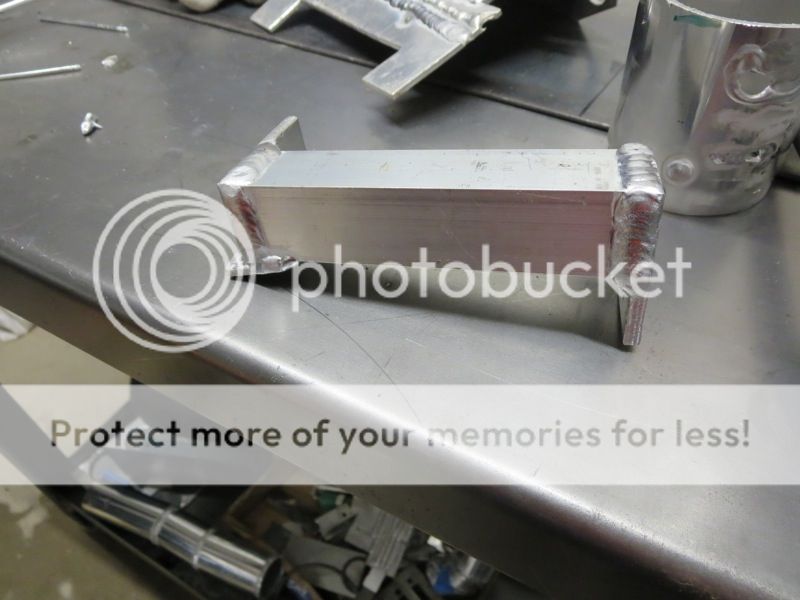
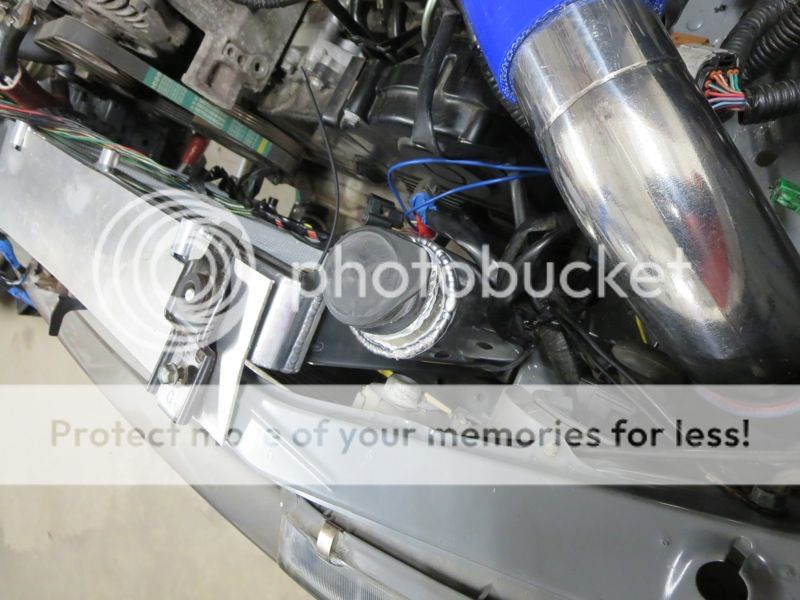
Almost finished the intake. Just need to decide on a bracket location for the fender pipe. Made a cover for the big hole I cut in the inner fender to be able to fit the intake pipe through. Its not 100% done yet but you get the idea. Also replaced the OEM fender bracket with an aluminum piece as the OEM one was bent up and all of the bolts broke off in it. Bonus is that it weighs half as much.
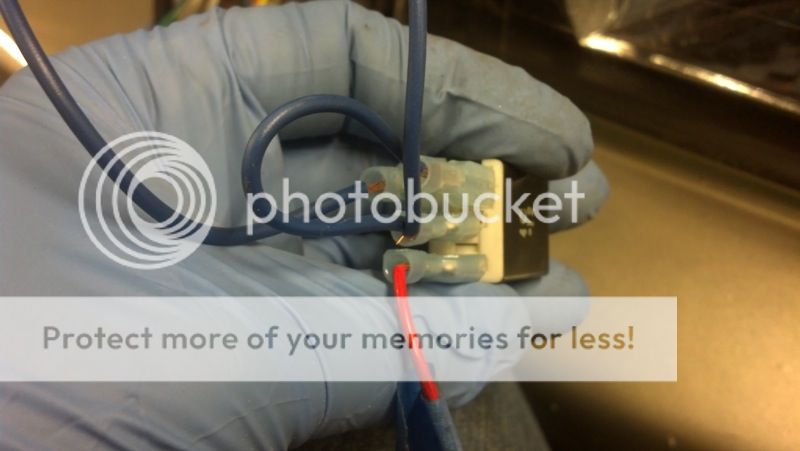
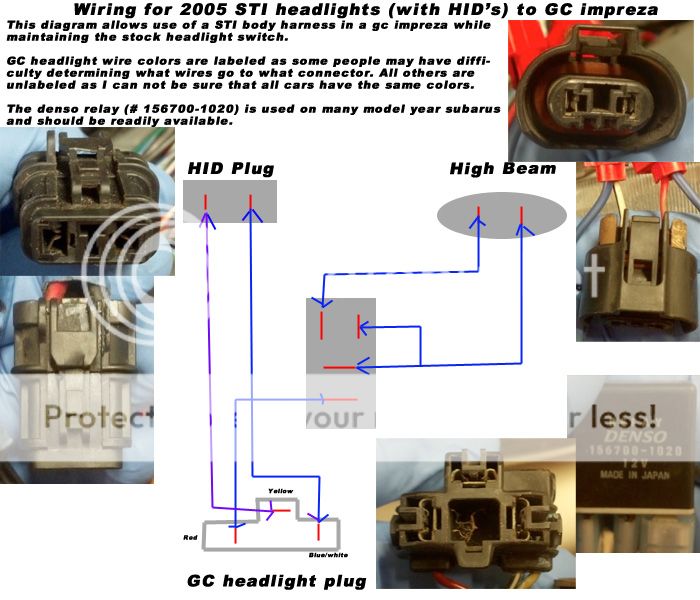
One of the issues with using the STI harness in the GC chassis is that the sti has HID headlights (and the GC obviously doesnt). The wiring is not compatible without some modification. I am literally retarded when it comes to electricity, so Harvey stepped in and went through the wiring diagrams and rigged up a relay and a bunch of wires to be able to use the OEM light switch for low and high beams. This is just “test” wiring at this point to prove that the layout works. It will be cleaned up now that we know its correct.
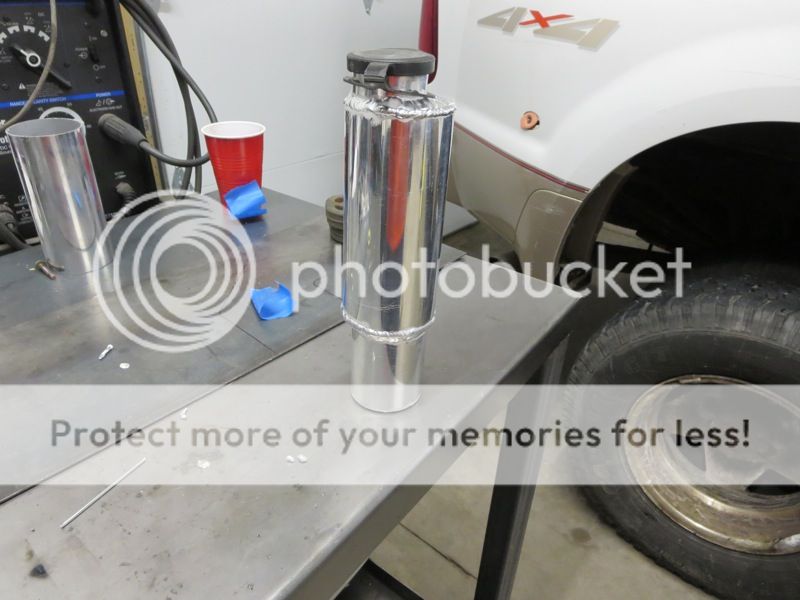
Made a coolant reservoir. Still need to decide on bracketry. Not super pleased with the aesthetics of the welds on this piece but it holds water. Maybe I will remake it once I get better.
I’m starting to wonder if the piping that I am using is either clear annodized or has some sort of sealer. All of the welds seem to be getting these rough speckles. Not sure what is causing them.
This build is amazing. Love the fact that you’re teaching yourself the aspect of fabricating and welding along the way. Nothing can replace, or even come close to the knowledge/skills building a car like this teaches you. Excellent work dude! Been following it every step of the way and the end result will truly be worth it! Keep up the great work and I hope you reach your goal of the Lap of America!
Thanks! Its definitely been a learning experience. Hoping to have the car on the dyno by the end of the month.
Got the ARP wheel studs in. Still havent decided what im doing with the heat shield. I will probably leave it off and duct air into the wheel well. We will see.
I managed to break the bolt on the tial vband clamp. I was tightening it and it felt snug but I could still spin the BOV on the flange. Turned it a bit more and just knew it was stripping. Started to back it out and it locked up and snapped. $40 fucking mistake.
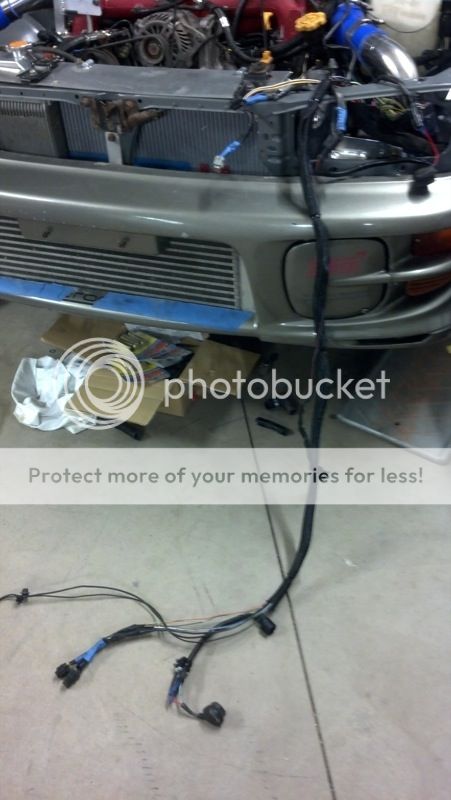
Stripped out some un-needed wiring from the harness that crosses the front of the car, loomed it up and ran it. Headlights are now finished. I need to go to storage and get the 95 harness to pull all of the plugs for the blinkers so I can wire those in.
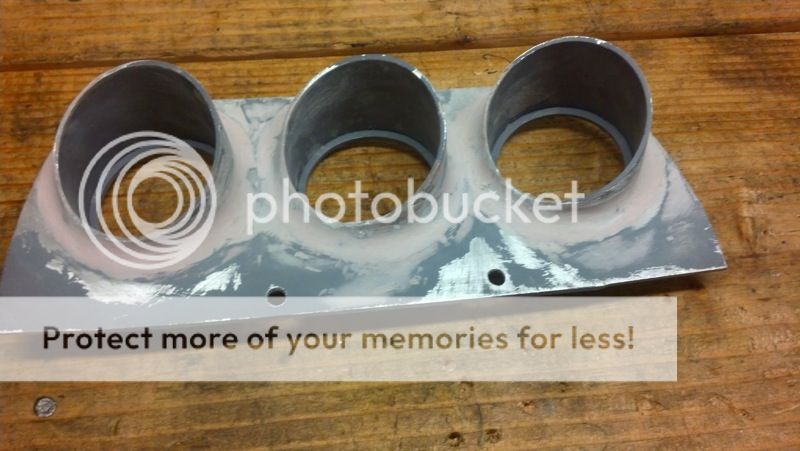
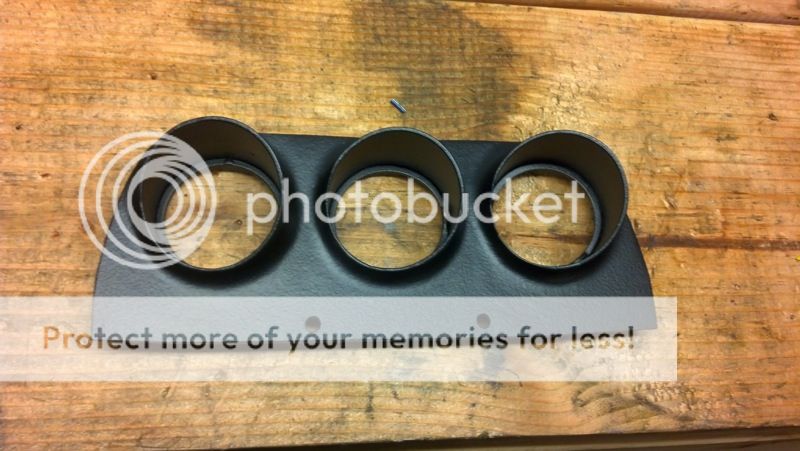
I had set the gauge pod aside for a while. I learned a lot about aluminum welding making this. First, its really hard to weld aluminum in tight spaces-- torch angle is so important that unless you can get it where you want it you end up blowing material away. Also, the plate warped quite a bit from the heat which was not expected. Long story short, the welds looked like hell so I decided to fill them with body filler and smooth out the fillet. This took WAYY more time than I would have wanted and was a PITA.
I am definitely more comfortable with aluminum. It takes a while to learn how to read the puddle. I find it to be incredibly rewarding to be able to weld-- its a ton of fun (<– what a loser).
Darn. I already had innovative order a new one-- dont want to stick him with inventory that he will never sell.
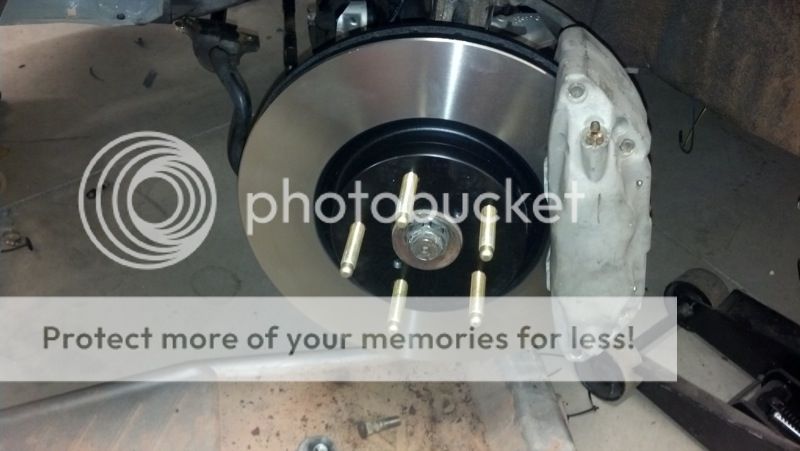
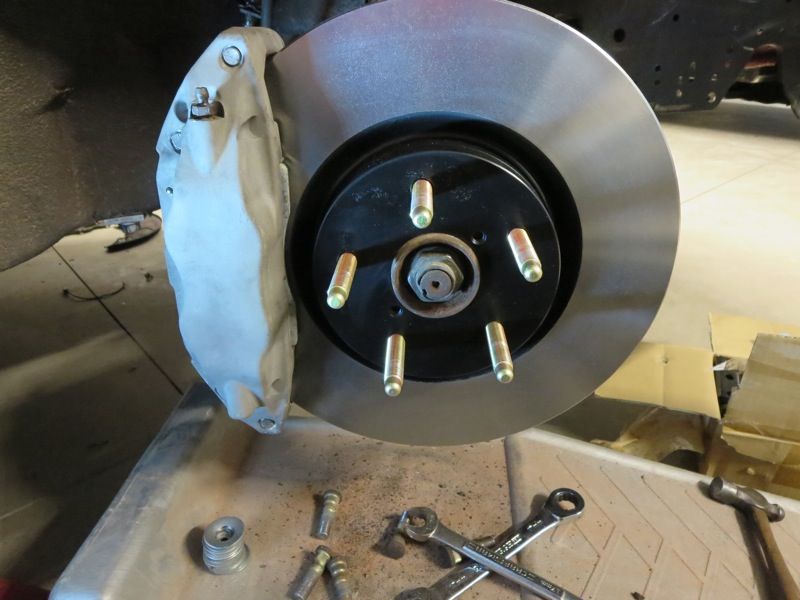
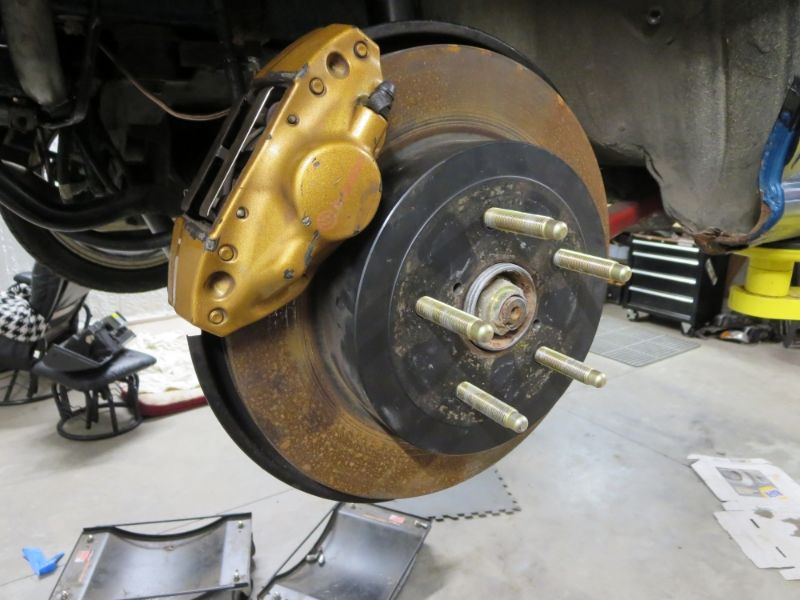
This past season Harvey was having issues with rotor wear. He went through high end rotors like they were going out of style, and on more than one occasion tore rotors in half (Literally). At hundreds a set, that wasnt very economical. After a visual comparison, NAPA premium rotors appear to be the same exact design as brembo rotors. At <$70 a rotor, this was a huge savings over brembo or a more expensive brand. Even if they last half as long (which I don’t expect), it will be cheaper. Harvey ran them at the end of last year and they worked very well and did not explode. I ran NAPA blanks in my miata as well and they worked great. I highly recommend them.
I decided to try out the moog endlinks. At 20 bucks a link, it was worth the gamble. They are a ball in socket design and are pretty beefy. They include zerk fittings so you can grease them. I expect to be happy with their performance at this price point.
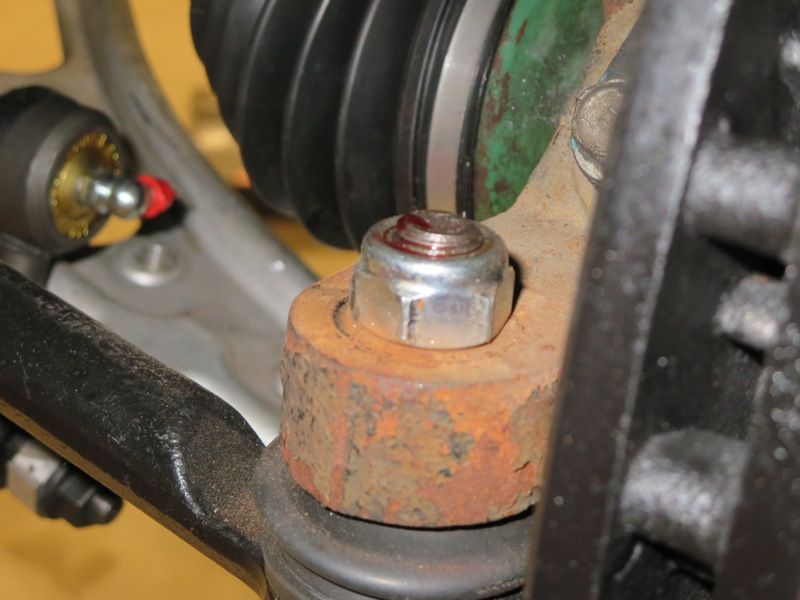
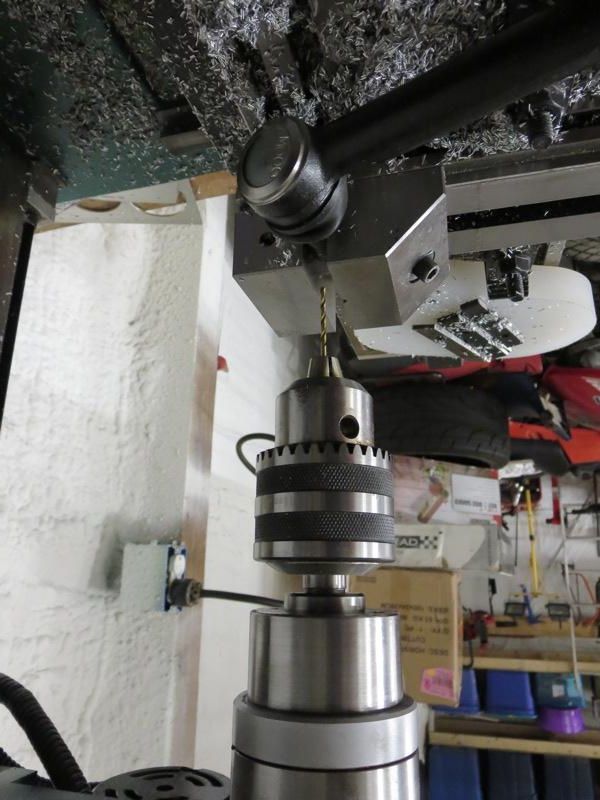
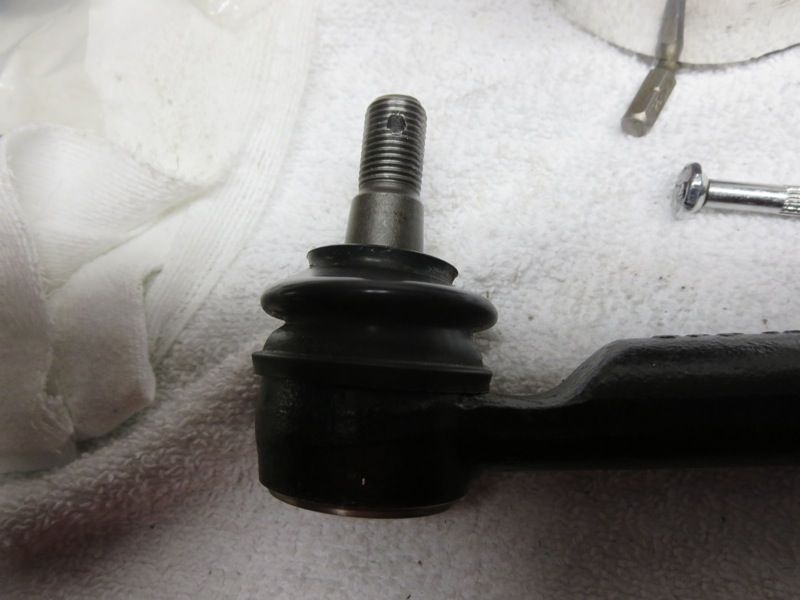
The replacement tierod end came with a nylock nut rather than a castle nut. I wasnt happy with this due to the proximity to the heat from the brakes. I chucked the tierod end into the CNC and drilled a hole and switched it to a castle nut.
I got the rear diff fluid changed to motul. The previous owner of the donor car turned the head of the transmission drain bolt into a perfectly round stud. Took me about an hour to get it out. Unfortunately I dont have anything that will plug the hole so I need to go searching the part stores tomorrow.
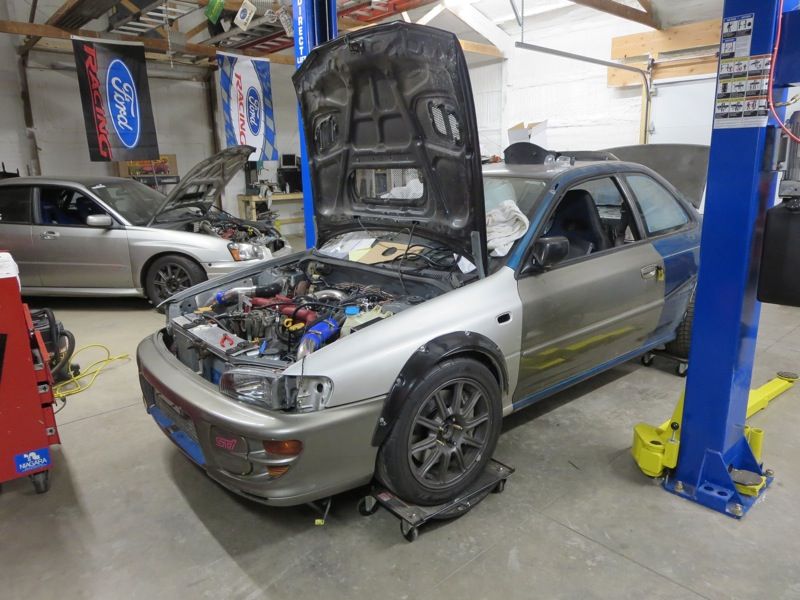
Heres how she sits tonight. Hoping to have the coolant bled and ready to move around under her own power by the end of the weekend .
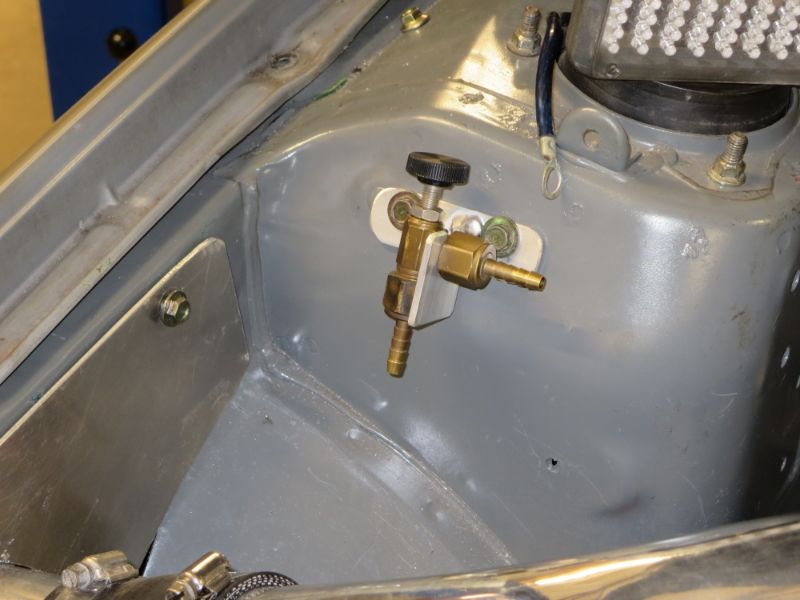
Installed a nipple in the turbo for the boost controller and with Harveys help, routed all the hoses for that. Put the hose on for the tial BOV. Filled the radiator with water. Filled the power steering reservoir. I found a plug locally for the transmission pan, so I was able to fill that as well.
Heres the bracket I made for the manual boost controller.
We went to start the car and it powered up but there was no fuel. Took us a bit, but harvey noticed that I had not plugged in the ECU. I had unplugged it a couple months ago to do the welding on the chassis and never plugged it back in. With that squared away, it still starts!!
The bad news is that after about 15 seconds of running, the engine vomited a bunch of oil onto the floor, and when we shut the motor off, the oil filter FELL OFF the car. How does that happen? Luckily I noticed it or that could have been the end of that motor over something silly.
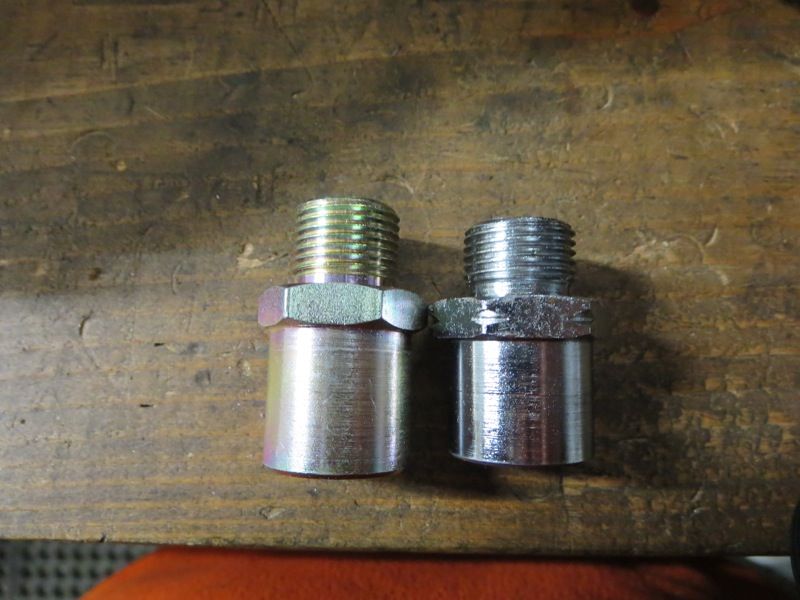
That adapter for the mocal sandwich plate is not the right threads. I emailed innovative tuning this morning, so hopefully they will come through yet again with the pieces I need so I can get the coolant system squared away and get ready to align it. Just so there is no confusion, this is no ones fault but my own-- Harvey had this part sitting on a shelf and we just assumed it was correct (because why wouldn’t it be?). Turns out its not.
I would say the only big thing yet to be done is make a catch can/AOS.
Its runs (again)! It moves! Huge milestone. More on that in a bit.
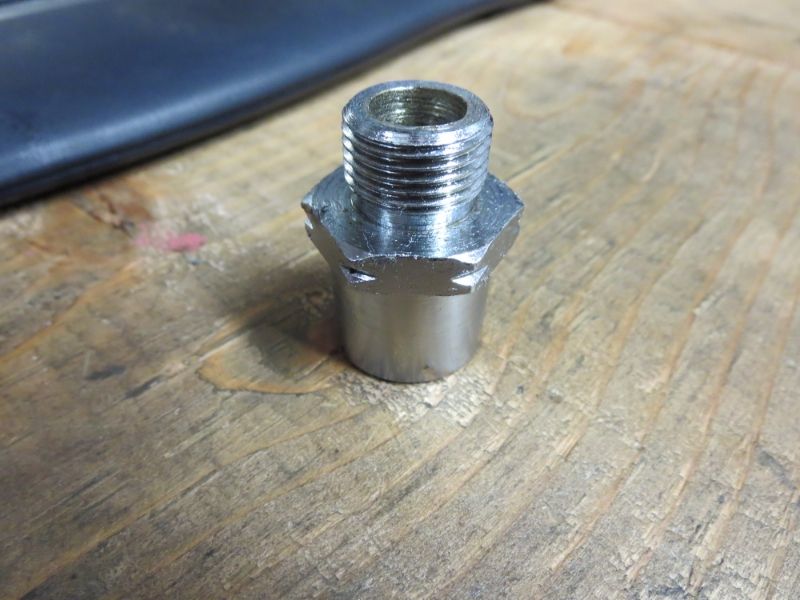
New moteki open ended steel lugnuts. Thanks again to Innovative tuning for the good prices. They also hooked me up with a new adapter so I can actually keep oil filters on the car. That was installed and now the car doesn’t puke oil all over the place.
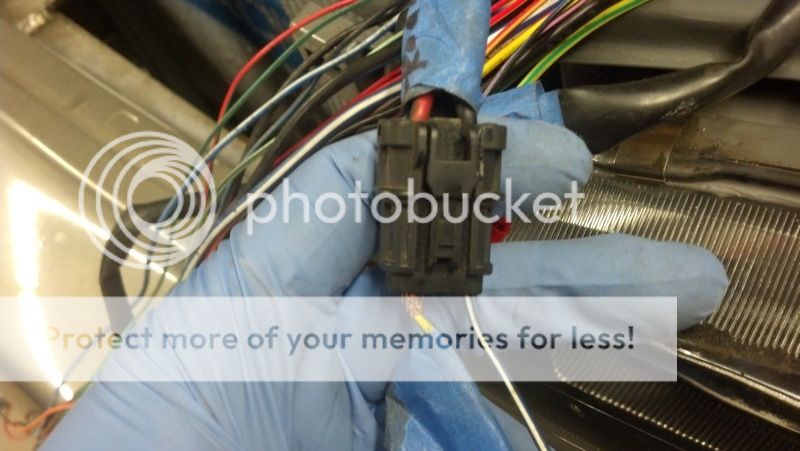
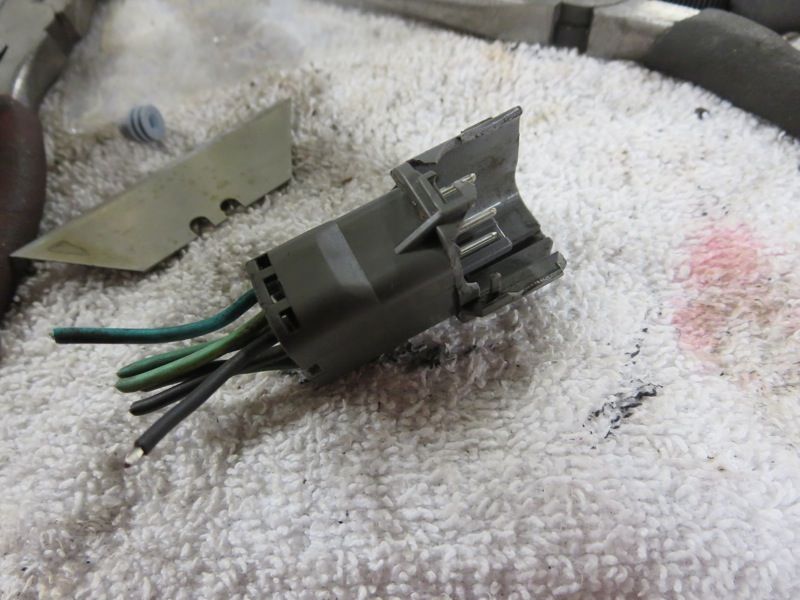
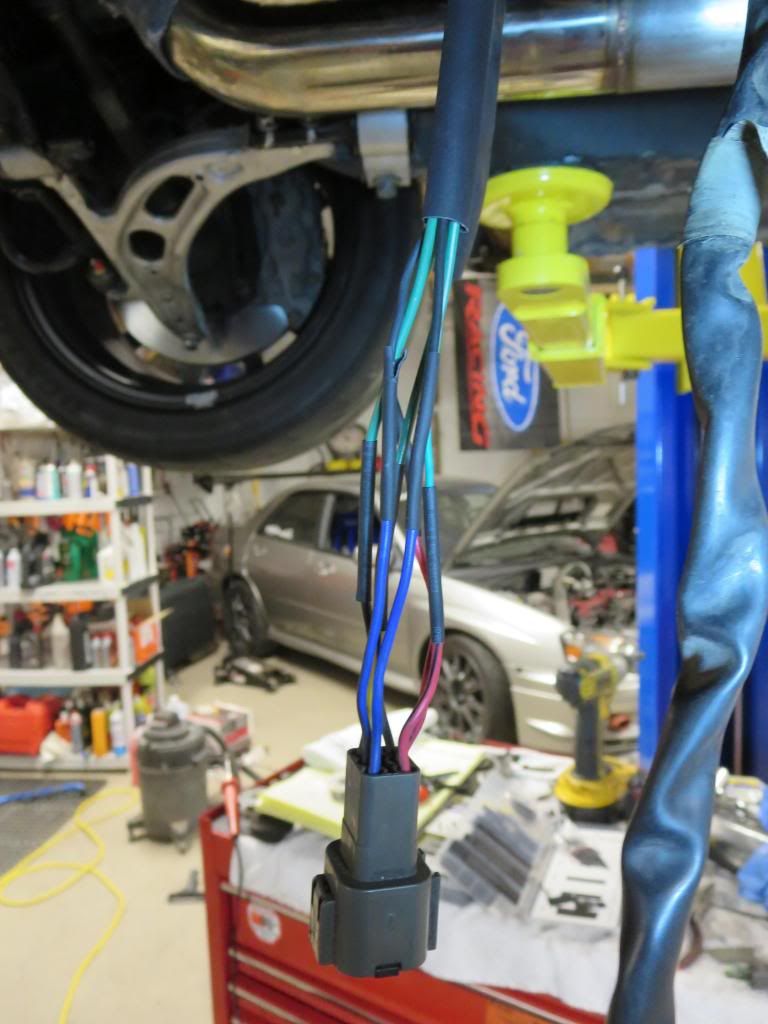
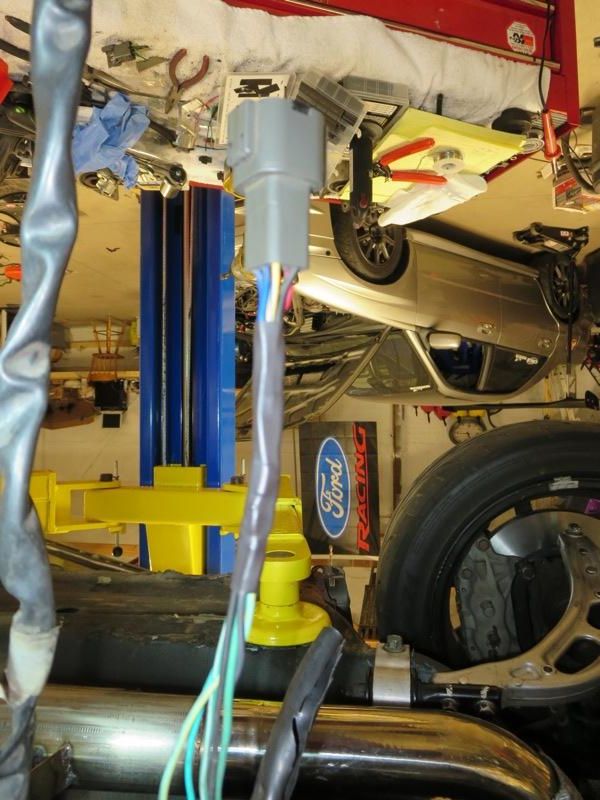
At some point in its life, the plug on the transmission harness got crushed. I found another 6 pin sealed plug from a different part of the car that i wasnt using and swapped them out. I don’t really feel the need to prove that I can do this, but in case I ever have to sell the car, it proves that there’s no bullshit wiring nightmares or electrical tape all over the place.
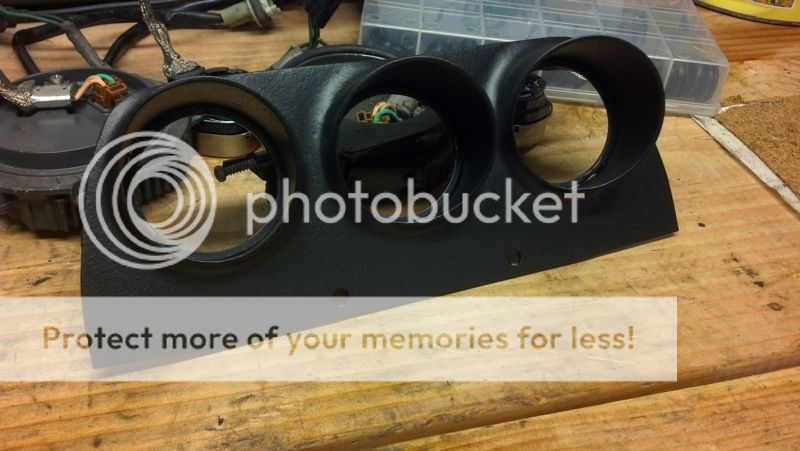
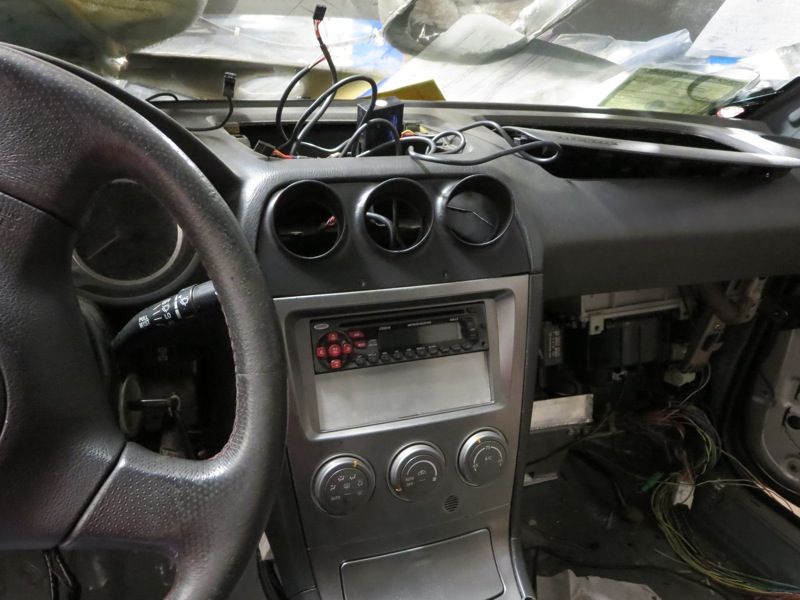
After that, I started to tackle the gauges. I am running a hodge-podge of different stuff, 3 of the 4 were extras laying around. Prosport gauges are very inexpensive but have a really decent feature set and cheap/readily available replacement parts. I am hoping they turn out to be reliable. The oil temp and pressure gauges have peak/ warn features that flash the gauge face and scream at you if they go above/below the threshold you program. On track where you might not notice these things right away, that’s a great feature to have. My only complaint so far is that they don’t dim very much-- we will see how that works with night driving.
From left to right-
Prosport digital AFR gauge
Prosport oil temperature gauge (with peak warn)
autometer mechanical boost gauge
prosport oil pressure (with peak warn)
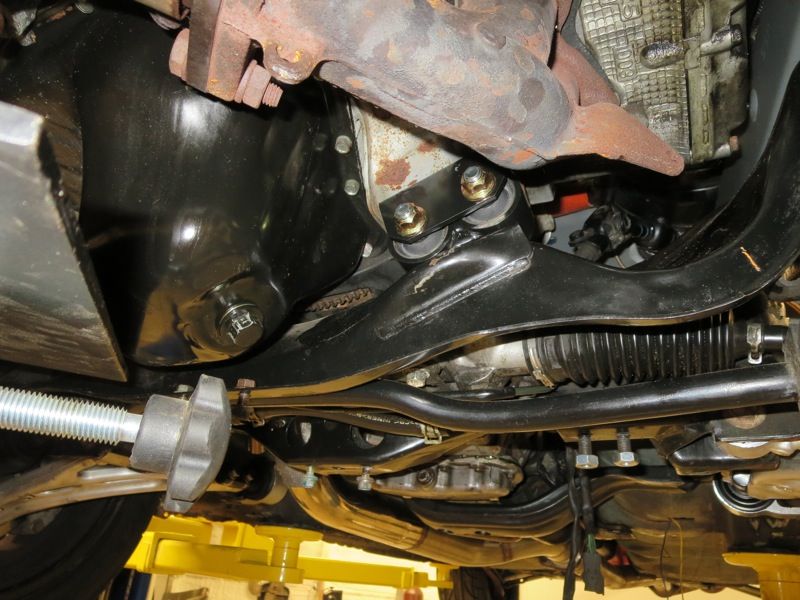
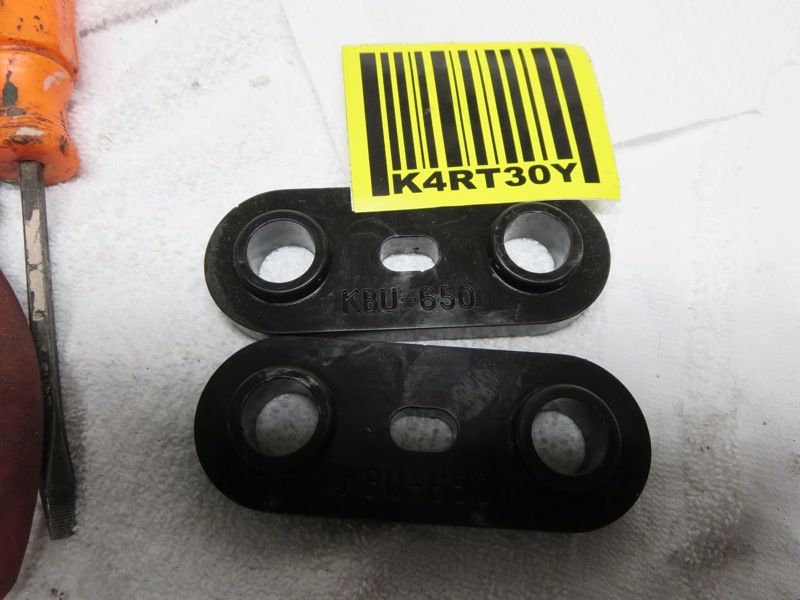
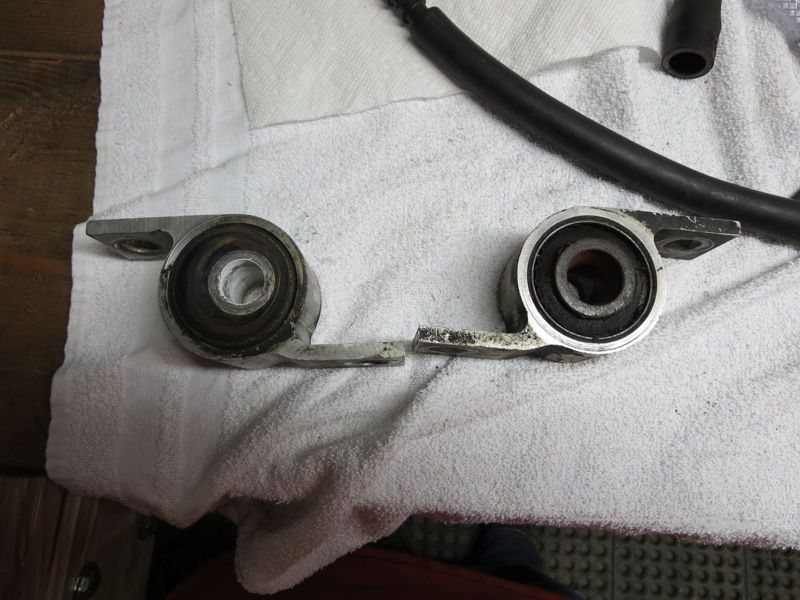
I realized a few weeks ago that the car had an aftermarket caster bushing installed on the passenger side, but obviously a new stock drivers side. I swapped it out with a spare that was laying around but I dont have the correct bushings that go between the caster “bushing” and the large washer/endplates. Anyone have a set of these laying around?
Harvey had a set of noltec camber/caster plates laying around since they are missing one of the bushings. Conveniently I know someone who can make those. They are really a lathe part and making these shows the limits of my machine-- the first try is slightly off and im going to have to try and re-calibrate the x and y axis on my machine as the parts turned out a bit oblong by a few thousandths. I also ordered what I believe to be replacement bearings for these, so hopefully they fit and I can slap these on soon. The plan is to be able to adjust alignments at each event to allow us to run more camber and a bit of toe on track.
I then spent an obscene amount of time and energy bleeding the clutch slave cyl. Its a shitty design on subarus part and whoever ok’d it needs to be shot. They put a bleeder on the slave at the bottom of a downward slope, so you need to take the slave off to bleed it. This is very hard because you need to keep the piston compressed. Don’t ask how I managed to do it. Even after getting the rest of the air out of the system, the pedal still wasn’t up to snuff. I then remembered that there is an adjustable linkage on the pedal box-- a few turns on that and it was good. I assume theres a slight difference in how the sti pedal set bolts to the GC impreza firewall that caused the linkage to be slightly short.
Looking good man :tup: car looks great with the flares on it.
I had an aftermarket gauge that was a bit too bright in my A4 so I used a piece of chocolate block with a resistor in it that I could switch out until I got it to match the dash lighting brightness, like this: