I appreciate your understanding. It’s different when you’ve actually done something like this yourself. I have to give the manufacturer credit. I don’t think I was able to find two stones that were even the same size and shape in the entire load. The biggest problem I had was I needed a finished end on both ends from bottom to top as they were visible. As man made stone, a cut edge was not colored through so it would stick out. I was able to hide some cuts in the middle with creative mortar work, but when you have to start form each end with a finished stone, you are left looking to complete the puzzle in the middle. I don’t know if I would do this style again without a host of disclaimers.
from upper left to lower right i think you did pretty good on the stacking…it really is the lower left and middle where it gets too vertical.
i spent 5 summers building natural stone landscape walls with stones from this size to several hundred pound boulders and i agree it can get really tough when you have limited space to get the pattern established and work out the kinks. with the smaller stone we used to always bring out twice as many pallets of stone as we needed for the job because you would almost always have to pick through that much in order to find the right stones to fit together.
at least with the manufactured stuff you have 2 flat sides to work with…taking a sledge to a little bump on a huge boulder used to be hell
2 Baths into 1 with Laundry
Had a very nice lady contact me to combine a full bath and half bath into one and also cram in a laundry. She’s an older woman, but still gets around quite well and thinking about the future, hence the first floor laundry and walk in shower instead of a tub. By square foot standards this was a small area, but from a logistics standpoint, we were cramming the proverbial 10 lbs. into an 8 lb. bag. Here’s the condensed version:
*Demo. complete to bare studs. Remove 1 1/2" thick mosaic tile floor.
*Install new plumbing for shower, stackable washer and dryer, and sink. One of the two existing toilets was perfect where it was. Remove acrylic whirlpool tub. Delete all remaining non-used plumbing.
*Install new electric at correct locations. Remediate existing electric. Install electric radiant heat floor as new layout didn’t allow for use of existing baseboard heating. New recessed lighting.
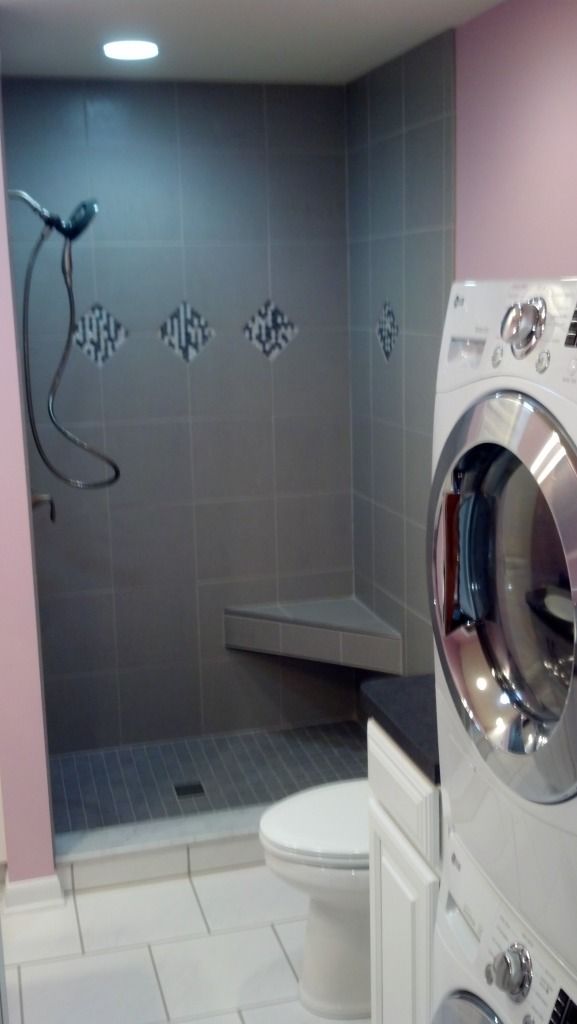
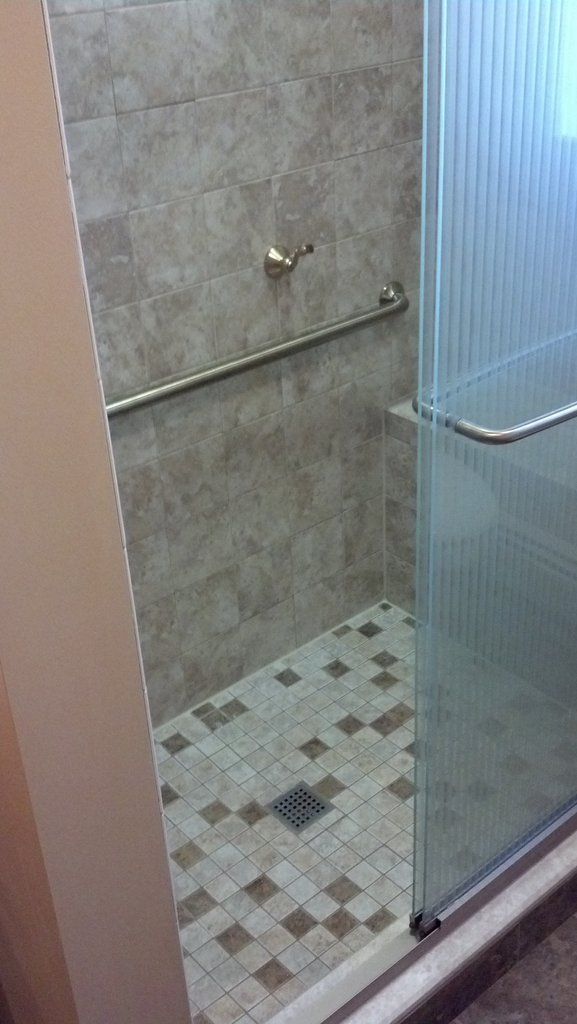
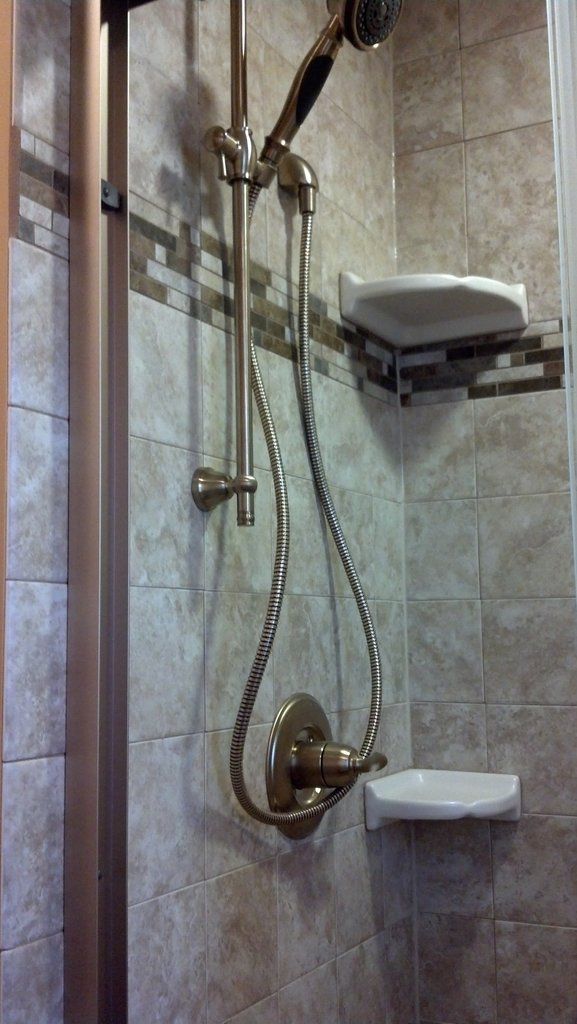
*Walk in shower with tile floor, custom seat, and custom bypass glass doors (not yet installed. on it’s way)
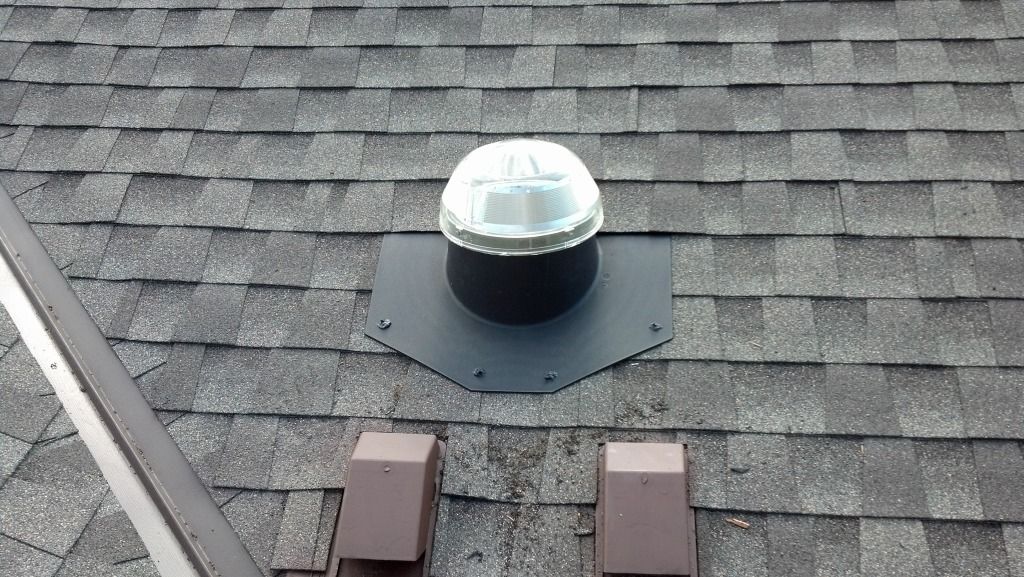
*Install Solatube skylight with integral ventilation fan.
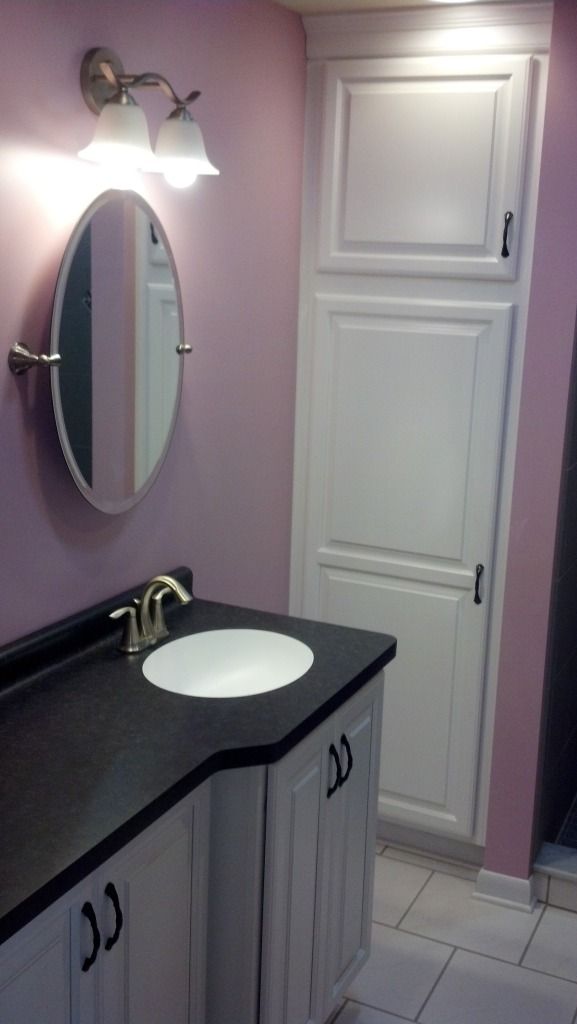
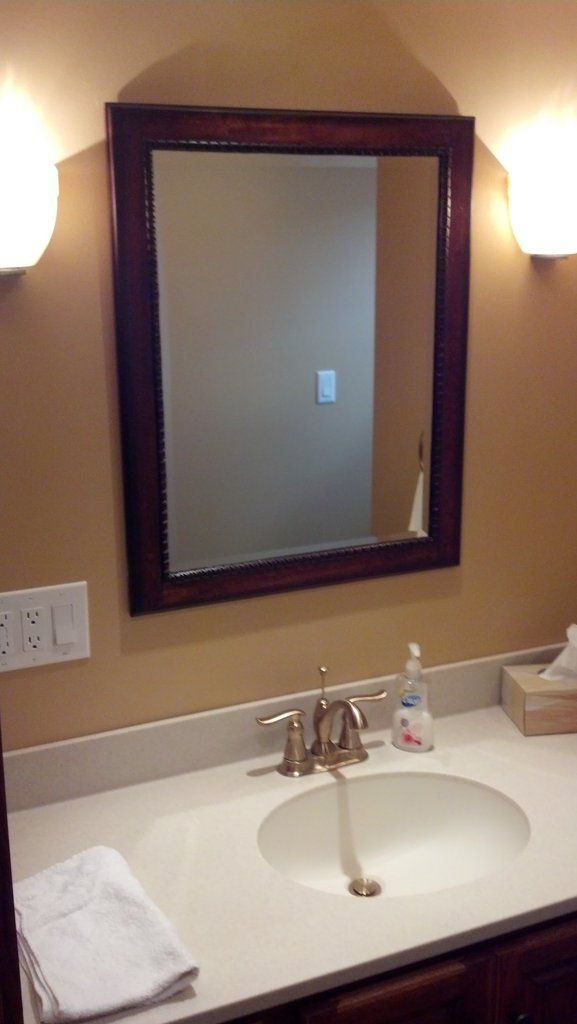
*New cabinetry and laminate countertops with undermount sink. Plenty of cabinet space for storage.
*Convert existing hinged entry door to a pocket door.
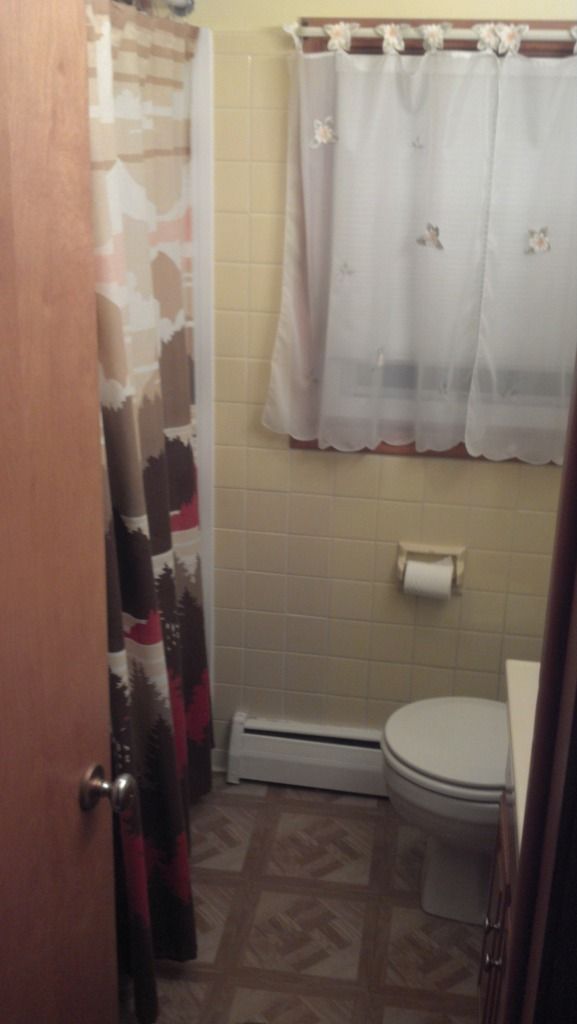
Before Photo: Behind that curtain was a vinyl double hung window that looked into the other half bath off the master bedroom. The toilet location in this photo remained.
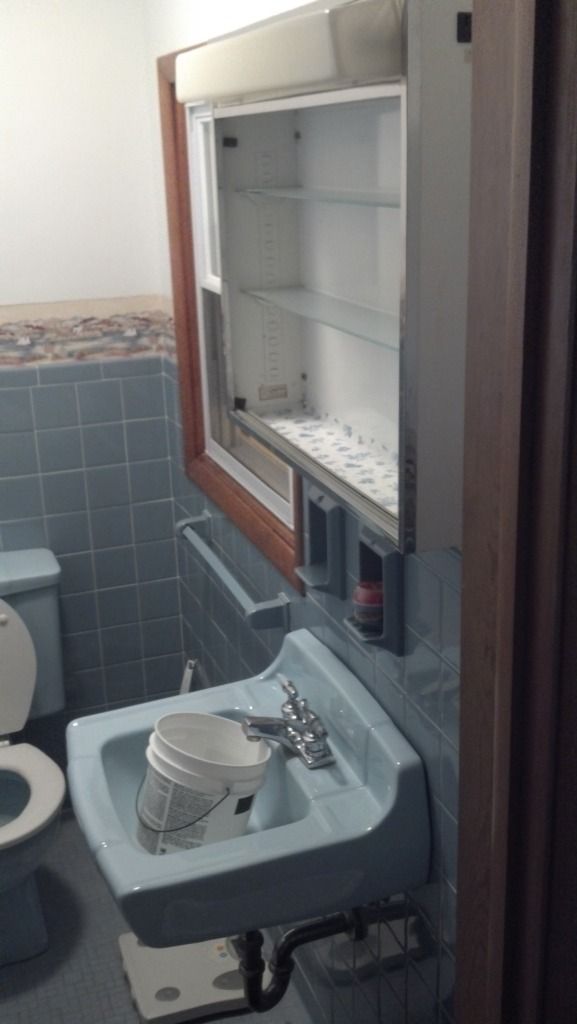
This was looking into the half bath from the master bedroom. The wall on the right is the one that divided the two baths.
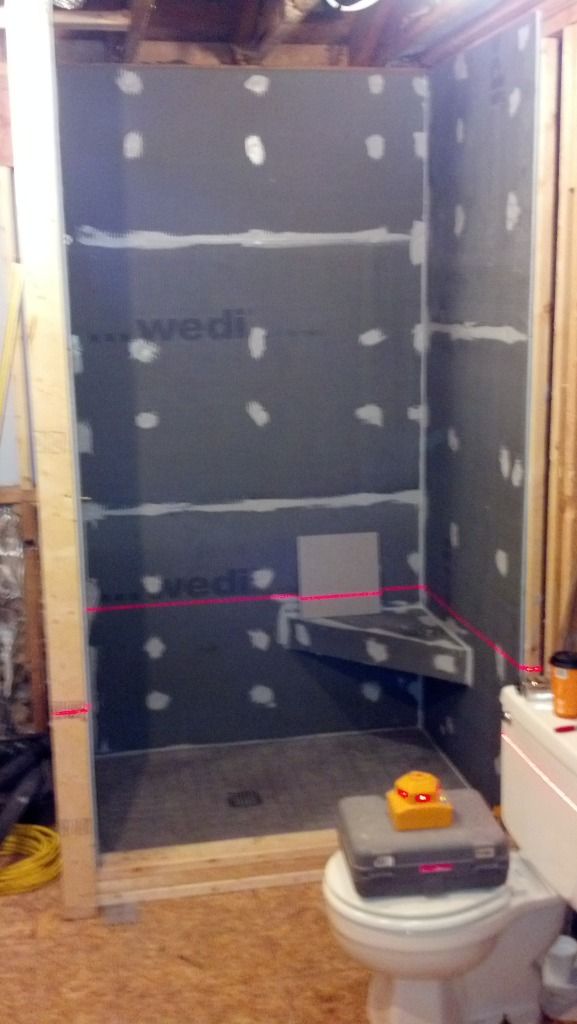
All rough in complete. Shower substrate installed. Shower floor tiled, just setting up to run first course of wall tile. (Toilet still there as she needed us to have it available every night we left)
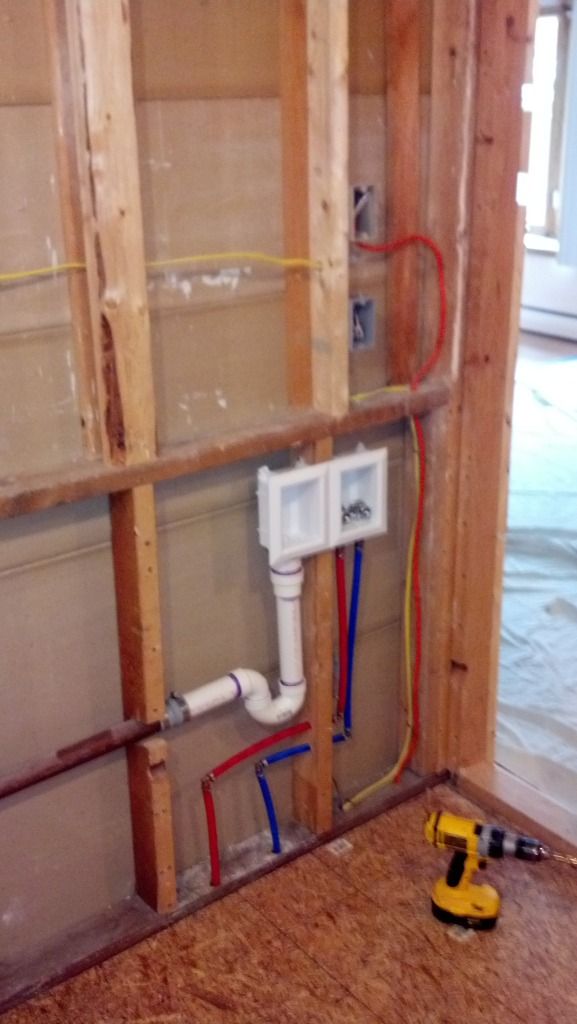
New drains, feeds, and 220v line installed for stackable washer / dryer. Dryer is ventless, so no need for ducting to exterior air.
Solatube installed. Reflective tube with cap. Lit the room much better than I expected. I will try to remember to get a pic of the interior lighting.
Same angle as the first pic. looking in from the door.
Same location just looking right.
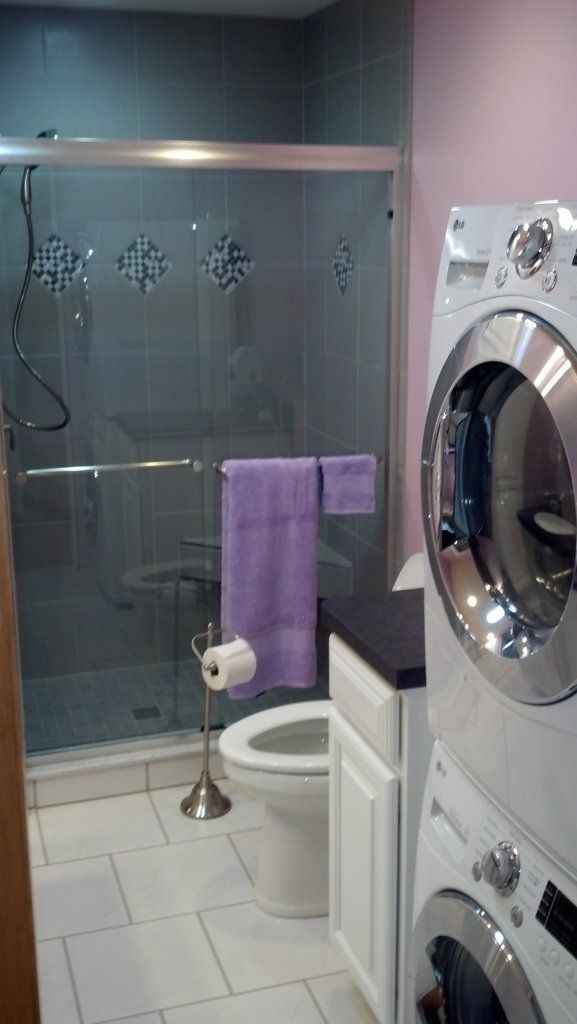
Shower door installed:
Waiting on custom raised panel doors to create enclosure for the washer and dryer.
Sorry about the photo’s. Baths rarely offer enough room to shoot an entire room unless you have a special lens. Shower doors on their way. Fabricating an enclosure for the washer and dryer from pre-made cabinetry, special use hardware, and custom doors. Those will be installed at a later date.
I did not pick the colors. I like to let the customer choose what they desire. I wasn’t too thrilled with it at first but it grows on you. After all, it’s her bath and she likes it.
Color is dreadful, but taste is subjective considering the customer’s age.
Talk about an improvement
I wanted to talk her out of it, and she seriously considered changing, but if I suggested something and she didn’t like it I would’ve been on the hook. Can always repaint. I don’t want to mention the color of the master bedroom.
Doesn’t that chimney need a cap for water/ice?
Picture angle doesn’t show it but we have a steep pitch for drainage.
Looks great!
Now do mine
Always ready to accept deposits.
So there was a window looking into both bathrooms?(like you could open it and reach into the other bathroom lol?) what was the purpose of that originally?
we’re still using copper lines instead of pex. don’t ask me why. it takes so much longer to do
There was a window (vinyl) from the bigger bath into the smaller, then another from the smaller to the outside, before they put an addition on and rendered it useless. So actually there were two windows that weren’t leading outdoors. No explanation for it. PEX isn’t quote as pretty as copper when it’s run, but you can’t beat it for time.
Another Bath Remodel:
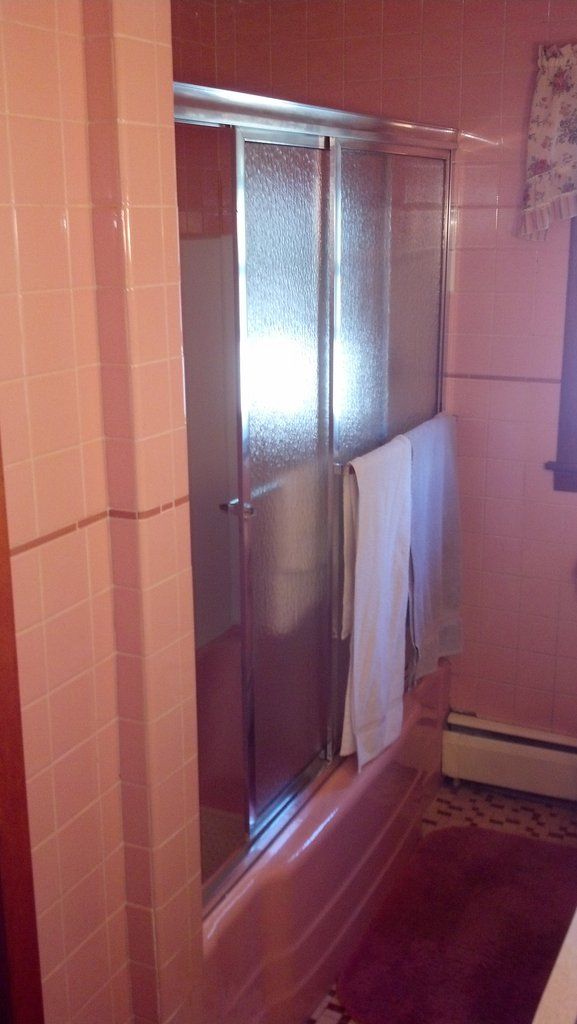
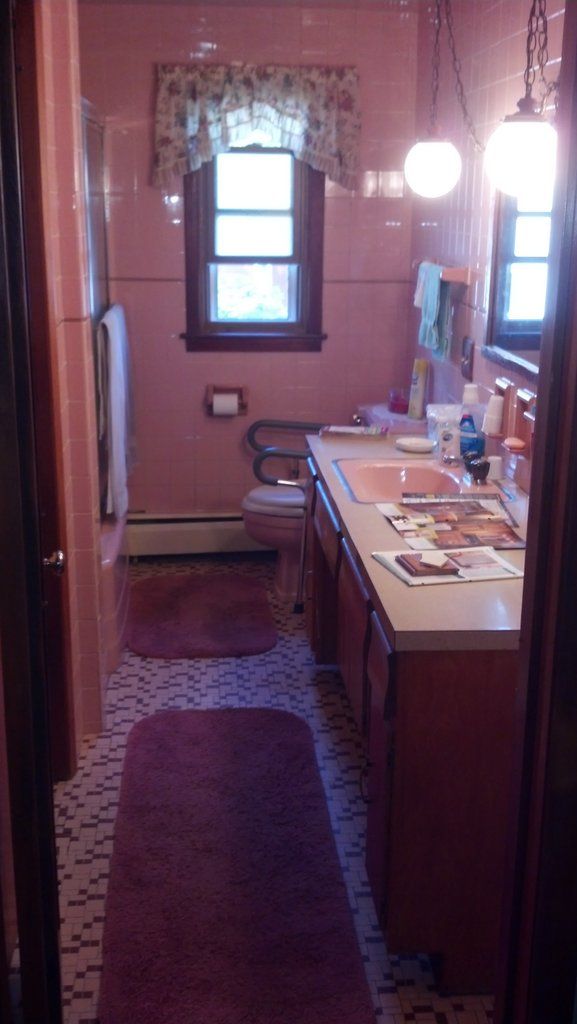
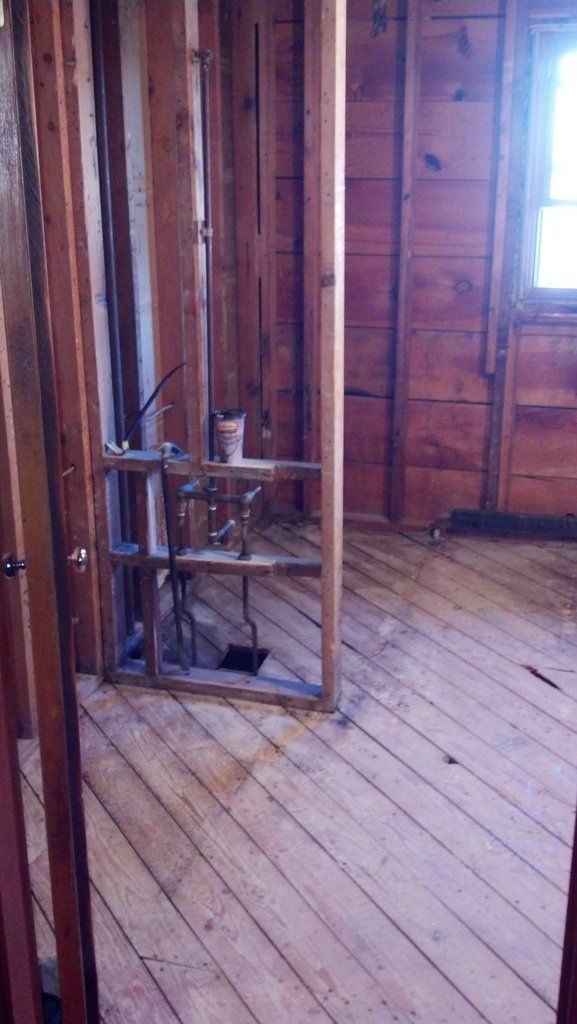
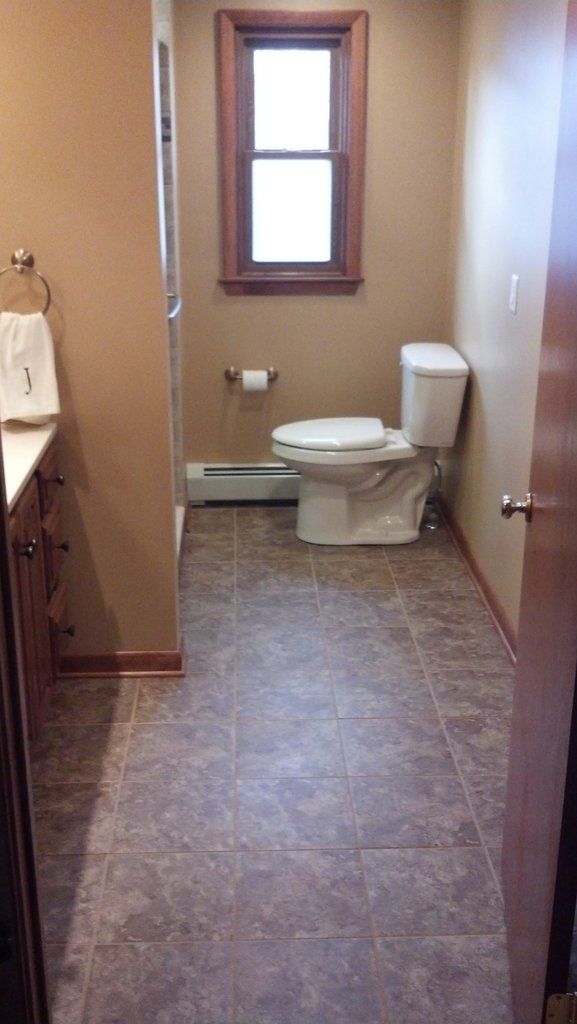
Nothing very special about this one. about 6 1/2’ x 12’ bath with tile on every inch of it, including the ceiling. We are relocating the vanity area to the closet area (on the left as you enter) as the closet was bigger than most bedroom closets and a waste of space. The new layout will allow for the path to the toilet to be unobstructed and give the space a more open feel. The cast tub is being converted to a walk in shower with a seat at the rear as the customer and her mother are in their “golden years”. We’re installing recessed lighting and updating all the electrical while the walls are open. Installing a fan / light unit in the shower area vented to the outside air as the roofers who screwed up the roofing job before us were kind enough to bury the existing unit in the insulation so that it gunned all the steam into an interior wall creating a bit of mold.
End of day one:
We are painted and ready for tile as of Friday but we were moving too fast to get any photo’s. Planning on completion before turkey day. Should have completion photo’s shortly.
Got her up and running for the Thanksgiving holiday. Delivery snafu on the door had us coming back today to install. All done. Enjoy.
ah yes. the classic every single thing in the bathroom is pink
new shower base going to clear? I noticed every one i’ve done where there’s the base heating there the tub is narrower there, but gets larger in the middle like in this picture. And of course the widest part is the actual standard base size
Was able to incorporate the HW register into the new wall a bit. Ends up with a 30 x 60 space, 12" of it being seat. Not huge but works for her.
Dude where was that…I swear to god my aunt has the EXACT same bathroom…pink tile everywhere with those stupid hanging lights.
Hamburg, Bayview Rd.
My Aunt is over in Kenmore I think it is:


That’s exactly the tile (even the diagonal ceiling) and the light is a dead ringer. I can see the tile store owner talking to his sales staff…“I just bought a train car load of pink tile. A dirty hooker to the guy who sells the most.” I can almost see them standing there 40 years ago, staring at it, just as pleased with it as we are disgusted.
