Mondeo? and I really like the wheels as well
Just read through this whole thread and wanted to say that I am very impressed with the project. Great work - I’m looking forward to seeing the bodywork complete!
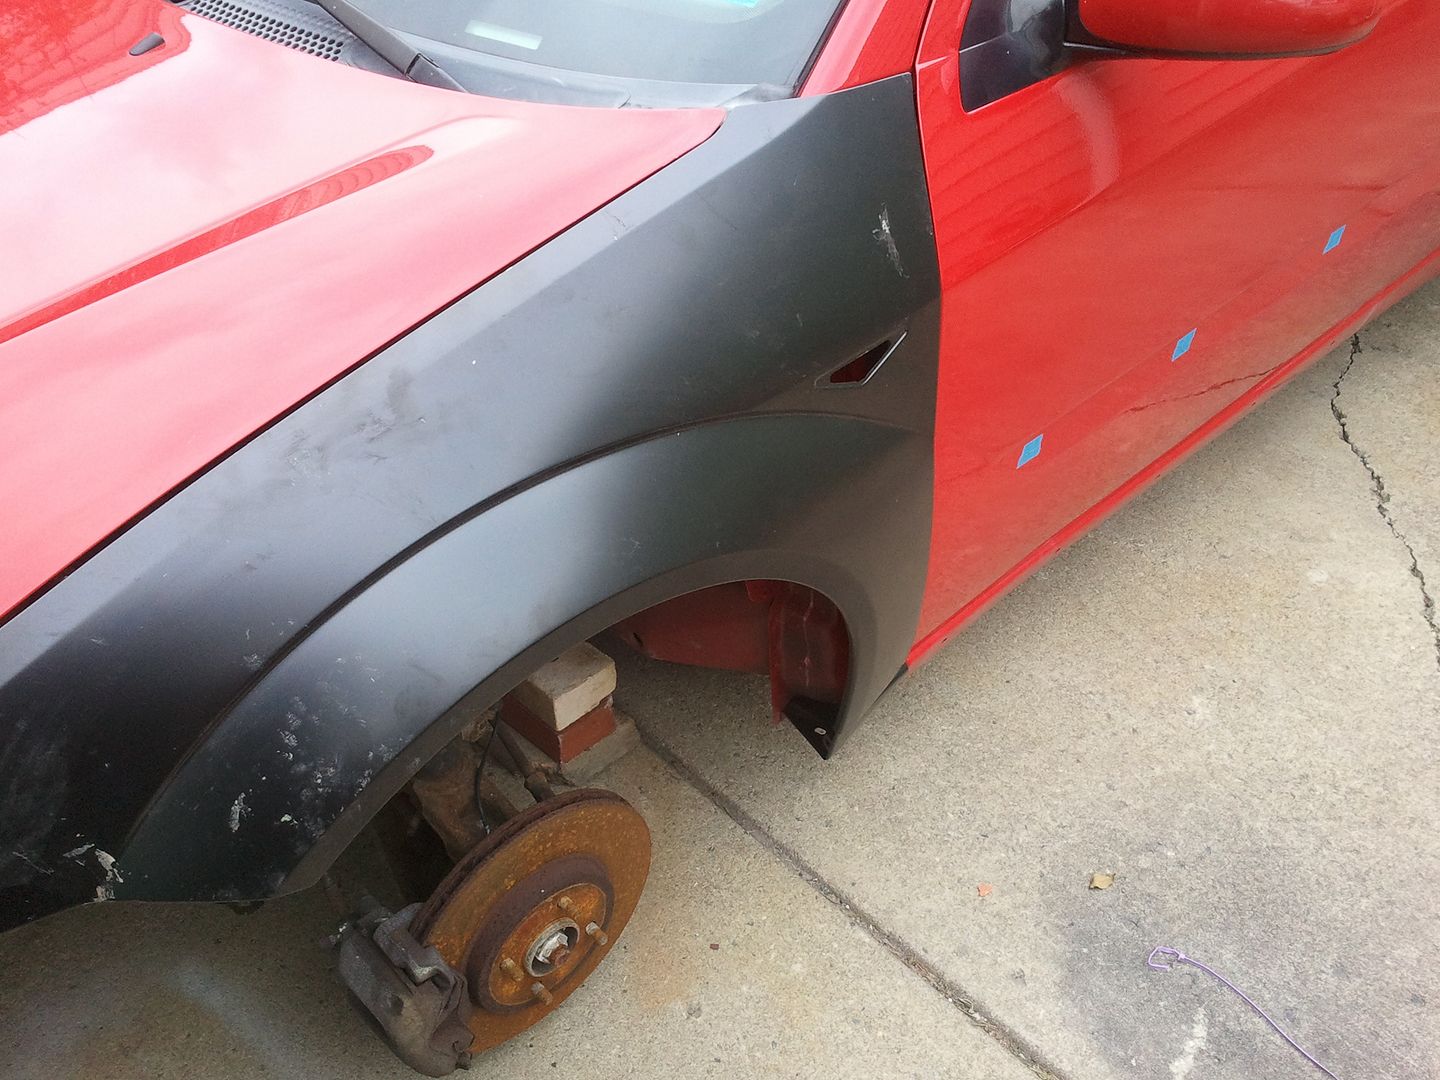
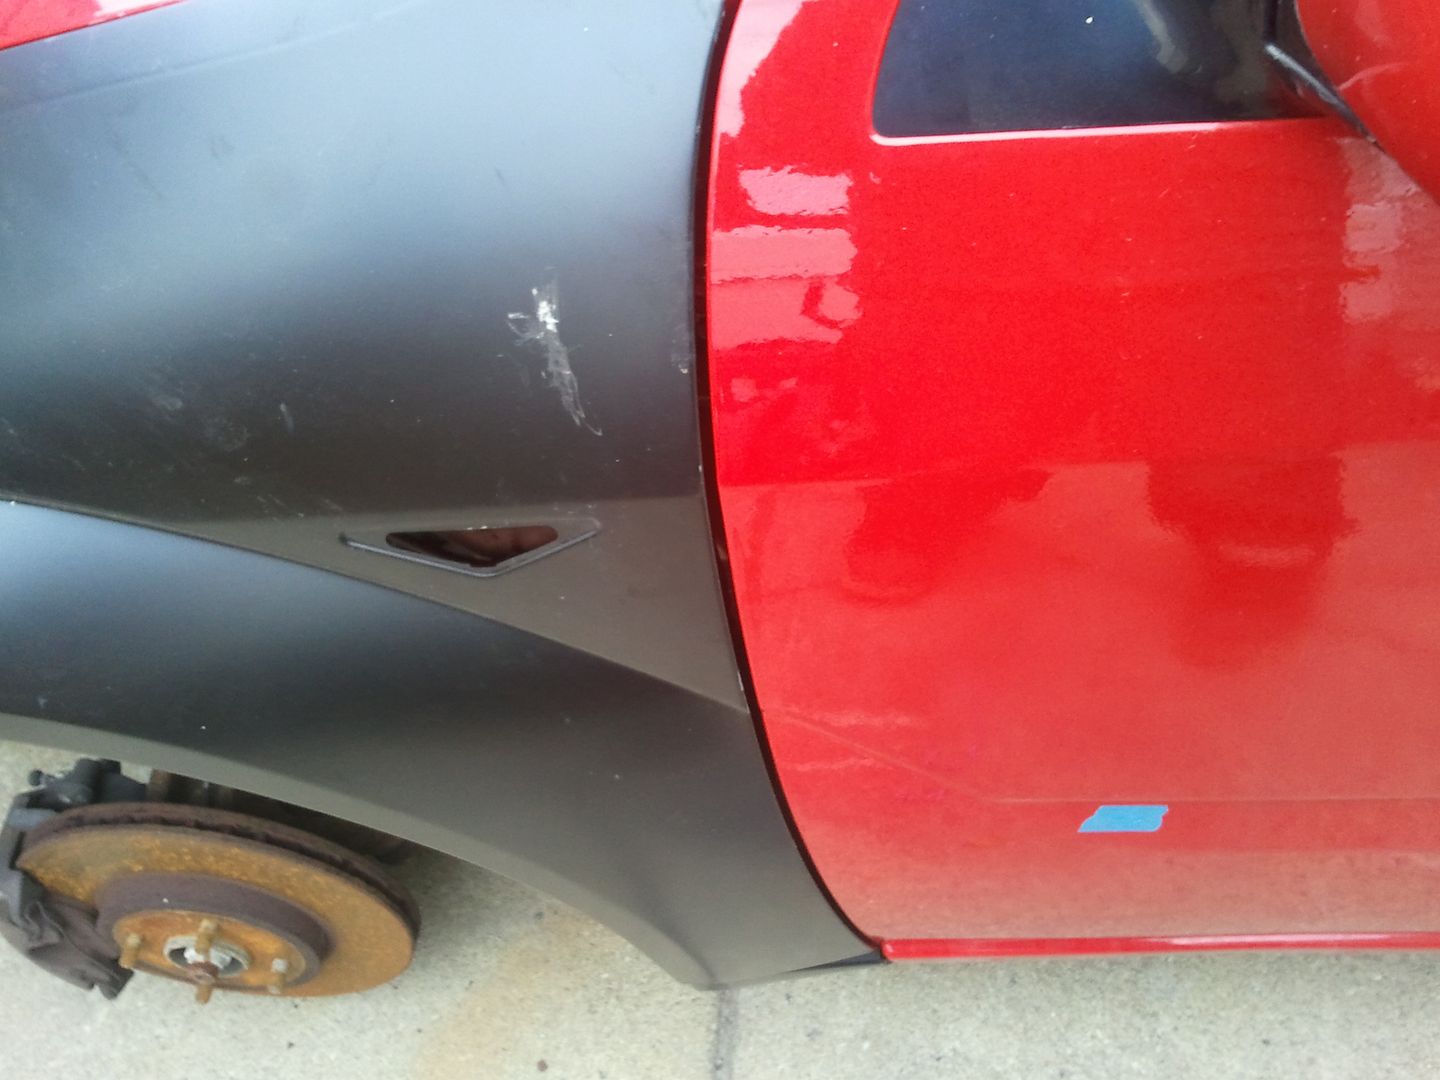
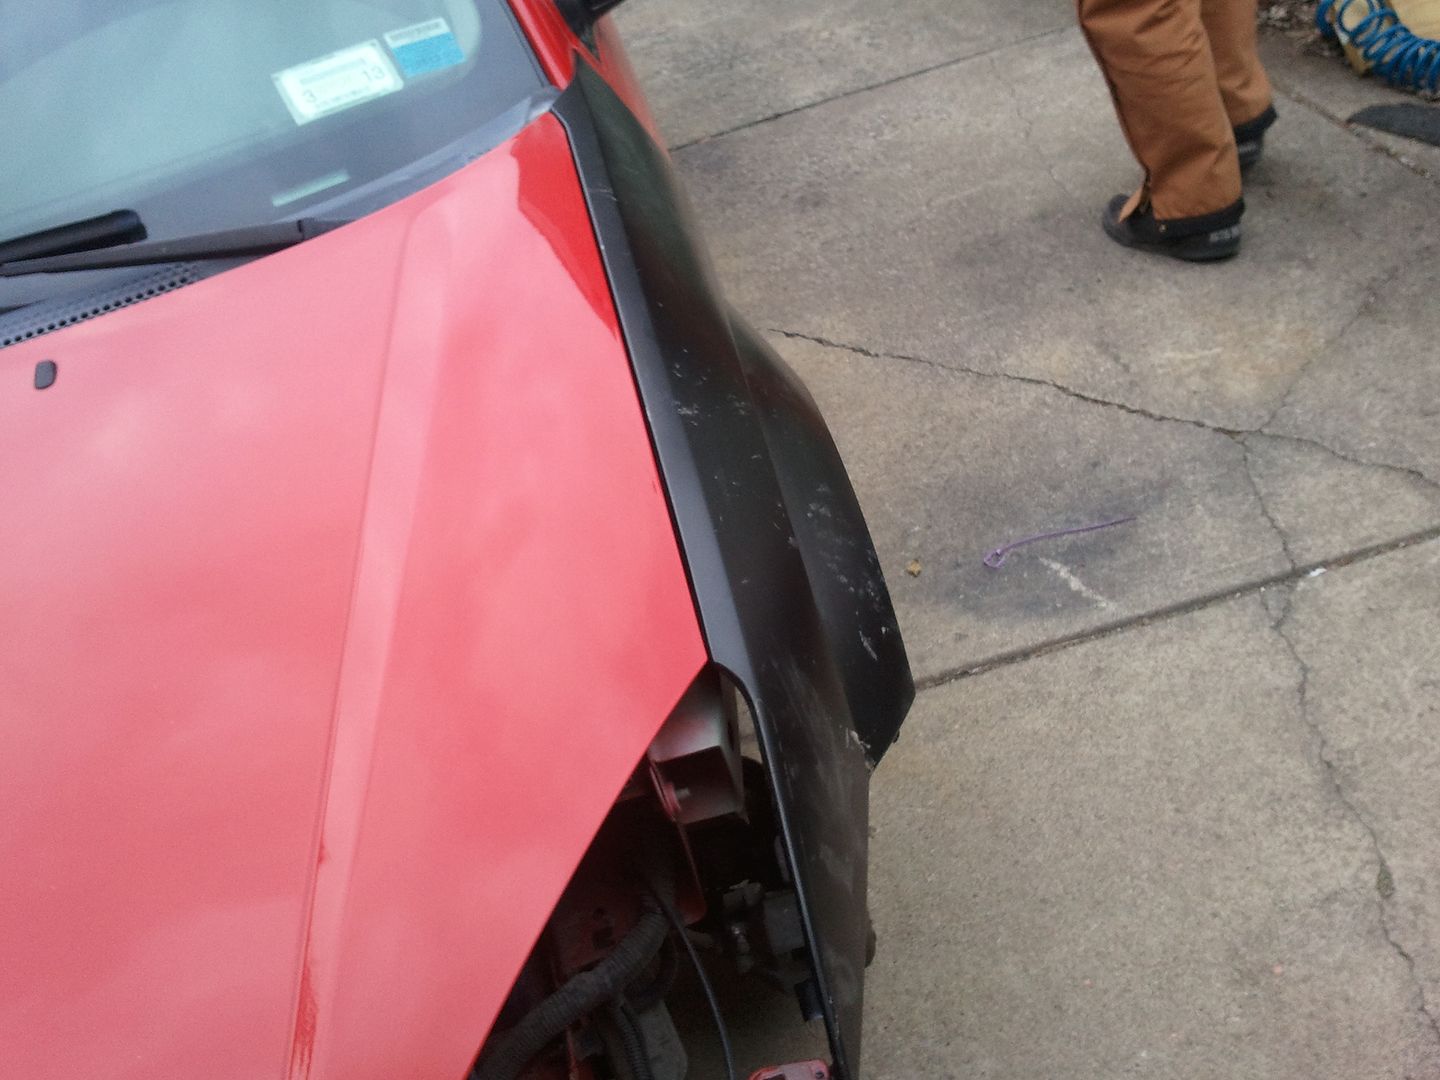
mini-update. Decided to go out and swap the REAL fenders on to see if I have any tweaking to do for molding them…driver side literally sat perfect…passenger side seems to have gotten a touch bent during shipping, so I have a few things to do before molding that one.
COME ON WARM WEATHER! I HAVE STUFF TO DOOOOOOOOO
:tup: so far!
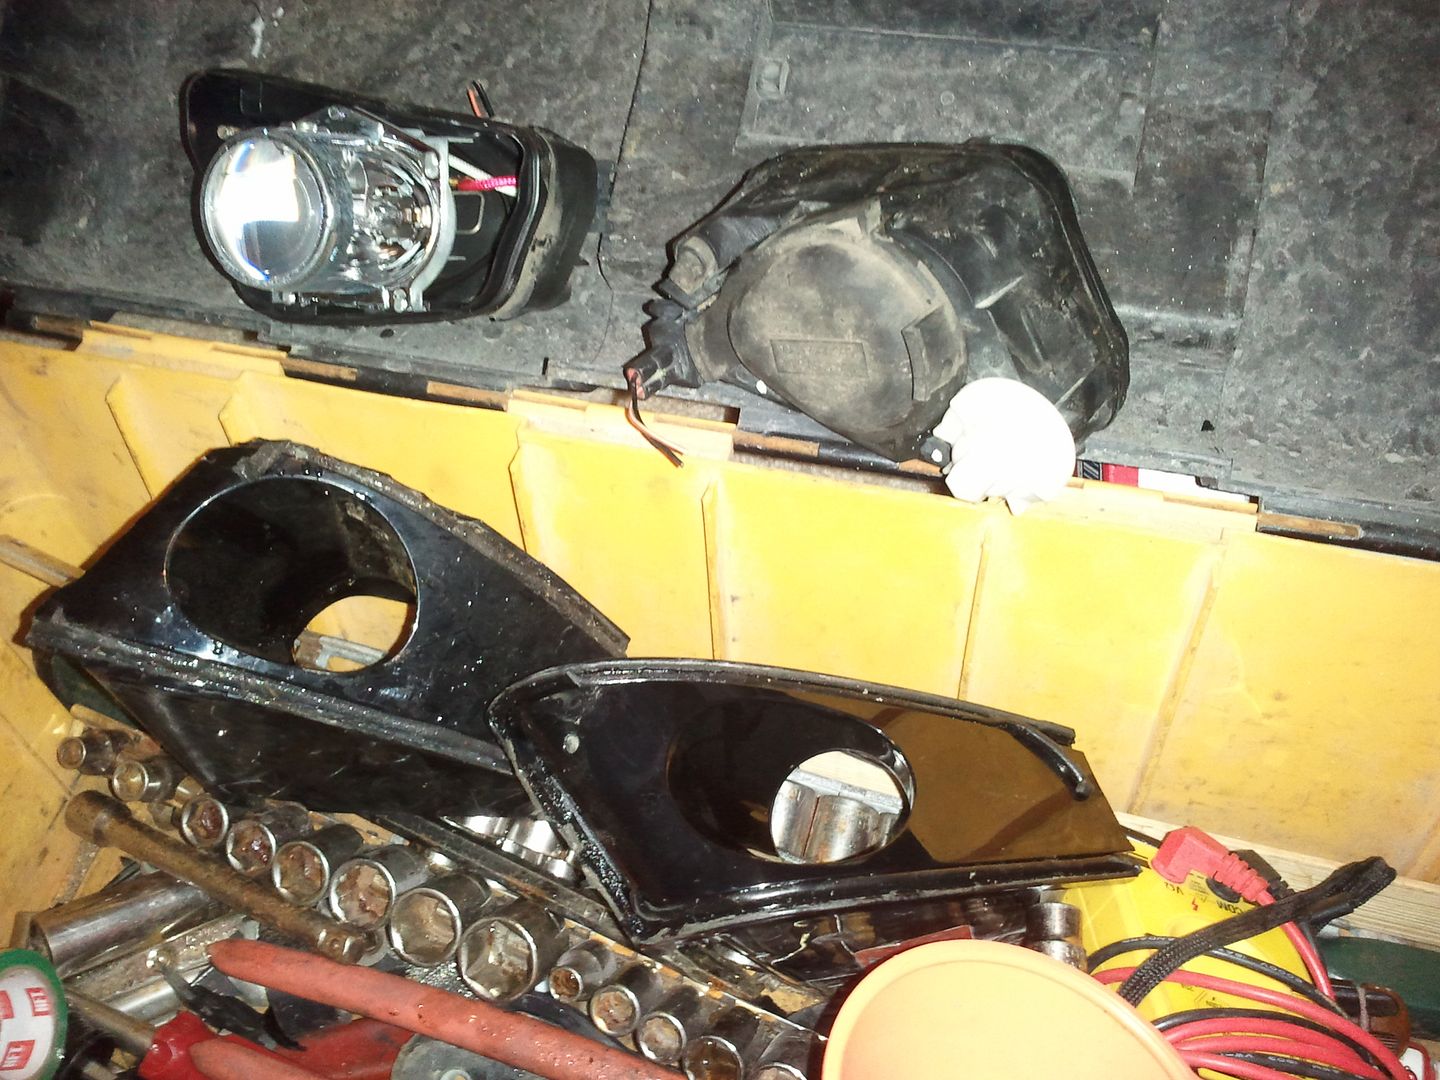
Hit the junkyard this weekend for some various items and noticed a wrecked mercury cougar…it was hit in the driver fender and the bumper had sorta cracked up in various pieces which caused me to notice the foglights are actually projector/HID, and that they MAY fit nicely in the RS bumper’s foglight holes…so I snagged them for $12 for the pair!
the housings were busted up a bit and the clear lenses over them were cracked right off, but I knew the projectors themselves were still in-tact so I brought them home and cracked the open. going to need to come up with a way to get a round lens over them to seal them up and make a mount, but I think they’ll work great!
had a thought last night that I might be able to grab a 2-pack of some cheapy flashlights like the ones people usually keep under their kitchen sink and hack them up to make foglight housings to use these projectors…might go try to snag some flashlights at dollar general to give it a try.
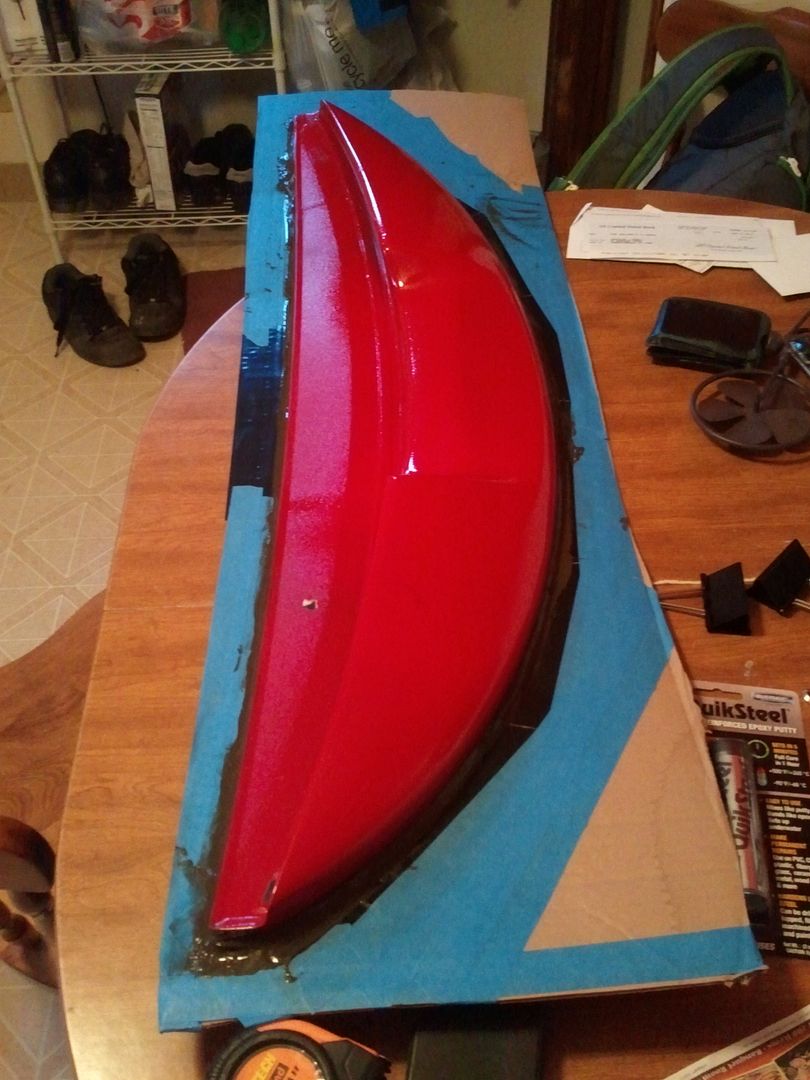
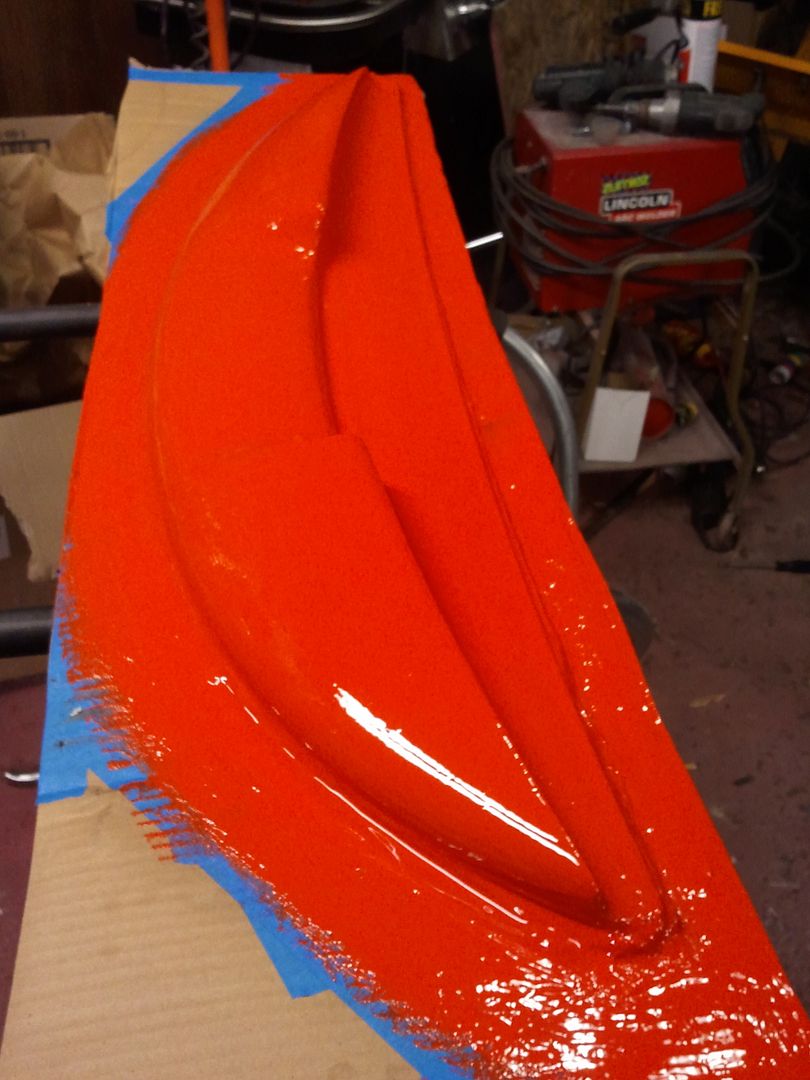
started working on setting up the mold for the rear wing…more as I get further along tonight…waiting for silicone to dry before applying mold release followed by gelcoat and fiberglass…
Looks super sexual.
indeed it is very sexual.
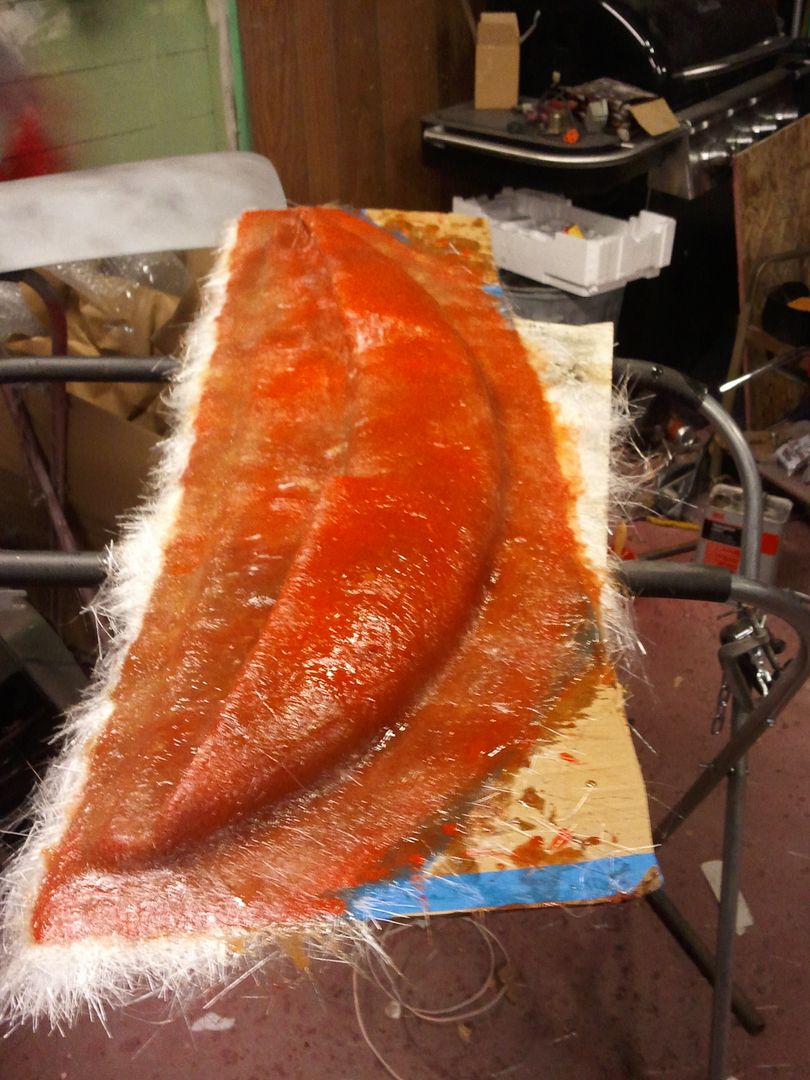
laying tons of fiberglass matt
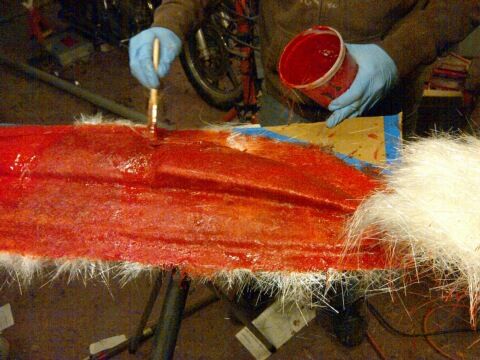
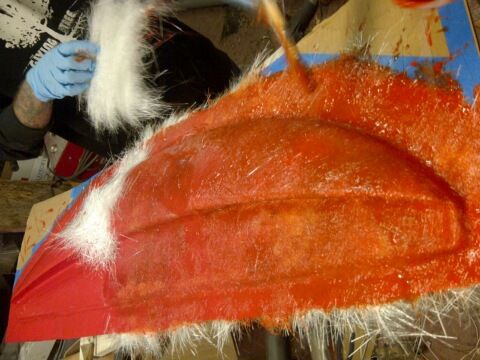
got about 5 layers on there, will let cure until tomorrow and pop it off, then lay up the other said against the flange I’ve now made…
sooooooo, good news bad news…
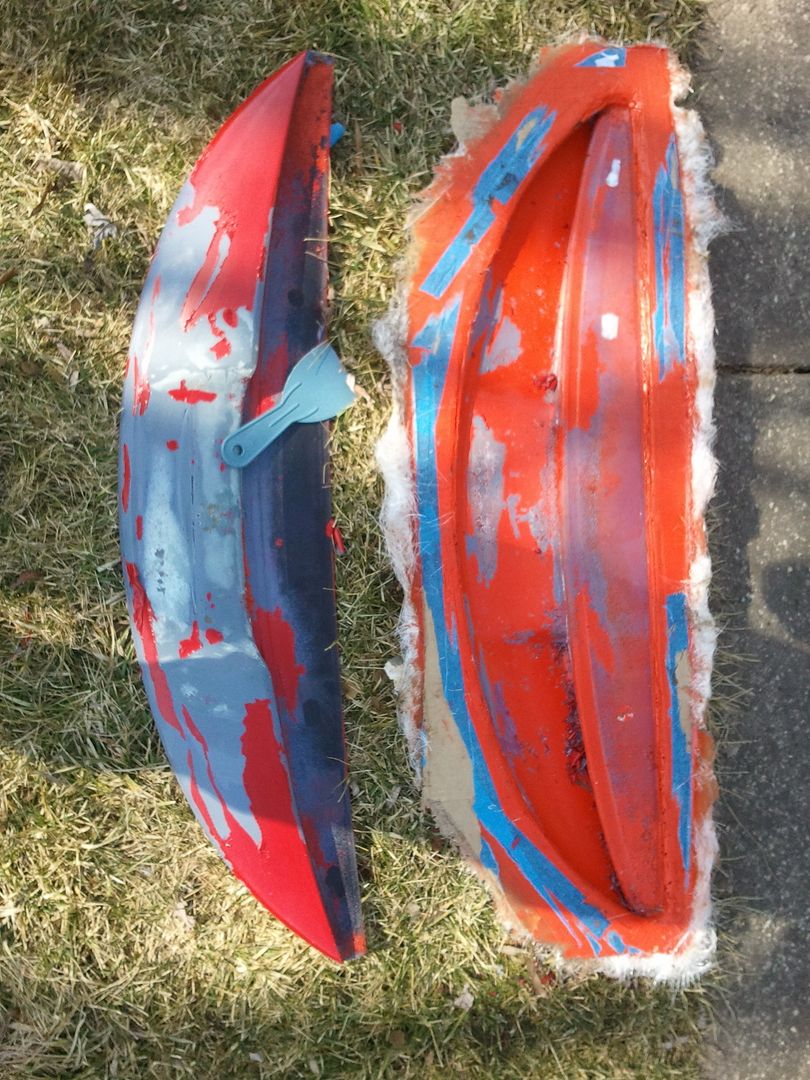
the good news is the mold is going to work out, but the heat and whatnot generated in the chemical reaction from the gelcoat caused the paint on the wing to bubble and peel.
I’m realizing that I don’t really understand what a gel coat is and when and why it’s used?
gelcoat is basically a type of paint for fiberglass, loosely speaking. But it’s much harder and much more difficult to scratch.
It’s the primary way to color/paint a boat. So when you see a boat, it’s not actually painted (usually), you’re seeing the gelcoat.
Gelocoat comes in a few different formulations AND pigments. Or you can add color to white gelcoat to acheive custom colors/pigments. It’s not REALLY like paint…
the orange stuff I’ve been using on molds is a tooling gel, it’s a bit thicker consistency and is a touch softer than the white stuff I use on the production pieces…tooling gel is meant to be used to give a smooth surface in/on your mold that can be repaired and/or re-touched throughout repetative production of parts from the mold.
the gelcoats used on production parts are a bit harder and generally thinner as a means of a smooth surface finish that can just be scuffed and cleaned with wax-remover for primer/paint. If not for gelcoat the surface of a fiberglass part would require a TON of contour sanding and labor just to get it to a point where it could be painted.
---------- Post added at 12:42 PM ---------- Previous post was at 12:30 PM ----------
FYI, I’m always willing to show somebody else how I do this stuff…it can even be a benefit to me because having a second set of hands to help lay down pieces of fiberglass while I wet it out is a majorly huge help…which is why 90% of the time either pirite or checko are involved in the process lol.
so it just goes over the fiberglass to make a smooth and tough skin. It can be painted, tinted, or left raw. can you sand it or does that break the seal?
it can be sanded, and generally is. It’s usually the first thing to go down, not last…as most molds are constructed to be of the female type, you first put down the gelcoat, then fiberglass over it…when you remove the part, the gelcoat is the exact male counter-part to the mold and can just be trimmed, sanded, cleaned, and painted.
cool info. how do you stop the gel coat from sticking to the mold?
I apply a paste wax to the mold and then lighly hand-buff…once that hazes/dries I apply a mold release agent using a harbor freight $14 HVLP spray gun…it’s similar to a quick-wax product like McGuires and the like (which I have used successfully on smaller lay-ups in a pinch to avoid running the compressor and whatnot). after the mold release is dry you lay down your gelcoat, wait about 15-20mins for that to start setting up/hardening and get to laying down matt/resin and wetting that out. You only get like a 20-30min window once the gelcoat starts hardening up before it won’t laminate to fiberglass…and then when you pull out your part the gelcoat just falls off like old wallpaper
nice… thanks for sharing.
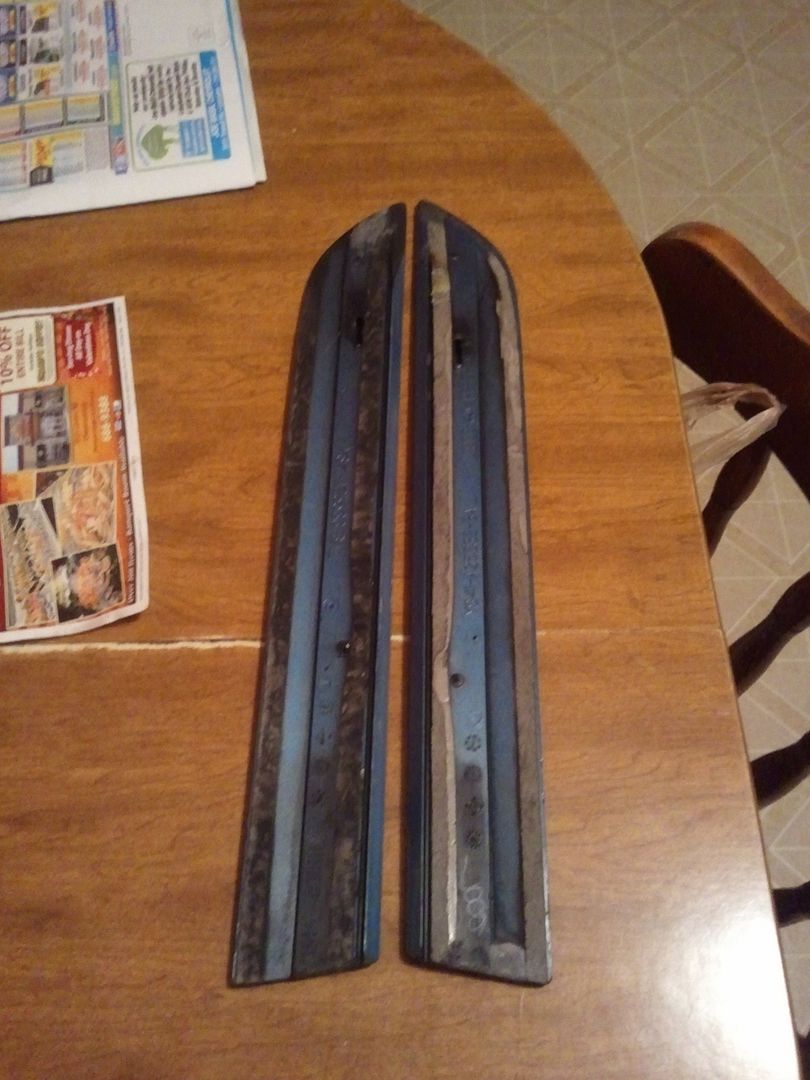
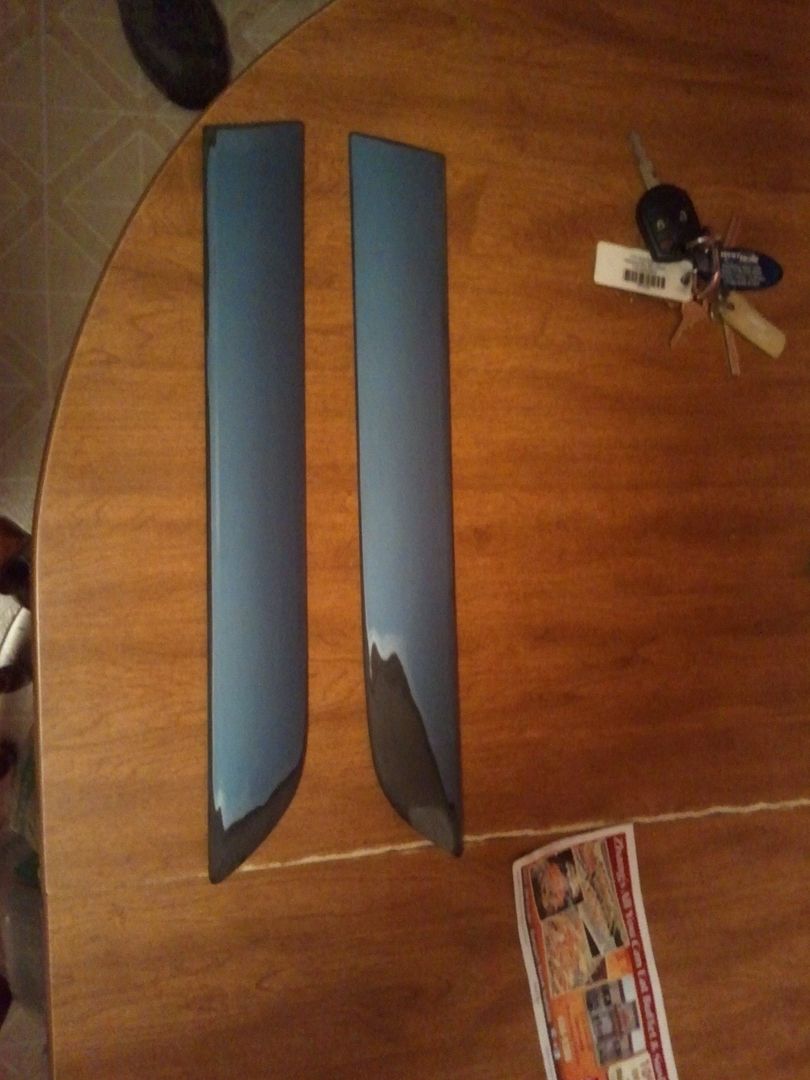
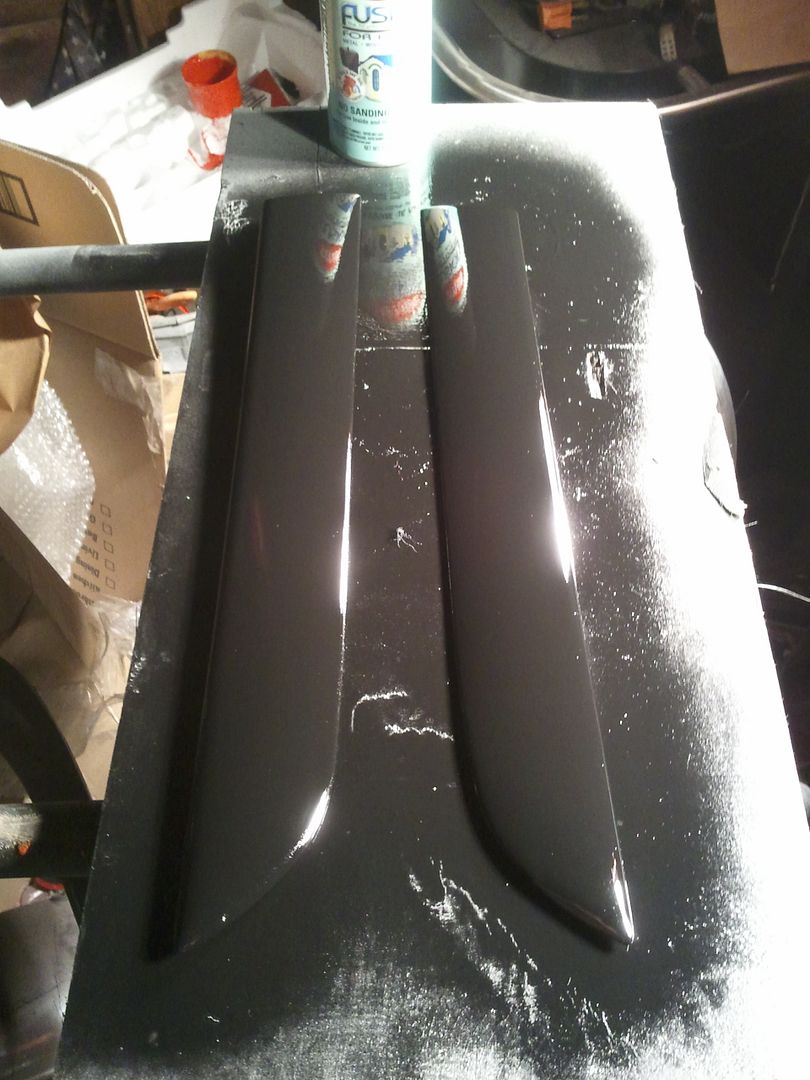
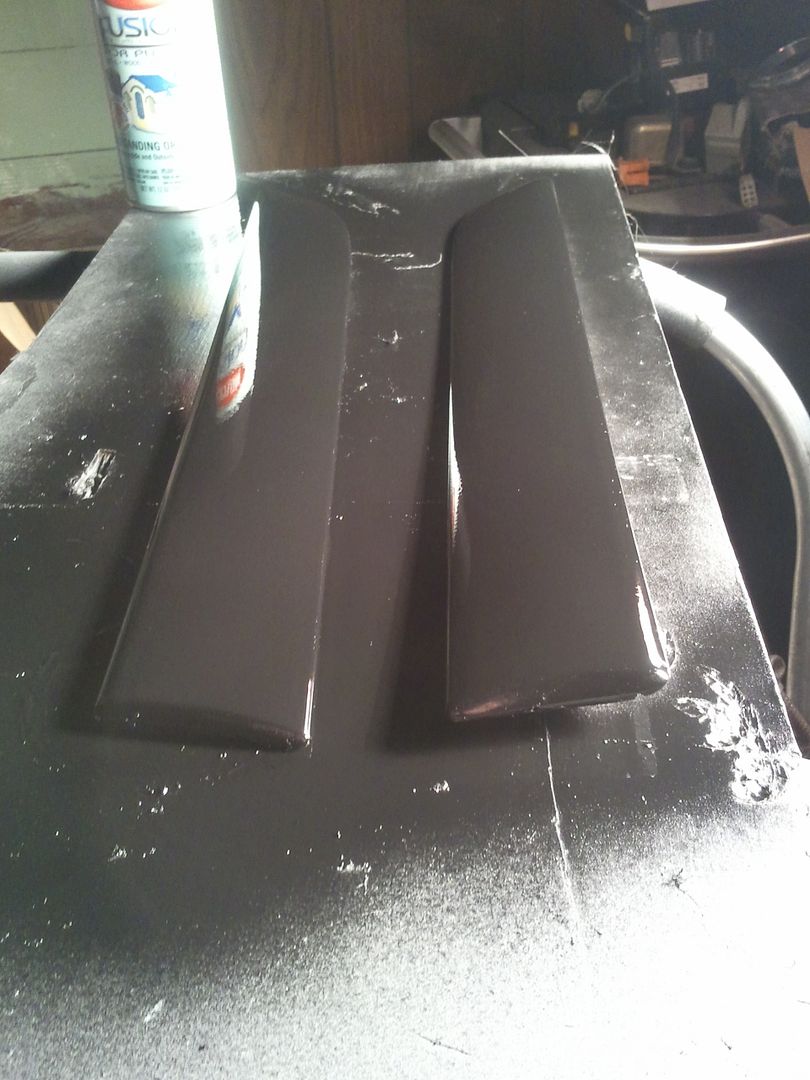
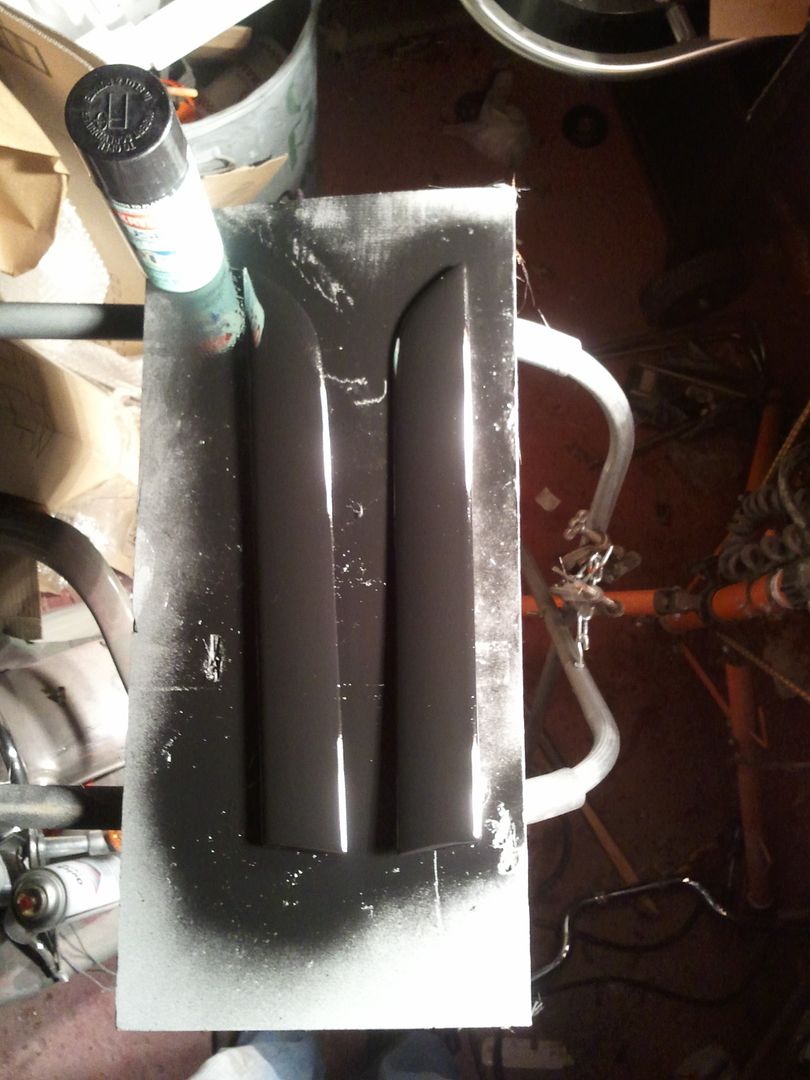
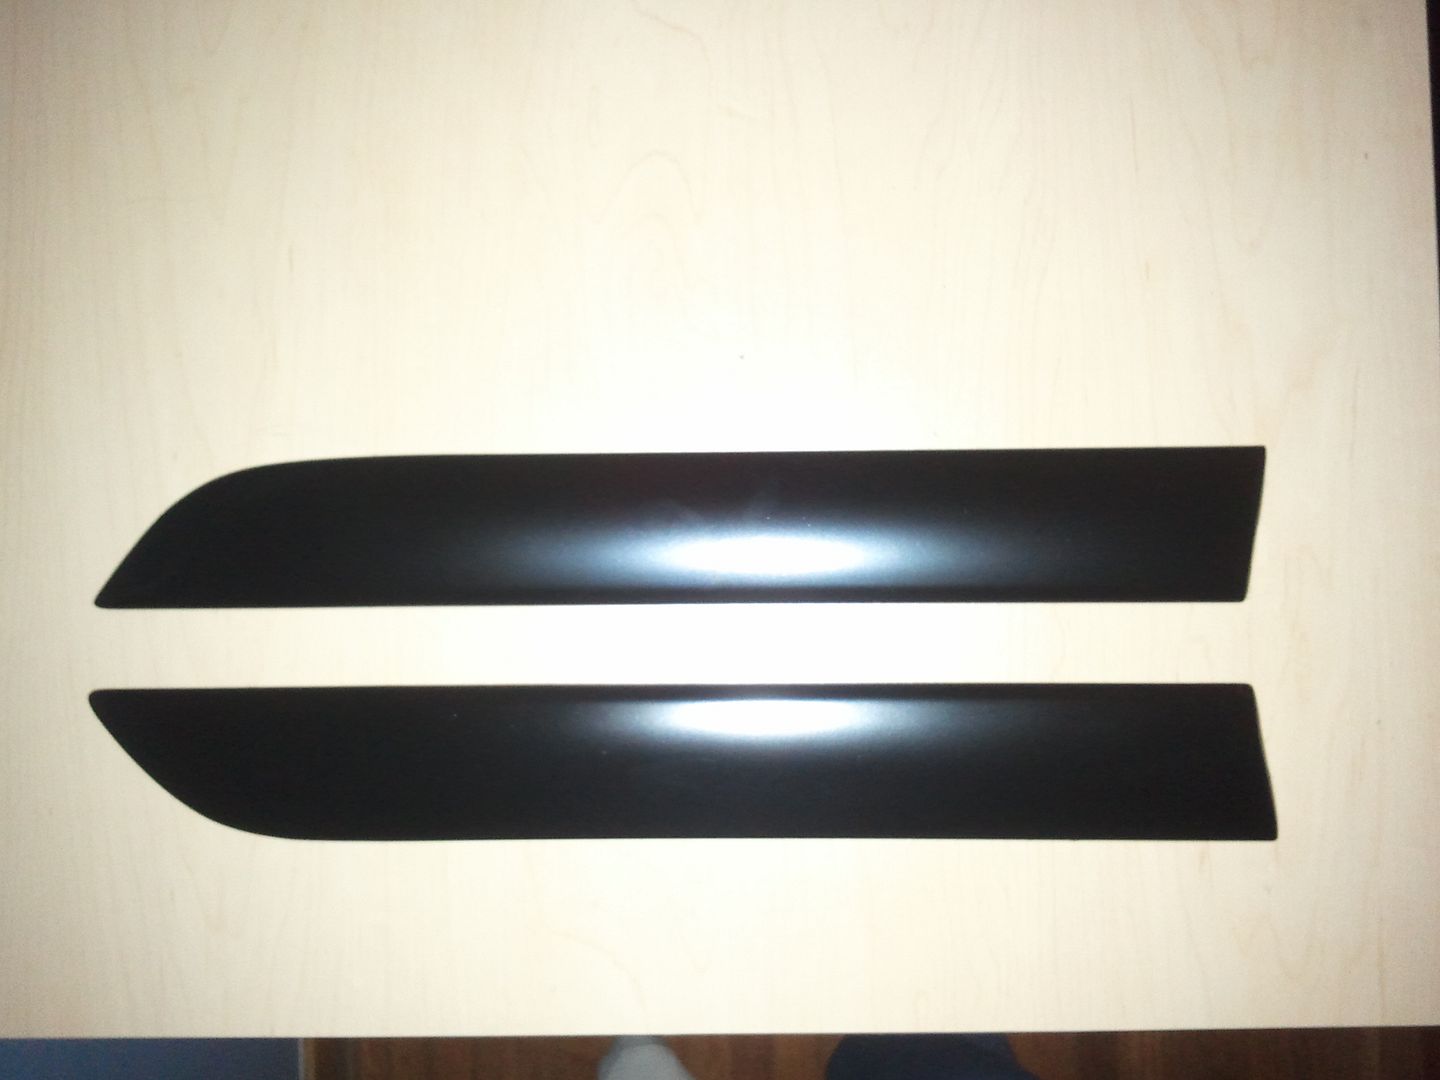
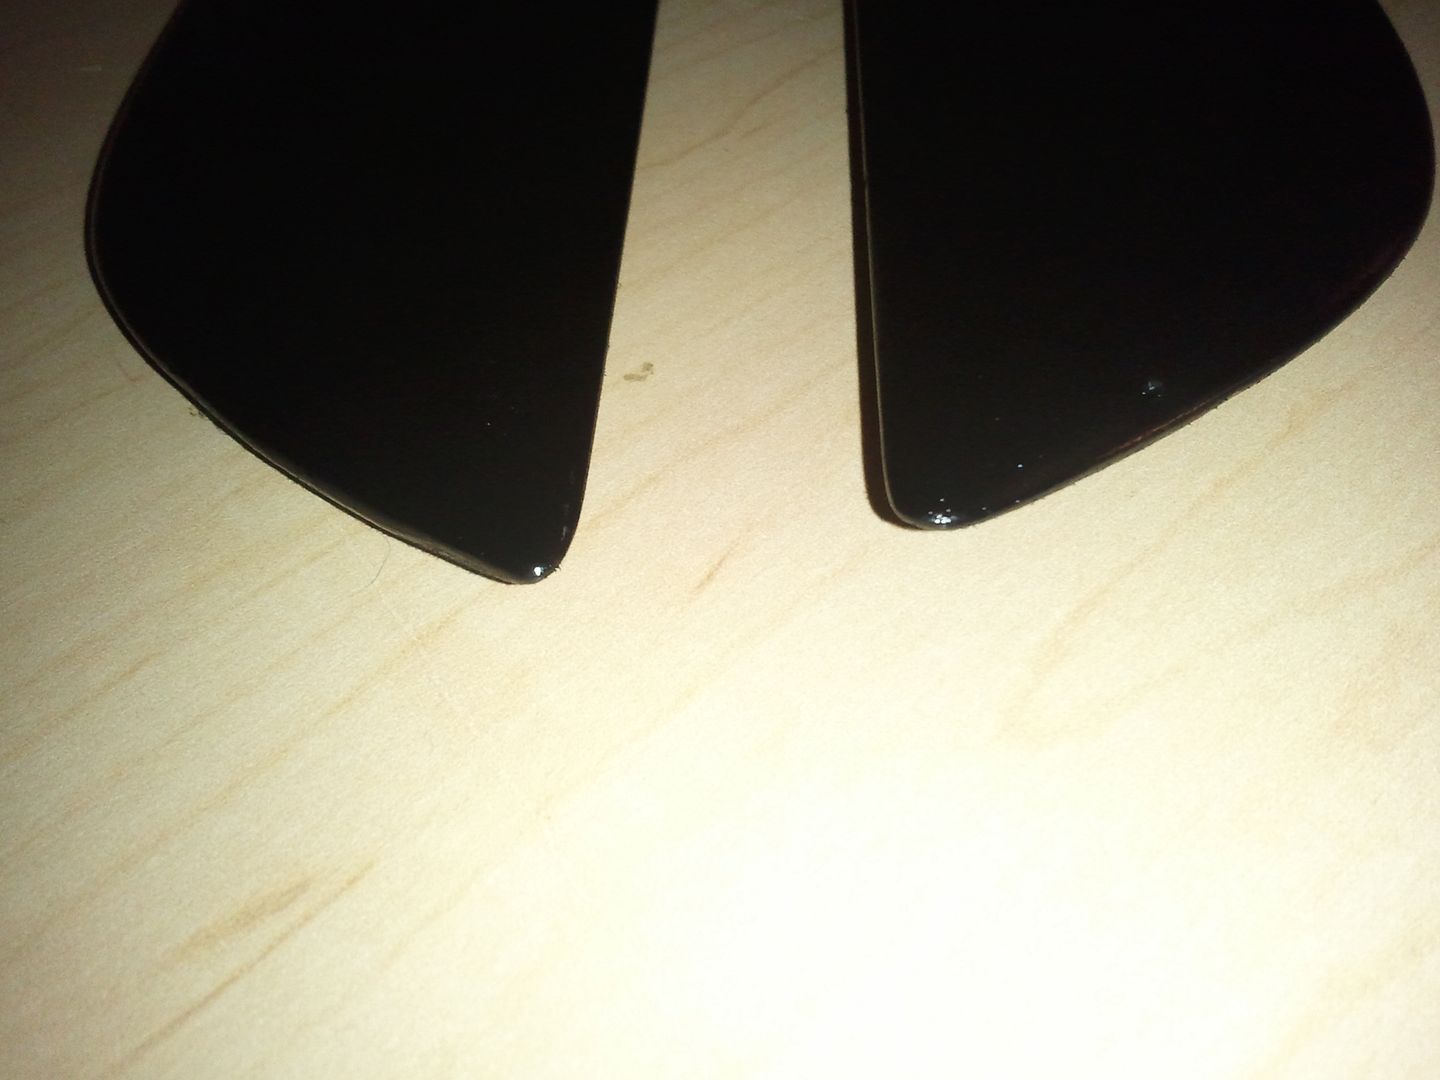
mini project: got the quarter panel rub strips shaped up and ready for some high-build…Didn’t have any adhesion promoter around so decided to spray with krylon fusion I had sitting around…going to wetsand again after it dries and spray down with filler primer (probably tomorrow)
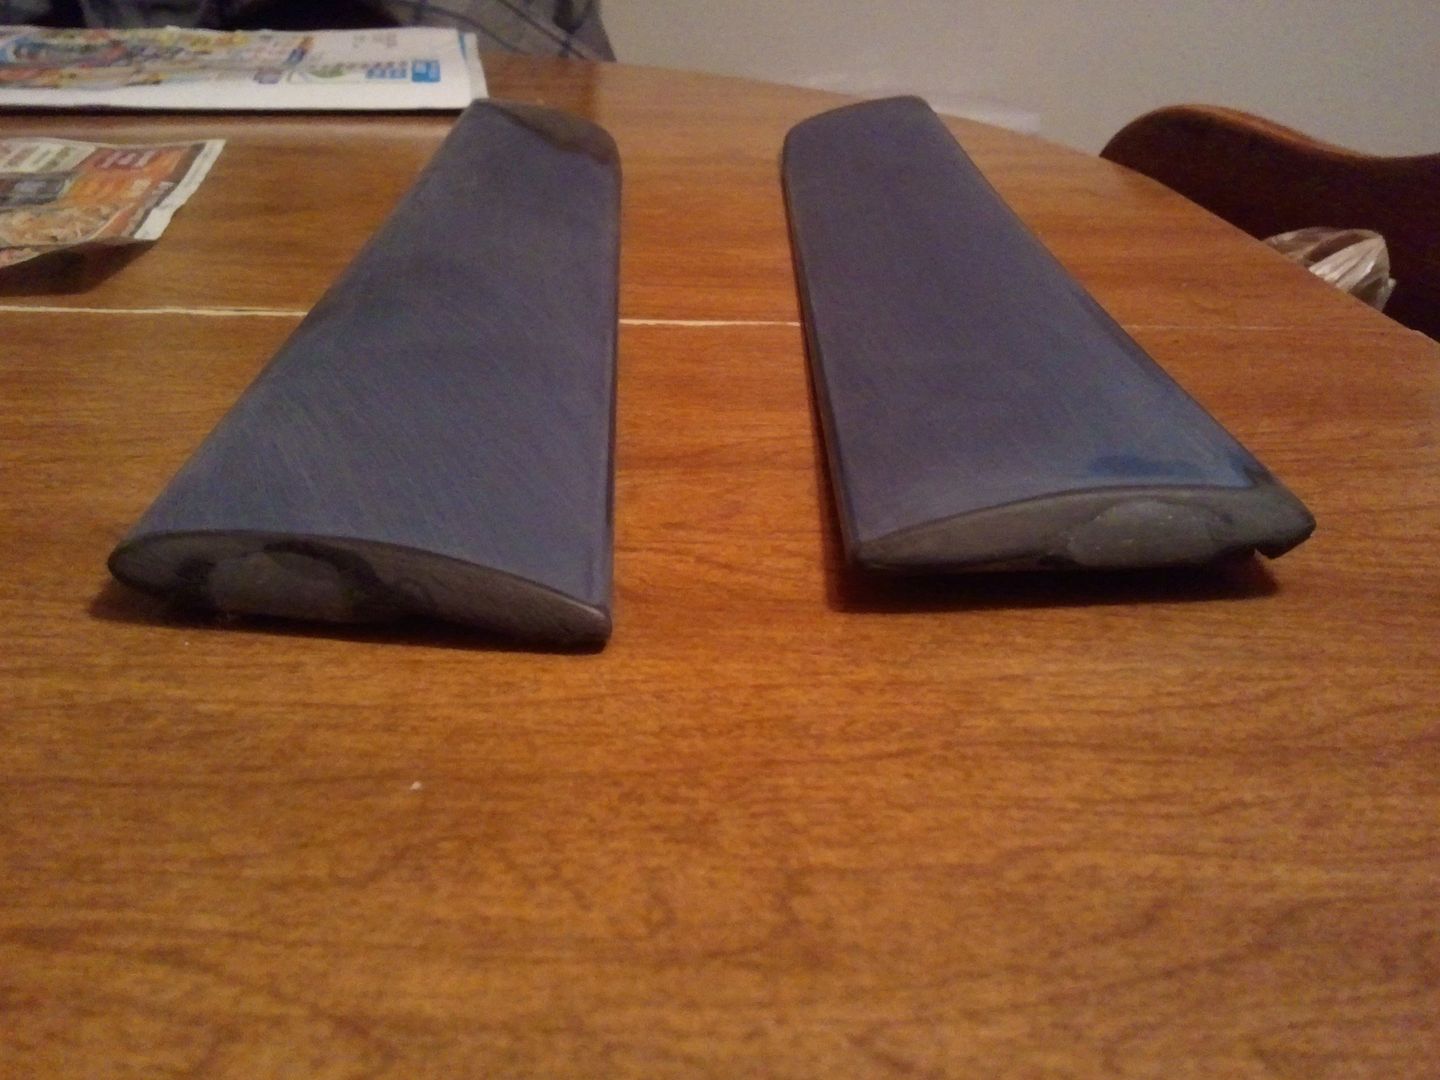
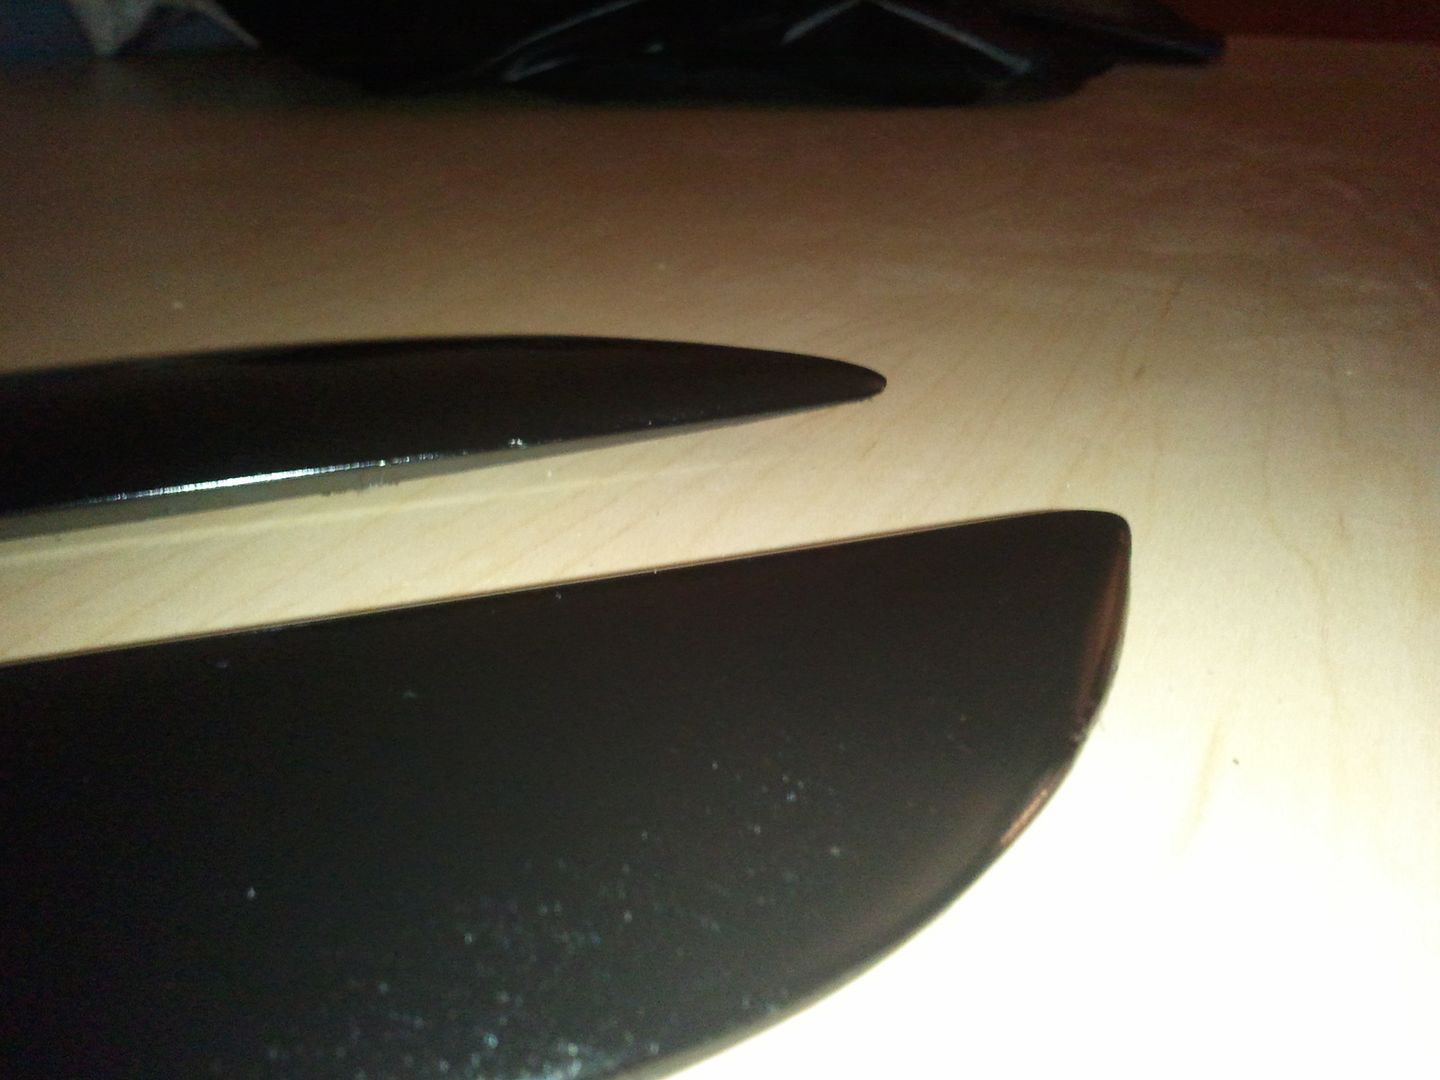
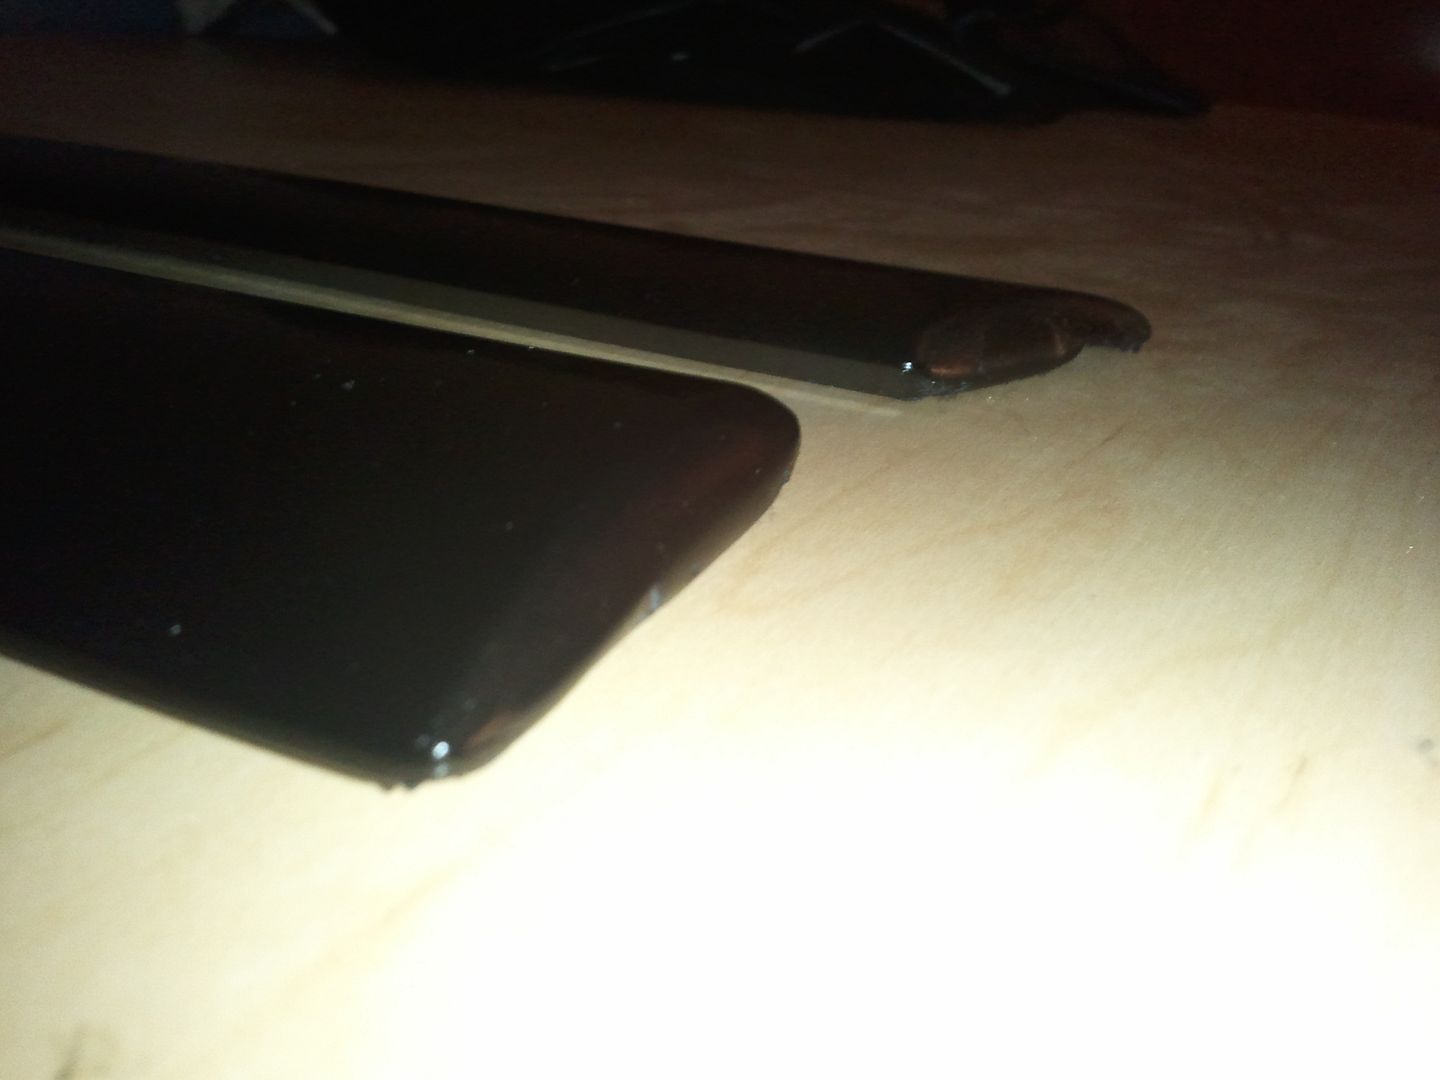
used the driver-side that I already cut to shape as a template for the passenger side, then filled in the spots where I broke into the voids in the casting and wetsanded in 320
then sprayed with the krylon fusion
for anyone unfamilier, these started out life as the rear rubstrips from a 4dr sedan focus…I cut them to fit the RS quarterpanel. I don’t know how the “plastic weld” epoxy will hold up long-term…so I might buy casting urethane to make flexible molds of these and make solid ones from two-part urethane mix (and then sell replicas LOL)
