[left]So I did have a nice page set up for this, but…well…:([/left]
Anyway…

The commonly asked “how do I detail my engine?” question is a bit scary for me to answer. On one hand I love relaying information and know-how to anybody that is willing to learn. On the other hand there is a lot to mess up in an engine bay. There is always a slight risk with detailing of undesirable results. The mistakes are usually fixable. Even with this engine detail, I managed to use the wrong metal polish and tarnish what used to be a shiny surface. Always read the labels of what you are using and understand that, usually, the people that make the product know best.
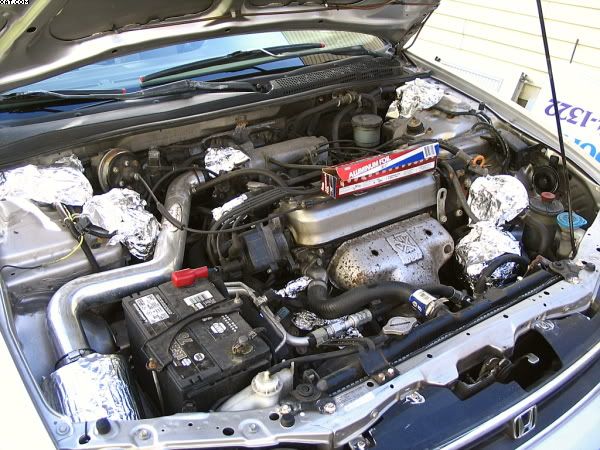
The first step is to look in the engine bay and find the starter, the alternator, a fuse box, and any various other electrical connections. Wrap these with aluminum foil. “What should I cover?” There’s no direct science about this, cover everything that you think should not come in contact with water. Aluminum foil isn’t going to protect against a copious amount of water or degreaser, but if care is taken when spraying with a hose it will be more than sufficient at keeping key components dry.
Rinse the engine with water. This is to loosen any dust or dirt. Do not spray with a stream of water. Always spray with a mist pattern. Do not douse the engine here.
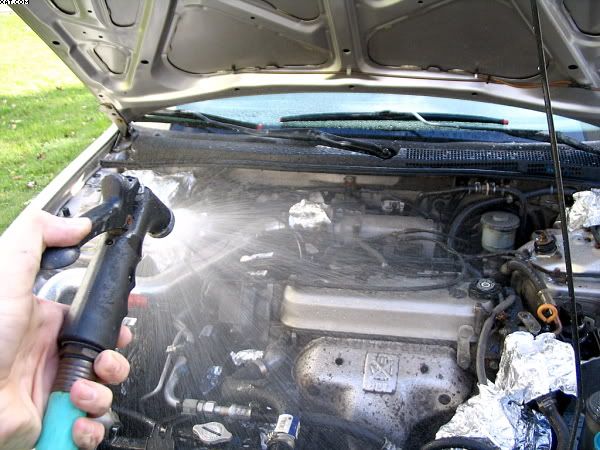
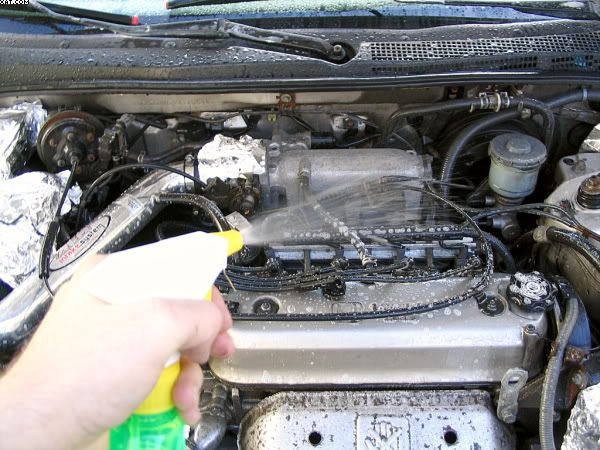
Spray the engine bay down with degreaser. Spray everywhere. Allow to dwell in the engine bay for a few minutes. This will help loosen dirt and oil to make cleaning easier. Use a degreaser that is readily available and not expensive. Avoid formulas that warn against use on aluminum. Read the label. I used wheel cleaner, because that’s what I had available.
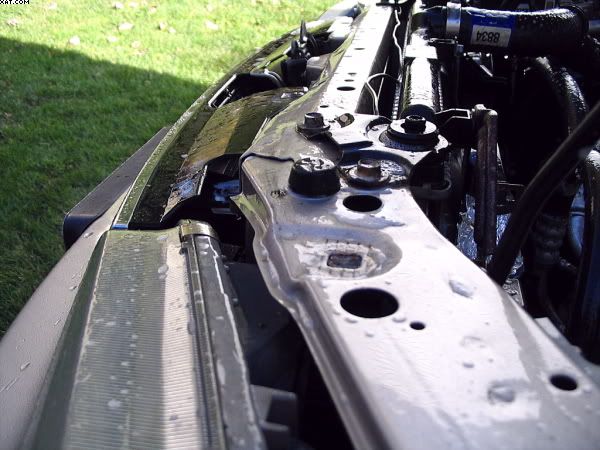
Remember to clean the front of the engine bay near the radiator. This is a great place to wax when you are done. It’s common for cars to start rusting here.
Also spray the firewall. It may not be possible to clean the entire firewall, but a partially clean firewall is better than a dirty firewall.
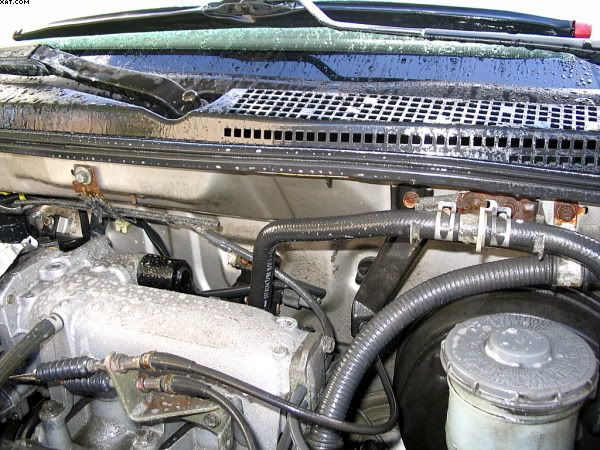
There is no way around scrubbing. It takes awhile and it is detailed. Here I am using a regular nylon scrub brush, which is good for larger surfaces and caps. I like to work one section at a time, trying not to miss any parts of the section. Alternate between brushes. It’s inevitable that you will miss cleaning some little part. Cleaning section by section will help to prevent this.
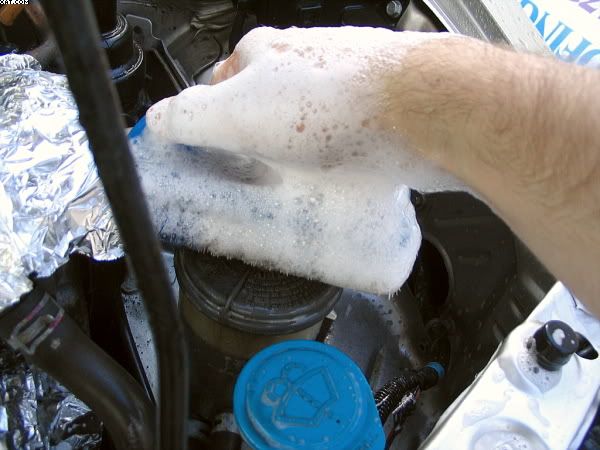
This is a spoke brush. As the name implies it is very good at getting between two close objects. It works very well for wheels, and it works very well for engine bays. I think I got this one at Big Lots.
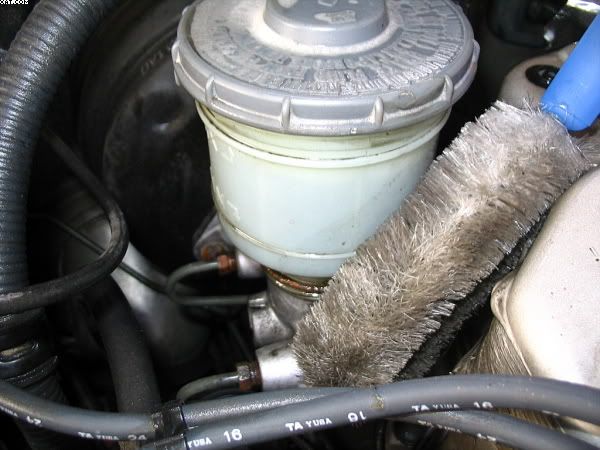
The part of the valve cover near the oil cap will be one of the dirtiest parts of the engine.
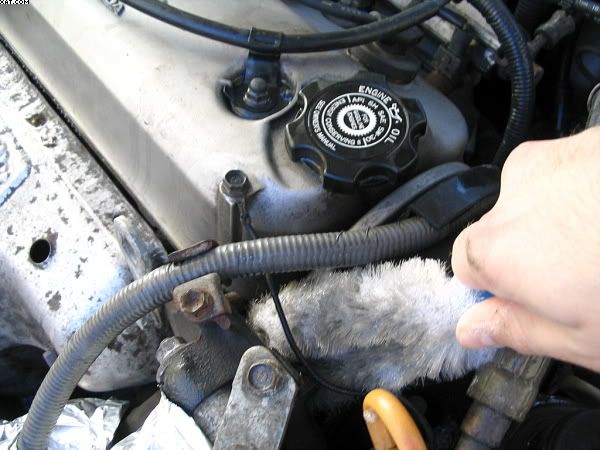
Now is a great time to retire your toothbrush. It’s a great tool for getting in between places the other two brushes won’t. You may need to spray more degreaser. Take care around the spark plugs, distributor/coil pack. It’s not necessary to cover these if you are careful.
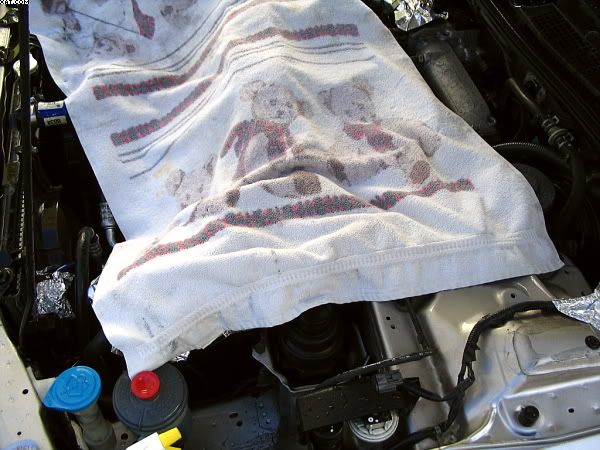
As you scrub along you may notice that the dirt is just going to dry back up onto the surface of whatever you cleaned. To prevent this, as you finish a section dry the section. This will also help with cleaning. This is the finest 80s towel I could find. Bath towels are usually not a great idea, but for engine cleaning they’re great–the polyester is nearly indestructible.
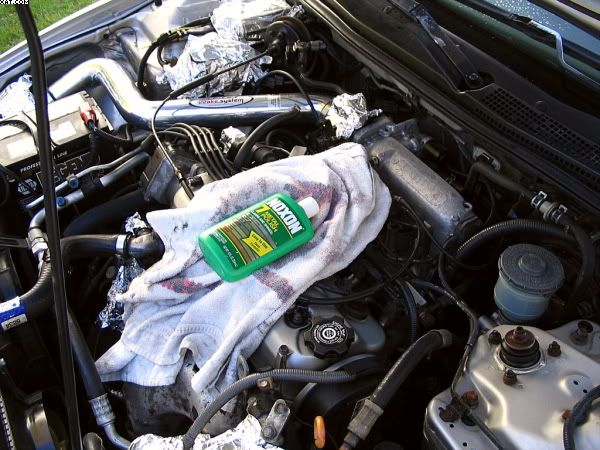
You may wish to do a little metal polishing while you’re at it. This should be done after you’re done cleaning the engine, and when it is mostly dry. Be careful with flammable polishes, and ones around chrome. This Noxon caused my intake, which used to be bright chrome, to look fairly…brushed. I don’t mind too much, but I would if I really wanted chrome underneath my hood. What I’m trying to say is read the product’s label.
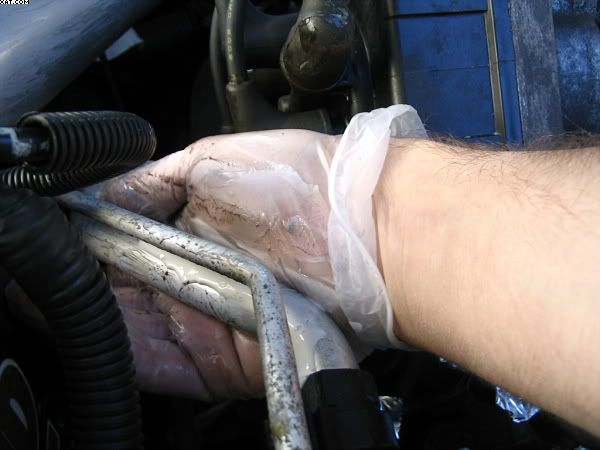
Yes that is a latex glove. To help prevent wasting metal polish which is sometimes very expensive, wearing a latex glove to apply the polish works great. Most of it ends up on the metal and not in the cloth. Wipe the polish remaining polish with a towel.
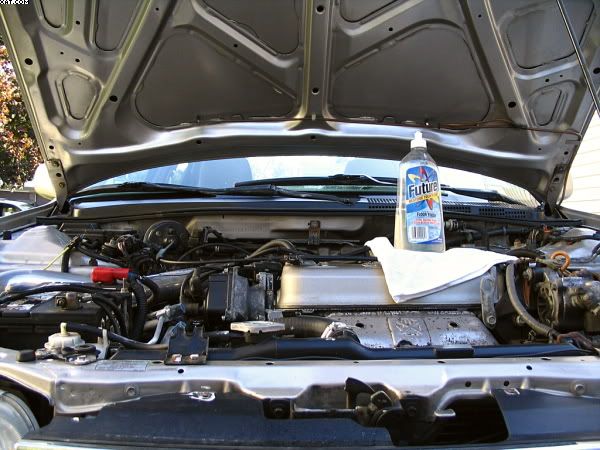
After cleaning, drying and polishing the rubber may look somewhat dry. One easy solution is to just spray tire foam on the rubber. A trick is to use a floor wax type product like Future or Mop and Glow to give plastic a satin look. I didn’t have a whole bottle, and I wish I would have. It works very good. I do question how it affects the longevity of the hoses, and I would not advise getting it near any accessory belts. However if you’re careful where you pour it, you can walk away and in about 15 minutes it should be dry to the touch leaving the plastic and rubber with a nice look.
Remember to clean the underside of the hood with a diluted mixture of degreaser. Follow with a cleaner wax. The underside of hoods are where many cars start rusting.
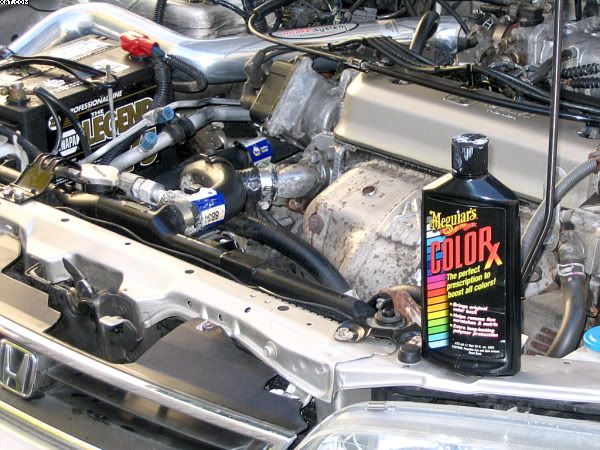
I really don’t like rust, so I decided to step up to Collinite Insulator wax after the regular cleaner/wax. I waxed the underside of the hood, the inner fenders, and the front above the radiator. This stuff is great, and it will soon be on my paint for winter–it is extremely durable, has a wet look, and is easy to use. I didn’t want to make product endorsements in this, but Insulator wax is just that good.
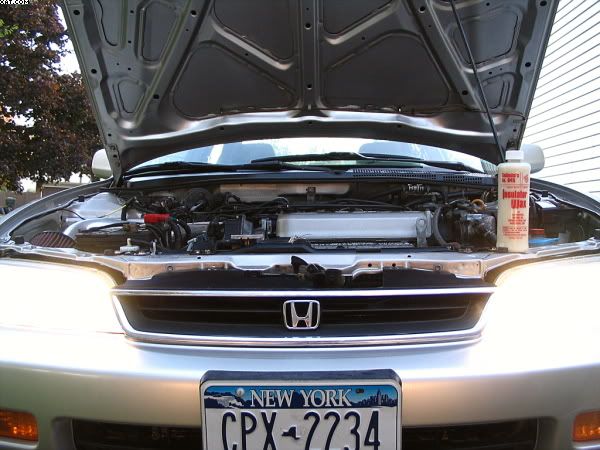
The engine should look clean and dressed now. The paint surrounding should look clean and protected. You may wish to go back and wipe the starter and alternator if you want. I did only slightly, as I didn’t want to spray degreaser near them. The exhaust shield is corroded, and it makes an otherwise fairly clean engine bay look somewhat dirty. It’s daily driven, so some defects are to be expected.
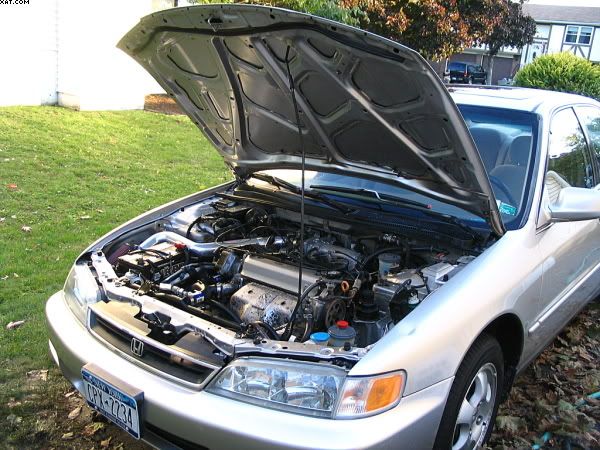

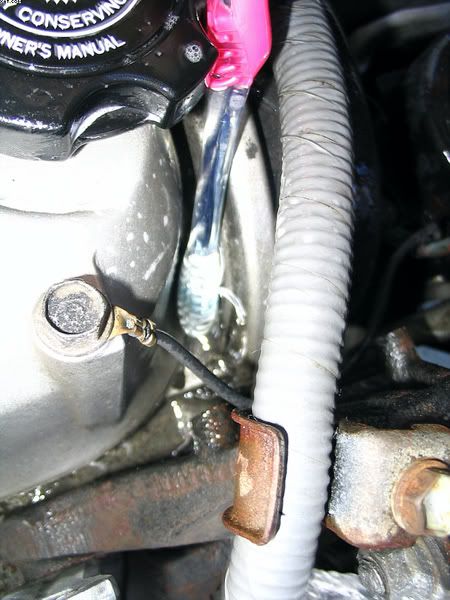


 I think I did a bit better job this year.