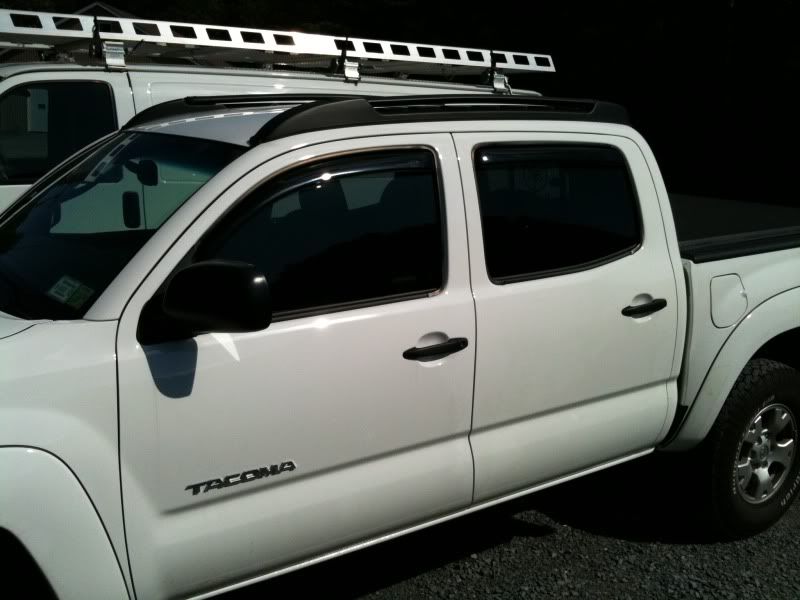
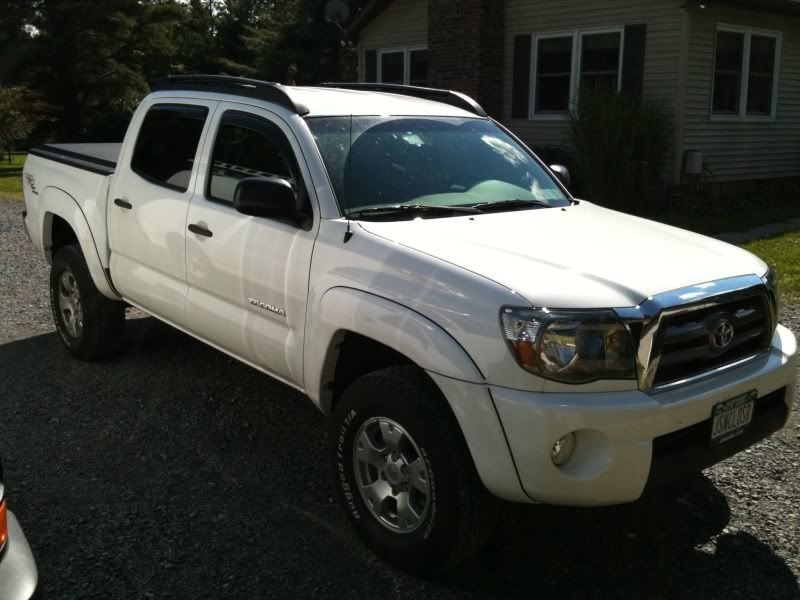
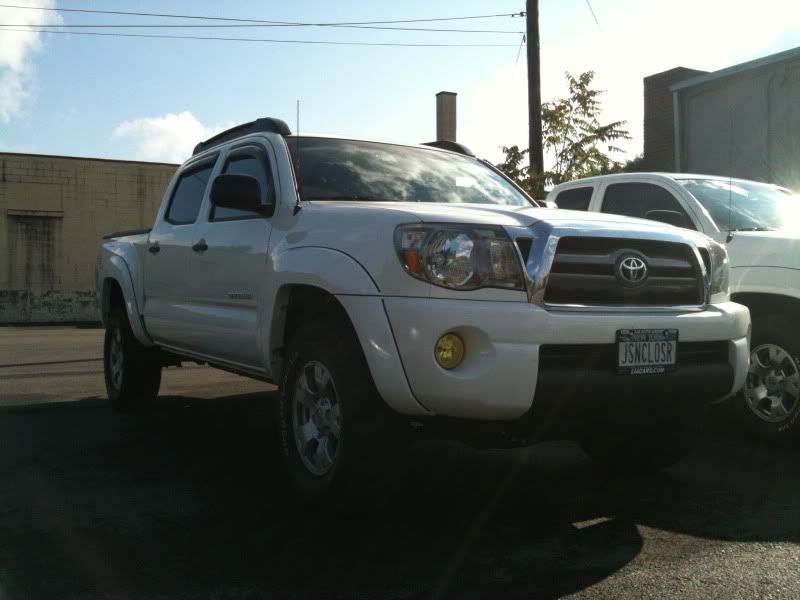
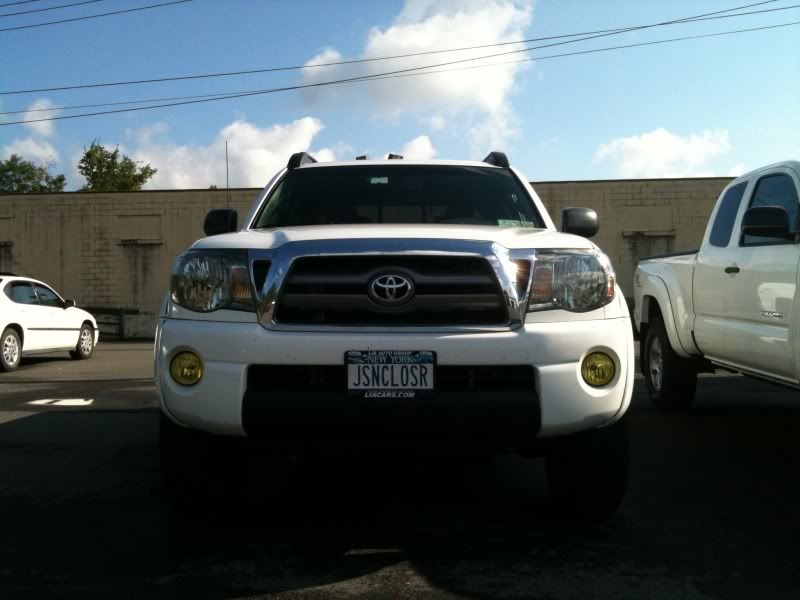
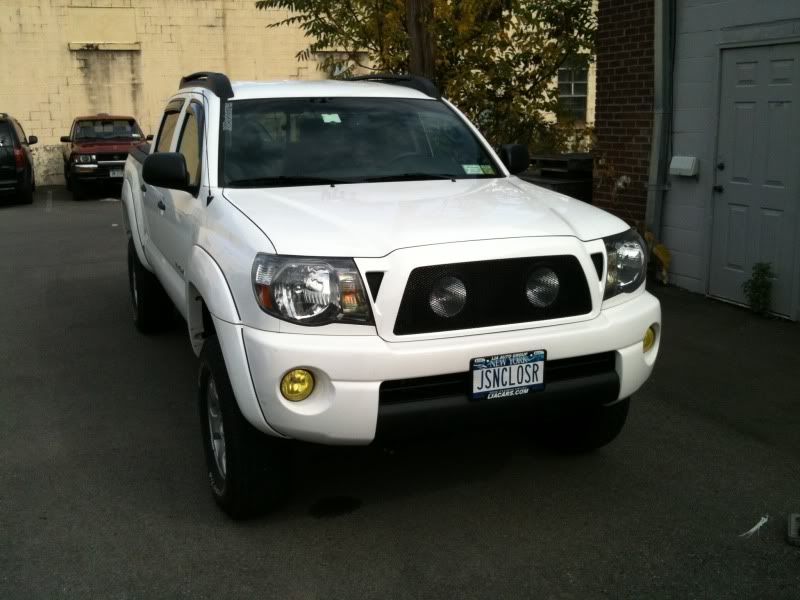
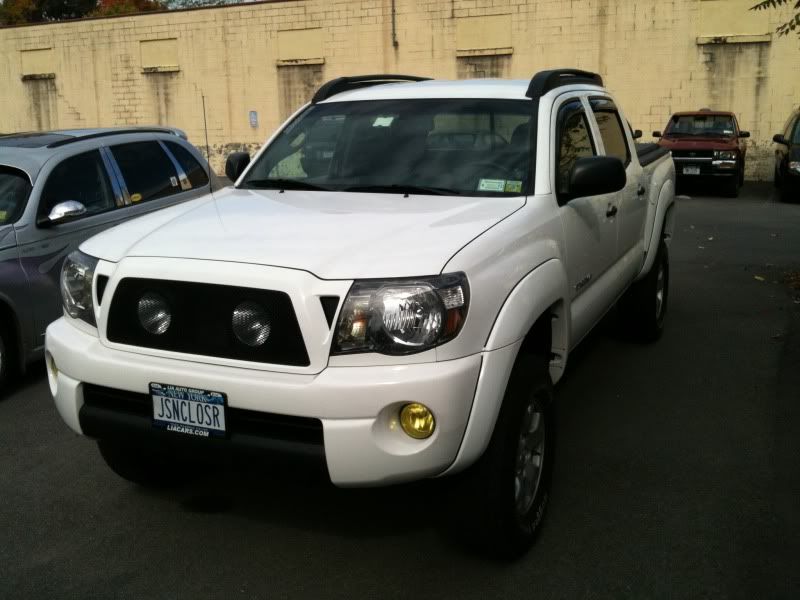
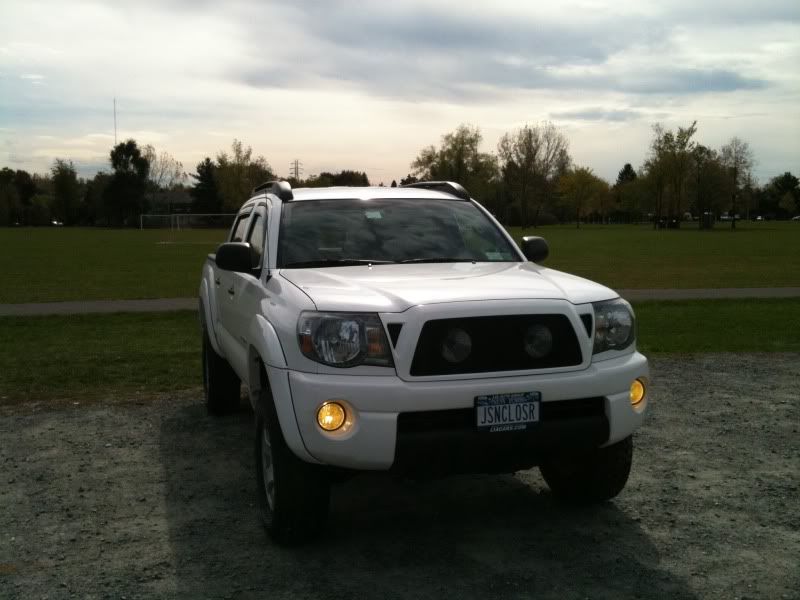
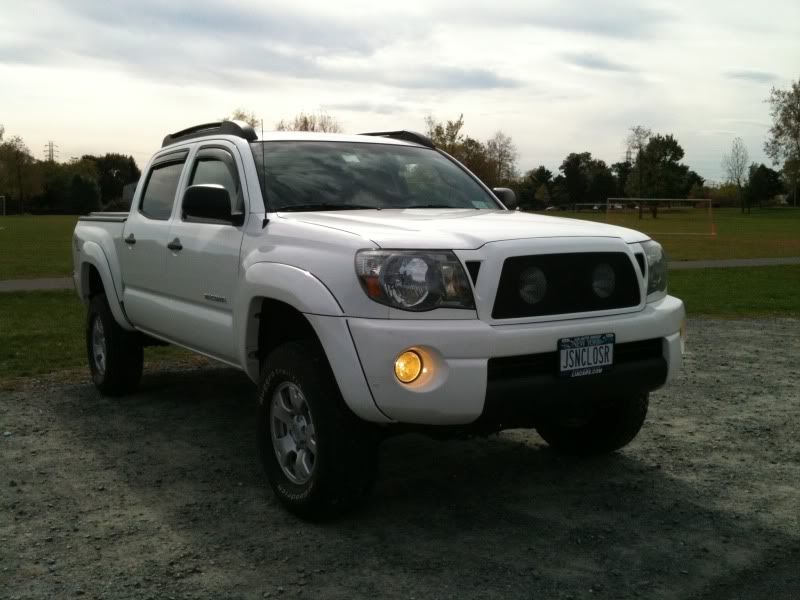
JSEnclosures 2010 Tacoma Build Thread

Figured i’ll pull this from tacomaworld and post it up over here.

I bougth the truck in Mid April after wanting one badly since winter. So glad it’s here. I’ve done a few things so far so i thought i would start the build thread at this point. To start it’s a 2010 Double Cab Off Road 4x4. JSEnclosures.com is my car audio business (which i do on the side) and i wanted this truck to be a nice show truck for car audio events as well as my daily driver. Truck was purchased brand new on 4/21/2010

Here are links to my DIY’s:
Bed light mod
Modify your stock aux plug to work with your aftermarket radio
Sealing and deadening your door panels

[FONT=Times New Roman][FONT=Calibri]2010 Tacoma Mod List[/FONT][/FONT]

[LEFT][FONT=Times New Roman][FONT=Calibri]Audio / Video[/FONT]
[FONT=Calibri]-Alpine IVA-W505 Double Din[/FONT]
[FONT=Calibri]-Alpine NVE-P1 Navigation and Bluetooth
-Alpine USB Input mounted in cigarette lighter plug
-Alpine AUX Input mounted in stock location
-Alpine KCA-SC100 Sirius Adapter
-Sirius SC-C1 Tuner
-TSS antenna adapter to use factory Sirius antenna
-Alpine KCE-422i iPod cable
-Alpine KCE-C105 back up camera
-Alpine KTX-C10LP license plate bracket for back up camera
-Alpine PXA-H100 Imprint Processor
-Alpine KTX-H100 IMPRINT Sound Manager
-JL XB-BLUAIC2-18 2ch Premium Interconnect Cables
-JL XB-BLUAIC4-18 4ch Premium Interconnect Cables
-JL 2 gauge primary wiring, and 4 gauge wiring to amps and ground locations
-JL 16 gauge speaker wire
-Fatmat xxxtreme sound deadener
-JL C5-650 component front speakers with x-overs (6.5”subs, 4”mids, 1”tweeters)
-JL C5-650x coaxial rear speakers with x-overs
-JL Audio Tacoma Stealthbox with (2) 10w1v2s
-JL Audio Slash 300/4v2 speaker amp
-JL Audio Slash 250/1v2 subwoofer amp
-PAC SWI-Jack for steering wheel controls (not yet installed)
-PAC TR-7 video bypass[/LEFT]

[LEFT]Electronics
-Valentine 1 with mute button
-Homelink garage door opener
-Fog light anytime mod
-Ultra-gauge [/LEFT]

[LEFT]Exterior
-Toyota factory roof racks
-Lamin-x yellow fog light covers
-Line-x’d front valence
-AVS in-channel vent visors
-DIY shorty antenna
-Redline hood struts
-Color matched grill
-Grillcraft
-2 Kragen HIDs behind the grill
[FONT=Calibri]-Toyota OEM bed Xtender painted black[/FONT]
-Bed light mod in the truck bed cubbies
-Color matched mirrors
-Heated mirrors[/LEFT]

[LEFT]Interior
-Weathertech digital fit floor mats front and rear in black
-Carling Switch panel and switches in the shift surround
[FONT=Calibri]-Shift surround line-x’d[/FONT]
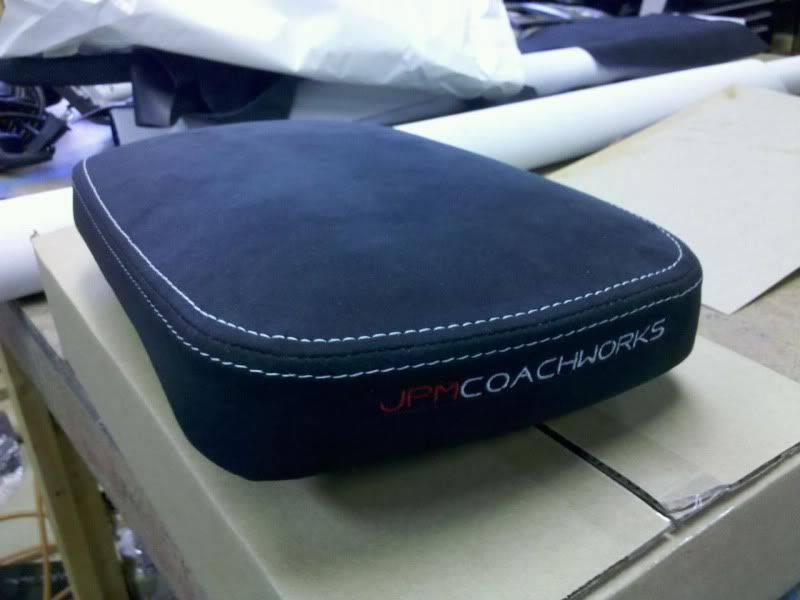
[FONT=Calibri]-Alcantara wrapped center console lid by JPM Coachworks[/FONT]
[FONT=Calibri]-Alcantara wrapped door pockets[/FONT][/LEFT]

[LEFT]Suspension
-Icon extended travel front coilovers for 3” front lift
-Walker Evans 2.0 rear shocks
-All Pro U-bolt flip kit
-DownSouth Motorsports “Boxed” Upper Control Arms (Won in DSM Facebook contest!!)
-Rear Leaf TSB and Wheelers AAL for 4" rear lift
-Toytec diff drop kit[/LEFT]

[LEFT]To come in the near future
-Painting my calipers black
-Blacking out the tail lights
-CB radio
-Off road rear bumper or line-x on the chrome one
-Sliders
-Fabricate my spare tire bed mount rack with a quick disconnect system[/LEFT]
[/FONT][/FONT]

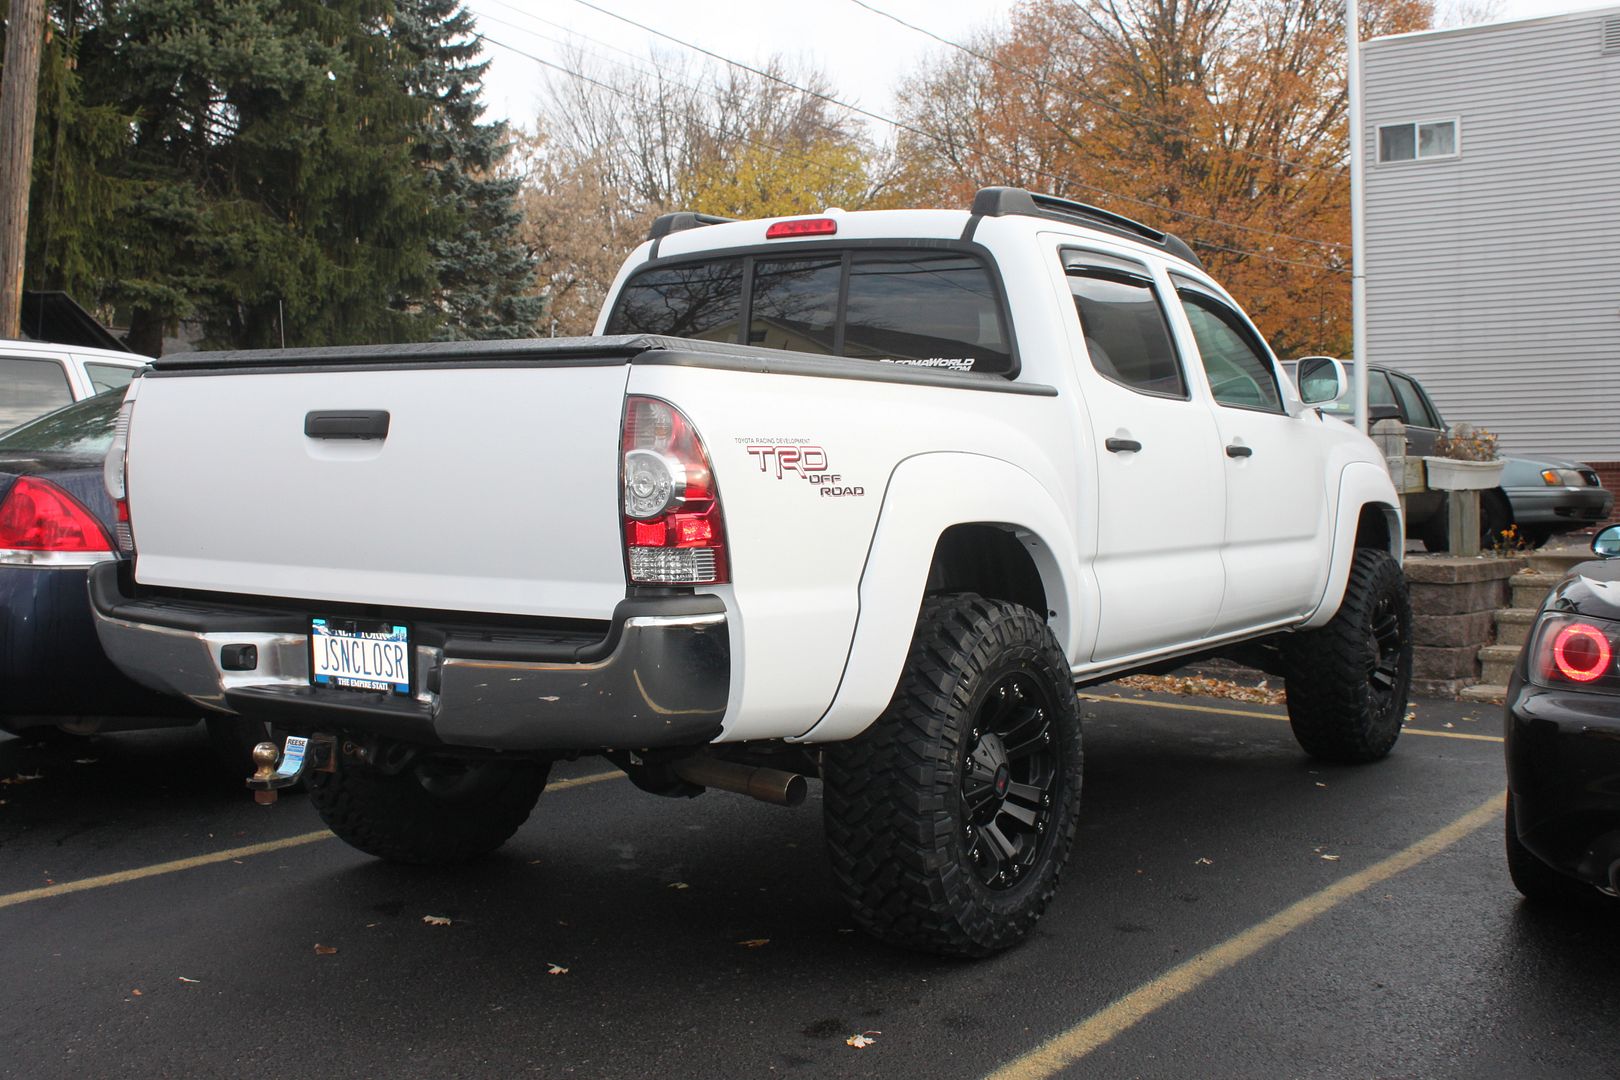
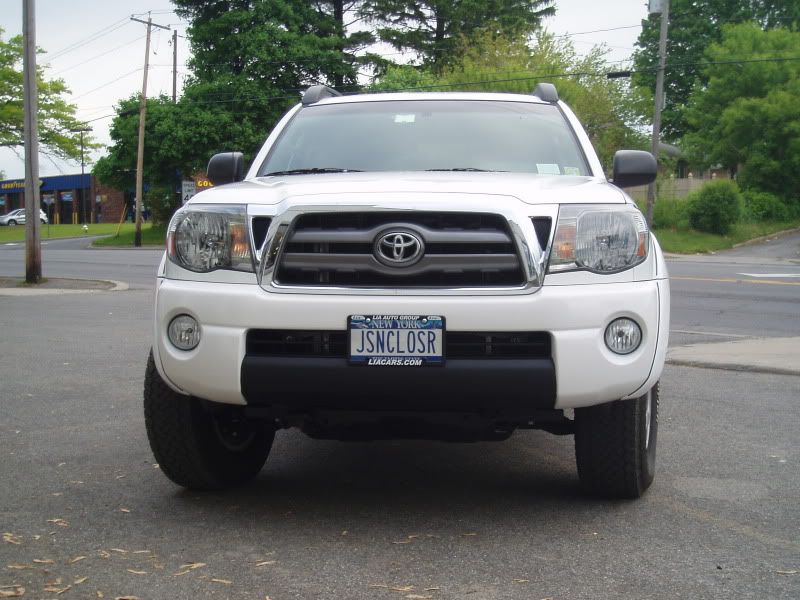
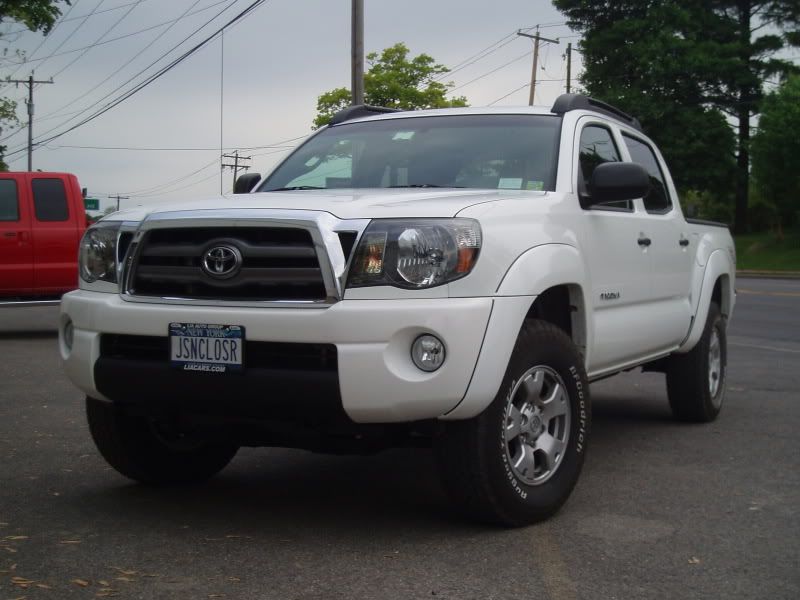
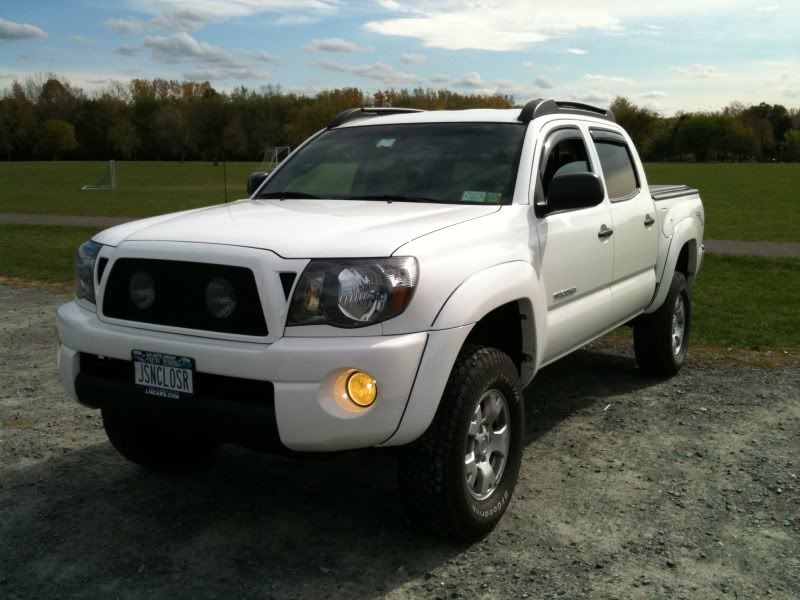
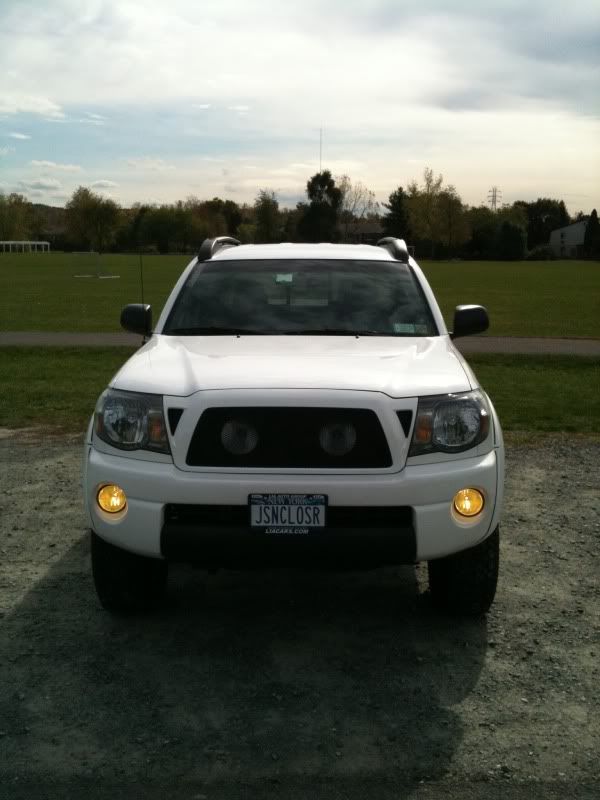
Here is the most up to date pic of the truck:
11-10-2011

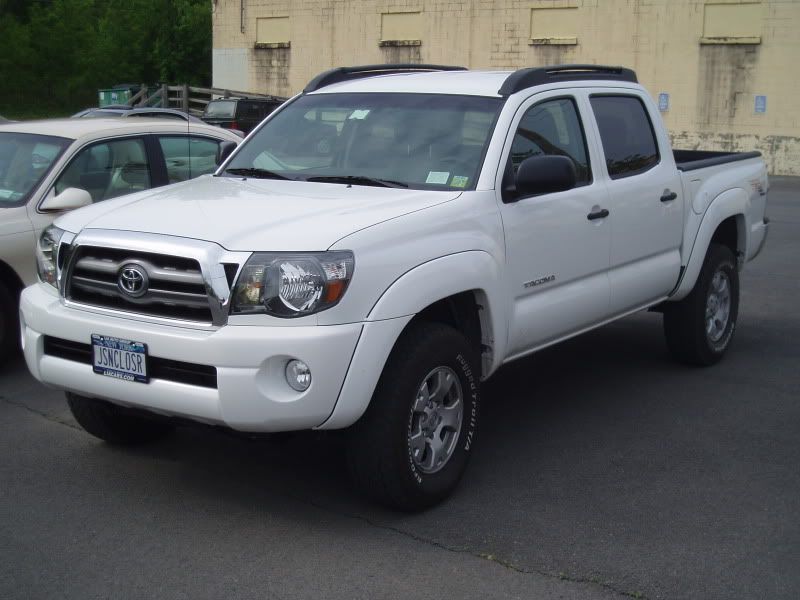
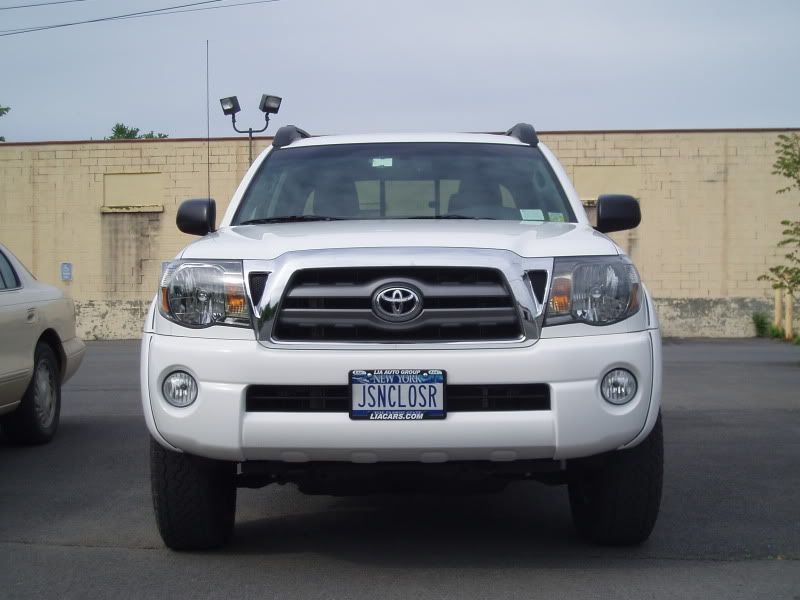
Here is how it all got started:
stock pictures:

Added the Alpine IVA-W505, Valentine 1, and did the reverse camera switch mod:

Here is my back-up camera switch mod. Take note that my rear camera is on and the truck is in drive.


Valentine 1 Radar detector and mute switch


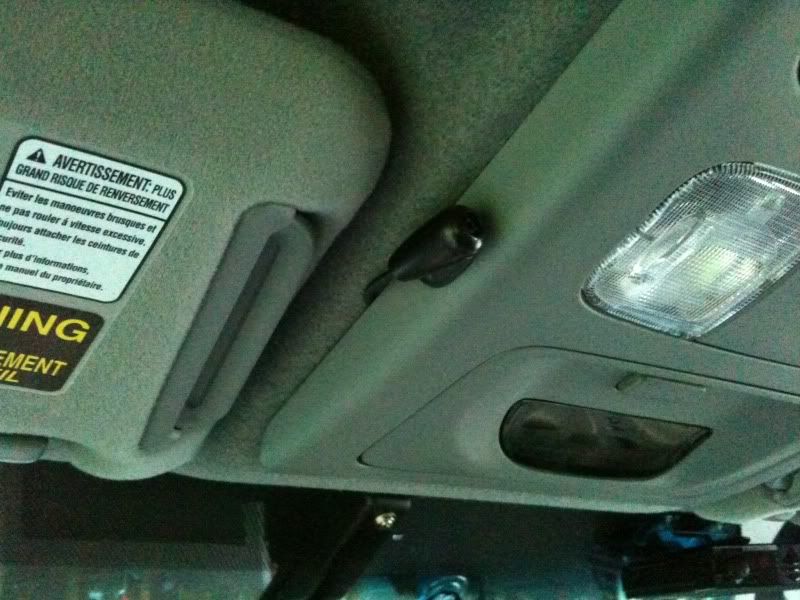
Mic for my Alpine Blu-tooth

Line-X’d the front valence:

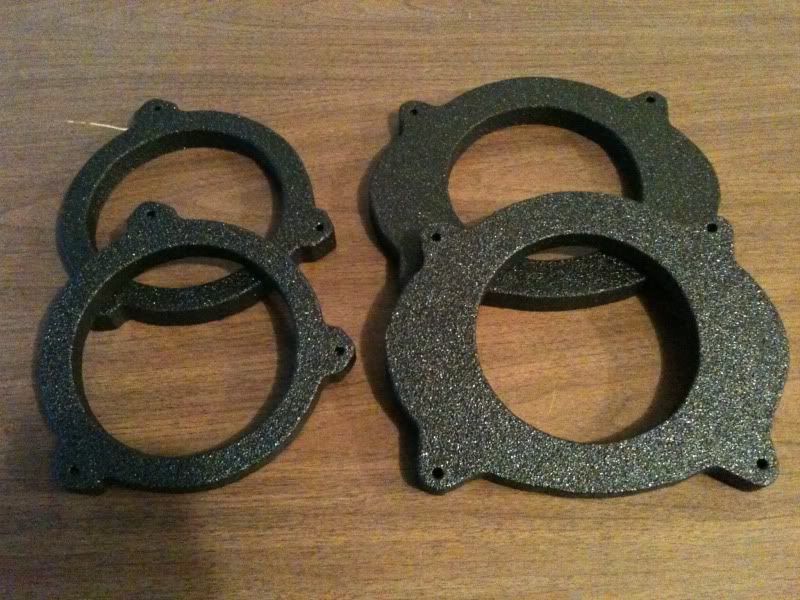
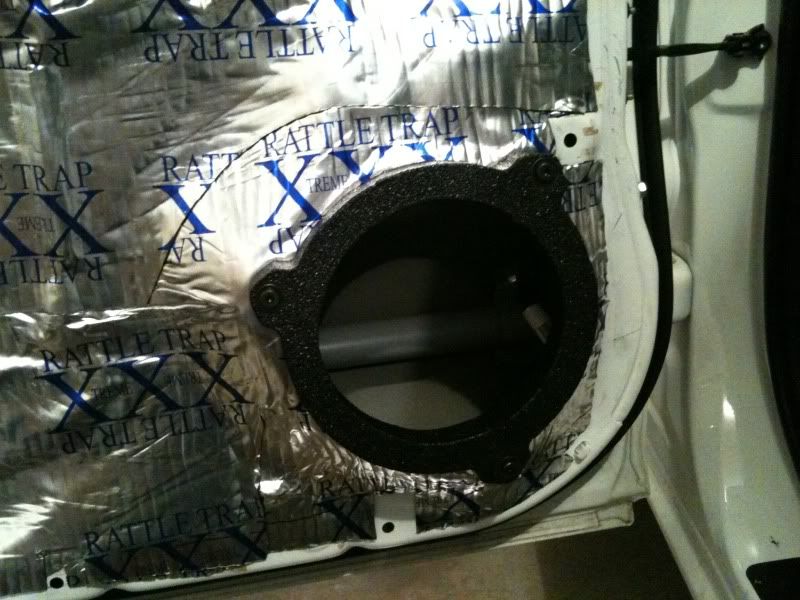
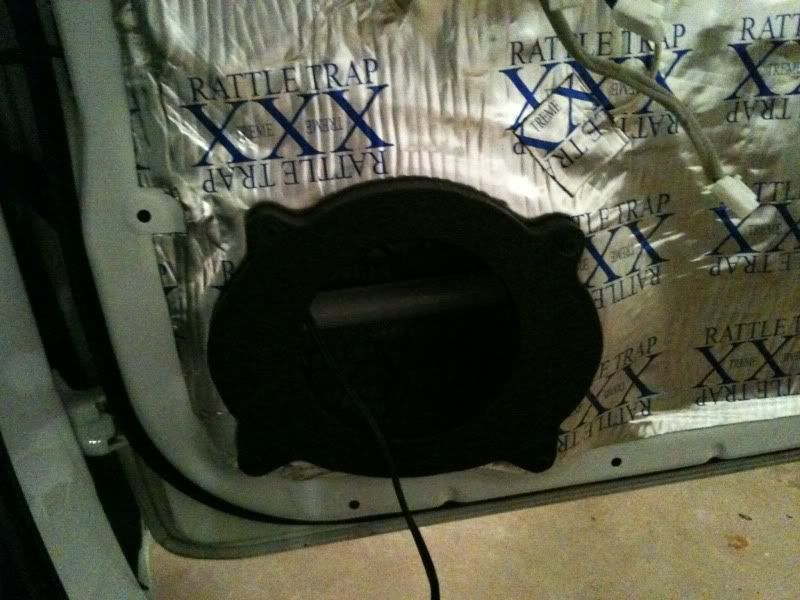
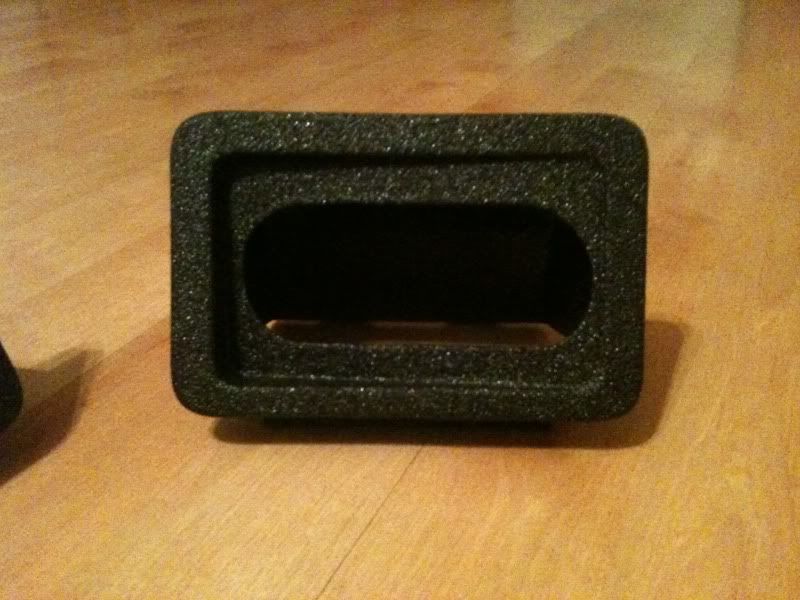
Speaker rings made by me and then Line-x’d
[FONT=Calibri][SIZE=3]


[/SIZE][/FONT]
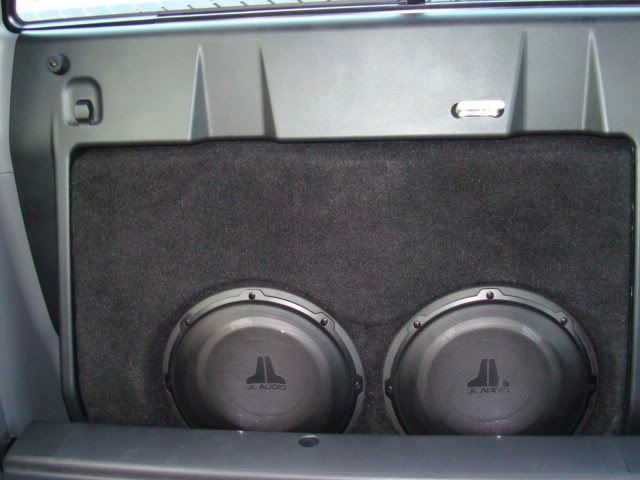
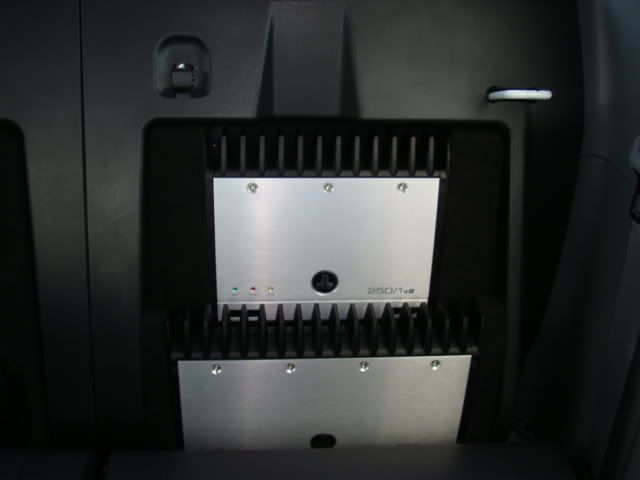
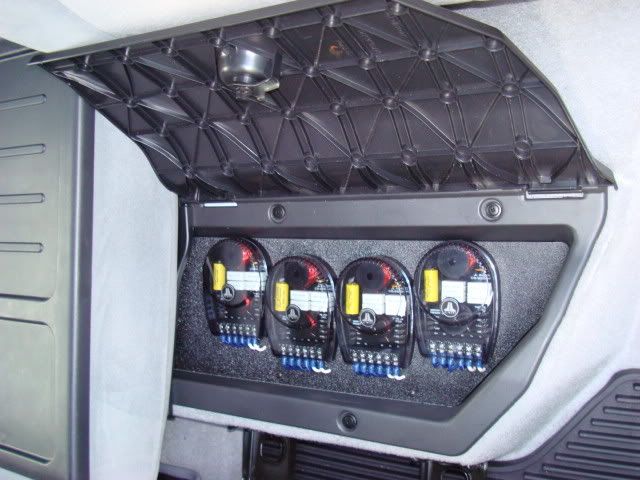
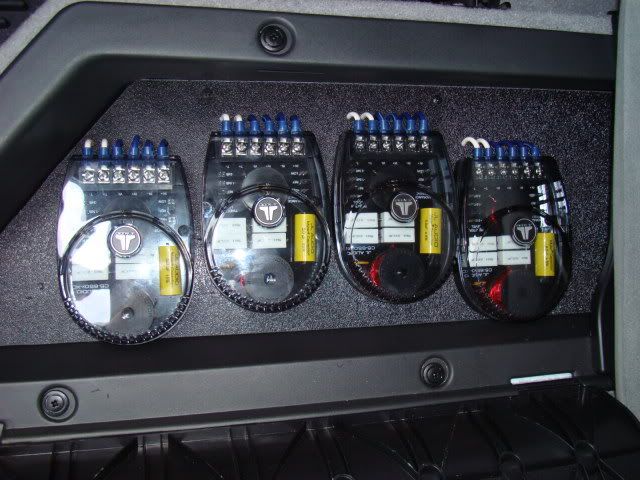
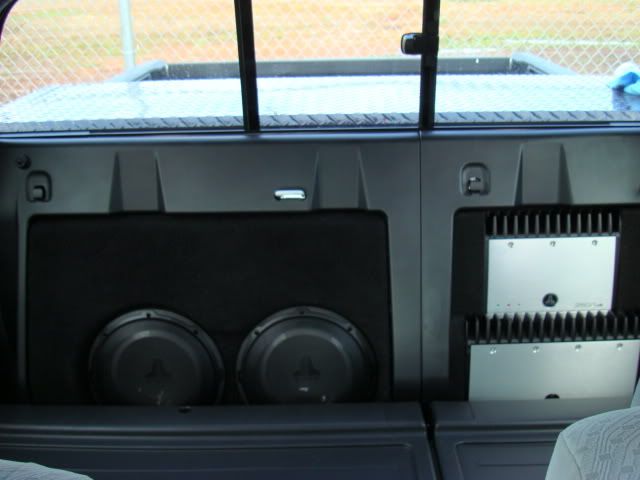
JL Stealthbox and JL Audio Amps. X-overs mounted under the drivers side storage bin.
http://i63.photobucket.com/albums/h135/jacobennis/tacoma/DSC00288.jpg
http://i63.photobucket.com/albums/h135/jacobennis/tacoma/DSC00287.jpg
http://i63.photobucket.com/albums/h135/jacobennis/tacoma/DSC00286.jpg
http://i63.photobucket.com/albums/h135/jacobennis/tacoma/DSC00290.jpg
http://i63.photobucket.com/albums/h135/jacobennis/tacoma/DSC00291.jpg

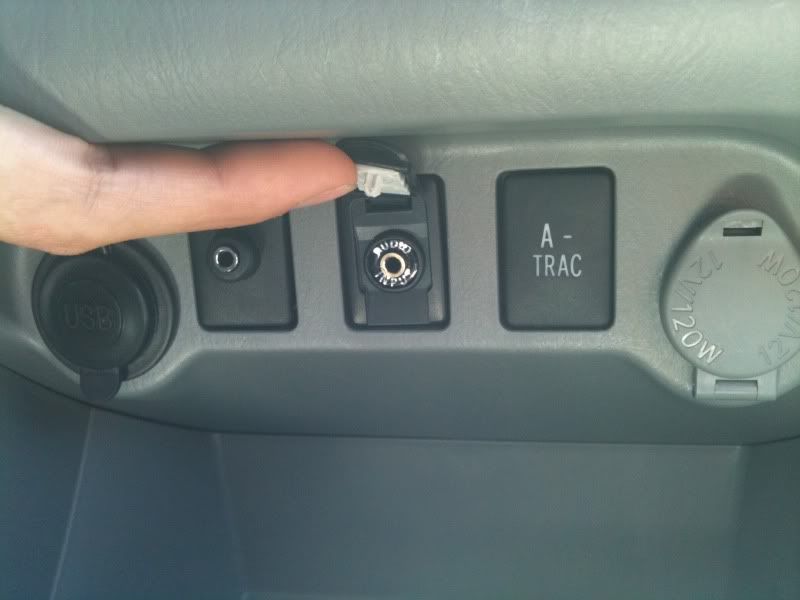
A Small little touch of detail that really stands out…


L to R: USB plug, iPod video plug, AUX plug modified and wired to W505, A-Track, 12v plug


AVS In-channel vent visors added


Finally installed my lamin-x fogs, homelink garage door opener and valentine 1 mute button


Homelink garage door opener

Redline Hood Struts Installed 9-24-2010


Installed My Lift Saturday!!! 9-25-2010


Icon extended travel coilovers set to 3" (1.75" thread on the drivers side and 1.5" thread on the pass side)


TSB leaf springs, Wheelers 1.5" AAL, All Pro U-bolt flip kit, Walker Evans 2.0 rear shocks. Gives 4" of rear lift


CV Angles after the Diff drop kit installed

And all finished up!


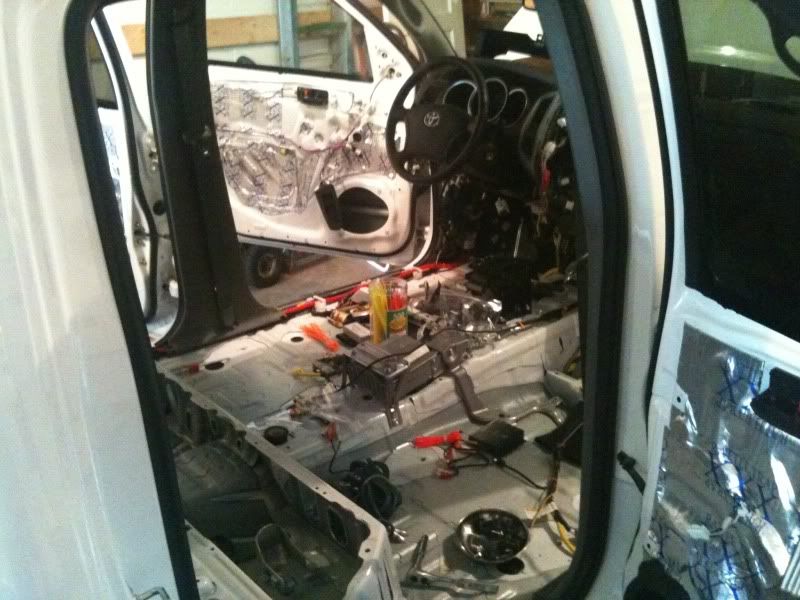
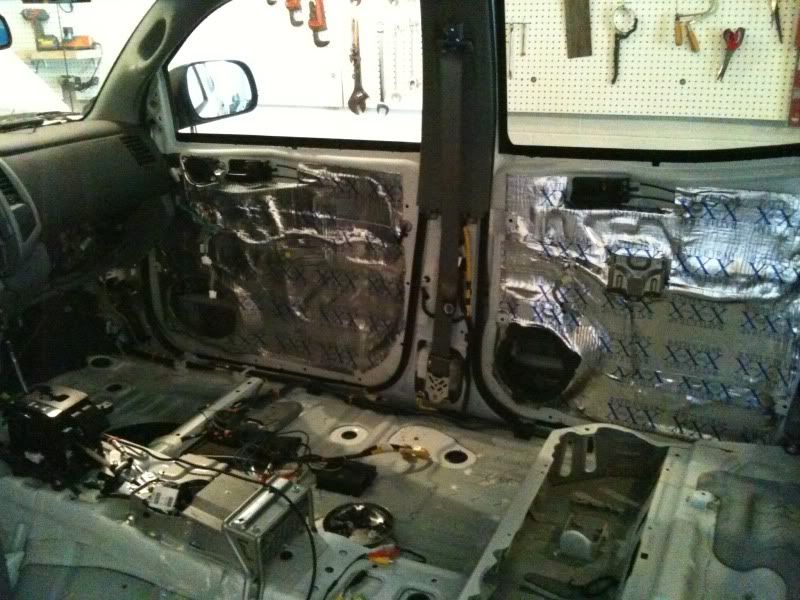
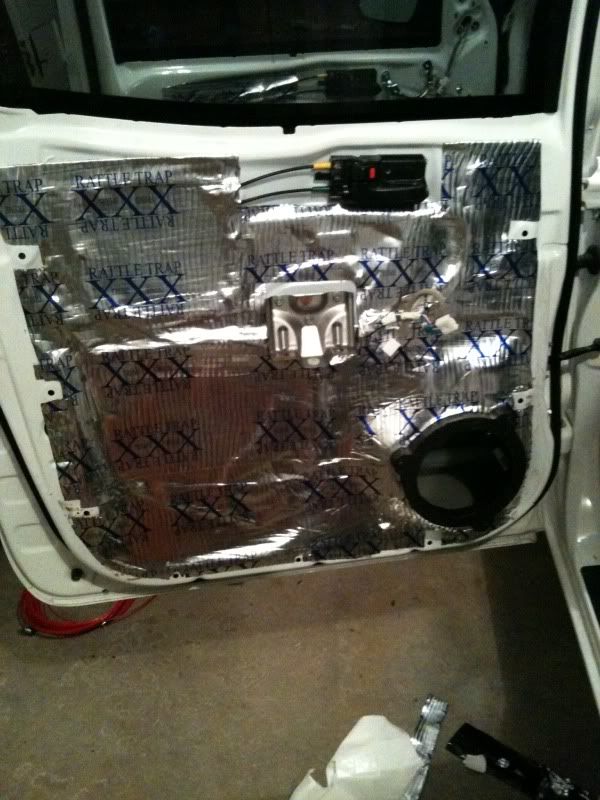
Sealed all my doors with lexan (the unbreakable kind), sheet metal screws and adhesive silicone when I installed the JL c5 speakers, then covered everything in 2 layers of fatmatt rattletrap xxxtreme. I’ve been using this deadener for awhile now and i like it much better than dynamat. It’s a hair thicker and about 1/4 the price

installed my grillcraft, color matched grill and kragen hids. still need to wire the hids tho


I think I’ve fallen into a time warp

Is it the 90s? Is I.C.E. cool again?

jk, nice work, not my thing but clearly you do great work

Got a new cannon T1i the other day so here are some fresh pics.

iPod #2 cable and shelf in the glovebox

iSqueeze for the iPhone


Ultragauge


Color matched grill, grillcraft and kragen hids


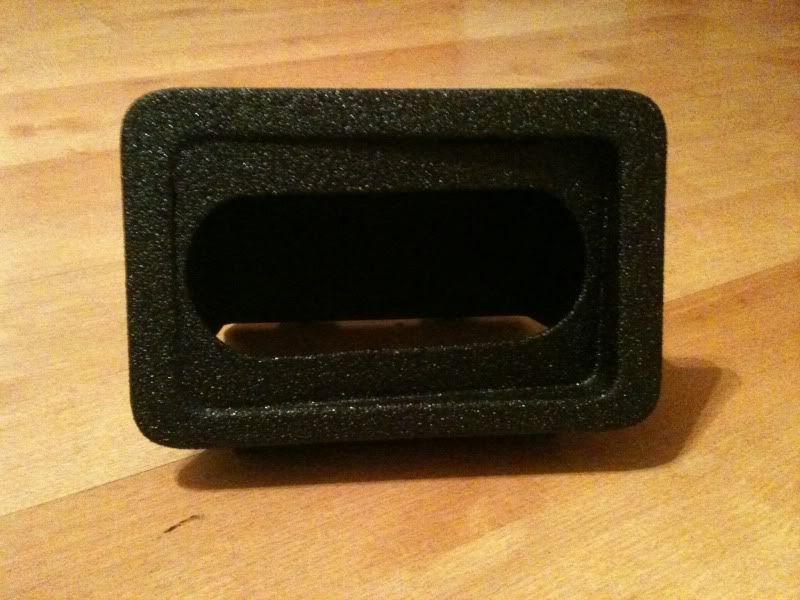
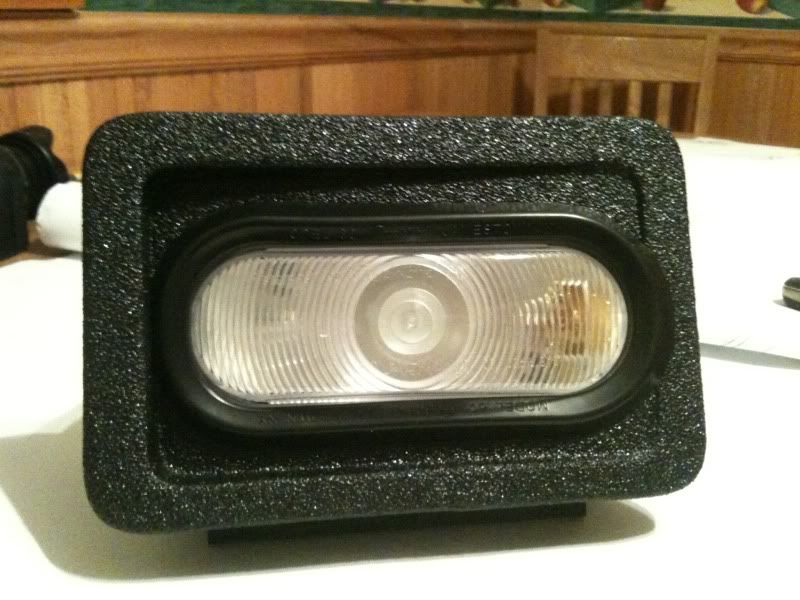
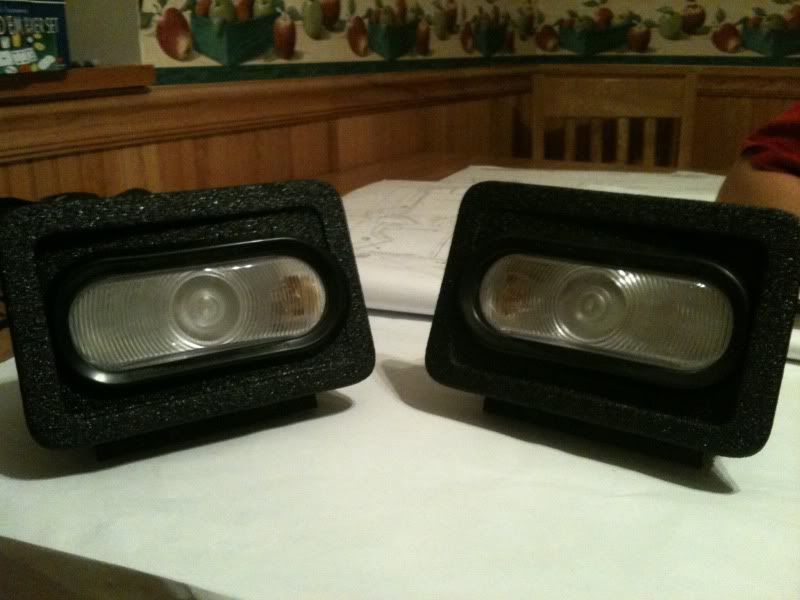
So i finally started working on my bed light mods. Been looking at different alternatives for a while and i’ve read a lot of write ups but i haven’t liked any of them. I decided to come up with my own. I found a carling bedlight switch on carlings website and after about a month of searching for it on-line Mud-UK was able to get one for me in red like i had wanted. So then it was on to bed lights…I looked around for about a week straight and finally found some flush mount 12v reverse/back-up lights that i thought would work perfect.

Next i took a hard piece of plastic about 1/8" tick and jut it up with the jigsaw to fit the side bed pockets. I tried using 1/4" wood but it just kept breaking as the one end had to be very thin for the way i wanted them mounted. I used lock-tite 5min epoxy to glue the plastic pieces in place.

So then i sanded it all down and dropped them off at line-x and that is where they sit until tomorrow evening. I also mounted a carling 3 switch blank in my center console that i will use for bed lights, off road lights, and a cb radio. I dropped the center console off at line-x as well to get sprayed. I think it will give it a nice look for the rest of the cab, too much silver in there for me.

Here’s some pics:

The light, gromet and wiring plug


Here they are for part numbers and brand


My bed pockets modded, before line-x. You can see that i angled the lights both back and down to illuminate the entire bed.


The best part of these lights was the total. Everywhere i found these lights on-line they were 30 bucks a piece + the plug and + shipping

My carling bed light switch


Here is the 3 switch panel i installed in my center console as well


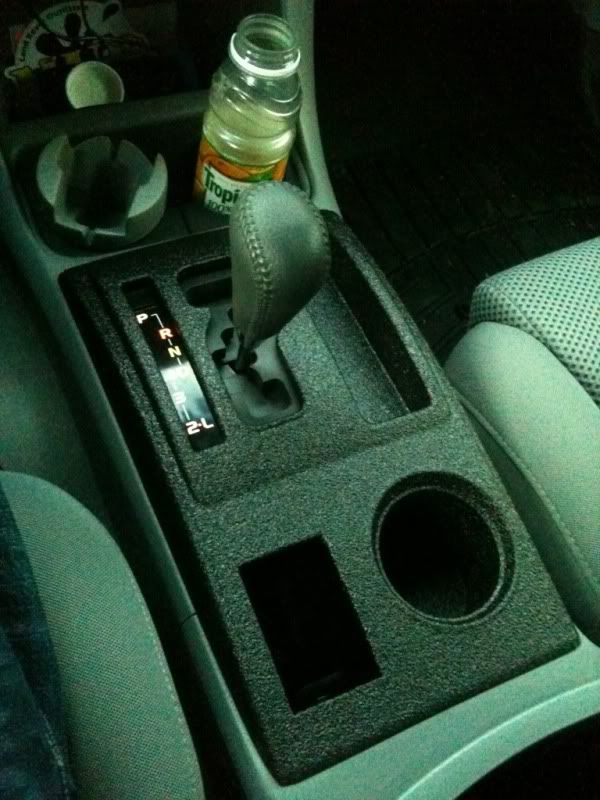
Line-x’d the shift surround. Also sent my center console out to JPM Coachworks to be wrapped in alcantara, and ordered some material for the door pockets as well.


So after getting my shift surround line-x’d i figured i’d get something done to the center console and the door panels to bring a little more black color into the truck. I sent my Center sonsole off to JPM Coachworks on friday and got this picture form them yesterday. I should have it in a day or two and with it will come some more black alcantara to do the door panels. Hopefully i’ll be able to find some time and a semi-warm day to do the doors within the next couple weeks.

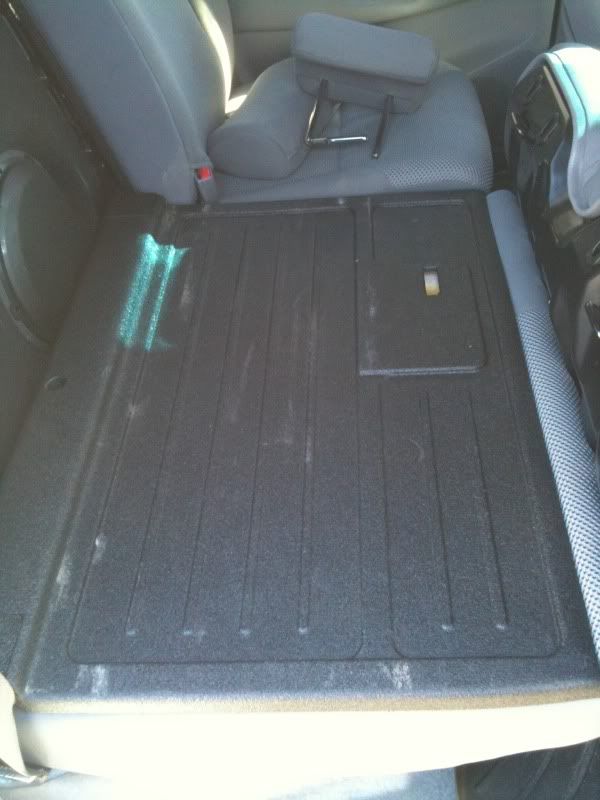
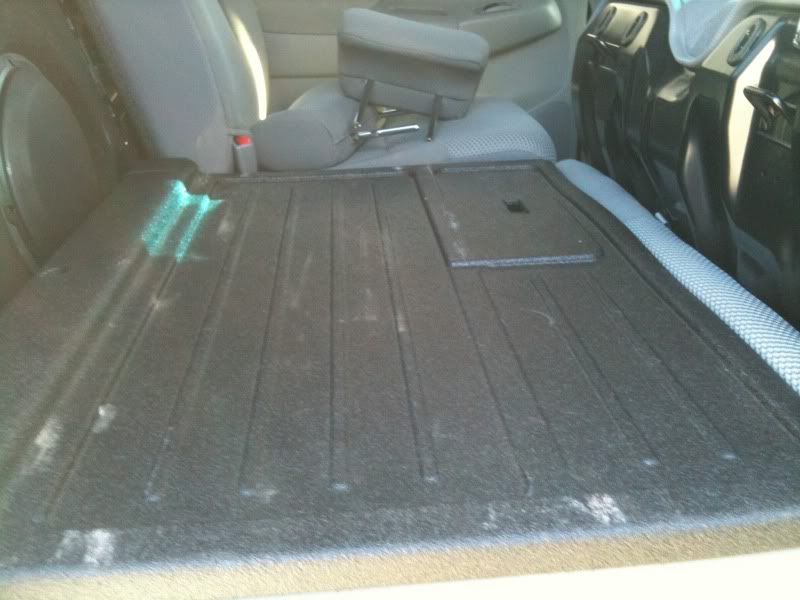
line-x’d the backs of the rear seats


Here is my bed light mod all finished up. Came out even better then i expected!!!
I put one screw in each side to hold them in the bed because the bottom tabs broke off while removing them.
Drivers side


Passenger side


Lit up under the tonneau cover


Lit up no tonneau cover outside


My carling switch

Total cost was roughtly:
$25 for the lights, gromets and wiring plugs
$6 for wire
$26 bucks for a add-a-fuse (dont get me started, paid too much i know but napa was the only place that had one and i was anxious)
$30 for the carling switch and 3 gauge blank
$5 for line-x on the bed pockets
Plastic for the bed pockets, Free

Worth every penny and every minute i spent on it!

Just did the doors to match the center console last night.

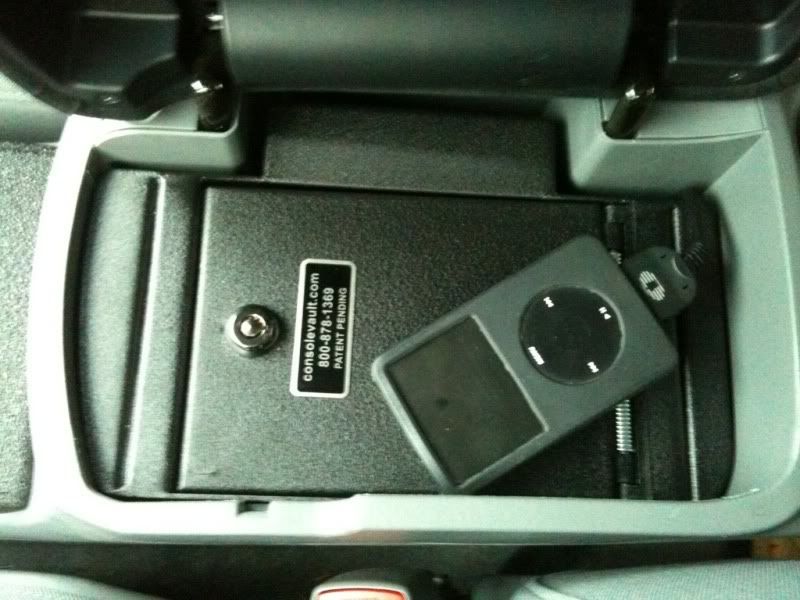
Added a console vault

Needs some Fuel or Pro Comp Offroad Rims!

yes it does, rims/tires are next on the list once the s2k gets finished

Damn you just don’t stop do ya? :lol

Subscribed for an expected quality build if it’s anything like the previous.

JSEnclosures, keeping Line-X in business since 2010.

Nice plate!

How does the iSqueeze work? Hold it well? Is there a location at the bottom for a docking port to go through/possibility to cut through? Trying to find a half decent way to secure the Iphone with a crappy Alpine connection dock in the car.

Edit: where did you put the Lexan in the doors?

You got some crafty ideas, I’ll give you that! :number1

isqueeze works great, bought it for like 5 bucks off ebay shipped. It has a hole at the bottom for a cord to run through as well.

the lexan in the doors fills all the holes that would otherwise be there on the door skin so you can layer the deadening material over the entire door. Heres a pic to explain: