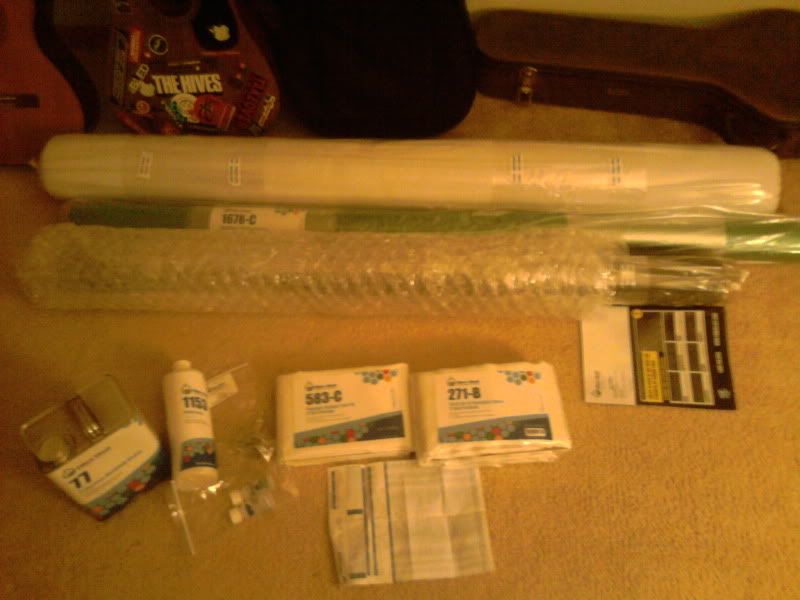
So, a while back I purchased a buttload of fiberglass/carbon fiber fabrication supplies and a vaccum pump from Lafengas with hopes to become the next mind-blowing DIYer (LOL, yeah…right. BIG shoes to fill I know). Over the last couple months I got really serious about it and have finally made it to a comfortable spot on the learning curve and have reproduced my first major part that I will be selling sets of on the Focus forums for profits. I figured some of you guys might enjoy the read and the pics of it…
So for starters I needed a part that was fairly simple that I could work with, and I also wanted it to be something I could make profit on down the line as well as something I could use for myself. One day while browsing the focus forums I came accross another fellow in the midst of a Focus RS replica build that had got his hands on the OEM side sill skirts, but they were damaged. I promptly send him a message offering to repair them for free if I could simply borrow them for a couple weeks to make a mold of them. He jumped at the opportunity and these are the results:
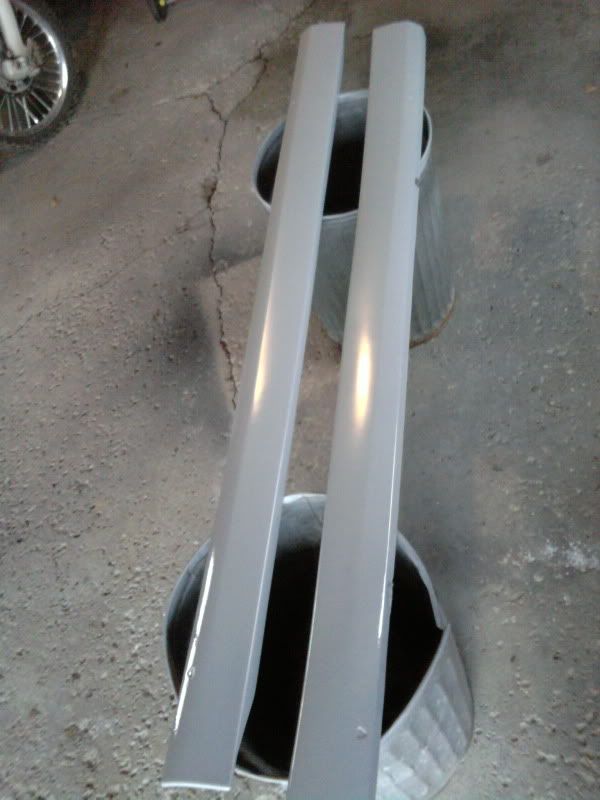
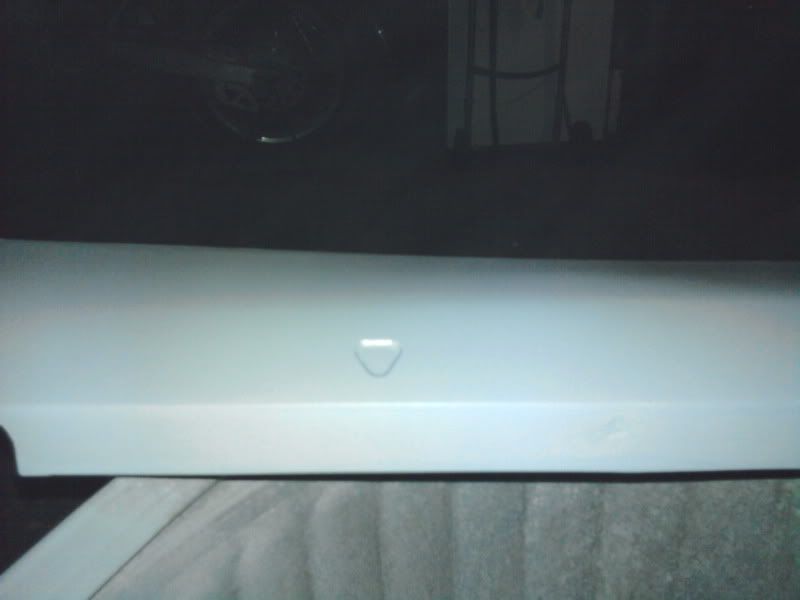
Glenn scored these skirts damaged/partially repaired. They came to him missing some mounting tabs and one side was cracked/plastic welded. I offered to repair them for free if I could use them to make a mold to make another set out of fiberglass/kevlar and he jumped on my offer and shipped them to me.
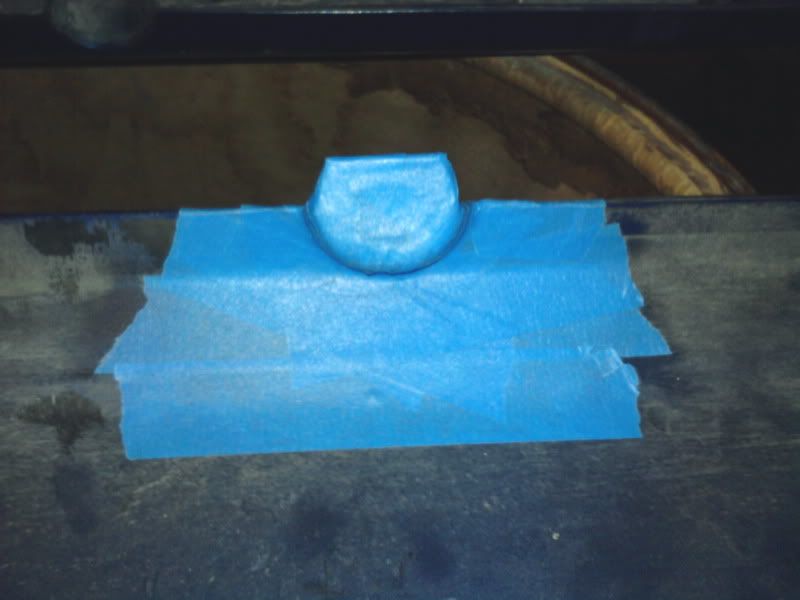
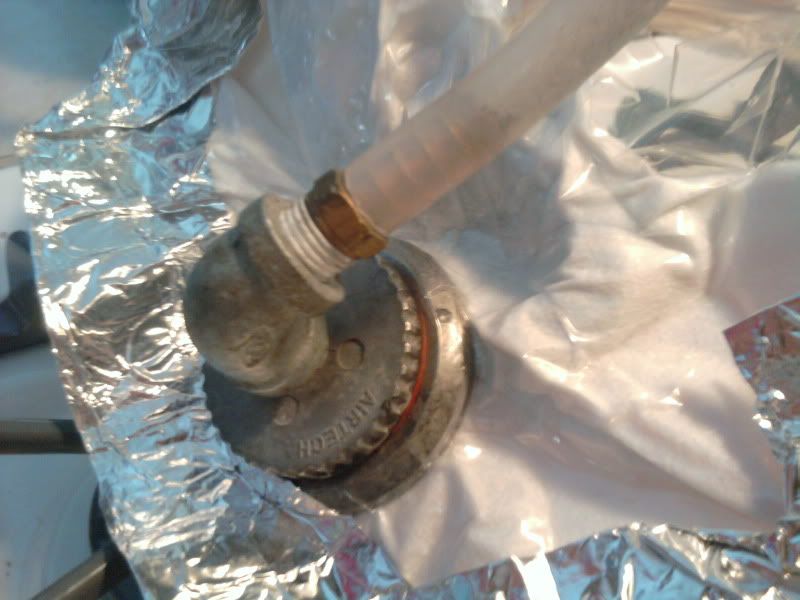
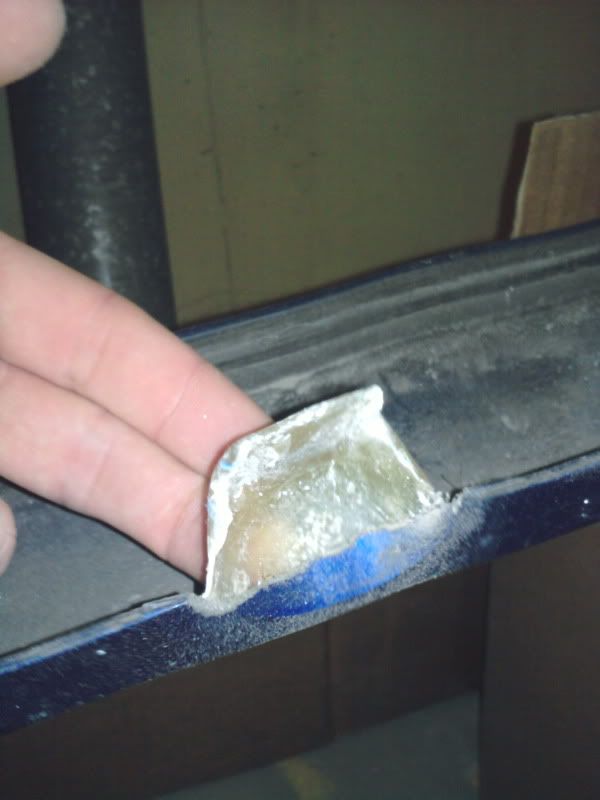
So the first order of business was to use one of the unharmed mounting tabs to create replacement tabs for the other skirts. So I masked the area off to make what I call a mini-mold of the tab
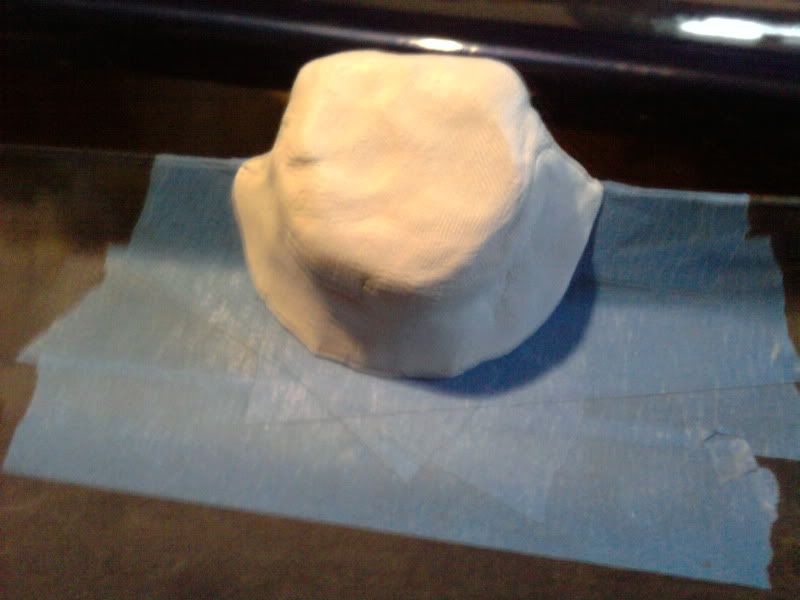
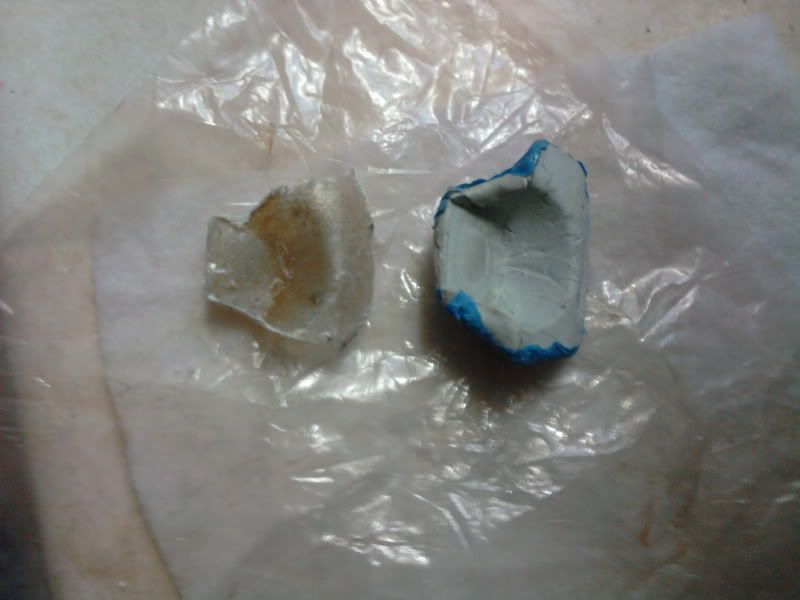
Then I applied my mold material to the tab(after a healthy coat of mold release of course)
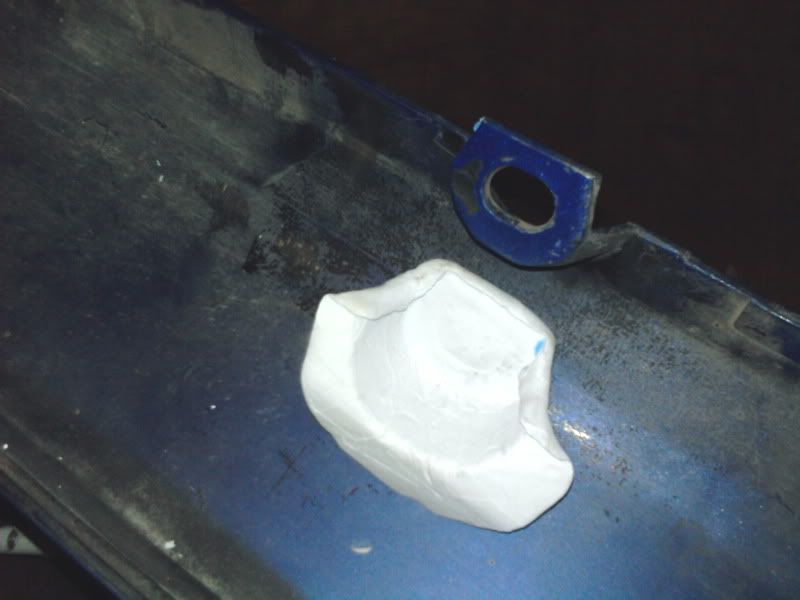
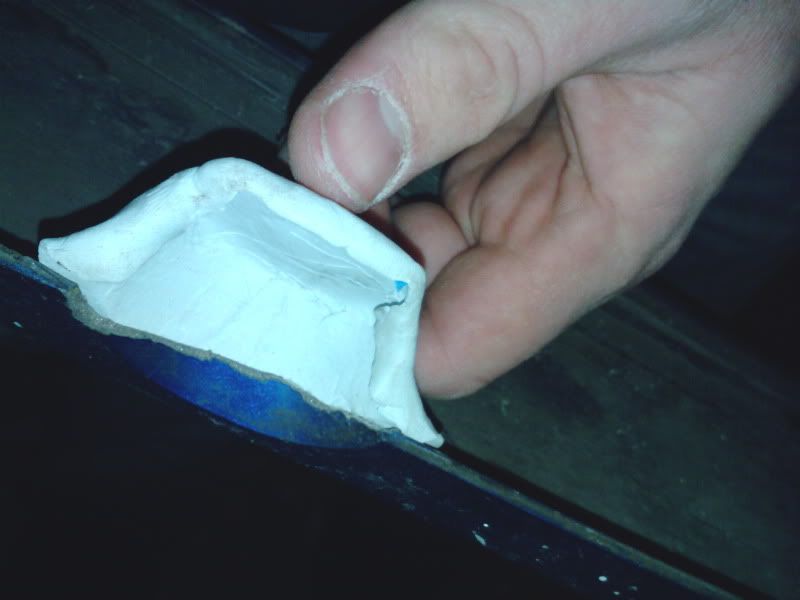
Here is the mini-mold after it has cured
how it will create a nice replacement tab for the busted ones:
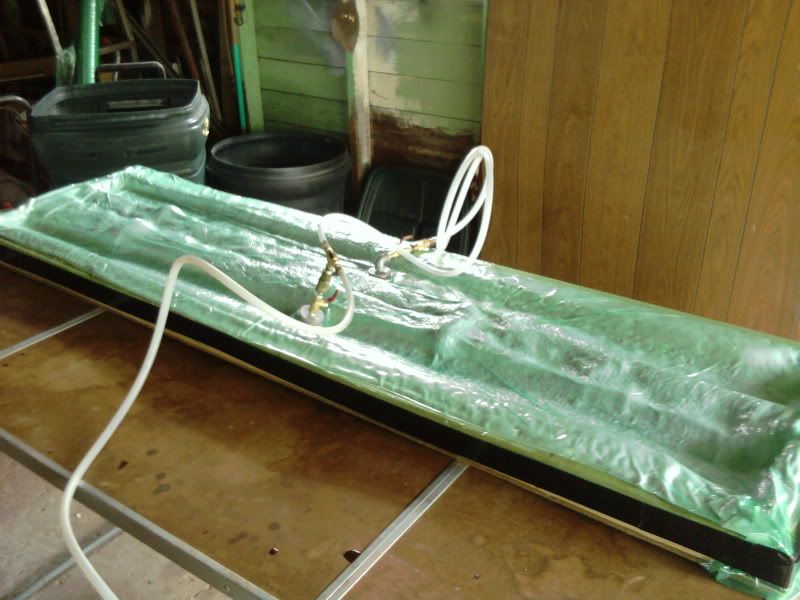
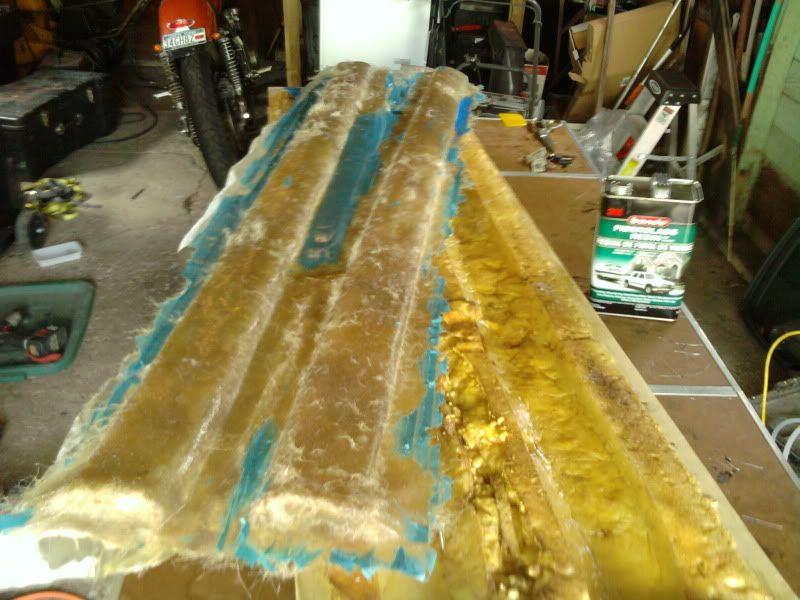
layed up some fiberglass and kevlar layers into the mini-mold and vacuum bagged overnight to cure (twice, for two replacement tabs)
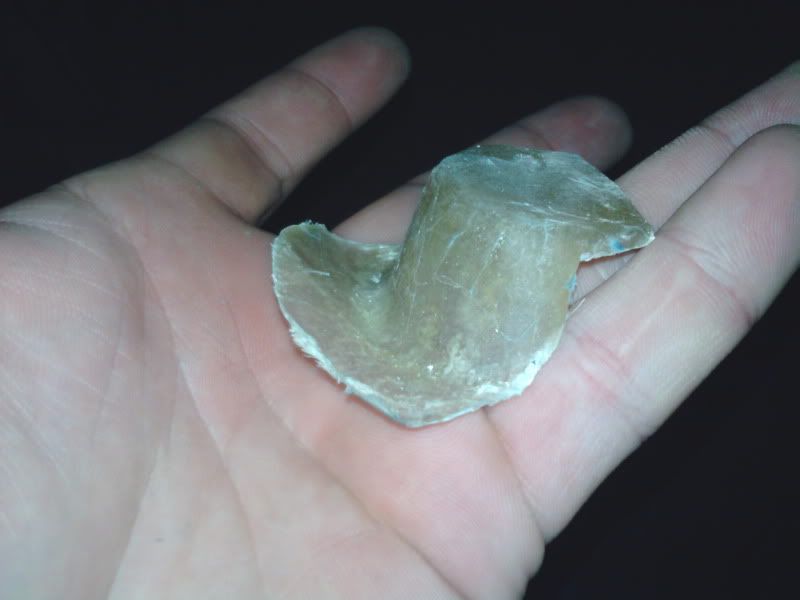
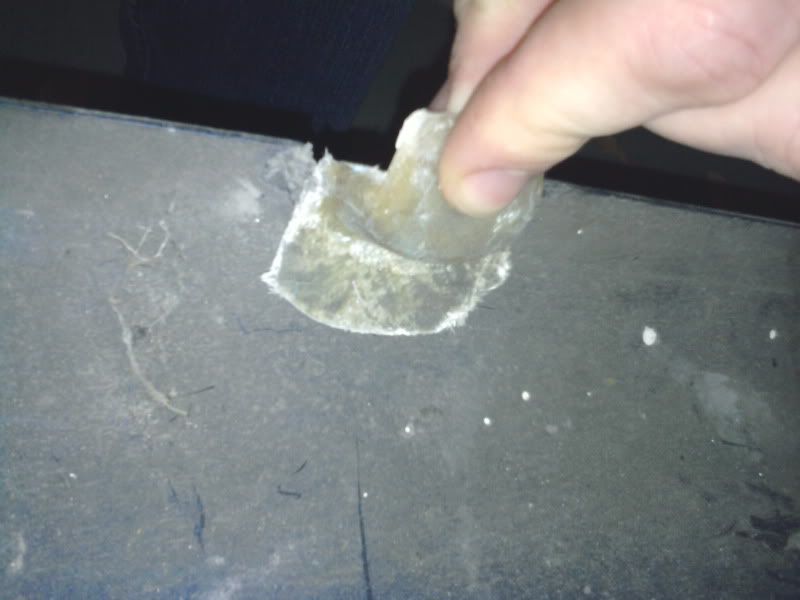
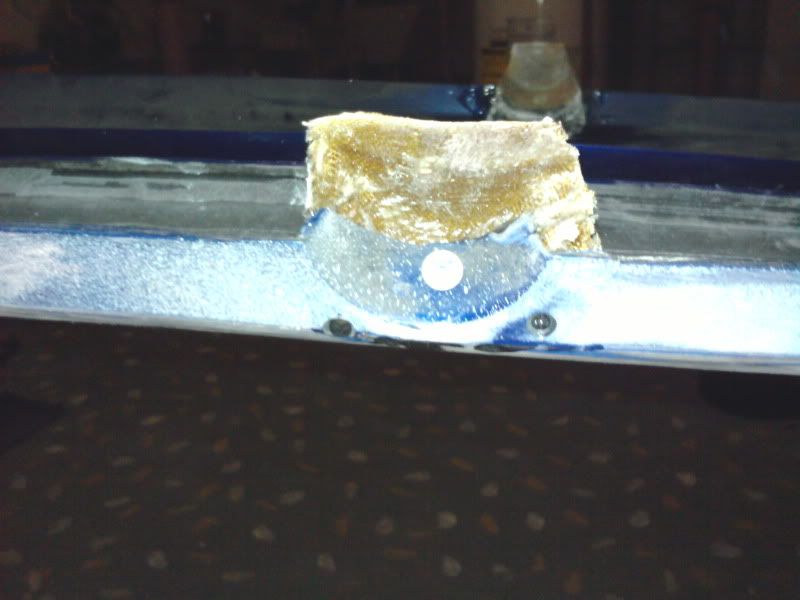
the replacement tabs
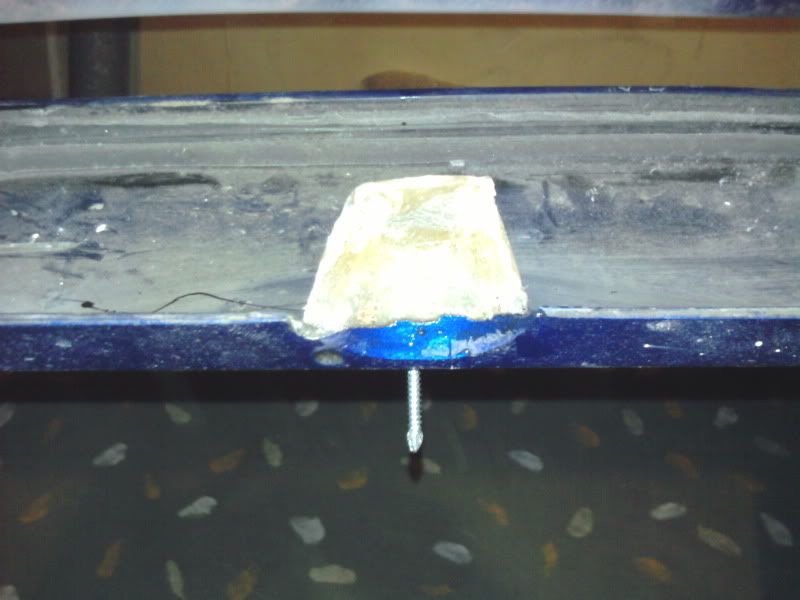
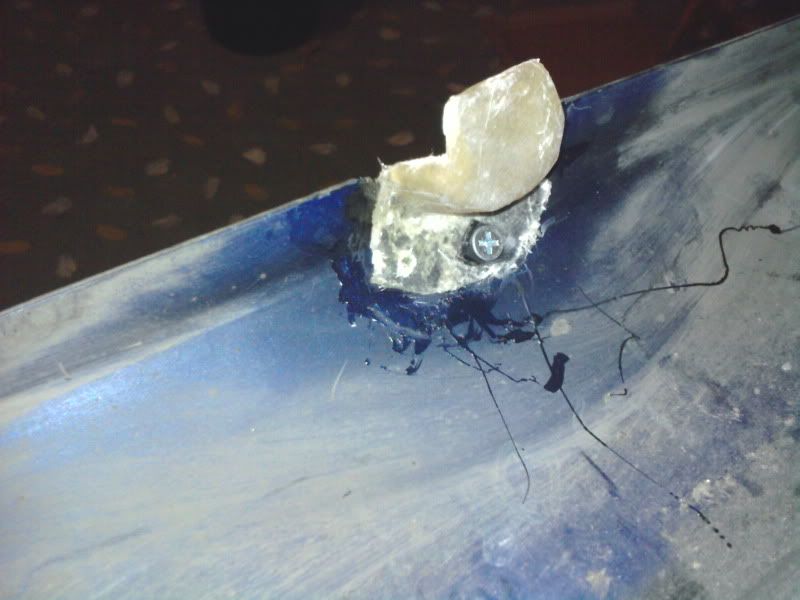
how they fit
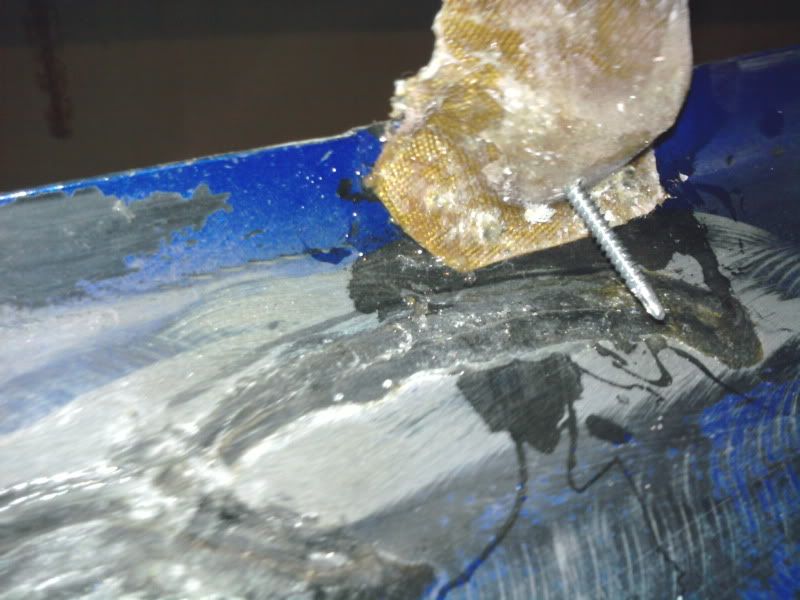
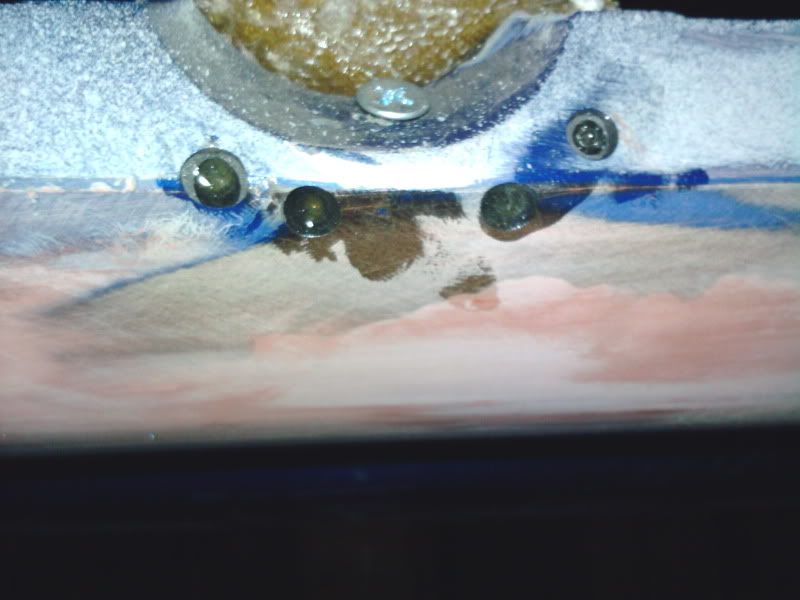
Now, to “mount” the tabs, I drilled a few 1/8" holes through the tab and skirt, then used a countersink on the “outsides” of them so that when epoxied, the epoxy would create a self-rivet effect so these CANNOT come back off. I truly think these tabs are not the strongest part of the skirt haha. I held them in place with a machine screw, then removed it and countersunk the whole and epoxied that as well.
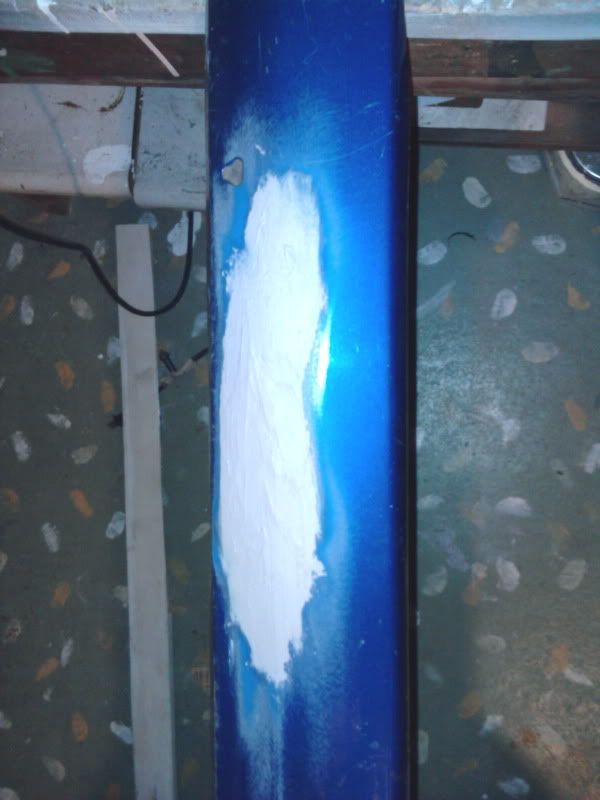
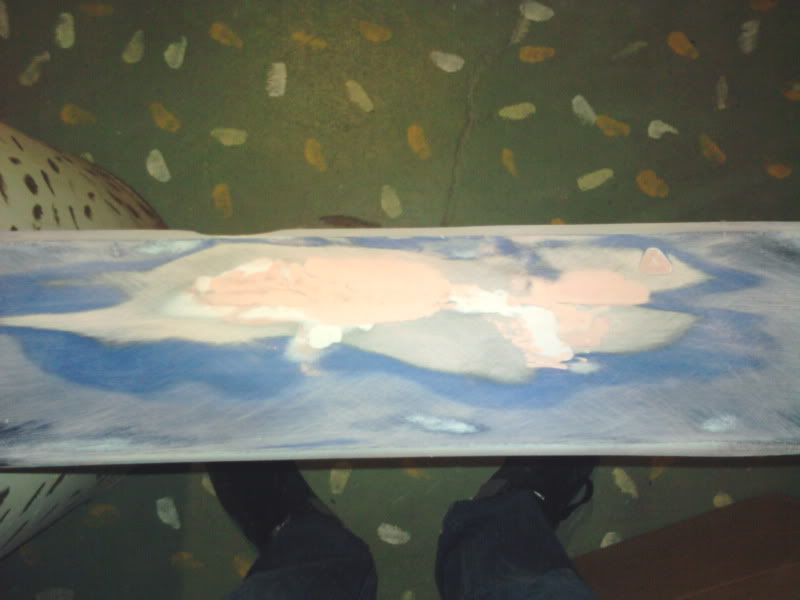
The next order of business was to smooth out where I had the holes drilled to mount the tabs, as well as address the cracked/plastic-welded area on the one skirt. This ended up being a gigantic nightmare as whoever did the crack repair used an incorrect material that was MUCH softer than the ABS plastic of the skirt and caused serious issues for me with getting the bodylines correct when sanding the filler.
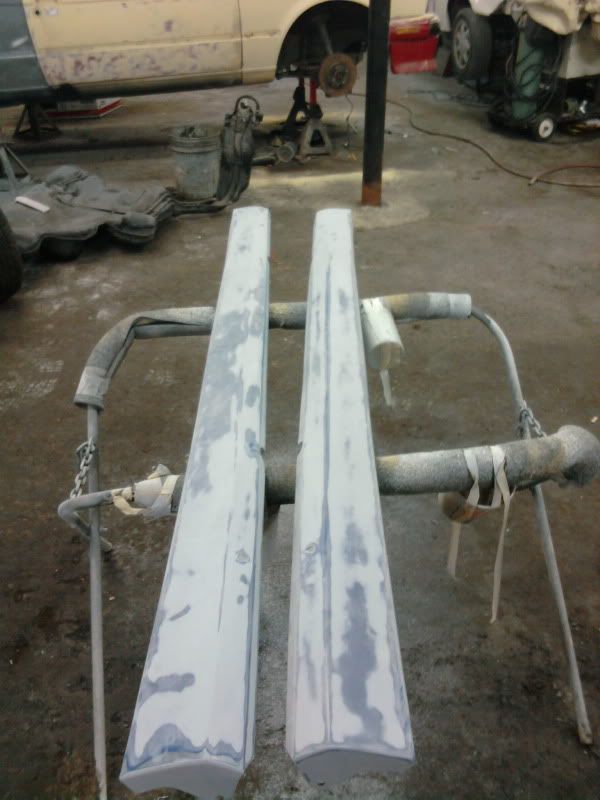
I didnt take too many more photo’s of this process, because it was rather frustrating…but I had to prime it and guide-coat it multiple times to get it close enough to lay in high-build primer for finishing purposes.
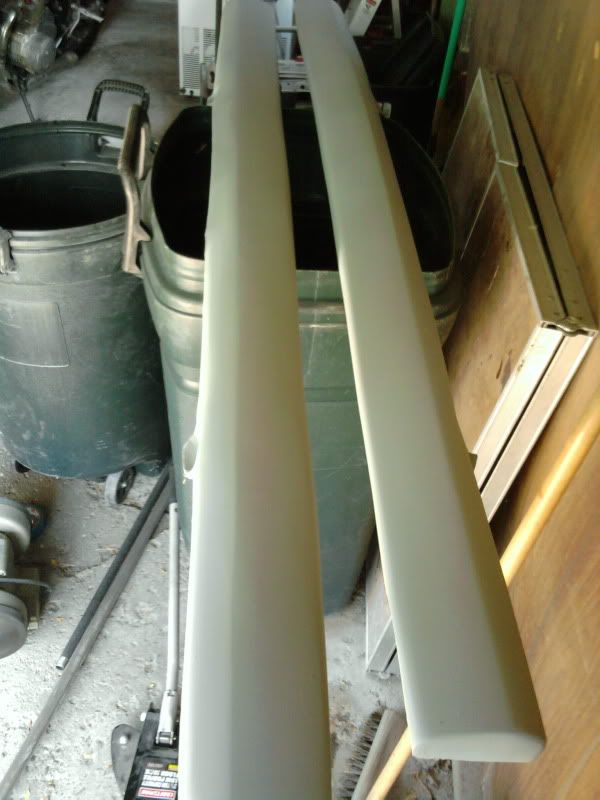
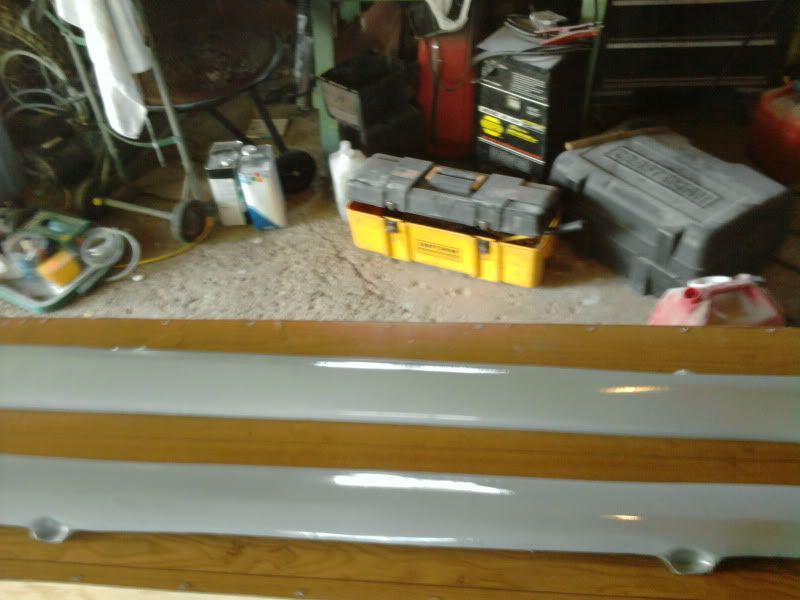
finally got it close after probably 14hrs of sanding/filling/grinding out bad plastic weld/filling/sanding, repeat. Layed in high-build primer:
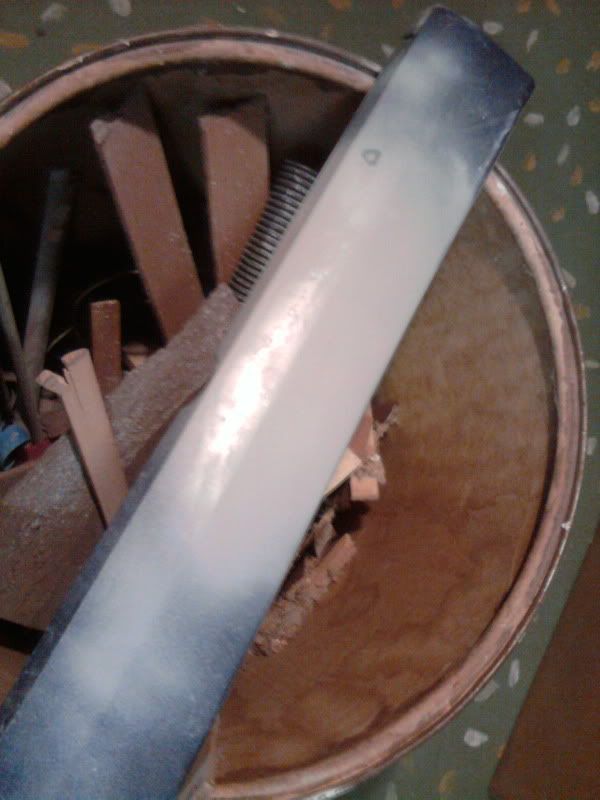
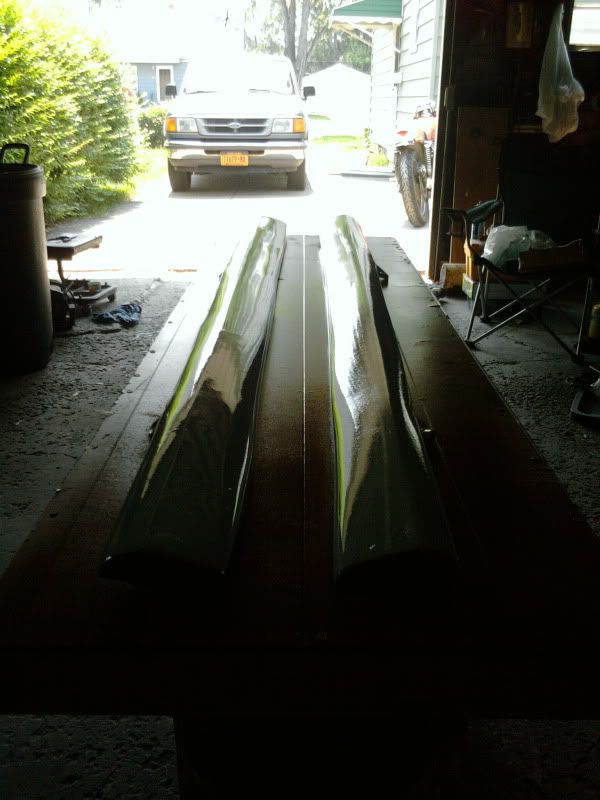
I have since guide-coated (mist dark rattle-can paint so when the dark color is gone you know you have a straight surface) the skirts…I have to give them a “block-down” which is using a special high density foam black with sticky-backed sand paper on it to get them perfect. then it’s mold-makin’ time and I can ship these back to glenn so he can have them painted on put on!
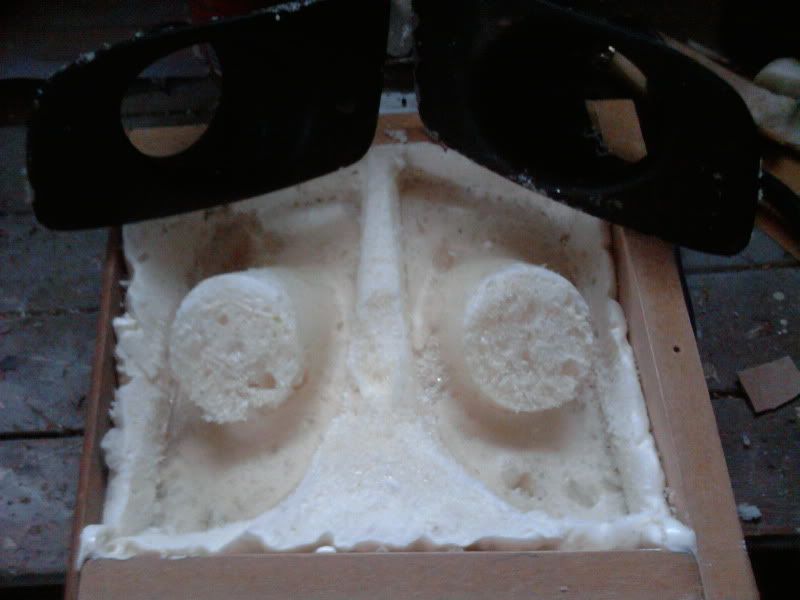
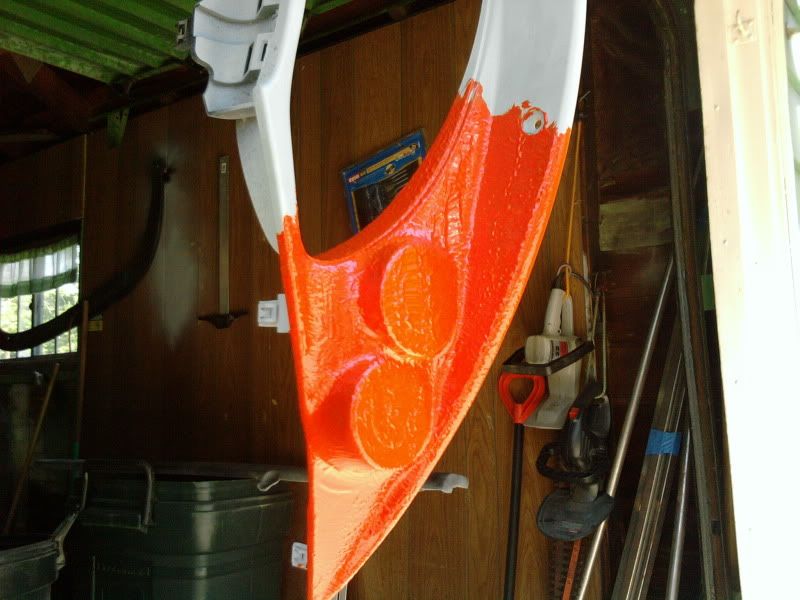
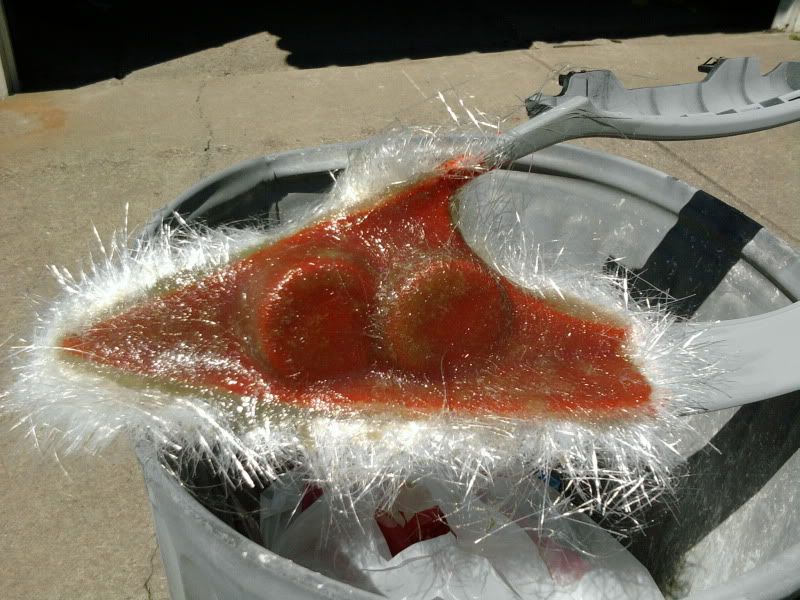
(I did a proof of concept mold of the foglight bezels, I am going to do a quick lay-up of these to see how a reproduction will come out before deciding if I am going to build the mold for the skirts this way)
---------- Post added at 11:53 AM ---------- Previous post was at 11:51 AM ----------
projects like this remind me of how much I hate picking up where someone else left off. for the most part, the skirts blocked out beautifully…except for where that dang plastic weld was done.
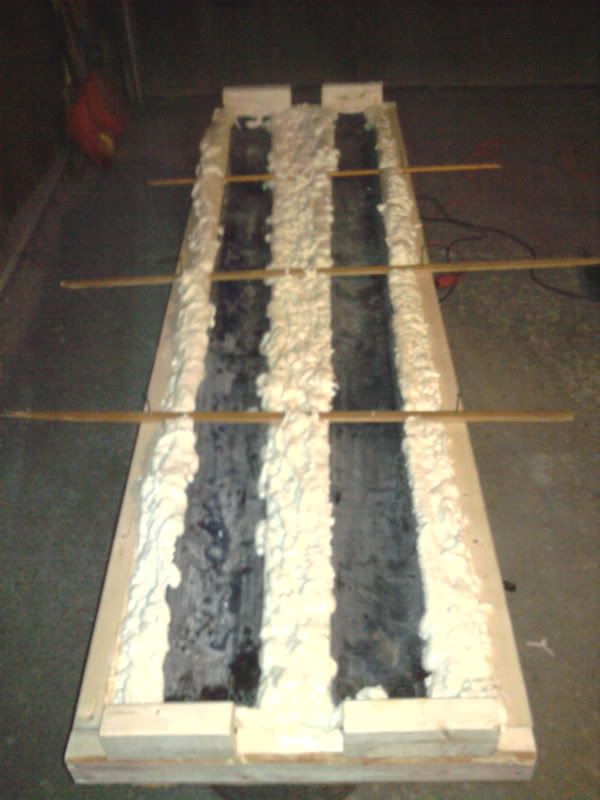
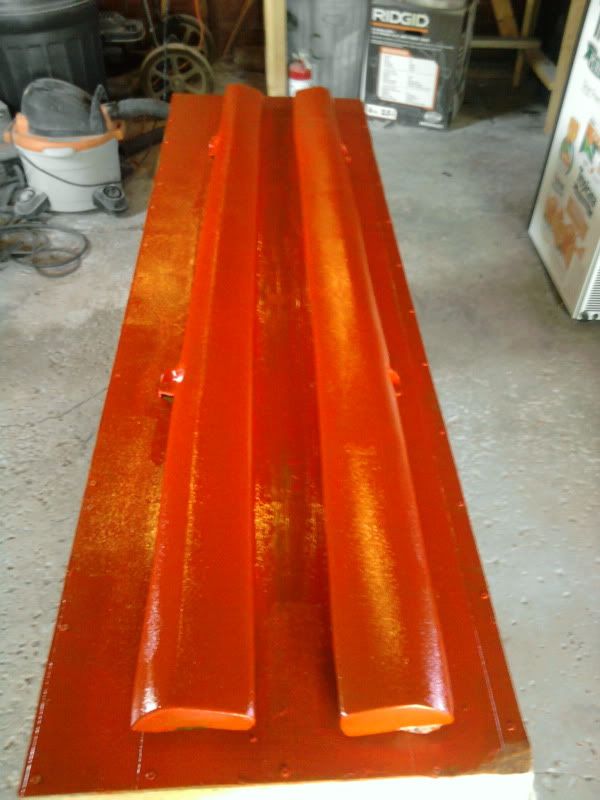
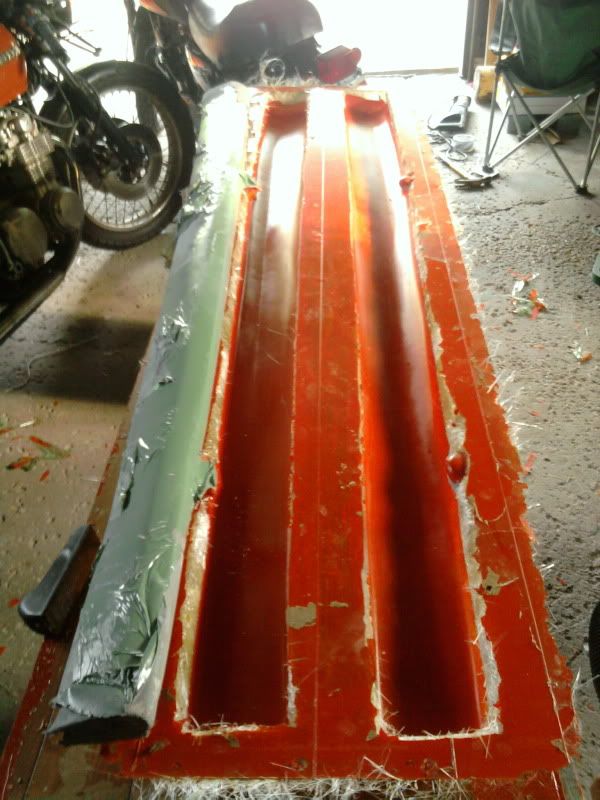
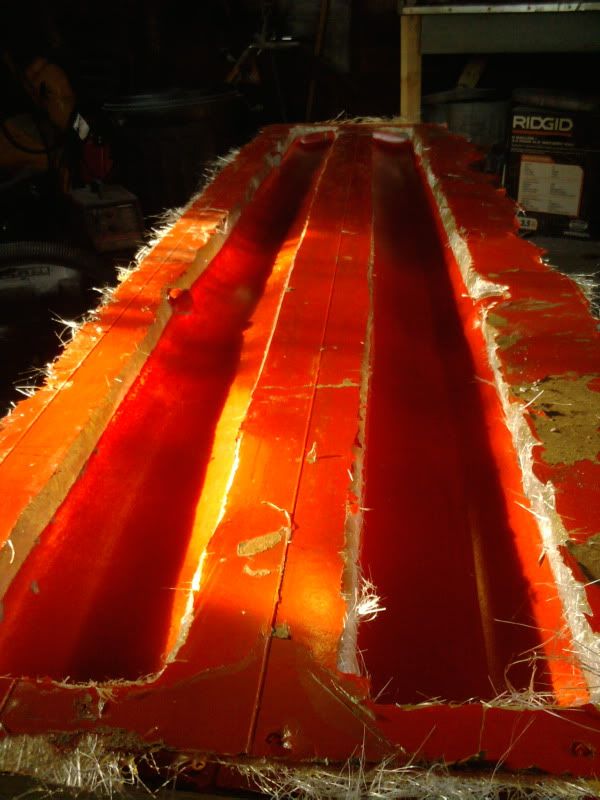
Well, long story short…the first mold failed. I learned a valuable lesson…
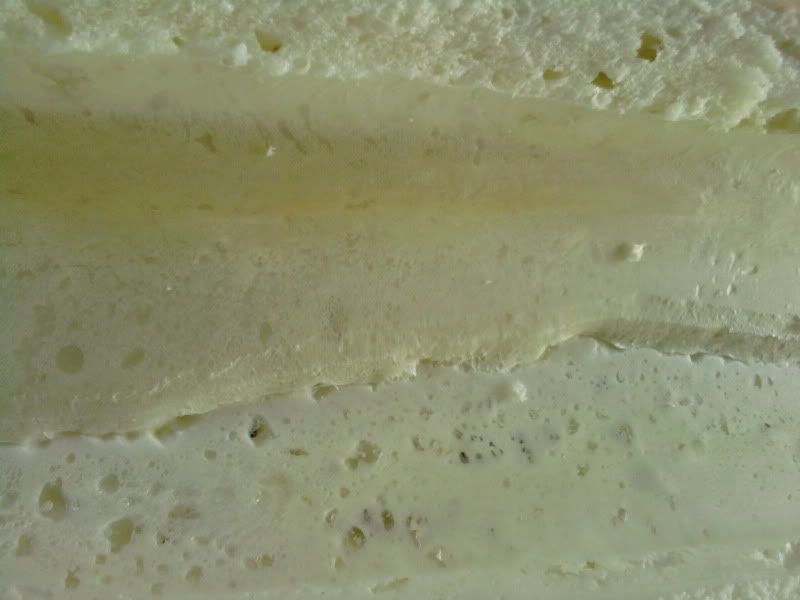
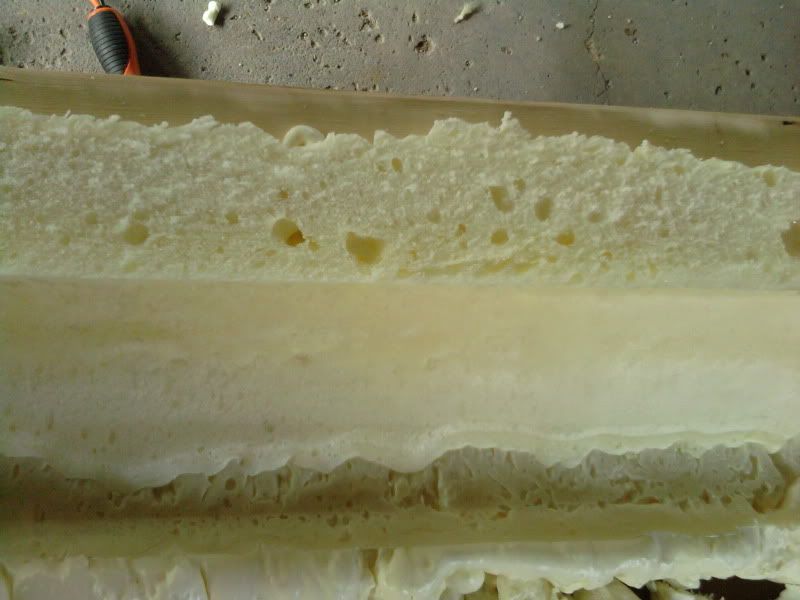
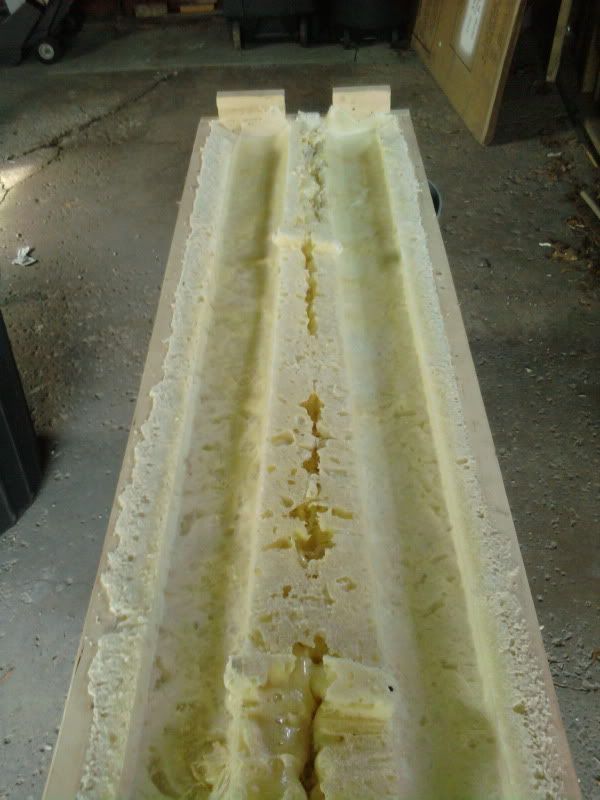
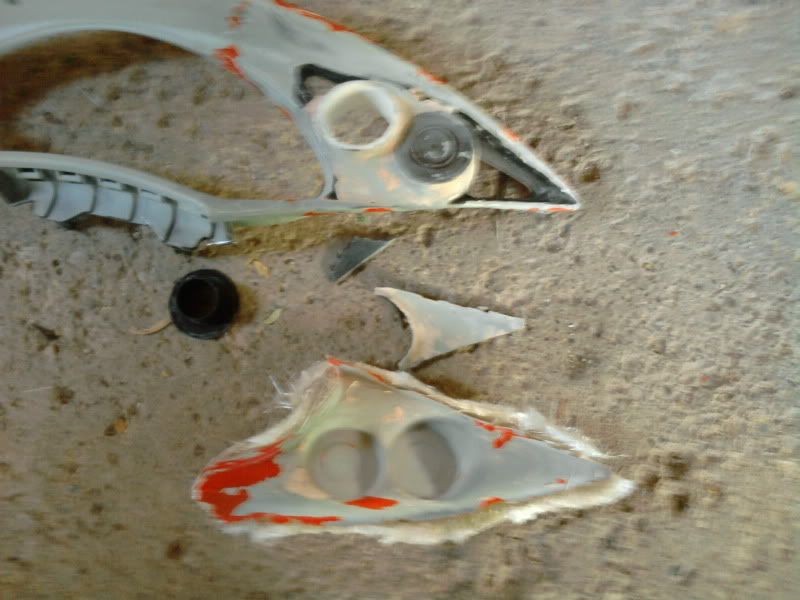
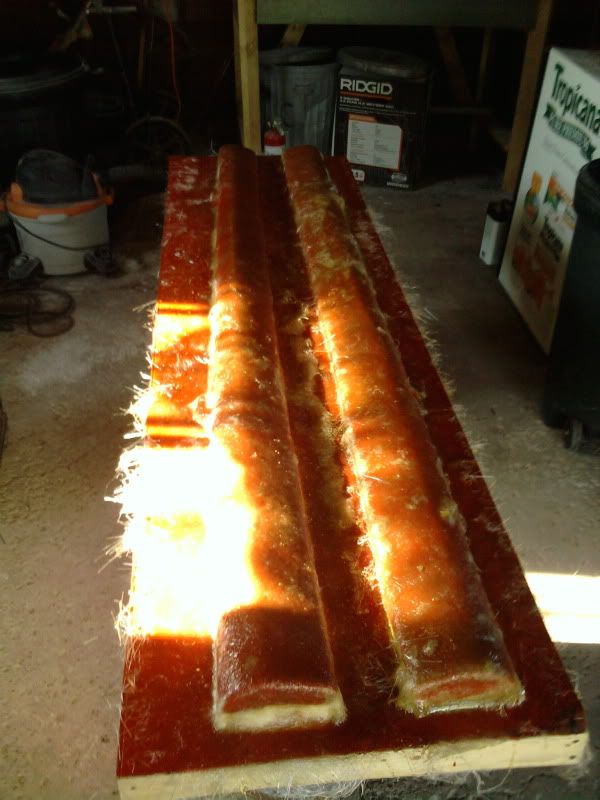
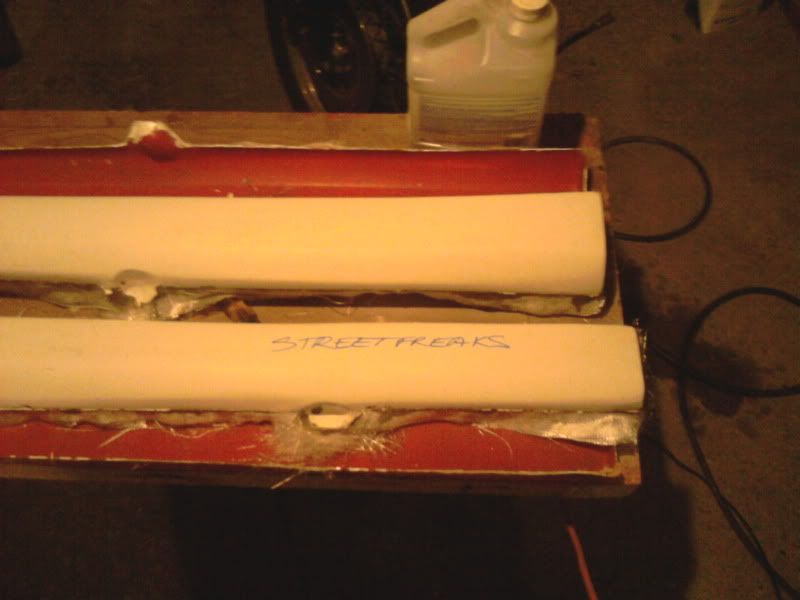
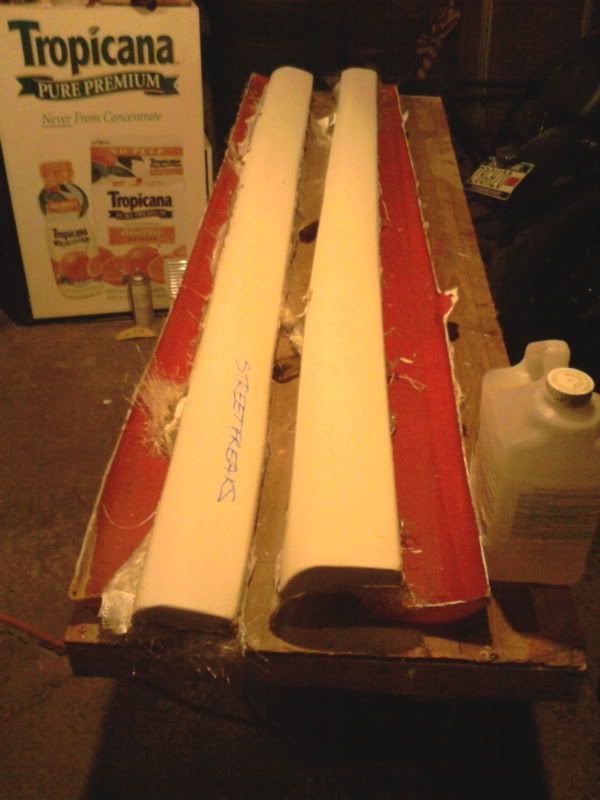
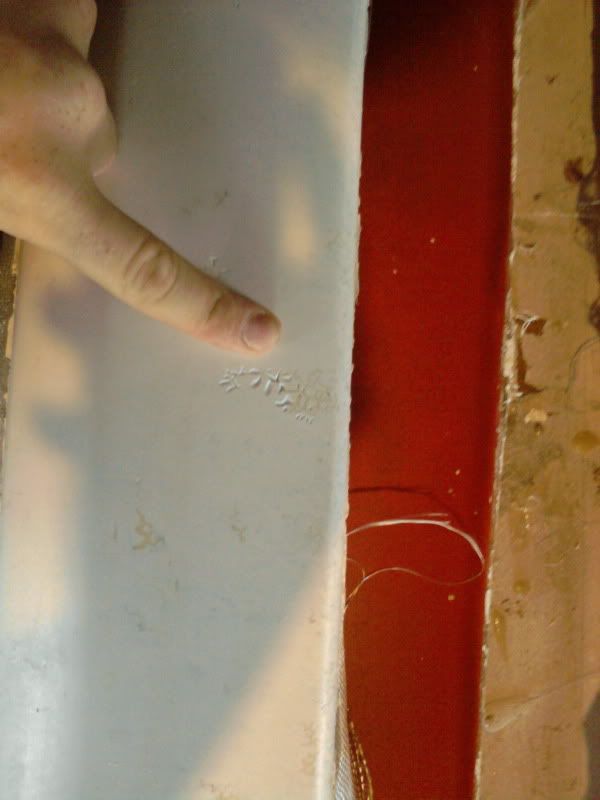
I thought I had enough material to make the mold, and ran out halfway through…ran out to buy more, and by the time I got back and started to finish it the initial pour had started to cure…I figured it might be ok, but when I pulled the skirts today, it became apparent that the two different pours cured differently. I have to start all over on the mold.
you can see in the pictures how there was a gap and air pockets created by doing two pours. I have to bust out all of this original pour and do another one tomorrow.
