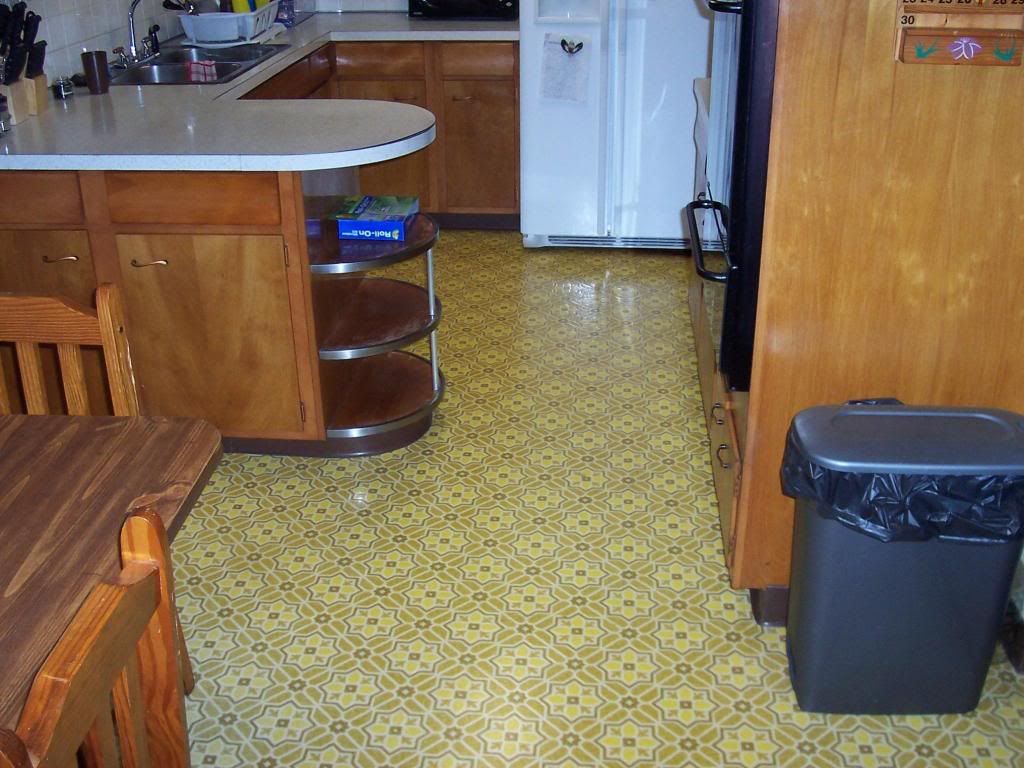
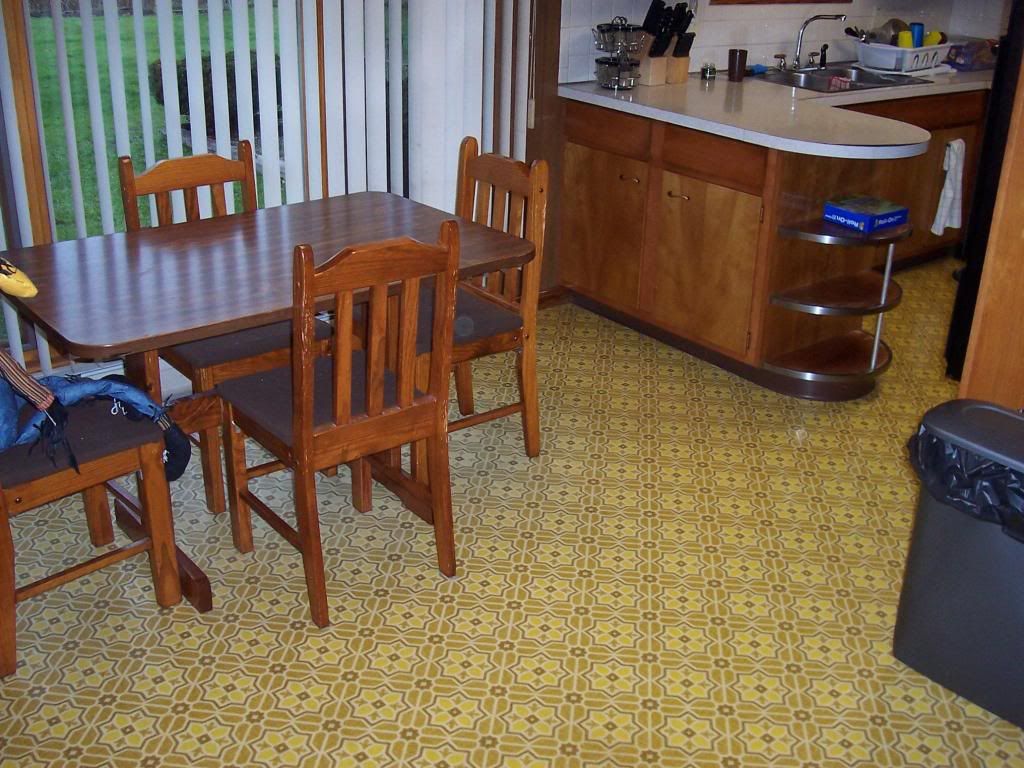
Last night I was tired of looking at the circa 1960s style floor in my Kitchen. This was a very easy and inexpensive way to totally change the look of the floor. This is not what I want to leave as a permanent floor but if you are looking to do something like this some of these tiles are very durable.
Tools Needed:
Scissors
Utility Knife
Straight edge (12 inch)
Pencil
Putty Knife
Hammer/Wedge (Needed to get under 1 stair guard)
Materials:
Tiles (I chose PIM-5 Vinyl Tiles from Duramax)
Cleaning Solution
Towel/Paper Towels
Total Build Cost:
Tiles (6 Boxes at $9.99 at KMart): $65.18
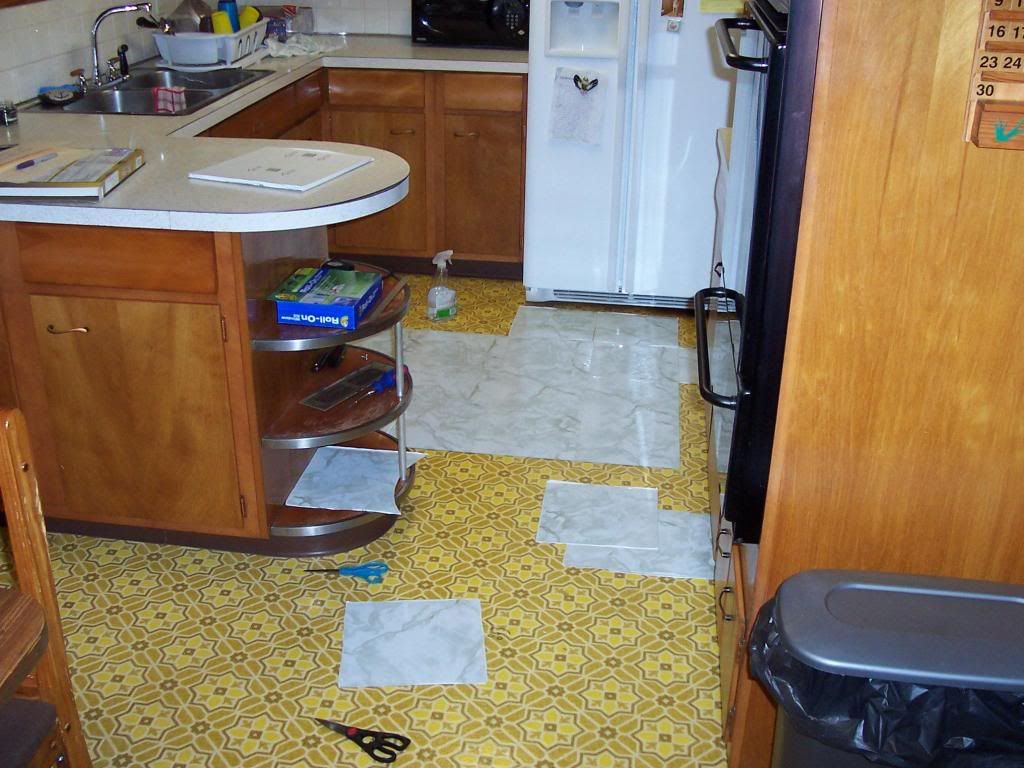
The process is fairly straight forward. You need to figure out where to place the first tile relative to the cabinets, walkways, doorways, etc… I chose to have fully visible tiles in the main areas in the kitchen and wound up trimming 3/8 of an inch off the tiles on the right side of the Kitchen. The previous owner had molding running along the bottom of the cabinets which I reused to hide the edges of the tiles.
Once the first tile is in place the easiest way I found to place them is buy getting as close to edges of the room with full tiles. When you reach a door jam, cabinet, or what not you should dry fit the piece. You can mark straight edges on the tile but for curved molding I found it quicker and cleaner looking to cut a little off at a time until I got it to fit perfectly.
For pieces that slid under the molding whether I trimmed it to fit or not I pulled the backing about an inch from the edge that would sit under the molding. I then slid the exposed side under the molding and worked it into place. With the backing on 80% of the tile it is wasy to force it to line up rather than put it down crooked and have to lift it up again. Then I reached back under the tile and pulled the backing off while smoothing it out with my hand.
Lesson’s Learned:
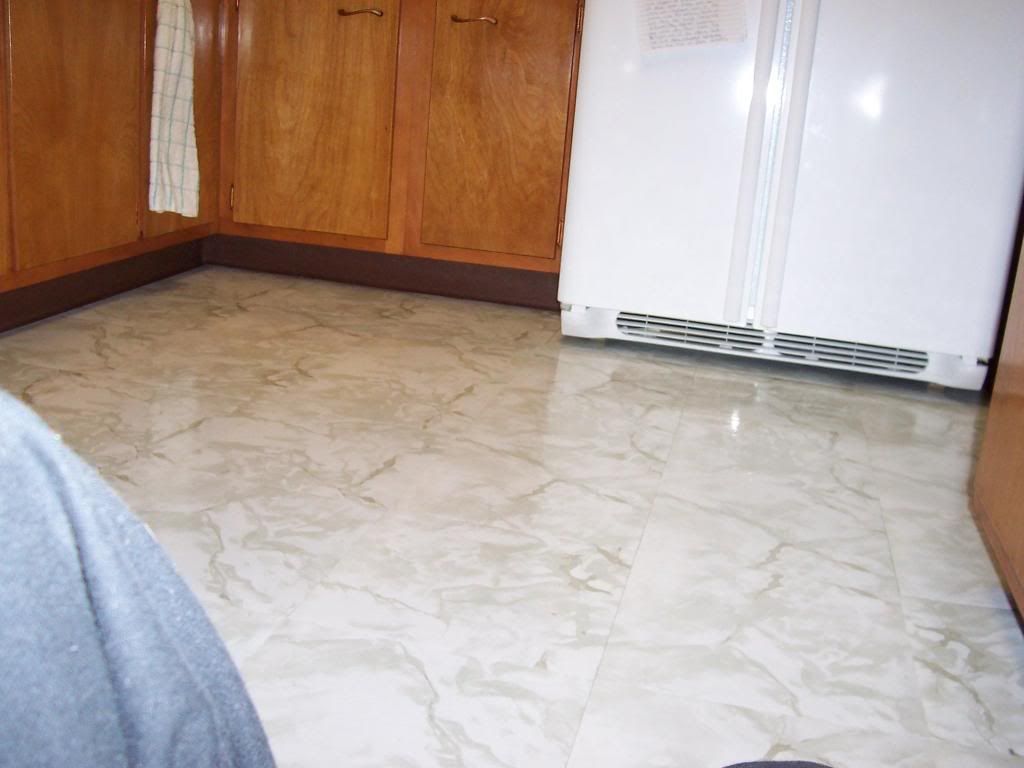
I needed a hand placing the tiles under the front of the fride to hide as much of the old floor as possible. The idea was that I would lift the front of the fridge slightly and have my stepdaughter slide the piece into place. Well, that did not work out and wound up snapping a tile. It got put down wrong and it was hard to get it back off and I ripped it in half. So, the fix was to prop the fridge up on a 2x4 and it worked out much easier.
Pencil will come off of vinyl much easier than pen or Sharpie. Use pencil if you need to mark a cut line on the top of the tile.
After about 4 hours of fitting, triming, and a Big Bacon Classic from Wendy’s…
Before:
During:
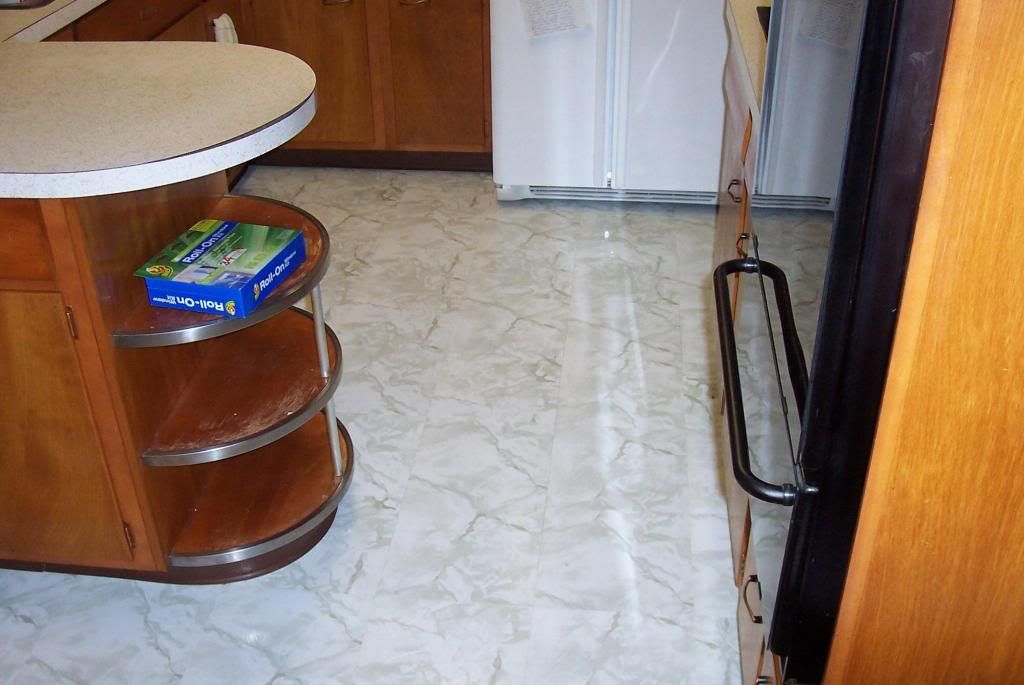
After:
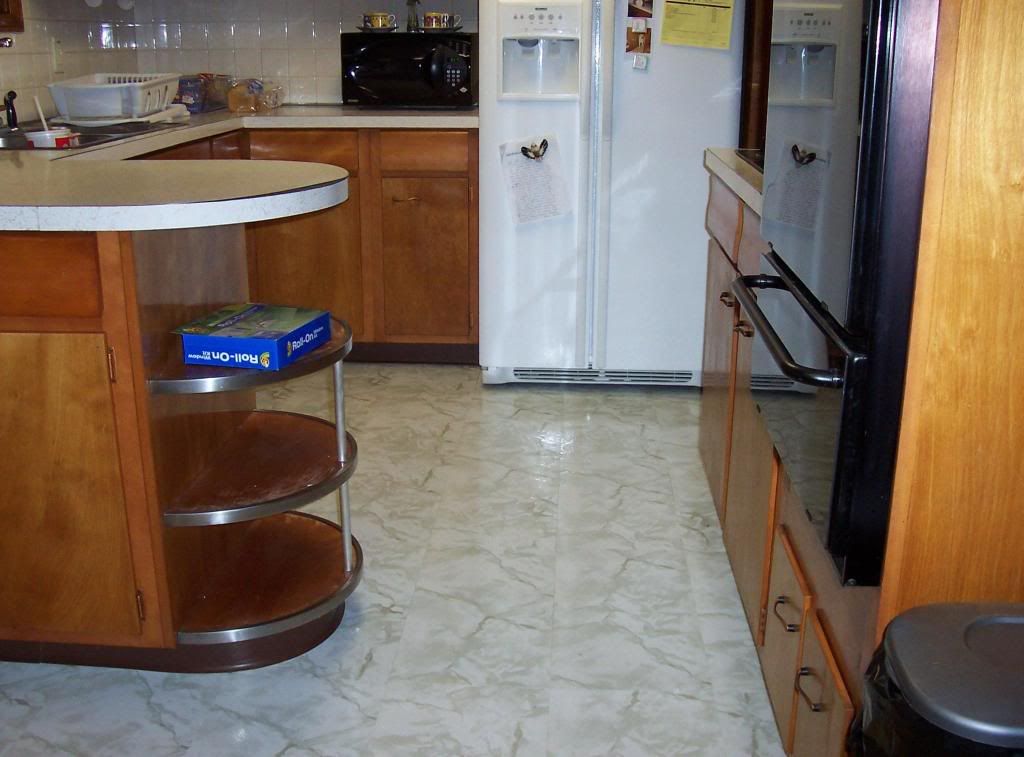
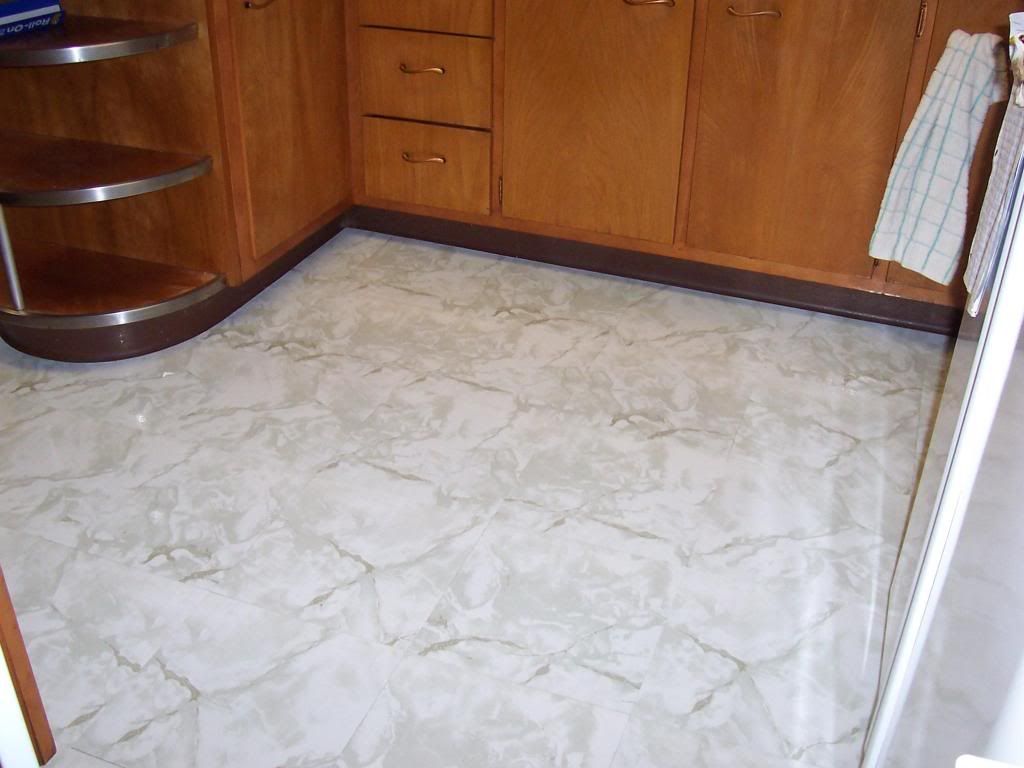
I have enough tiles to continue through the Kitchen into the rest of the 60s flooring.
Again, this was a fast way to transform the look of my Kitchen for now. I will be putting in new counter tops and will most likely rip out the floor I just put down and put in wood floor this summer.

