:lol @ 4 O2 sensors
I know…at $120+ each and a common problem its not fun.
I figure I would mention that if you ever need any help with you car, I know it basicly inside and out. Don’t hessitate to ask! ;D
magnaflows sound great. i’ve put them on 3 of my personal cars. will continue to use them.
i think you meant “broken in” vadim. once the muffler gets 3 weeks or so use it starts to get broken in. i don’t think the actual wadding will come out. they use hi- temp fiberglass blanketing in the surround of the muffler, with stainless rock wool wrapped around the perforated tubing. pretty well constructed design, never heard of a magnaflow blowing out.
they sound great on your car as is. keep it. ;D
we just relocated them. primary are before the main cats, secondary are after. no codes :nod
I’m not going to make a whole new thread, so I’ll include my mom’s Camry in here. I’m not going to be doing much to it. I installed HID’s in the car for her today.


6000K Mccullogh set. Plug and play variety. Works excellent. They always come out turquoise in photos, but its got a hint of light purple/violet in it at first then goes towards a white with a tiny bit of blue in it. It looks very nice in person. ;D
how much for that kit
approximately 300 dollars.
This is the one that was in my Eclipse, I dont know if you’ve seen it in person though. I really like that one. It comes with a harness with fuses, so you dont burn out expensive components. It’s super simple to hook up. Theres a + wire, a - wire, two plugs that go into the OEM lighting harness so it knows when the lights are on and plugs for the light bulbs. Takes maybe 30 minutes to install.
Dude HIDs with no projector is a big no-no.
Nissan does it.
ow :sad
not like mine are any better even with a projector :rofl
I should probably adjust them LOL
Acura has those also
UPDATE:
Did some more insulation and wiring this weekend. Door panels are fully insulated inside, extra speaker cables run into each door(~20 more feet of cable added today), other wires cleaned up and tucked away. Heres photos, description of what youre seeing is UNDER each photo.

This “butterfly” is 30+ pounds now. These are the insides of the inside door panels for the front doors with new speakers and tweeters attached.

Back of the new speaker attached to the door panel
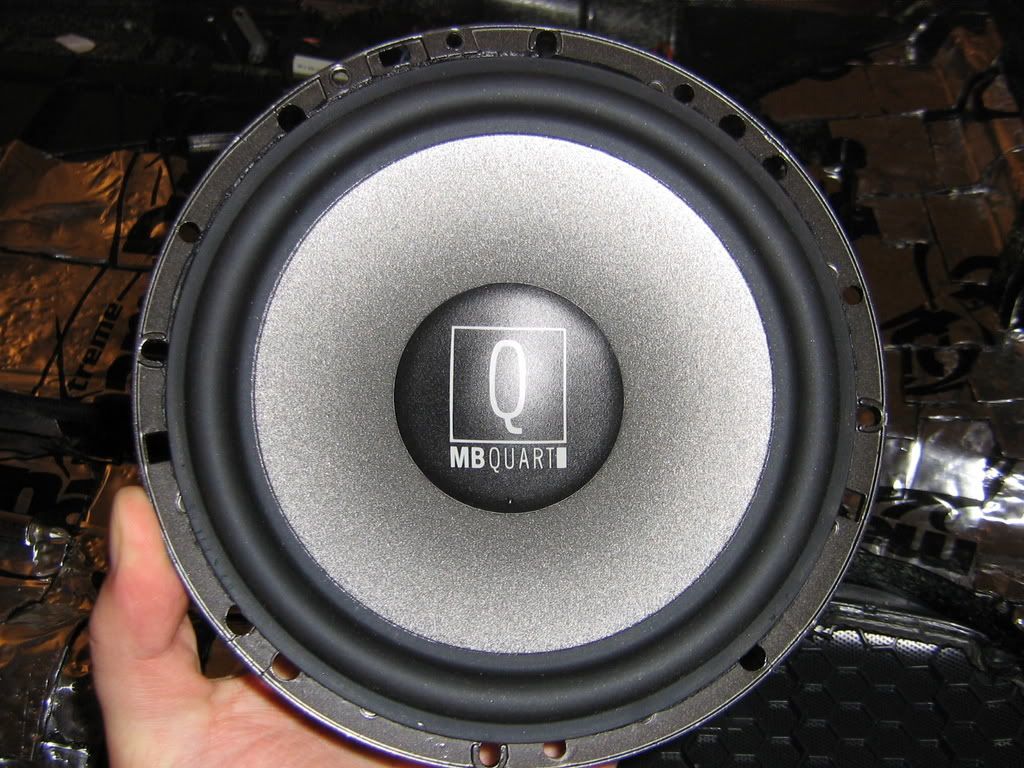
6’5 inch MB Quart Q series speaker. I got basically one of the last series that were still made in Germany before they were bought out, so they are still the original build quality and sound Quarts.
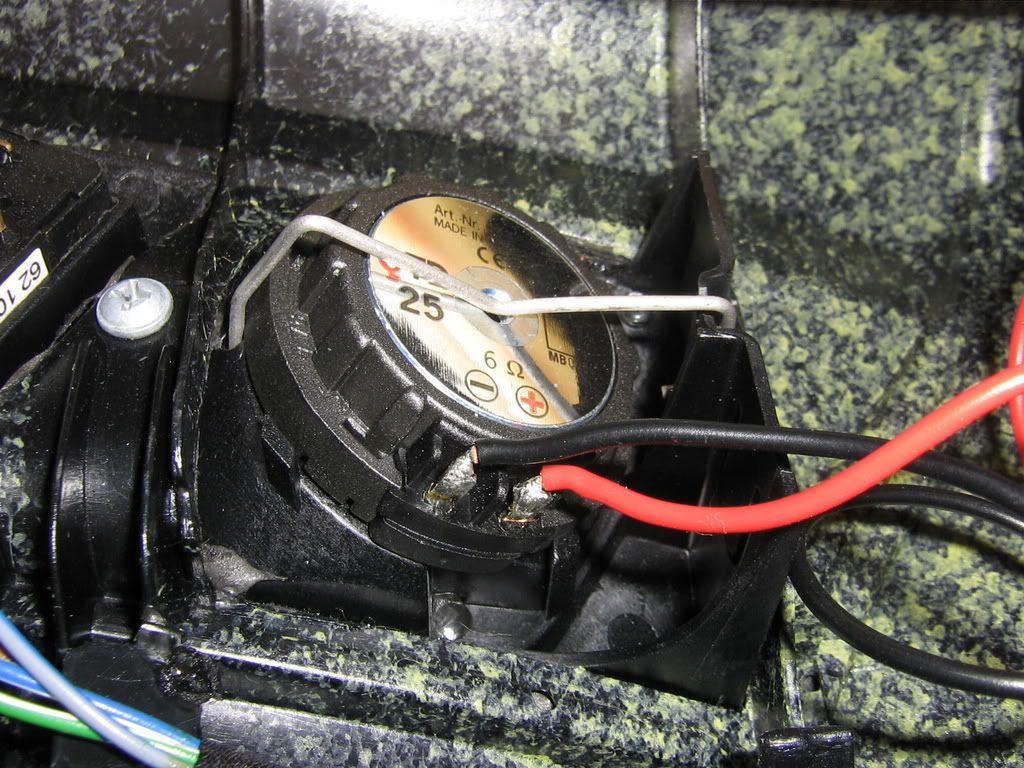
Tweeter attached to the door using stock mounting clip. This clip was VERY hard to move and put back in place, it basically has a deathgrip on the tweeter and makes it impossible for it to move or vibrate. Tweeters are mounted in stock locations to retain maximum stage width. They are wider compared to any possible location on dash or pillars.
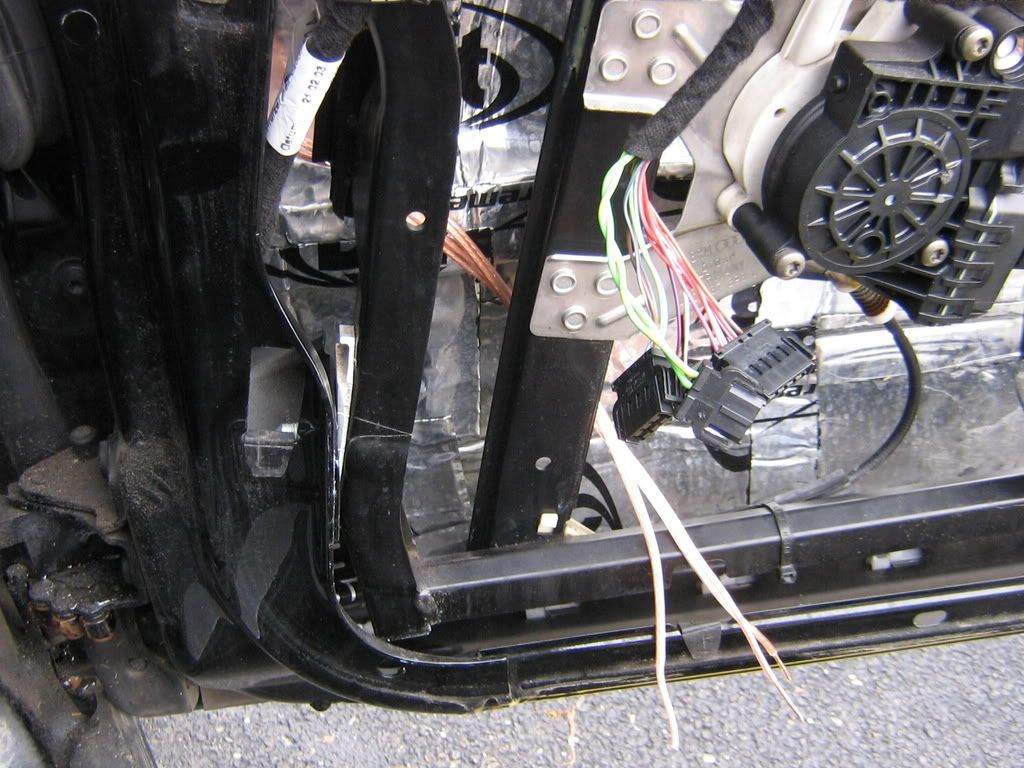
This is a view of the door on the passenger side with the new copper color speaker cables ran through the factory door boot.

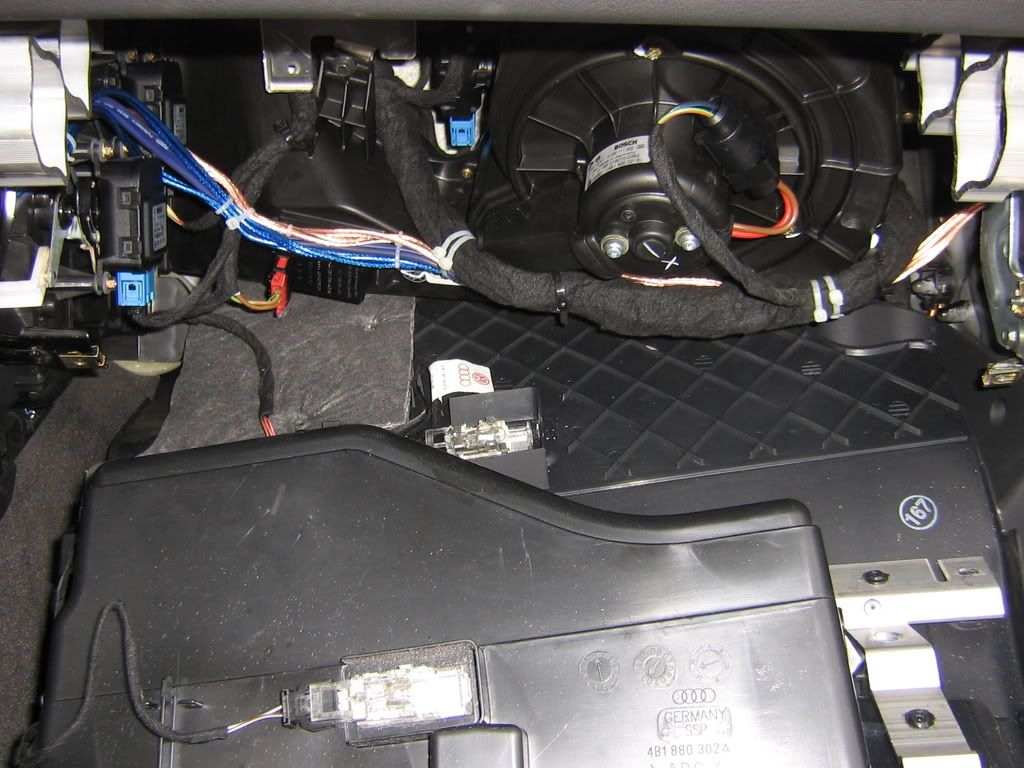
These wires sit behind the glovebox. In this shot they are just laying there. The dark blue is a subwoofer RCA, the lighter blue are the speaker RCA’s, the copper wires are for the tweeter and mid range that go into the door on the passenger side.
Starting the cleanup and organization of cables using zipties.
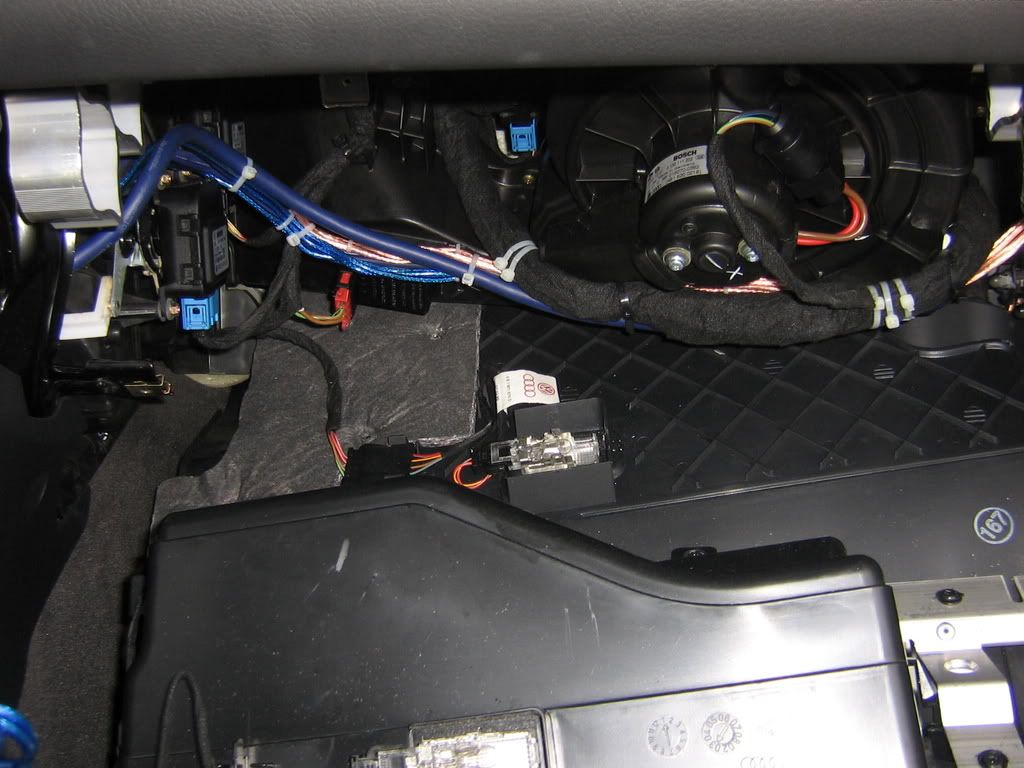
Speaker cables and RCAs are now ziptied in bundles and then those are ziptied together and tucked behind and ziptied to the OEM wiring.
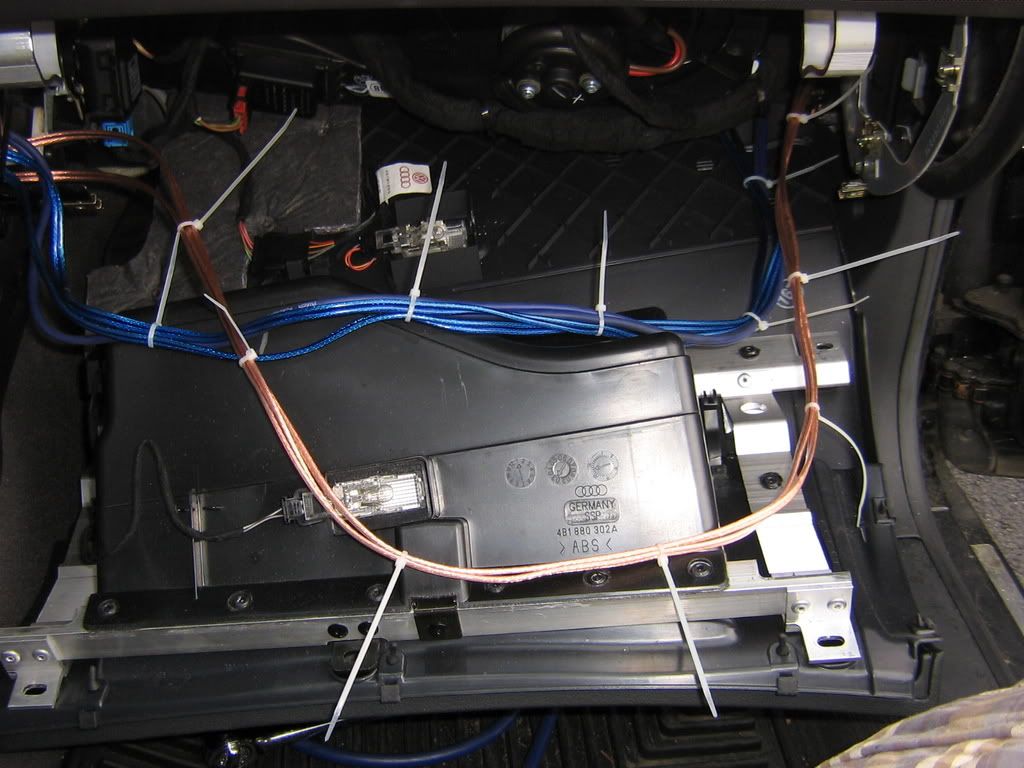
This is a shot of all the wiring in place. This includes the previously shown RCA’s and speaker cables with the addition of the 9 pin(dark blue thick round wire) that runs from the amplifier forward.

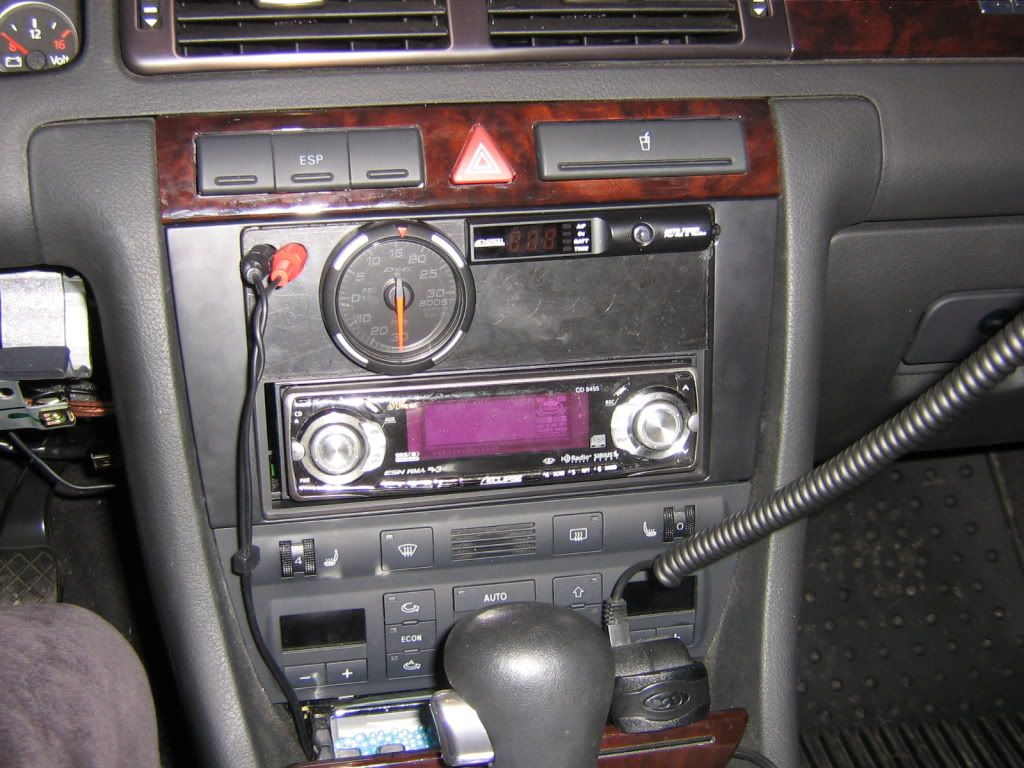
This is a shot of all the passenger side wiring with the factory deck temporarily hanging out till the dash kit comes in.
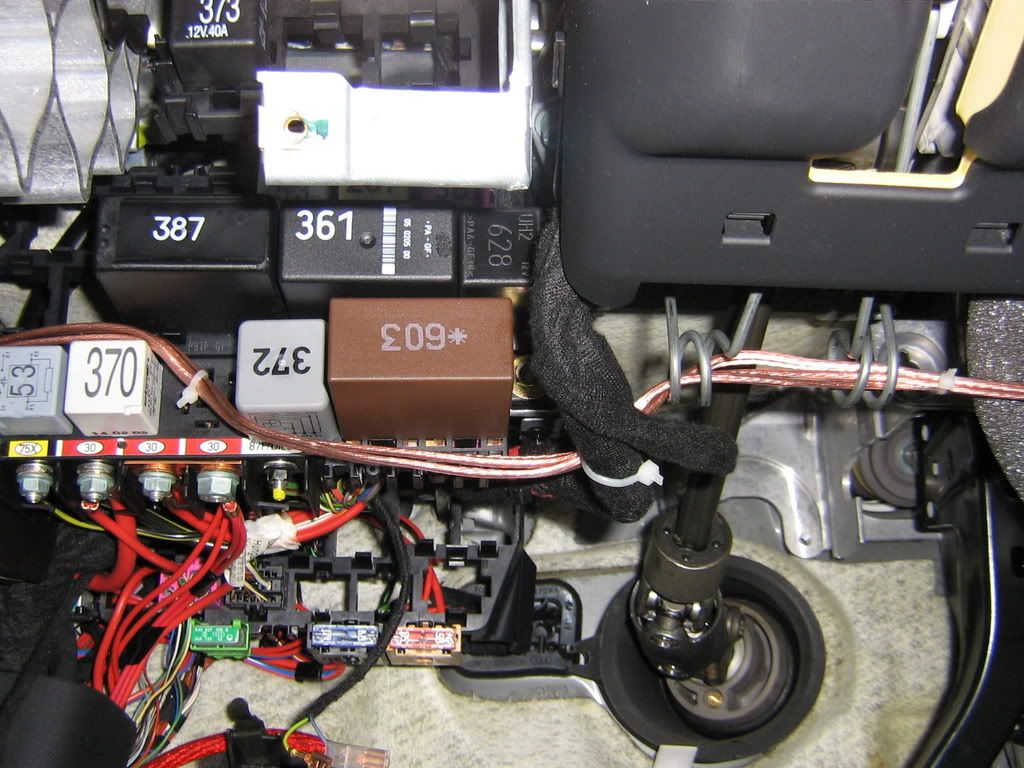
More speaker cable on the driver side. This is behind the panel thats under the steering wheel.

This is all of the speaker cables laid out. The black cables are the OEM cables for the factory Bose Symphony II system.
I am very anal about how I do my wiring, but this is the type of thing that nets you a 9 or a 10 out of 10 during the installation judgement portion during competitions, but mainly I did this for me. It doesnt matter that nobody will see those wires back there. It’s done so that I know that its neat, tucked away and organized right. Comments welcome.
looks like you take your time on stuff! very clean