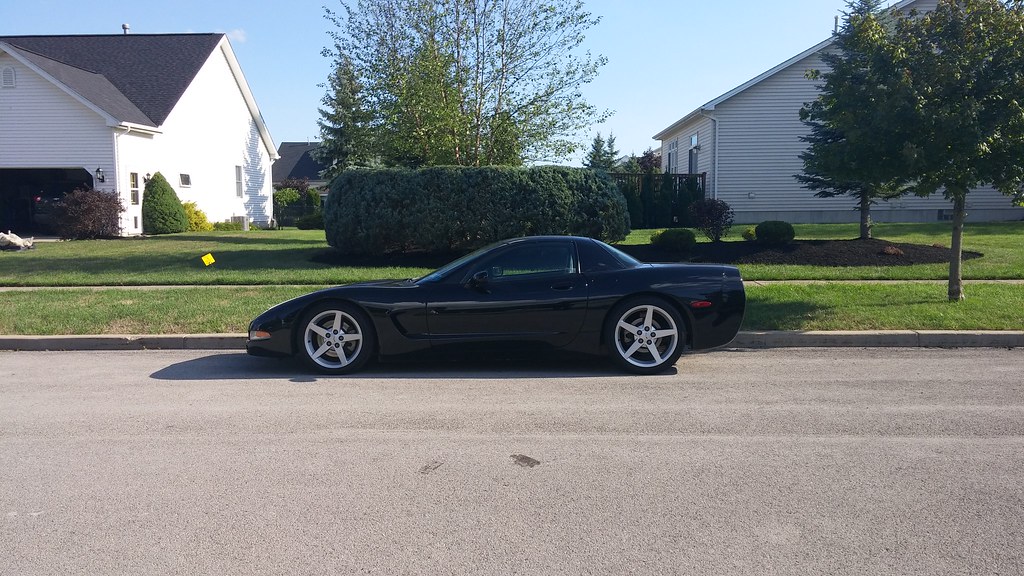
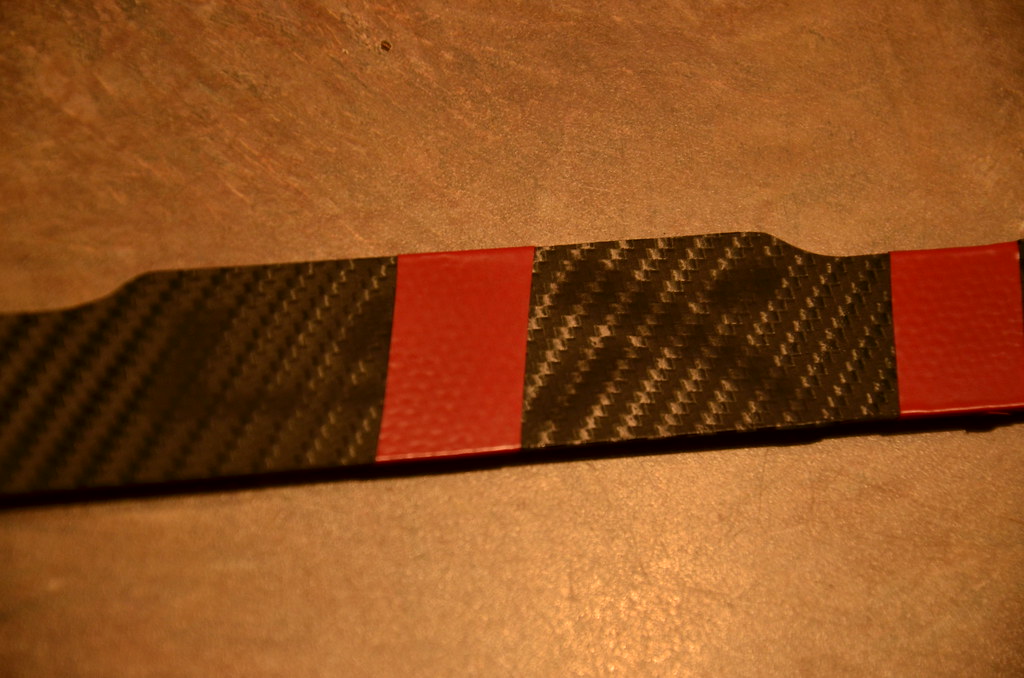
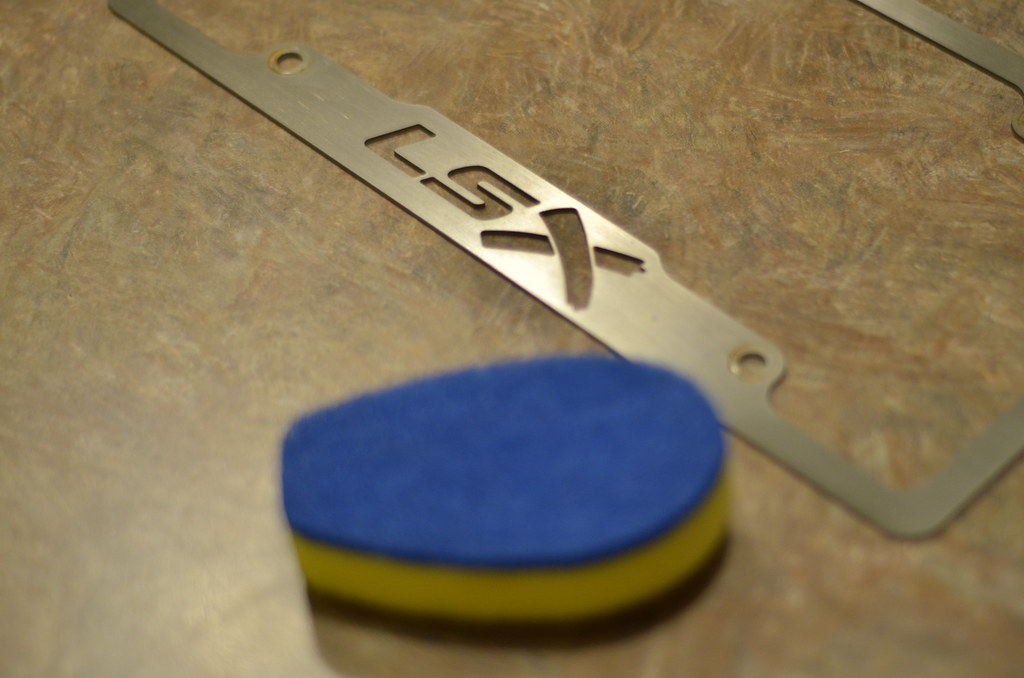
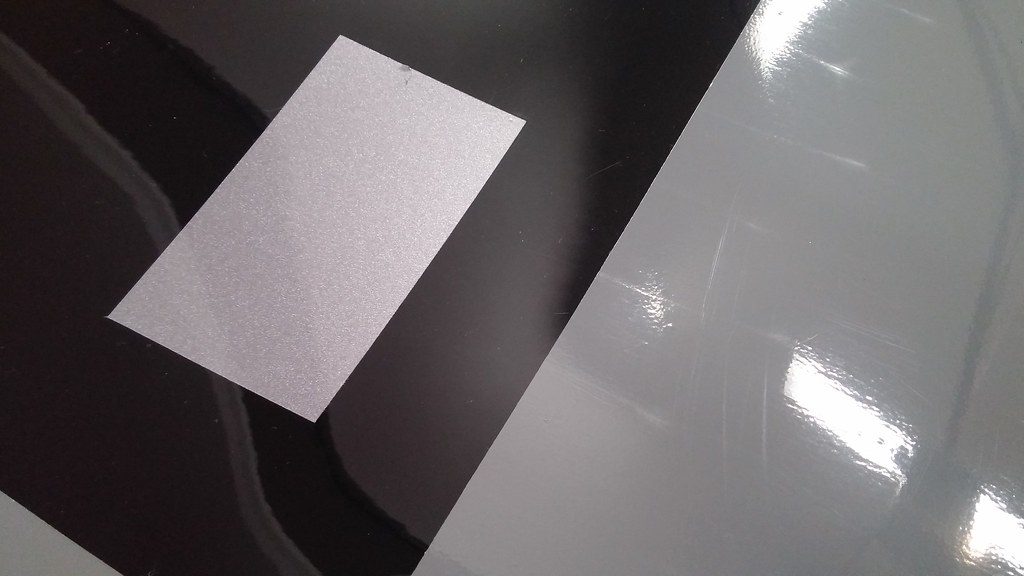
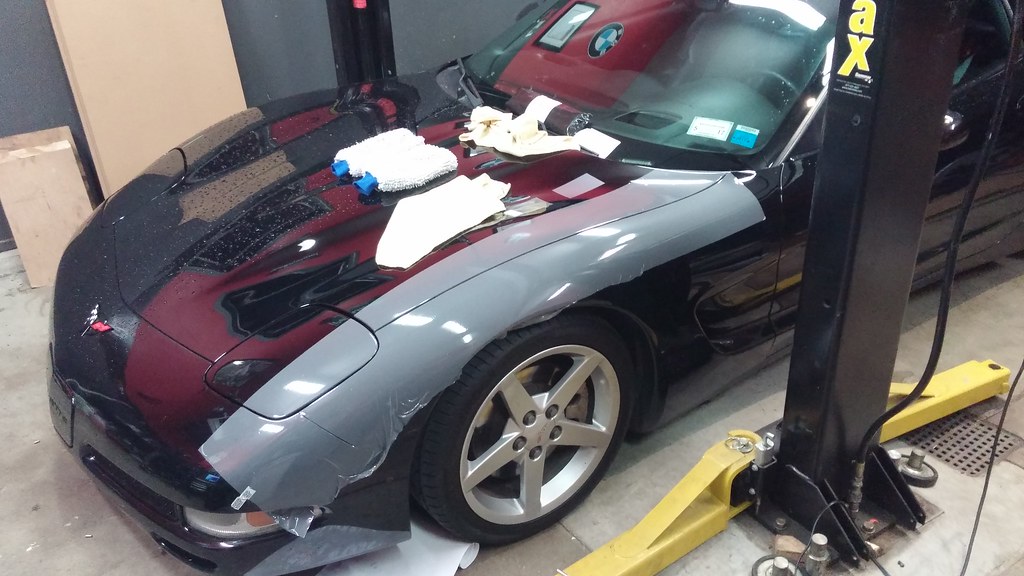
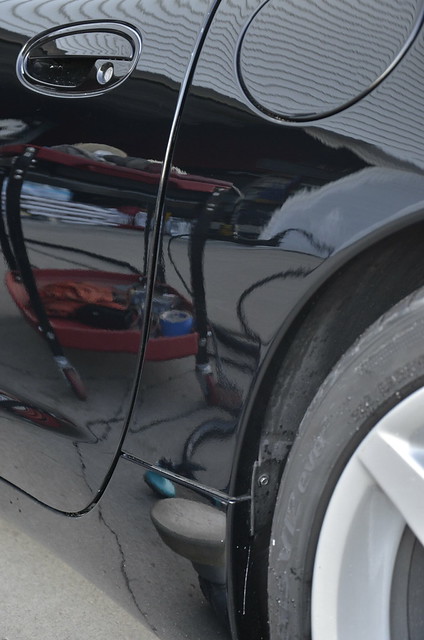
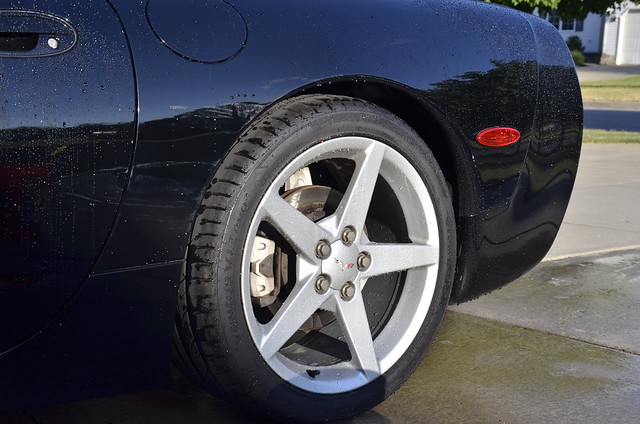
I did not want to alter the factory paint work if I didn’t need to, so out came the wet sanding supplies, clay, compound, and polish…
Popped the headphones in, cracked a fine cold PBR, and GOT TO IT
 _DSC5158 by Norbert Ogiba, on Flickr
 _DSC5160 by Norbert Ogiba, on Flickr
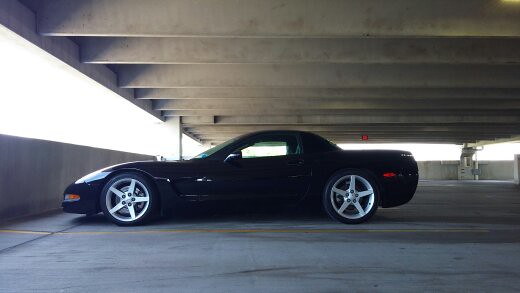
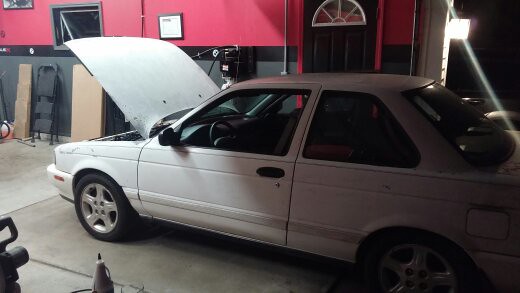
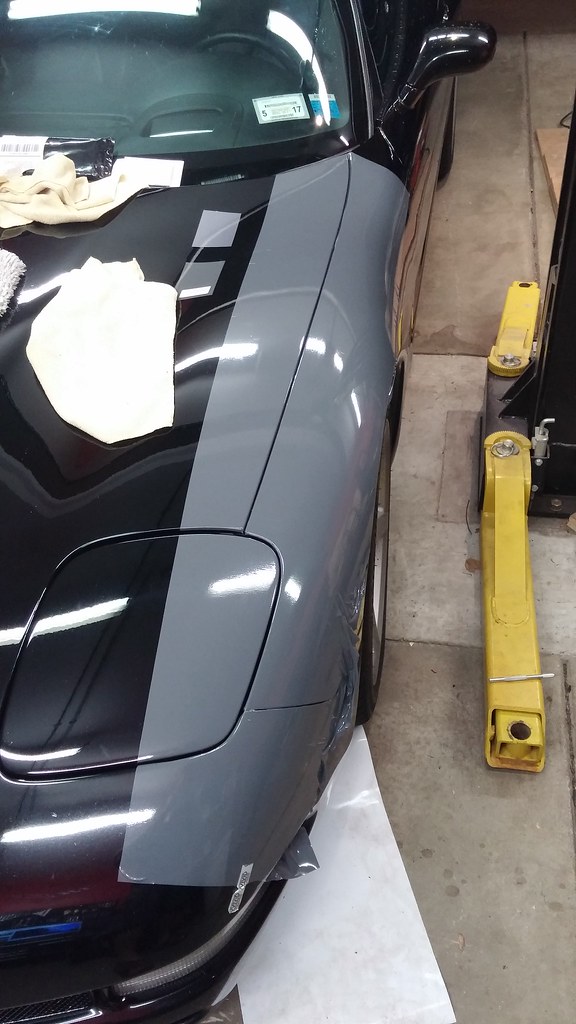
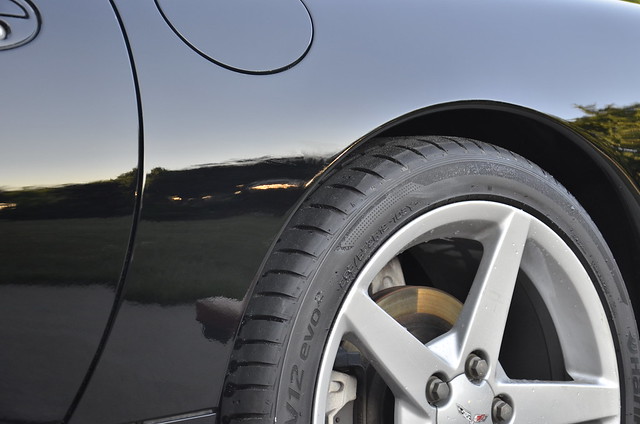
Nice and glassy!
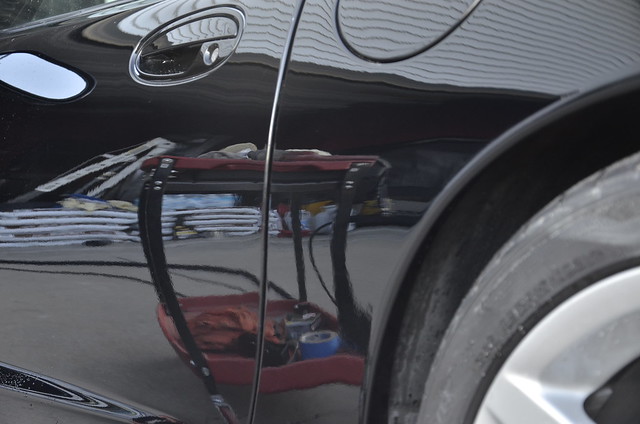 _DSC5162 by Norbert Ogiba, on Flickr

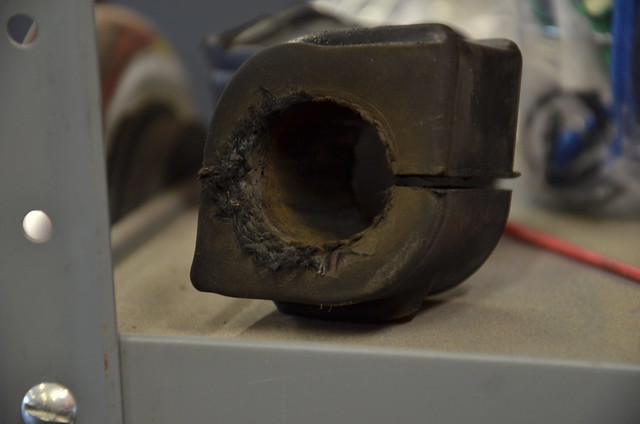
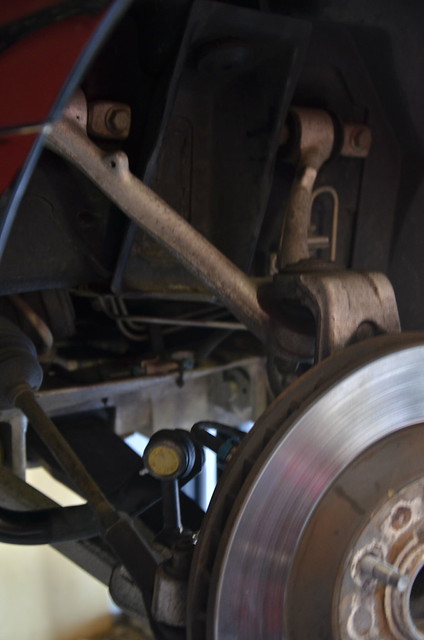
So with the exterior looking better again, I turned to this annoying clunk in the front end that had been bothering me. It occurred when the wheel was turned - and with the suspension getting loaded/unloaded.
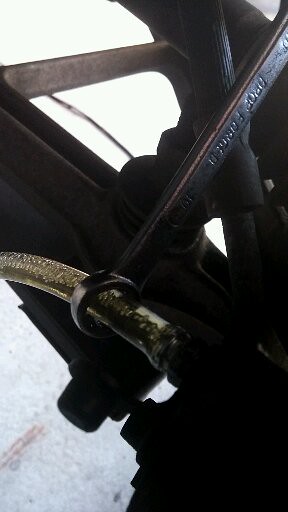
I had already replaced the sway bar end links front and rear, so the search continued. Found that the sway bar bracket bushings were looking sorry and original
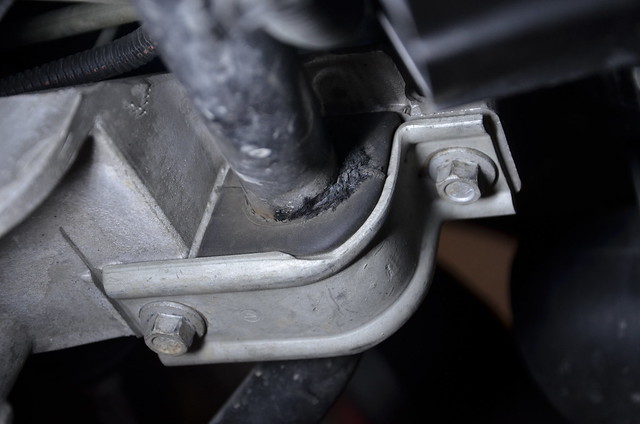 _DSC5164 by Norbert Ogiba, on Flickr
 _DSC5166 by Norbert Ogiba, on Flickr
 _DSC5168 by Norbert Ogiba, on Flickr
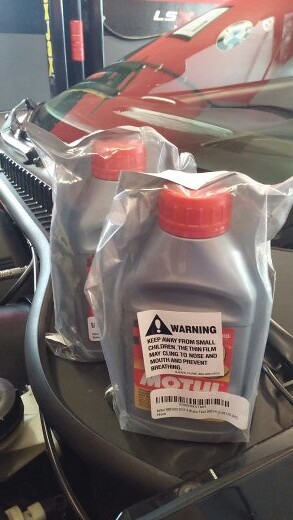
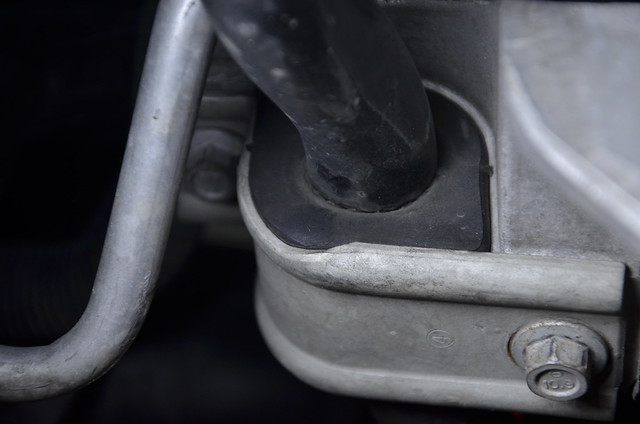
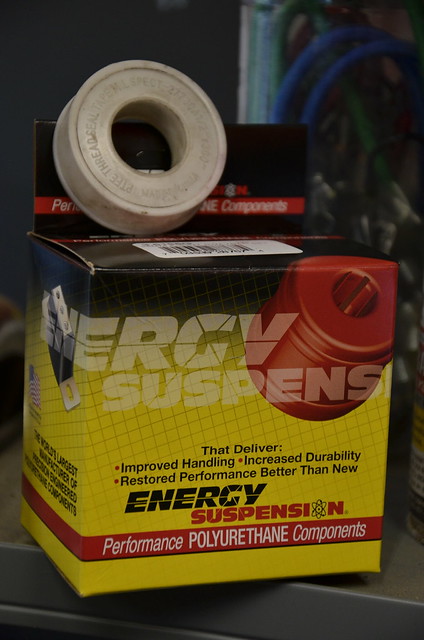
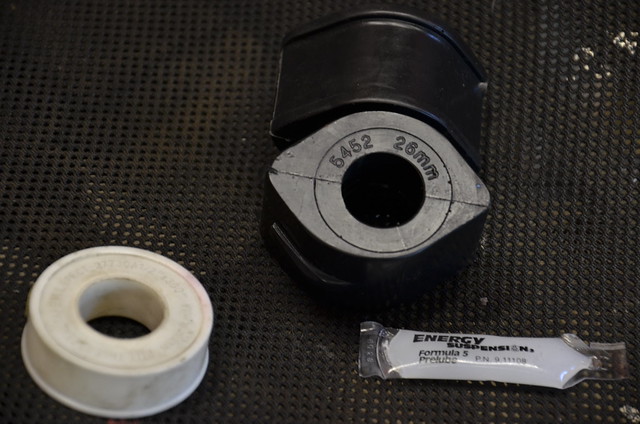
New parts - polyurethane Energy Suspension pieces - teflon tape to prevent squeaks
 _DSC5170 by Norbert Ogiba, on Flickr
 _DSC5172 by Norbert Ogiba, on Flickr
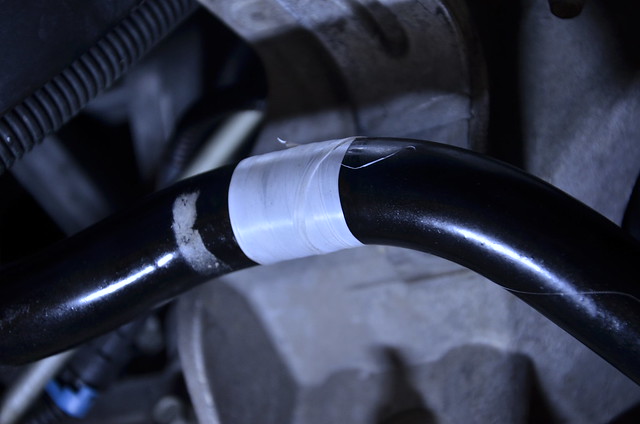
The new bushings fit great and compressed nicely with the bracket torqued down. I also added the supplied grease to make sure things were lubed up.
 _DSC5171 by Norbert Ogiba, on Flickr
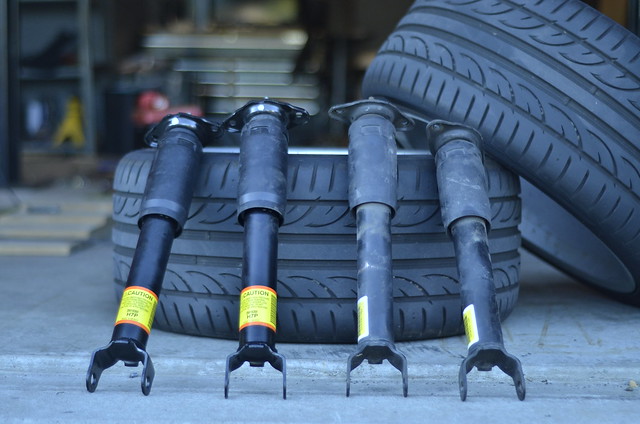
Still no dice on the noise - so the list of “while I’m in there” continued. C6 Z06 shocks at all 4 corners. Definitely necessary since the old shocks were 16 years old, 110K on them. The shock mounts themselves were also worn, and included with the new stuff. At just $250 for all 4 new shocks, why not? I also dusted off my old “nifty fifty” 50mm 1.8 fixed lens!
 _DSC5187 by Norbert Ogiba, on Flickr
Old units out, front mounts.
 _DSC5173 by Norbert Ogiba, on Flickr
 _DSC5181 by Norbert Ogiba, on Flickr
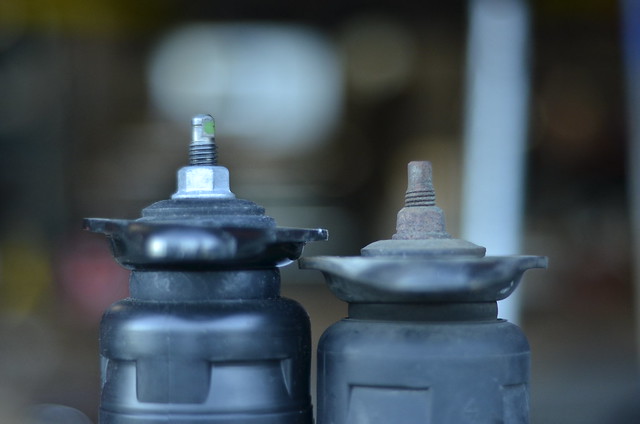
Oddly enough the C6 top mounts were different, slightly angled, and they didn’t fit the C5 chassis, so I swapped the C5 mounts over onto the C6Z shocks.
 _DSC5188 by Norbert Ogiba, on Flickr
Rest of the shock install went quick and easy. Next up, while looking over the front suspension, I had noticed the belts were looking sad. Out they came
 _DSC5184 by Norbert Ogiba, on Flickr
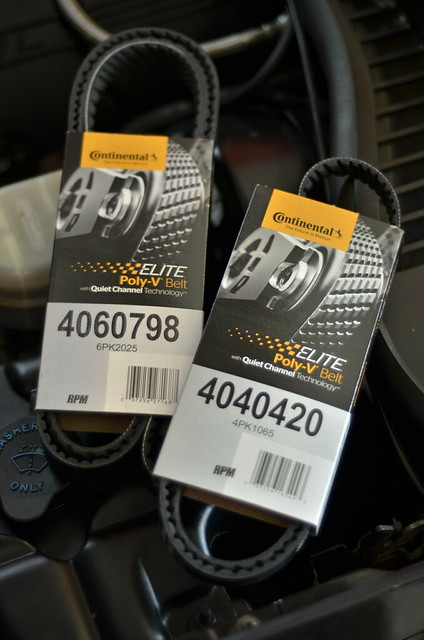
New parts. I used Goodyear Gatorback belts on my 6.0 LS BMW with great luck, but I couldn’t find them for a C5 application on any website. Some closer looks on Rockauto revealed that Continental listed some belts that had that telltalle cross hatch pattern on the belt ribs. Decided to pull the trigger
 _DSC5198 by Norbert Ogiba, on Flickr
 _DSC5193 by Norbert Ogiba, on Flickr
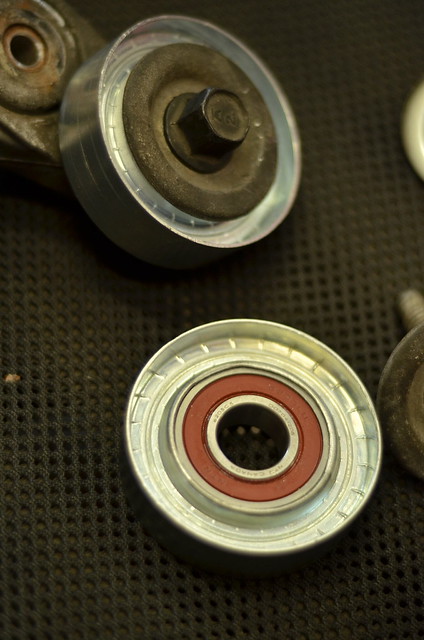
I wasn’t expecting to have to replace the idler and tensioner pulleys but they were worn - and the bearings were noisy. Quick trip to the store for some new parts:
 _DSC5200 by Norbert Ogiba, on Flickr
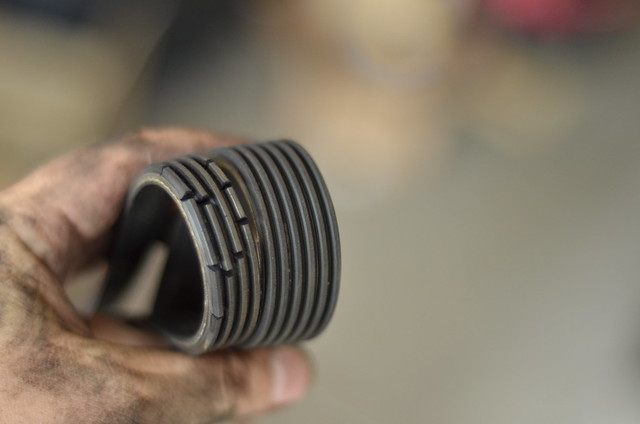
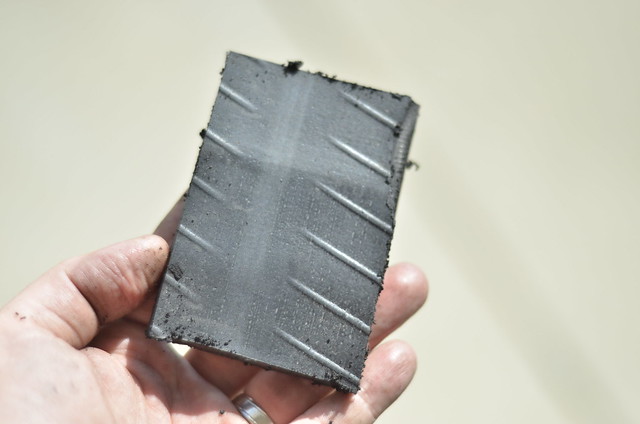
After allllll that stuff, I finally tested out a theory - that the fiberglass front spring was binding on the aluminum control arm after the front leaf spring bolts had been removed. An old tire sacrificed its life and offered some insulating material. Cutoff wheel + tire means ultimate smokeshow!
 _DSC5194 by Norbert Ogiba, on Flickr
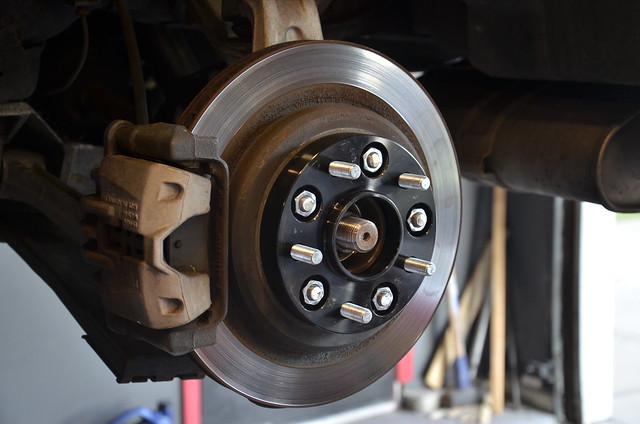
So I compressed the spring on each side, greased up the side that contacted the spring, and slid it in. SUCCESS! Noise fixed. The spring now moves freely with no binding against the control arms.
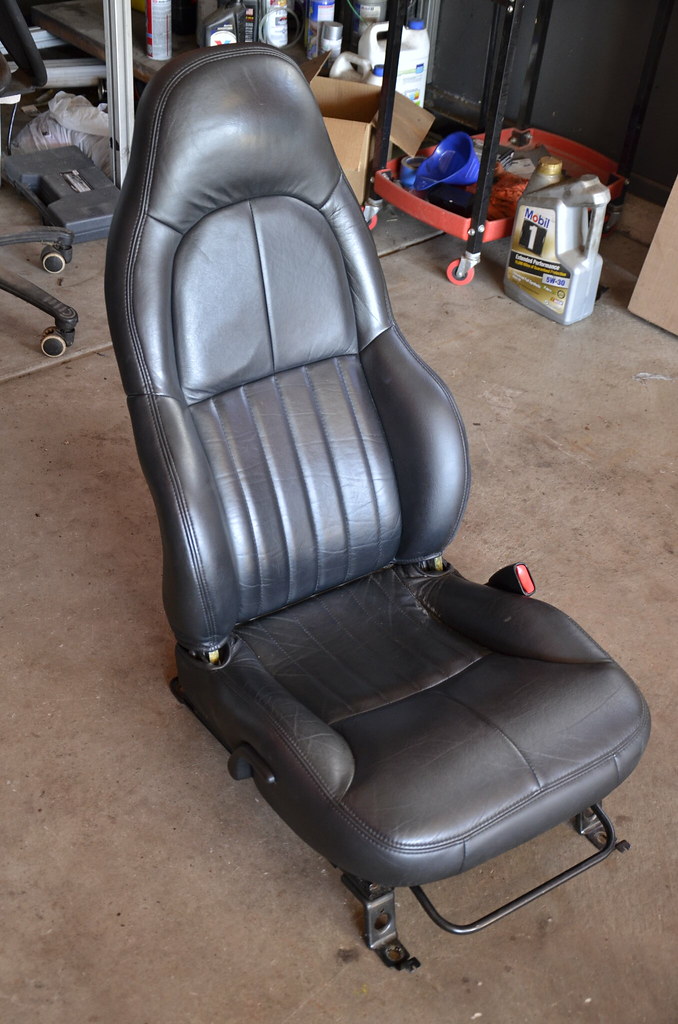
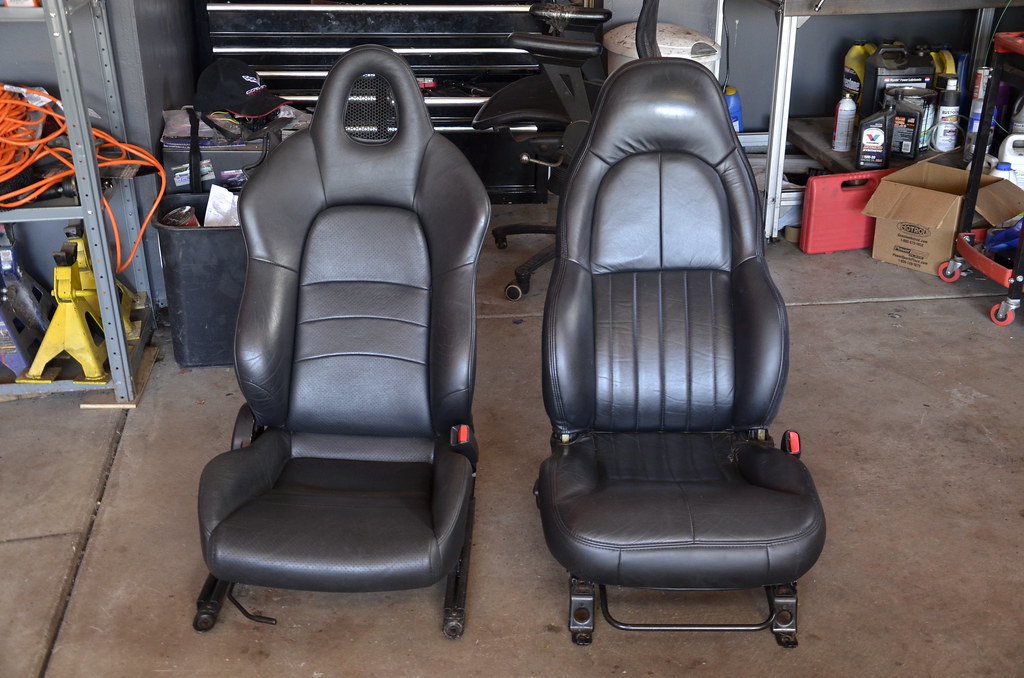
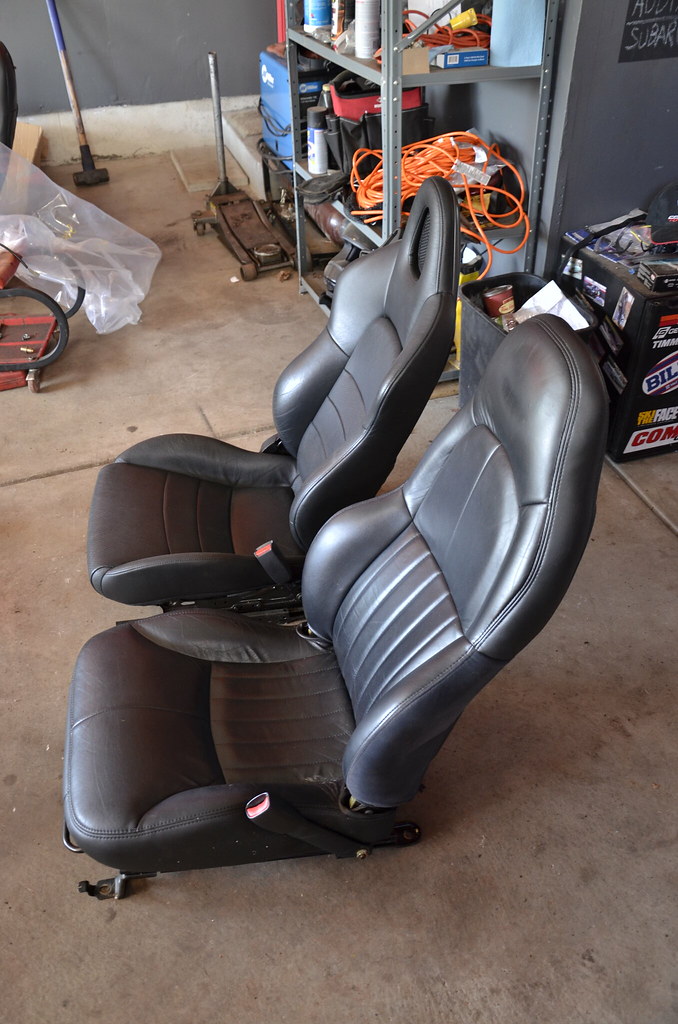
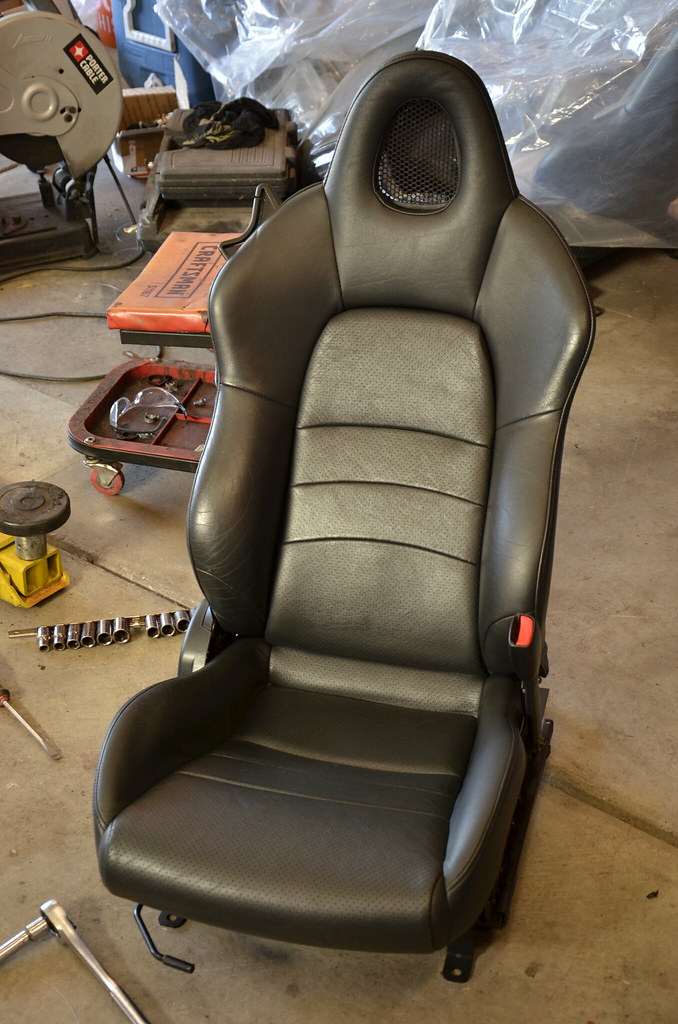
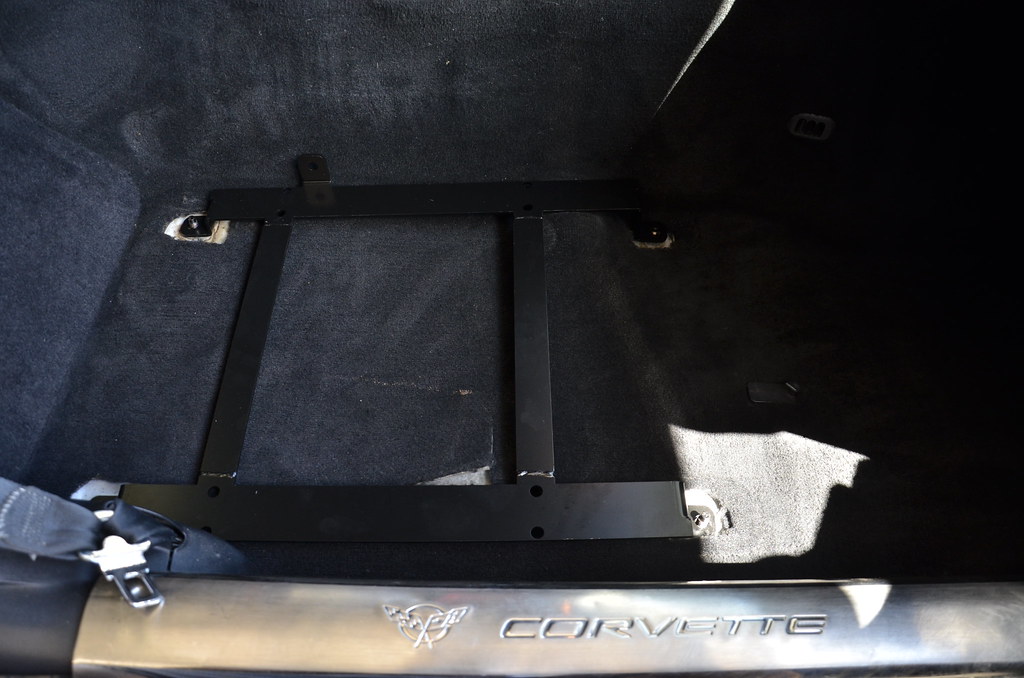
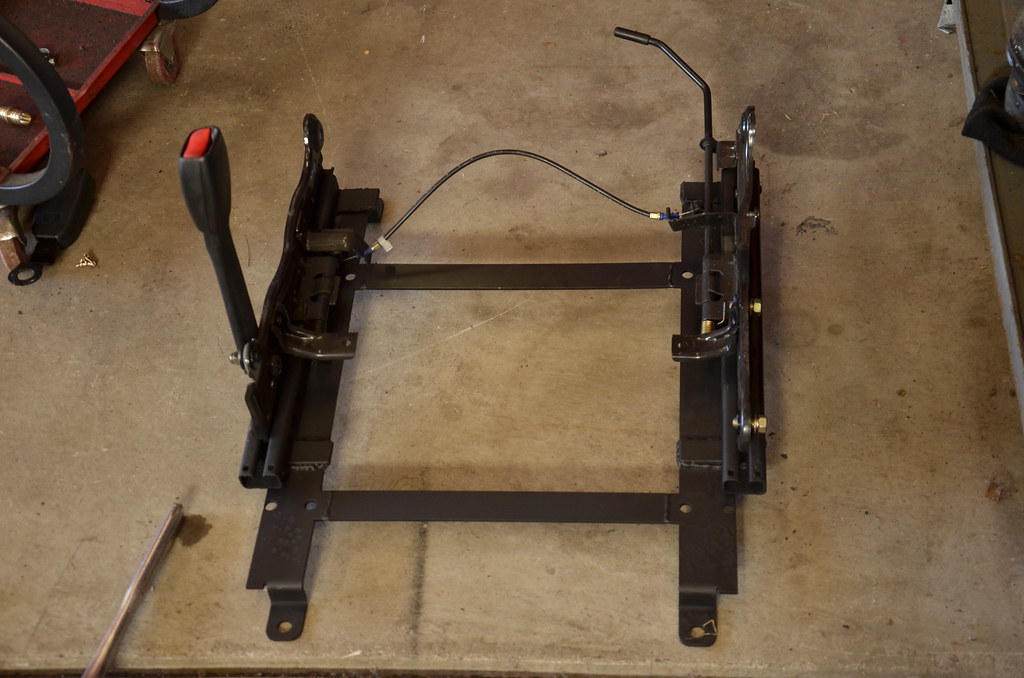
Next up: passenger window regulator, LMC5 install, and S2000 seat mounting revision.
 _DSC5142 by Norbert Ogiba, on Flickr
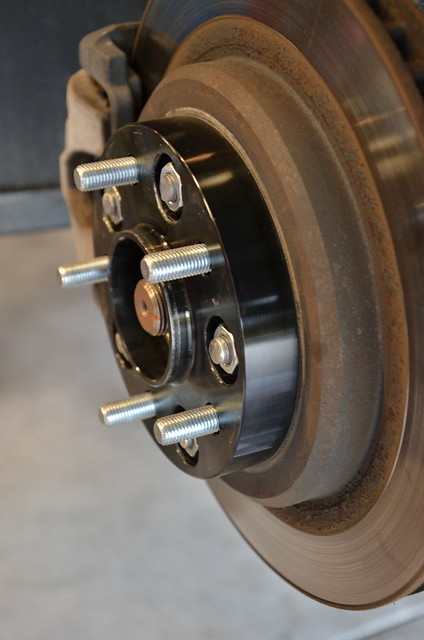 _DSC5143 by Norbert Ogiba, on Flickr
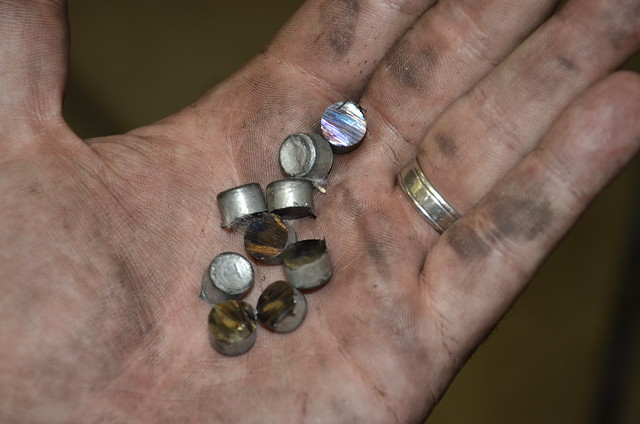 _DSC5147 by Norbert Ogiba, on Flickr
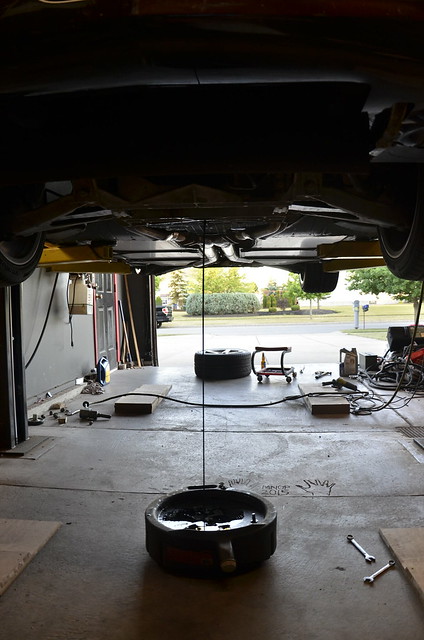 _DSC5144 by Norbert Ogiba, on Flickr
 _DSC5150 by Norbert Ogiba, on Flickr
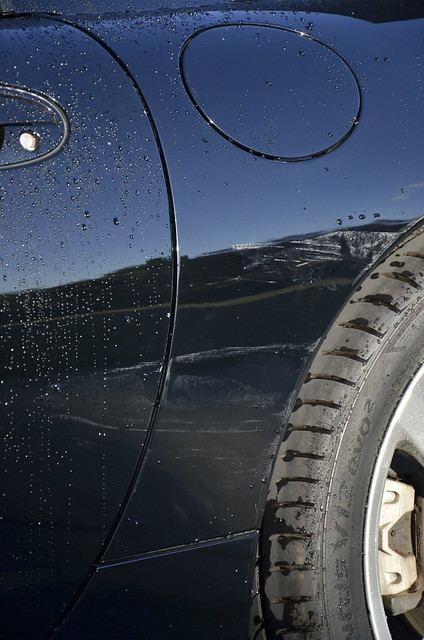 _DSC5151 by Norbert Ogiba, on Flickr
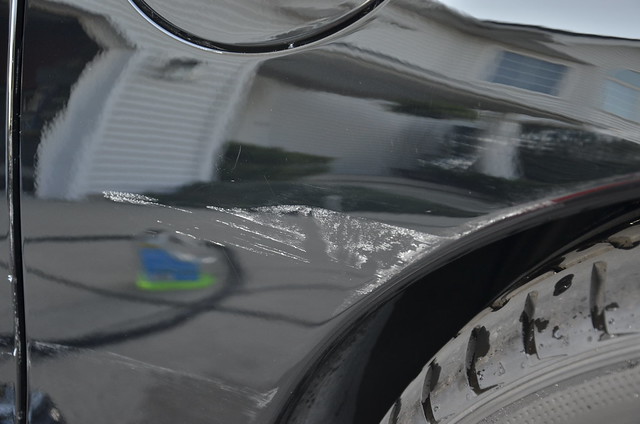 _DSC5153 by Norbert Ogiba, on Flickr
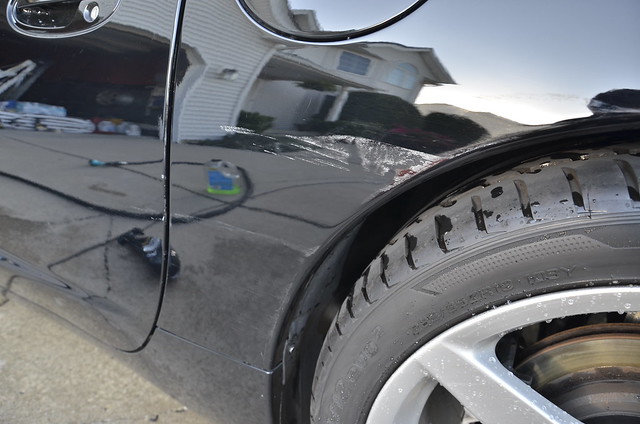 _DSC5154 by Norbert Ogiba, on Flickr
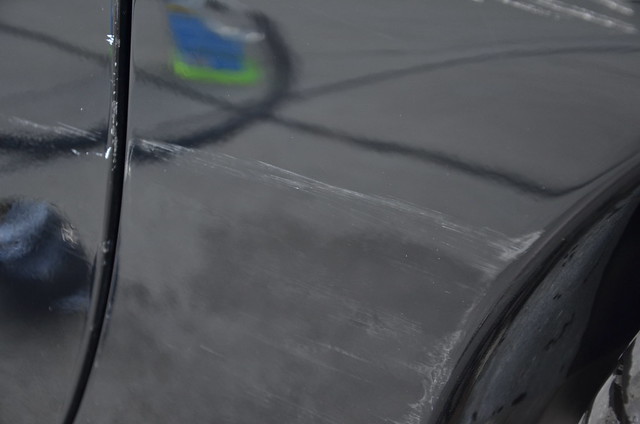 _DSC5155 by Norbert Ogiba, on Flickr
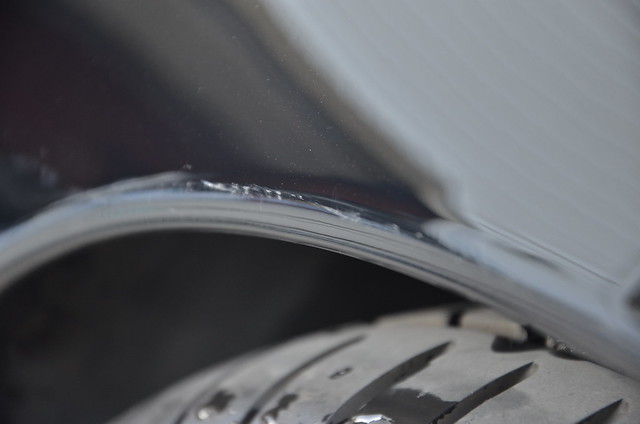 _DSC5156 by Norbert Ogiba, on Flickr