3/8" drive Craftsman with a high torque spec…can’t imagine why it broke
OH YEAH SARCASM!!!
been a while since any updates, but I’ve been busy on this thing.
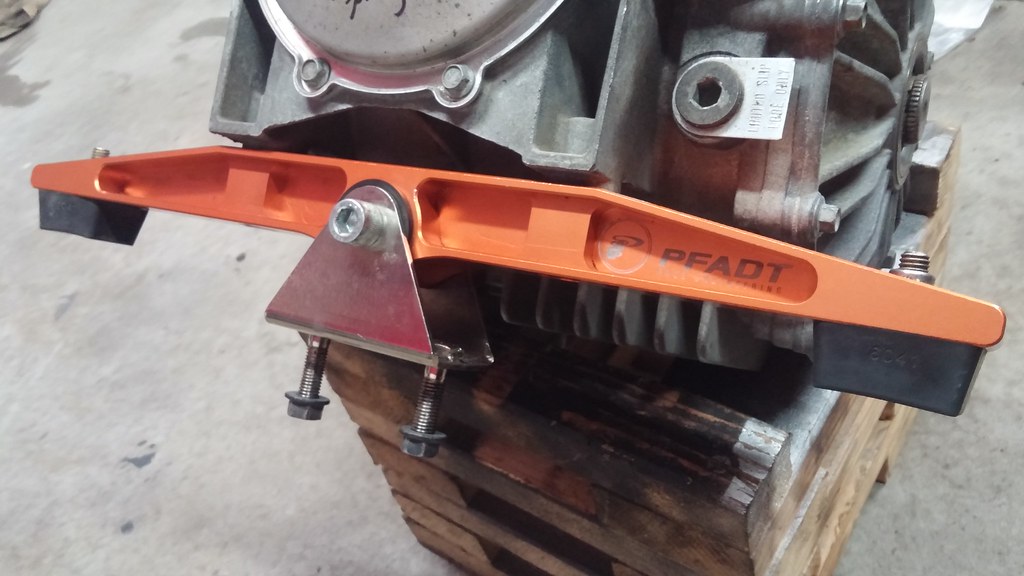
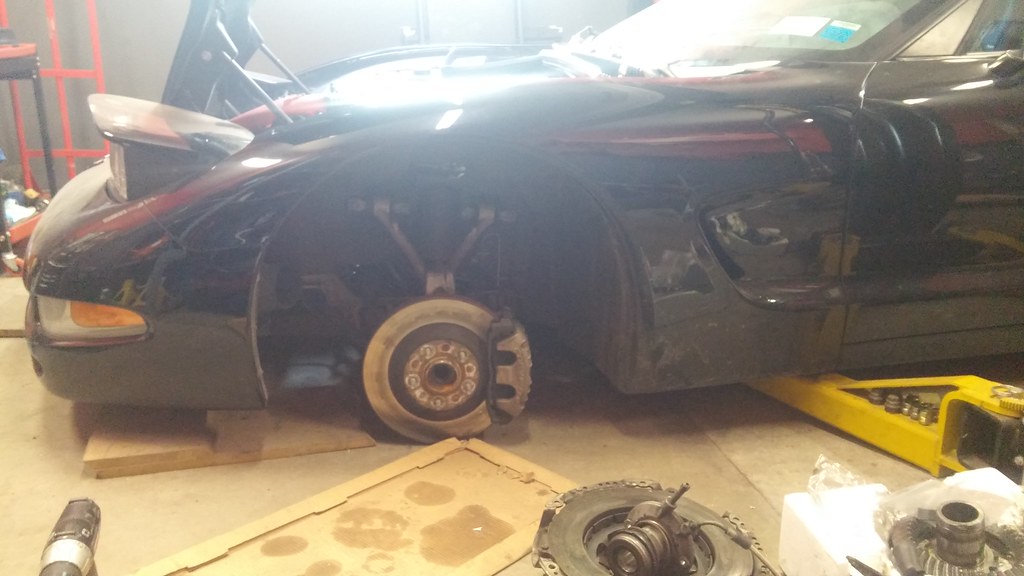
With the majority of the small stuff assembled, it was time to get the drivetrain back in the car. The Pfadt trans mount is easily the most “bling” piece on the car, shame it’s hidden underneath the rear end. I installed it with the hopes that it would cure some of my wheel hop from a dig.
 0228172115 by Norbert Ogiba, on Flickr
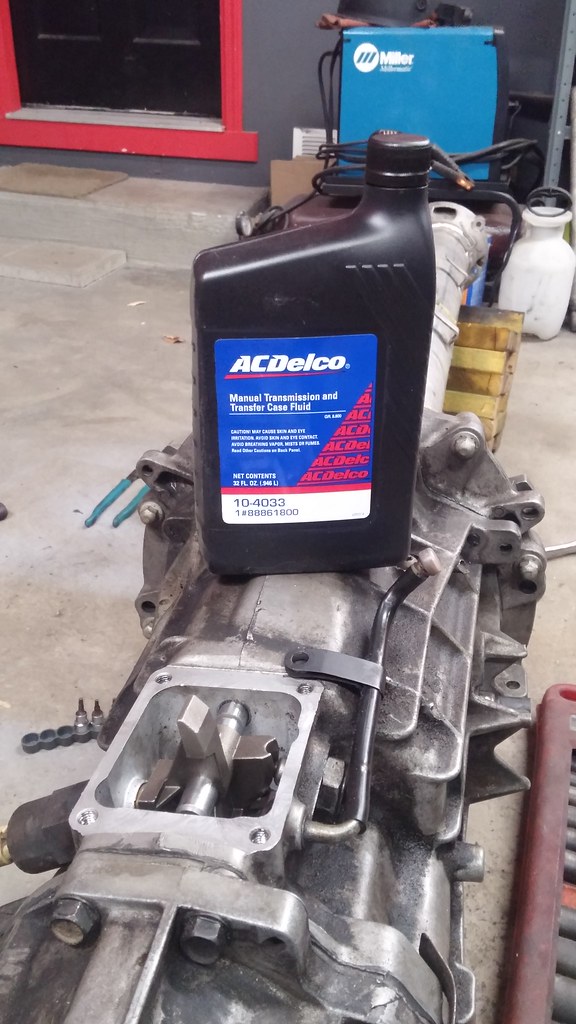
Filled the trans up - this stuff isn’t cheap but gets good reviews.
 0301171848 by Norbert Ogiba, on Flickr
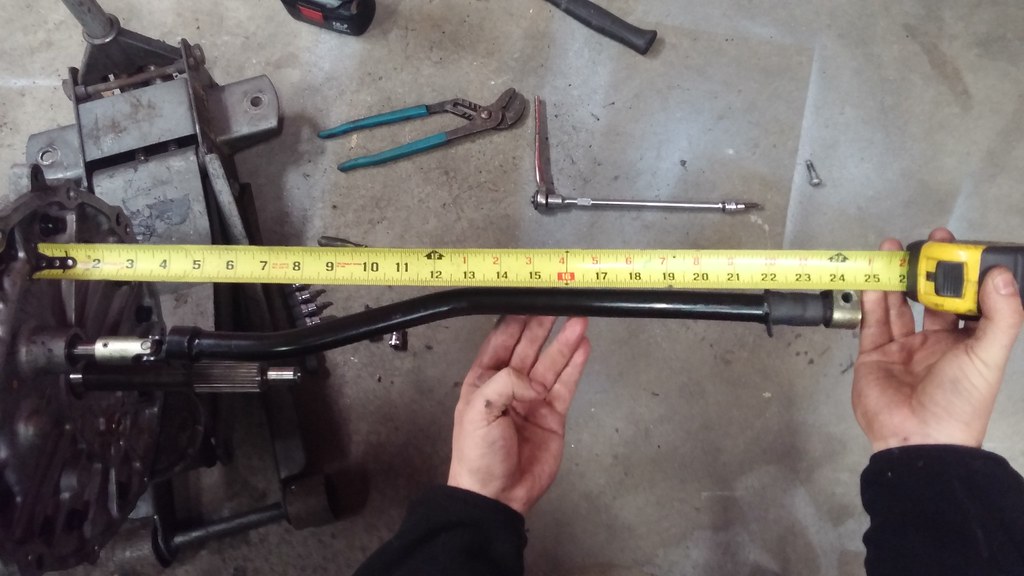
So the whole reason for all this drivetrain work was to improve shift feel and eliminate some of the “slop” in the gear lever, most of which was in the factory shift linkage that runs from the lever back to the trans. The small factory u-joint consists of a small pin held in a brass bushing, which had worn out.
Measuring for the new setup:
 0301171931a by Norbert Ogiba, on Flickr
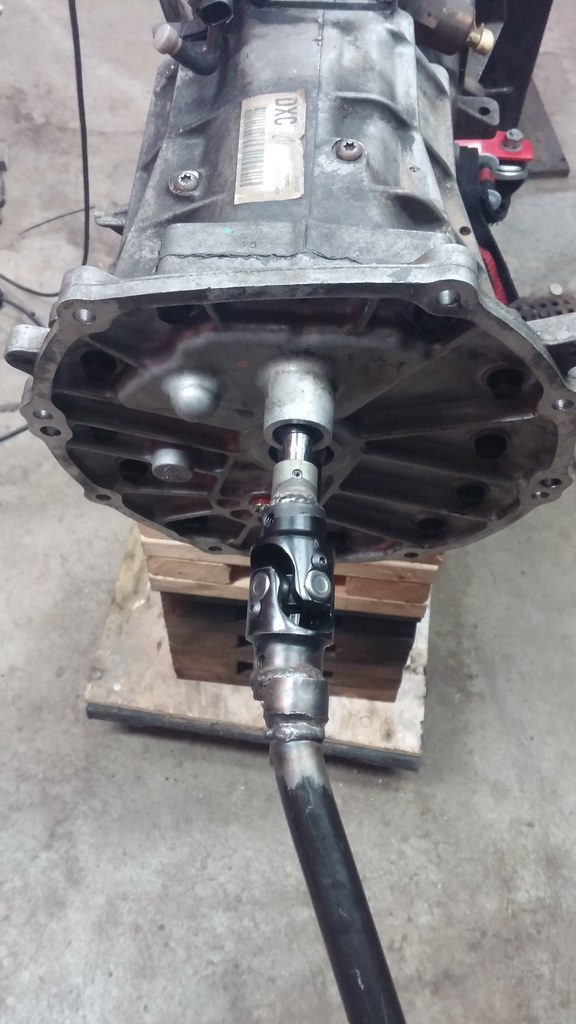
A factory replacement shift linkage u-joint doesn’t exist, and I think the linkage arm is discontinued. The other option was a custom machined replacement brass bushing, but that would have worn the same way as the old unit. So I found a universal steering shaft u-joint on Amazon, chopped the ends off it, and welded it to the linkage. ZERO slop achieved!
 0306172111 by Norbert Ogiba, on Flickr
While the rear subframe was out I also tossed in new sway bar bushings. In retrospect, I should have installed all new poly bushings in the control arms while the cradle was out, but I was confident that the Pfadt trans brace would cure the wheel hop. (This did not end up being the case).
 0305171548 by Norbert Ogiba, on Flickr
How to get the ultimate lows - remove wheels and put the lift all the way down.
 0305171613 by Norbert Ogiba, on Flickr
-
-
- Updated - - -
-
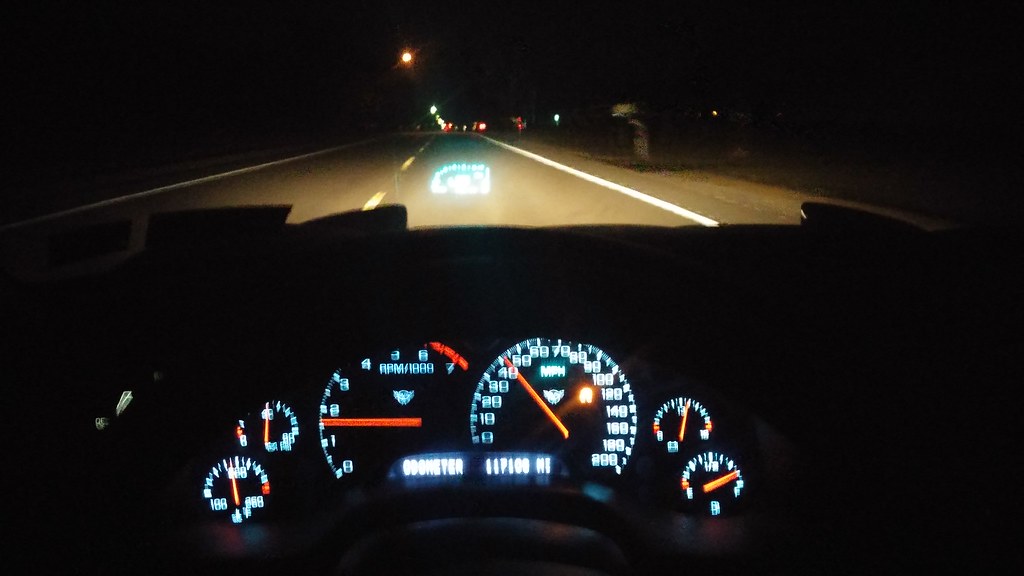
The rest of the work was boring reassembly, I tend to get a little OCD with torquing everything to factory spec, but the first start/drive went flawlessly (despite being 20F outside).
 0309172153a by Norbert Ogiba, on Flickr
 0309172141 by Norbert Ogiba, on Flickr
 0311171840 by Norbert Ogiba, on Flickr
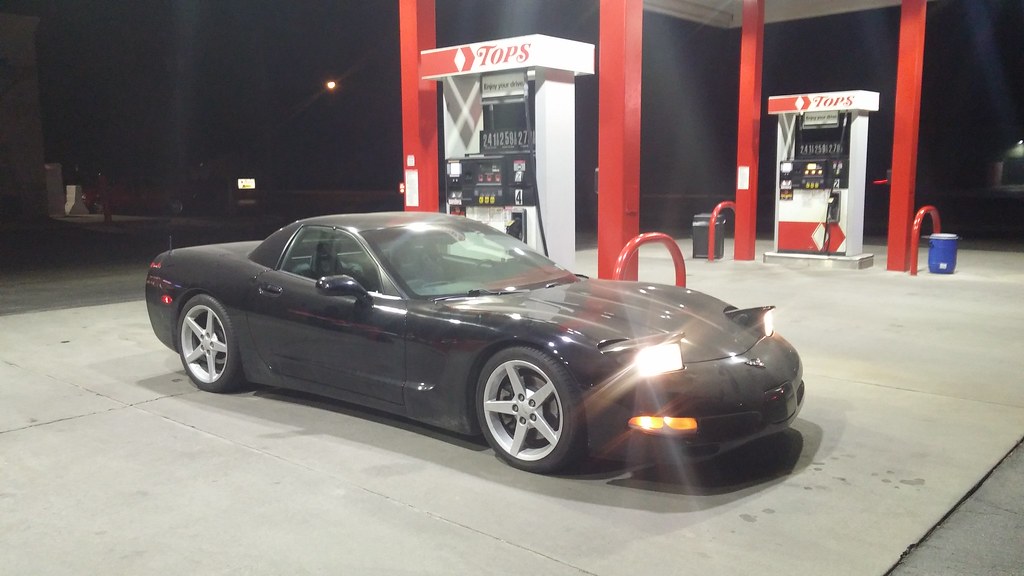
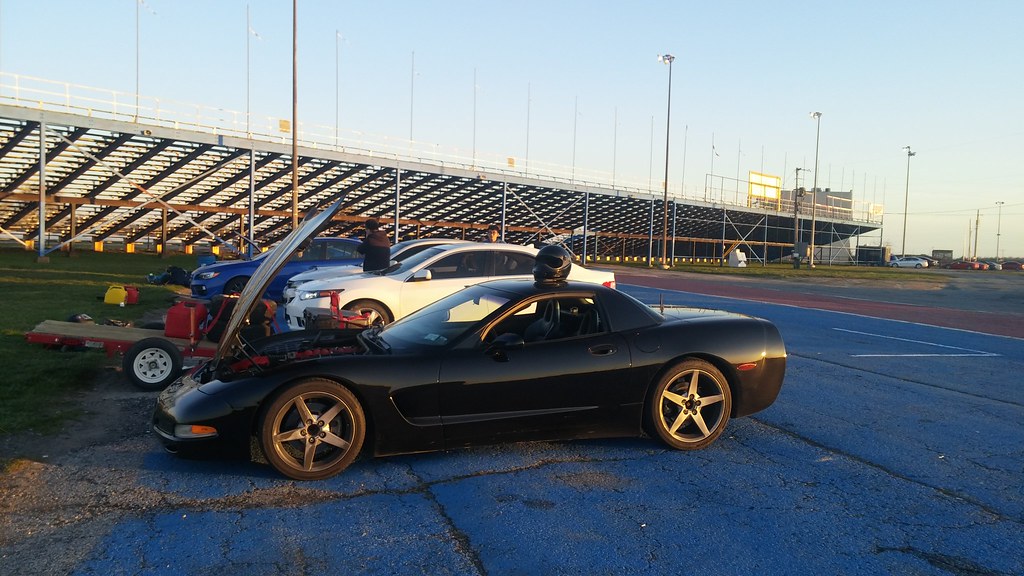
So after a long and agonizing 500 mile break in for the clutch, trans, and new rear gears (of which all was spend <50mph), it was time to put it to the test.
 0312171530 by Norbert Ogiba, on Flickr
 0321171919 by Norbert Ogiba, on Flickr
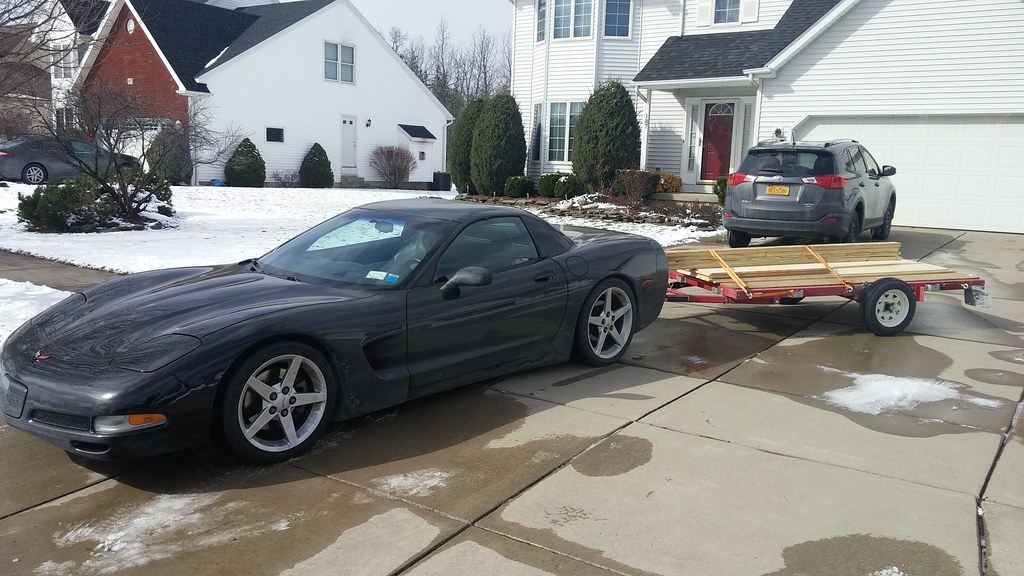
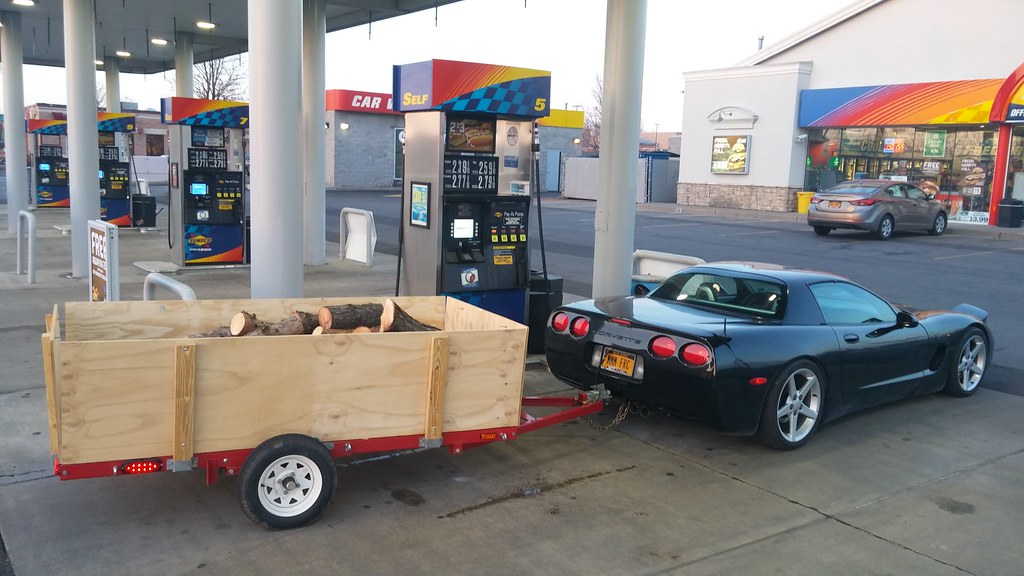
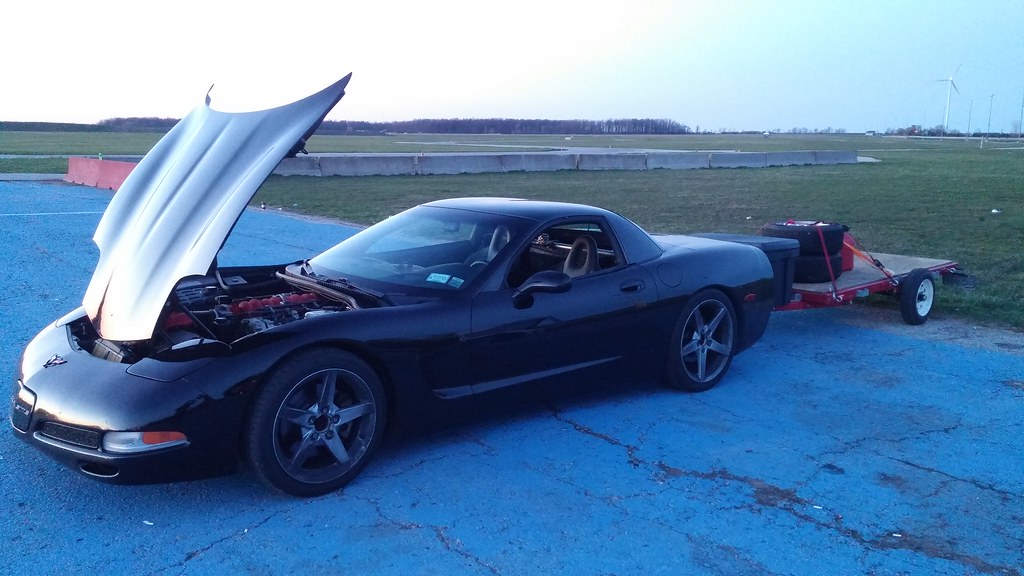
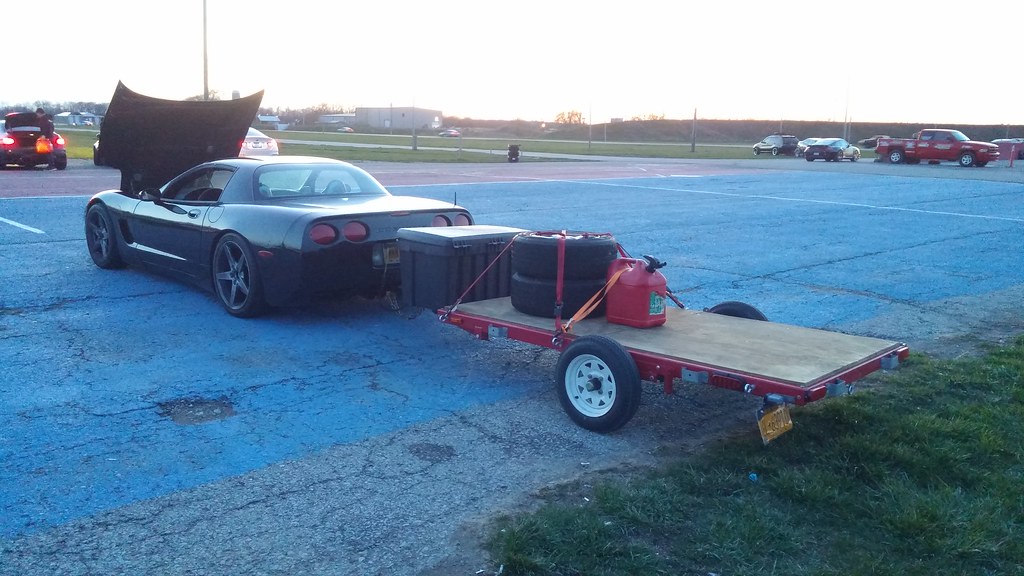
Hauls stuff like a beast.
I had a titanium Z06 exhaust on the car but sold it to a local with an automatic C5 ragtop - I installed it for him, and he was kind enough to leave me his old stockers (stainless steel). So now I had that stainless set, in addition to the stainless stockers on the car that I bought last year. More on that later…
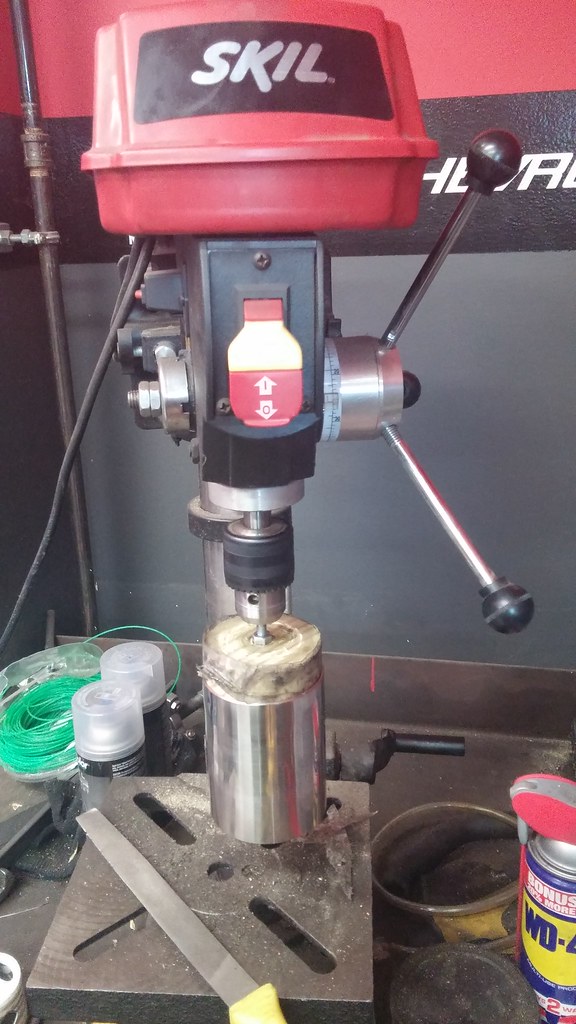
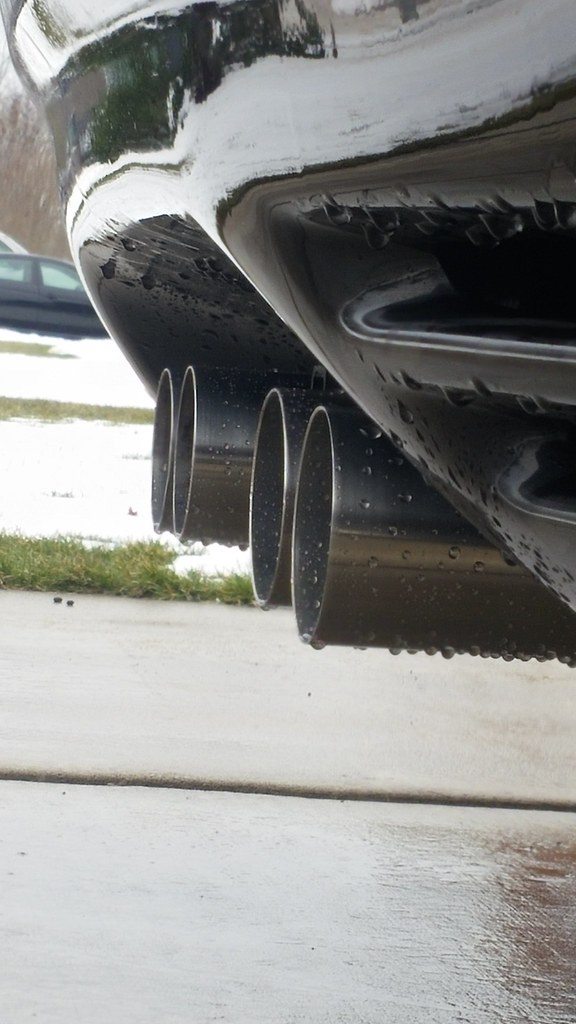
The factory tips are awfully ugly, so I chopped up some spare 3" polished stainless laying around and chucked it up in the drill press to spend time polishing it. The final effect is a brushed finish. I used a 3" hole saw to cut a slug out of a 2x4, then jammed the wood inside the pipe, put a nut and bolt through the wood, and got it all in the drill press.
 0319171330 by Norbert Ogiba, on Flickr
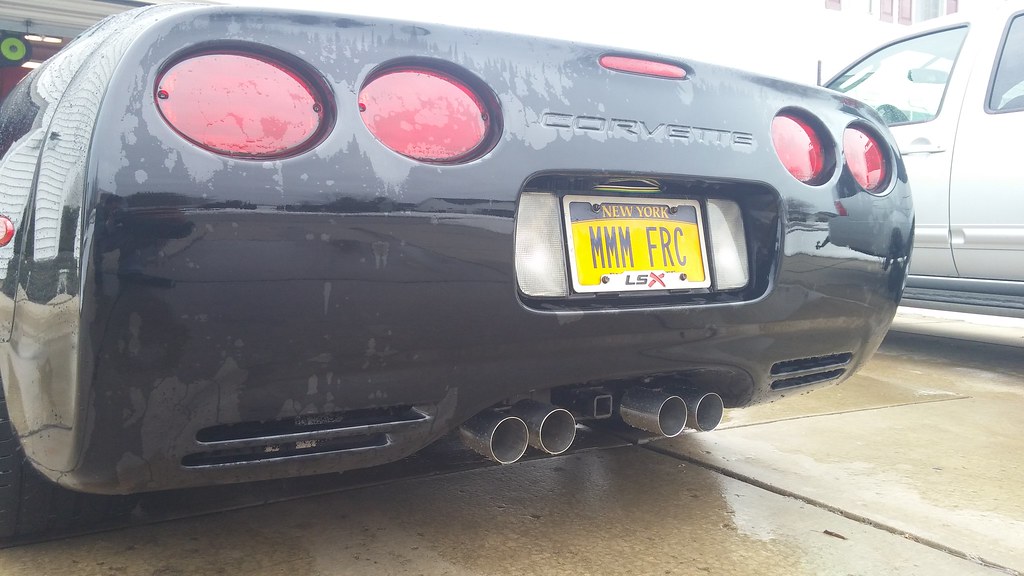
Welded over the existing oval (trimmed) tips:
 0320171704 by Norbert Ogiba, on Flickr
I used a small steel rod welded to each pair of tips to keep them perfectly square and level.
 0320171704a by Norbert Ogiba, on Flickr
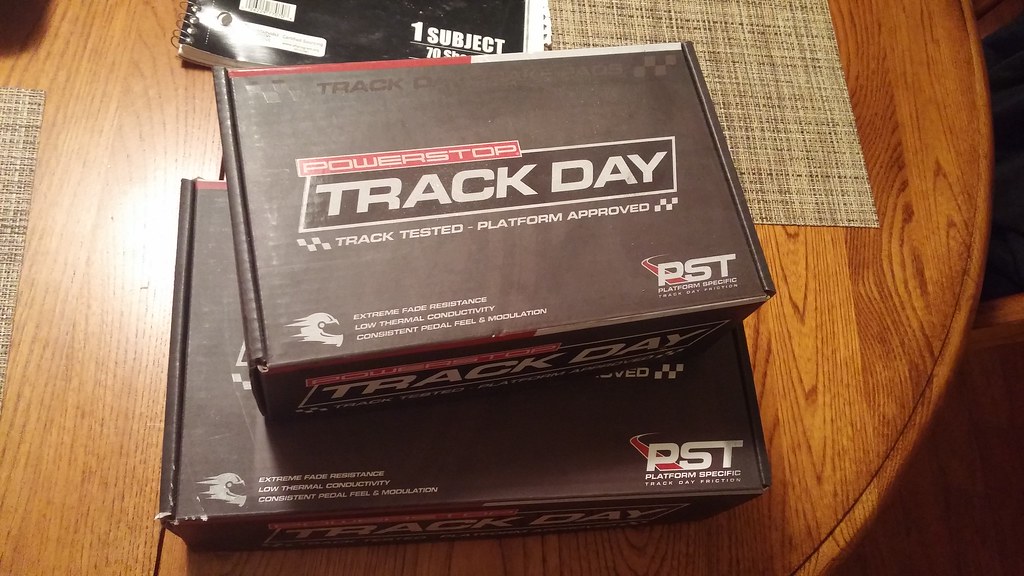
Finally installed my race pads in prep for an open lapping session at Toronto Motorsports Park. Great stopping power (finally activates the ABS) but dust extremely hard.
 0412172045 by Norbert Ogiba, on Flickr
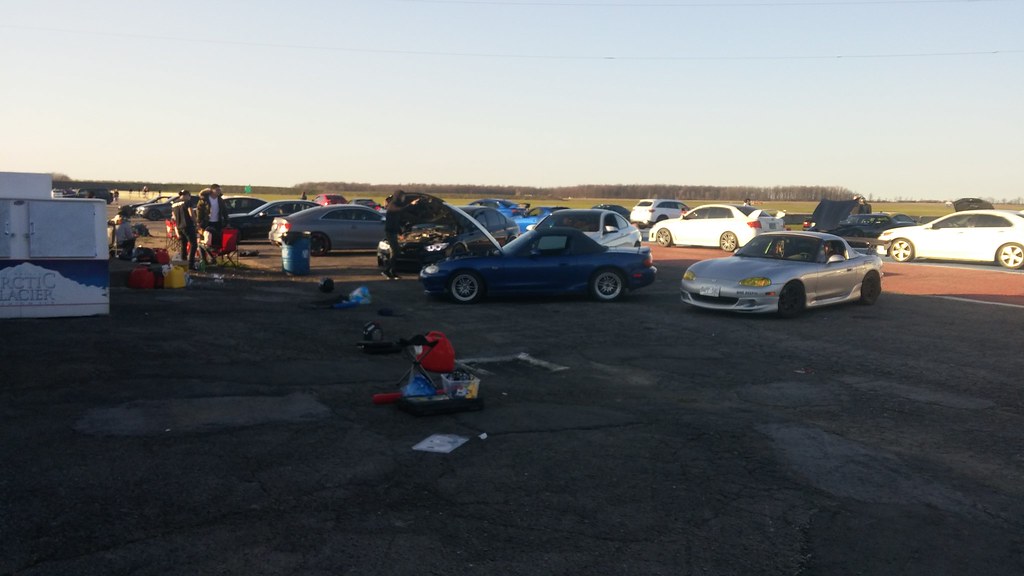
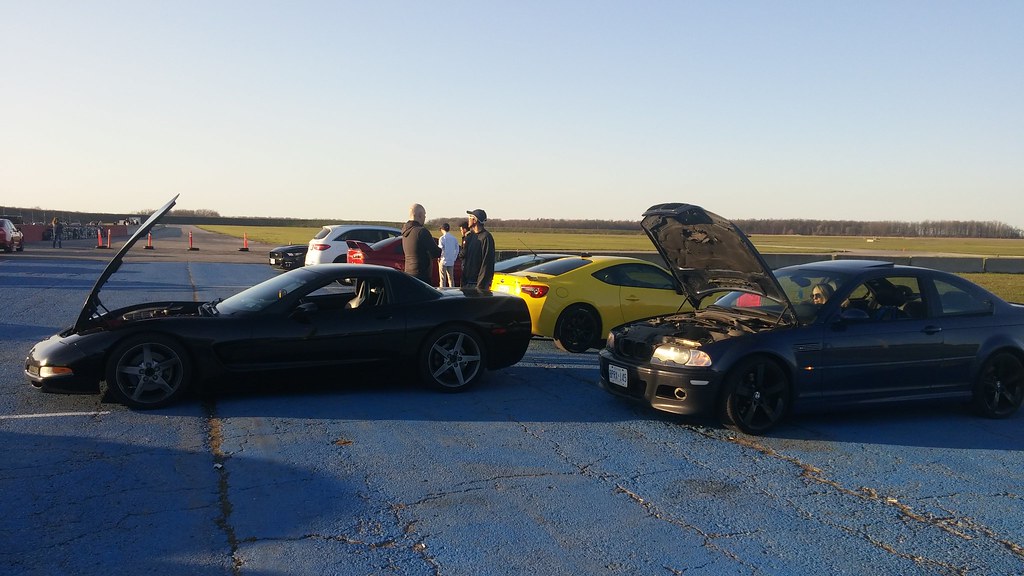
Track day bro
 0414171855a by Norbert Ogiba, on Flickr
 0414171856 by Norbert Ogiba, on Flickr
 0414171938 by Norbert Ogiba, on Flickr
 0414172015 by Norbert Ogiba, on Flickr
 0414172015a by Norbert Ogiba, on Flickr
Great evening lapping - but it exposed a few flaws in the car. Still need to address the minor oil consumption issue that only occurs on track, so an LS6 valley cover/PCV is waiting in a box in the garage. I also found myself wishing for more grip in corners. More on that later in a future update…
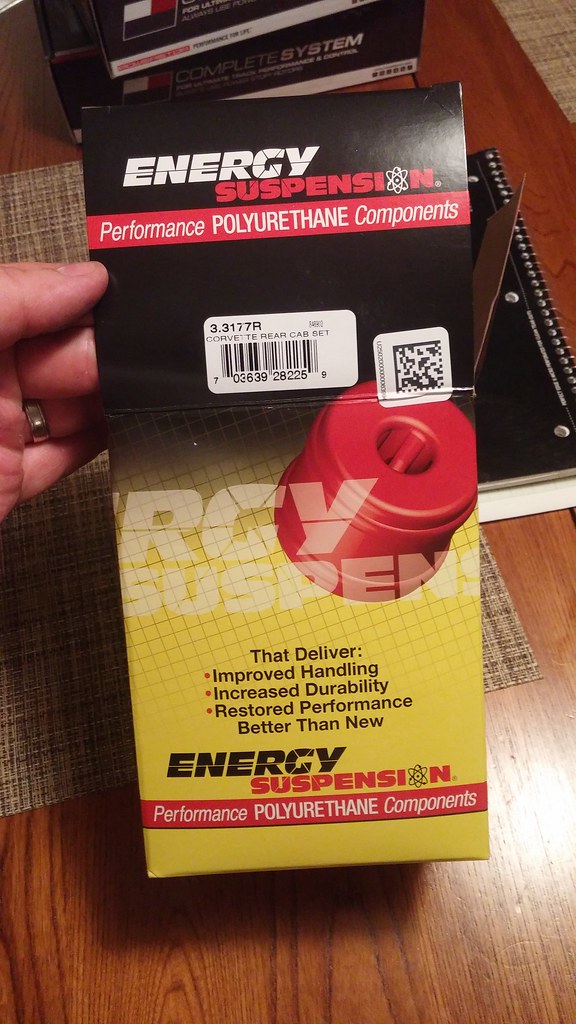
Finally, I got fed up with the wheel hop that occurs when aggressively leaving a light, so I ordered up a full set of Energy Suspension Control Arm bushings - in the process of installing that now. Like I said earlier, I should have done that while the cradle was out, but such is life.
 0412172046 by Norbert Ogiba, on Flickr
I’m working on this thing quite often now, so hopefully I’ll be posting more updates soon.
I’m curious to hear how the bushing swap goes.
A lot of nice work going into this car! I found after Auto cross yesterday that my engine mounts are weak my motor seems to move A lot ut kept pulling the cold air intake out of the MAF.
Halfway through the rears now. The uppers are not hard to remove, I just pressed them out and then burned out the steel sleeves. Messy and smelly but certainly not difficult. We shall see how the rear lowers go tonight. I don’t know how old the alignment is on this car so I’m also going to install the fronts that I just ordered before getting it all aligned.
time for poly motor and trans mounts!
Yeah I’m gonna try to order them asap so I can throw them in before the TMP event at the end of the month.
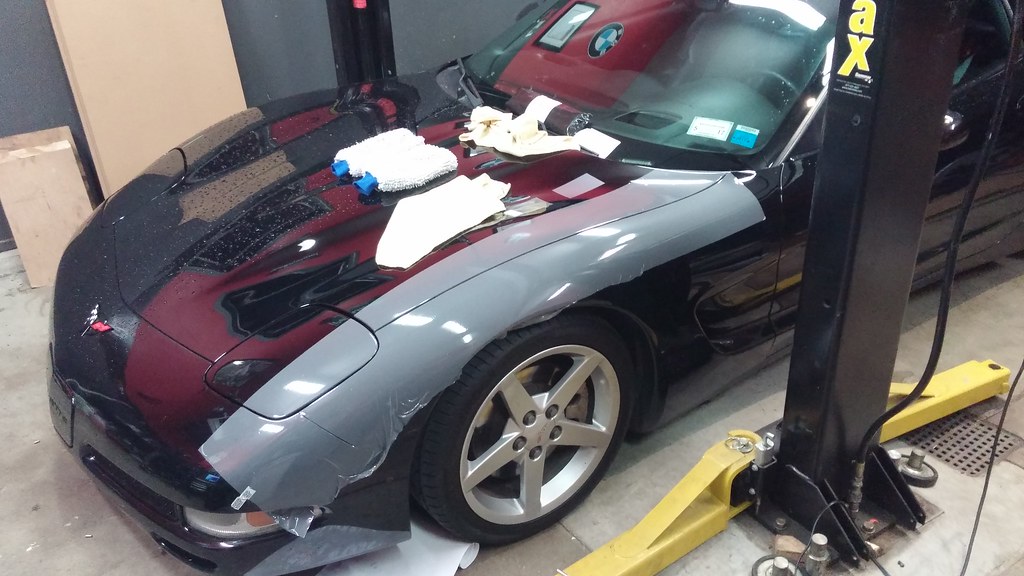
So I’ve been tinkering with little stuff on this thing but nothing really worth mentioning except for this
The original paint is not up to my standards (rock chips and very fine sandblasting of front bumper and fenders around wheels). I am of the mindset that repainting body panels/permanent color changes devalue a car, so a total respray is out of the question.
I have been tossing around the idea of a “neutral” shade - something that doesn’t have too much of a specific identity - yellow is too loud, red attracts police, etc etc. A shade of silver, gray, etc is my style. I want something that will have some attitude, but is not tacky, garish, and doesn’t scream “look at me”. My only real criteria is a high gloss finish. The matte/flat thing looks cheap and unfinished to me.
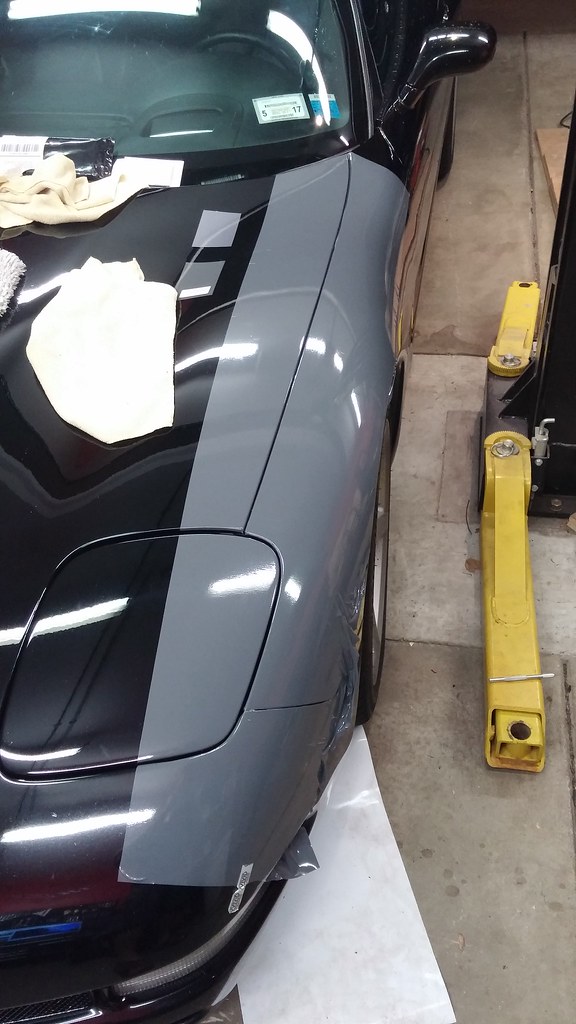
I bought some samples of Telesto Gray, Gloss Dark Gray, and a 3M Metallic Gray. I put the Telesto Grey sample strip on the car, spanning multiple body lines, and it just didn’t have the depth I was looking for. Looked somewhat cheap and showed marks/scratches easily, because there was nothing to draw the eye away from those blemishes. So that killed that idea.
 0821162101a by Norbert Ogiba, on Flickr
 0821162101 by Norbert Ogiba, on Flickr
 0821162101b by Norbert Ogiba, on Flickr
 0821162103 by Norbert Ogiba, on Flickr
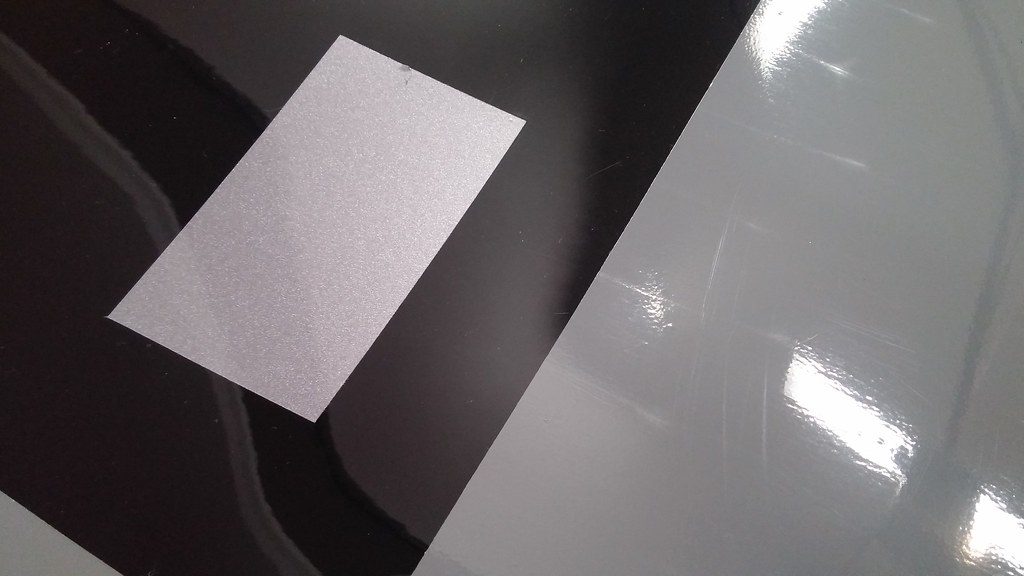
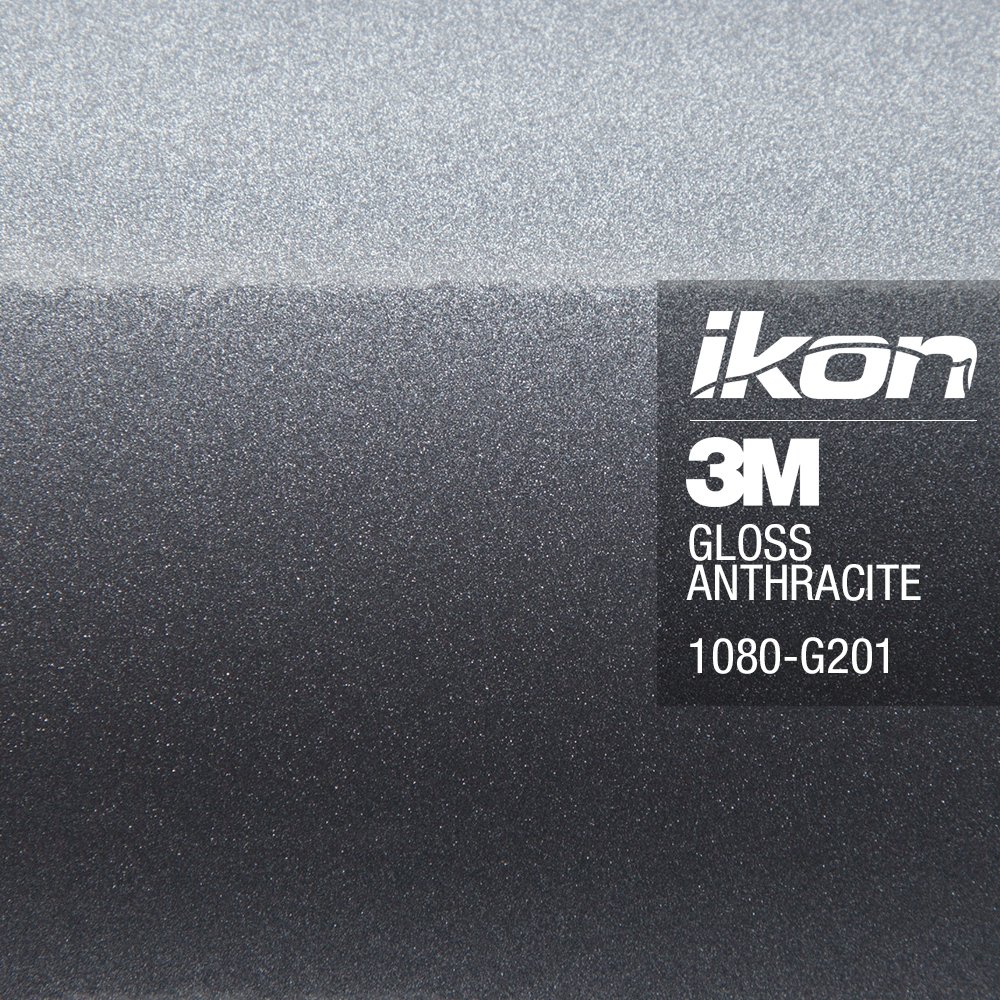
Here’s what I’m thinking: Anthracite Gray by 3M has the right shade of brightness to it while including enough metallic flake to give it depth. I love how it looks in that last picture.

I like how it has that depth when out of the light…

But has that brilliant glossy finish with light applied.

Looks really nice pulled off on this Miata.
And even better on this S4
 3m Gloss Anthracite vinyl wrapped b5 s4 work meister s1r by hkarmy1134, on Flickr
 10661995855_ea4df64df1_h by hkarmy1134, on Flickr
I guess the closest C5 factory color to this shade would be a Medium Spiral Gray, which was never available on the FRC body style…
Here is a Medium Spiral Gray C5 for reference.

just found this over on the 'Tech - Cyber Grey C5Z06


The cyber grey is great. My c5 had the same sand blast look on the front end, it drove me crazy.
What does a full wrap like that cost? What is the expected life on it?
I paid just over $600 for all the tools and materials. 300sq ft of wrap, heat gun, knifeless tape, squegee and razors, etc
Labor is free because I like learning how to do new things, my time spent is a whole different story. I expect it to take me a few weeks.
I figure by the time I wet sand and compound/polish the whole car I would have just as much time wrapped (ha) up, but the paint is still the OEM black that will look like shit in a few weeks because I actually drive my car.
The expected life is 3 years, but this is only a fair weather daily that’s garaged and not exposed to elements as much as the typical daily, so I hope it lasts that long. On the other hand I track it occasionally so it might see some chips on the front end. If I have to rewrap a front bumper every couple years, so be it, it is what it is. I wonder if you can put a clear gloss vinyl over a colored vinyl…
The wraps don’t ruin the paint underneath I assume, how hard it to remove if need be?
I think the color will look great.
Doesn’t affect the paint underneath.
I’m interested to see how this turns out.