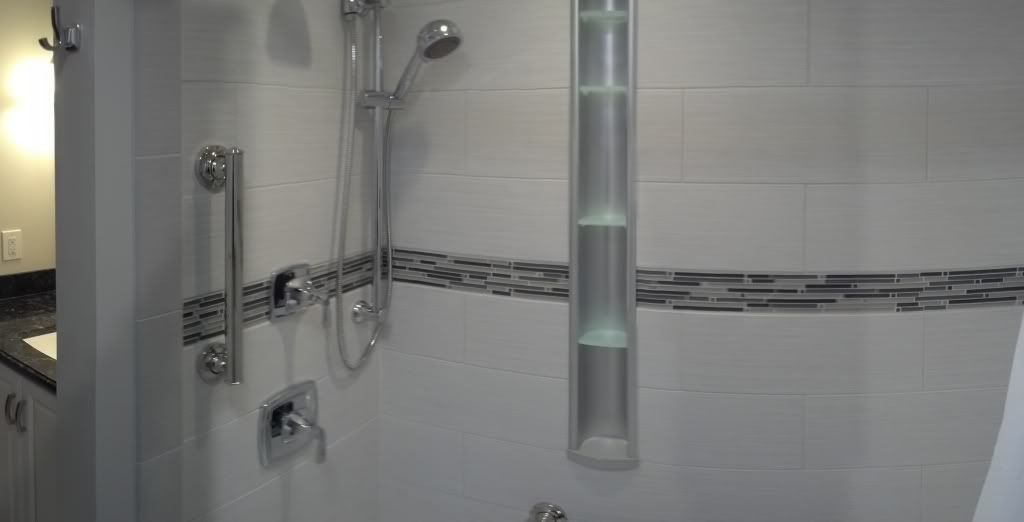
Thoughts? Yes…Funds? Not at the moment. Once I have the $$$ I’ll be in contact.
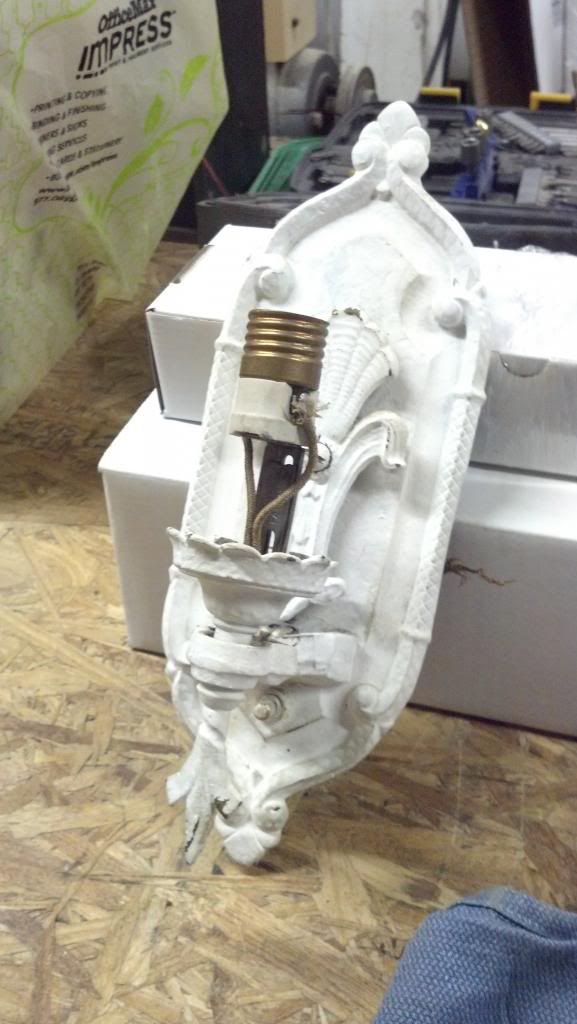
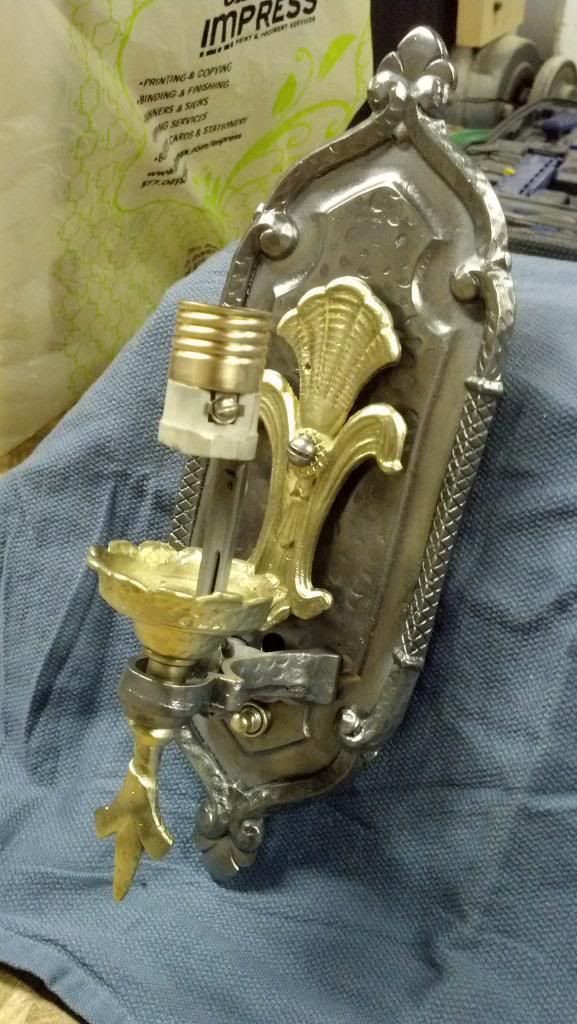
Nothing major here, just interesting. Doing a little “rehab” work for a member and thought this was cool. Took the, what we are assuming, is the original wall sconce off the wall and decided to re-use it. With a little sandblasting and some wire wheel work, I was surprised what I found underneath. Check it out.
BEFORE:
AFTER:
Came apart in 4-5 pieces.
Once again, Andy, thanks. Still blown away that some shithead at some point painted this awesome fixture (and flat white, of all colors)…
Will post a finished thread next week when Andy’s current project at my house is done…
If I find out this thing is gold…you’ll never see me again. ![]()
I’ll keep your ladders then, god damnit!
hahaha^
how did it look on the house before? Seriously, why would someone ever paint that?! That looks sweet
Woah big difference :tup:
I understand that pain…my mom is notorious for painting over wall plates; outlets and switches. Yes switches. Thermostats and light fixtures are in jeopardy as well from time to time.
She offered to help me paint in my house and I politely told her “No thanks.” I mean she is my mother after all.
When I paint the only thing I mask is the ceiling line. I pull every thing else off. Including trim. It is so much cleaner when it is reinstalled.
Mask the ceiling? Amatuer. 
^ I know…I need to learn my cutting in better. Tips?
Be careful…If I can do it anyone can, I make Michael J Fox look like a surgeon. Or just half ass it and throw some crown molding up?
My trick, get a little paint on a 2 1/2" angled sash brush, then apply most of the paint to the wall just about an inch or so from the corner where the wall meets the ceiling. Spread it out. This stops the brush from having too much paint on it and creating that “flooded” corner with no control over the edge. Once you have the paint kind of spread out, go back and gently touch the brush to the wall, just a little bit away from the corner, start pulling the brush with gentle pressure and get it into the corner. Don’t rush but don’t over think it either and go too slow. When the brush stops covering and corner as it runs out of paint, go back and spread out the extra paint you smeared on the wall, start the process over. I typically work 18-24" at a time and I’m right handed so I like to pull left to right. It does take a little practice, but in no time you should be able to get in a rhythm and cut corners like an Haitian skyscraper builder.
---------- Post added at 09:16 PM ---------- Previous post was at 09:02 PM ----------
Been a little quieter lately but just finished up another bath…with a twist. Customer required a “safety” or “walk in” bathtub for his wife as she can no longer climb over the traditional tub edge, nor does she want to be committed to a full shower. This solves both problems.
I little more challenging than a normal tub, but the same concept…just shorter and taller. The plumbing was a little more challenging as the faucet setup they chose was one micron smaller than the corner it need to be squeezed into. The flexible pipe coming into the side of the drain is for a “minute drain” system which uses an electric motor to flush the bathwater down the drain so you don’t have to sit there and watch your nuts shrivel while you’re waiting for the water to drain. You can’t open the door until there’s about two inches of water at the bottom, so this feature is almost a must.
Customer requested we re-use the existing lighting and medicine cabinet. Not my cup of tea but it kept with the “retro” look of the tile and colors. (which I did not pick by the way)
High flow tub filler and faucet with a diverter to send the mix up to an adjustable handsprayer with height adjustable rod.
The button on the ledge operates the air bubble massage and the one inside the tub is for the minute drain. Integral grad bar and twist style drain operating handle. The door has a closure lever inside and the access panels provided great access to adjust the leveling feet and access the motors and electrical.
Customer chose the old school towel bar. Manufactuer offered and acrylic extension kit to make up the difference from the 52" tub in the 60" opening. I decided to do something custom and add a Carrera Marble transition and wall shelf. Gives them a place to keep bathing products, etc.
Didn’t take any before photo’s on this one. Don’t worry, you didn’t miss much. Floor tile was OK but nothing to write home about. Again, nothing over exciting but just a little different. Enjoy.
Been a little busy between work and scrambling to get the tranny back in the time machine. Here’s a couple projects we’ve been working on for the last month or so. Enjoy.
My buddy’s mom & dad’s bath:
Dad is getting older so he needed a walk in shower instead of the climb in tub.
New glass block window, swanstone shower pan, cheap Home Cheapo tile and fixtures (they had gift cards to burn), some old accent tile I had in stock, frameless glass door.
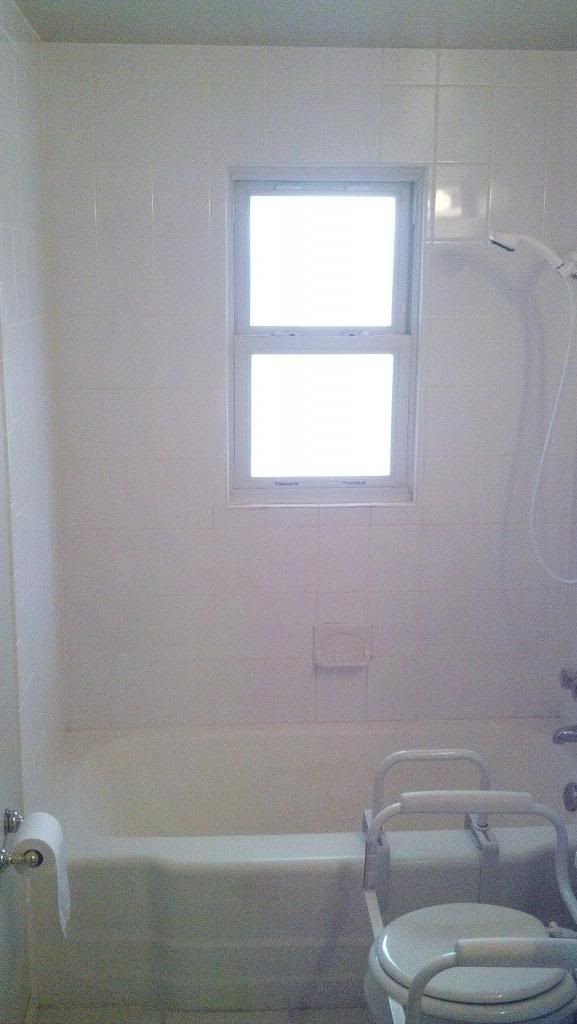
Sorry about the photo, light was so bright I couldn’t get the phone to shoot a pic with the light in the middle. 
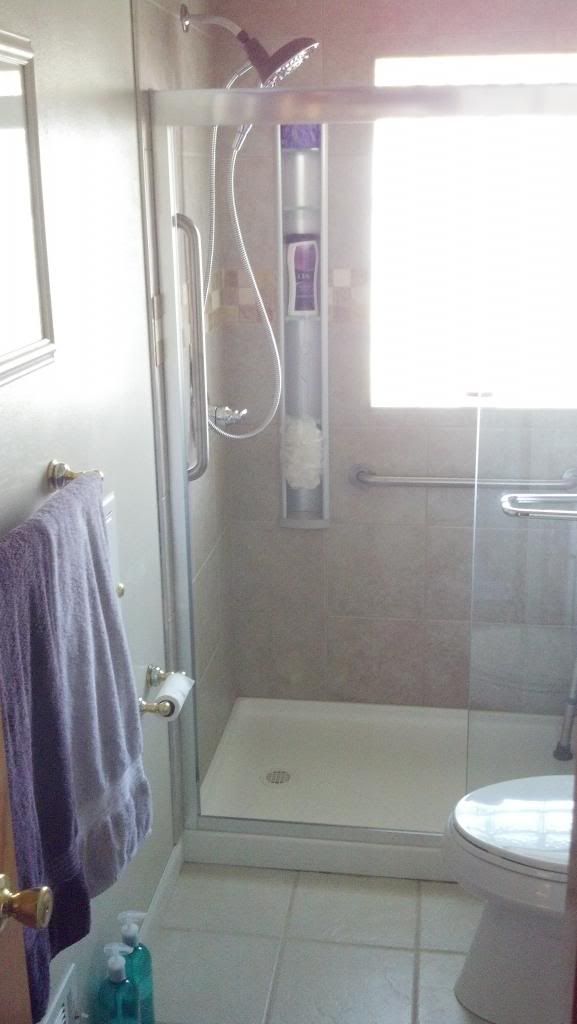
Condo community master bath:
Working on this one now. Had a couple that wanted to combine a general bath and a useless intermediary / walk in closet room into one master bath.
Looking in from the “walk in closet”
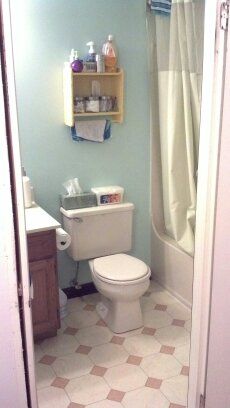
Another shot.
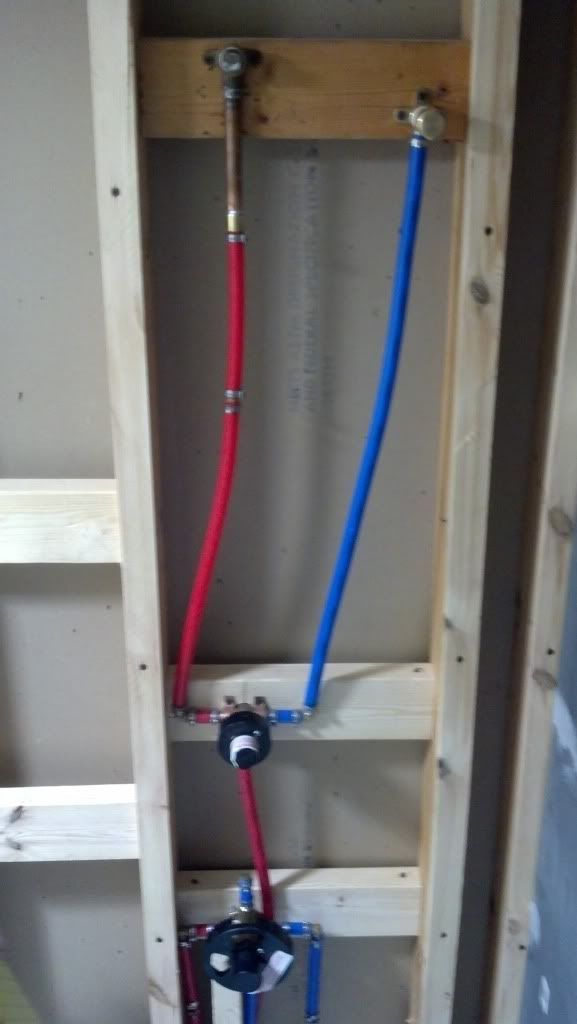
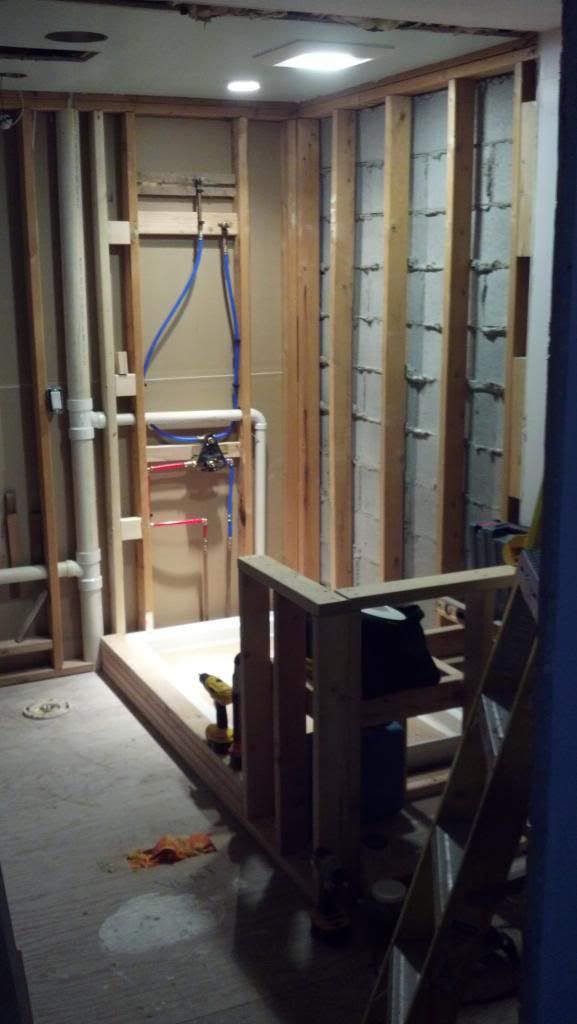
Rough mechanicals stage after removing the dividing wall.
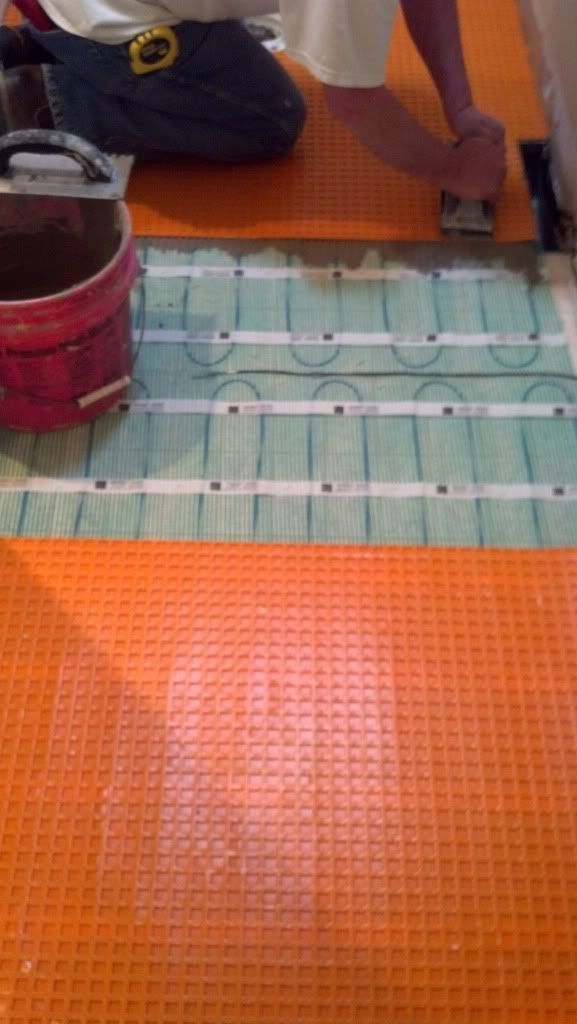
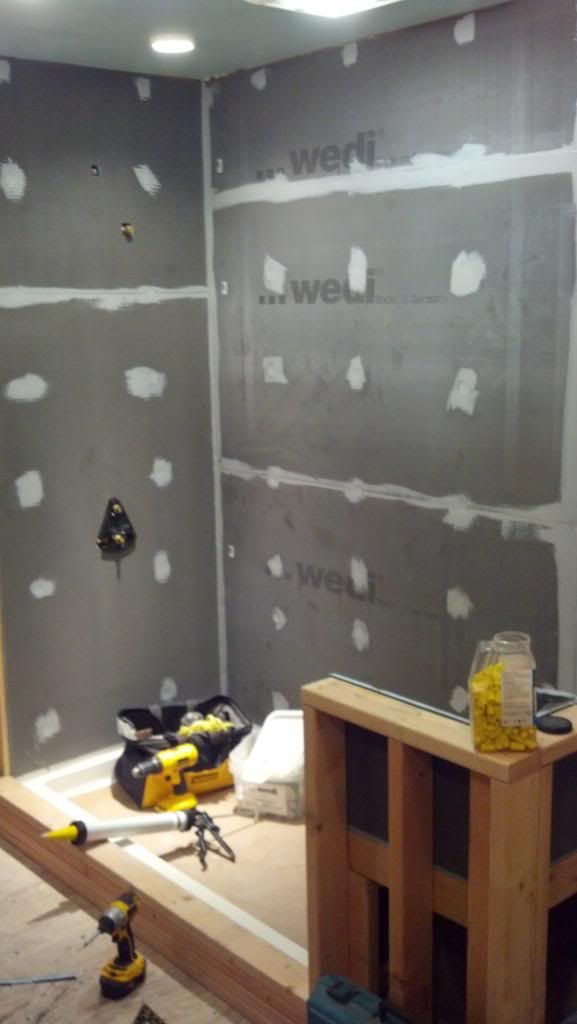
My German born tile substrate installed.
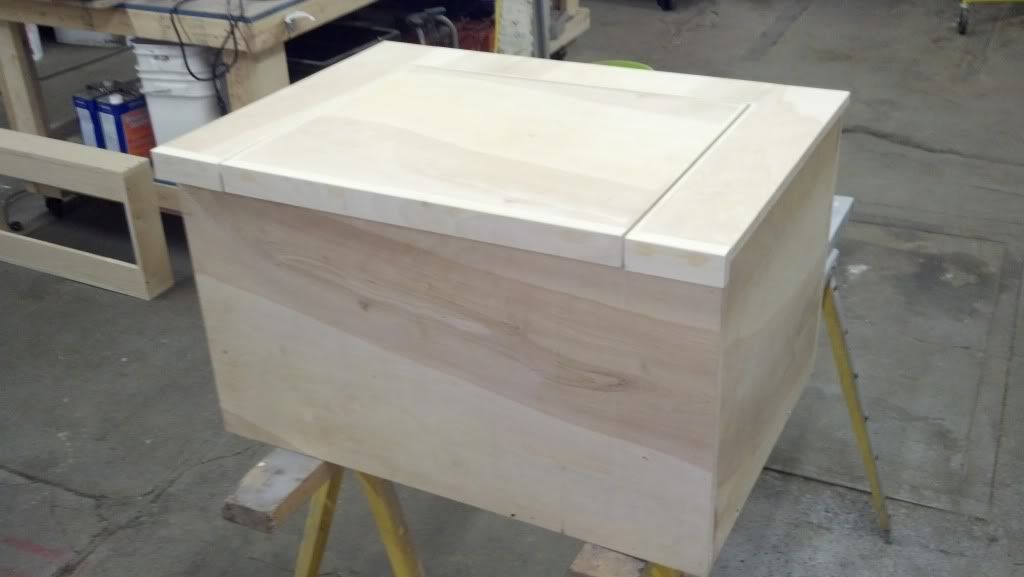
Built a custom laundry hamper to go next to the ordered cabinetry.
Much of the granite was installed and the cabinets are in. Just waiting for the custom shower door to be made. A little behind on pics so I’ll update this soon.
Very nice…PM sent.
Great work as always. Wish I was able to do that type of stuff.
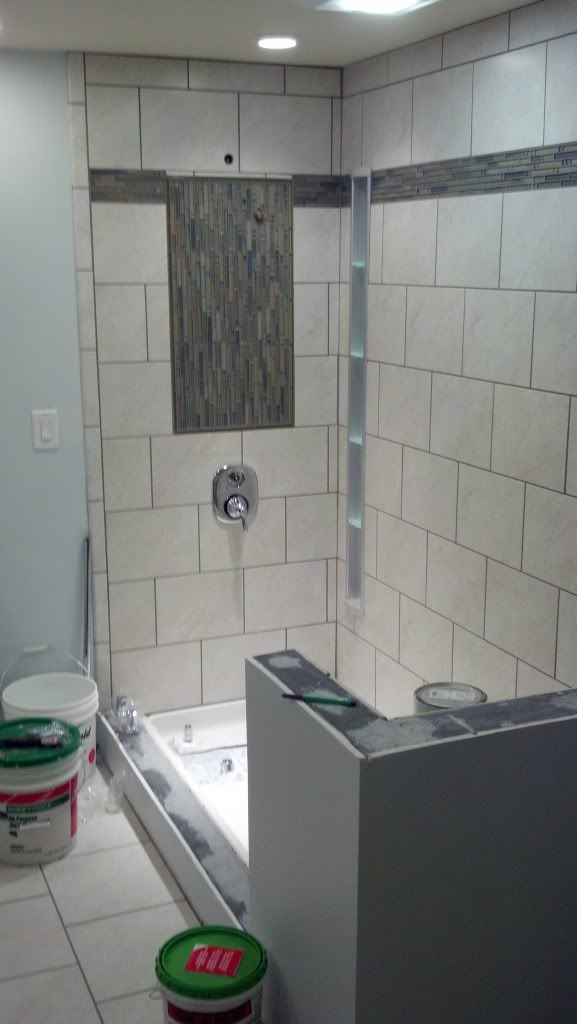
In the last picture of the shower, what is that long grey rectangle? Shampoo holder? If so where did you get it?
What type of pan is that for the last shower pic?
Thx
^It’s the shampoo “caddy”, I only know because I went over my bathroom with Andy.
thx
pretty cool
It’s called a Kohler Pilaster shower locker (product # 1840) available in 2 finishes and is the best bang for your buck for shower / tub storage. Average cost about $ 130.00 and beause it’s made from an aluminum extrusion it can be cut to any length from it’s origianal 60". The one in rugsr’s video is I believe their “less attractive” option. I will be contacting those of you who pm’d me today. Thanks again.
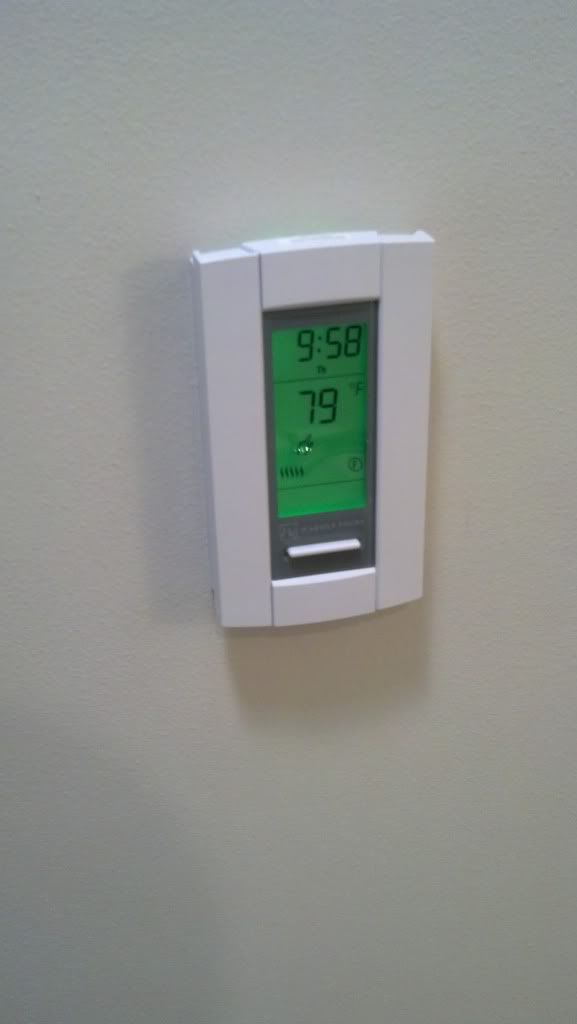
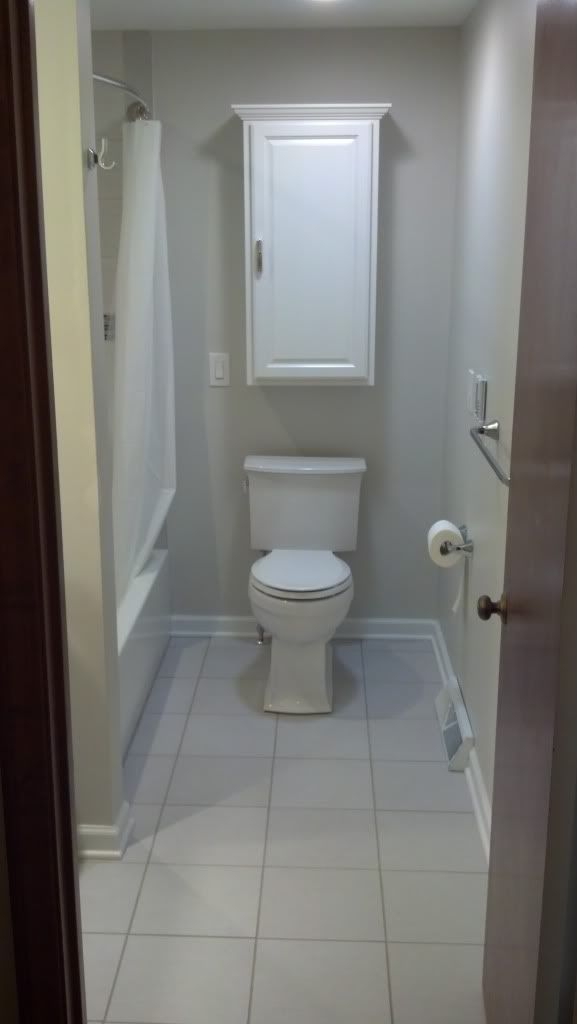
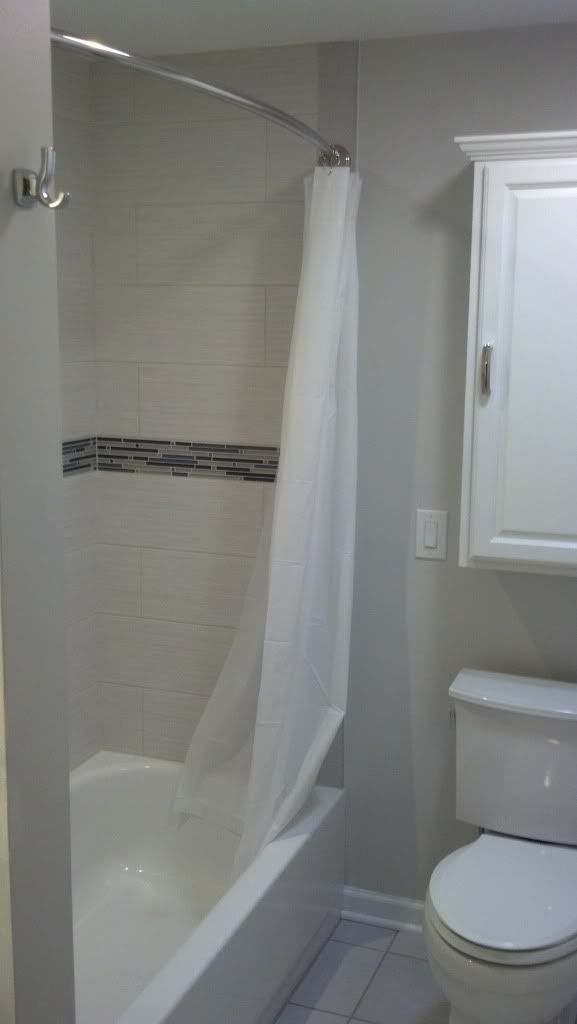
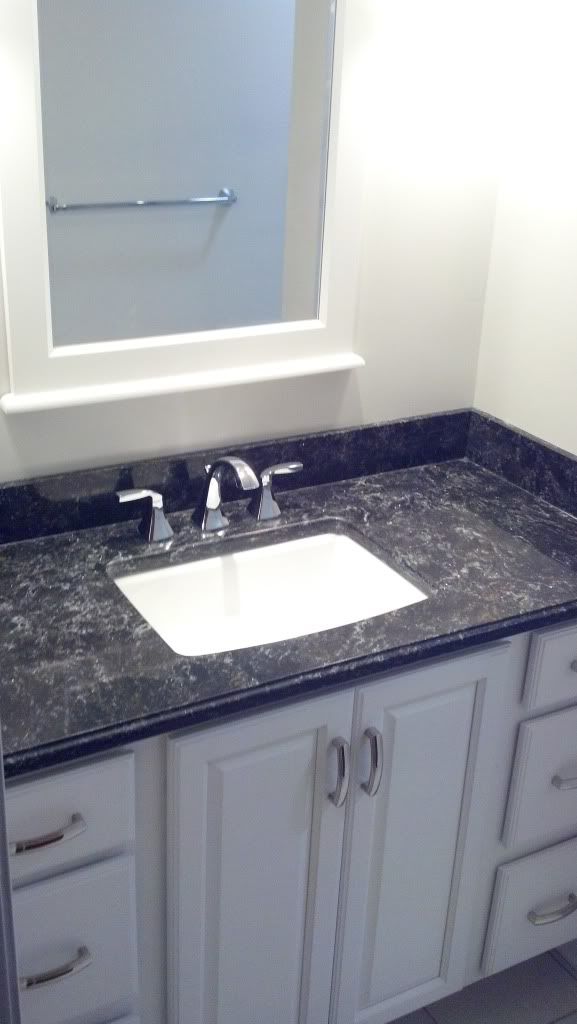
Had another bath remodel finish up this week. Pretty typical as baths go but the customer really did a good job picking out the tiles, paint, and finishes. We were pretty pleased with the way everything came together and it was a nice departure from some of the “earth tones” we’ve been pumping out for a while. Enjoy.
