Since there seems to be a little interest in the Auto Photo thread on how I made this image I’ll try my best to explain what I can remember. There are many ways to do this process, this is one way I do it.
Overall I used 4 different image edits to create the final image. For starters we have the original, un-edited image:
The original isn’t that interesting; the horizon is crooked, the image appears “flat” and mellow. But I will use this image to create the others.

Using Photomatix Pro; I open the same image 3 times to create a “fake HDR” from the single shot. I adjust the settings in the Tone Map adjustment until I get something I like, which looks like the image below.
As you can see the HDR/Tone Map process loses some detail in the car, this is fine, I will be using the foreground and pieces and parts of the background in this edit only. Essentially I am using parts from the 4 images to make one, editing each image to get a certain part to look the way I want and adding it to the original.
If this is still confusing you; here is another thread I made on how to do this, its also another way of doing what I am describing in this thread, just a simpler way: http://forums.mycanikon.com/showthread.php?t=3456

So now I have a decent looking foreground, dead tree, and treeline in the background, however like I mentioned before parts of the car are blown out or too dark, like the wheels. I have a plug-in for Adobe Photoshop CS3 called Topaz Adjust, it has a few preset custom edits and a feature where you can adjust the image yourself. Using different presets and adjustments to bring out some details in the cars body panels and wheels I get the image below; again I will select the wheels and body panels only in the image and layer it over the HDR image at different transparencies to make it blend in.

From the same image above I will make a black and white version, I’ll use small parts of this image in the background or to save blown out edges of the vehicle if needed. If you wanted to make a more dramatic sky you could use that part of this image as well. Again, very little of this shot was used in the final image.

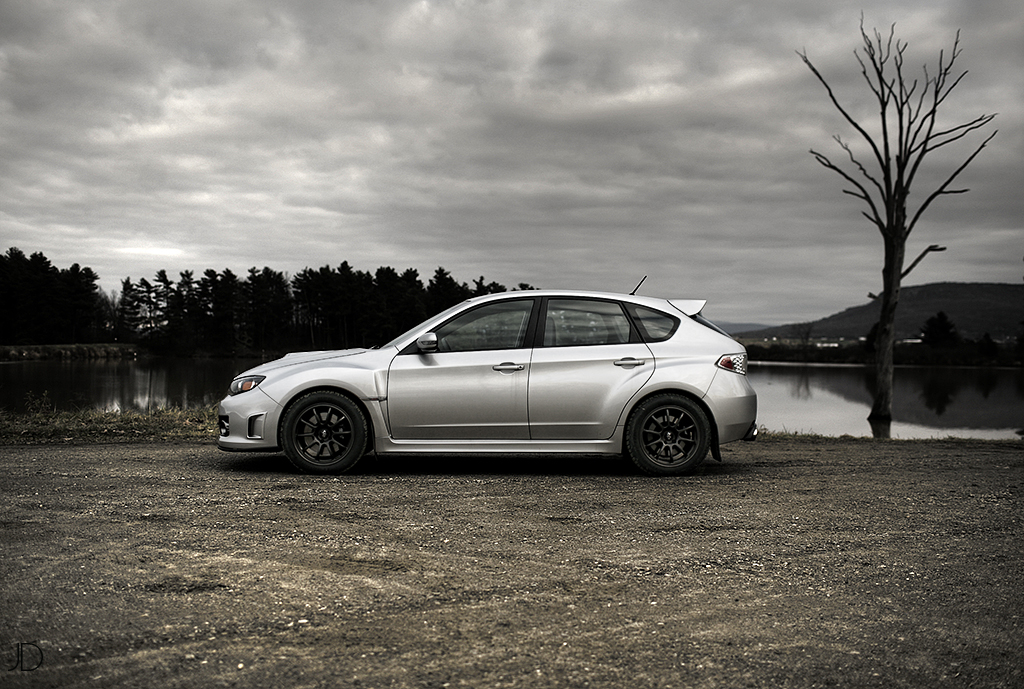
The final image.
I used the burn tool lightly on the sky and the car, the dodge tool works well to lighten any areas that need a little brightening up. Here you can make final adjustments to each layer or the overall image to get what you want.