Focusinprogress' XS650 BOBBER build.

decided on some colors and such…mostly influenced by the springs that came with the solo seat (they are antique copper in color, powdercoated)…

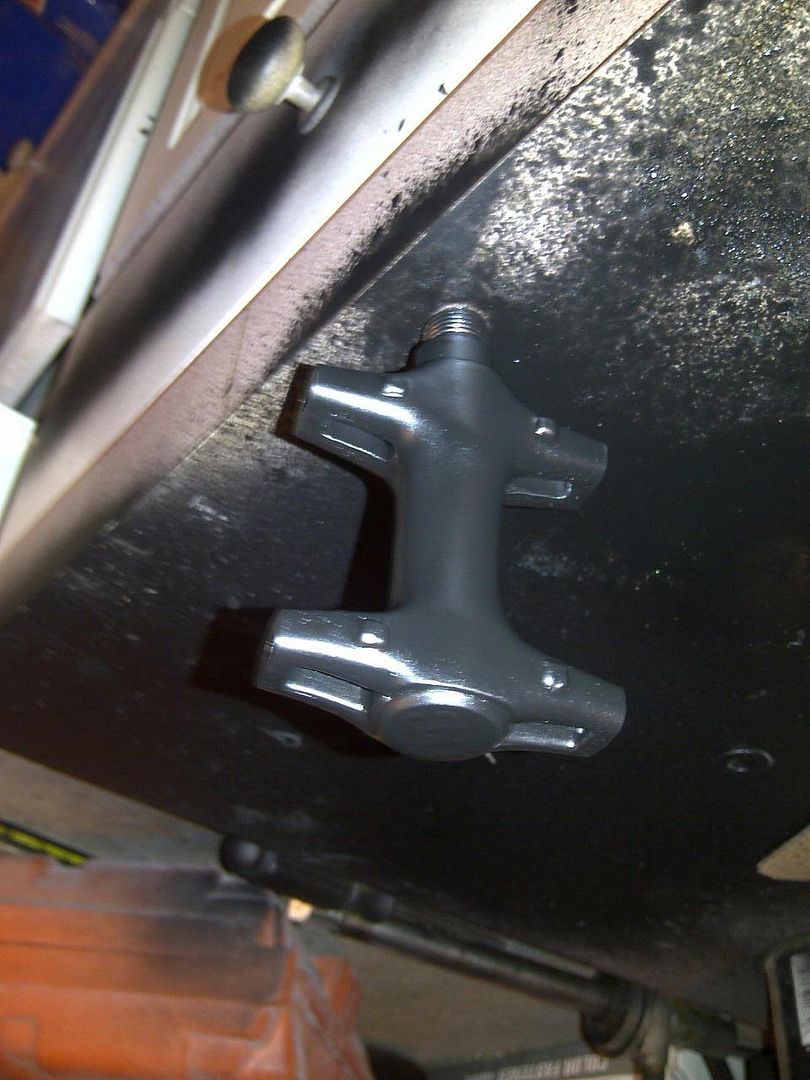
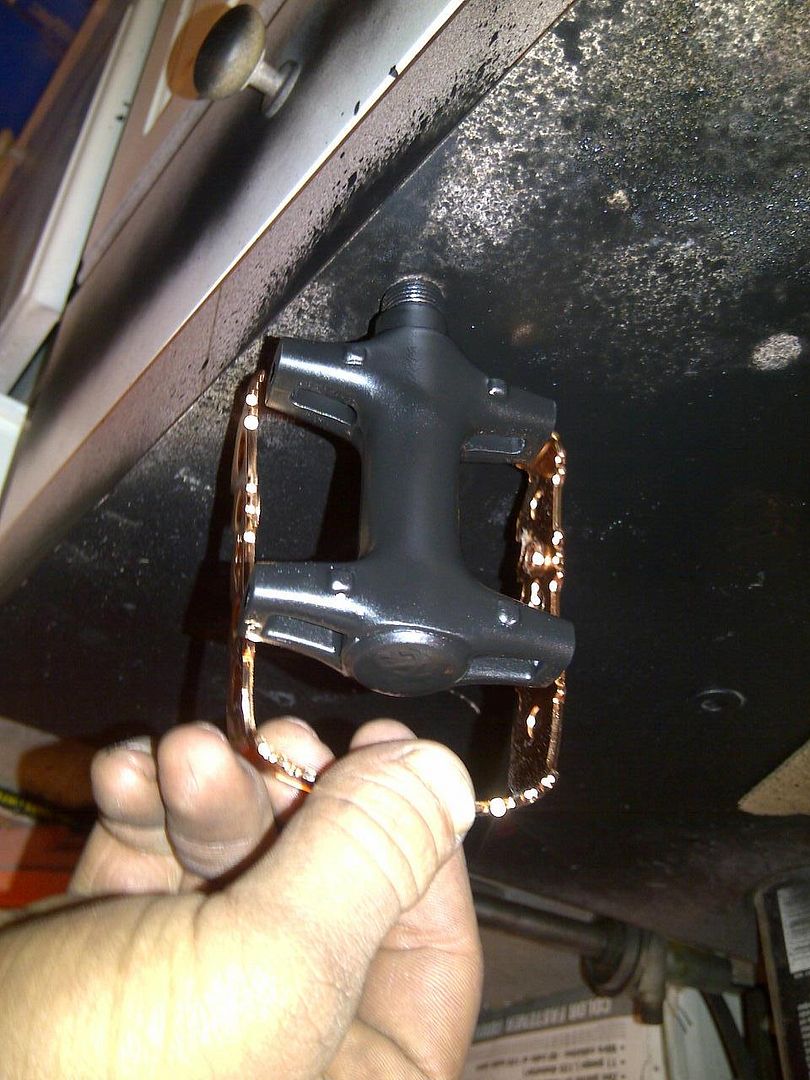
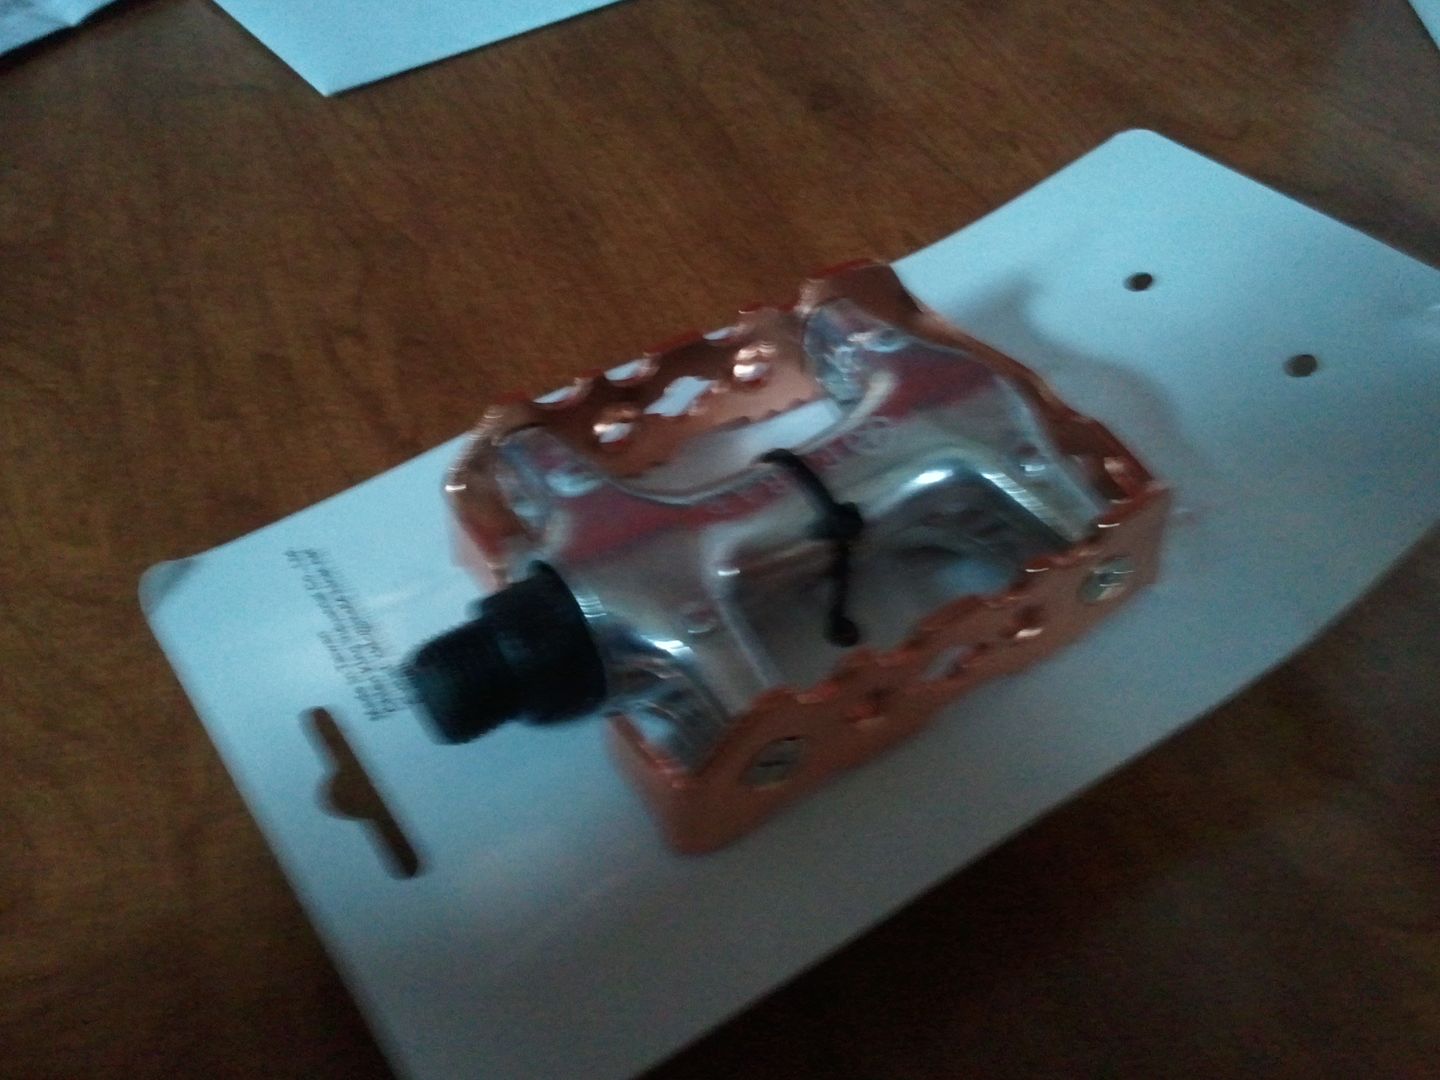
so I started out by picking up some copper bicycle pedals so I can modify one for the kickstarter

I’m going to sleeve the hardline for the rear brake in copper tubing from the forward control to the rear caliper, as well as the shift linkage rod the same way

Then for the paint scheme, I’d like to do an inlay on the sides of the tank and the middle of the rear fender pearl white, with the rest a dark metallic blue, and use a copper color as accent striping.

no idea what specific shade of blue, need to get my hands on a chip book to peruse.

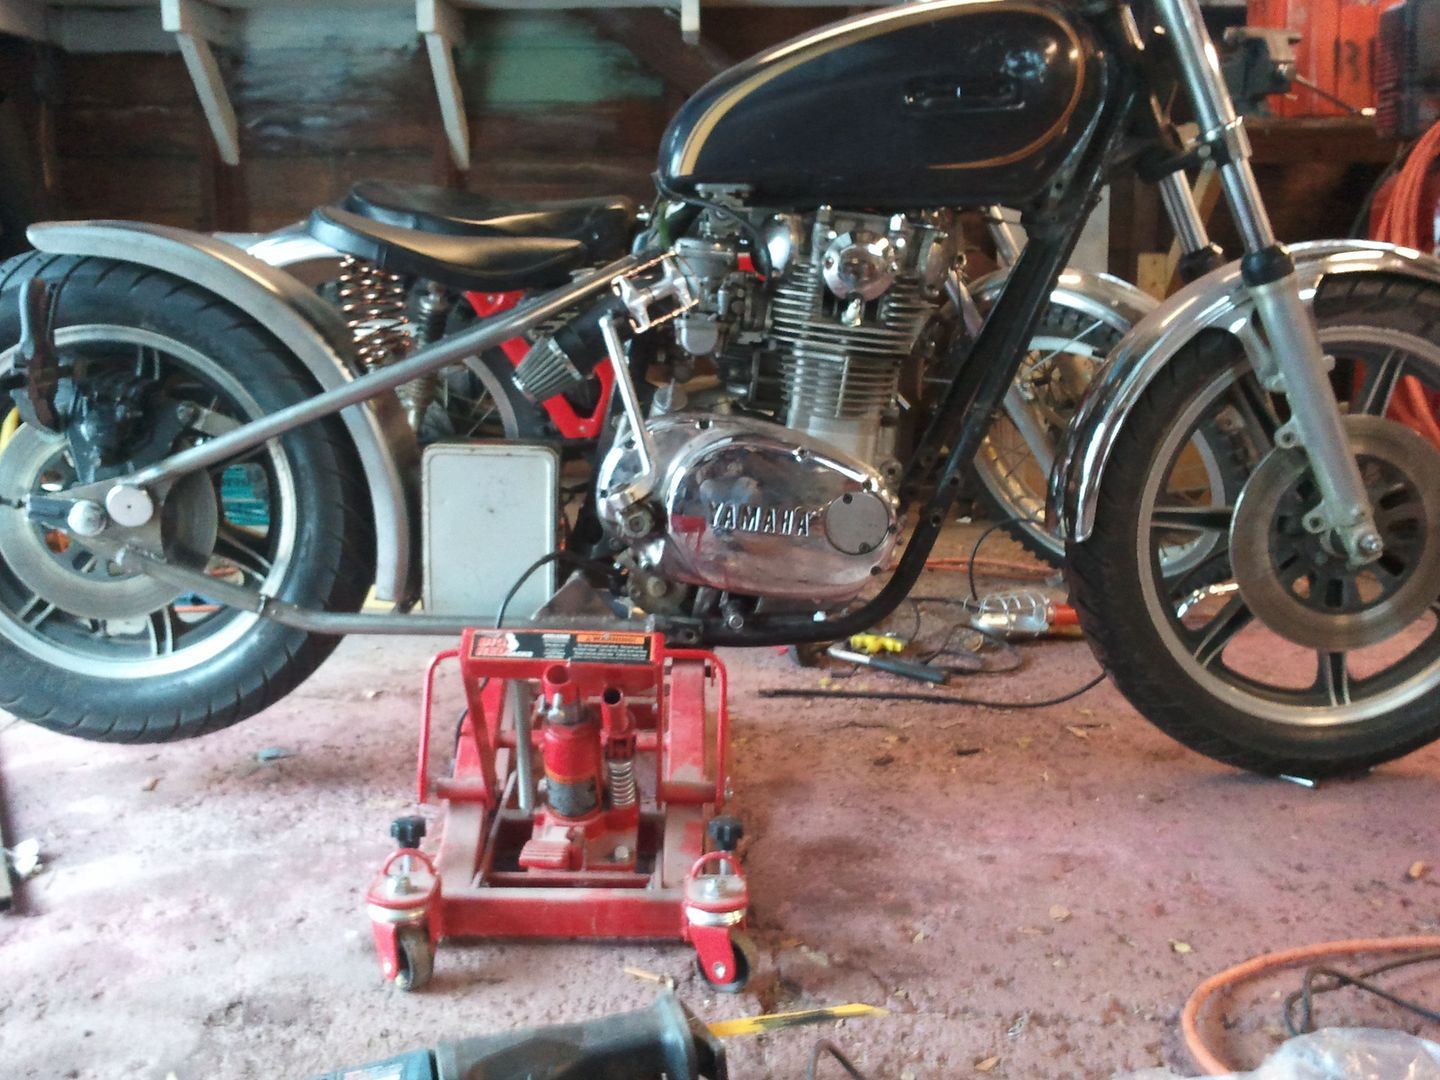
So Pirite came by and helped me throw the motor back in the frame so I could do a quick mockup and see what else I still need to fab up…

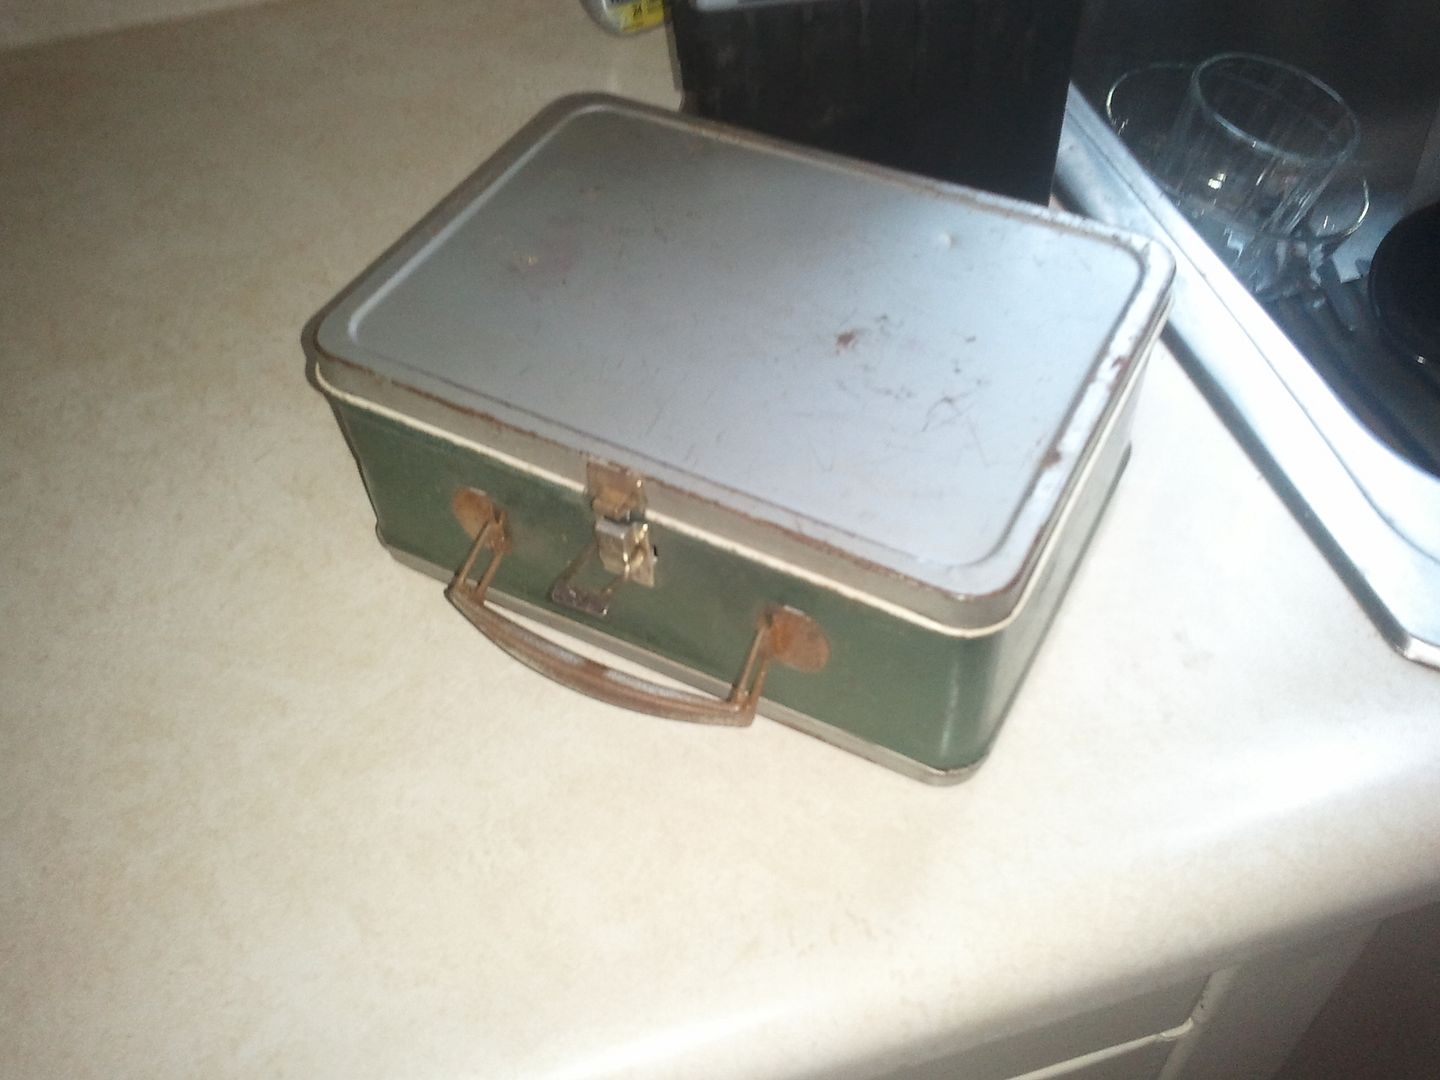
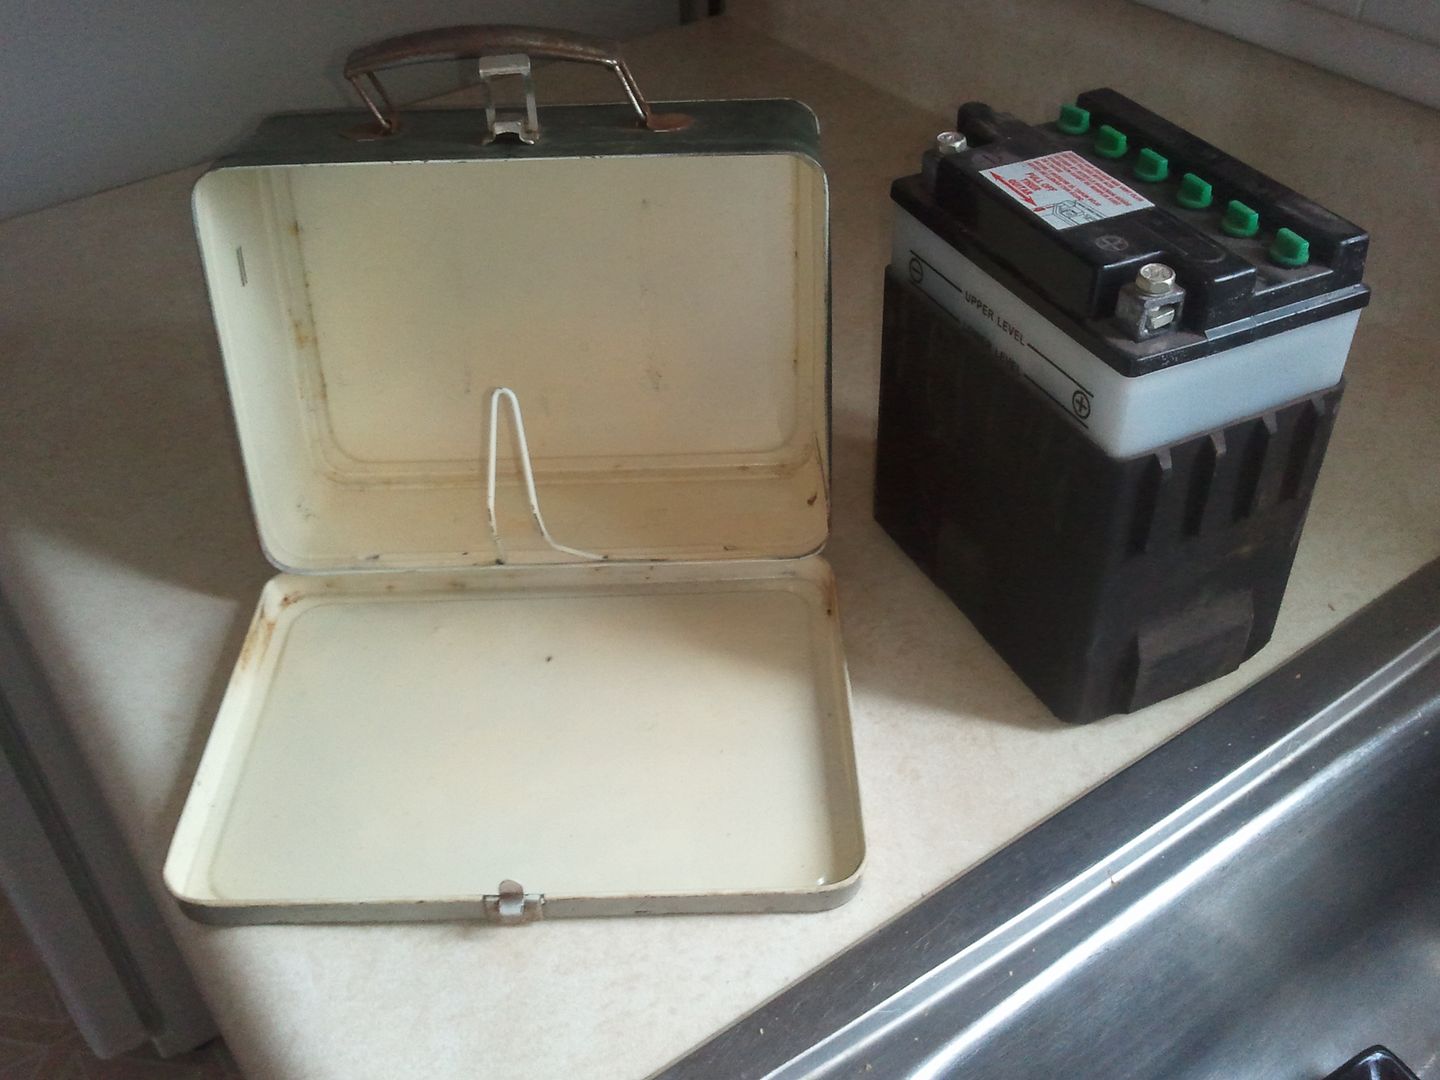
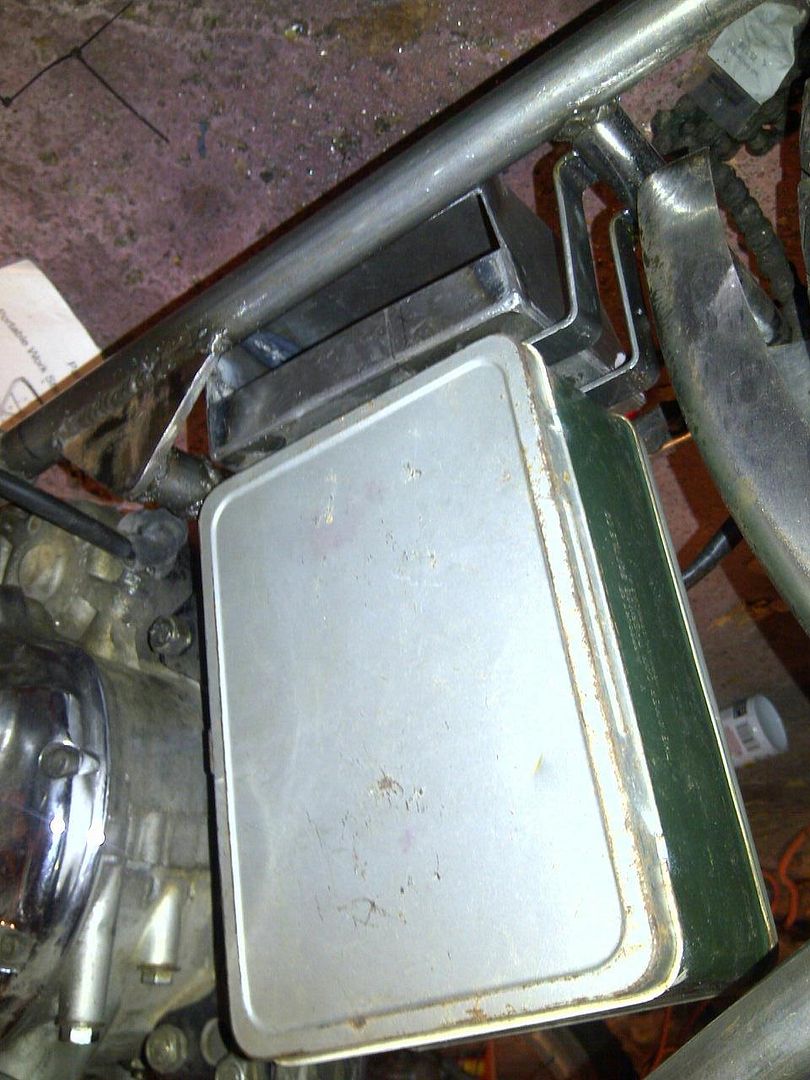
Before diving into that, I had this idea to maybe use a vintage lunchbox as the case for my battery and electronics…so I snagged one on ebay for $12 shipped.

it is a bit smaller than I had envisioned…stock battery won’t work.

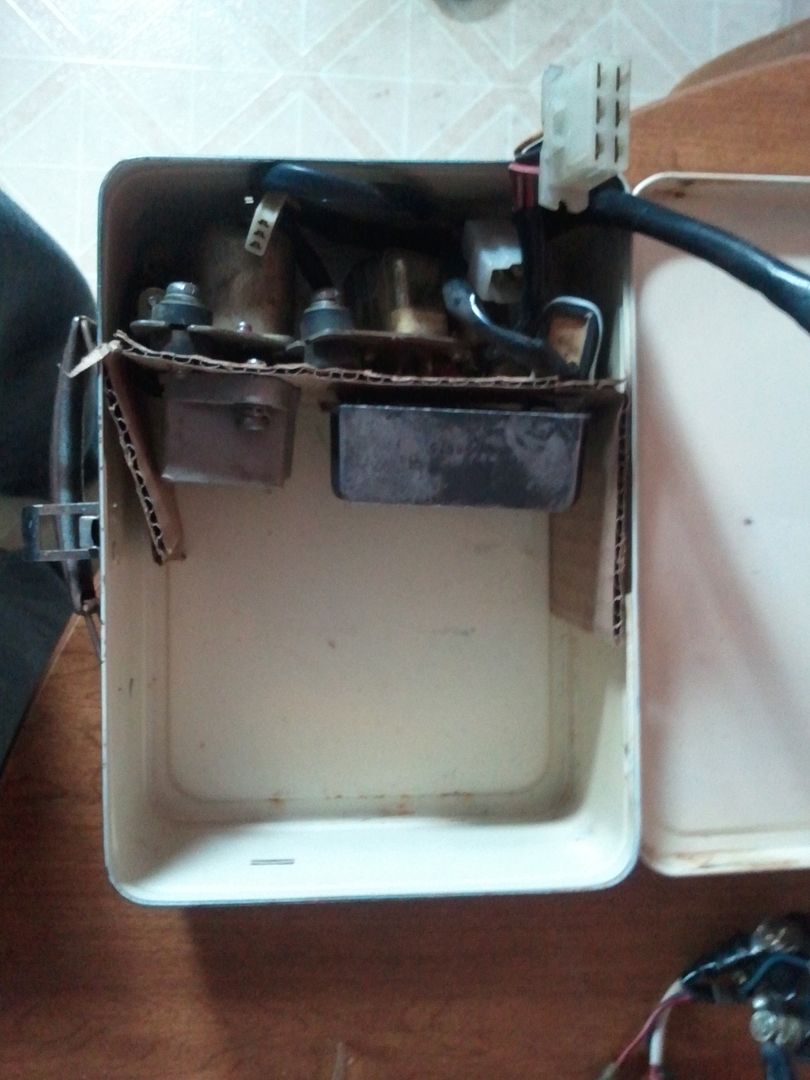
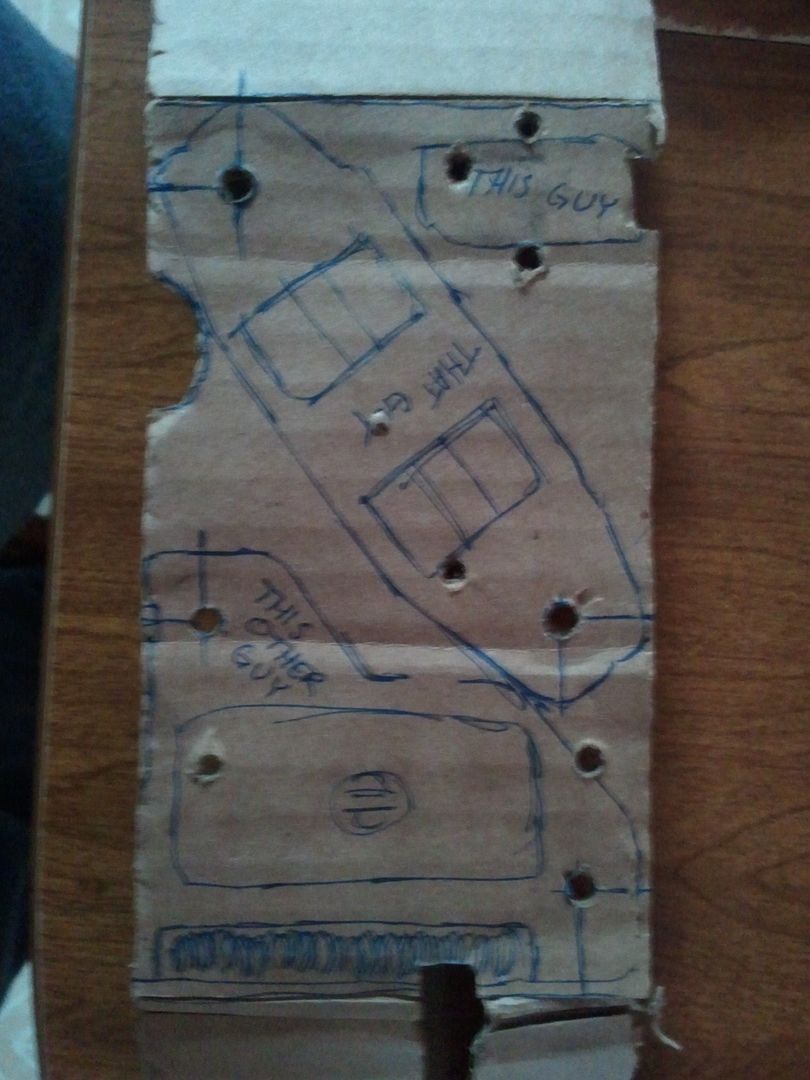
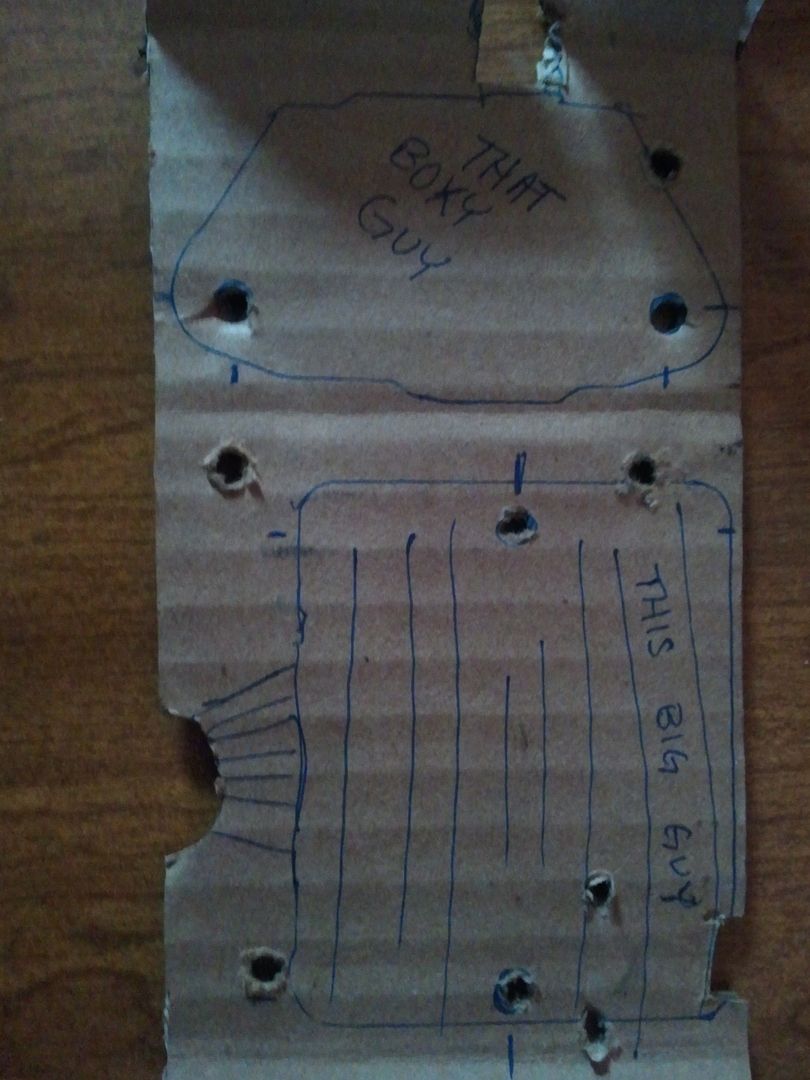
So then I made a cardboard template to see if I can fit the electronics in there…

It looks like I should be able to fit the same mini battery I used on the CB550 in the space that’s left…the only thing not in the box is the starter solenoid which I have to try a battery in here first to see if there’s room to put that in as well.

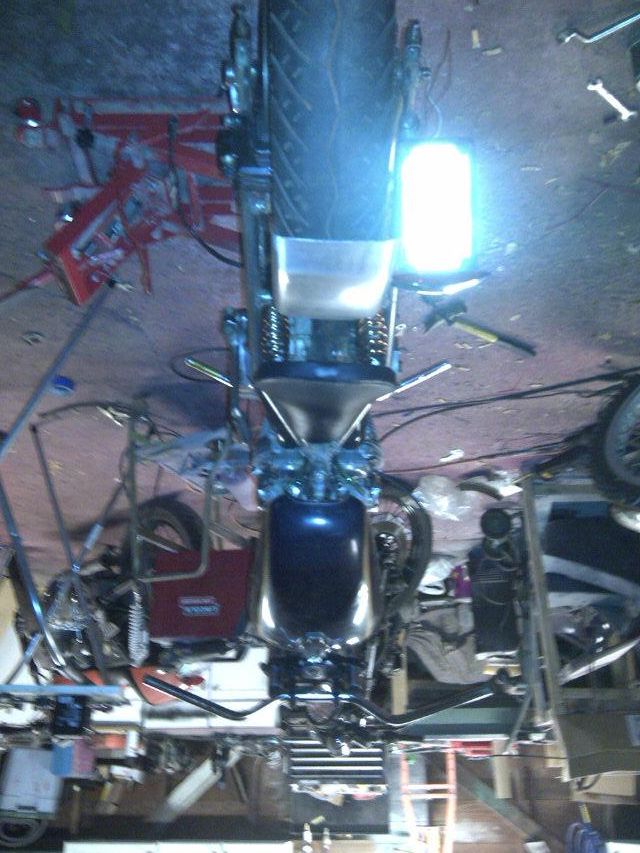
So now we’ve got the motor back in, seat on, tank on, rear fender on, and I started mocking up new stuff…

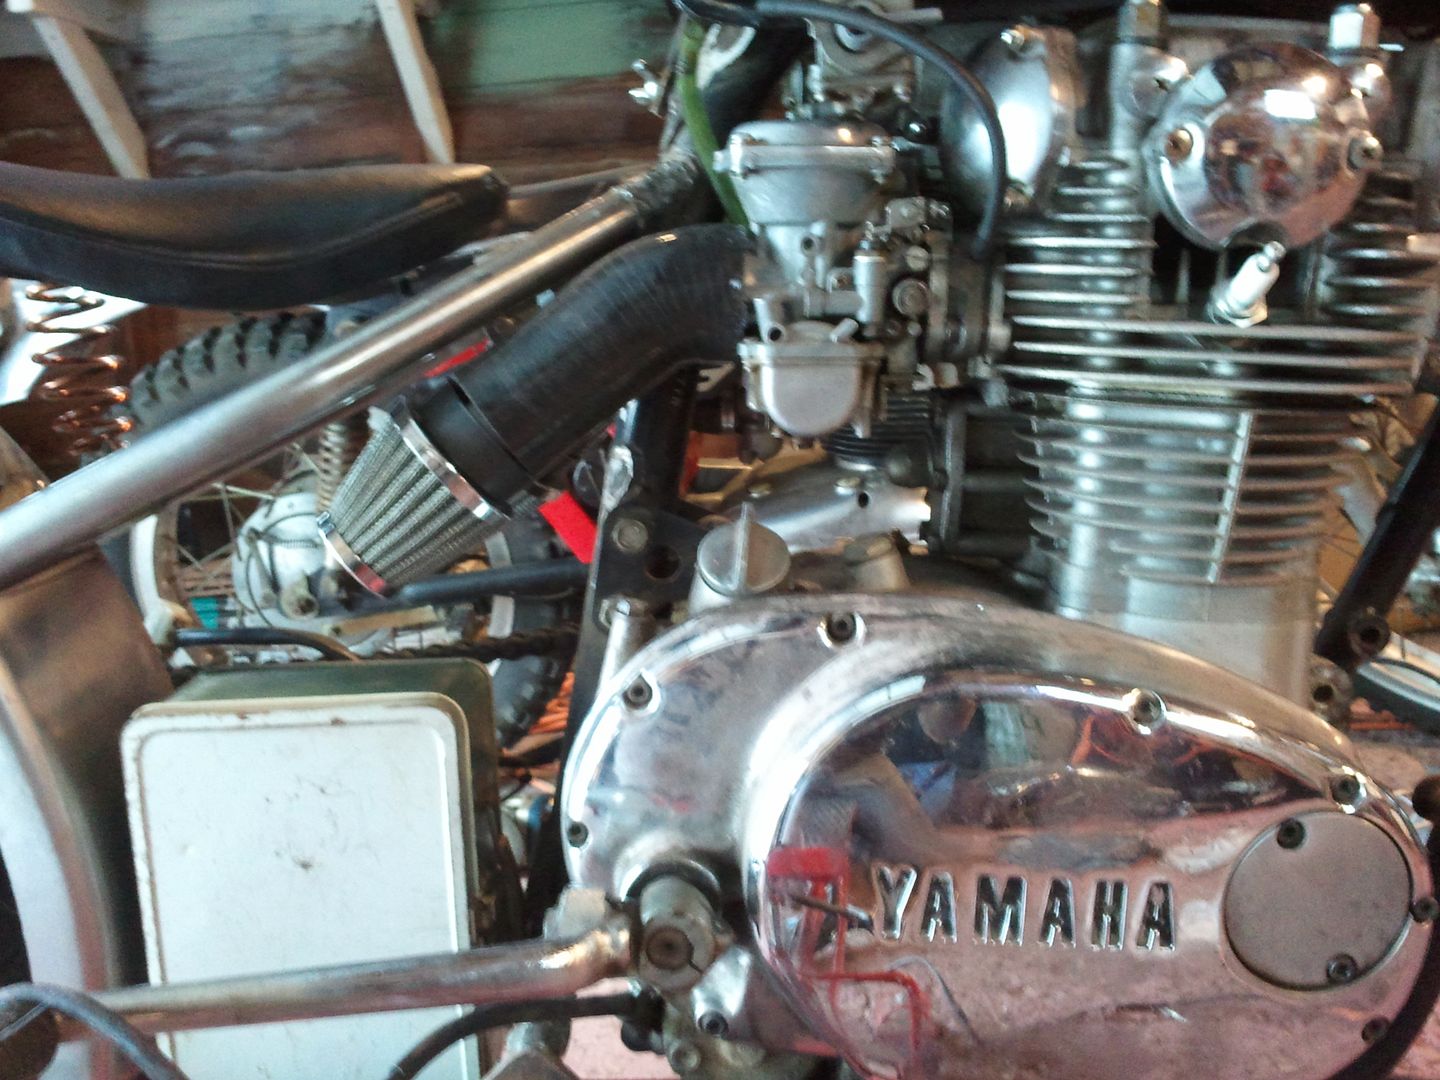
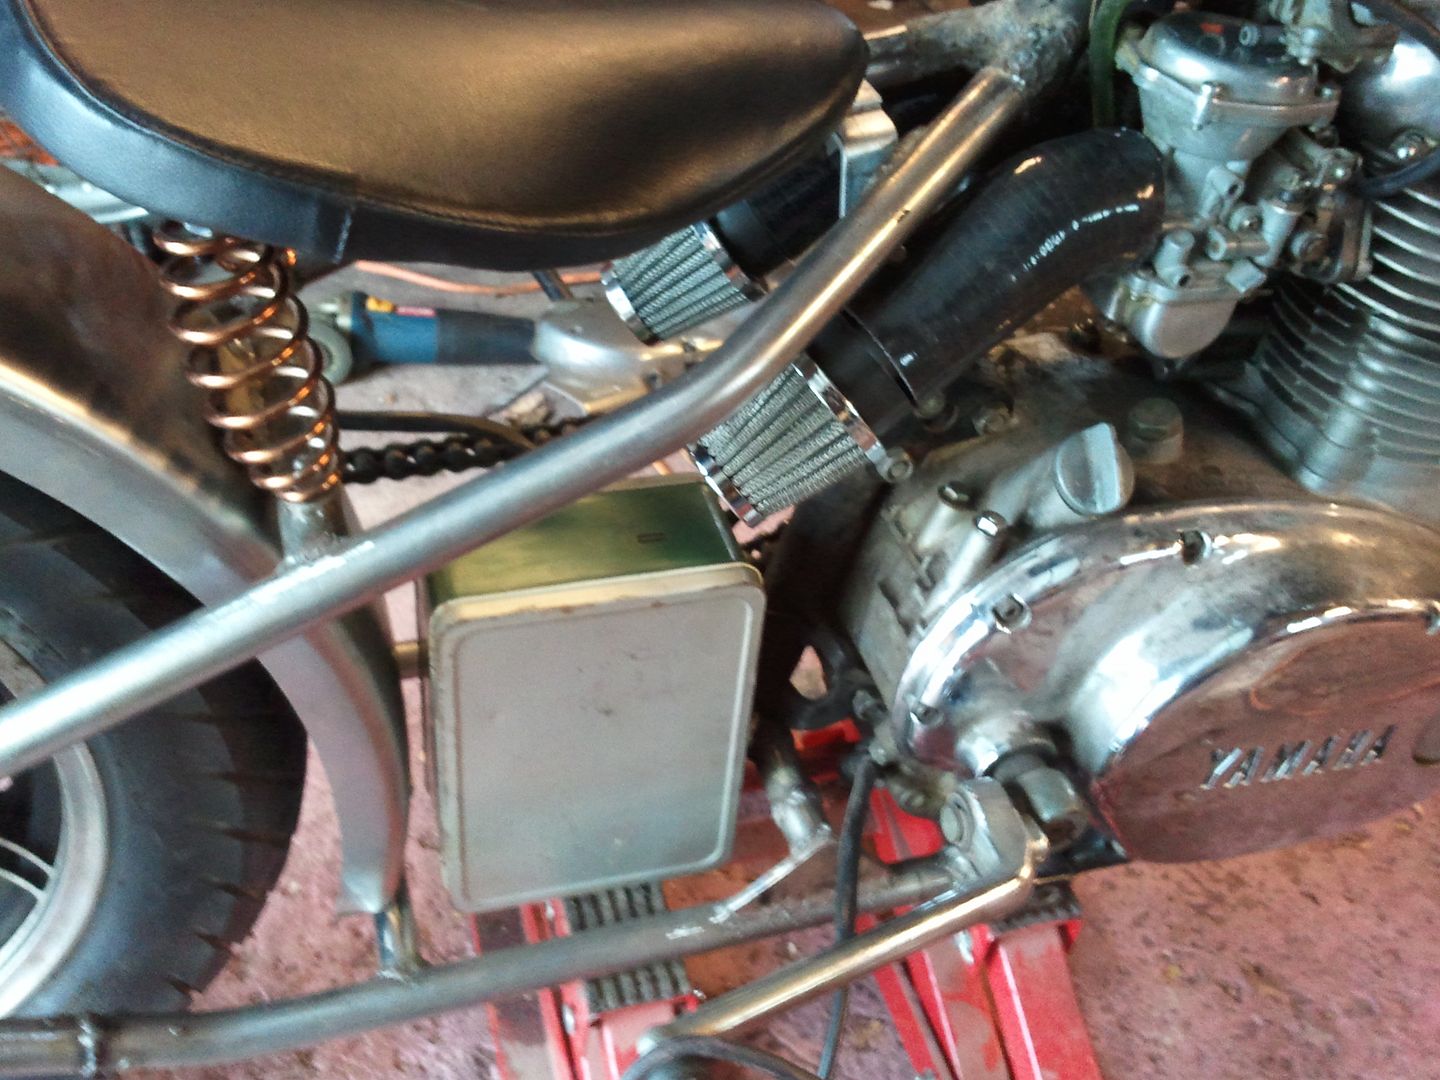
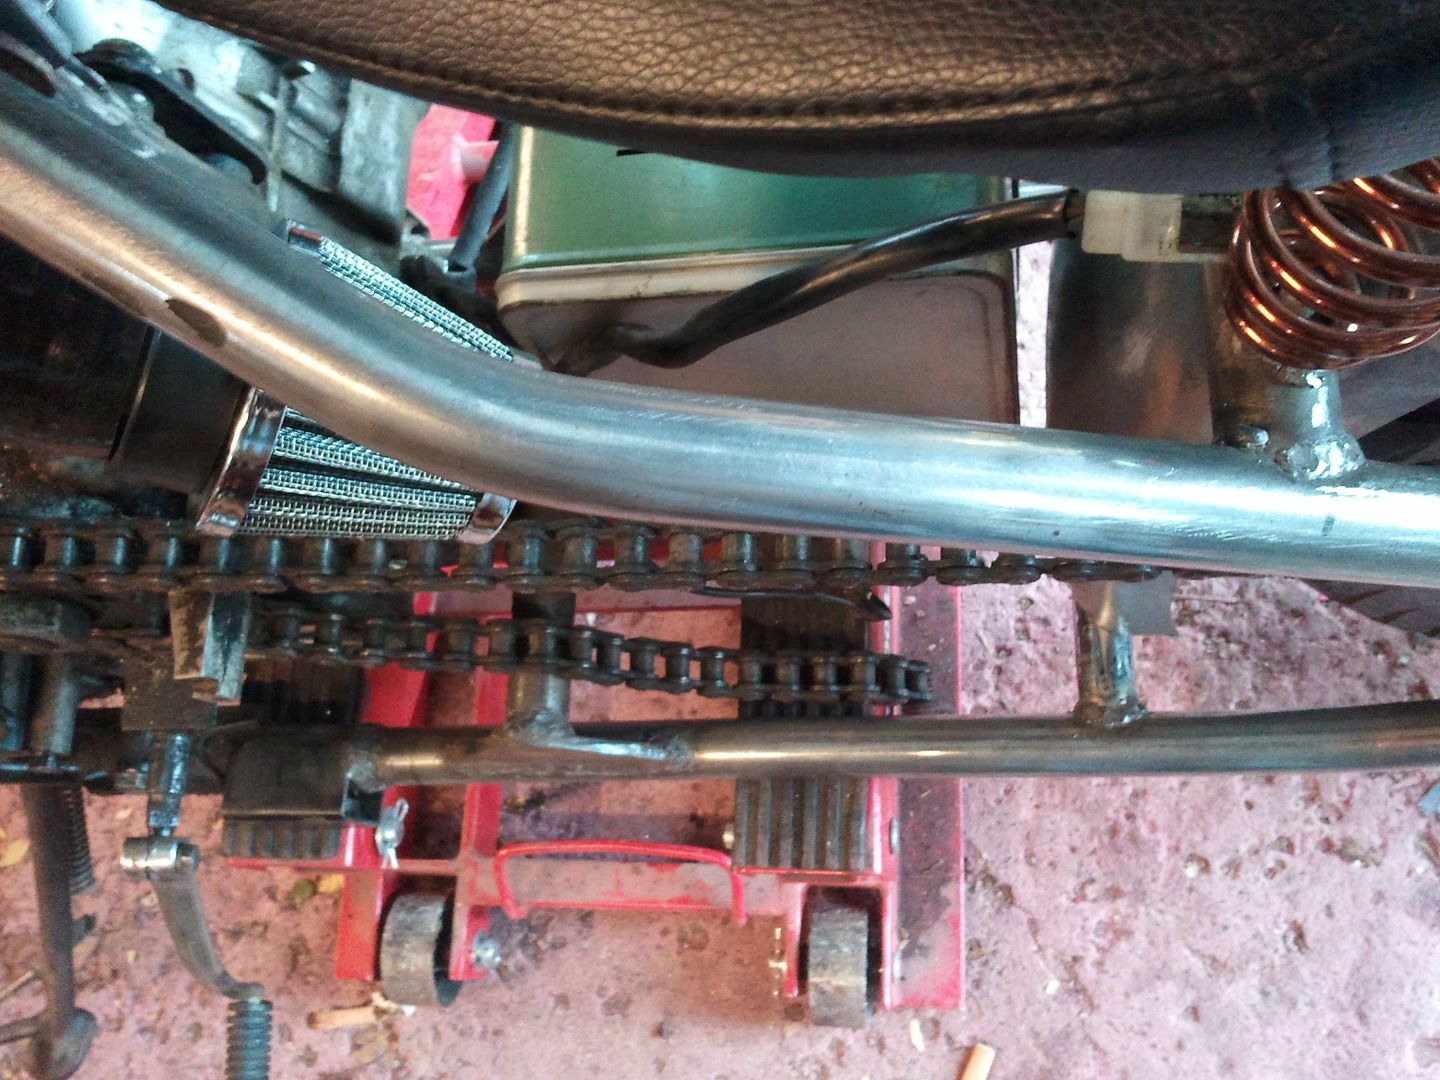
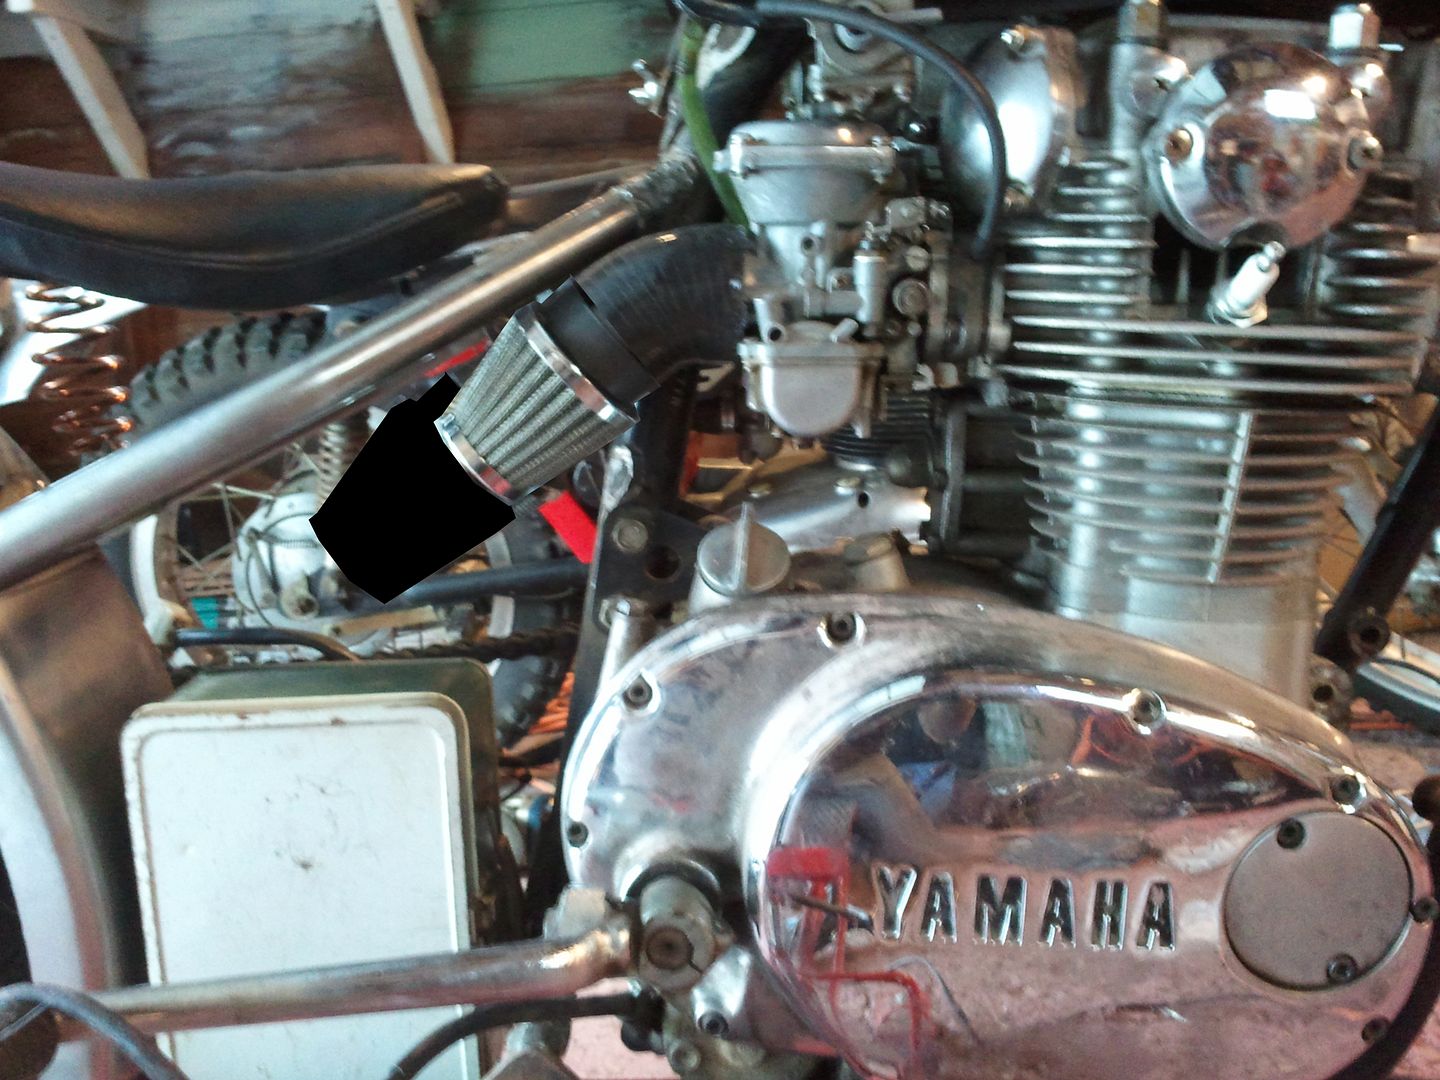
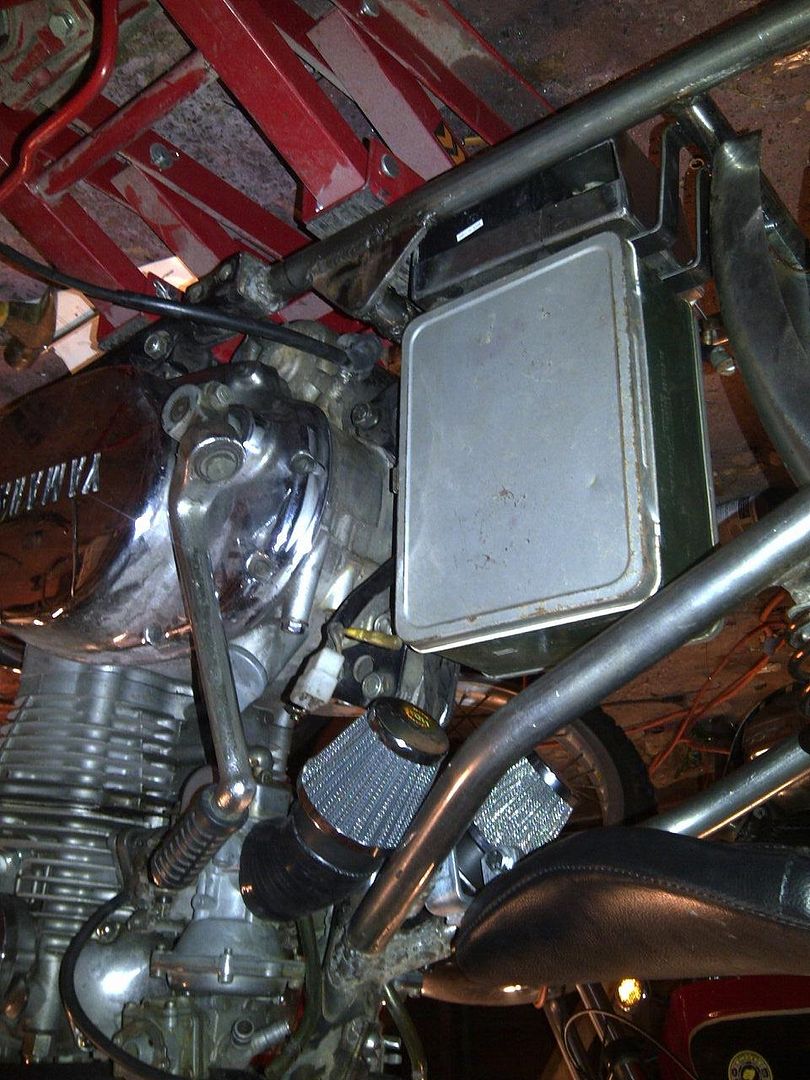
I knew ahead of time that it was going to be tight clearances with the new frame and the carbs, so I picked up some 45* silicone couplers to follow the frame to be able to run filters…

I haven’t decided if I wasted my money on the couplers yet…they kinda look like big black dildos to me, might pull them out and use the portion I cut off to use some copper 45* elbows instead like this one:

http://www.plumbersstock.com/files/xref/default/876.jpg

-or I could just trim th elbos down shorter so the filter is right after the 45* turn…

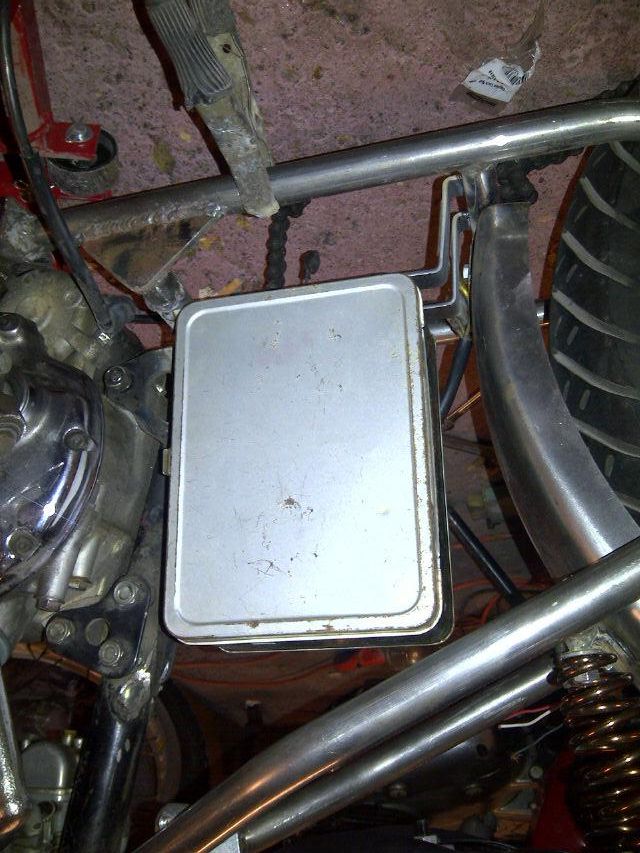
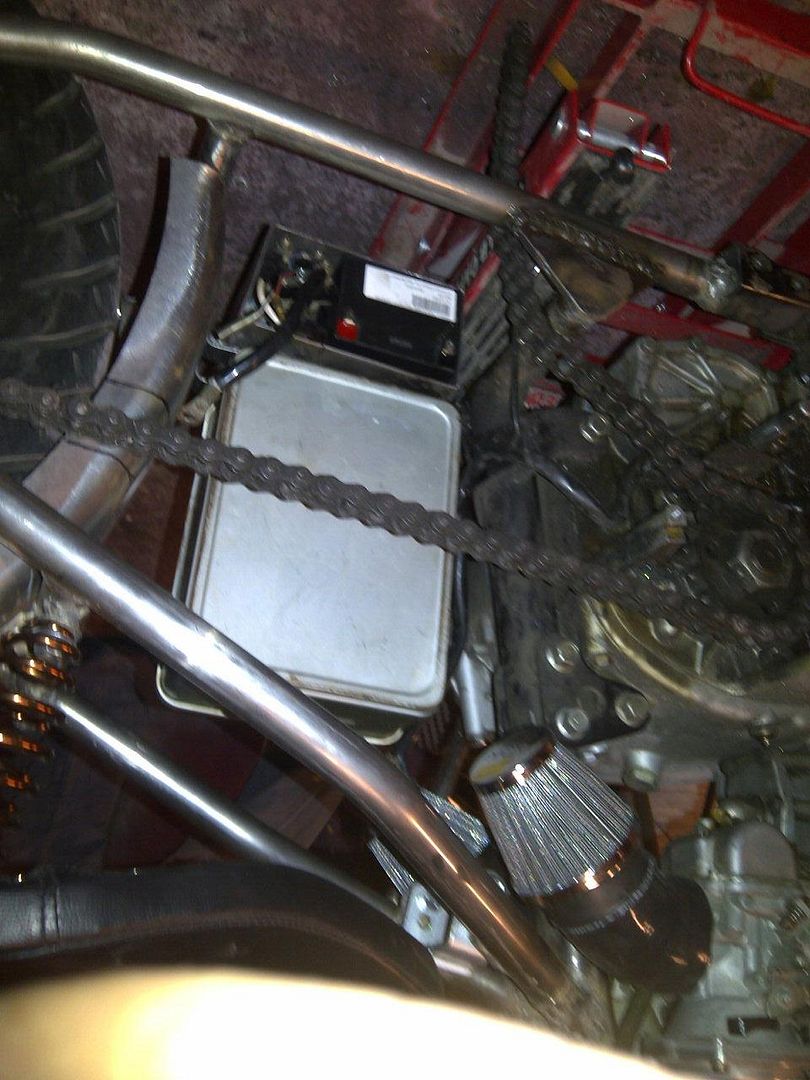
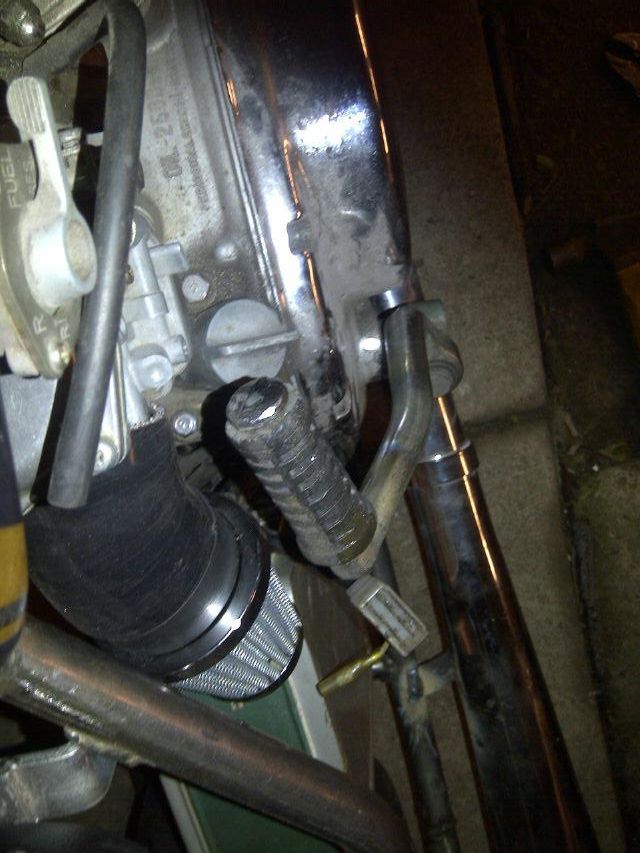
So I have the chain mocked into place and set the lunchbox into the frame, and ziptied the bike pedal I wanna use for the kickstarter in place to get an idea for the feel of things

Now that I’m at where I am… I’ve come to a bit of a crossroads with the scheme of the build…I almost like the beaten up vintage appearance of the lunchbox as-is…which makes me feel like I might want leave it the way it is instead of painting it…but then I feel like if it’s the only part of the bike that doesn’t look “new” then it might upset the overall appearance…

so, I have to decide between :

  1. Leave lunchbox the way it is and mount it, leave the tank in it’s current banged up state(missing emblems and all), and do some creative “distressed” paintwork on the rear fender to match the tank

  2. Smooth out the tank, shave the emblem recesses, and go with fancy new paint. Paint fender and lunchbox to match.

Either way I want to probably black-out the engine and introduce more elements of copper, regardless of paint-scheme…

thoughts?

Dude, fuck the rat rod look. Get some nice paint, clean it up and take some tits pictures. THEN ride the piss out of it.

^^^ehhh i say decent tank paint and otherwise its good a little ratty

Ge rid of the dildo’s, copper would look sooo much better and I’m kinda feeling the ratty look on this.

I could just shorten the black elbows…PS’d really quick to get an idea…

Cool idea with the lunch box!

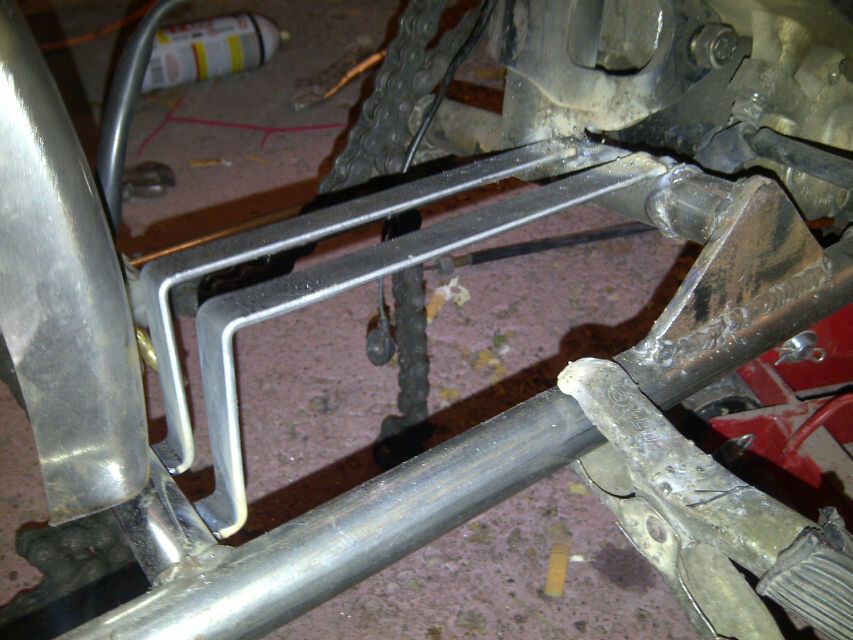
got a little bit done tonight…bent up some flat stock to make mounts for the lunchbox and started working on modifying the stock handlebar mounts for more rise (until I ran into a roadblock…didnt have the right drill bit to finish)

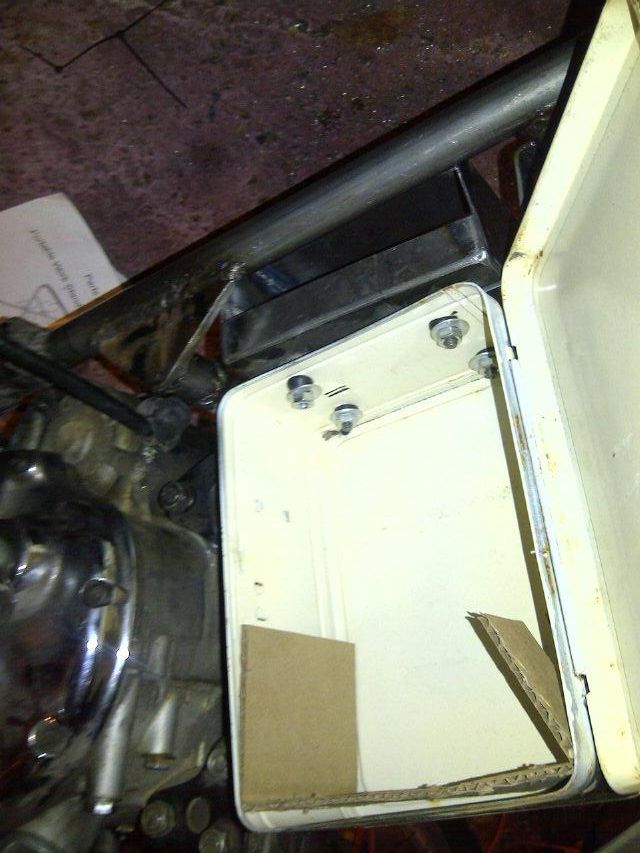
It’s mounted this way so that the “door” can open without hitting anything so I’ll have access to the fuses in the event of one blowing out.

Step one of making risers: Cut stem off original bar mounts

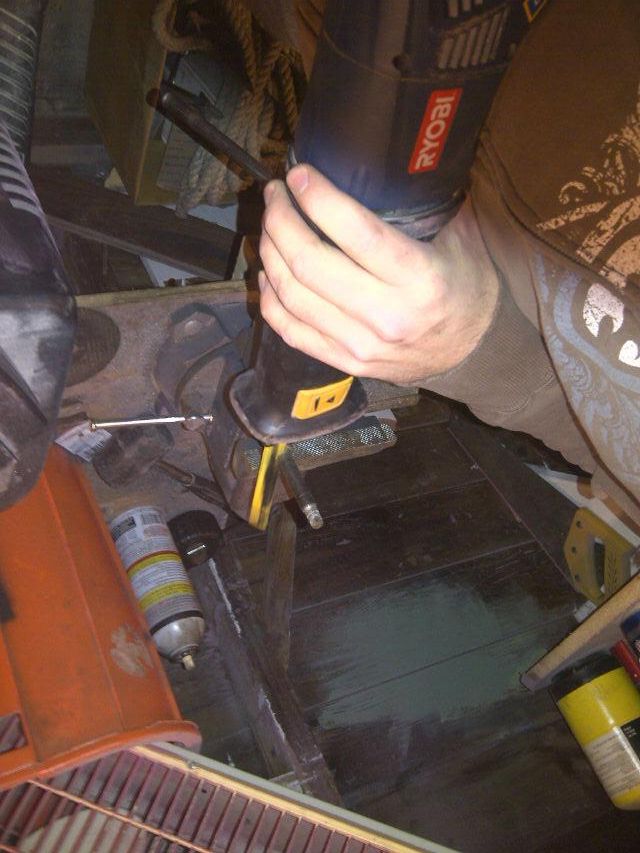
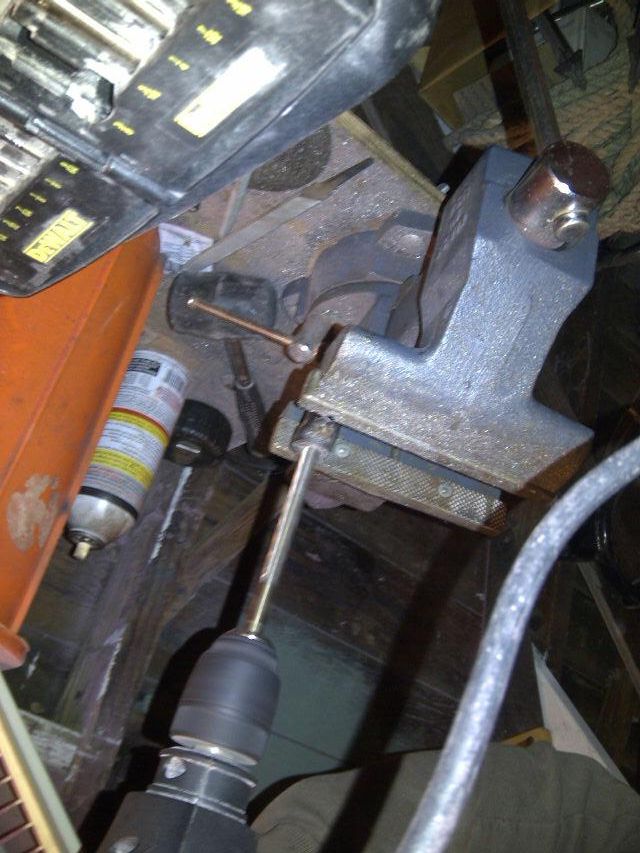
Step 2: drill hole the same size as previous stem through center (started small and worked my way up)

I ended up not having a bit large enough, so I’ll have to pick up the correct bit and re-visit this.

My bit is huge. You can use it whenever you want.

Seriously though, I have a bunch of those nice cobalt and titanium ones, up to 1/2" I think.

That is a handsome old bultaco in the background!!!

Seriously though, looking good man. The lunchbox thing is rad!! Hopefully my old pos isn’t too much in the way haha

Looks great dude. I say just hit the frame and the rear fender with black, and just slap everything else on as is. Copper elbows for the air filter would look tits. We need to find a way to add more copper to this.

:tup:

LOL, I’ve already drilled out to 5/8"…I believe I need a 3/4", haven’t busted out the micrometer yet to be sure

naw man, not in the way…just lonely…order some parts so I can get workin on it!

Well, I AM going to just hit the frame with black and throw the rest together…until I get a few rides in to work out quirks and stuff…It’s going to get paint for sure…will only take a weekend to paint the tins. I do agree it needs more copper bits, but I’ve decided not to do the copper intake elbows for a few reasons.

Such as?

I’d still need silicone couplers to mount them, so by the time the cone filter is over one end and the other end couple’d to the carbs only about an inch of copper will show, if not less…and it would be a pie-shaped bit. I’m just gonna shorten the dildo-looking couplers so they don’t look like dildos anymore and move on lol.

Word, lol.

God a pretty solid amount of work done tonight…

Luke’s (Pirite) dad (known as “The Don”) came through with a 1/2" drill bit I needed to get the risers for the handlebars finished…

I posted steps one and two previously…cutting the existing “stem” off the bar clamps and start step-drilling up to 1/2"

drilling 1/2" today:

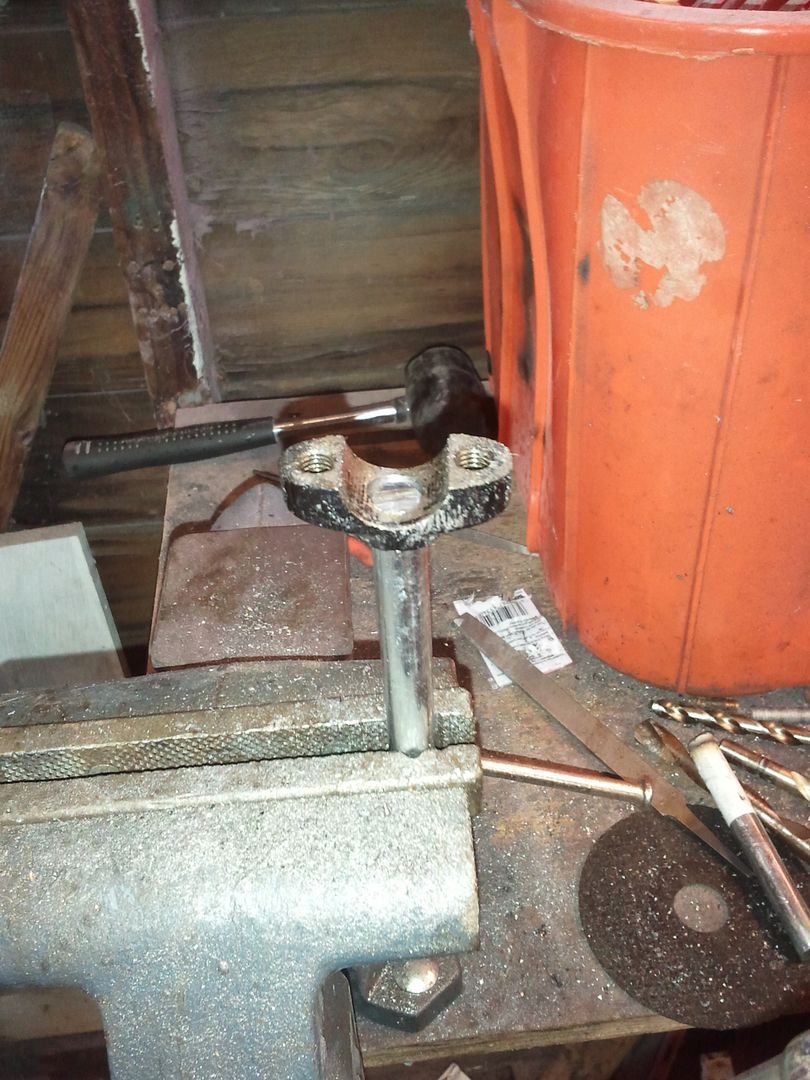
step 3: press a 4" piece of 1/2" bar stock into the hole drilled in the clamp, with about 3/16" left before being flush on the other side

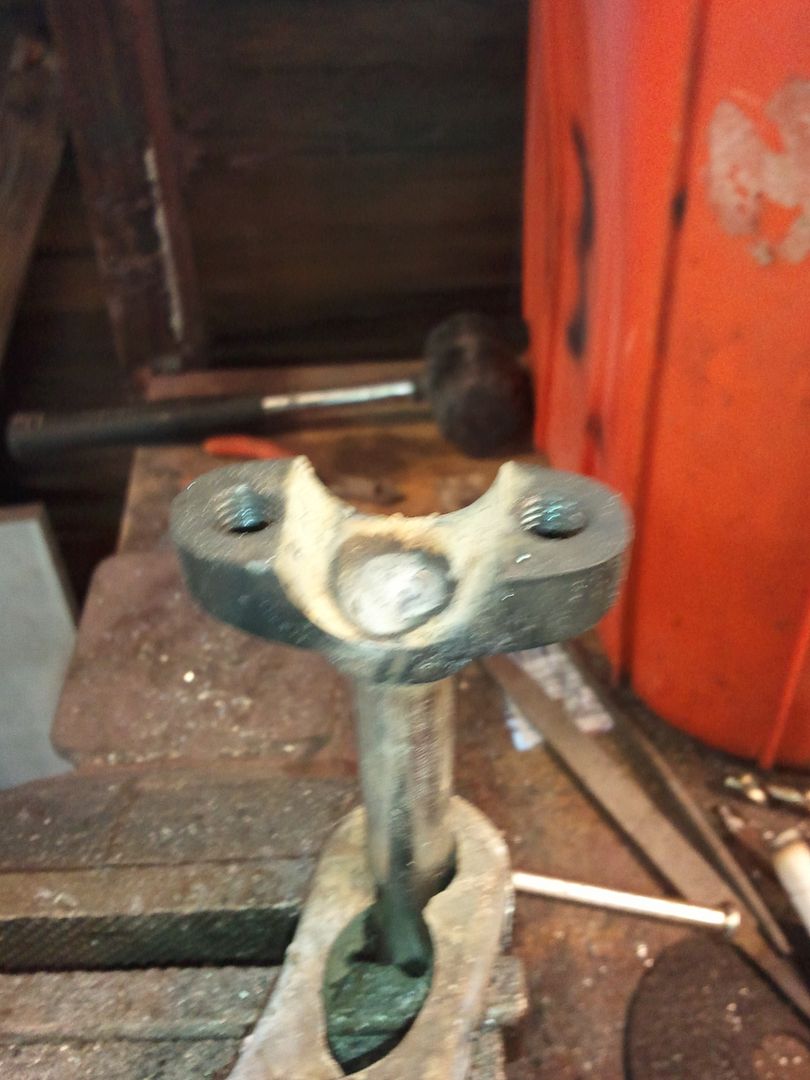
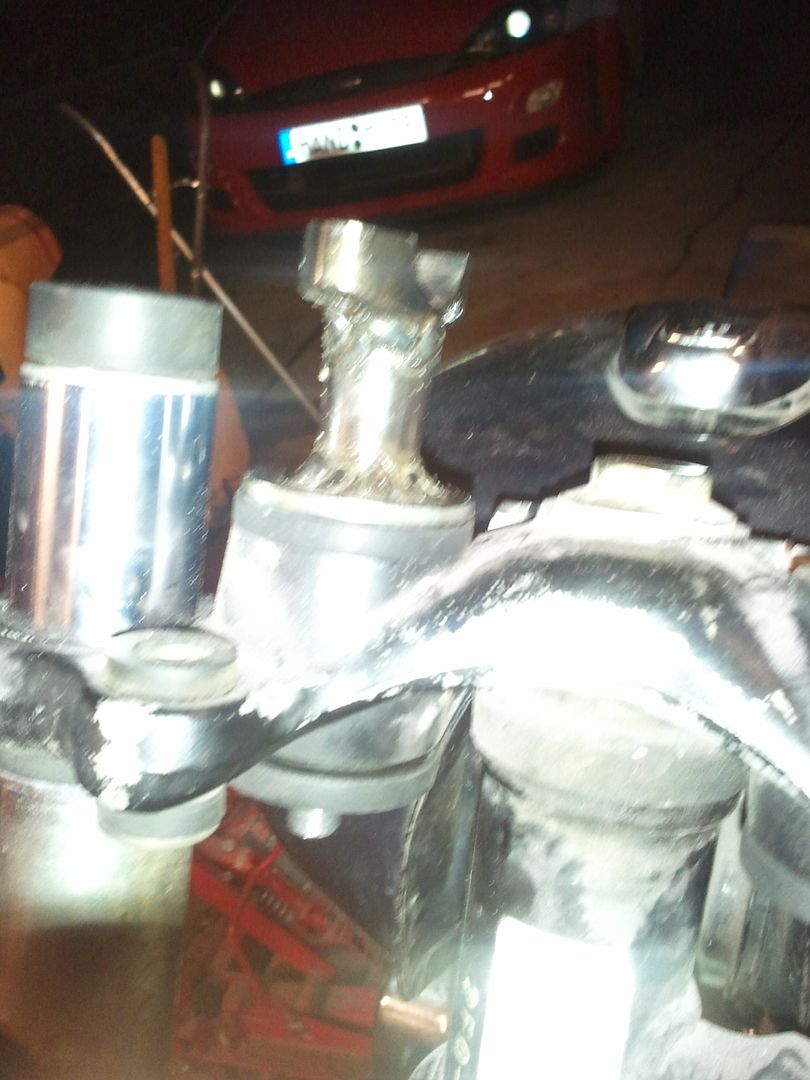
step 4: weld the bar stock to the clamp (PISS, this pic came out blurry, sorry)

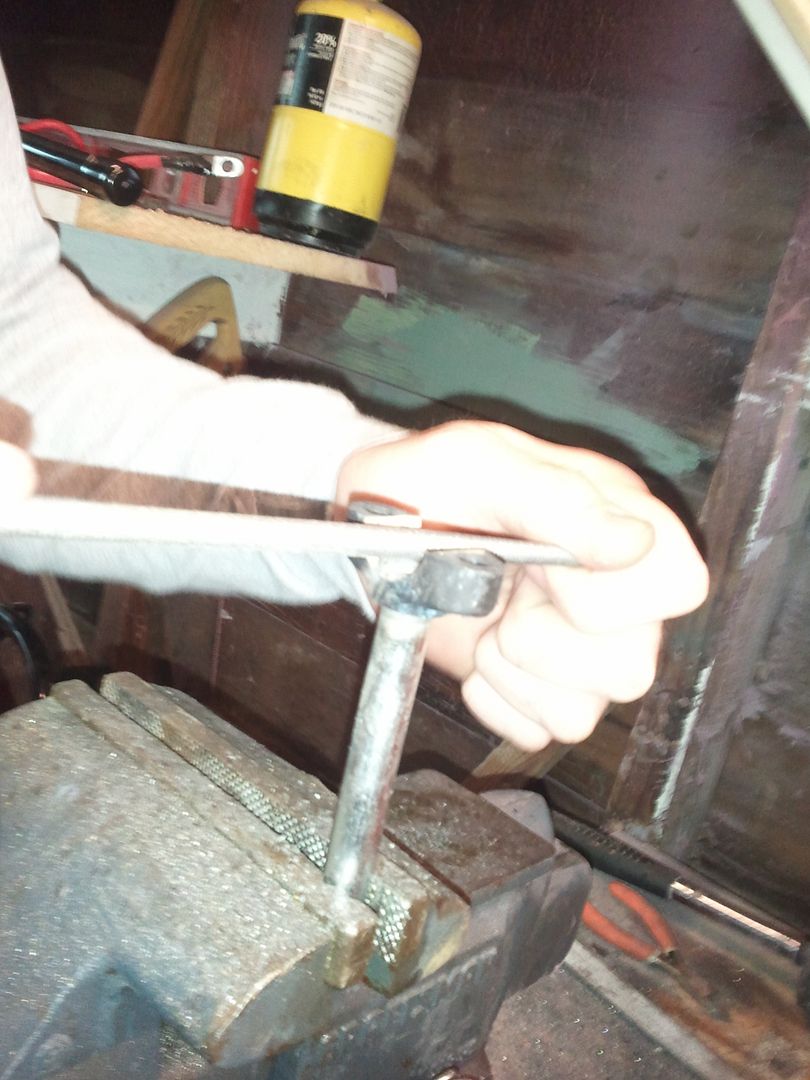
step 5: file the weld down so the clamp is functional again (GODDAMN auto flash sux!)

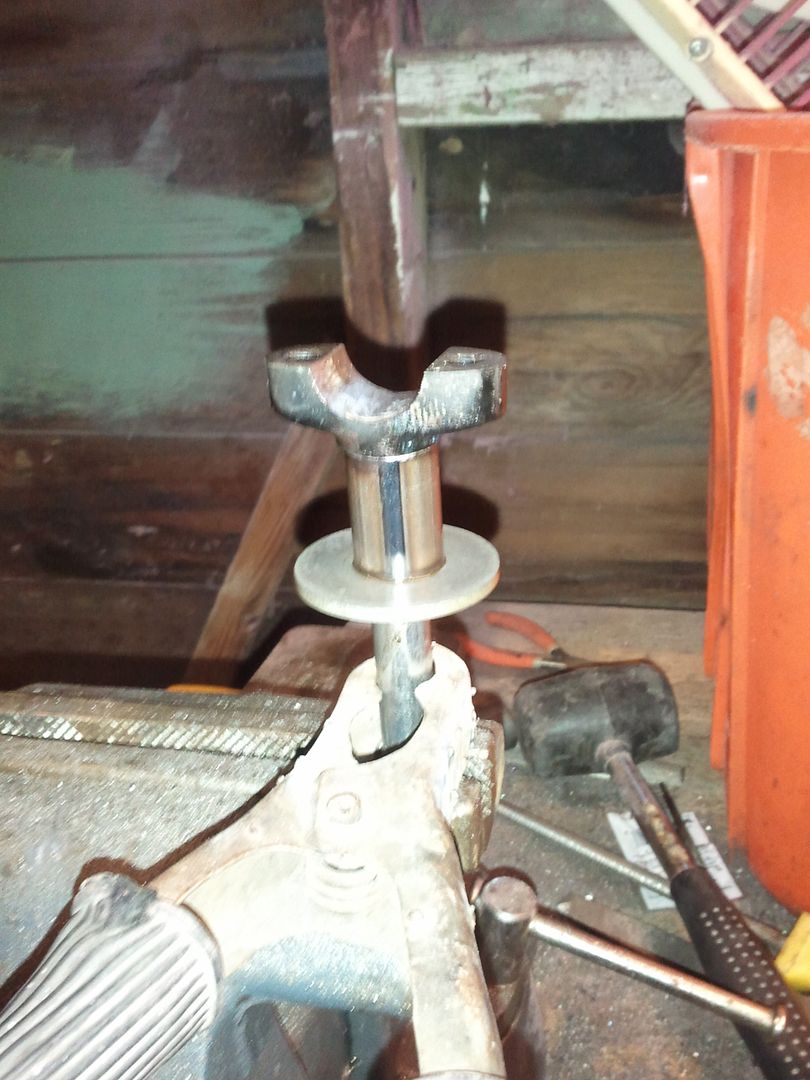
step 6: make a 1.25" sleeve out of some 3/4" tubing, then smash the top washer from the original mounts down to pinch the tubing against the clamp

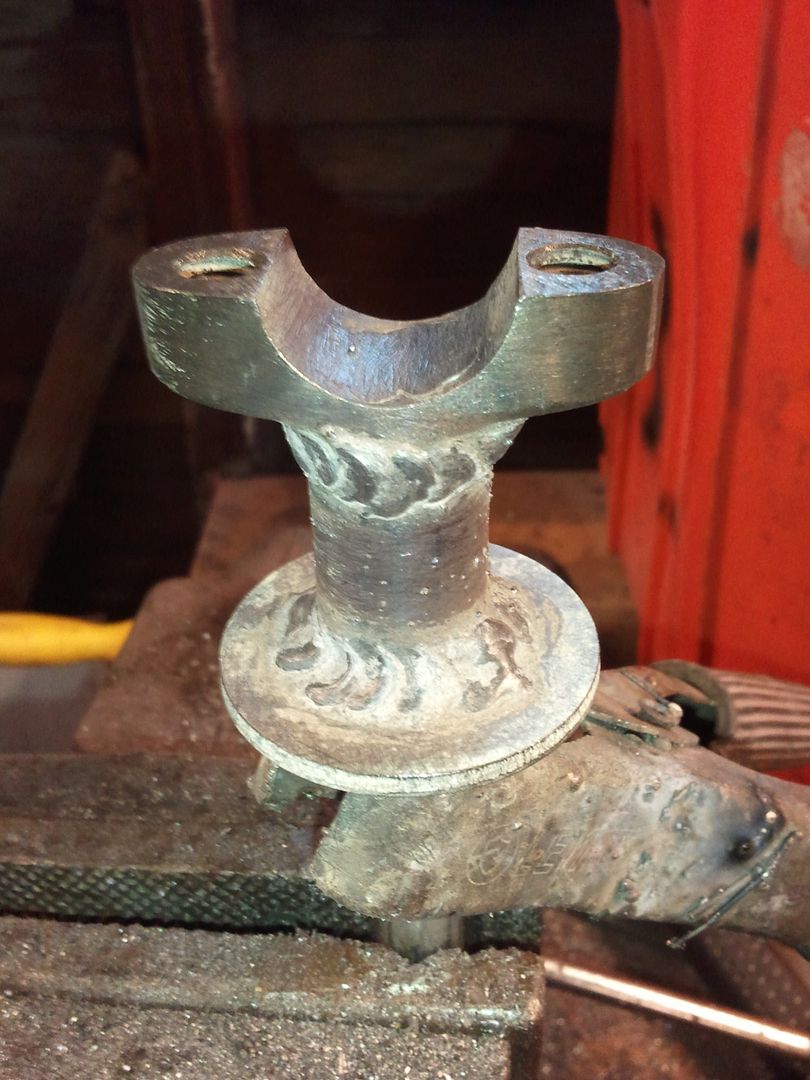
step 7: Weld all that stuffs together

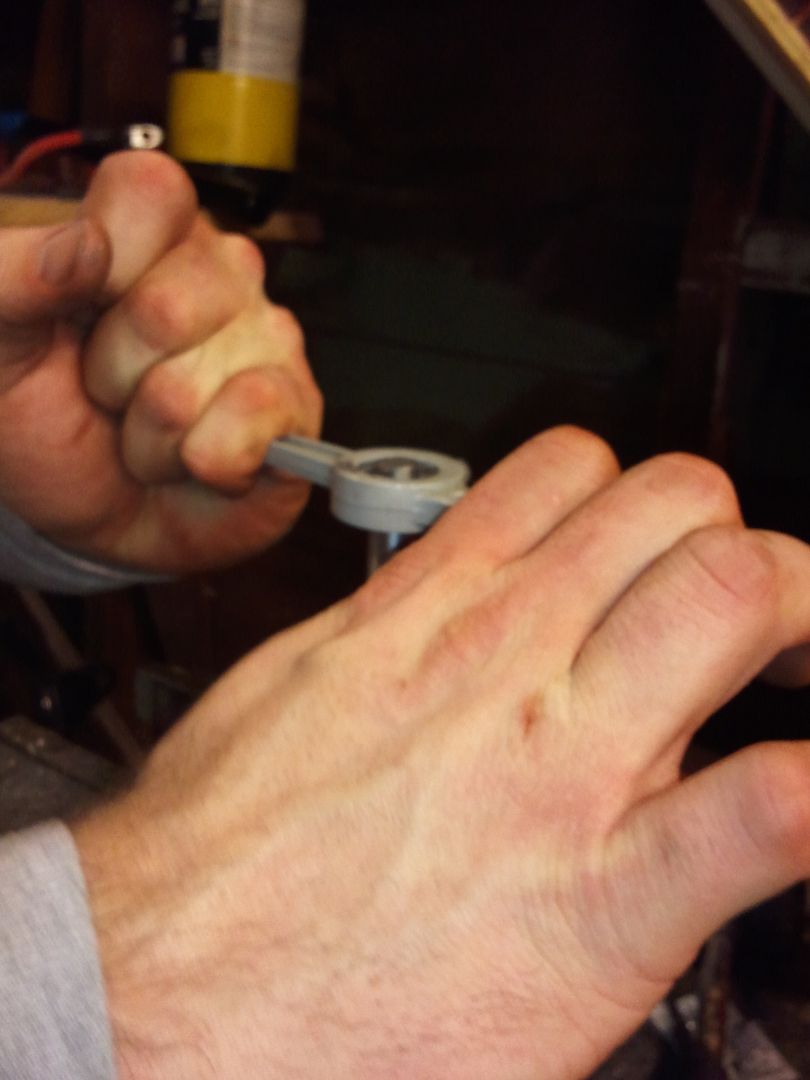
step 8: Tap the end for a nut

step 9: test mount

step 10: Paint and install (forgot to take pics close-up of the finished mounts)

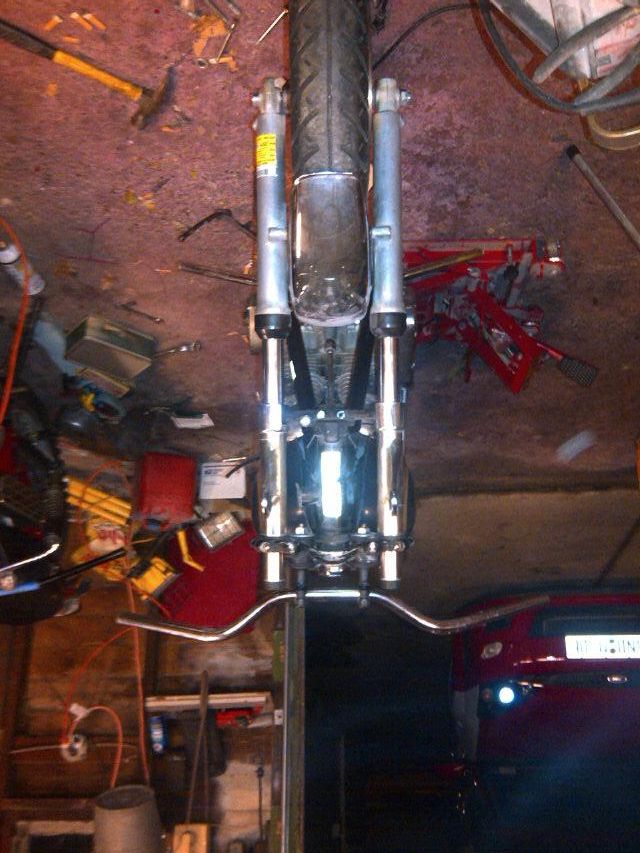
In that last pic, you can see I ended up not liking the look or feel of the drag bars, so I put these cruiser style bars on that were kicking around. (also, there’s a lot of damn bikes in here)

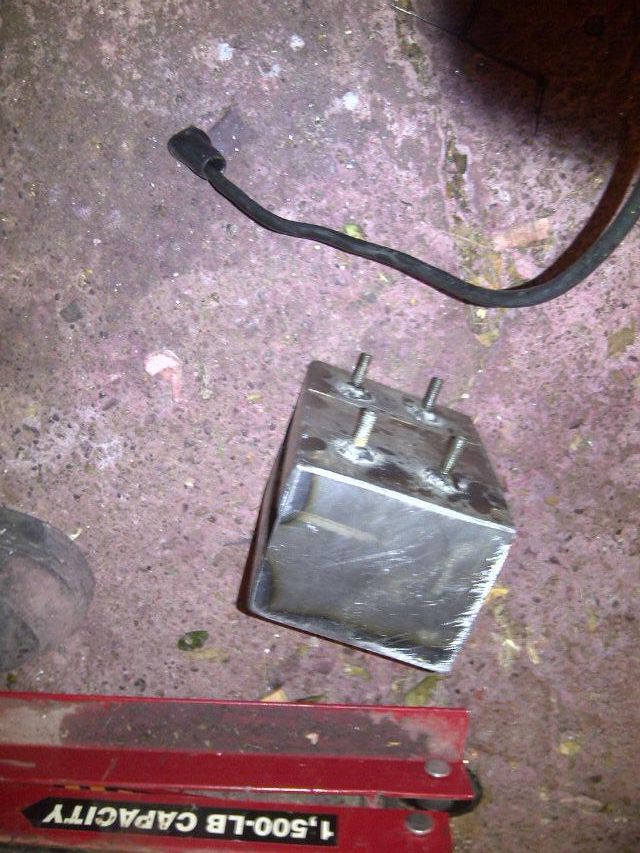
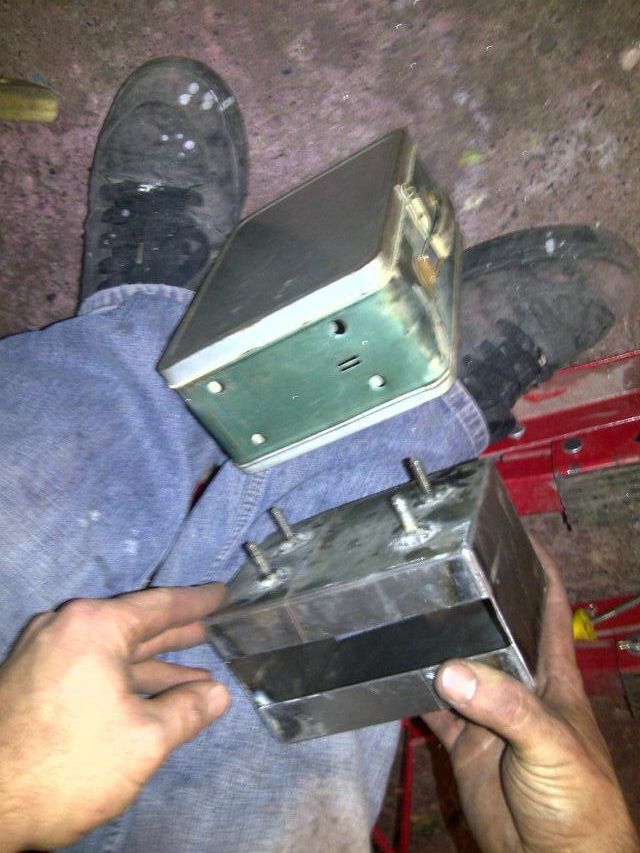
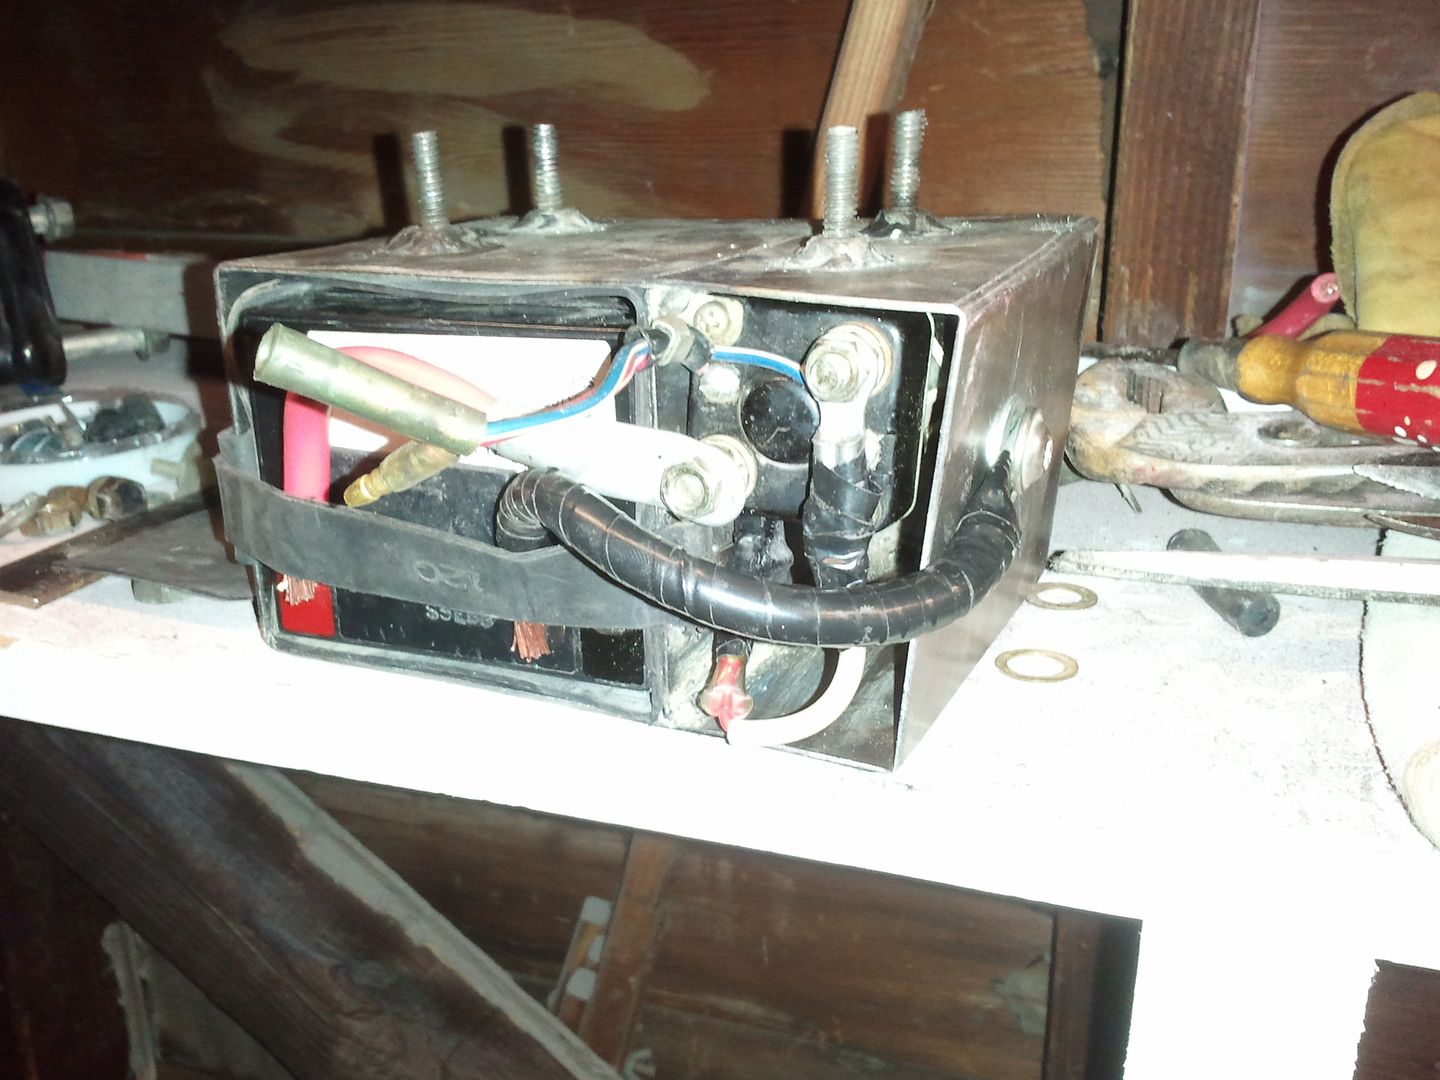
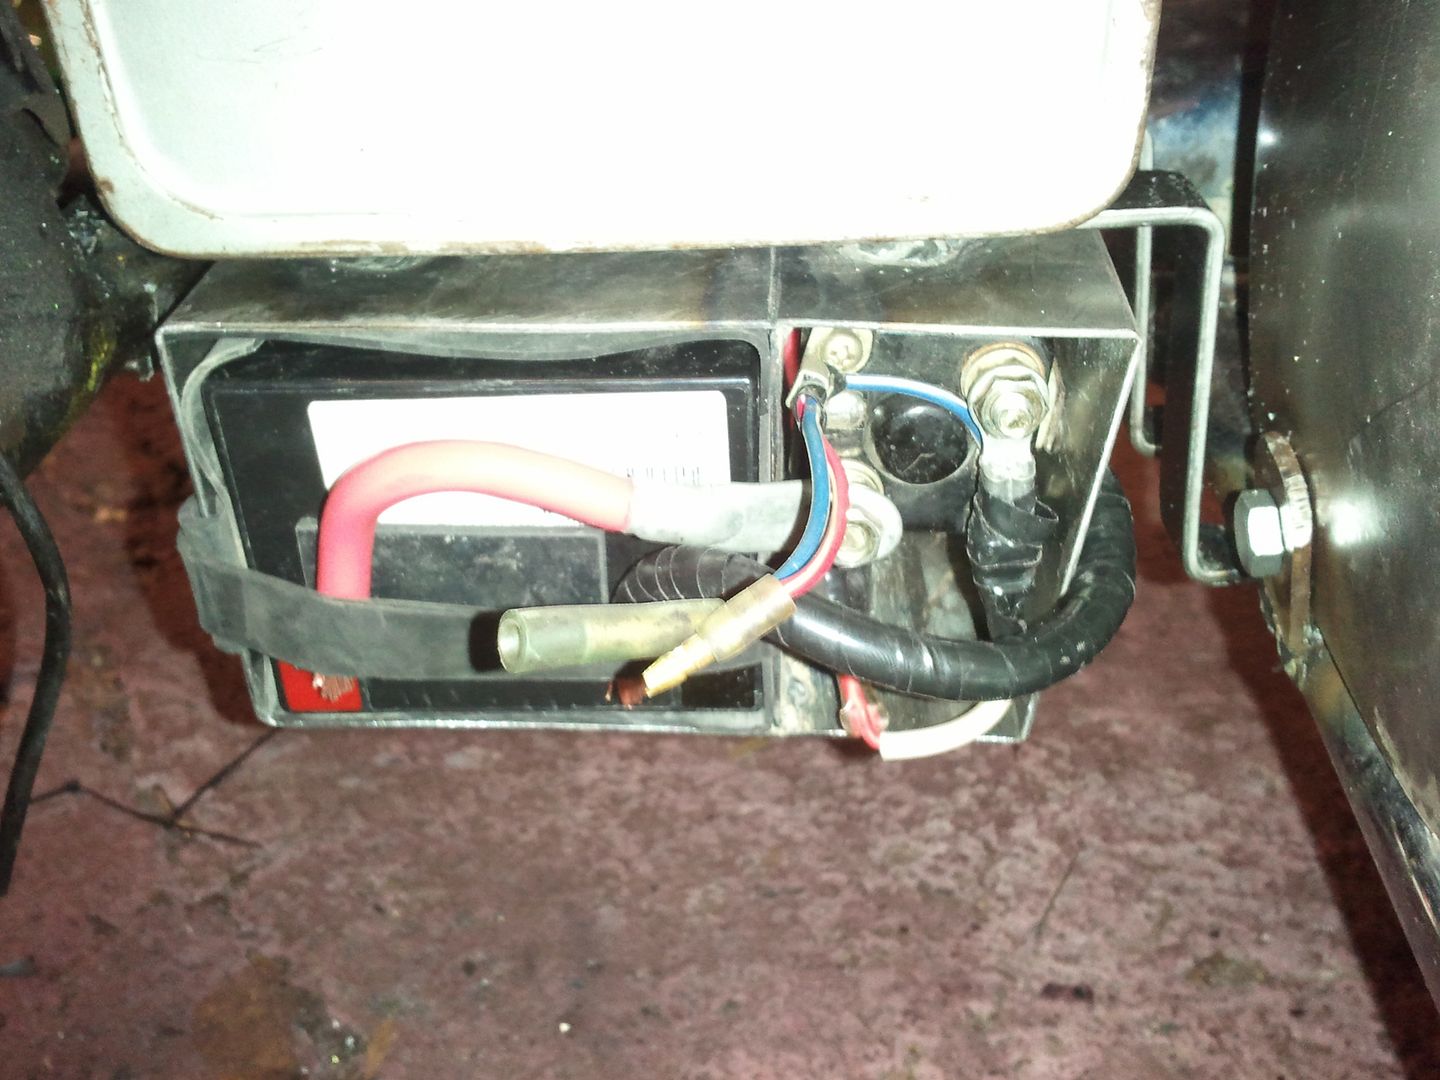
Next, I decided that instead of trying to cram the battery and the starter solenoid into the lunchbox, it would be nice to have half of it available for storage for things like my phone and wallet and house keys while I ride, maybe a baseball hat too…So I decided to whip up a box to hang beneath the lunchbox to house the mini-battery I picked up and the starter solenoid (this will also make it super easy to charge the battery or connect for a jump should I ever run into a situation where I have a dead battery)

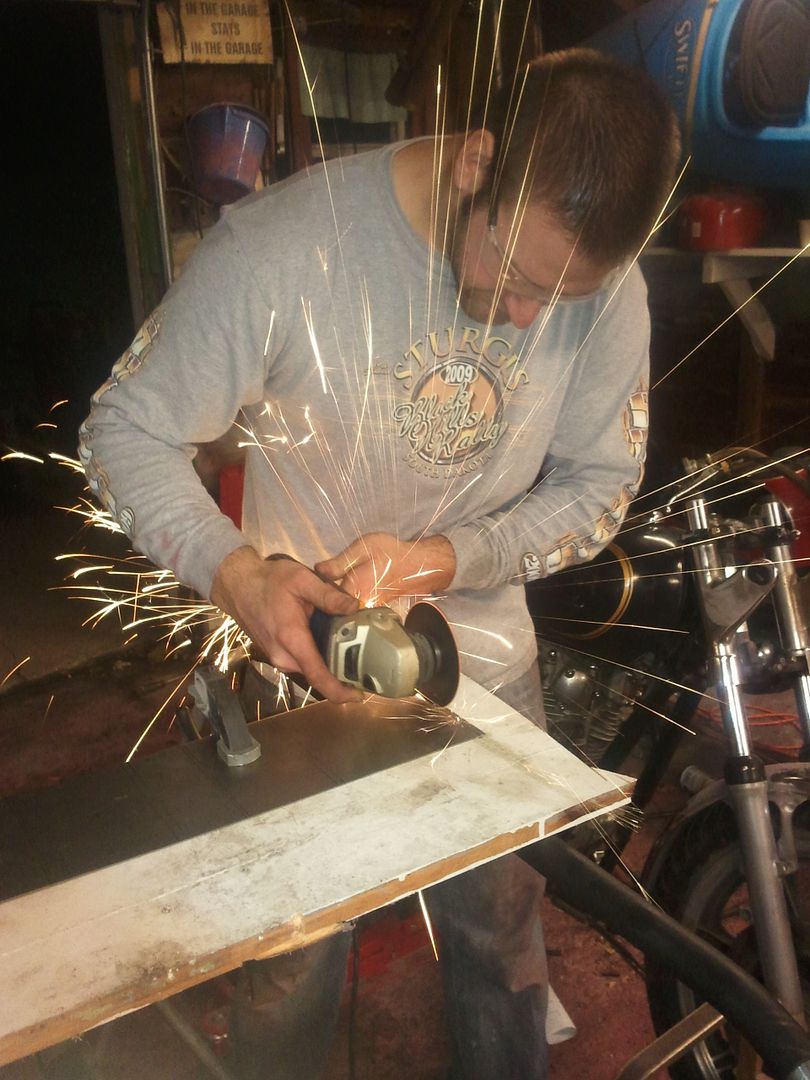
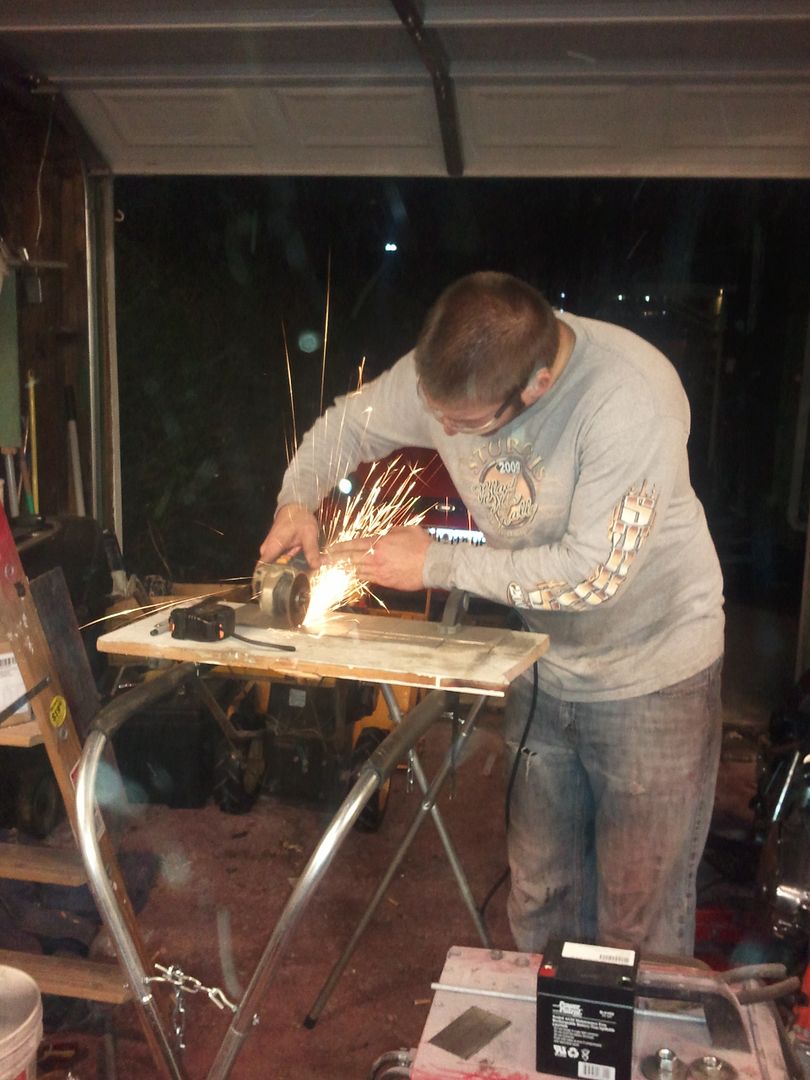
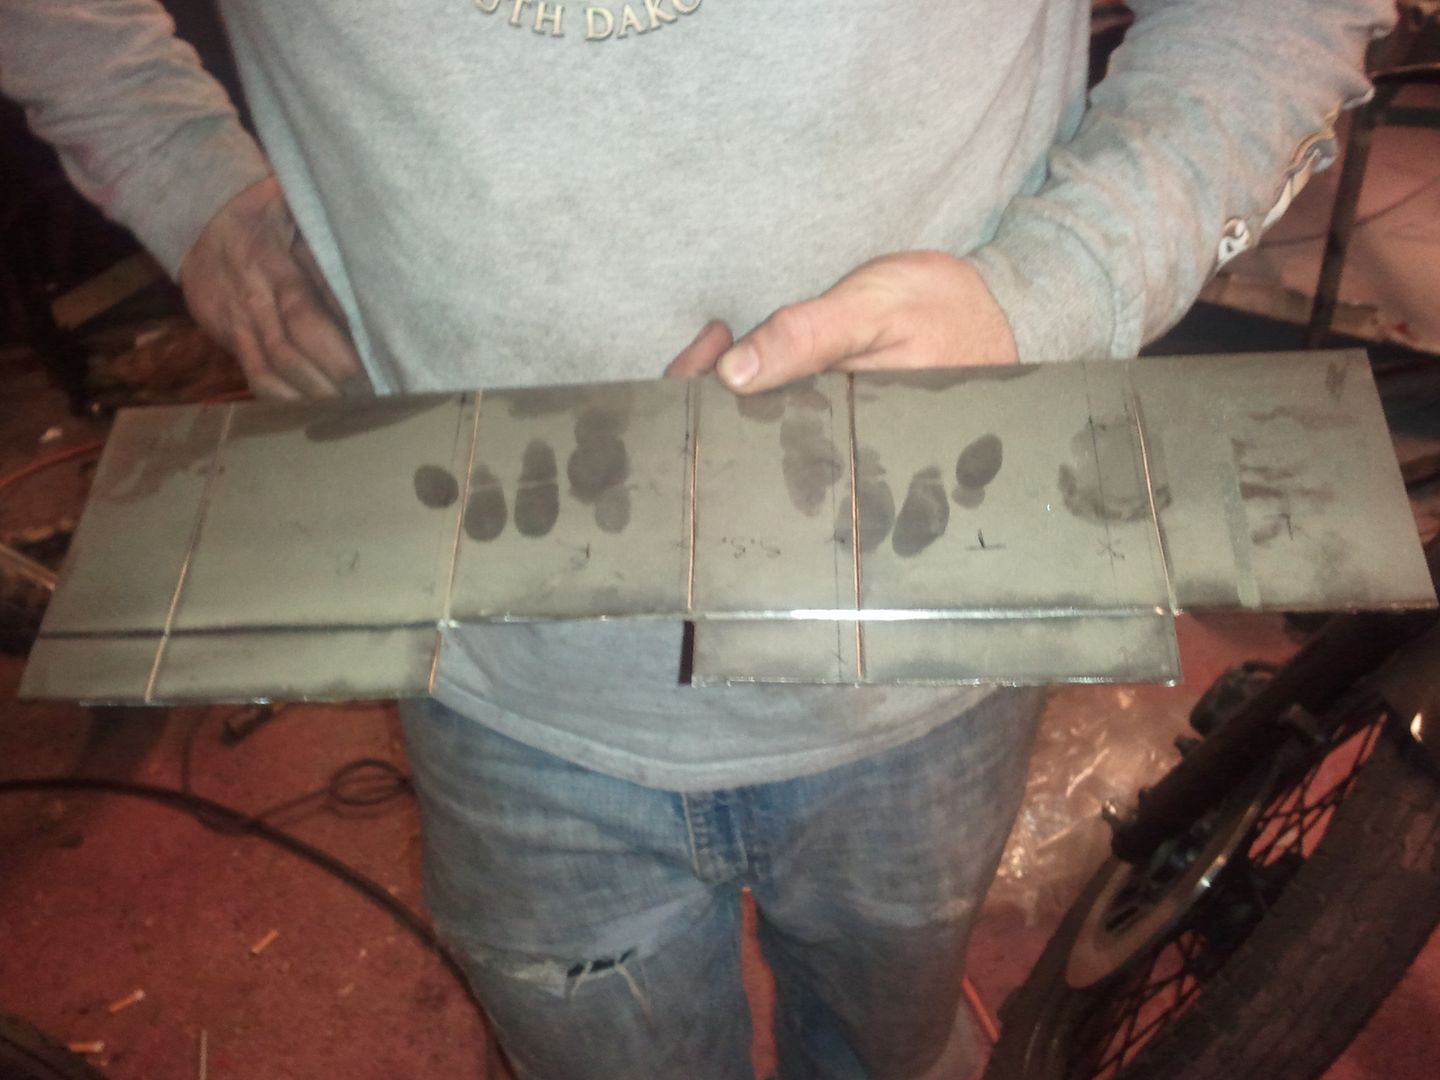
So I took some measurements and laid out a box template on some 1/16" steel plate and cut it out, and cut some grooves to make bending it nice and easy

finished pattern:

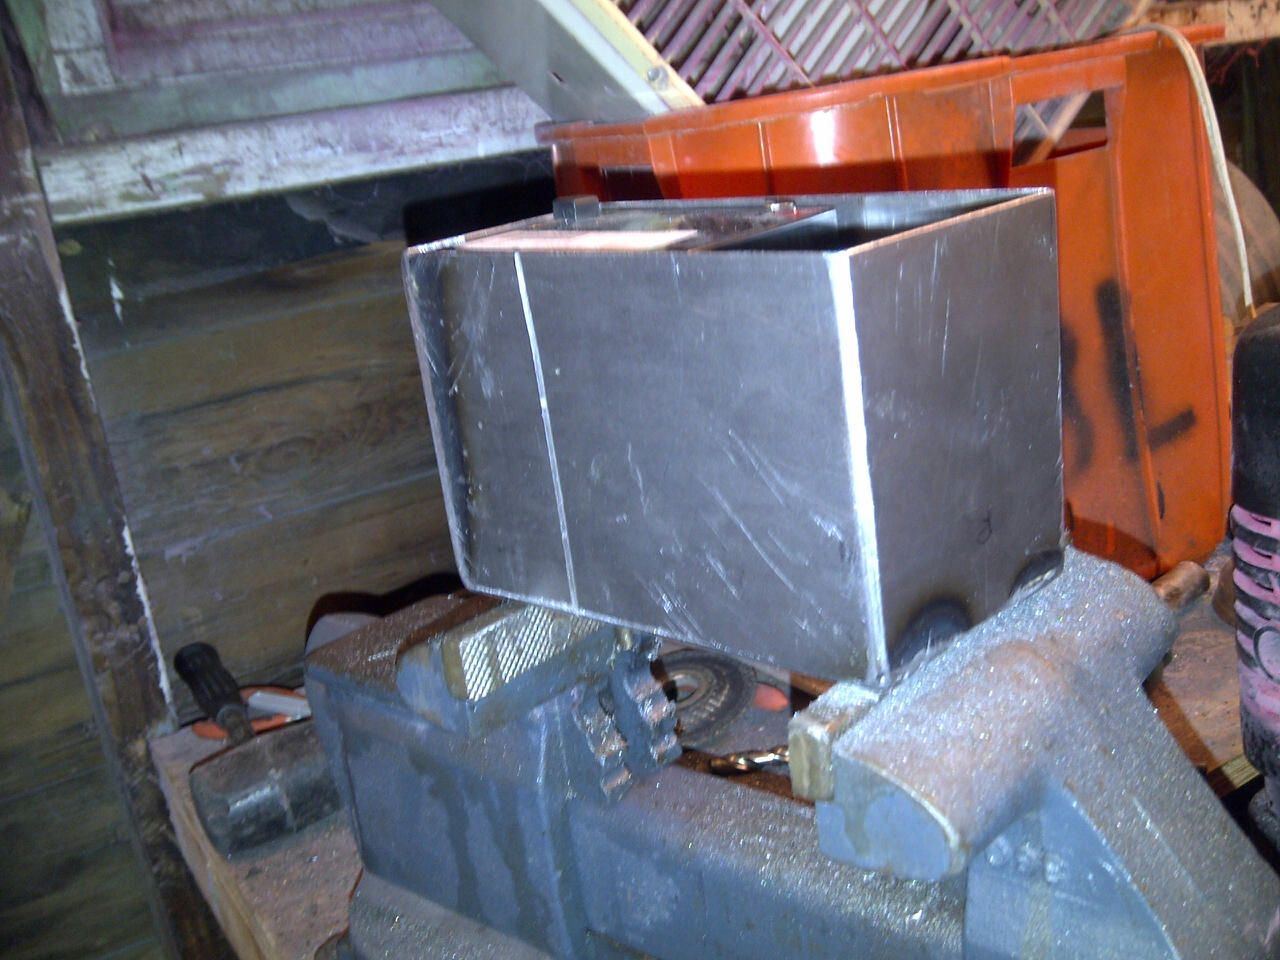
Then I bent it to shape and welded the corners:

Then I welded some bolts to the battery box

then I drilled holes through the little cage I made to hold the lunchbox, and also holes through the lunchbox

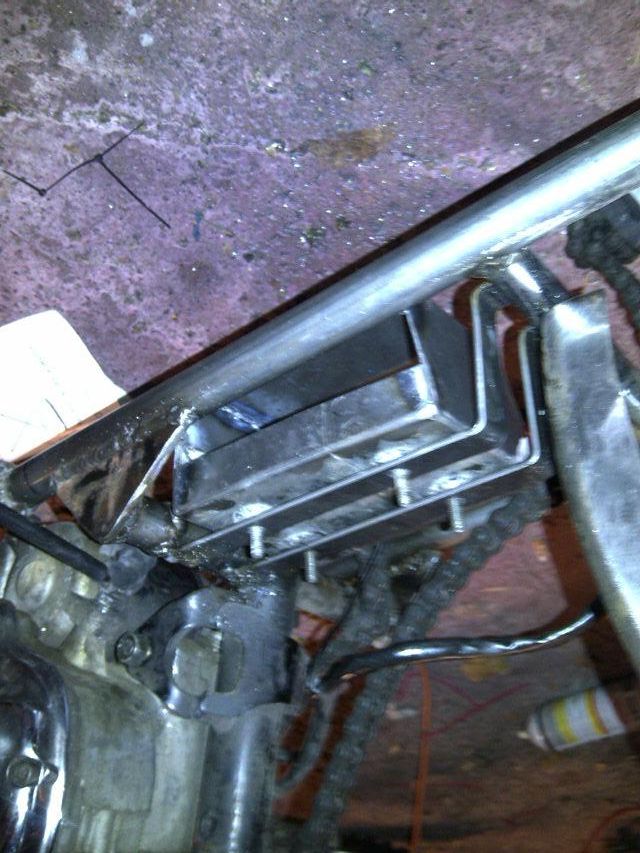
the bolts sandwich the battery box and the lunchbox around the cage and holds everything nicely in place. I used some rubber isolators to keep vibration down

(oh yeah, I also trimmed down the silicone elbows so they don’t look like dongs anymore)

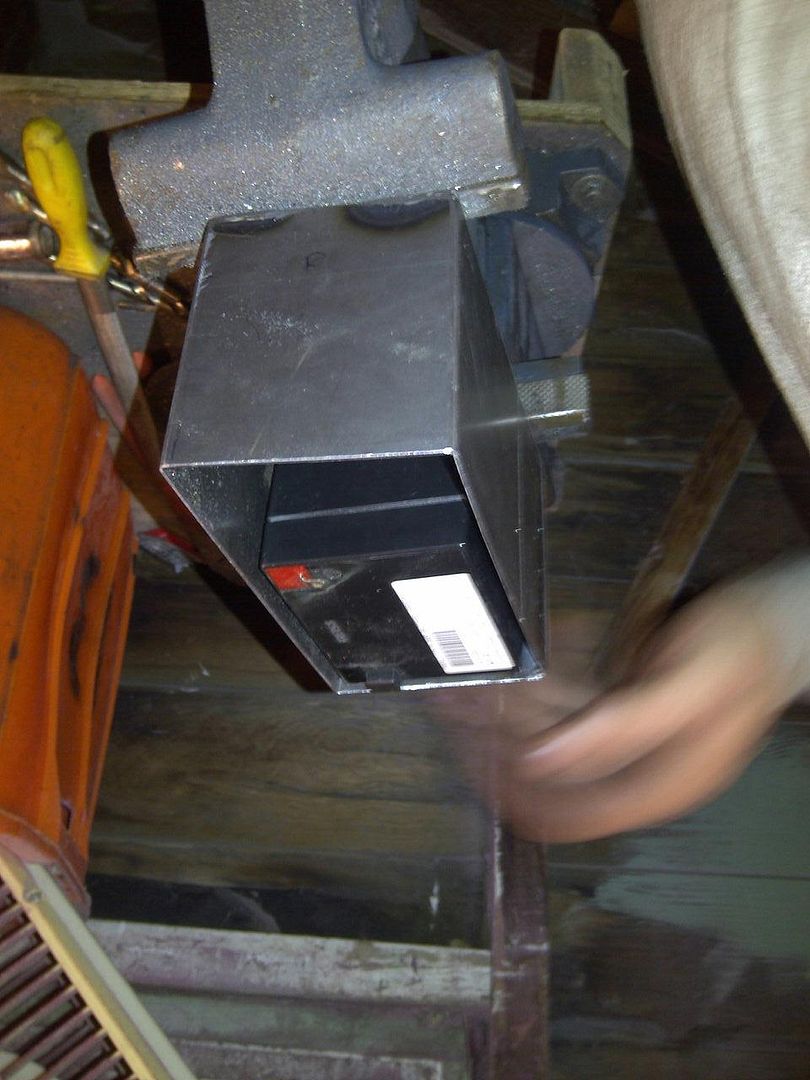
Battery and solenoid trying out their new home:

Then I made some hooks and a divider so the stock battery rubber strap mount could be re-used and separate the battery from the solenoid, and made up some wires

I wrapped the battery in some rubber sheeting I had so it wont be able to bounce around, and has a nice snug fit into the box

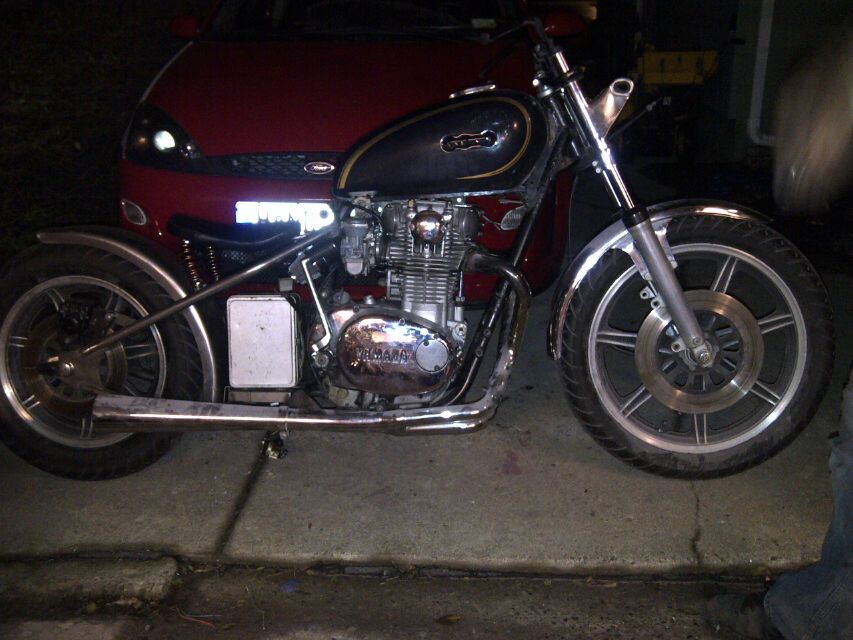
The completed box back in it’s home:

Then I had luke take apart the bike pedal for the kickstarter and paint the inner piece black

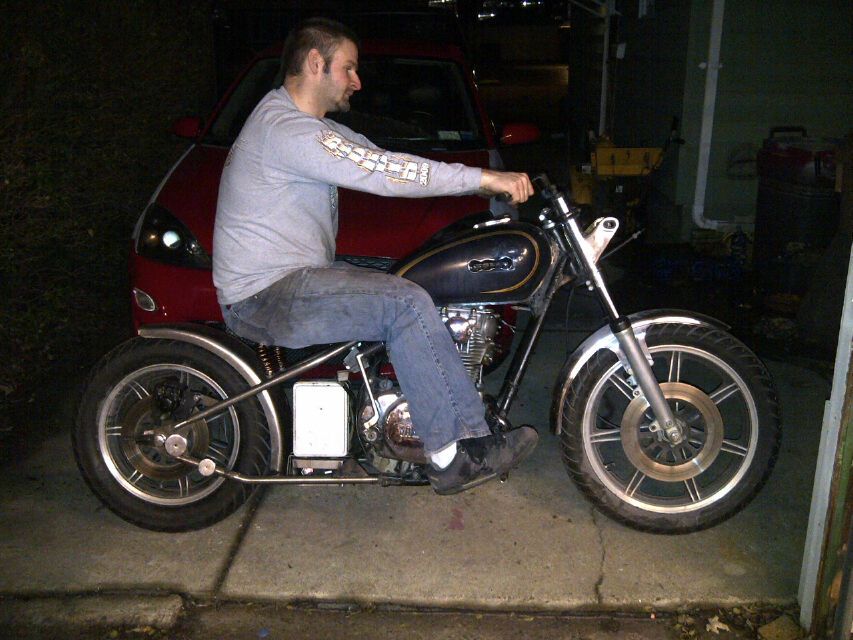
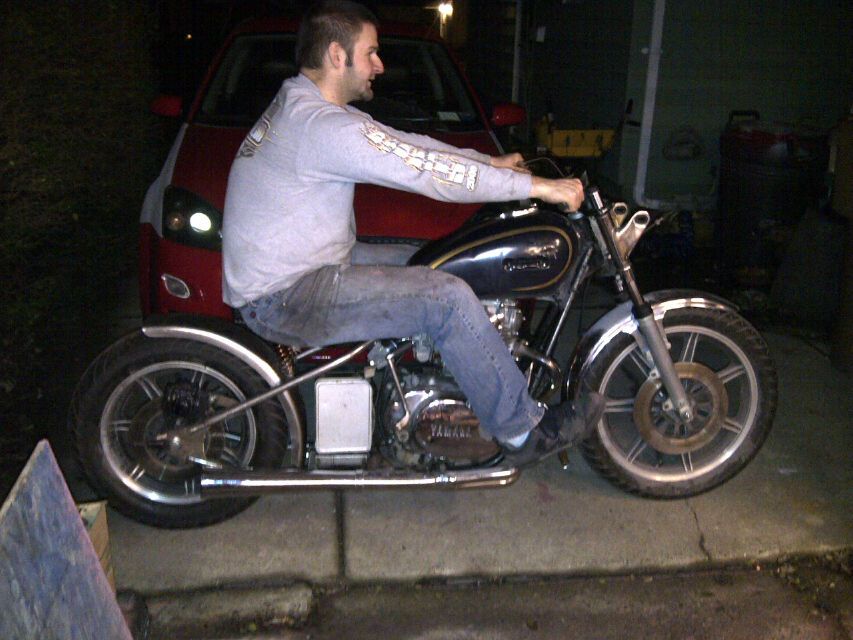
Then I sat on it

Then we noticed that if I put my legs down on the ground, as if at a stop light, the kickstarter was kinda digging into my thigh, so we took it off and heated it up with a torch and massaged it to be tucked in more

Then we decided we should probably see how the old exhaust fits…it was pretty close as-is, but was swept up a little high and wouldn’t allow the lunchbox to be open. I also wanted it to be parallel with the bottom frame tube…so I mounted it up and bent it to where I wanted it and welded a mounting tab. I forgot to take pictures during this, but here’s the results

Then I sat on it again, and made some vroom vroom noises.
there should have been some before pics of the exhaust… im sure i nabbed a few

:bigtup:

lookin good!

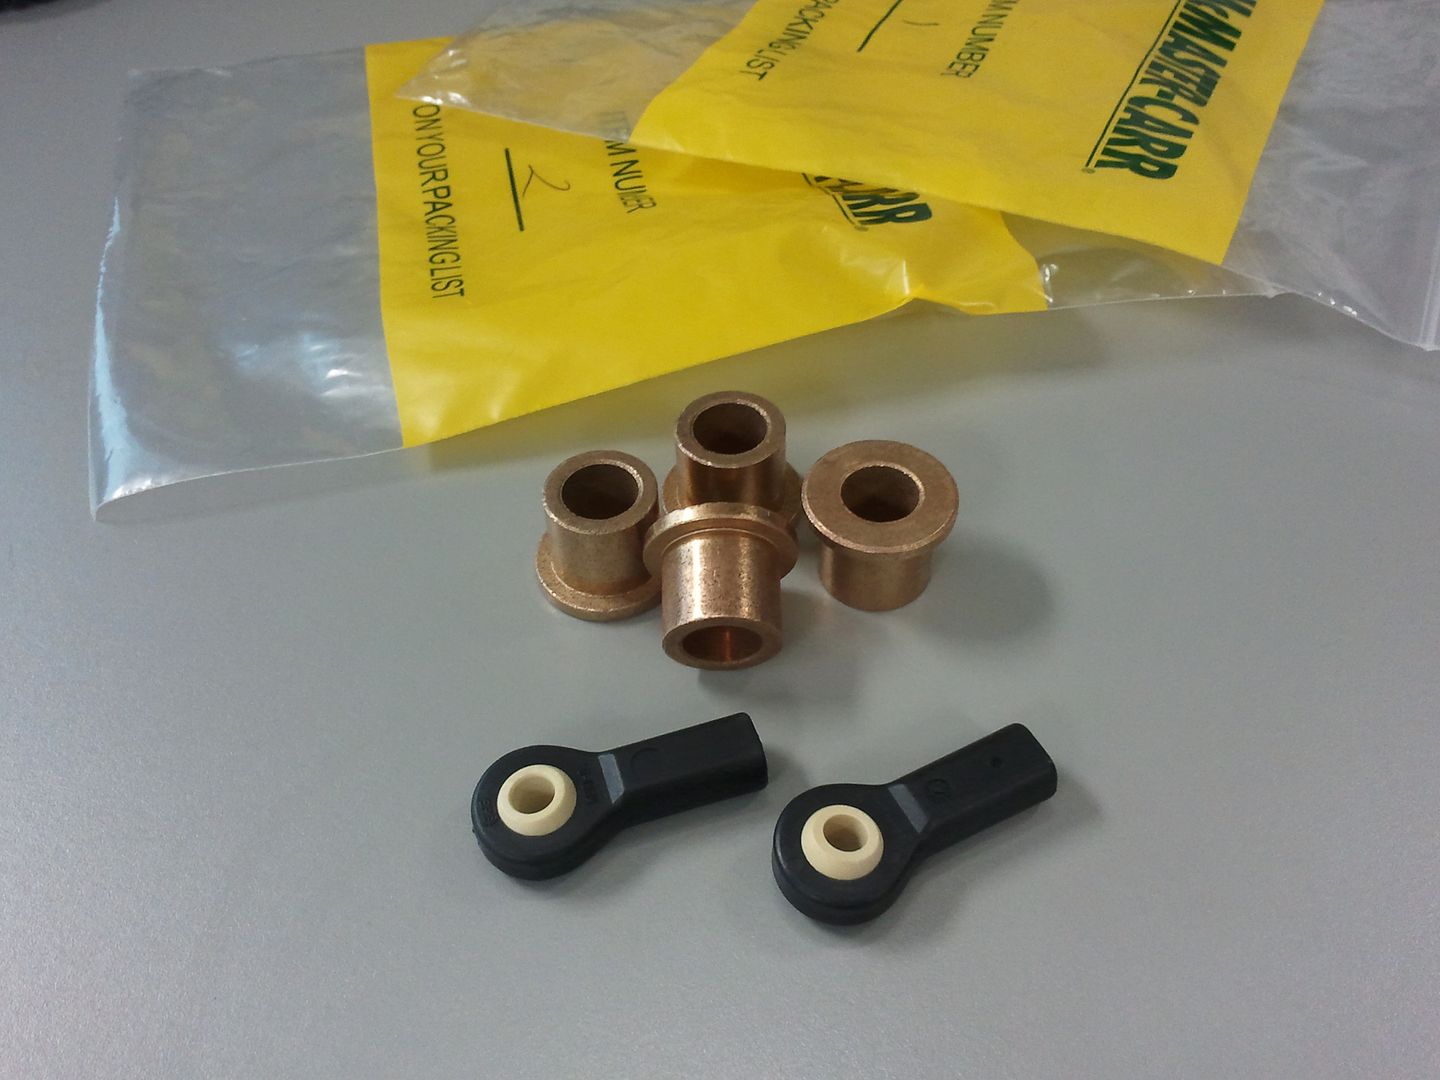
bit the bullet and ordered some bronze bushings and female rod ends so I can finally make up some forward controls…

just came in late last night from Mcmaster-carr…awesome turnaround time, I ordered them saturday. Unfortunately I won’t have time to get in the garage probably until monday, going on a mini-vacation with the g/f tomorrow-sunday. I only have one more thing to worry about, rear brake line…gonna have to visit Ferry Hydraulic and see if they can hook me up with banjo fittings that I can connect a standard flared brake hardline to…