](http://www.youtube.com/watch?v=pd5_XgHpSQE[/quote) I’d be happy with 1/4 of that hp
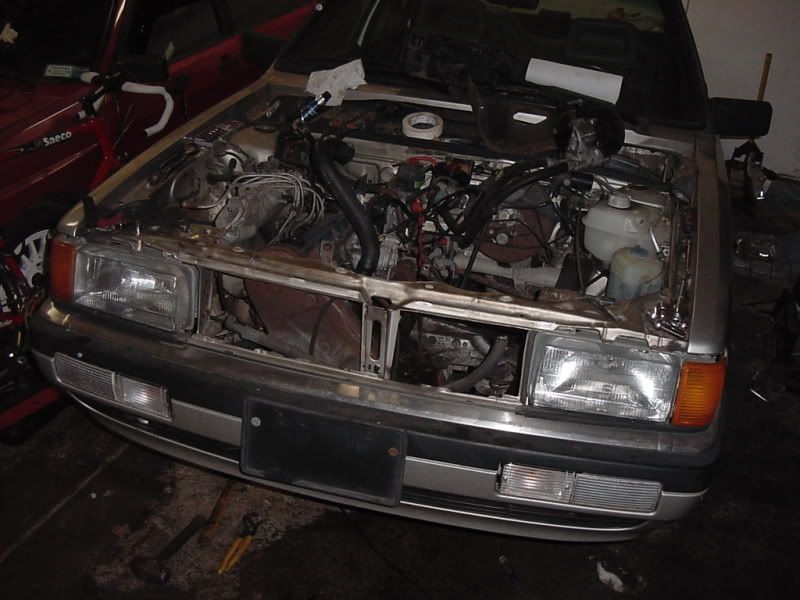
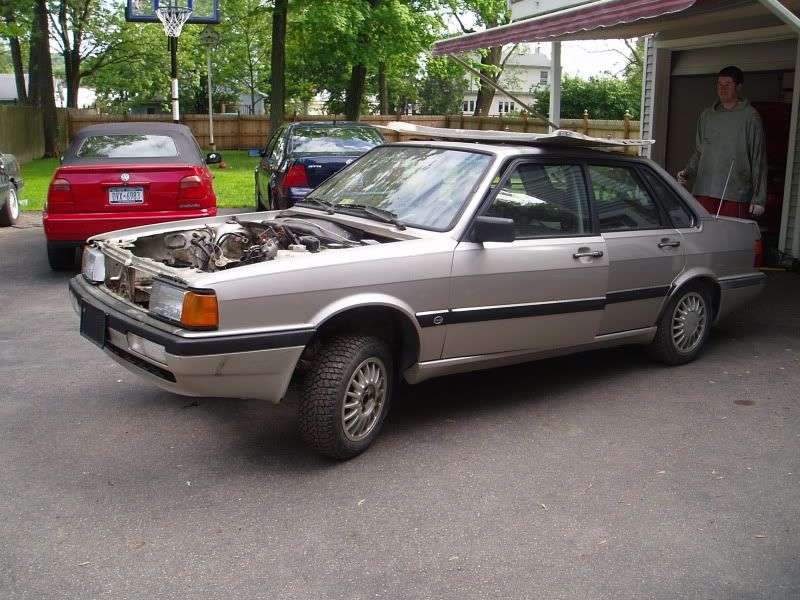
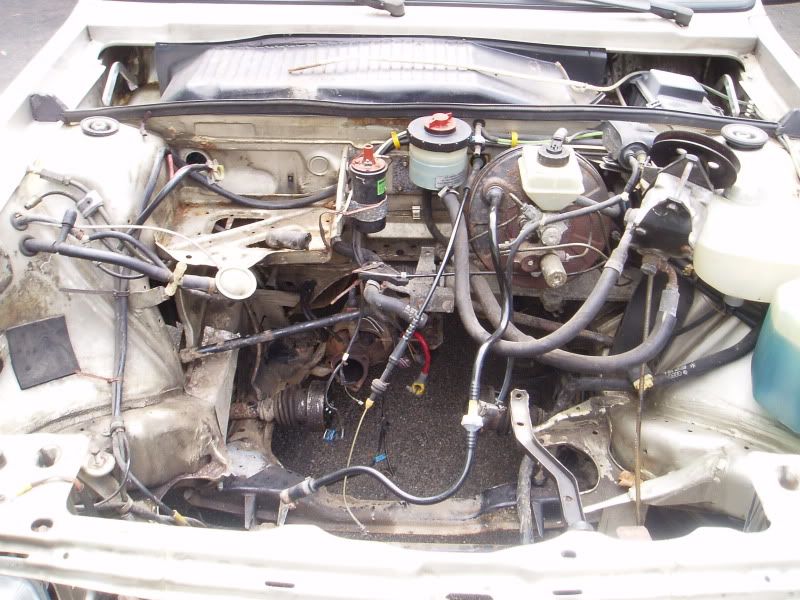
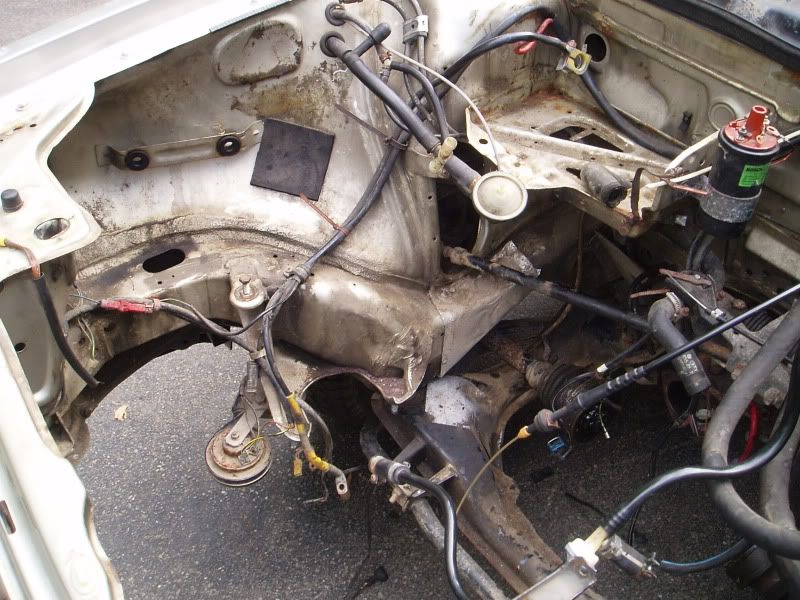
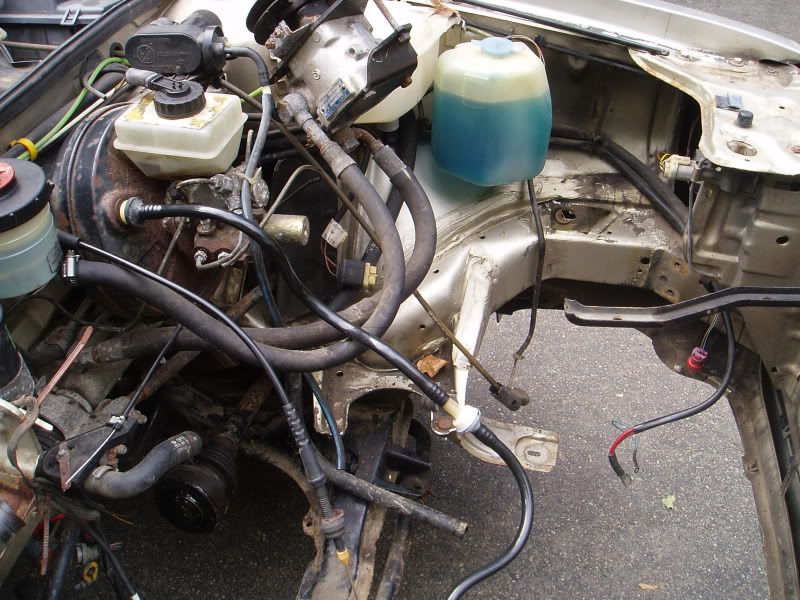
Update time. This is the work the took place on Tuesday of this week.
This is the last time that this engine
will reside in this car.
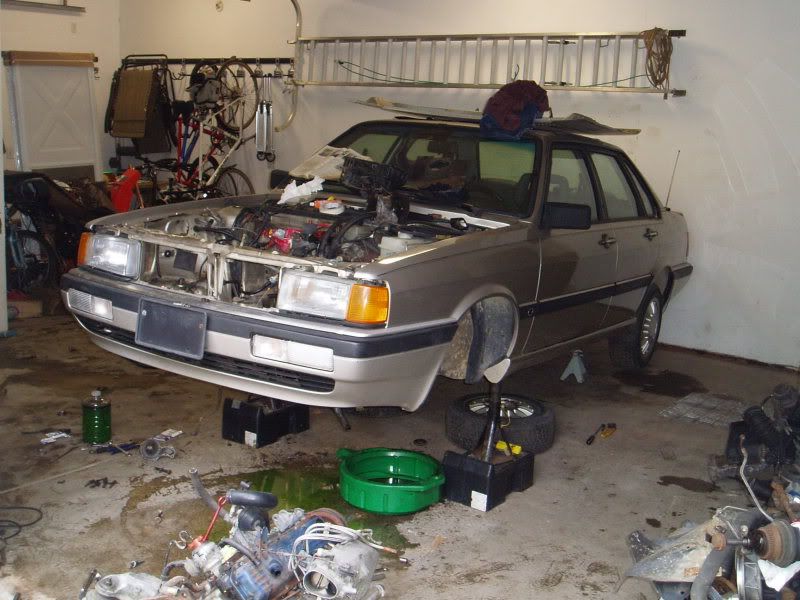
In order to drop the engine out of the car with out taking the head off-I’m lazy, or cutting the core support which I am completly against- the car needs to be high up, really high up. It was almost hard for me to reach into the engine bay with it this high.
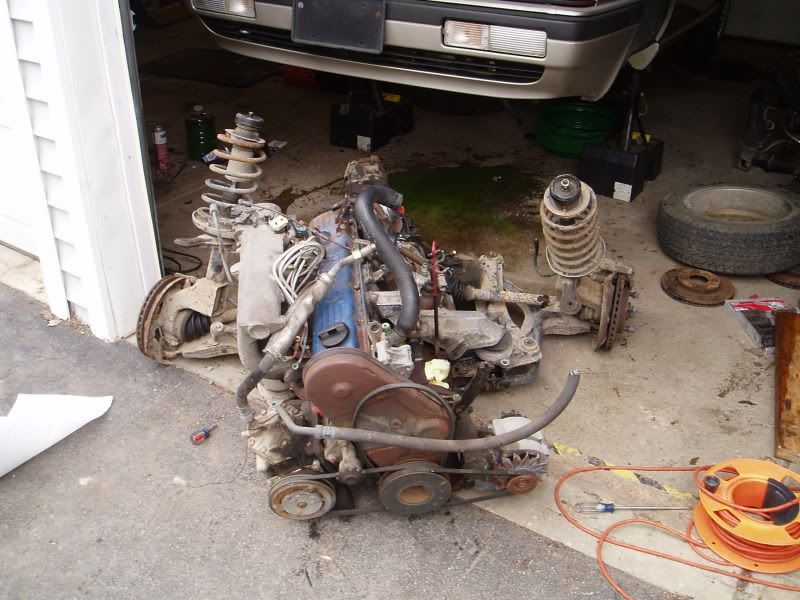
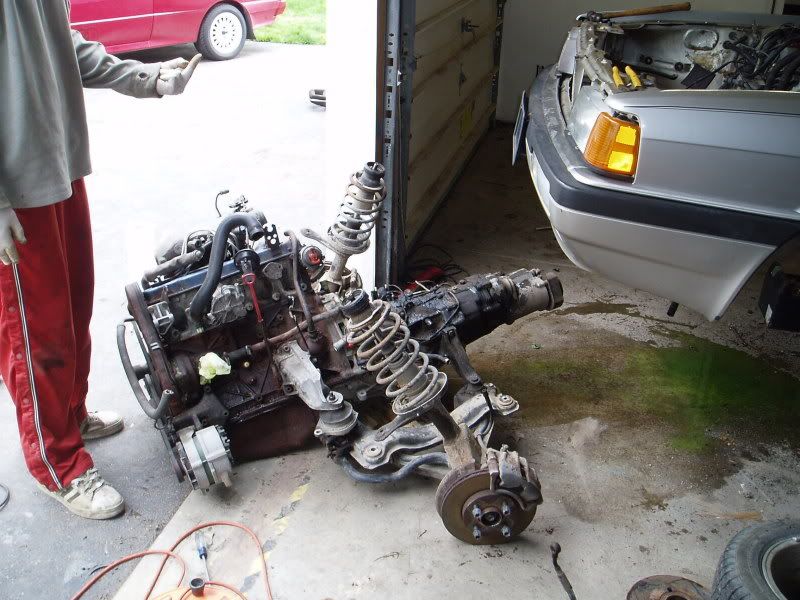
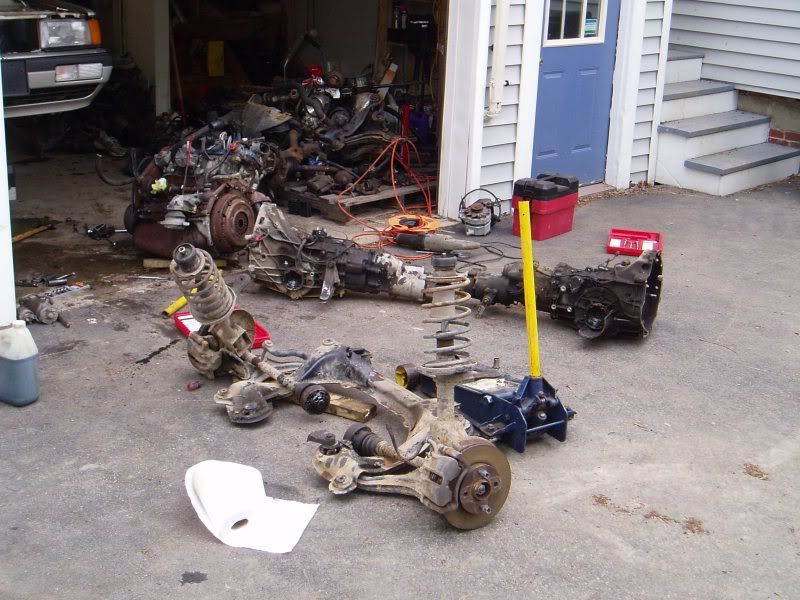
And it’s out
And it was added to the ever growing engine/tranny/rear end/WTF pile. Whats even worse is not shown in this pic, although you can kind of see it in the background is the 20VT engine and another complete rear subframe
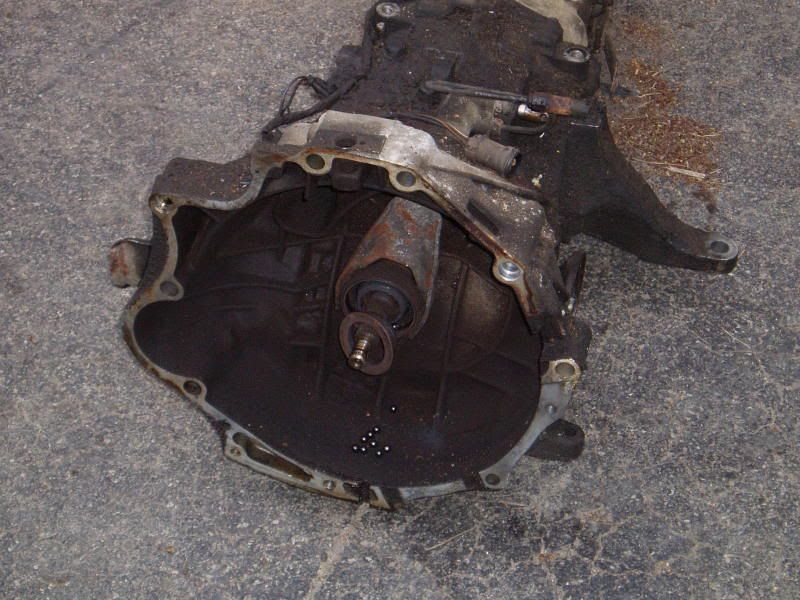
Here is the tranny out of the 200 that I will be using for this swap. I’m just glad that the car made it home given the shape of the throw out bearing-when I depressed the clutch the pedal would fight back against my foot, not a good thing when you are about 400 miles from home
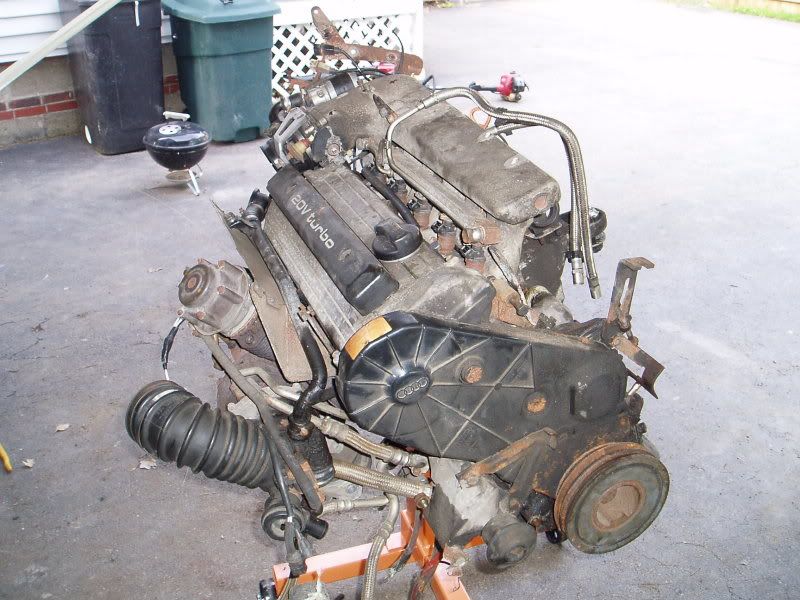
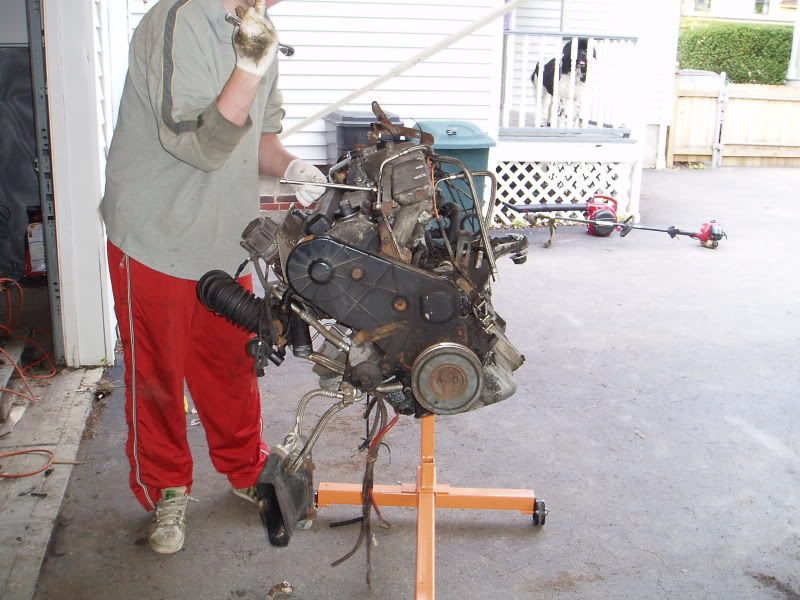
Today, Thursday the 20V went on the engine stand
And I began removing the IM, water manifold, valve cover, and anything else that is going to get cleaned up before re-install. Oh, and I snapped one of the bolts for the water manifold-FUCKING great . Hopefully I can catch what is still sticking up with vise grips and back it out.
Thats about where things are as of now. Pretty much at a stand still until parts start showing up. Parts as in boxes that are going to cost more then the car did
Been a bit since I updated this project so here is where it is currently at.
Rolled it out to do some pressure washing, I can’t believe how high this thing sits with no engine/tranny
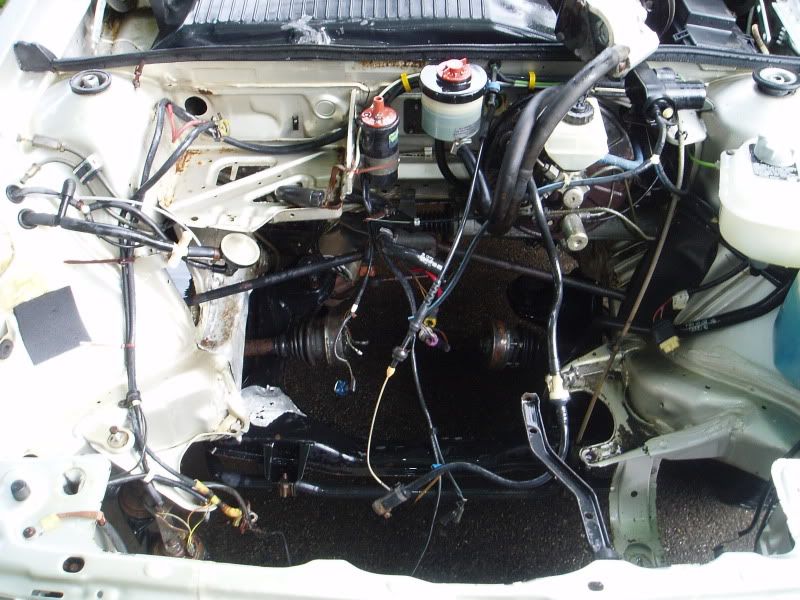
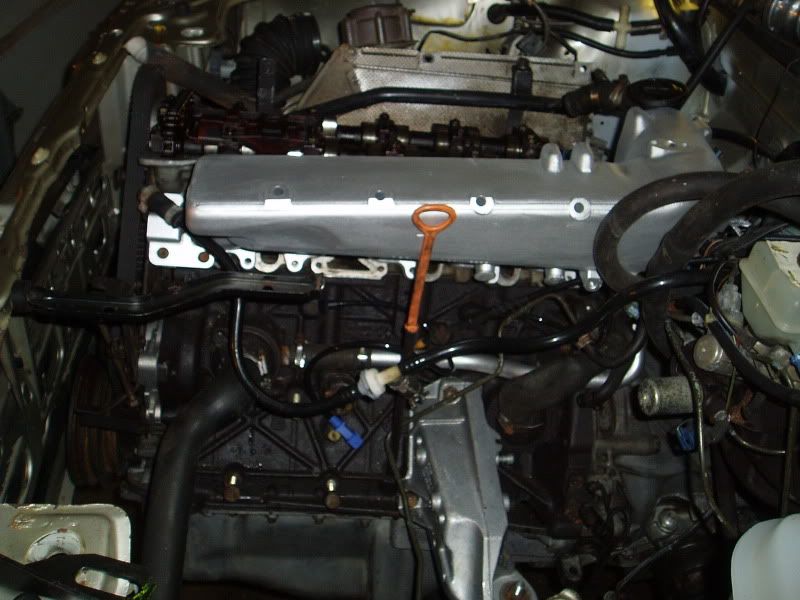
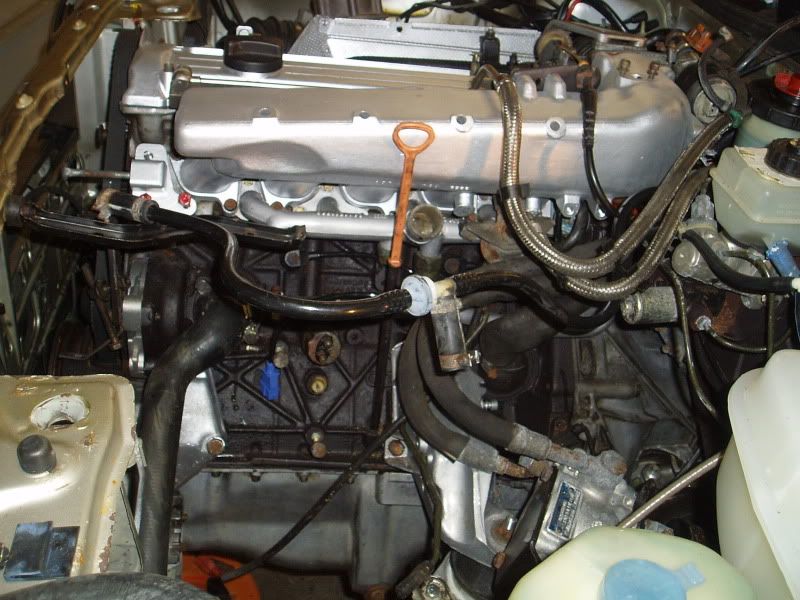
This is what the engine bay looked like before. Nothing hiddeous, no rust, just dirty and crudy
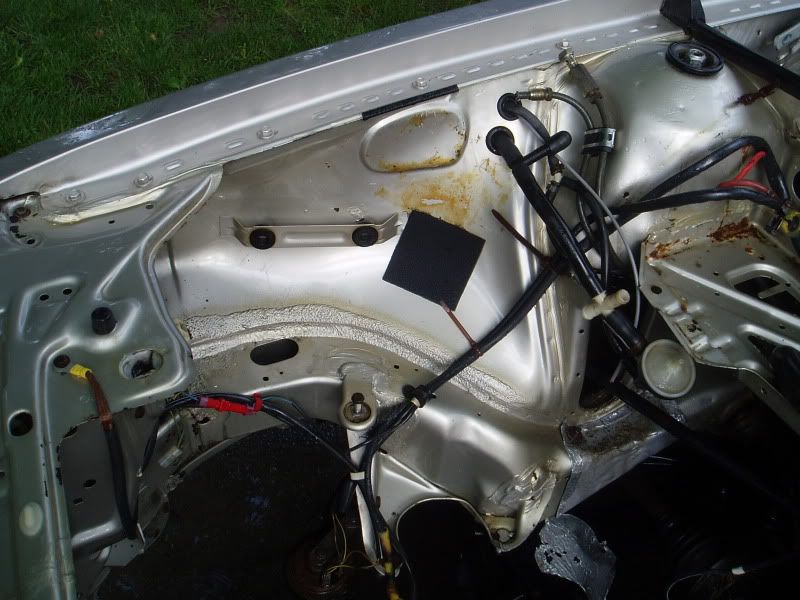
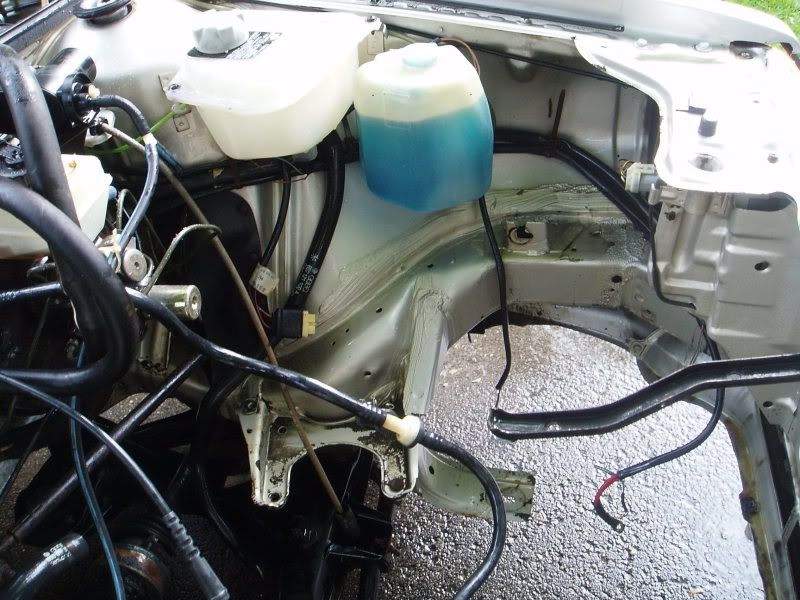
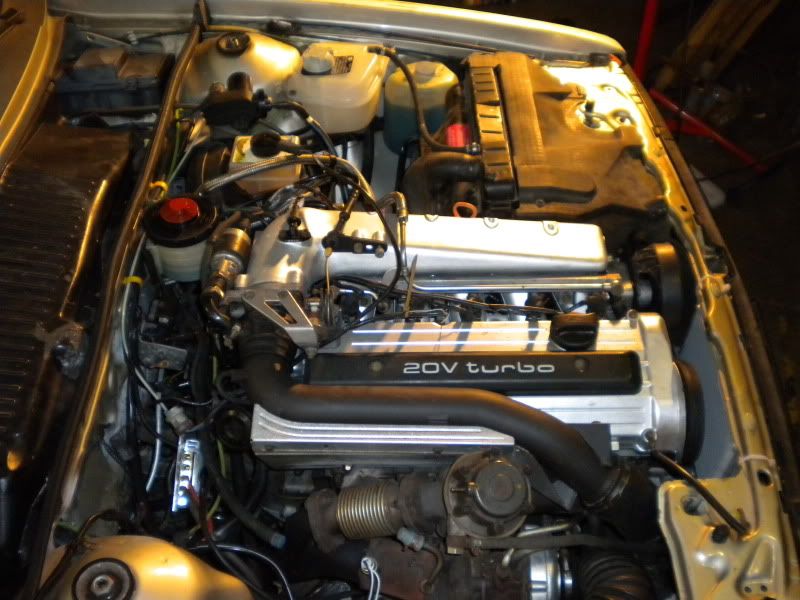
And here is how it looks now-I’m quite happy with the results
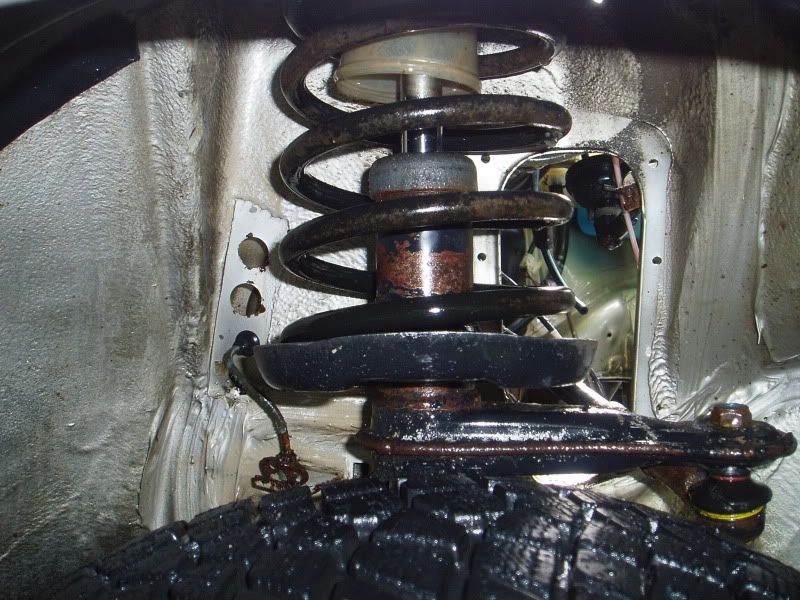
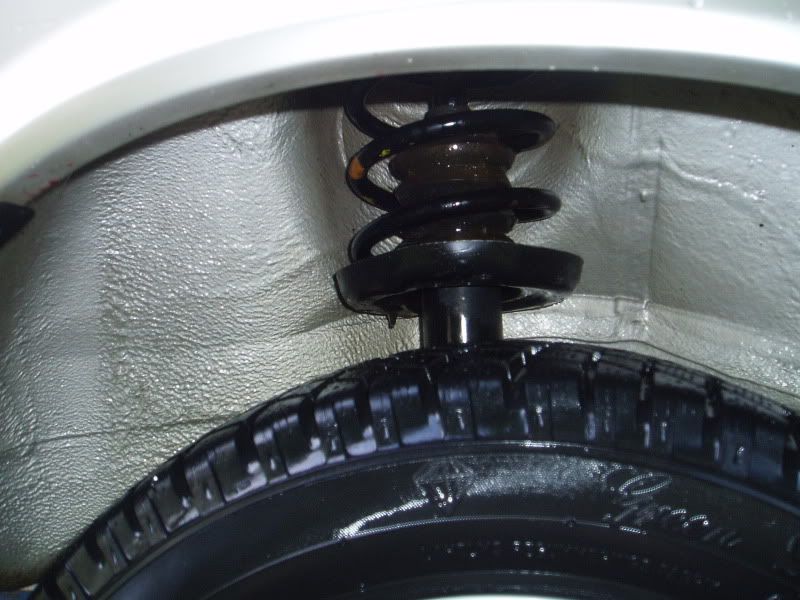
Also, did the wheel wells and I’m really happy that I did
They look even better now that they are dried as these pics were taken when they were still wet
Now, the powder coated pieces
Dropped off the IM, water manifold, engine mount bracket, and fuel rail to be bead blasted and then powder coated clear as I like the “naked” look
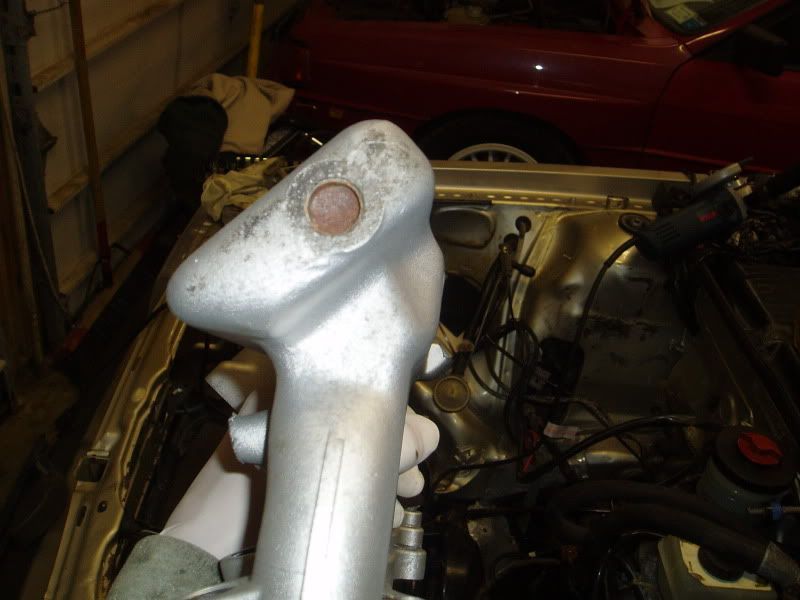
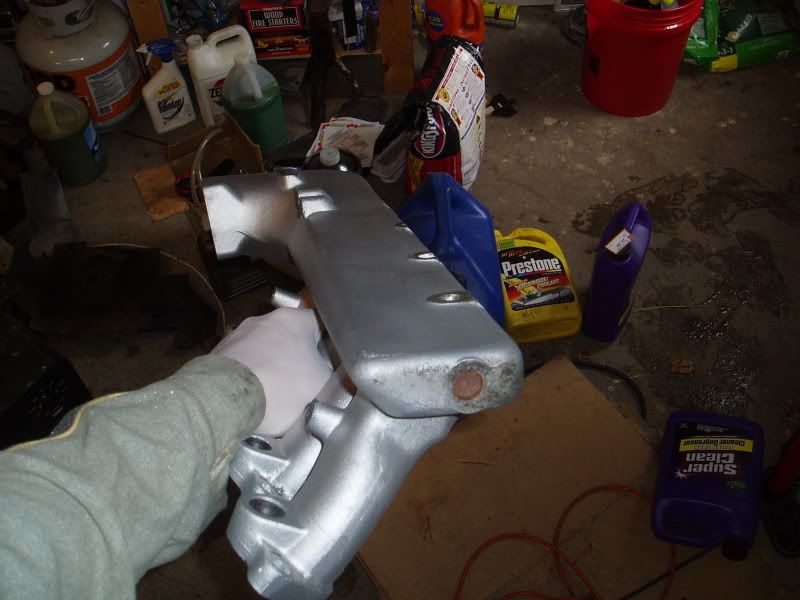
This is what I got back
Are you fu(king kidding me-leave the most visable part of the IM cruddy??
“I know, lets tape off one of these nubs, but not the other-BRILLIANT!”
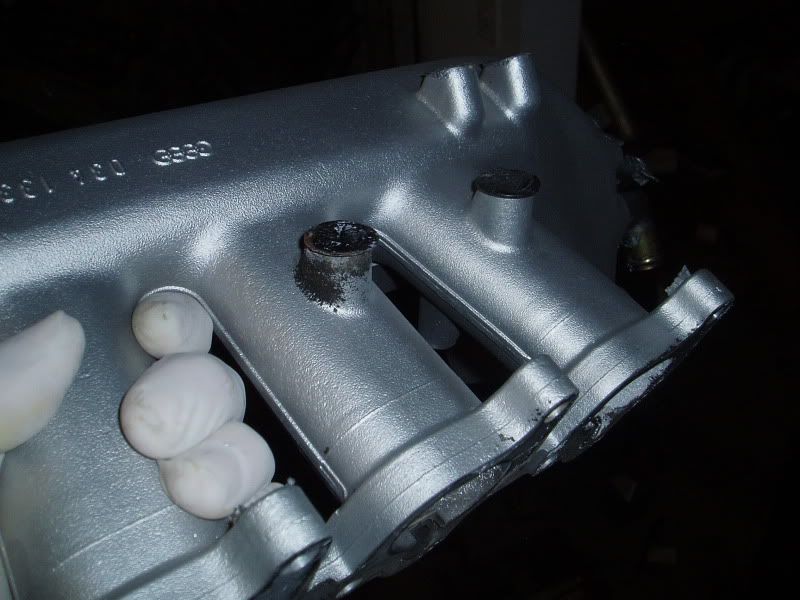
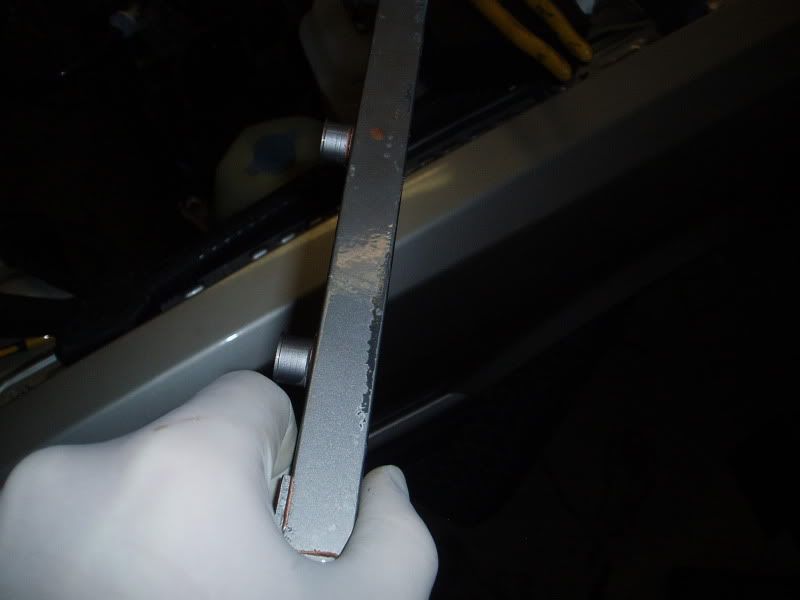
Now the fuel rail-the biggest fail I have ever seen
Ahhh yes, shit still on the metal is now under the clear powder coating.
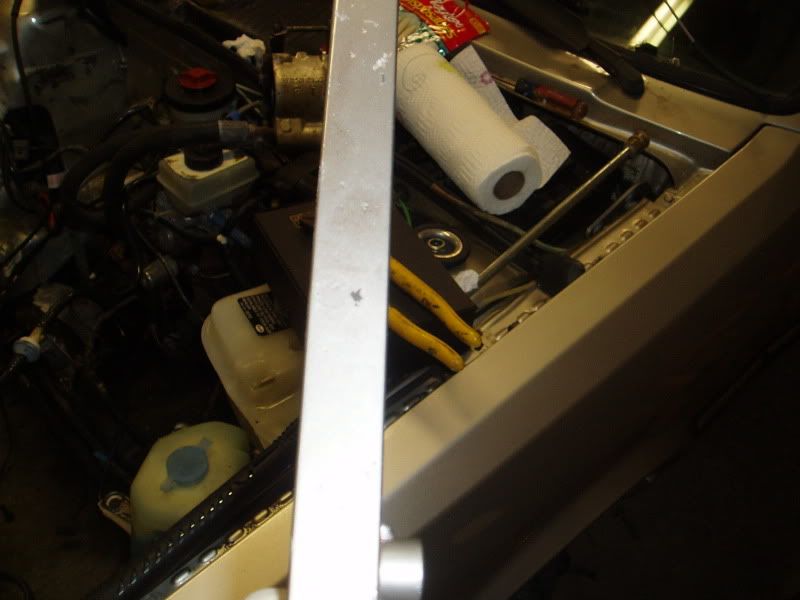
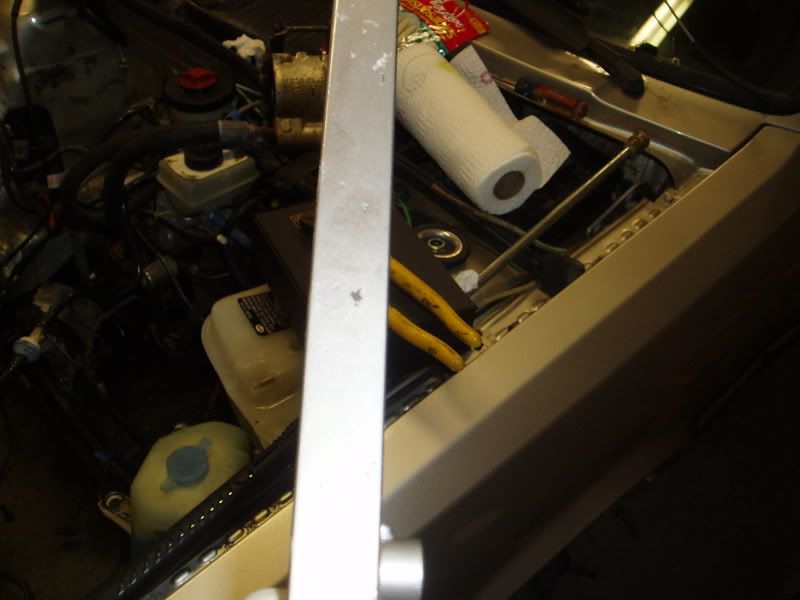
But wait, it gets better-if that is even possible
Do you see it???
Thats right, a few greasy finger prints under the powder coating on the fuel rail
The idiot told me that the IM wasn’t coated as some “gear head” in his shop said the IM gets “WAY WAY too hot and will just burn it off instantly.” Whatever. So I drive all the way back to get the stuff re-done and the ass tells me that the intake manifold must have “re-oxidized, thats why it’s dirty like that.” Then why didn’t the rest of it “re-oxidize” I asked him?
And the finger print under the powder coating on the fuel rail-“Thats part of the powder coating process and the coating must have stuck to the print.”
Yes you fu(king idiot-because you put it there and then coated over it. So, they re-did just the IM as it was the only one not powder coated and it came out better, but nothing I would write home about. It just re-inforces the belief in my head that NOBODY, NOBODY, not even so-called “specialists” can doi a god damn thing better then yourself. I should have rented a blaster and done it MYSELF, then it would have came out to MY standards.
You would think that a business, called METAL PREPERATIONS would be able to do this job perfectly-guess not. So, in closing-everyone out there is a 2 bit hack and you can do a better job then the so called professionals
Tonight I painted the block and some other random engine parts black and I must say that it is going to look 1000 times better then the crudy engine I started with.
Oh yes, NEVER EVER give ANY business to Metal Preperations in Buffalo on Military. They SUCK!!! The person I delt with, Brian Georger, is a FU(KWAD!!!
Wow. Shitty man.
The rest of the project looks good though! :tup:
Good to see your making progress :tup: Are you going to leave the parts as is or have them re-done?
Hmm, we have some shit done at metal prep.
That’s pretty fucking ghetto though… how much did it run you, if you don’t mind me asking…
You better hope that they didn’t use recycled media when they did your intake manifold, because if it’s not coated and they used recycled glass, it can impregnate steel into your aluminum part and it will rust.
I think clear powdercoat was a bad idea though.
I sprayed my media blasted parts with 500 degree engine block clear coat…
I have since POR 20’ed the intake manifold and it looks pretty good. The valve cover I sanded the powdercoating off and attempted to POR 20 as well and it looks a bit “off” as the POR is sticking differently I feel due to difference in where I got the powder off as opposed to where it is still there a bit. The water manifold, engine mount bracket and as is, they aren’t really that visible. The fuel rail with the smudged finger prints, I’m leaving as is so when someone asks/points it out I can tell them all about the caliber of work done at Metal Preperations.
It was $150 for the blasting and $75 for the coating and when I was given the parts back, I was given them in a way that I saw the “good” sides. It wasn’t until I was at Dans that I saw just how shitty the job was. The IM was re-blasted and it came out better, but with the coating on it now it looks a ton better.
The clear powdercoat, I figured that the parts would come back as good as everyone else that was posting pictures on another forum I frequent, they were fucking brilliant and that was what I thought I would get. I just wanted to have a clear coating on to protect against them getting dirty and still show off the clean metal, but that didn’t result.
Overall though, with the engine block painted up, the random parts/brackets painted, the whole thig de’greased/pressure washed, it will look 1000 times better then what it did to begin with. It was a 248K mile engine to begin with and I just wanted to clean it up and make it look clean-not perfect.
1982 coupe $1000
http://binghamton.craigslist.org/cto/1175832549.html
There is a guy in Corning from the 607Motorsports forum that does powder coating and his stuff looks very good if you should decide to do any other powdercoating.
Also, you might be interested in this: http://binghamton.craigslist.org/cto/1207753804.html
WOW thats way way too much to pay to blast and coat…
Thats not a Ur-Q that MPD was refering to, it is just an Audi Coupe-Front wheel drive non turbo, non wide body
Not for quality work, but for the shit work I was given, yes, way too much
ugh sucks about the coating
it would be really funny if the guy advertised it wrong and this was the best deal URQ ever… that is crazy low miles for a car that old.
Been way too long since I have done an update so I figured I would catch everyone up if they care. Some already know where I’m at but we all love updates with pictures.
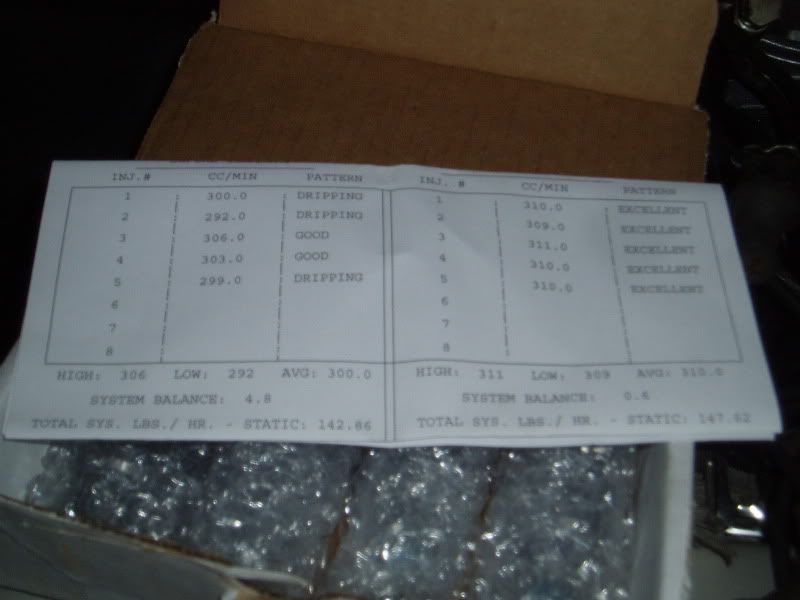
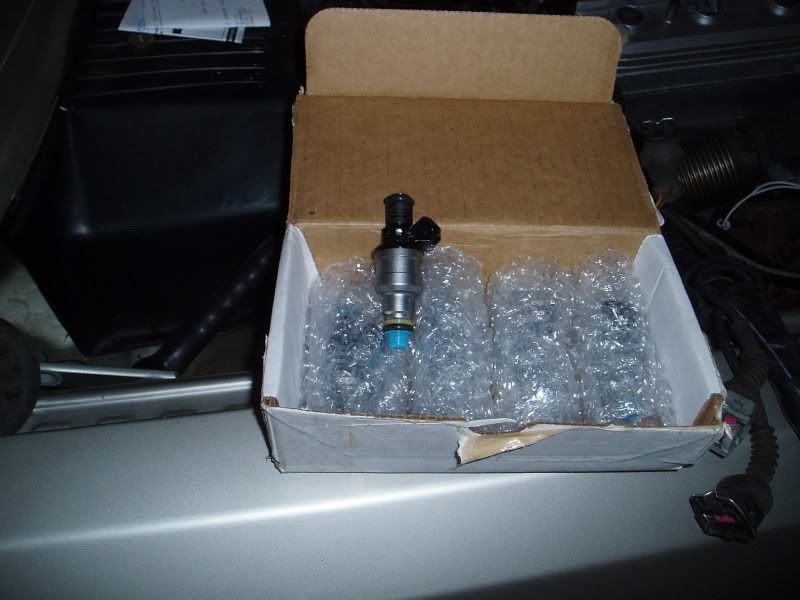
I sent the injectors out to either Marin Motorsports or RC Engineering, can’t remember which off the top of my head. I used one of them in the past for my VR6 and I used the other one for this project. Anyways, when I sent them out they looked pretty shitty, I was honestly suprised that they didn’t say they were not worth/able to repair them. This is what I got back
A nice little progress report telling how poorly they were before and a nice little after report
And all 5 injectors now look nice and new. Not bad for less then the cost of 1 brand new injector.
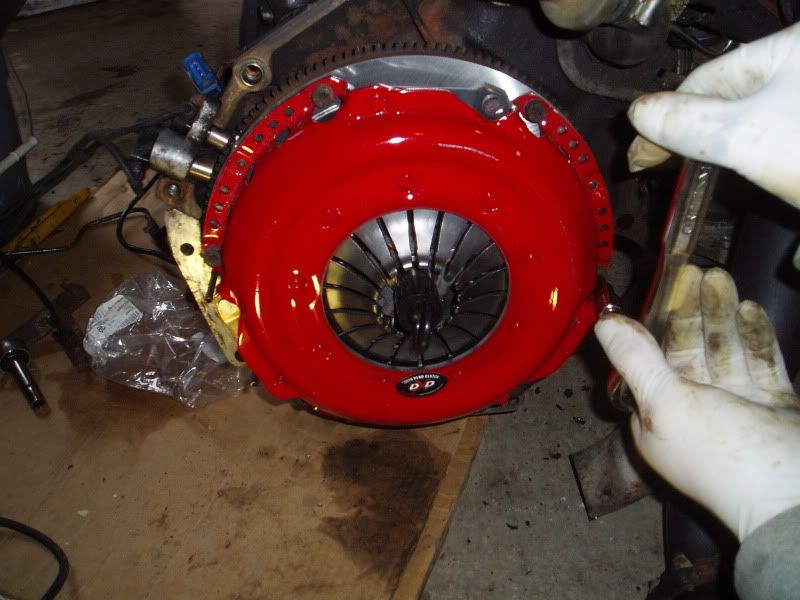
For the clutch we decided that I would be the guniea pig and try out South Bend Clutch and see how well I like there stage 3. It is a shame this nice piece will not be visable
I hope it performs as well as it looks.
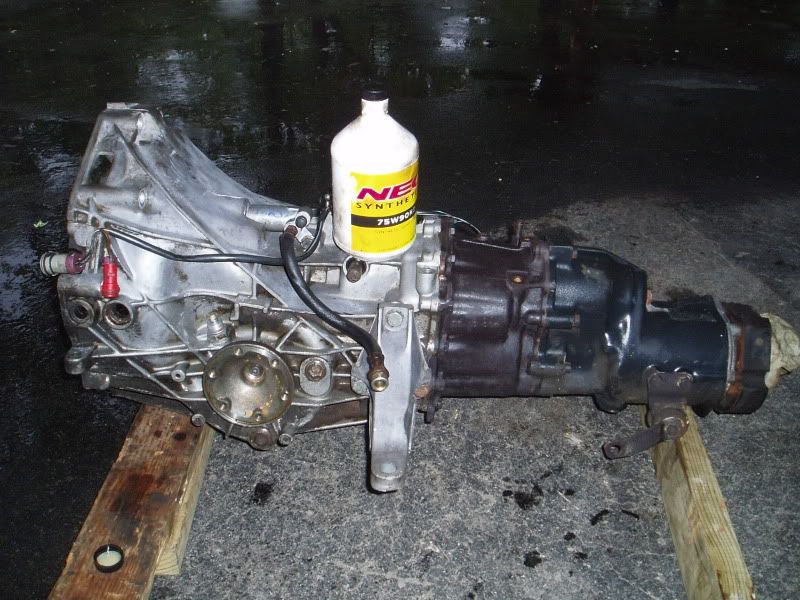
Cleaned up the tranny and re-filled it with new fluid and added a new slave cyclinder. Not bling clean but WAY cleaner then the dirty heap that was removed
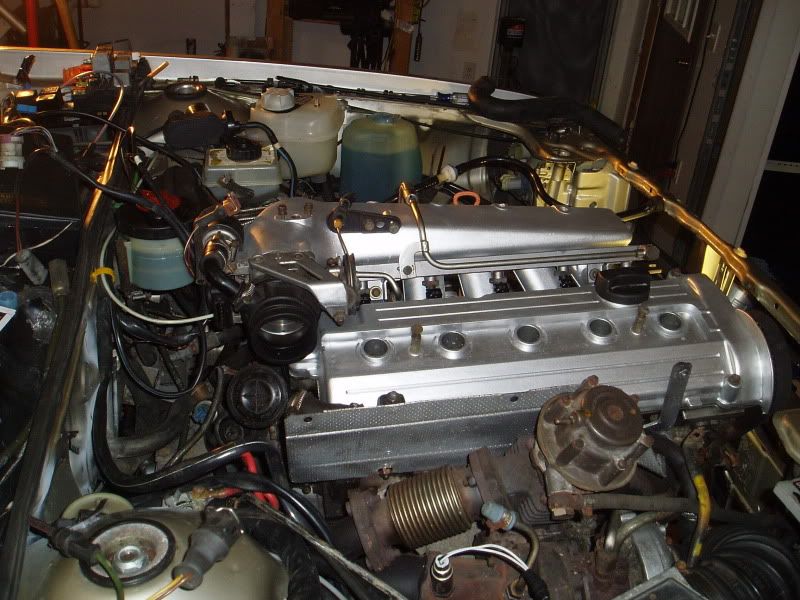
Mated the engine to the tranny and installed it.
The engine has been cleaned up pretty well, WAY better then it was before but not show stopping levels here. It was getting to the point where I thought it would be better to get the engine in and running and then maybe next year go nutty with details. It still is presentable, but not HOLY SHIT clean, overall I’m happy with it. The one thing that really looks like shit is the turbo and the exhaust manifold
Thats pretty much where the car is at now, I have the harness in now and tried to start it, and that leads me to the issue that I’m having.
The car is getting spark but not fuel. We jumped the relay with that little metal piece in the fuse box and the pump works when we do that. We had the engine running on starting fluid so we know it still works. There are some threads with possible solutions that I am going to look into-bent reference pin/incorrect connections at reference pins, etc etc. We tried to blink the codes and all the light did was light up and stay illuminated, no blinking. Basically, it is someting small but finding it is going to be quite hard. If the person who modified my harness screwed something up, well, I’m never going to figure that out. I’m almost at the point of just taking a long break and forgetting about it and putting my time to something else and resuming the project when I have funds for an 034 IIc stand alone kit and big fucking turbo.
Got some work done on the car last week, its getting there. Next major hurdle is the exhaust.
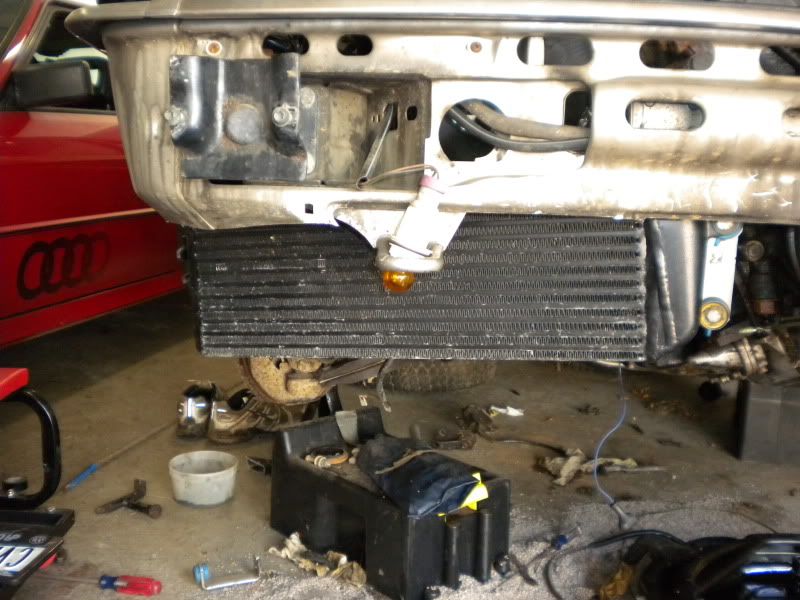
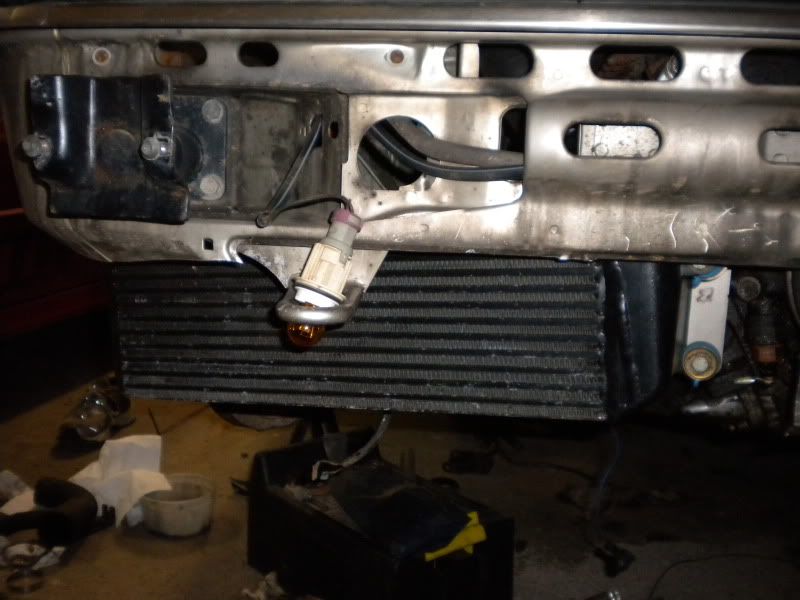
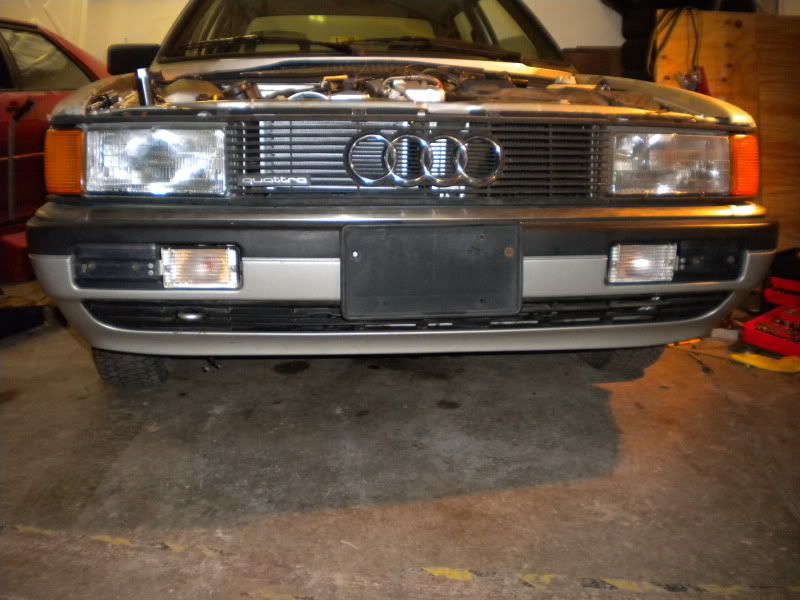
First I buzzed the car for the intercooler
Then mounted that up
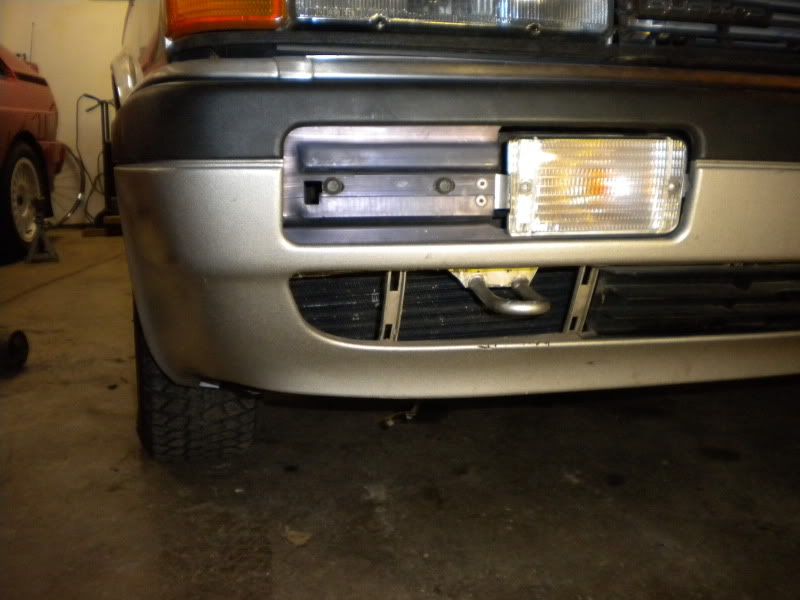
Another view
The best thing is that with the bumper on noone would be the wiser
You can barely see it back there with the tow hook cover removed
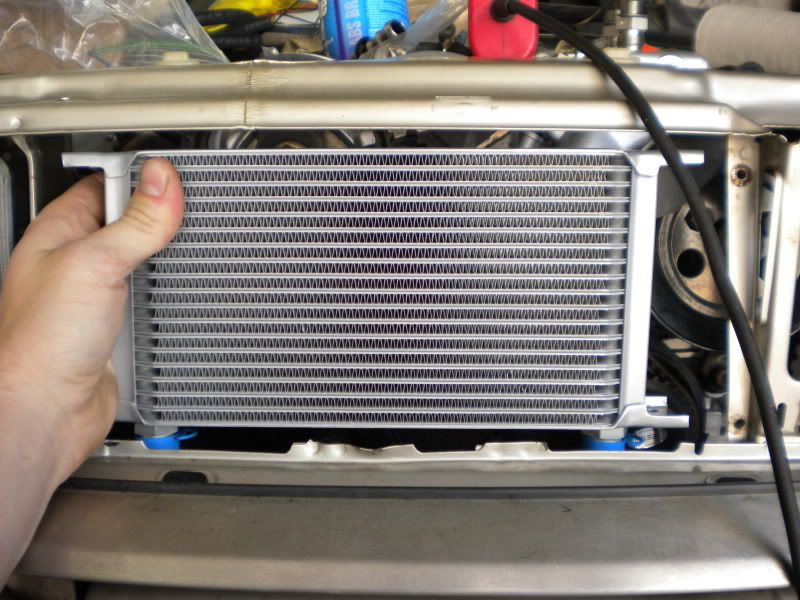
Mocked up the oilcooler with my ape sized paws
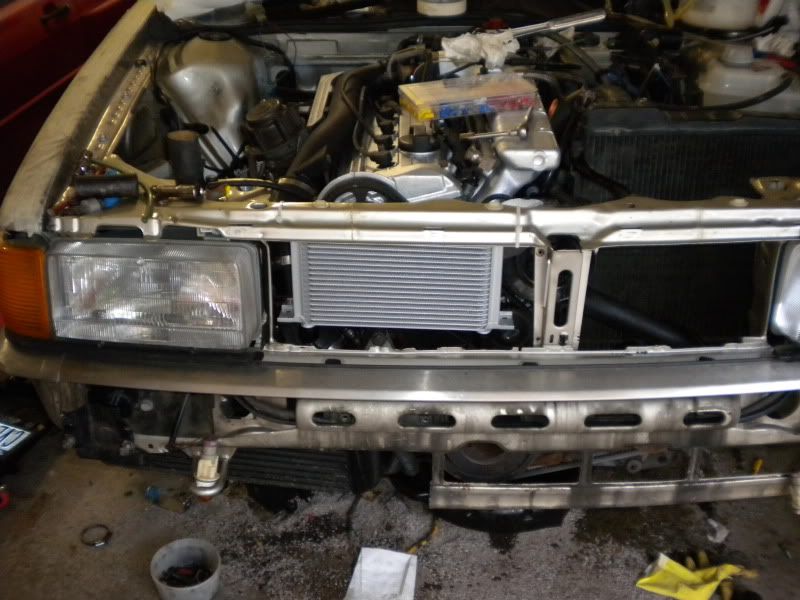
Ran the lines and mounted it in a perfect spot, yes I know, I have to make up some brackets but for the time being it’s in there with zip ties
Put some of the radiator shrouds back on and random stuff and it is starting to look like a car once again
Almost looks factory, needs some final sorting but it came out somewhat clean
Front end back together
And it moved under its own 20VT power. Drove it out and swept the disaster of a garage.
Man, that’s come a hell of a long way. This project sucked at first, but it’s shaping up to be really cool.
Are you going to be able to make any power with that IC though?
Looks good rick. What was your fueling issue? Engine bay needs big turbo now.
It is a modified Porsche 951 intercooler with the end tanks cut and rotated. The thing I like about the IC is that I didn’t have to cut the core support which is all one welded piece and really adds strength. If it doesn’t support high hp in the future I’ll go custom.
Thanks for the positive words. The fueling issue, ahhh. We must have spent 15 hours testing and retesting things, test lights, etc etc. I’m thinking the harness has a break in a wire somewhere, we’re never going to find it etc etc. So we are blinking codes to see what the ECU is seeing and point us in the direction of the issuse. The area where we need to make connections is right near this goup of fuse holders that are tucked up in the drivers side foot well almost under the dash. So Dan is playing with the test light getting it hooked up to the injectors and no light. I say. “Hmmmm, this one holder is missing a fuse.” Dan thinks I’m bullshitting him as it couldn’t be that easy of a fix. Pop in a fuse, the test light lights up and it fired right over. I guess the guy who did my harness forgot to put in a 15amp fuse.
Looking good Dick. :lol:
X…
You should have bought all the shit I had for sale…
I’ve got my money tied up at the moment. Do you still have the downpipe?
