My downstairs remodel

We’ve been in this house for over 10 years and the downstairs family room as always been one of those “someday” projects. The house is a raised ranch so the downstairs is only half below grade. When we moved in I tossed a pool table and crappy bar down there but had long grown out of it. With my daughter getting older I realized it was time to have a place I could escape too when her friends were over, or my wife was having a girl scout event at our house etc.

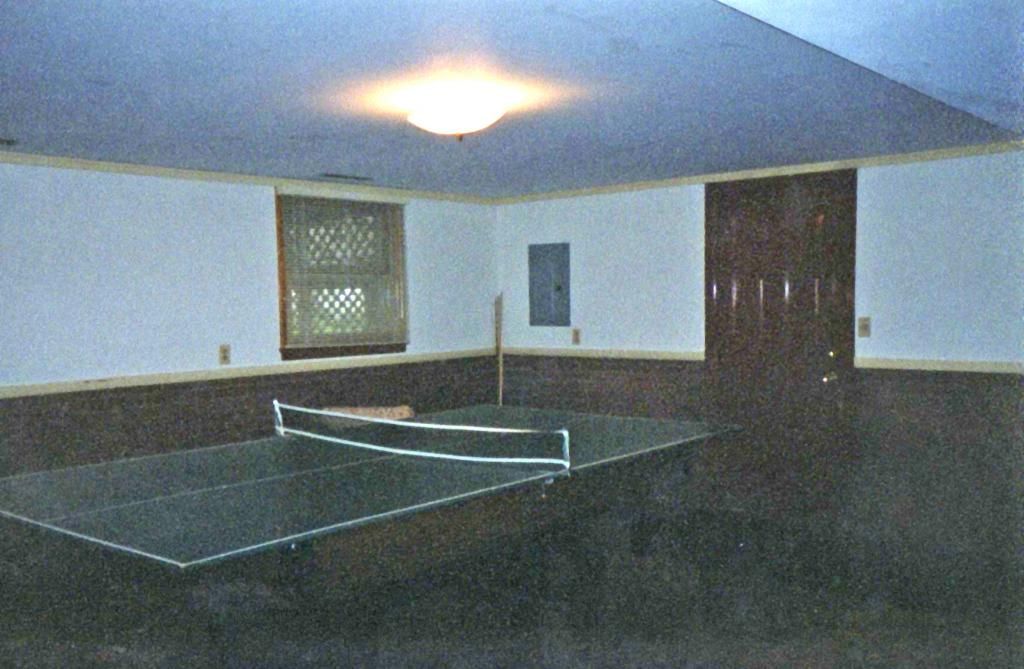
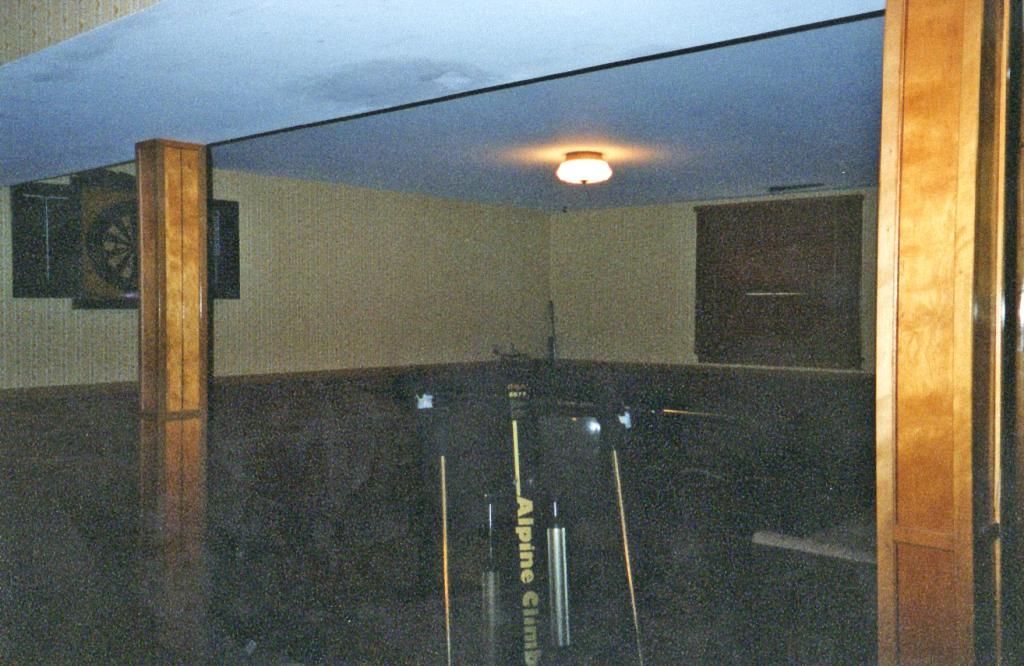
The first 3 pictures are from the walk through with our realtor before we put an offer in.

Fake brick, one single ceiling light. Not pictured, orangish shag carpet.
http://i224.photobucket.com/albums/dd75/jsears77/Downstairs%20Remodel/2_zpsbb56a01d.jpg

Nice wallpaper
http://i224.photobucket.com/albums/dd75/jsears77/Downstairs%20Remodel/1_zps2ed5e0d5.jpg

Oh yeah, wood paneled bathroom with a wood toilet seat!
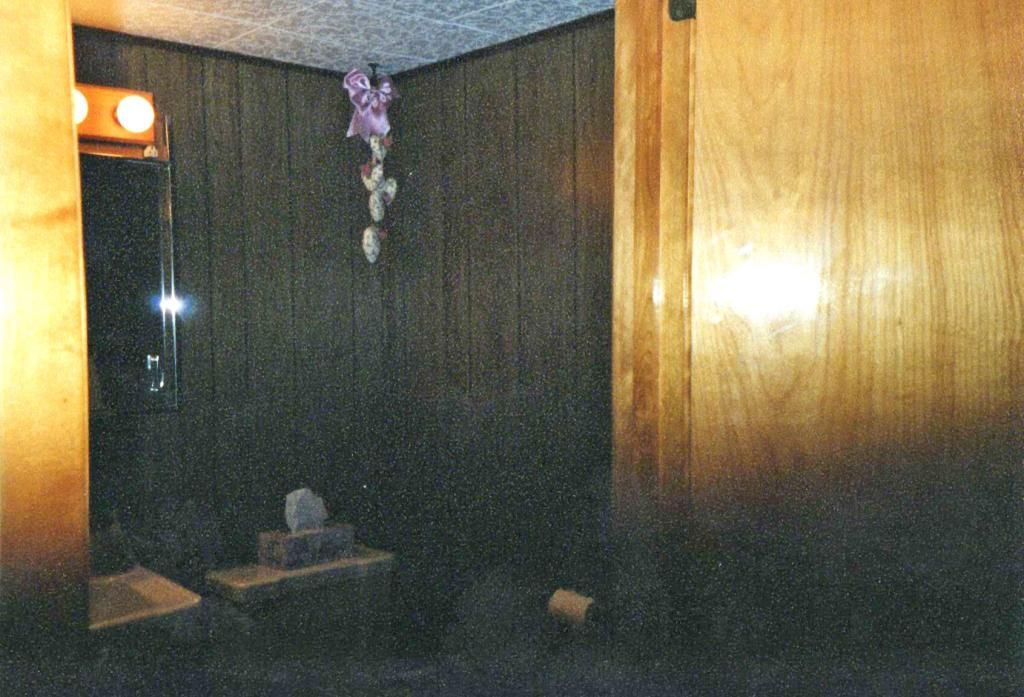
http://i224.photobucket.com/albums/dd75/jsears77/Downstairs%20Remodel/3_zpscf7e7c88.jpg

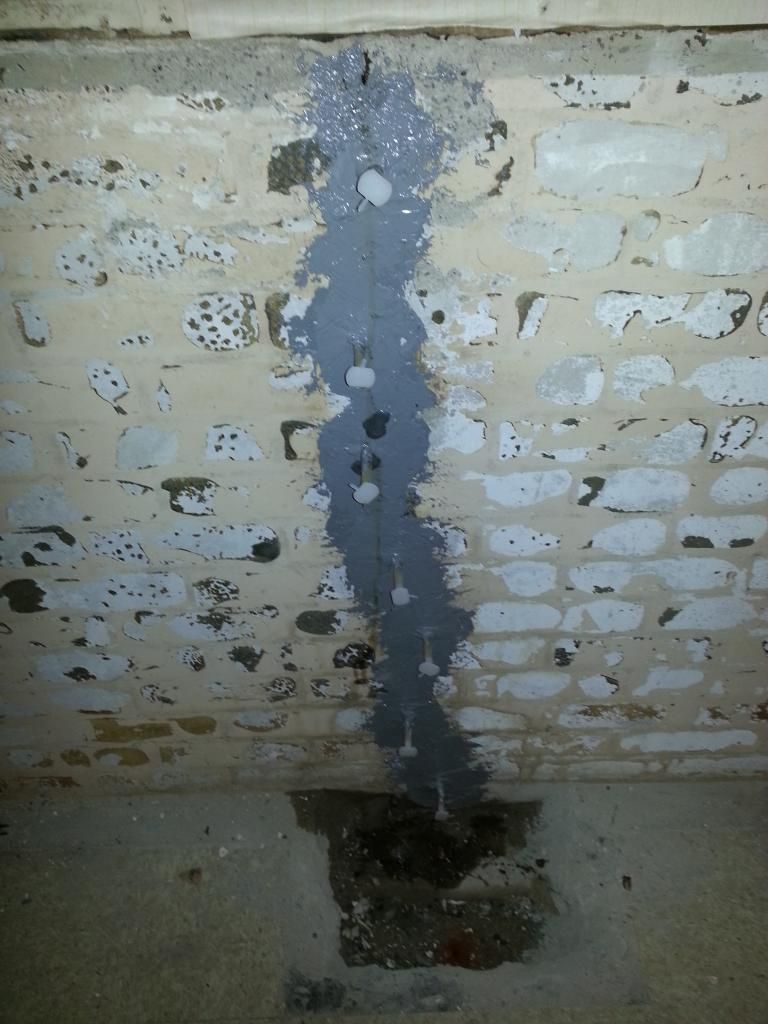
About 3 years after we moved in we got some water problems. We tore out the shag carpet and basically would just deal with the occasional trickle of water that would leave a puddle about 1’ in diameter near the foundation wall when ever we got a really heavy rain. Step one in the remodel was getting that resolved. I had a few companies do quotes and was most impressed with the plan and guarantee Franks Basement Systems came out with.

Epoxy injection that goes all the way to the outside of the wall.
http://i224.photobucket.com/albums/dd75/jsears77/Downstairs%20Remodel/4_zpsb7e60d89.jpg

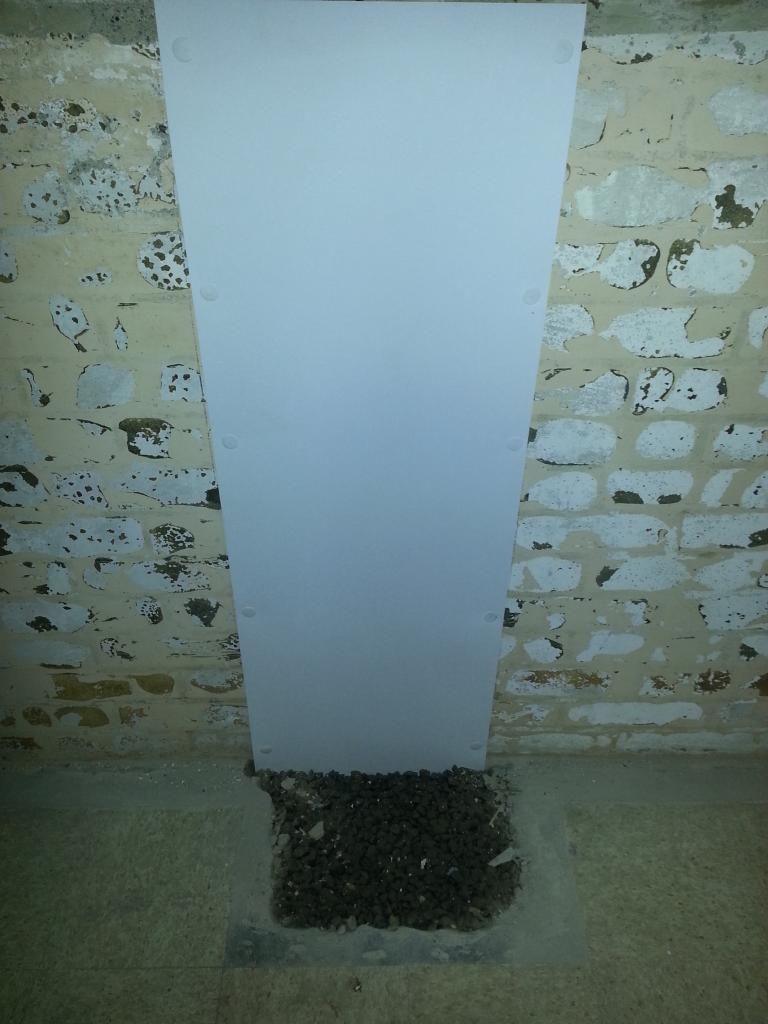
Brightwall panel installed over the repair so even if it fails the water will just get redirected into the drain tile and handled by the sump.
http://i224.photobucket.com/albums/dd75/jsears77/Downstairs%20Remodel/5_zps48b6b17a.jpg

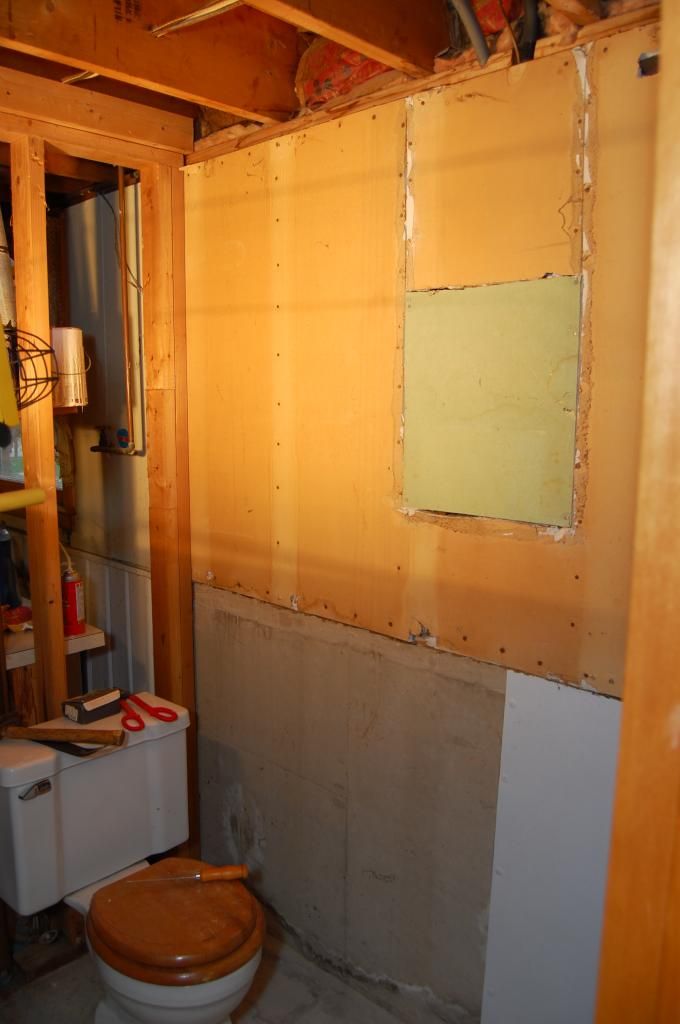
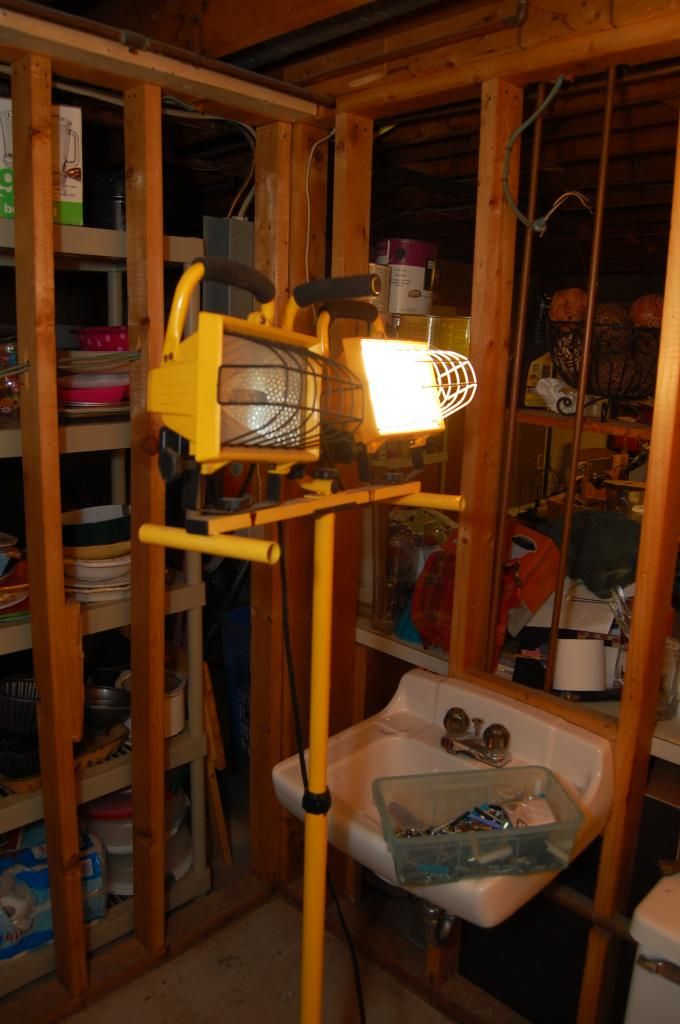
With the water issues resolved it was time to gut that bathroom.

Down to the studs.
http://i224.photobucket.com/albums/dd75/jsears77/Downstairs%20Remodel/6_zps02f990f8.jpg

Still not sure what was going on here. When I took down the paneling that square with the green drywall was just a hole exposing the fiberglass insulation.
http://i224.photobucket.com/albums/dd75/jsears77/Downstairs%20Remodel/7_zpse47ea58d.jpg

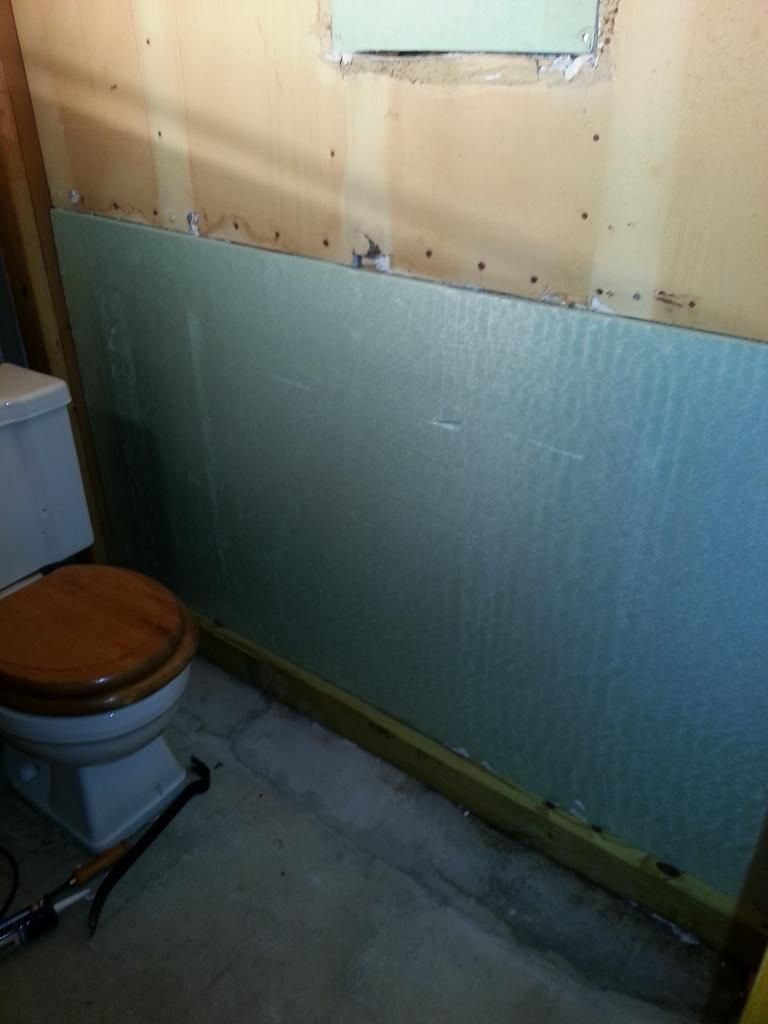
Foamboard insulation with a water barrier backing.
http://i224.photobucket.com/albums/dd75/jsears77/Downstairs%20Remodel/8_zpsb5079070.jpg

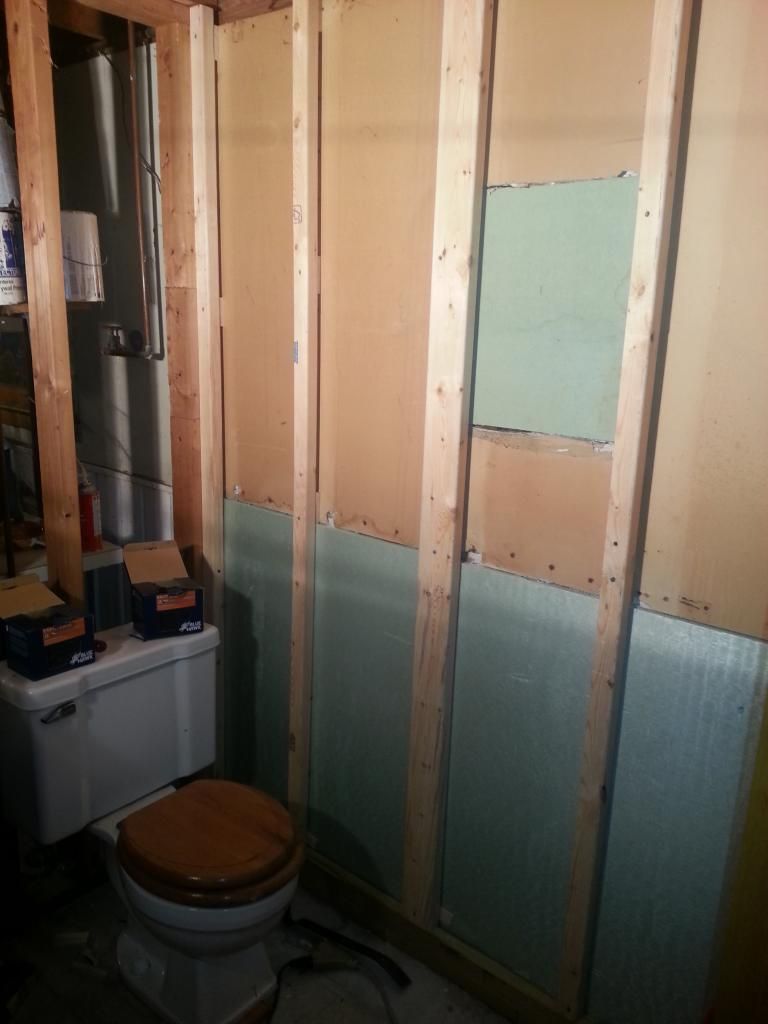
Thin strips to mount the new drywall too.
http://i224.photobucket.com/albums/dd75/jsears77/Downstairs%20Remodel/9_zps476f2b08.jpg

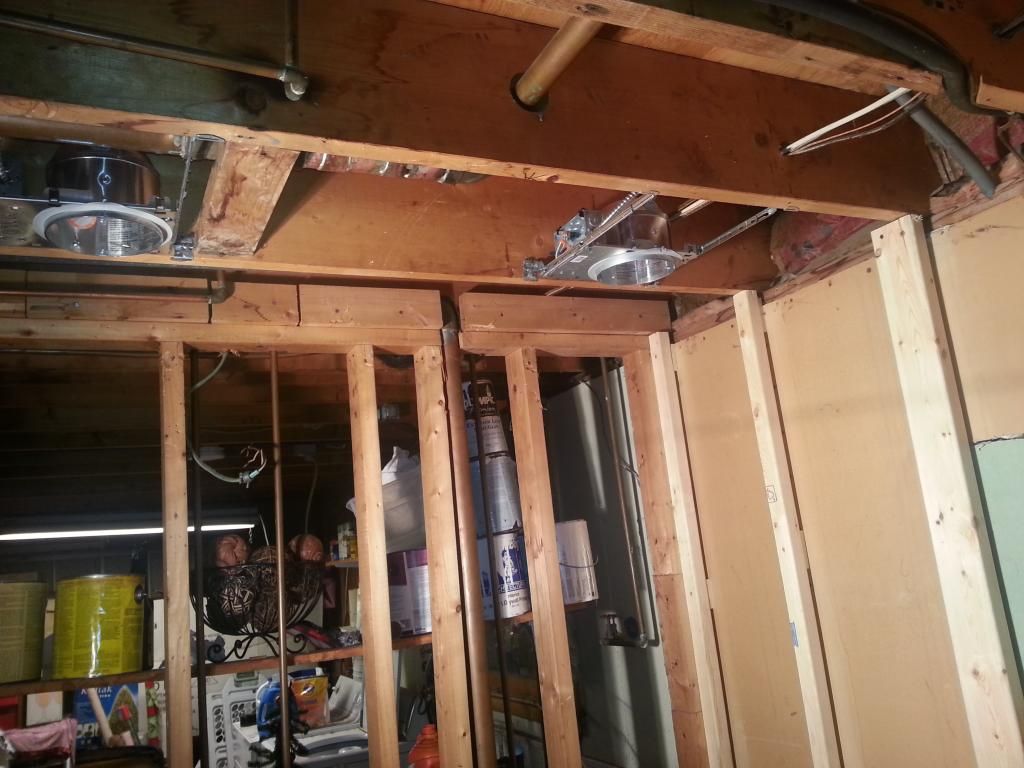
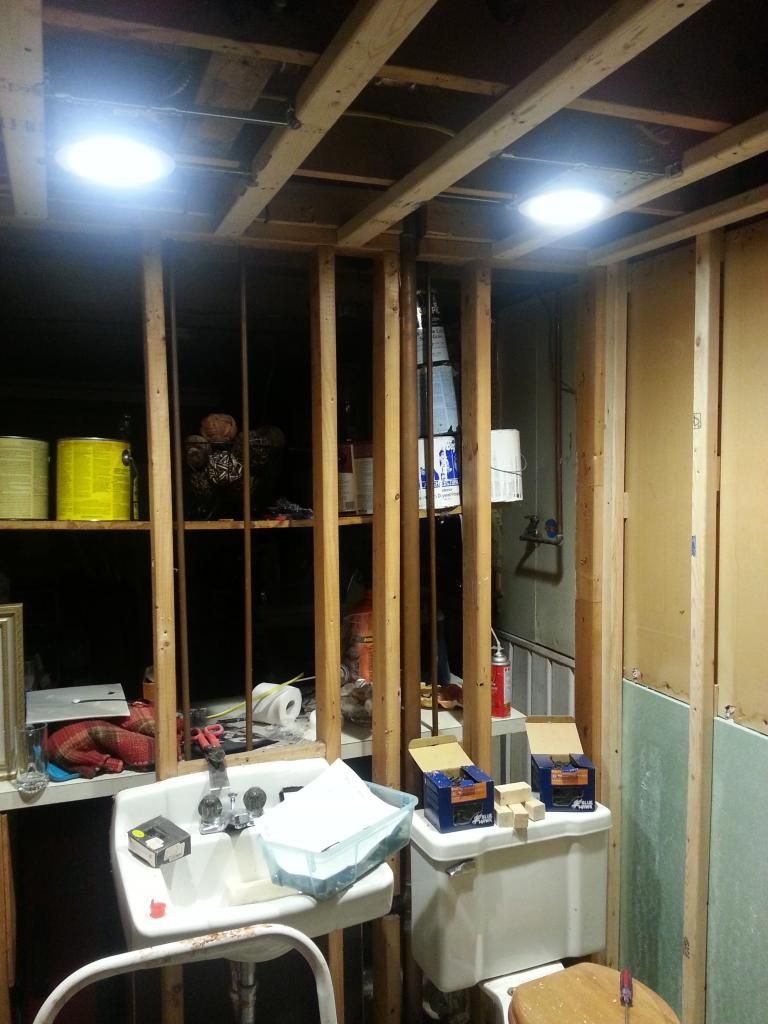
Can lights.
http://i224.photobucket.com/albums/dd75/jsears77/Downstairs%20Remodel/10_zpse55777bd.jpg

Finally I can get my utility light out of this room.
http://i224.photobucket.com/albums/dd75/jsears77/Downstairs%20Remodel/11_zpsfe2f02e0.jpg

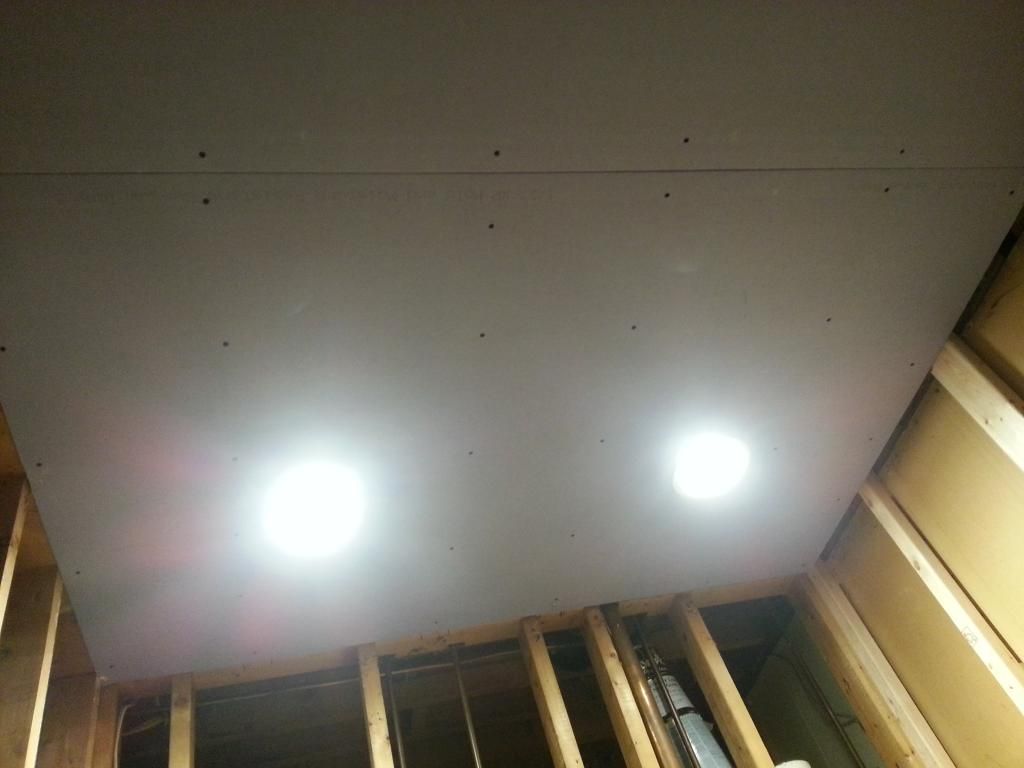
I may regret this in the future with the kitchen being right above this bathroom but new drywall ceiling because I hate the look of drop ceilings.
http://i224.photobucket.com/albums/dd75/jsears77/Downstairs%20Remodel/12_zps892a7a55.jpg

Walls going up.
http://i224.photobucket.com/albums/dd75/jsears77/Downstairs%20Remodel/13_zps5f740f7c.jpg

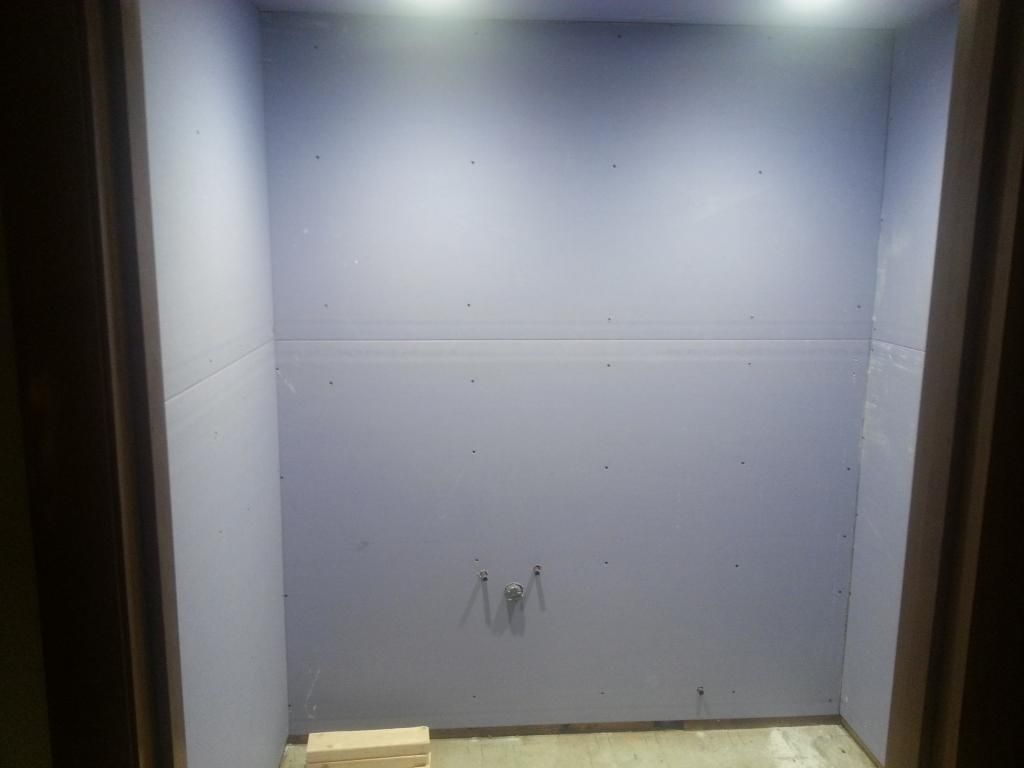
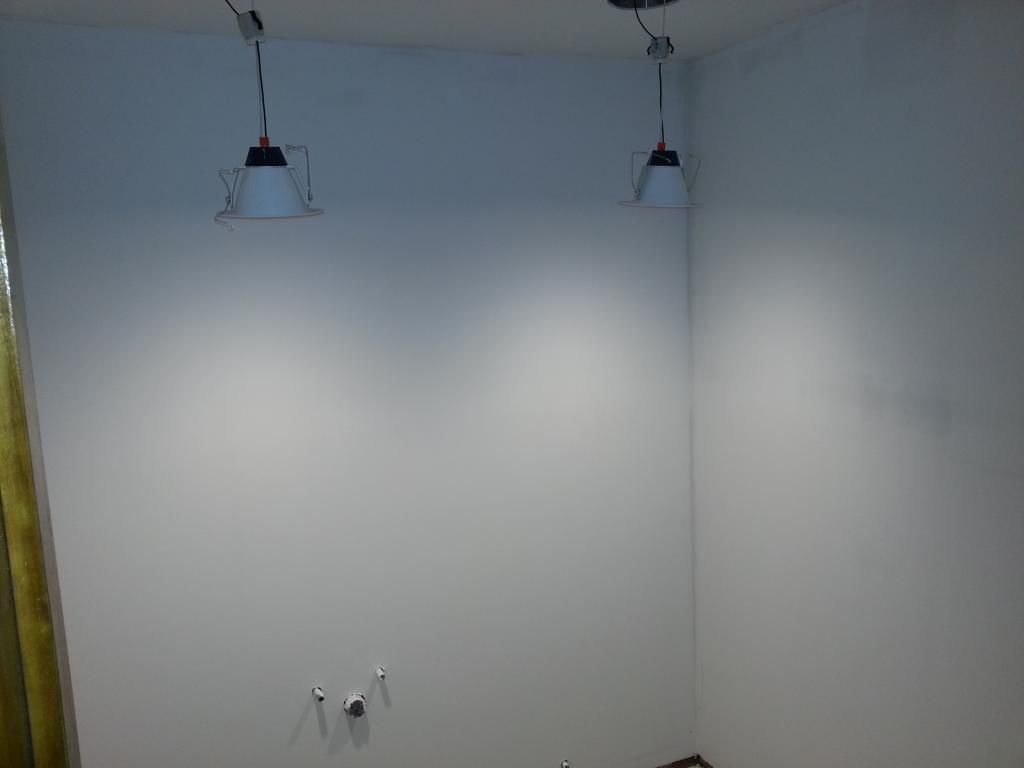
Mudded, sanded and primed. Not pictured hours of hate sanding.
http://i224.photobucket.com/albums/dd75/jsears77/Downstairs%20Remodel/14_zps95c2bcc7.jpg

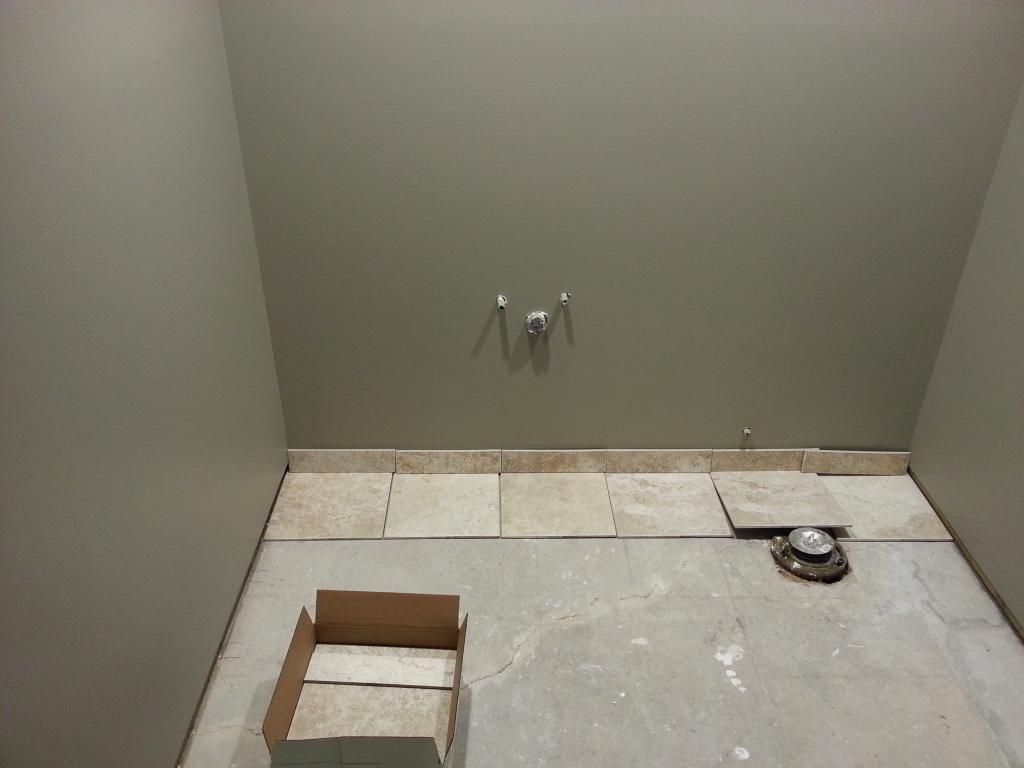
Painted and checking out the tile choice against the paint.
http://i224.photobucket.com/albums/dd75/jsears77/Downstairs%20Remodel/15_zps595e153e.jpg

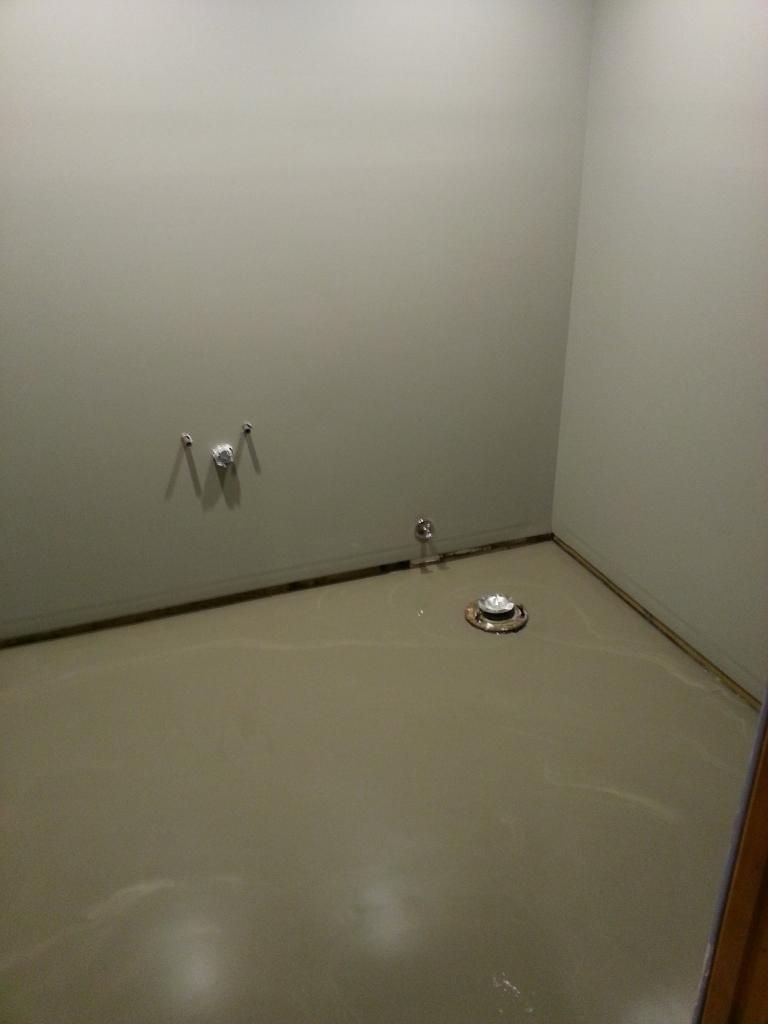
Skim coat of self leveling concrete.
http://i224.photobucket.com/albums/dd75/jsears77/Downstairs%20Remodel/16_zps21b0ce5e.jpg

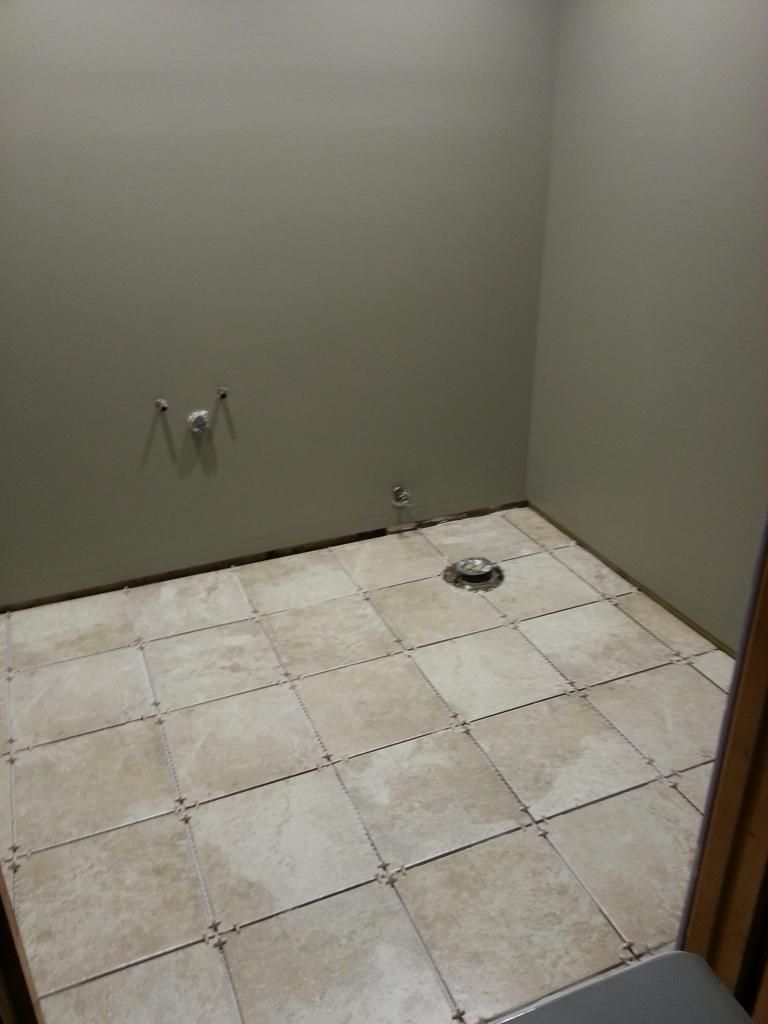
Trial fit since this was my first time doing tile.
http://i224.photobucket.com/albums/dd75/jsears77/Downstairs%20Remodel/17_zpsee7af433.jpg

Tile grout in.
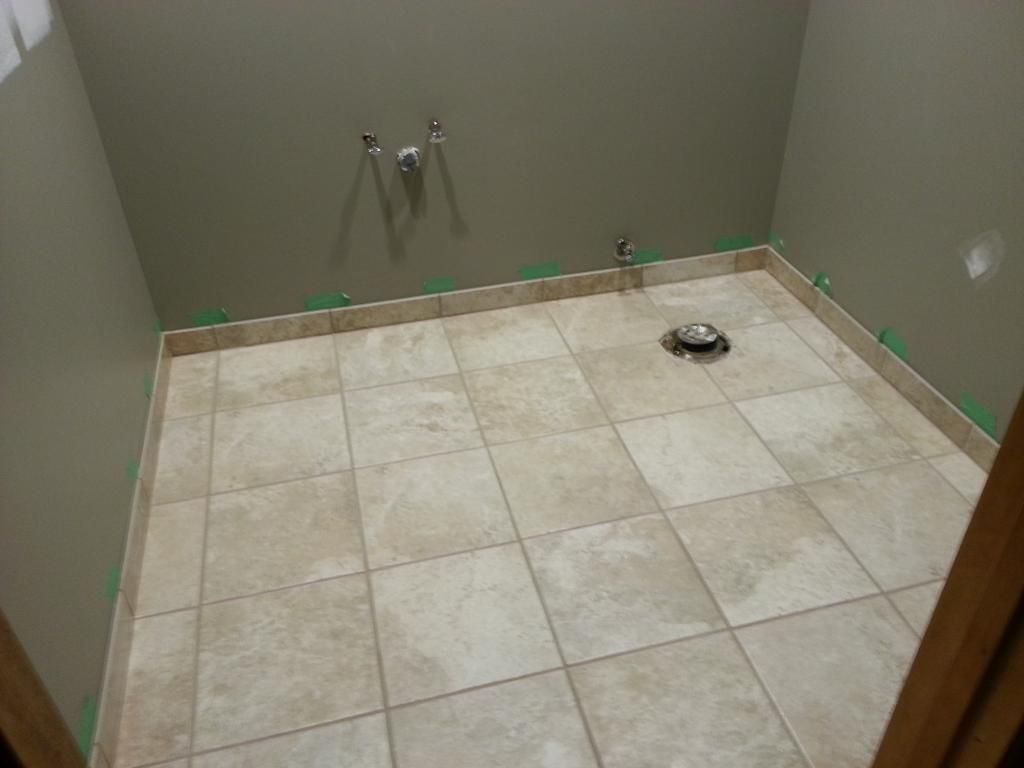
http://i224.photobucket.com/albums/dd75/jsears77/Downstairs%20Remodel/18_zps85ea2337.jpg

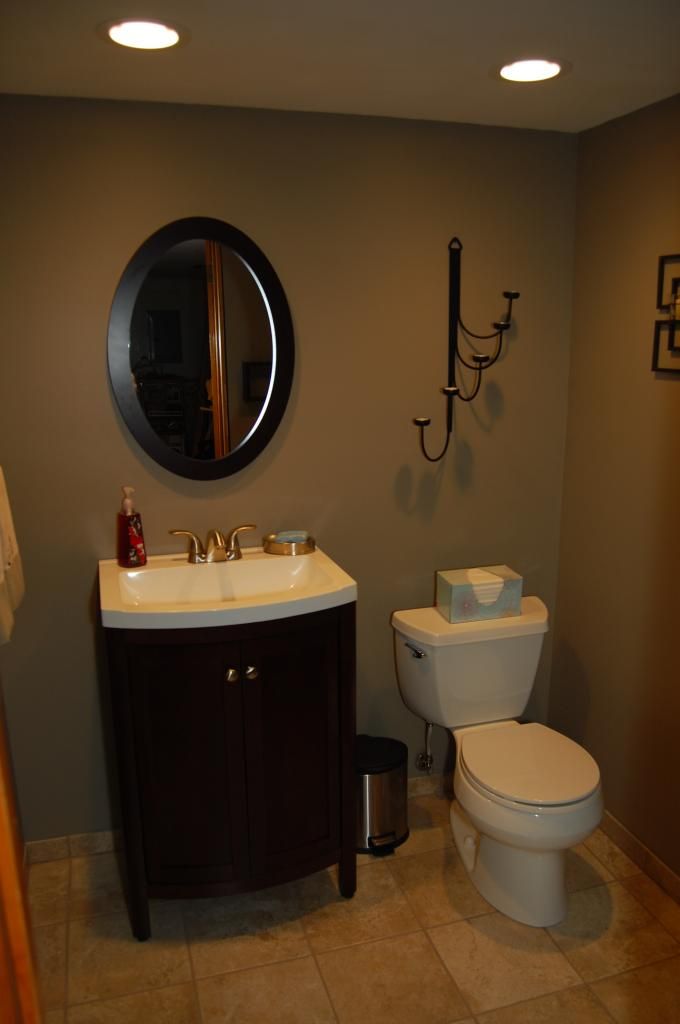
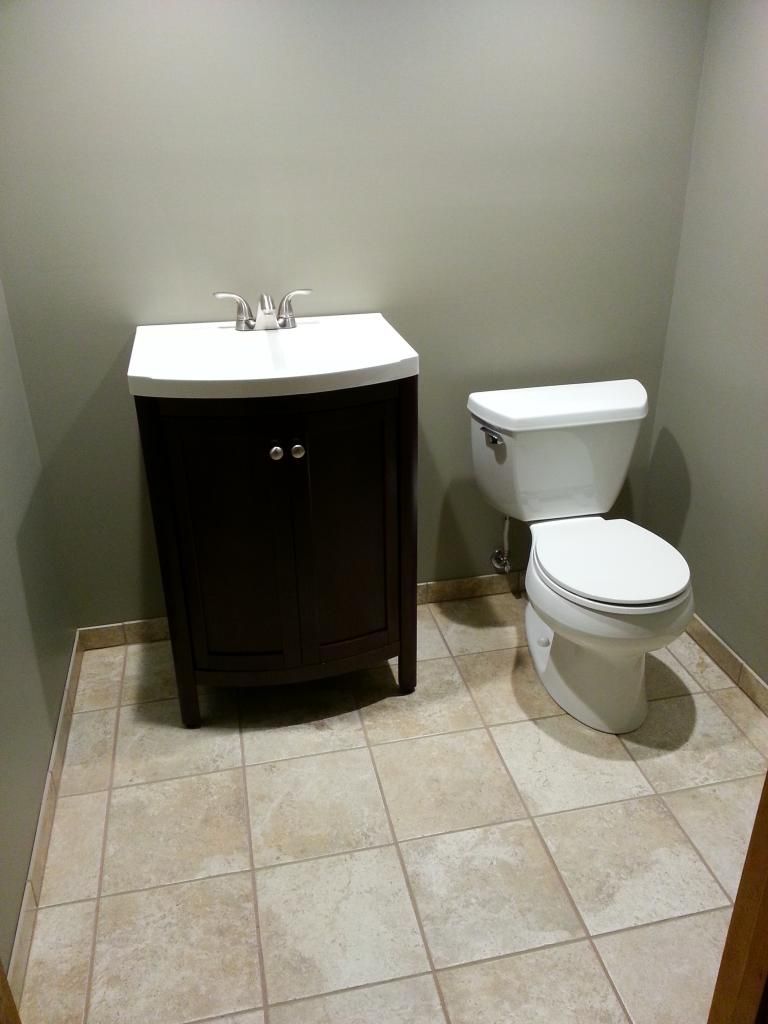
Basic fixtures. House is now back to 3 toilets. Yay.
http://i224.photobucket.com/albums/dd75/jsears77/Downstairs%20Remodel/19_zpsf9f9dab9.jpg

http://i224.photobucket.com/albums/dd75/jsears77/Downstairs%20Remodel/205_zps0ea42b72.jpg

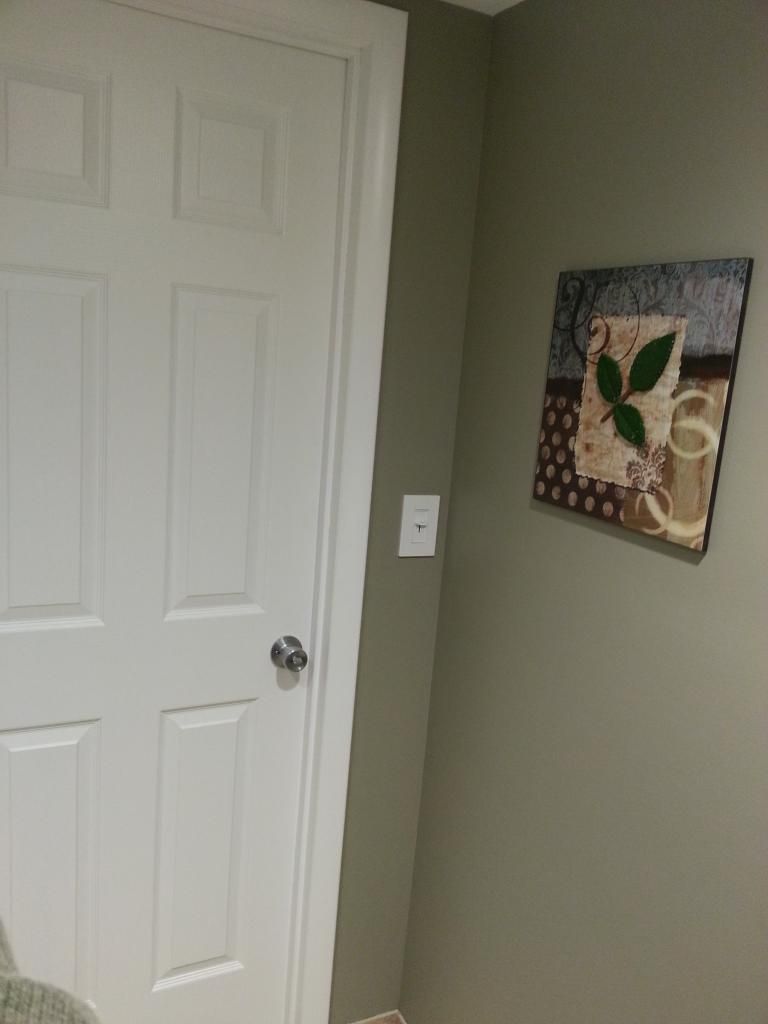
New door, trimmed out, and a dimmer. A dimmer in a bathroom you say? Why is that? You’ll see later.
http://i224.photobucket.com/albums/dd75/jsears77/Downstairs%20Remodel/20_zpsa6d01b0e.jpg

And on to the main family room. The plan here was a home theater on one side and a library on the other smaller side.

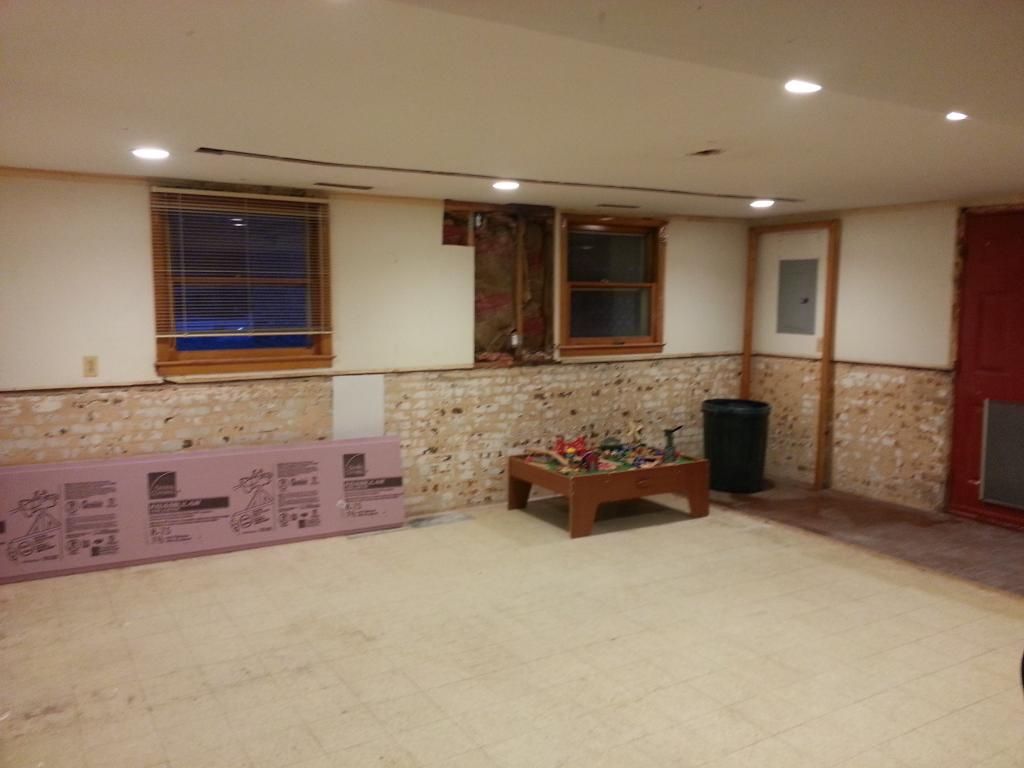
More insulation/water barrier. All the fake brick torn down and hauled off to Amherst Highway Department. Lots of strange looks pulling a trailer full of brick with the GTO.
http://i224.photobucket.com/albums/dd75/jsears77/Downstairs%20Remodel/21_zpsfd7302bd.jpg

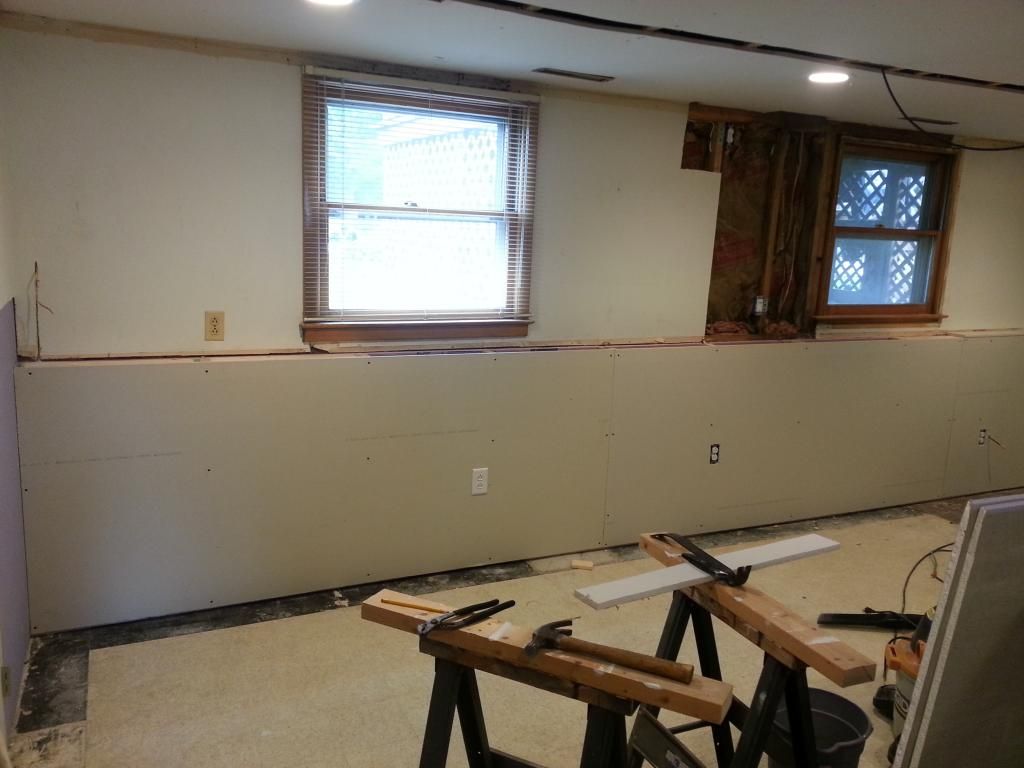
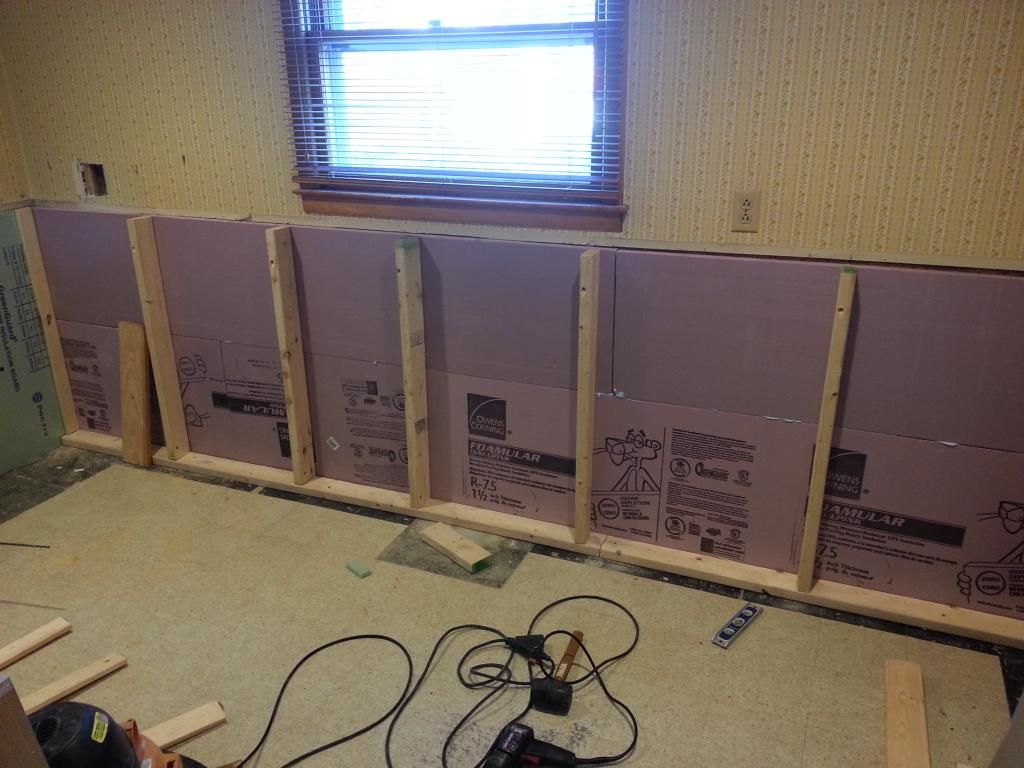
Decided that instead of carrying the new wall all the way up we’d do a shelf on the front and rear walls. The walls above the foundation were already insulated so I really only needed to add insulation to the areas below grade. Doing the shelf prevented the windows from being recessed several inches deep and gave my wife a place to put decorations.
http://i224.photobucket.com/albums/dd75/jsears77/Downstairs%20Remodel/22_zps446c4a66.jpg

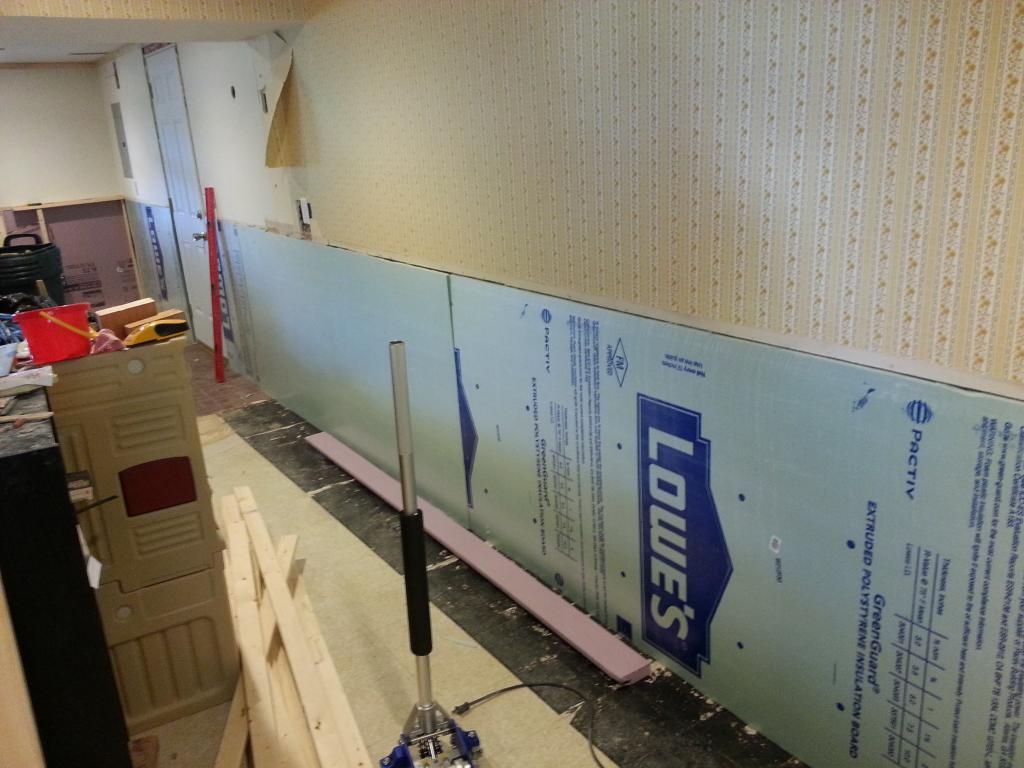
On the wall toward the garage I went with thinner insulation so I wouldn’t need a shelf.
http://i224.photobucket.com/albums/dd75/jsears77/Downstairs%20Remodel/23_zps5b1fb730.jpg

Boxed in and insulated.
http://i224.photobucket.com/albums/dd75/jsears77/Downstairs%20Remodel/24_zps1fee6ad8.jpg

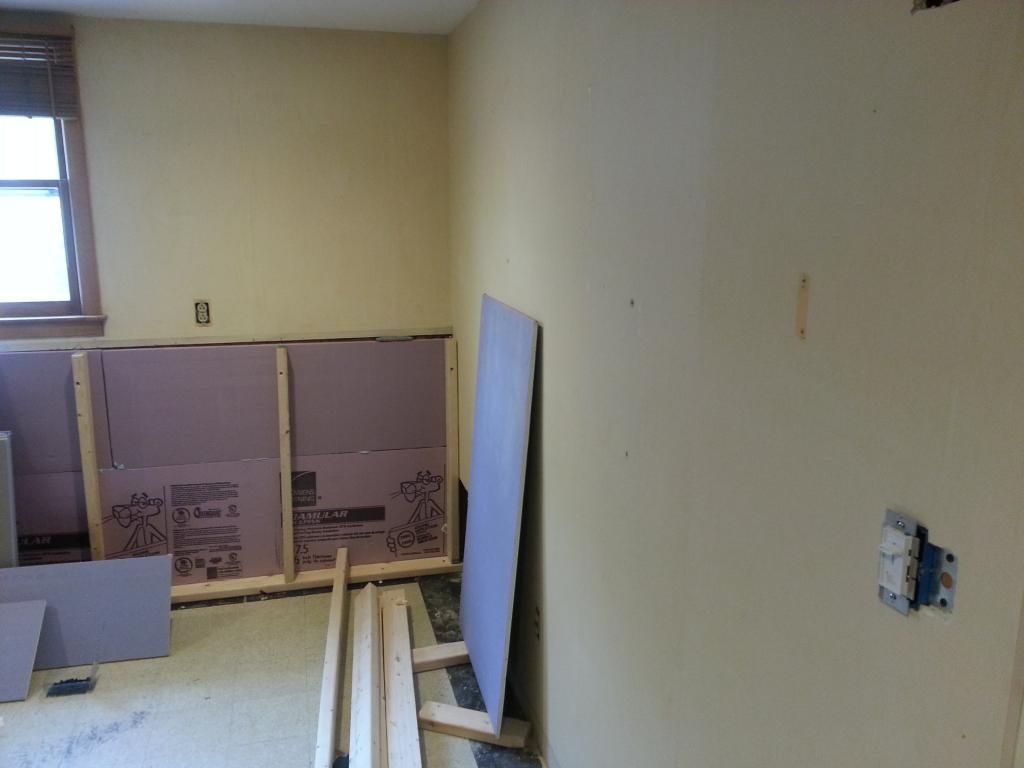
Same shelf solution for the front wall of the house.
http://i224.photobucket.com/albums/dd75/jsears77/Downstairs%20Remodel/25_zps4aa00a21.jpg

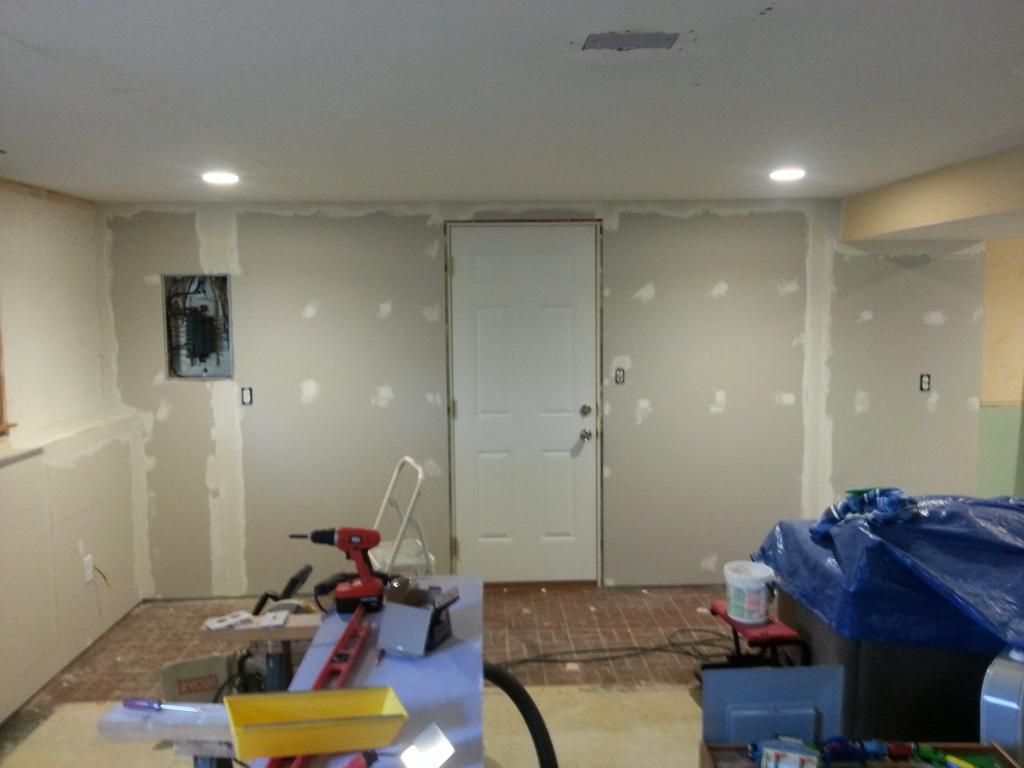
New fire door leading to the garage, drywall up and mudding starting.
http://i224.photobucket.com/albums/dd75/jsears77/Downstairs%20Remodel/26_zps3aaf4817.jpg

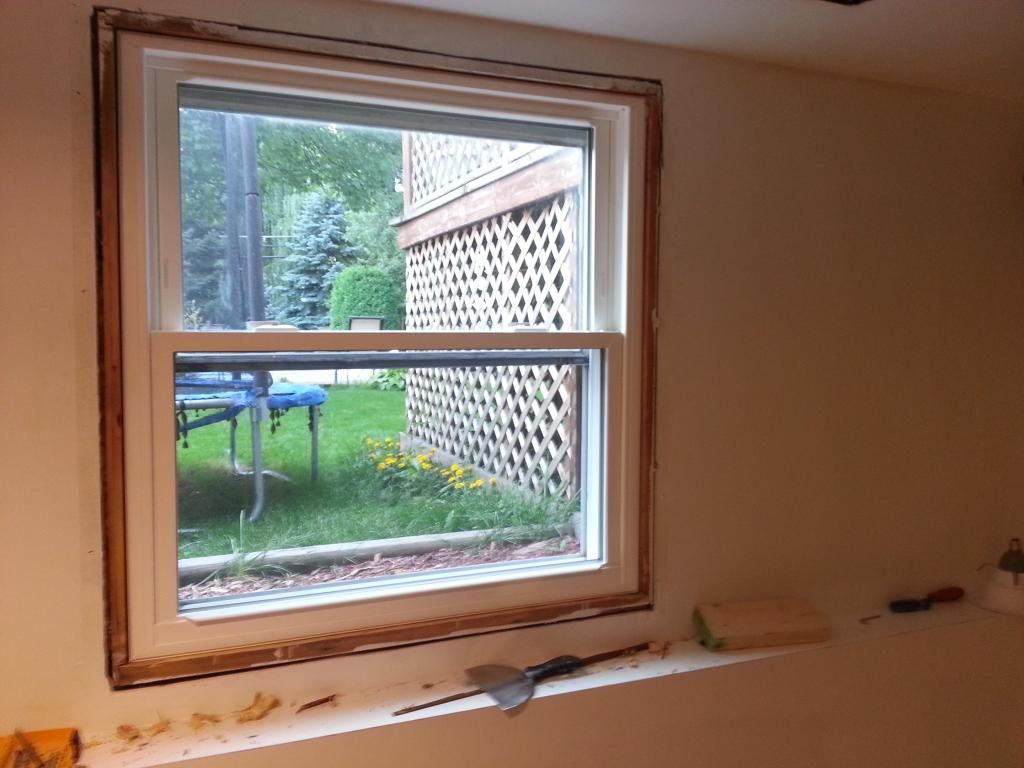
New windows from Gorell.
http://i224.photobucket.com/albums/dd75/jsears77/Downstairs%20Remodel/27_zpse0a428f6.jpg

So long triple track pain in my ass.
http://i224.photobucket.com/albums/dd75/jsears77/Downstairs%20Remodel/28_zpsa854166b.jpg

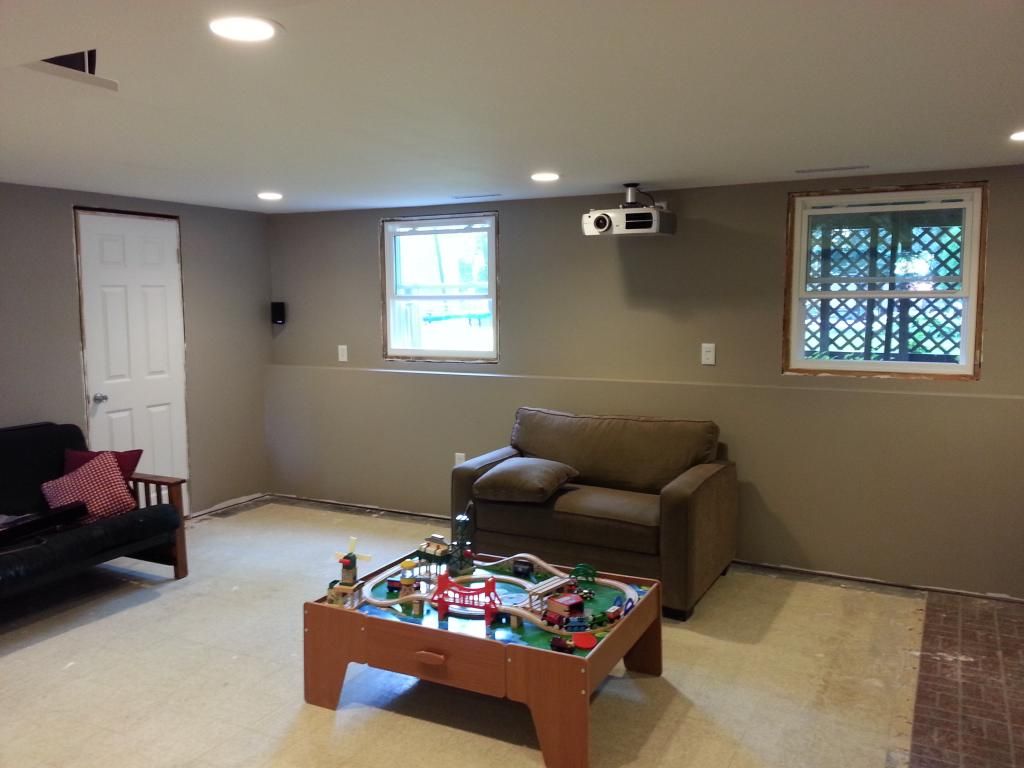
Epson 8350 1080p LCD projector mounted.
http://i224.photobucket.com/albums/dd75/jsears77/Downstairs%20Remodel/29_zps82f51728.jpg

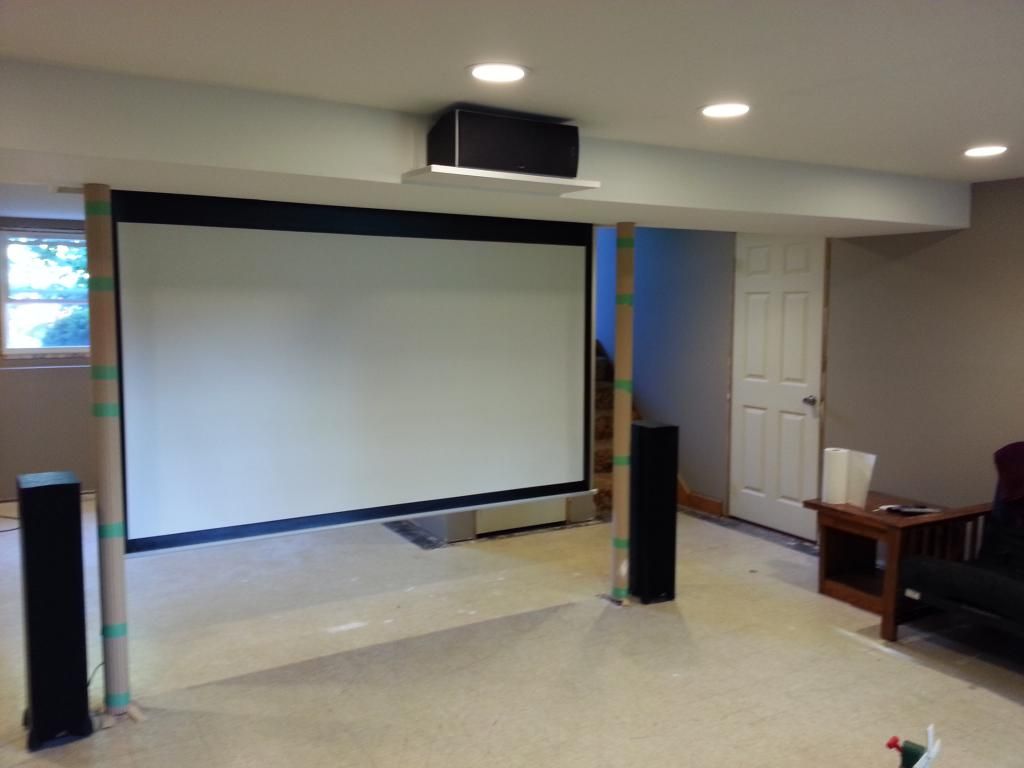
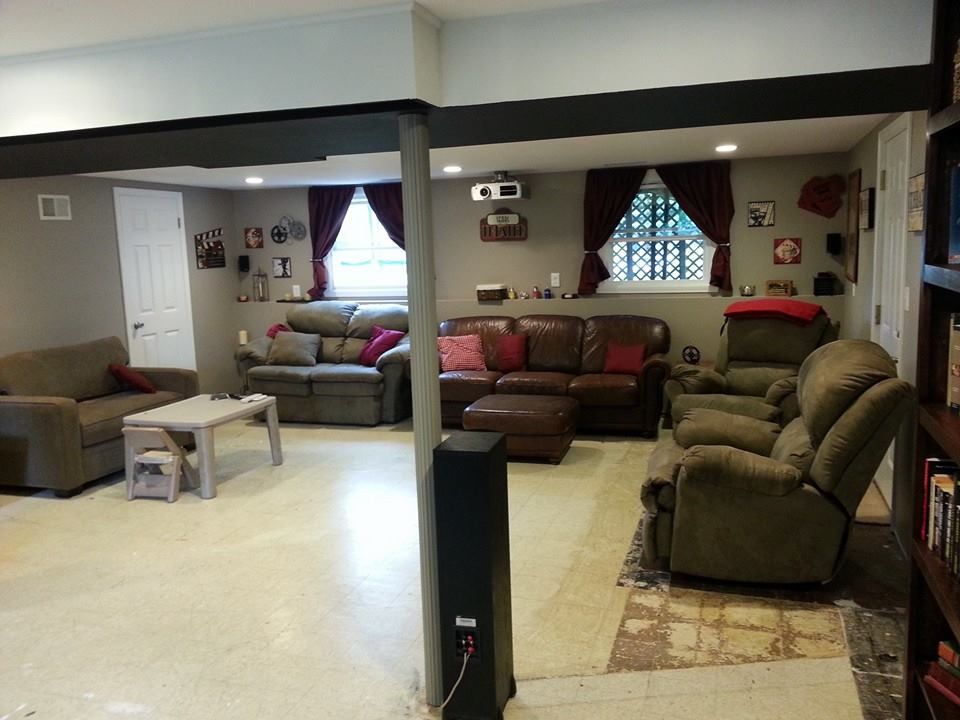
100" electric drop down screen installed. I built a box out from the bulkhead so it’s completely hidden when retracted. I used a product called Pole Wrap to finish off the steel support beams.
http://i224.photobucket.com/albums/dd75/jsears77/Downstairs%20Remodel/30_zpsfa91c0f8.jpg

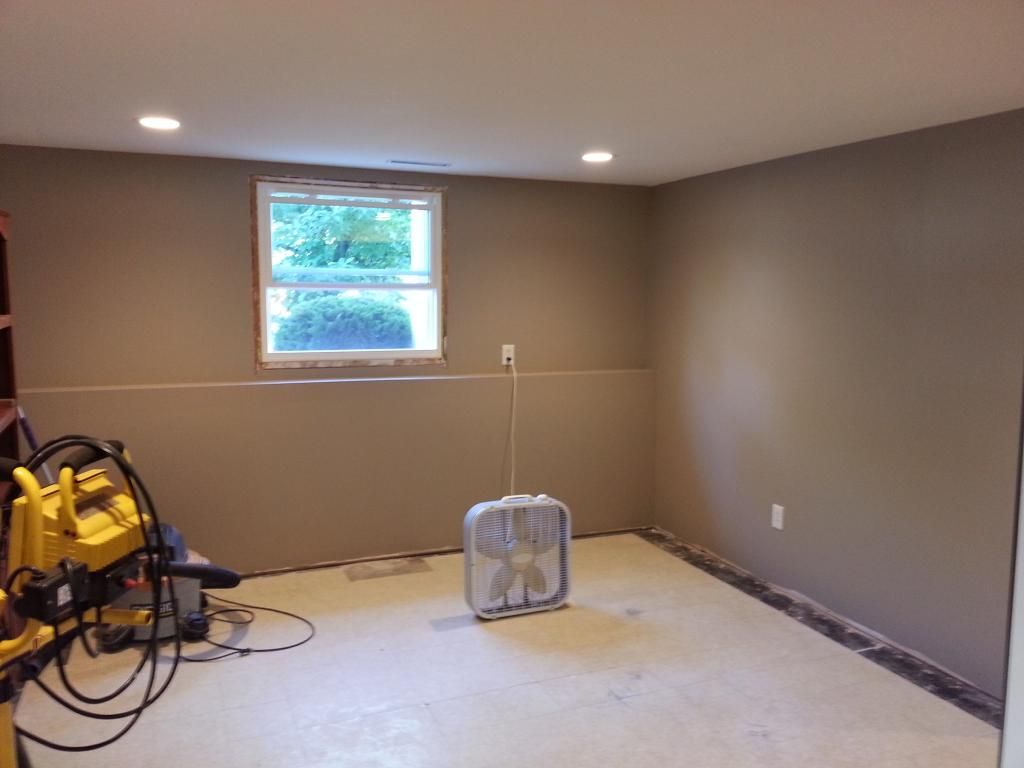
Fan assisted paint drying.
http://i224.photobucket.com/albums/dd75/jsears77/Downstairs%20Remodel/31_zpsf9f6f347.jpg

Blackout home theater curtains for perfect movie watching during the day.
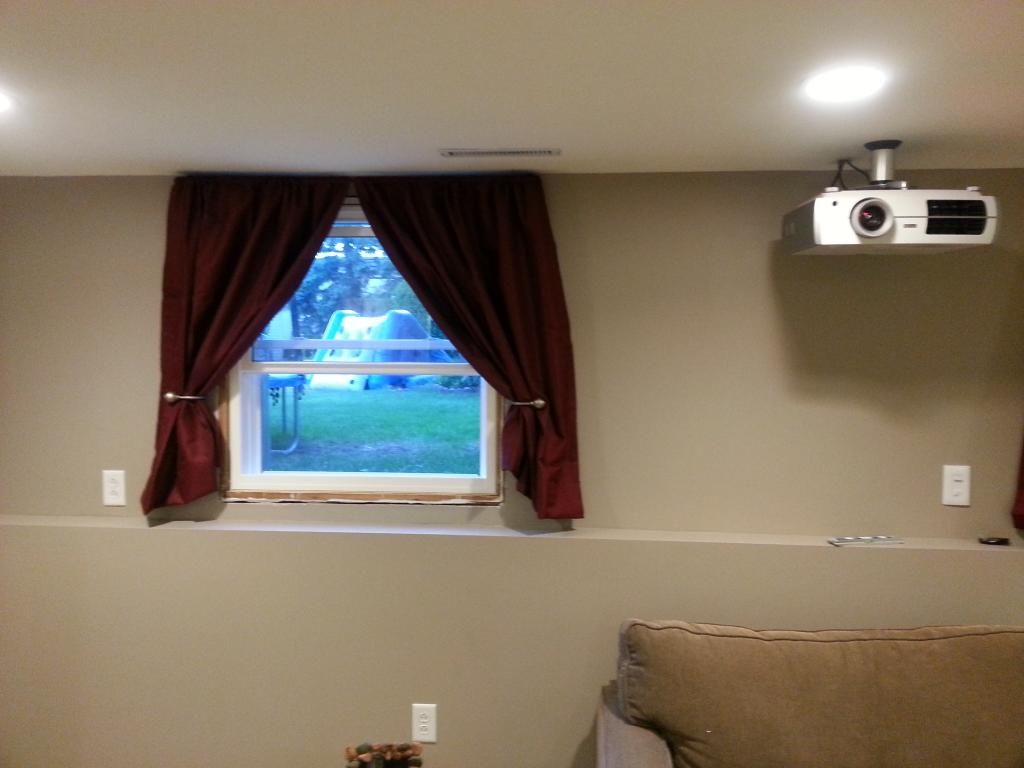
http://i224.photobucket.com/albums/dd75/jsears77/Downstairs%20Remodel/32_zps5c3ad19d.jpg

Not really finished but that wasn’t going to stop us from having a Bills party.
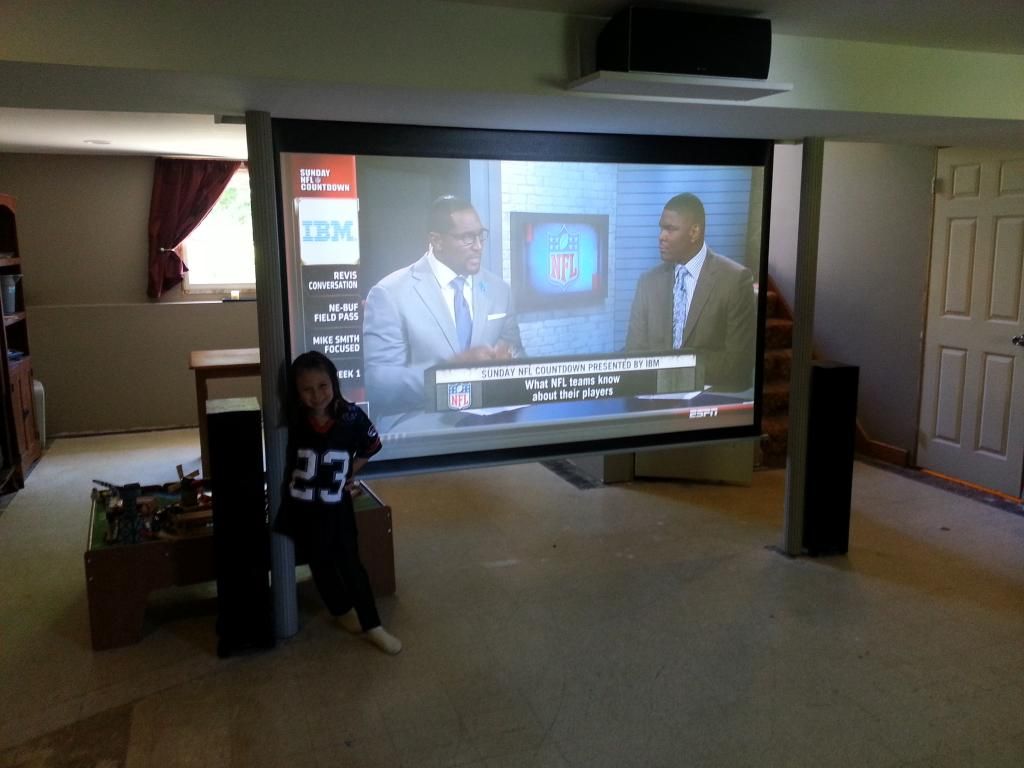
http://i224.photobucket.com/albums/dd75/jsears77/Downstairs%20Remodel/33_zpsad31effa.jpg

This project should have been done before the first Bills game last year, but I ended up having to do a full roof tearoff, 23 square, right in the middle of this project. Since we were just paying cash for this as we went it really delayed it. Then a $3k transfer case repair on the Murano and some other big expenses just kept pushing this project down the road. I debated doing a home equity loan to finish it but since the space was usable we decided to just wait and continue with our cash only plan.

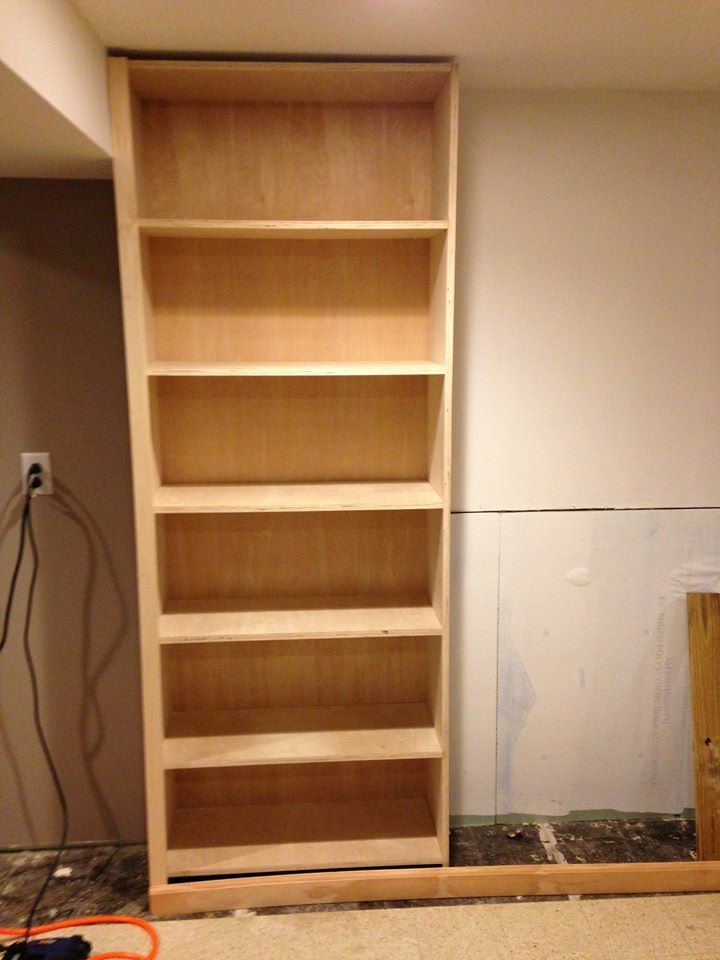
My wife LOVES books and has never had enough bookcase space to properly store and display her collection. $800 worth of lumber from Lenco…
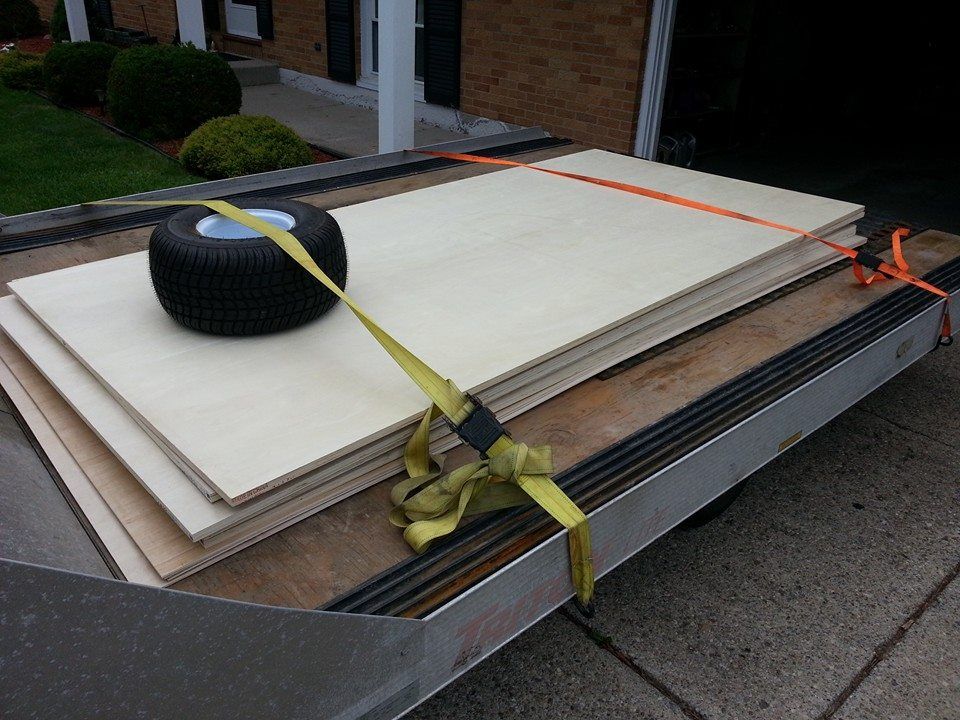
http://i224.photobucket.com/albums/dd75/jsears77/Downstairs%20Remodel/34_zpse94dbdba.jpg

And we’re off.
http://i224.photobucket.com/albums/dd75/jsears77/Downstairs%20Remodel/35_zpsf0ac913b.jpg

You didn’t think $800 would build just one did you?
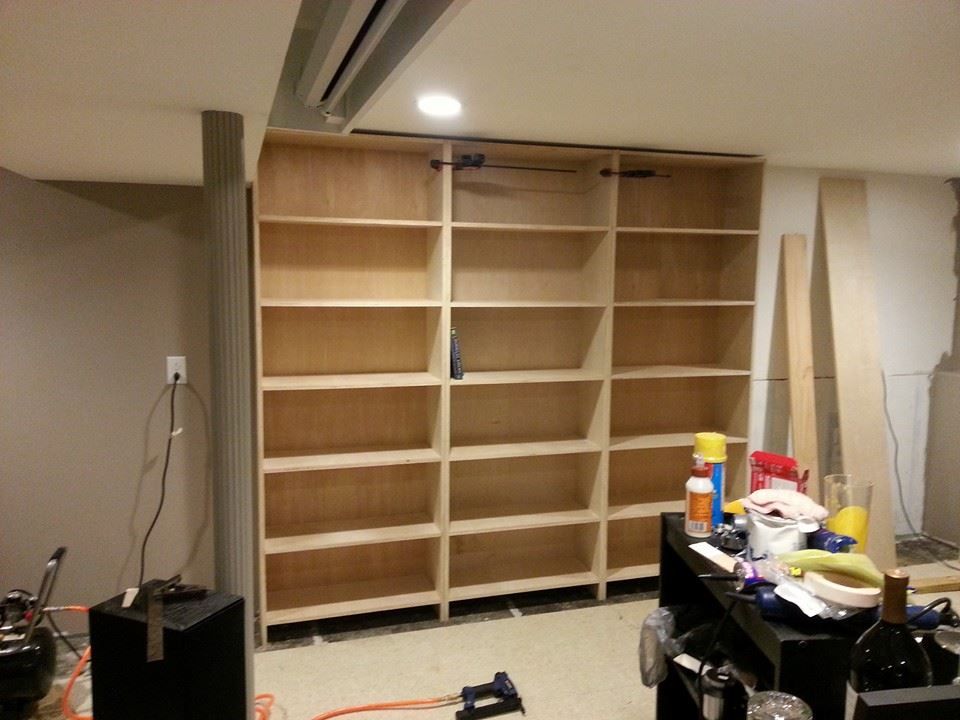
http://i224.photobucket.com/albums/dd75/jsears77/Downstairs%20Remodel/36_zps737075ae.jpg

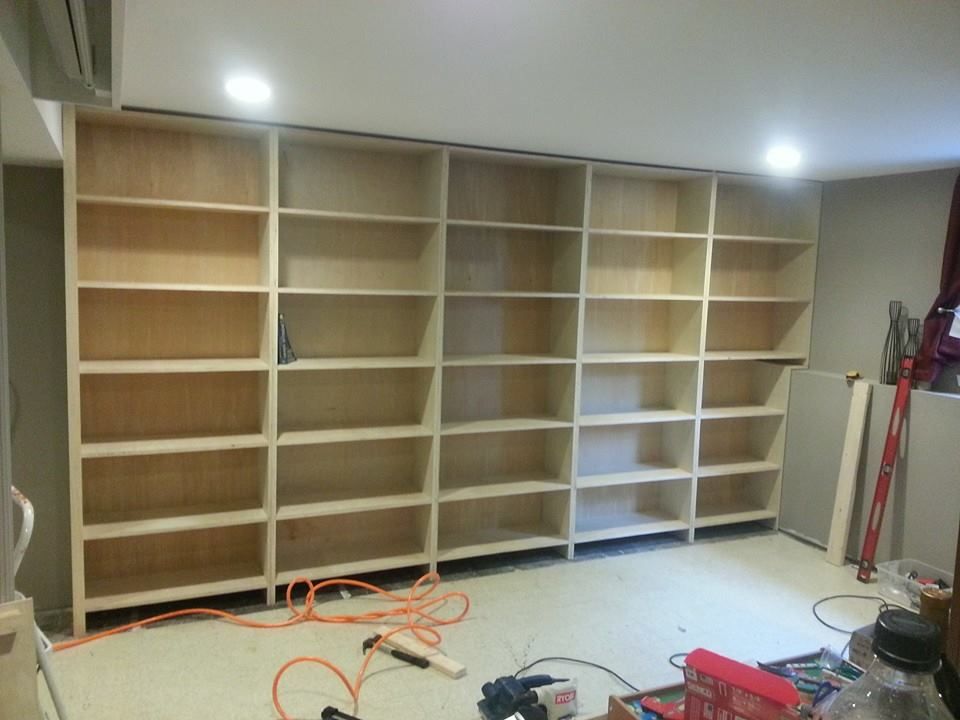
Still going. I built one of the middle ones last. It was such a tight fit I had to wiggle it in about 1/2 inch at a time. LIKE A GLOVE!
http://i224.photobucket.com/albums/dd75/jsears77/Downstairs%20Remodel/37_zps98111b4c.jpg

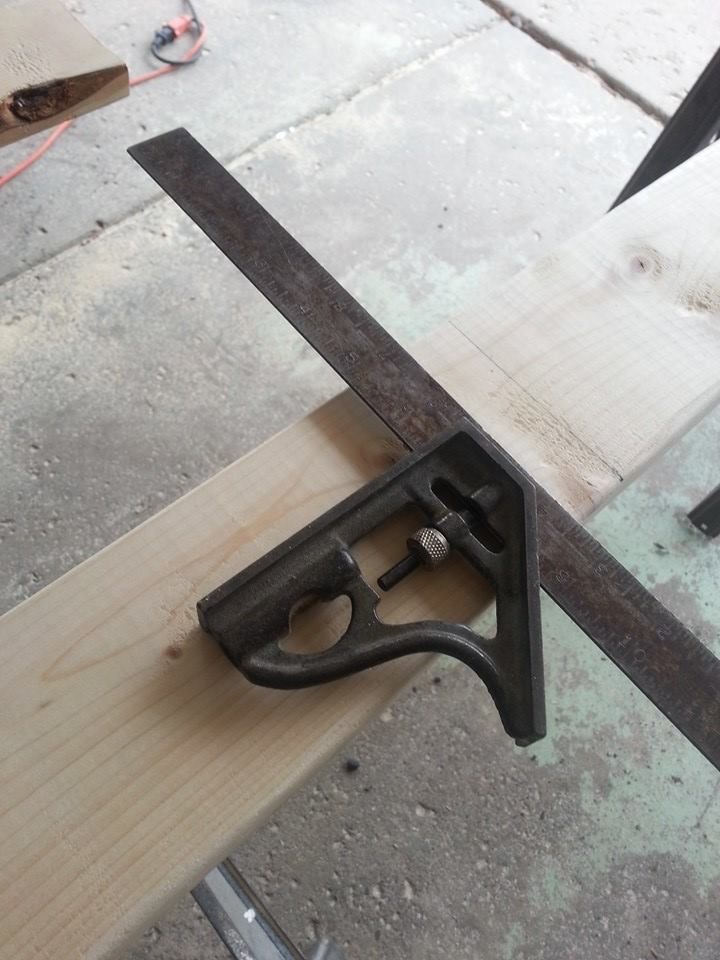
That’s an old looking square isn’t it. Know why? It was my grandfather’s. Working on this project brought back so many memories of spending time in his workshop as a kid. I know he’d be proud of how this came out and it was great that I was able to use some of his old tools in it’s construction.
http://i224.photobucket.com/albums/dd75/jsears77/Downstairs%20Remodel/38_zps5ef7e960.jpg

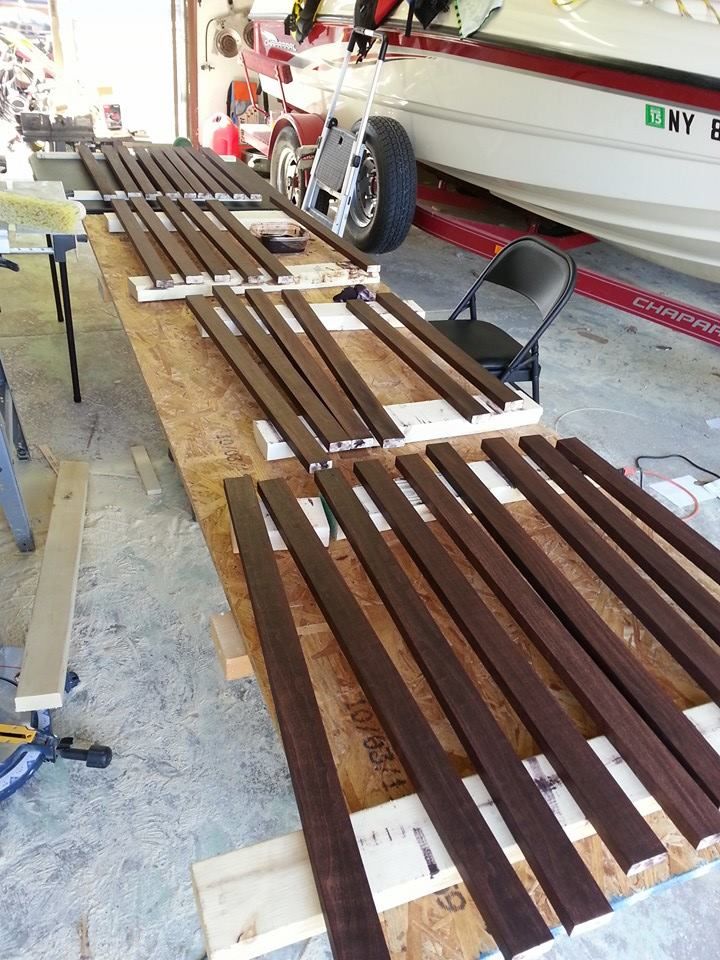
So many poplar facing pieces to stain.
http://i224.photobucket.com/albums/dd75/jsears77/Downstairs%20Remodel/39_zpsef6745fe.jpg

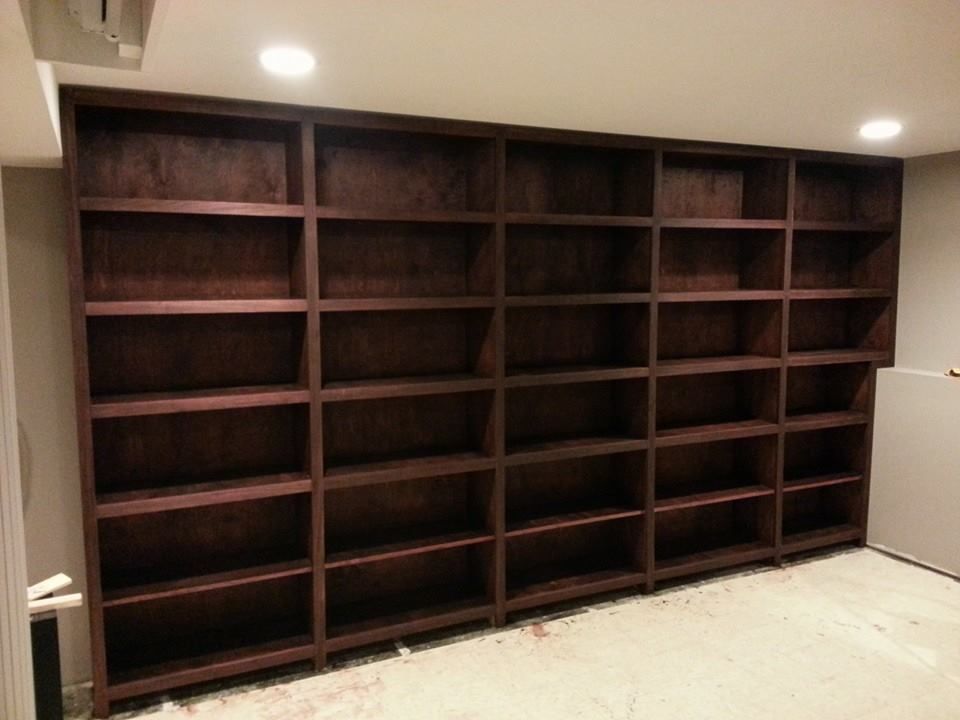
All stained, facing on except for the first shelf which will have flush mount shaker doors.
http://i224.photobucket.com/albums/dd75/jsears77/Downstairs%20Remodel/40_zpsefe9f71a.jpg

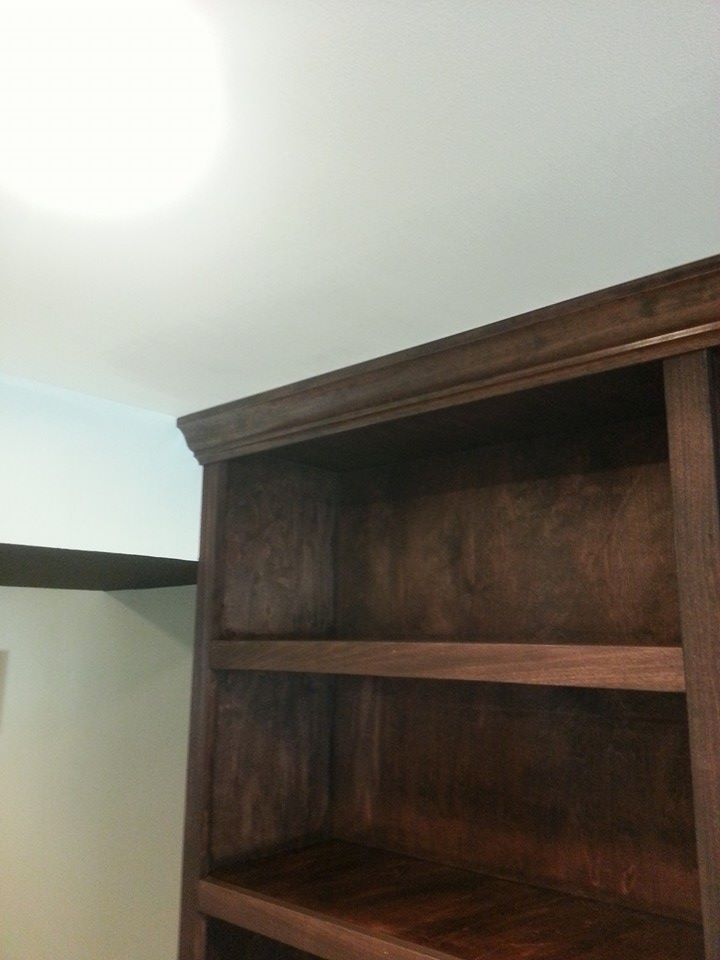
Crown molding for that custom built in look.
http://i224.photobucket.com/albums/dd75/jsears77/Downstairs%20Remodel/41_zpsd5461eda.jpg

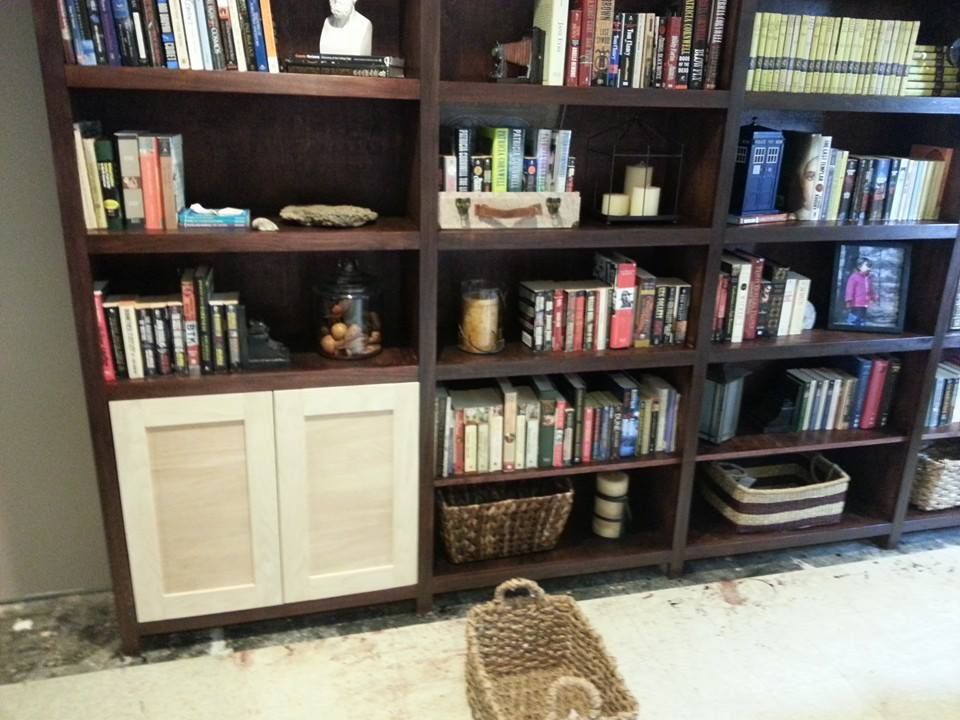
First set of shaker doors built. As I’m sitting there figuring out the euro style hinges my wife goes, “I don’t think I want to cover up the bottom with doors now”. Awesome honey, just saved me a shit ton of work. Cut 5 more poplar facing pieces, stained and poly’d them, and job complete.
http://i224.photobucket.com/albums/dd75/jsears77/Downstairs%20Remodel/42_zps55b7d8a0.jpg

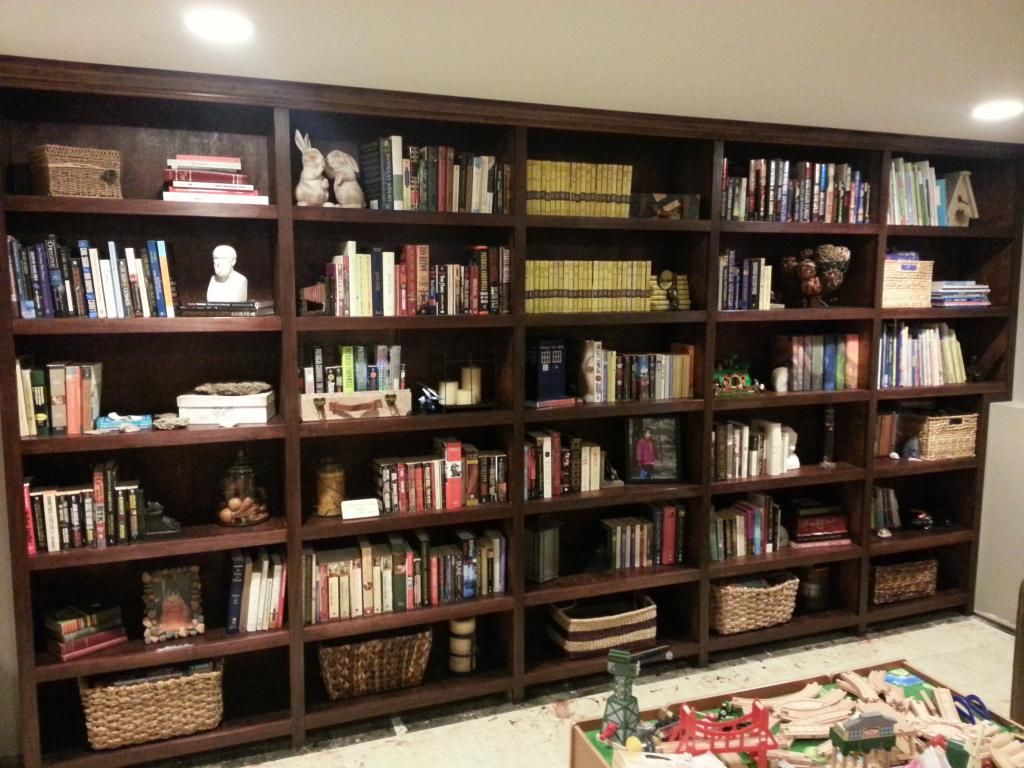
The finished product all loaded up. I have some nice base molding to go on once the carpet is in and I know how high to mount it.
http://i224.photobucket.com/albums/dd75/jsears77/Downstairs%20Remodel/43_zps7270a0c2.jpg

Every mix-matched piece of extra furniture we have. New matching furniture will be coming soon. I changed the ceiling to black on the bulkhead because I was getting way too much light bounce from the projector. Going to paint the support poles back as well.
http://i224.photobucket.com/albums/dd75/jsears77/Downstairs%20Remodel/44_zps20330bae.jpg

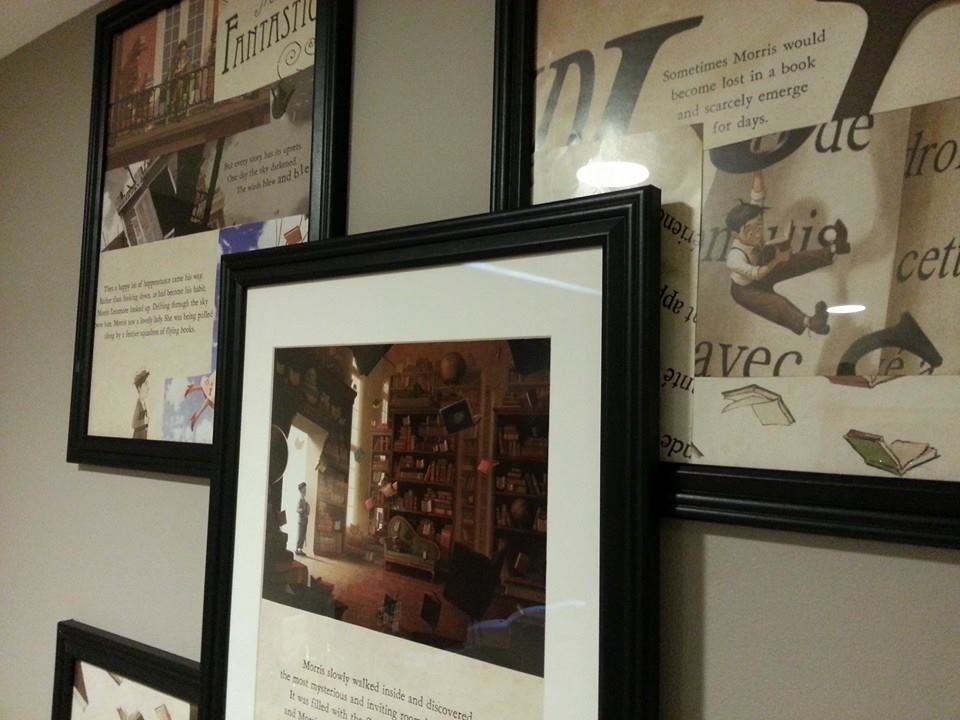
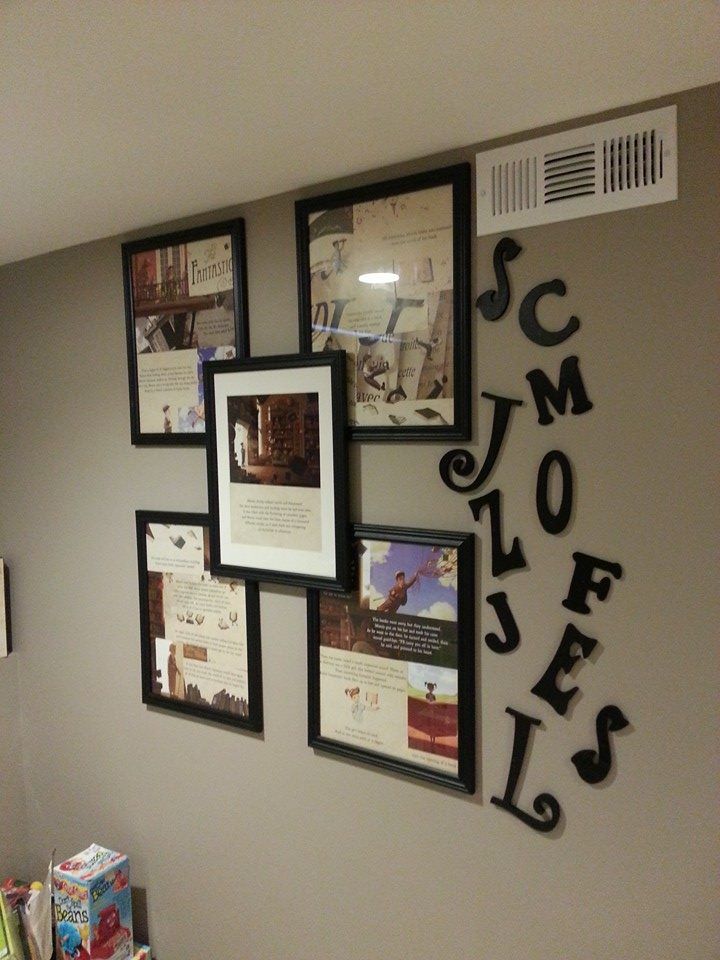
Little project I helped my wife with. The pages are from her favorite kids book, The Fantastic Flying Books of Mr. Morris Lessmore. http://i224.photobucket.com/albums/dd75/jsears77/Downstairs%20Remodel/50_zps586fc2c4.jpg
http://i224.photobucket.com/albums/dd75/jsears77/Downstairs%20Remodel/51_zps42aaf16b.jpg

Camera phone pic trying to show the picture quality. Everyone who has seen it in person has been blown away.
http://i224.photobucket.com/albums/dd75/jsears77/Downstairs%20Remodel/20140917_201651_zps93uf1whm.jpg

9/30 the carpet is scheduled to be installed. After that it’s new furniture and maybe a wall mounted fireplace. I’m going to do 2 couches across the back wall with 3 powered recliners each, another couch on the side wall and a couple chairs on the wall by the garage. Other than that my wife will pick out the rest of the furniture. Pretty sure I’m going to attempt building a large coffee table out of some knotty Douglas Fir.

The home theater components are mounted in a closet and controlled with an RF Harmony Smart Control so I never have to open the closet door. All the wiring was run when the walls/ceiling were torn up so no wires are visible. I installed a thermal switch inside the closet that triggers some silent fans I mounted in the wall. When the temp in the closet gets over a set point these fans kick in and pull air in from under the door and exhaust it out that vent near the framed book pages. Once the temp is back below a set point it automatically turns off. I’ve played xbox for hours at a time and none of the components get more than slightly warm. The components are on wire rack shelves and the fan is at the top of the closet so natural convection of the hot air rising and getting sucked out by the fan cools them perfectly with the cool air being drawn in under the door. I stole this design from how a modern roof is vented with a ridge vent and eve vents.
:tup:

Nice work! You’re very talented to do all this yourself. How do you find the time?

I’ll probably have to redo our bathroom at one point in our current home.

Great work, but box in the support posts, looks way better

Sent from my iPhone using Tapatalk

whoa. total 180.

looks rad :tup:

:tup:

That old bathroom makes me cringe…looks like my current one.

That was the original plan but to fit the 100" screen and make it viewable from the sides I needed every bit of room I could get. The pole wrap stuff is only 3/16" thick so it was the least intrusive thing I could come up with. The fluted wood looks good up close.

Everything I did revolved around making the home theater work best. The recessed lights are setup in 3 separate zones and all have dimmers. In the center there is one mounted near the projector on the back wall and 2 mounted near the center channel speaker. I can turn these off independent of the ones that go around the perimeter of the room. This way when we’re having people over for a football game I can keep the perimeter lights dim, center lights off, and the projector still looks great. Then the library side has it’s own switch and you can have them cranked up quite bright without washing out the screen since they’re all behind the screen.

I wish I could have centered the lights better on the center channel speaker (which is in the exact center of the wall) but the floor joists and heating ducts wouldn’t allow it.

The surround sound consists of an Onkyo HT-460 receiver, Polk 55T front L/R, Polk CS1 center, a pair of Polk RM-7 surrounds and a ridiculous Dayton Audio 12" sub placed in a corner for maximum bass. I’m disappointed when I got to the movie theaters now.

My first thought was to box in the posts too but I understand why you didn’t. Looks awesome man!

I wanted to take the posts out completely. There’s a Bethlehem Steel giant steel i-beam running the length of the house right there. Had my neighbor who’s a structural engineer look at and he’s like “yeah, you still need those posts”.

What a cool project. Looks amazing so far.

I would be raising hell with whoever decided to interrupt this project with a tear off roof job…:bush:

Looks great! I don’t see the beer fridge/kegerator though?

Well I got a new insurance company because I thought the first one telling me I had to do the roof was bullshit and you know how that worked out. :slight_smile:

Beer fridge is about 5 steps away in another room. It’s a full bottom fridge/top freezer so lots of room for beers.

nice job! looks great

Nice job man, looks good! :tup:

Now all you need is some girl scout cookies while watching that screen.

I want to know how long it is before the girl scout parties take over this space haha

That’s the great thing about the electric screen. Hit a button and it goes up into the ceiling making it one giant room, and no risk a kid accidentally destroys your big screen. Originally I was planning to put the screen on the back wall between the two windows but realized the space would work much better in non-theater mode if the furniture was on that side facing the middle of the room.

The only downside is the projector doesn’t really work with Kinect. Anyone taller than a little kid casts giant shadows on the screen since the projector is behind you.

Very awesome job. :tup:

Dan

Awesome job Jay!! :tup:

10/10 Would read again :tup:

Wow, that came out awesome. Nice work.