Step 1: Materials & Tools
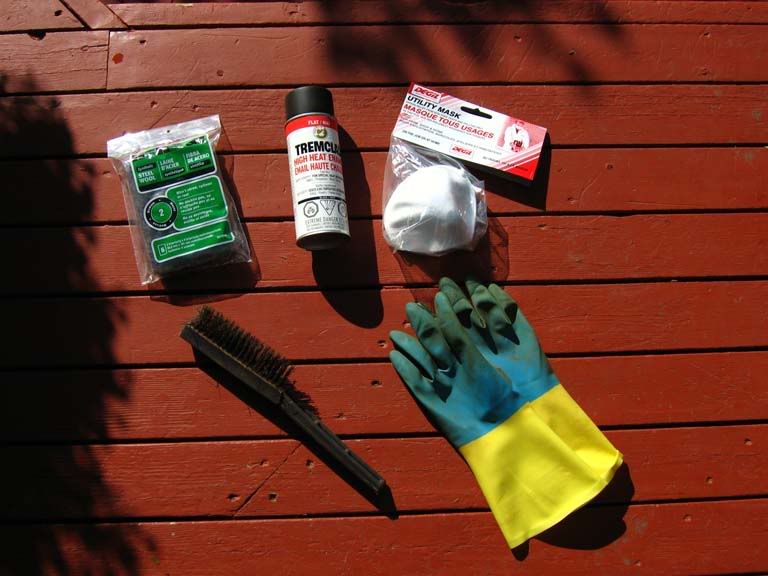
- 3M Synthetic Steel Wool Medium coarse
- Tremclad Flat Black High Temp (1200°F)
- Protective Face Mask
- Wire Brush
- Rubber Gloves
Step 2: Preparing Piping for Paint
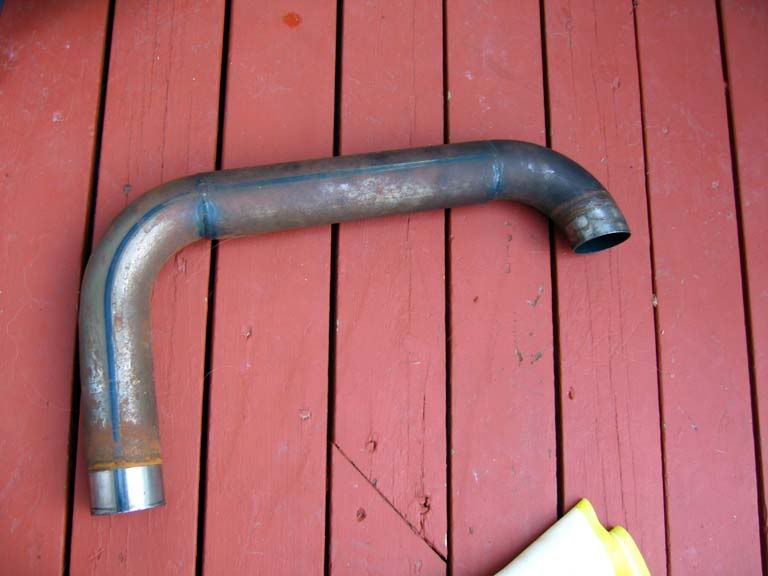
Okay so here is the sample piece for this write-up. Start out by using the wire brush, it makes a huge difference. I just used the steel wool on one piece and it look at least twice as long. Anyways, just keep getting all that main surface rust off until the piece has a uniform look to it (still reddish, but don’t worry). It will feel like the brush has stopped doing anything to the pipe, thats when you switch to the steel wool.
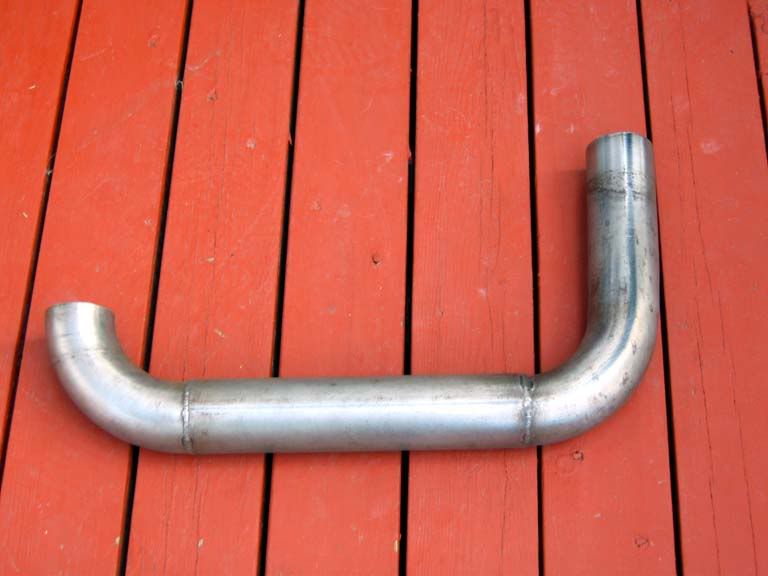
Pull out the steel wool and being circular motions and watch the rust fly! I usually start with the harder places to get into and then take a bit of a “break” by doing the easy sections. Don’t be afrtiad to use up multiple pads here, it’s not exactly expensive material and shorting yourself on a few bucks isn’t worth the not-so-nice results of poor preparation.
Also, be sure to wear the rubber gloves while sanding and handling the bare pipe. No need to get all your sweat and grease all over the pipe since the paint won’t stick here and all your time would be wasted.
Here is a picture of the piece ready for paint:
Step 3: Painting
Okay so try and figure out some ingenious way to hang your piece. I used a coat hanger, and hung it off of a wire connected between 2 ladders. Now I don’t reccommend painting outside due to wind and debris, but I had no choice here (and it was calm).
I’m sure you can read up with people who are more experienced in painting but what I did was lay a “tack coat” down, so a very light coat (I could just barely see the black). I let this sit for maybe 2 mins since the bottle said it was tackless in 5. After that, I did another final pass on the pipe, making sure to stay an even distance away from the piece.
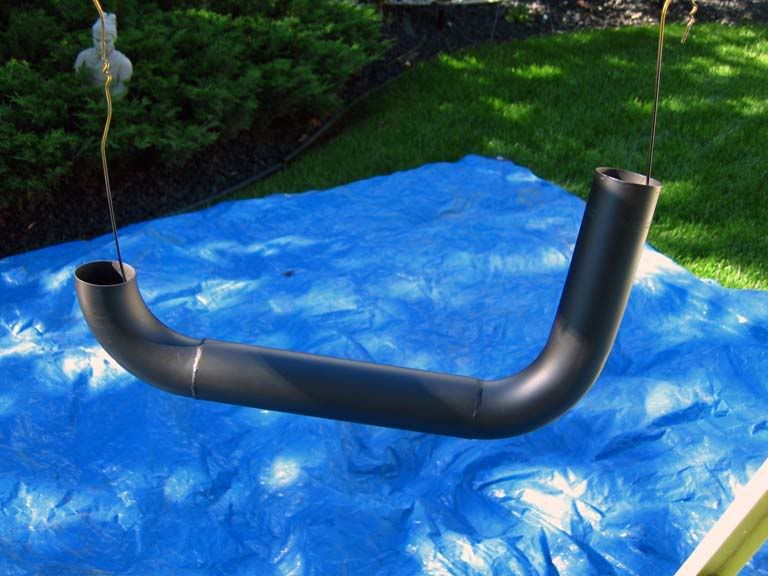
Just let it dry for a good while. I left it out there for an hour and then brought it into the garage to dry for another 24 hours, trying to touch it as little as possible.
Here is a comparison between the nice flat black and the rusty piece:
 [/b]
[/b]