:number1
I love the picture of Eric with a party hat on. :lol
:number1
I love the picture of Eric with a party hat on. :lol
When you cant buy it, make it.
Somehow the bushing melted in a shift lefter for a bike I was powdercoating, yet the brake lever didnt. Must have been different bushing materials, and I sofar coated 8 sets of levers and never had one melt or anything so this was a first.
Kawi wont sell just the bushing, so a new $25 arm is just a waste of money and time. $1.25 worth of stock and a little time on the lathe it was. Sure time is money and its about the same actual price, but sometimes it just about making something you need then going out and buying it. The little things that make you enjoy doing what you do.

A recent project we have had at our shop has been a extensive amount of mechanical repair on a 2004 Volkswagen Golf R32 all wheel drive. The most recent issue that was brought to our attention was an excessive rattle from the transmission after just installing a performance clutch setup. The noise was only present when the car was idling in neutral and the clutch was released. As soon as the clutch was depressed the noise went away so it was clear the noise was not from the new clutch but actually something inside the transmission. At this point we consulted Google to see if there was any other cases of this issue and sure enough there were multiple post that came up on a search all of which had a title of replaced my clutch and now have a rattle. Most of these article just stated that there was a problem, but not what it actually was, how to fix it or if anyone has even fixed it. Another bit of searching led me to an older article where someone had a trans failure where one of the bearing on the input shaft had failed, disintegrated and left a fair amount of damage on the rest of the trans components. This was enough information to make me realize that the trans had to come apart. The failed bearing that was spoken about in the article is actually accessible from the outside of the transmission by removing a sealed cover. When removing the cover on our transmission we found that the bearing was still good, however, the outer race had spun inside the bore of the aluminum case wearing the diameter of the bore larger by almost .020 and self machining a shoulder into the case that was allowing both axial and thrust play on the main input shaft of the transmission. Earlier versions of this transmission have used tapered roller bearings in this location that could easily handle the thrust load produced by the helical cut gears, but in this particular transmission there was a cost cutting revision that replaced the roller bearings with a ball bearing that had a .100 shoulder on the OD of the outer race where it meets the case. The consensus was that this small shoulder in conjunction with the bearing only being a very light fit into the aluminum case was not enough to handle the loads put on that gear set by a 300 hp engine. Speaking with dealers and transmission shops I was not able to find any updates or revisions to correct this problem, the only solutions that were offered was to replace the bearing and entire trans case for the cost of around $2400 and no promise that the same problem would not be back in the next 100k miles. At this point I started thinking more like a machinist and less like a wrench-turner mechanic to try and come up with an alternative solution. After talking with some coworkers and professors at school I decided that it was feasible to repair the transmission case by boring the case larger and making a repair sleeve out of a better quality material and give it proper allowances so the fit of the bearing in the case would be tighter than it was when factory built. After removing and completely disassembling the transmission the first step was to set the trans case up on a Bridgeport milling machine and enlarge the bore. Once the transmission was strapped down to the table I moved on to indicating the bore of the trans true with the spindle axis by using a test indicator. The bore was extremely egg shaped and could not have been used by just making a sleeve to put into the case. With an offset boring head holding a ½ carbide endmill and taking multiple cut I enlarged the bore by .100 in diameter over the nominal size. After performing this operation I had the nominal size for the ID of the case, measure the step worn into the case and used the know diameter of the bearing to come up with what I needed for a repair sleeve. The bushing was then made from a 4 diameter piece of 4340 steel stock. The bushing was made on a manual operated lathe equipped with a digital read out, for dimensions on the bushing I made the ID .001 smaller than the bearing, and made the OD .003 larger than the trans to give me a interference shrink fit and a .027 shoulder to take up the thrust wear in the case. Assembly consisted of replacing the problematic bearing on the input shaft, heating the bushing to install it on the new bearing, re-installing all the transmission components into the lower case, and finally pre heating the upper case around the area of the newly machined bore and installing it on top of all the moving components. The interference fits were mild enough that the pieces were installed using no more than a propane torch and a brass hammer, but is now far stronger than the origin fit and should hold up much better than the factory design especially with the 4340 steel as the mating material. A couple more hours of installing the transmission and all was good with the noise gone and no ill effects to any other part of the transmission or car. This is a perfect example that the solution to a problem doesnt always mean buying all new parts and following the service manual. Even with machine and labor time we were able to save the customer almost $2000 as compared to how the dealer or most automotive shops would have made the repair.


so glad to hear that worked out! mike was explaining the issue to me and you guys took a smart way out of a very sticky situation
it was a decent amount of work and a lot of double checking before moving to the next step, but it was well worth it in the end.
+rep… definitely a much better solution than the cookie-cutter approach… awesome
Finished up a Rough Country 6.5" lift on MP’s F150. Fit some 35’s and new wheels on it too. Now it sounds great and looks killer too!
This weekend I will get some better pics of it, then its off to see my friends at CDTC for an alignment. :number1
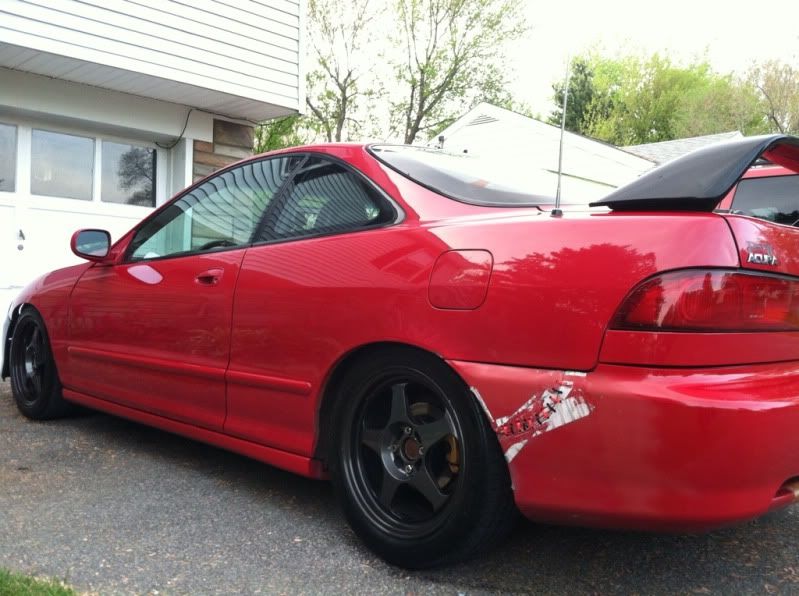
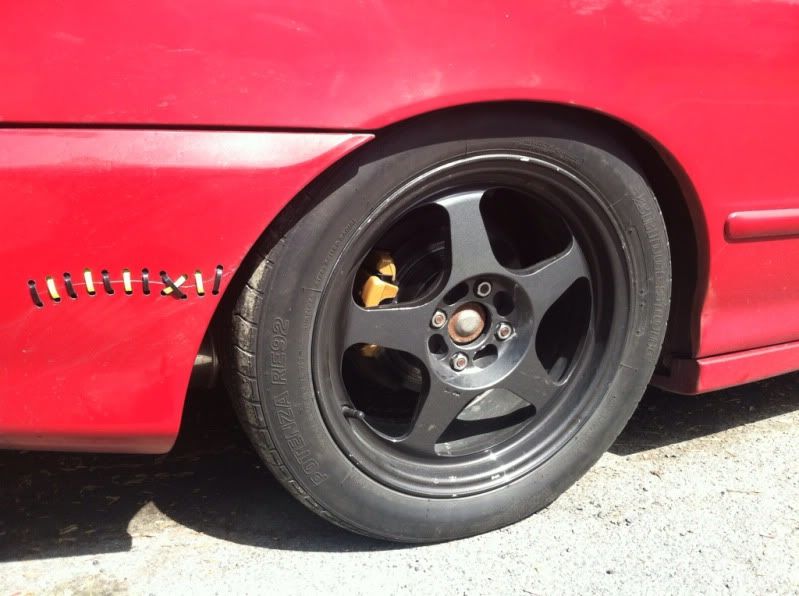
How did I not notice it!?!?! ![]() rofl:rofl:rofl
rofl:rofl:rofl
When you see it – you’ll shit bricks.
I actually saw this as I was taking a shit and I just kept shitting regular shit
FALSE. Your feces turned into a block of ceramic material that is used for masonry construction.
laser engagement machine + free time = ROFL
SEEMS LIKE A LOT OF WORK TO CURE SOME FLYWHEEL CHATTER AMIRITE LOL
:rofl
Or the inputshaft that looked like a hot dog in a hallway! :rofl
Saw those wheels for the f150 last night, they looked pretty bad ass in person!
Looks awesome Mike. Now I can’t wait to get home in a month to drive it haha
[ATTACH]25802[/ATTACH]
Truck looks awesome
sorry its been a while…thanks again mike!
this is the same gold nugget that the ducati frame has been done in
I know I promised a lot of pics, time just didnt allow me to upload them. The few i have are off my phone.
Here is Love4Boost’s engine finally assembled. Need an intake and exhaust gasket and they can be fully installed, turbo hung, oil and coolant lines made up, injectors installed, etc. Valve cover, accessories and brackets are sandblasted and being coated as well.