My top hats finally came in. Time to mount them up and make it a roller to get to you guys.
No fender is cool and all, but only if it sits around. If you actually plan on riding the bottom of the bike will be a big stinking mess of dirt, chipped paint and road grime, and anytime you ride through rain you’ll have a huge rooster tail of water being thrown in your face.
Id’ go for a classic looking fender that just cover the top portion and hangs back, without covering the sides, looks clean and will still do its job.
Maybe something like this:
Btw, picked up the headlight bezel today, looks as nice as I could hope for and the price was right too! Thanks!
sounds good! bring it on. ![]()
Yeah the side things on the fender I am not diggin. I will look around ebay today and see if I can dig up something cheap thats smaller and lower profile to try.
10-4 on the bezel and thank you!
awesome write up on the turn signal mount, im happy my lathe is getting some good use!
more powder being laid tonight, pics to come soon
check out a front fender off a newer bandit 1250, smaller and cleaner than what you have but still serves its purpose. dont know how many are around but just a thought. http://albany.craigslist.org/mcy/3146094131.html
Can you guys do paint correction? I got some swirls and scratches that are driving me nuts
We would have to look at it, but I am sure we can. Swing over one evening and we can take a peek at it. :number1
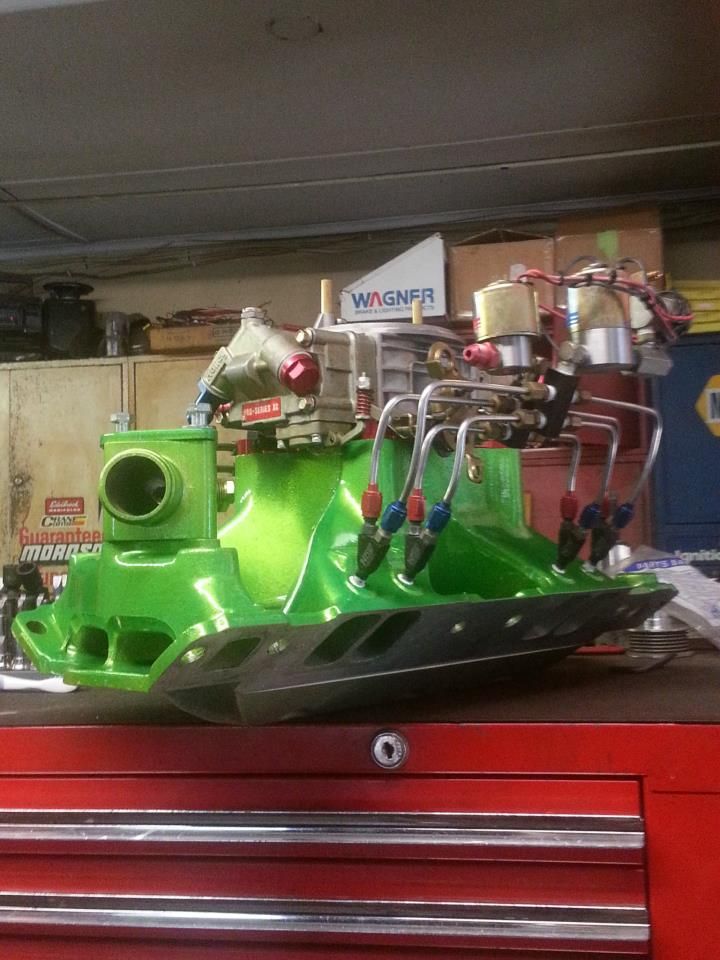
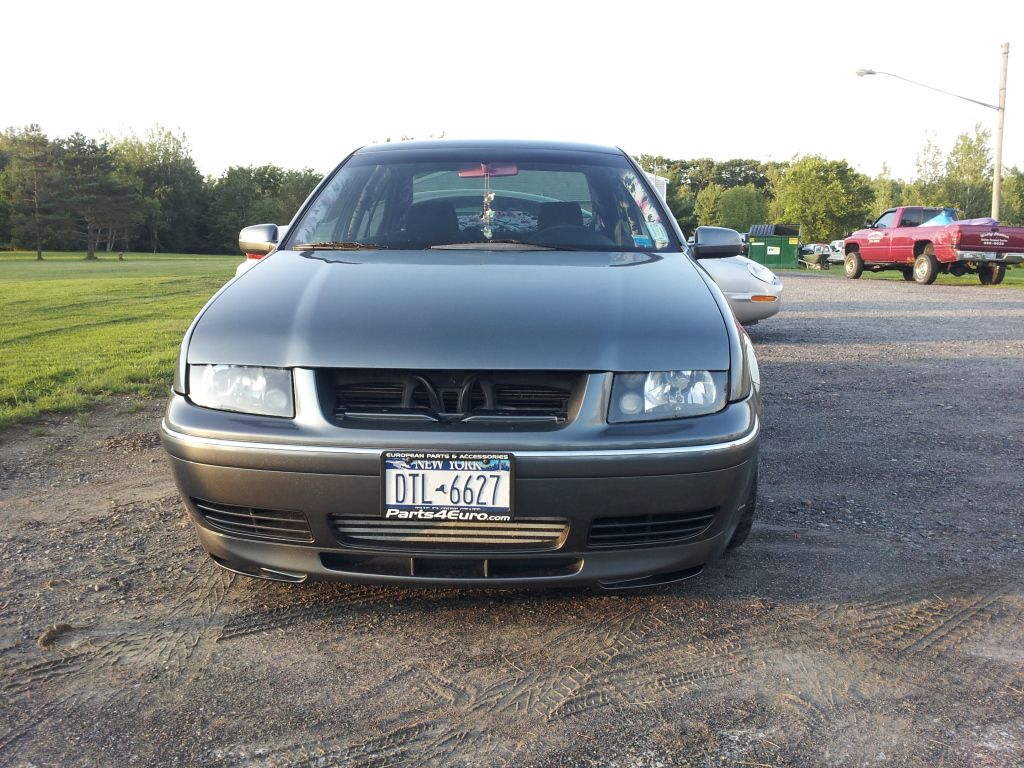
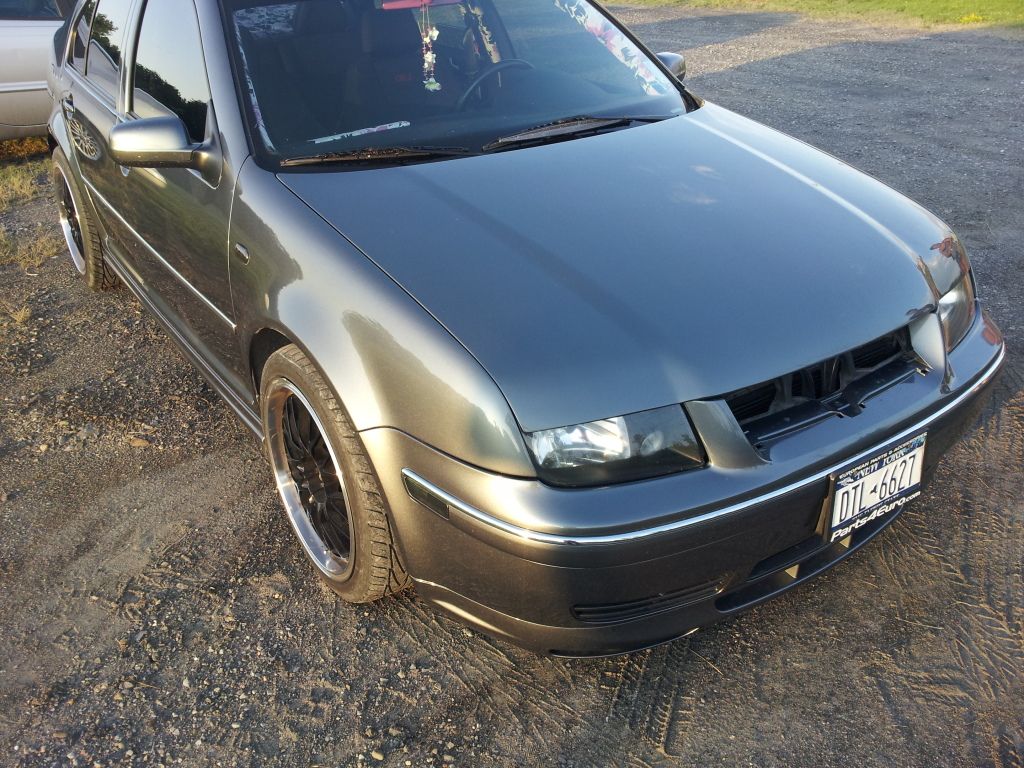
GTI 1.8T BT setup getting tweaked. 02M 6 speed swap, rebuilt and upgraded OEM axles, intake, valve cover, fuel rail and evap lines powdercoated.

looking good guys… i know dom is happy with it
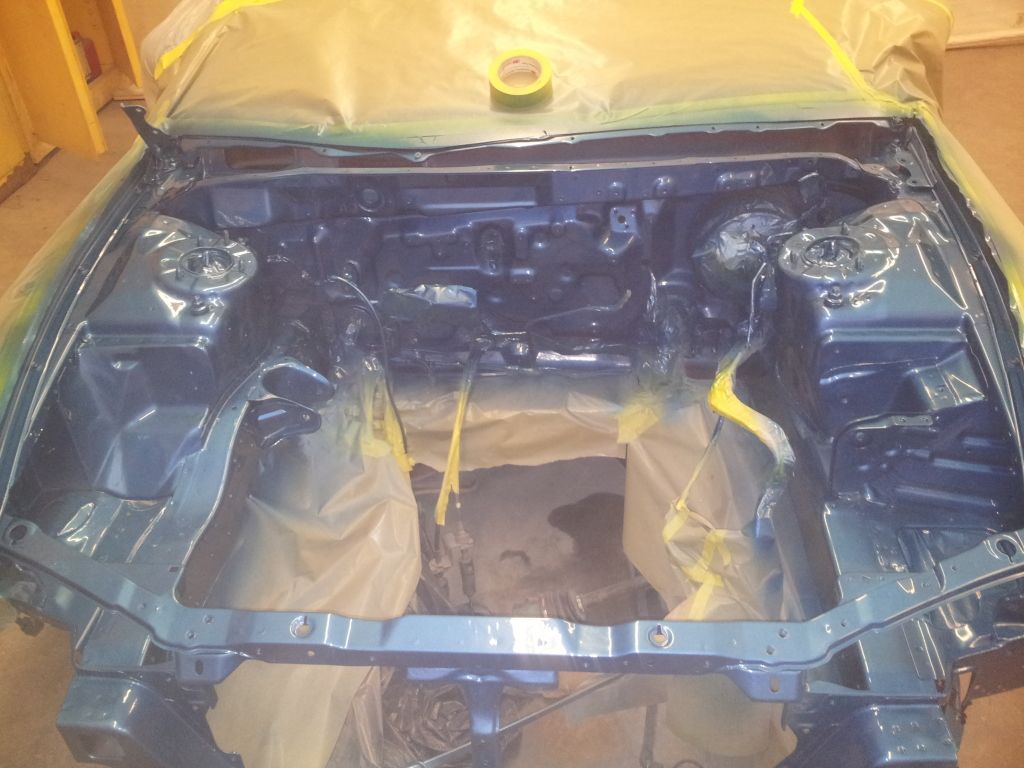
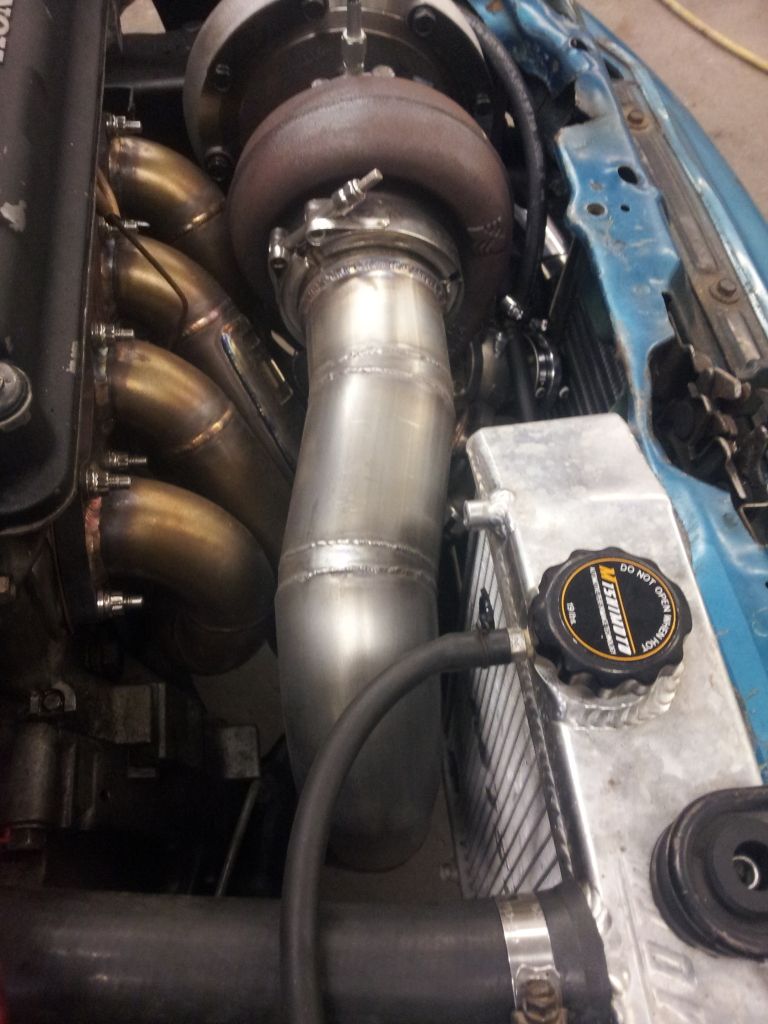
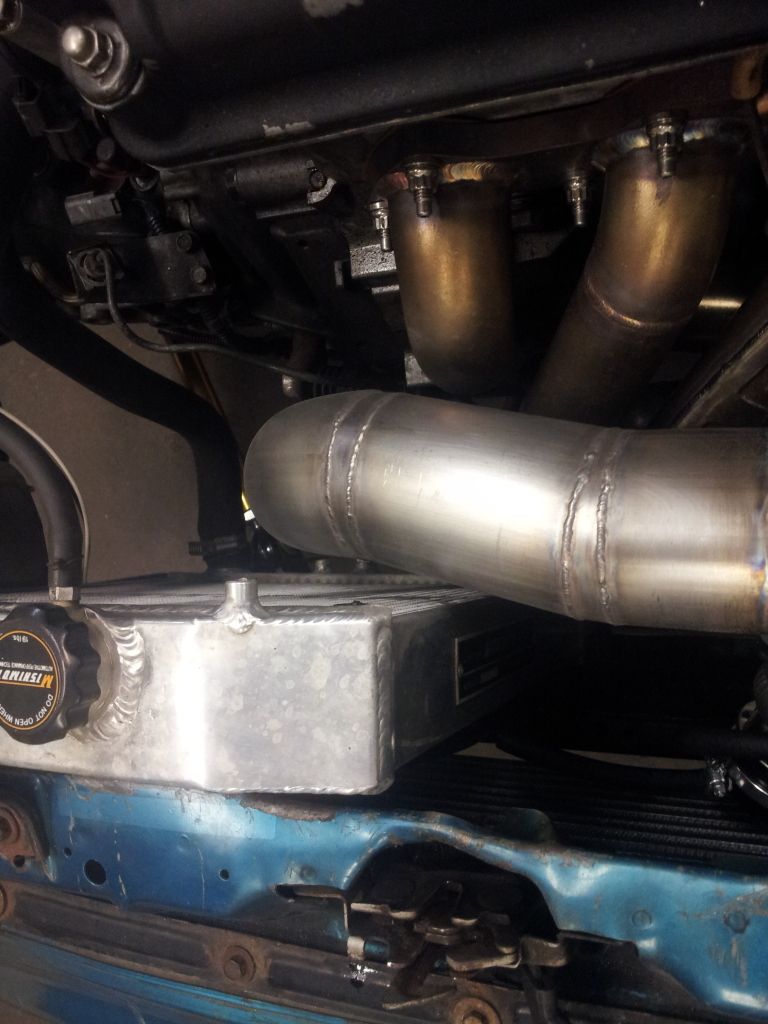
Man Mitsubishi can really jamb pack a ton of crap under the hood of a 2G! 8+ hours later and all that stuff was unbolted/typical DSM bolts breaking off, removed, pulled out of the way, cleaned, scuffed, prepped, then about 2 hours of taping then primer/sealer, base and clear. Engine bay painting is such a project!
Its blue, can be untaped, what ever is staying in there bolted back up, and the engine can start to go back in! The project offically crested the hill!
Taken at 1:30AM last night. :ahh
Had a customer walk in last night needing some tig work… so I graciously jumped on that and put my red scuffy pad down and climbed out of the Eclipse engine bay for a bit of a break. Nothing crazy but coped a BOV flange to the tube, bored the hole, tigged it on, and blasted a bead around the butt joint. I love it when a customer is prepaired, brings me the parts perfectly alighned and marked so.
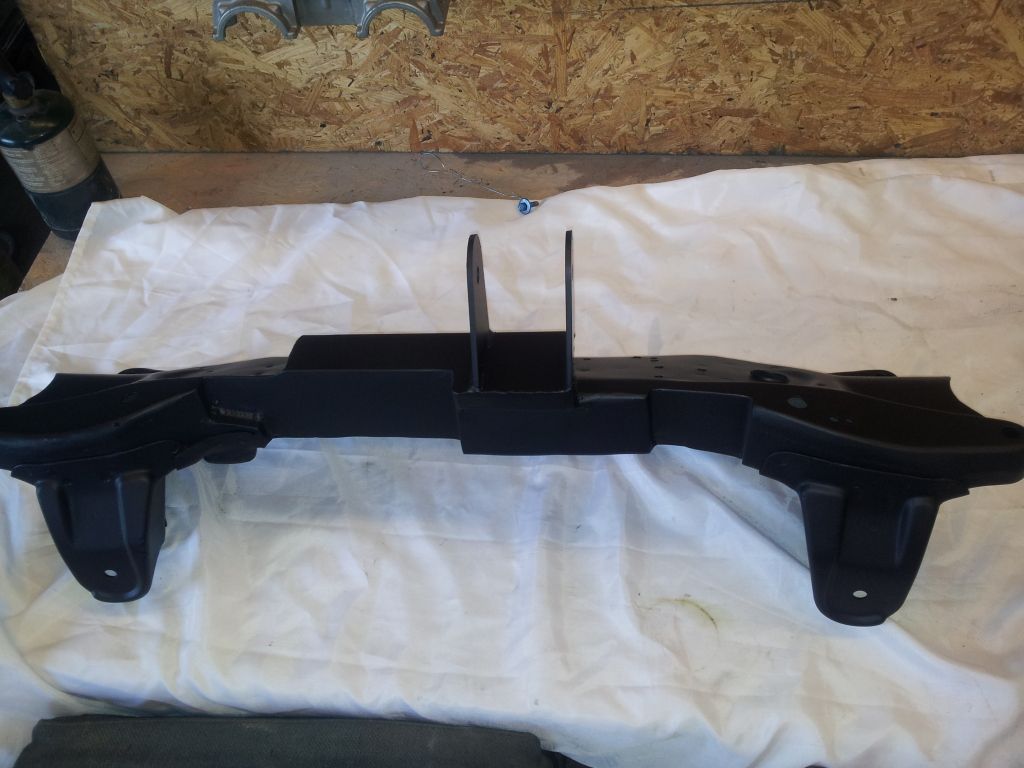
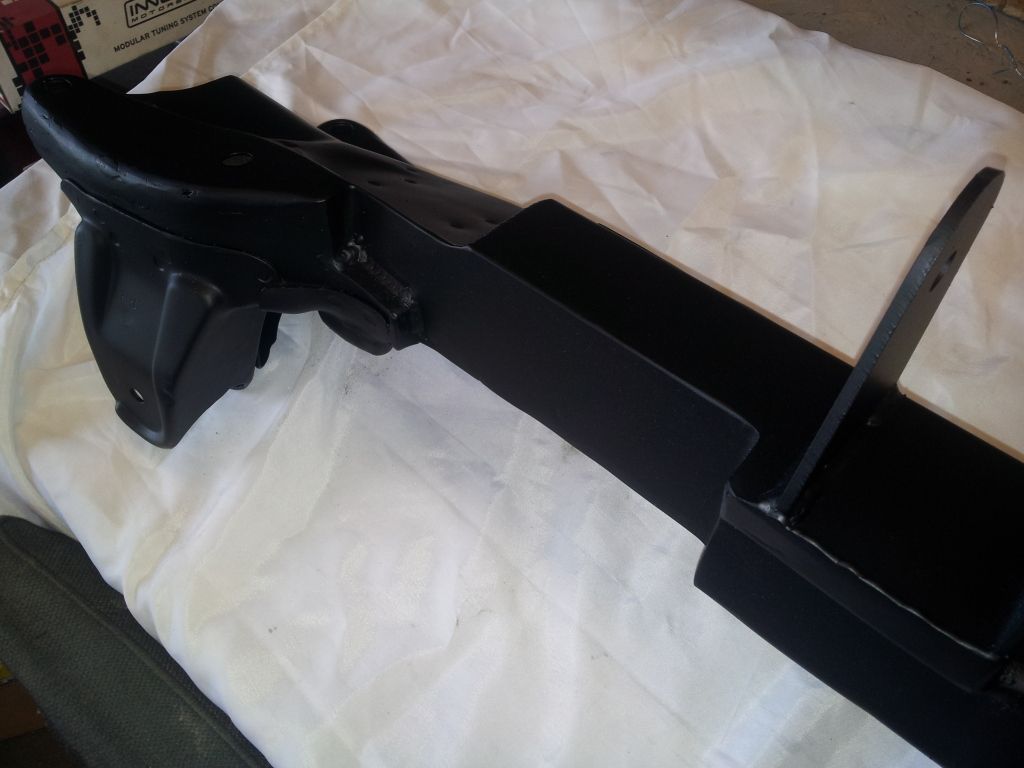
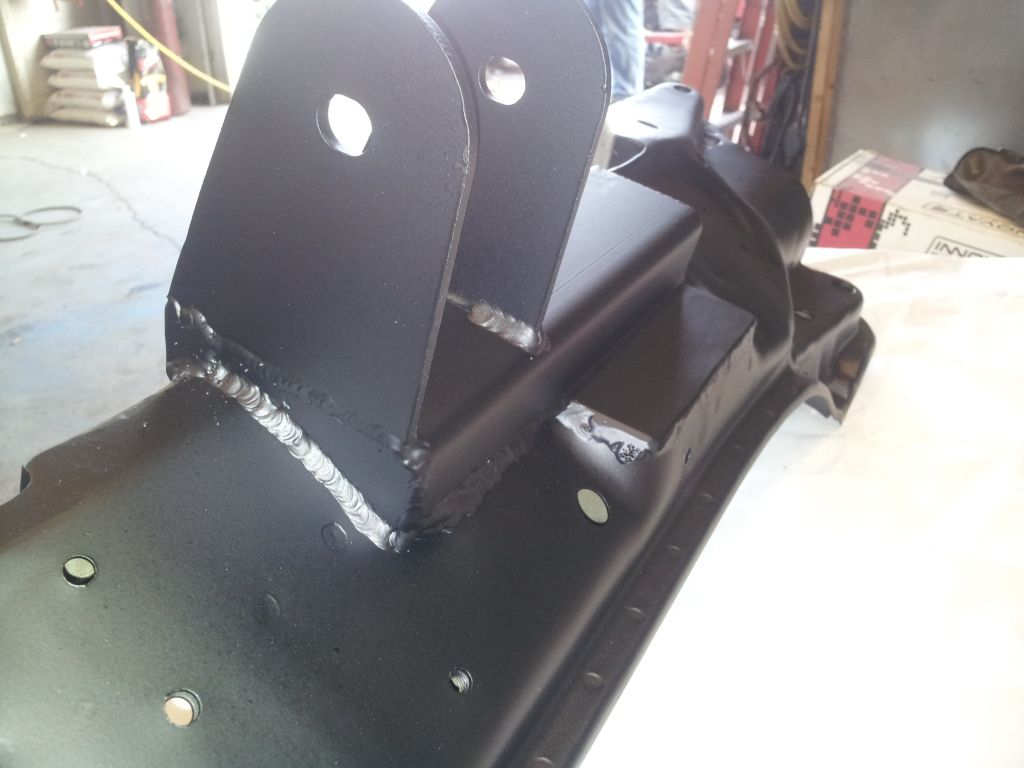
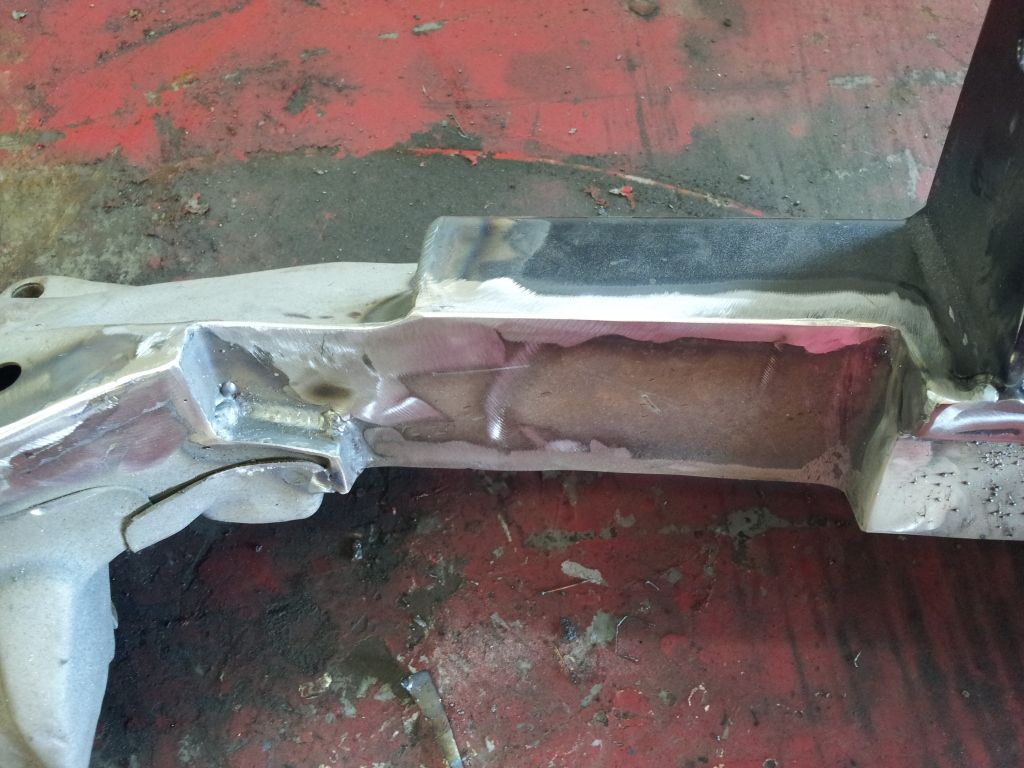
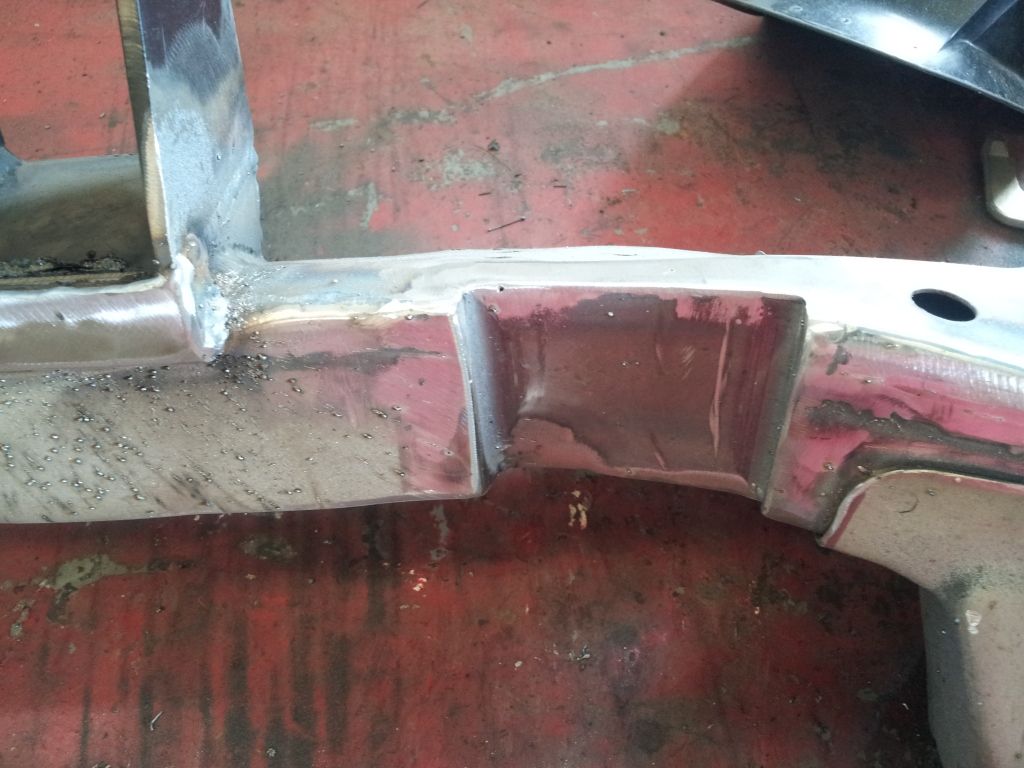
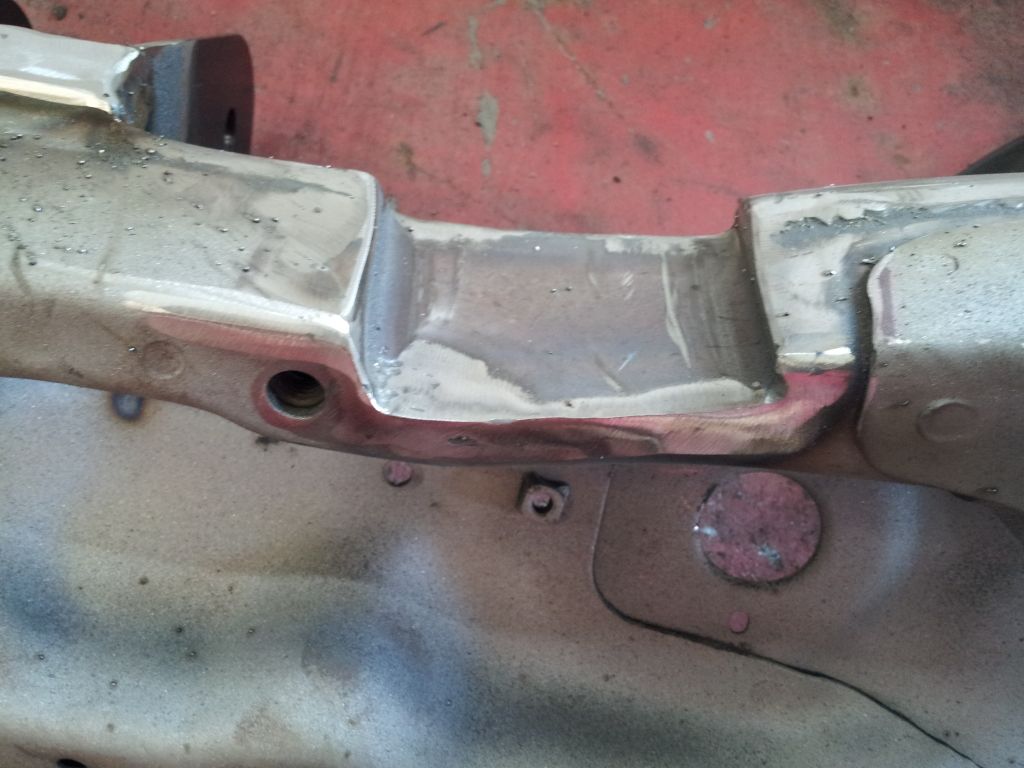
Finished up a custom crossmember for a swap. Motor mount fully tigged and boxed into the crossmember. Then clearances cut for header and transmission, then boxed back in also. Came out nice, and then was powdercoated matte black along with a host of other stuff for the car.
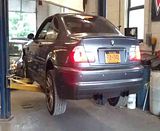
M3 full exhuast. My phone sucks, for some reason my bike and this car sound alot deeper in real life than it sounds on here. The throttle response along side the sound on the M3 is awesome.
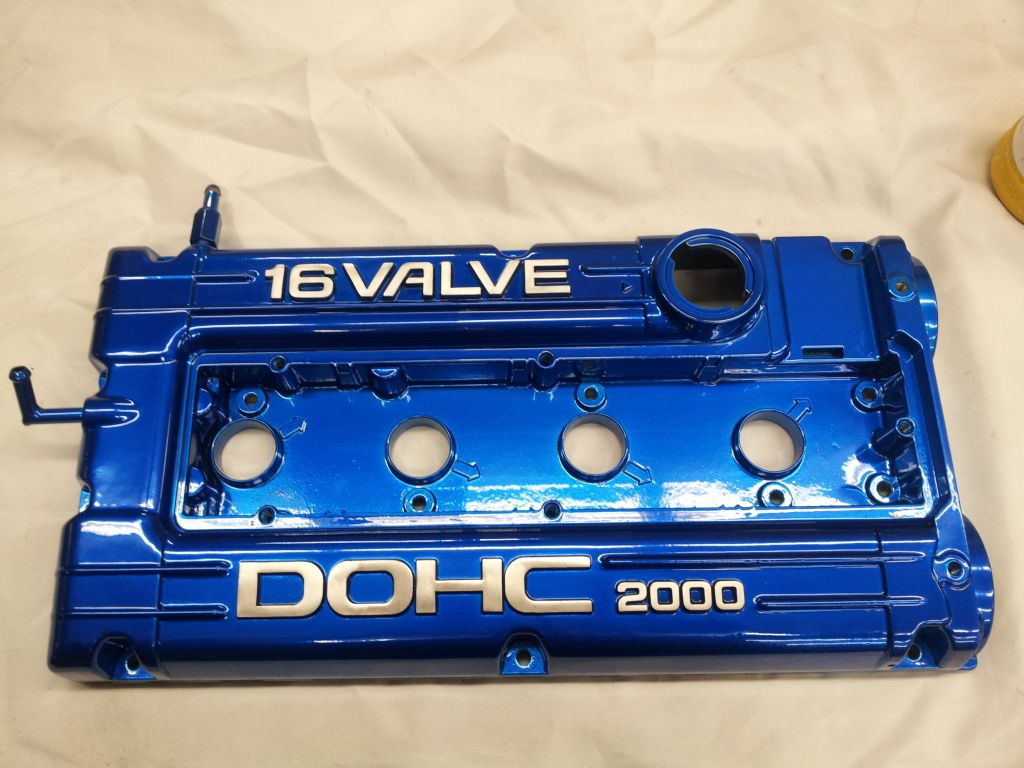
Also did a candy blue valve cover for another eclipse.
thats all the pics i can seem to find on the phone. MG’s being blocked and getting ready for paint. Have a BOSER hood coming soon, and a bunch more on the horizon.
LOL M3 sounds like a viper. Sound good doe!!!
Thanks buck!
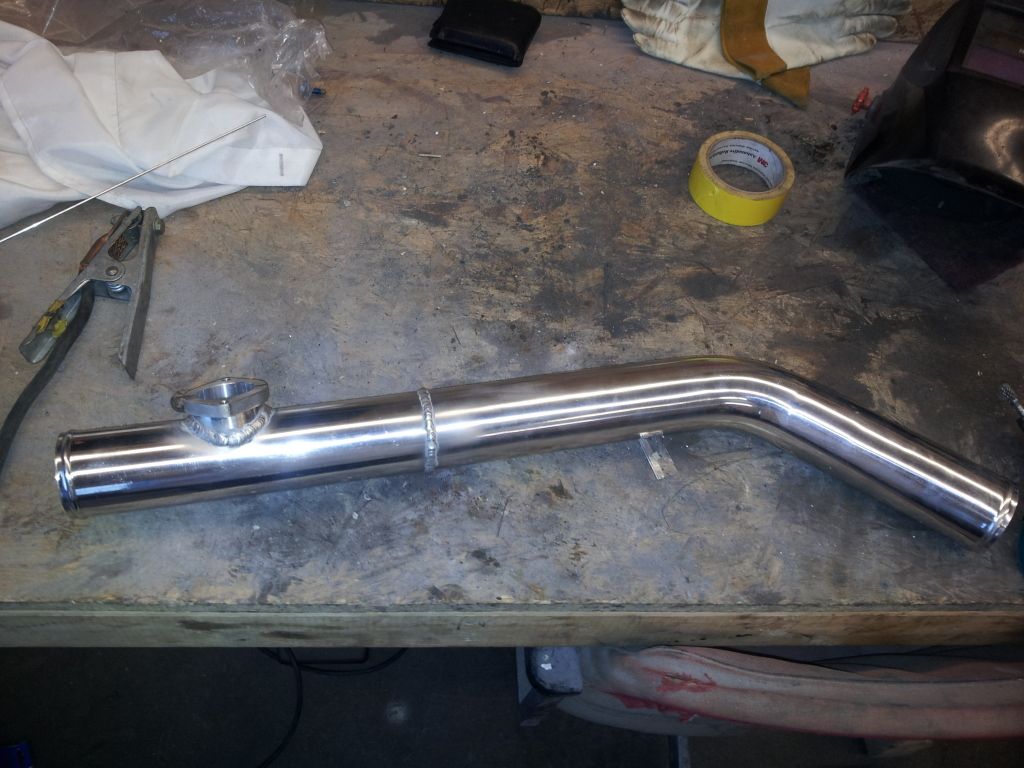
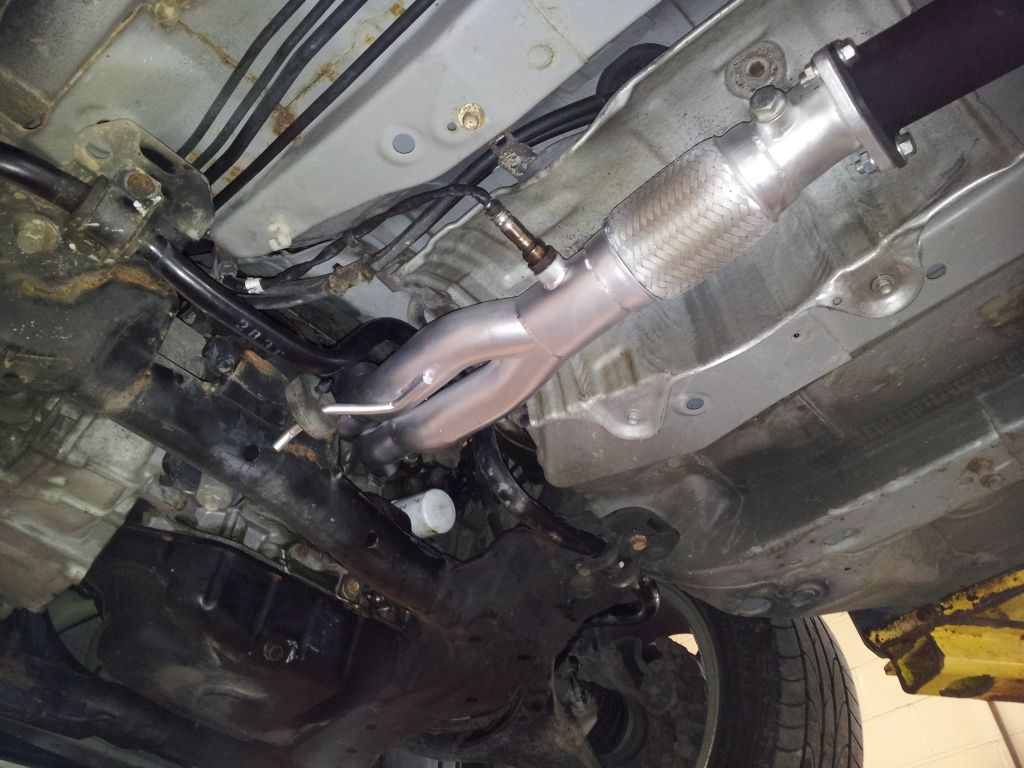
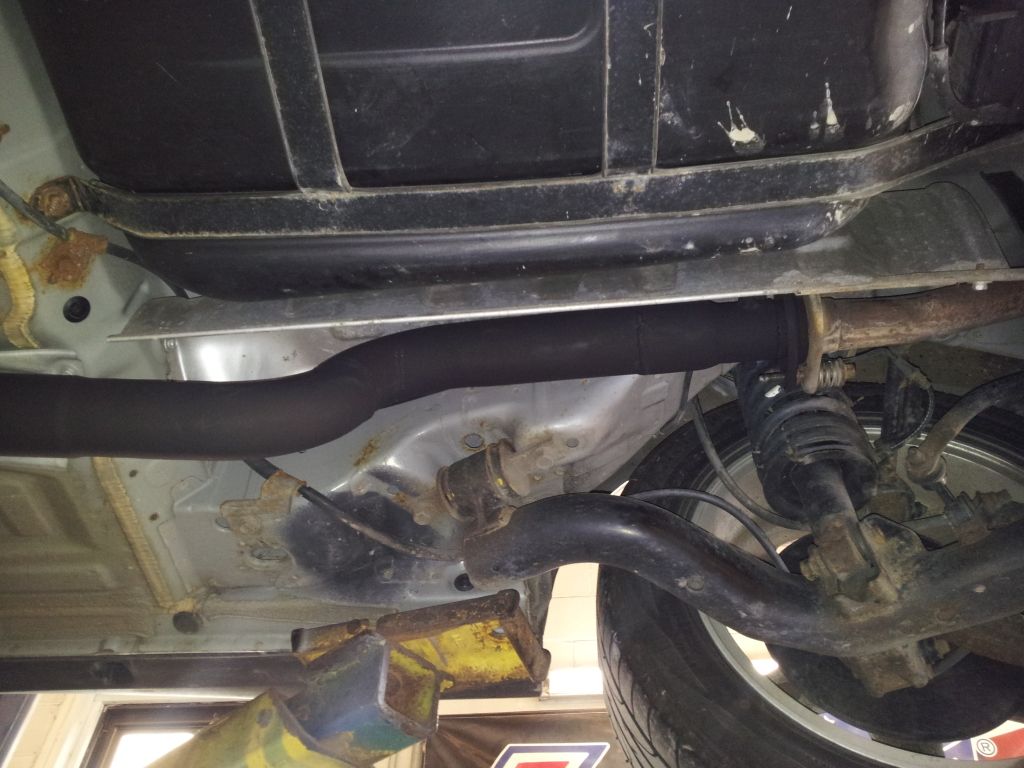
Worked a downpipe for Progress on his Civic. The AFI one was about 2.5" into the radiator, and clocking it away from the radiator would but the bottom leg into the oil pan. Ended up having to cut the top section, weld on a new V band and Z it a bit away from the radiator. Fits perfectly now.
Starting another boser for a GLI. More to come soon, should be in primer in a night or two.
Box truck came in with rusted rockers, front and rear bumpers, rusted hinges for the back barn doors and side door. Rockers repaired, chip guard’d and painted. Front and rear bumpers got some repair and base/clear, and the hing sets got blasted and powdercoated. Rear view camera works well also:
Sleepy boser hood finished on the GLI. This was another lesson on paint work is a get what you pay for thing. They didnt want to blend the fenders so we built the hood and shot it to the OEM color. Installed it and rolled it outside, color was way off on their car. BUT we put the hood against my DD jetta and my old one, also both platinum grey and it matched perfectly. We inspected the customers car a bit closer and found dirts and minor runs in the paint, masking lines and overspray inside the gas door. Turns out everything but the roof and deck lid was repainted by someone, at some time, with who knows what paint. So we explained everything and they agreed to blend it, as well as repair and reshoot the front and rear bumpers.
Gas door was shot with the spectra gun and mixed to that variance and we shot it all again. This time with results speak for themselves… much better match but again, if it wasnt blended like we did you still would see the difference in color.
But here it ism grill didnt come in yet so when it does we will shoot that for them also:
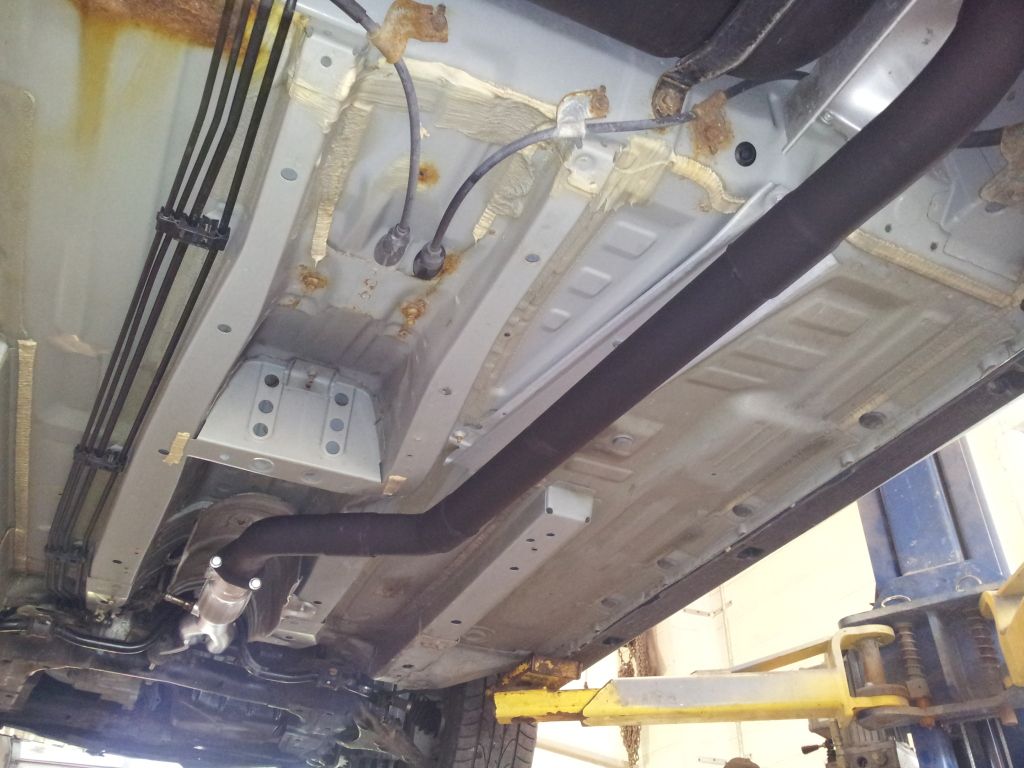
Installed the DC race header on Eric’s RSX.
Also built a “B” pipe from scratch to go between the header and the stock muffler/tailpipe. Aluminized to keep costs down, custom 2.5" to 1.75" reducer and ball flange to meet up with the stock tail pipe, painted with VHT flameproof black to help keep from rusting. Reuses stock hanger locations and has plenty of room on heatshields.
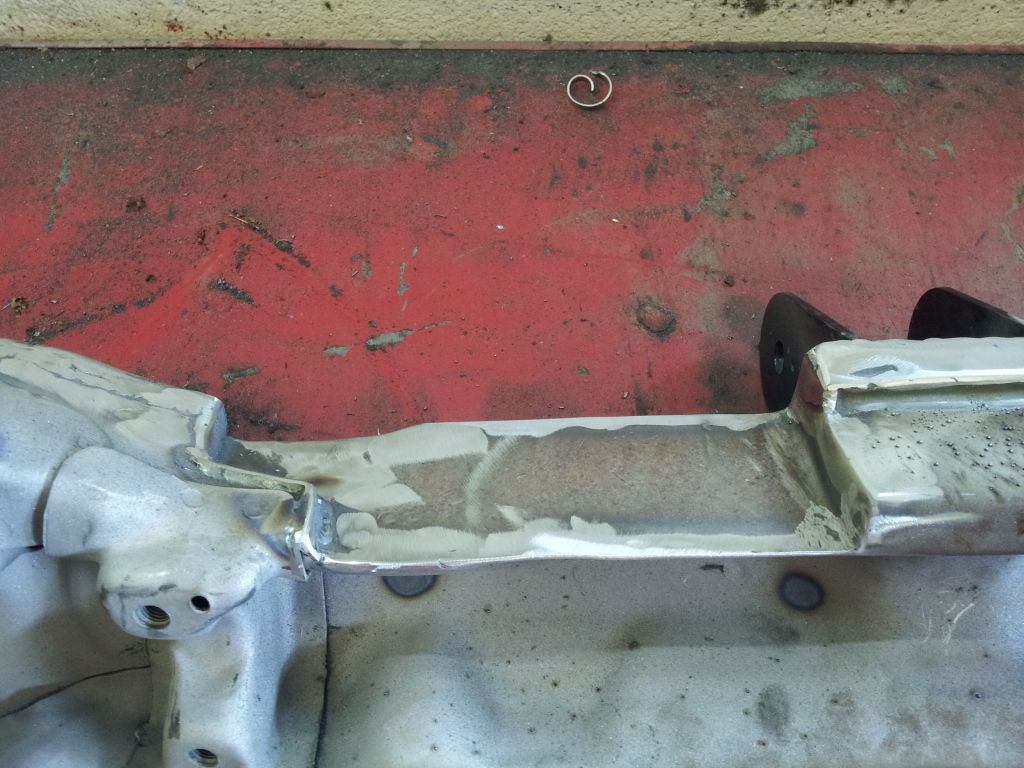
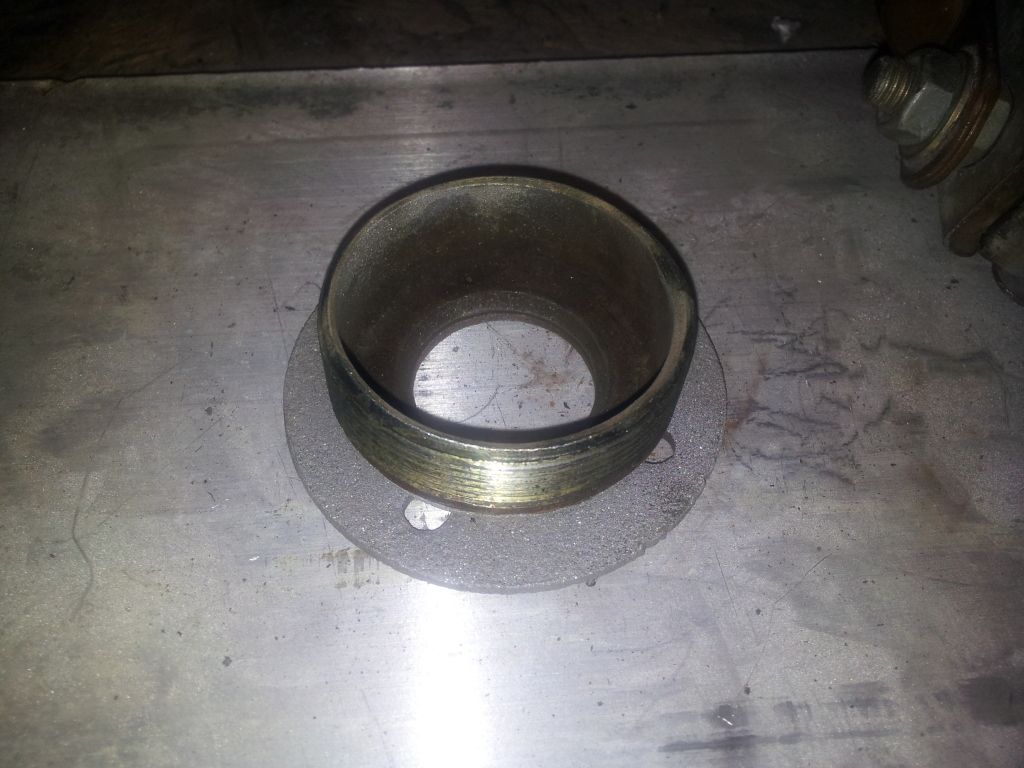
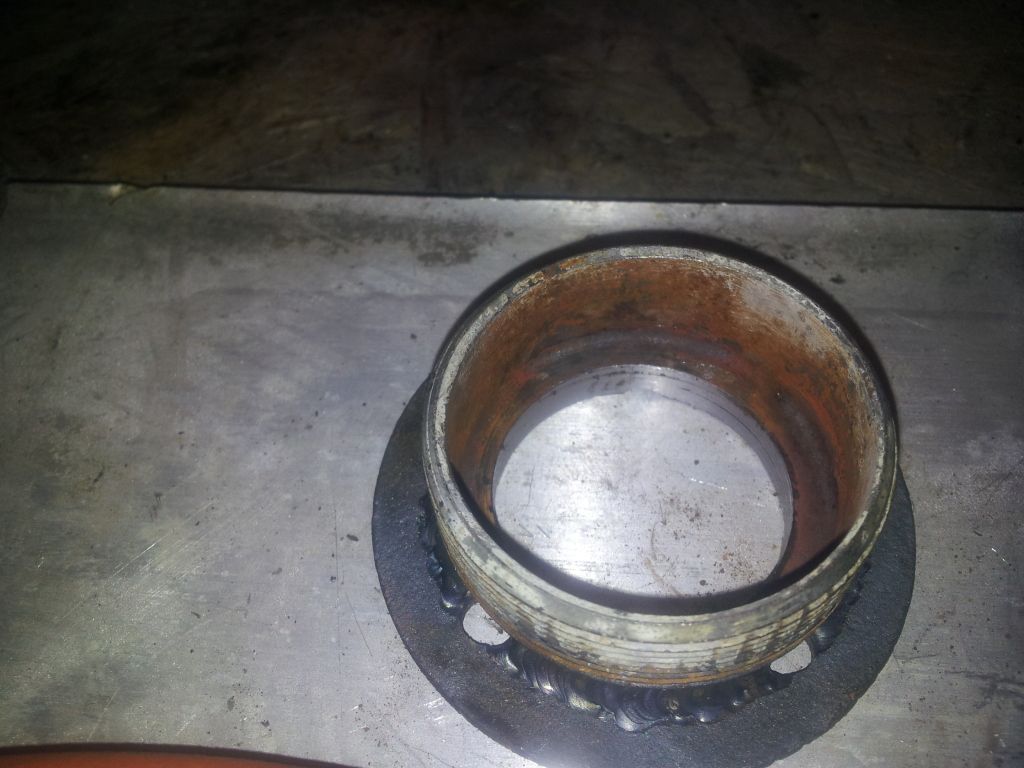
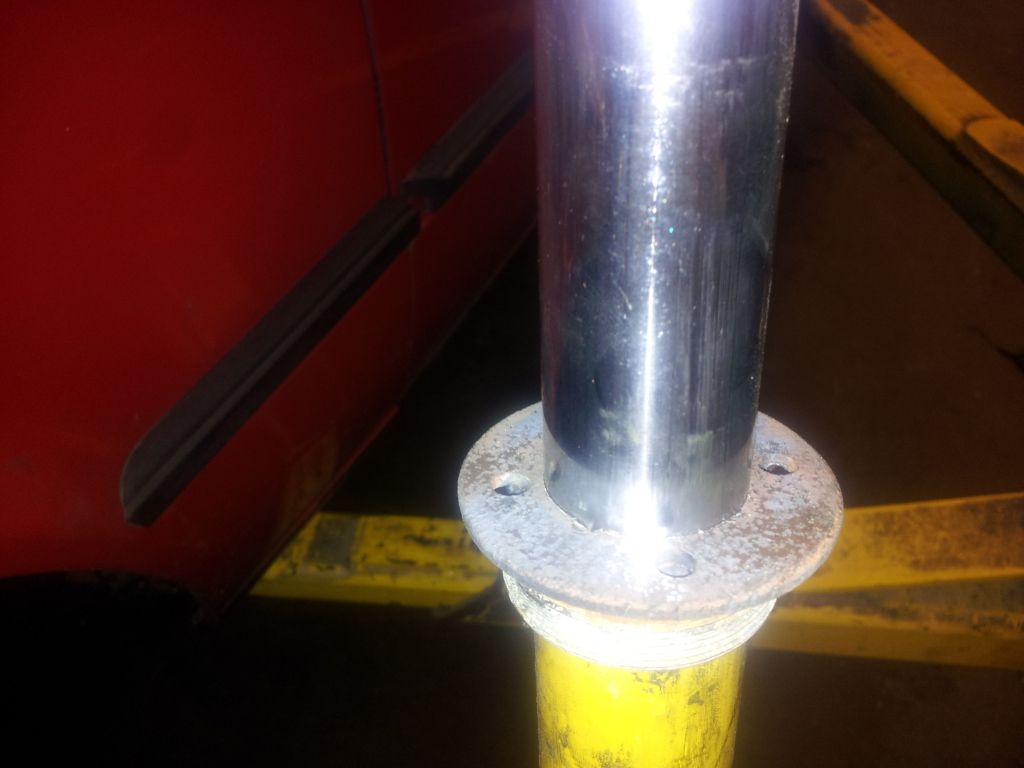
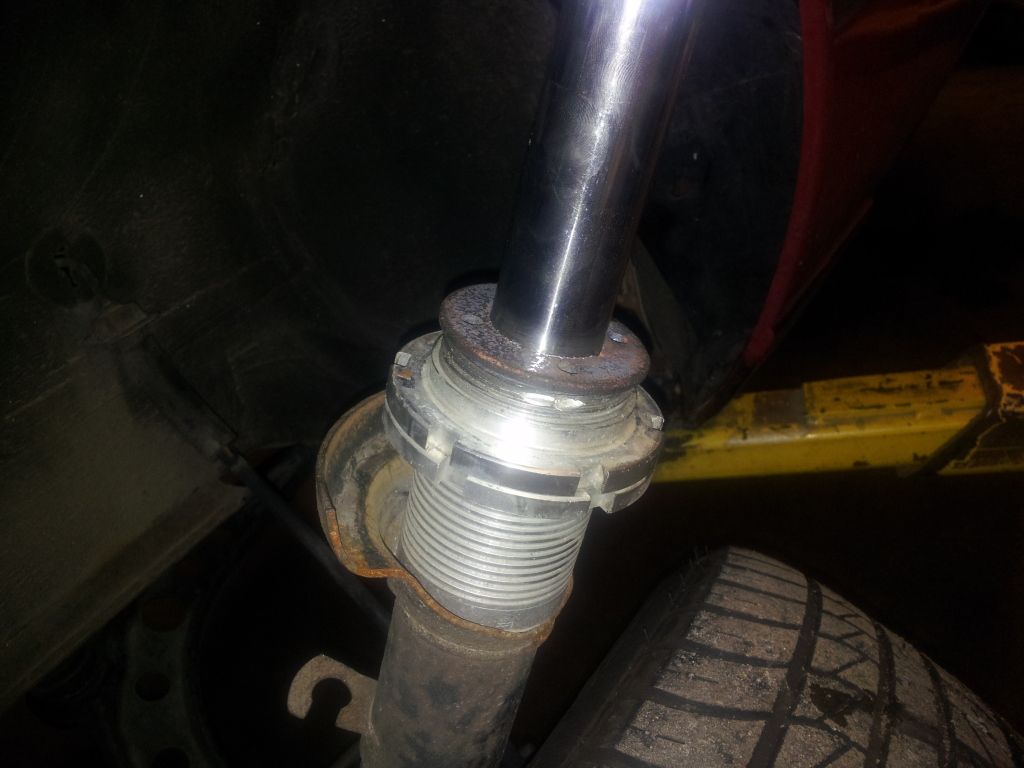
Nick’s BMW came in for some exhaust help and front suspension help. He bought some nice Bilstien front shock bodies but bilstien wouldnt ship him the right adapter to fit the stock strut body for some reason. So we got thinking and came up with a plan.
Took the stock part, tigged the 2 pieces together, past the spot welds that would later be cut out, chucked it on the lathe and opened the center bore enough to clear the shaft and still sit on the shock body as it should. Worked out perfectly.
Befor:
After:
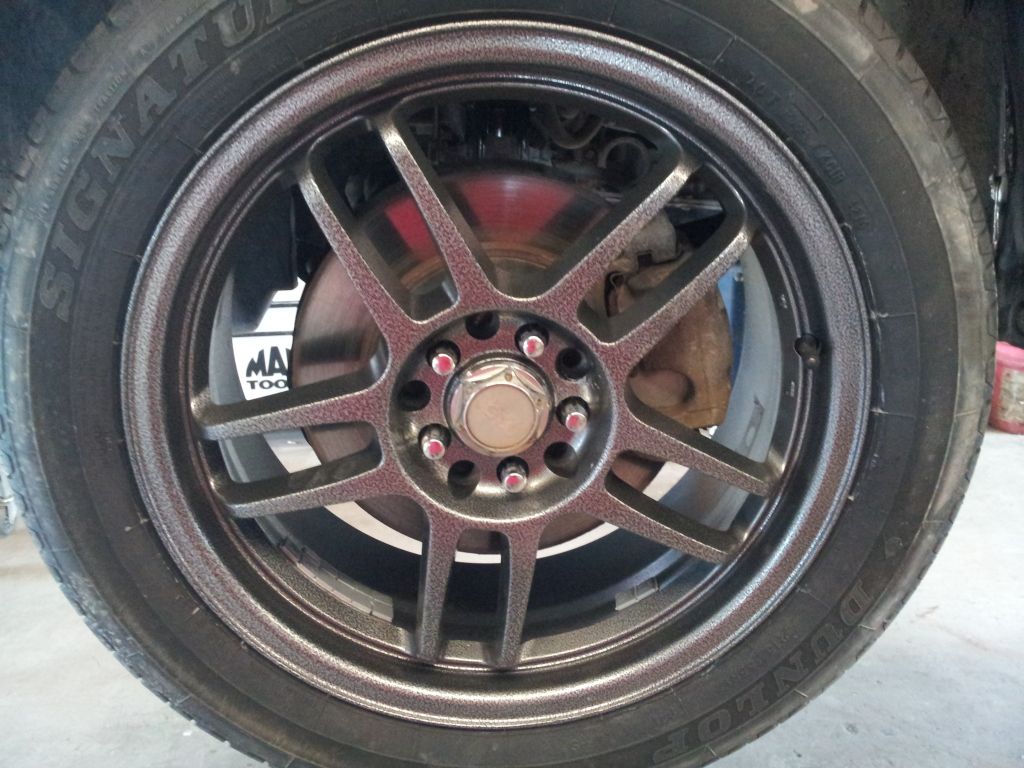
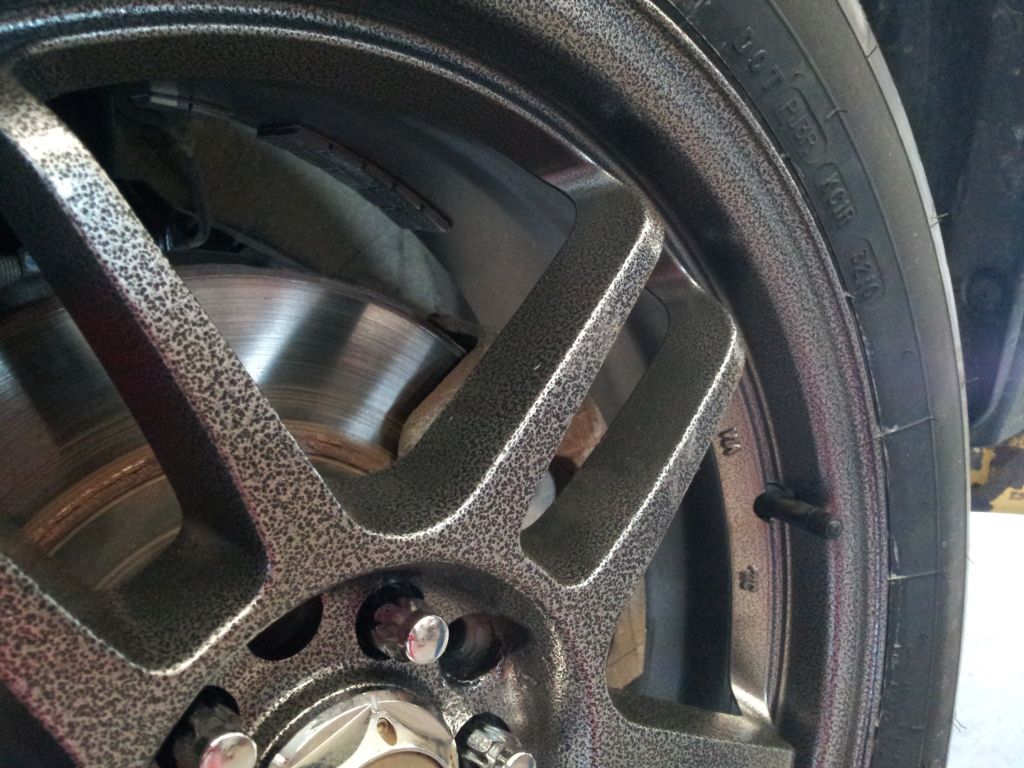
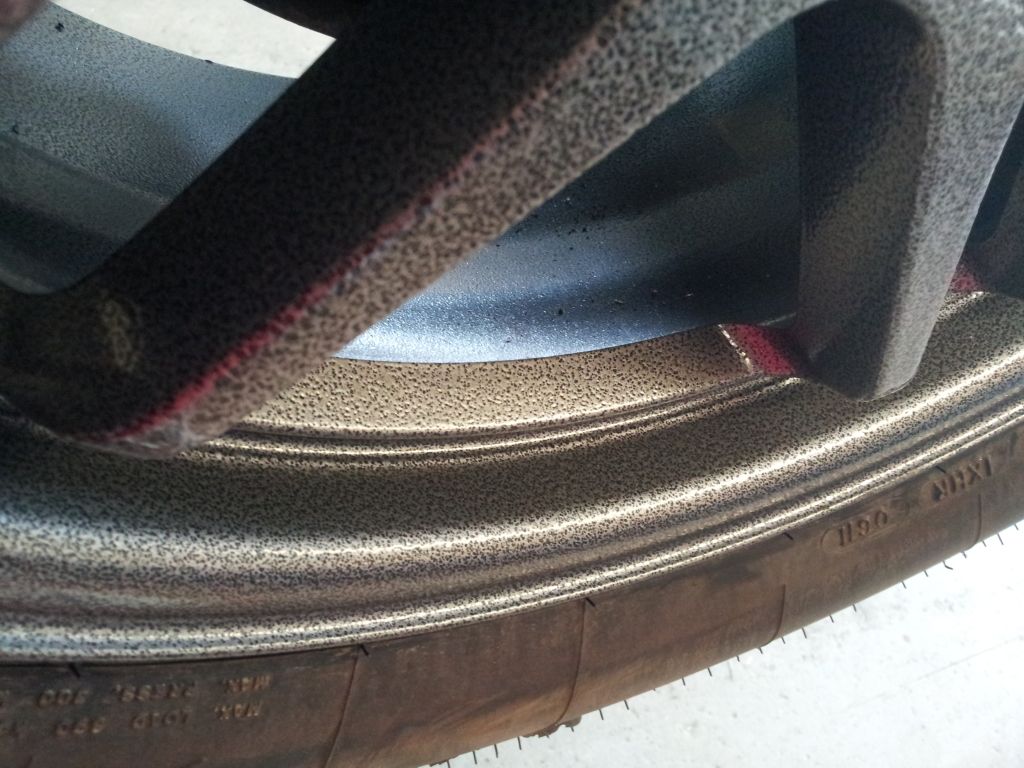
2010 Subaru that eat a curb at “high speed” came in with a broken wheel, mangled lower control arm, bent strut, bent tie rod, broken wheelbearing, and bad sway bar end links and bushings. We made all the repairs and powdercoated some aftermarket wheels for it, then Wayne swapped the tires. Shes running again. I think we have befor pics somewhere.
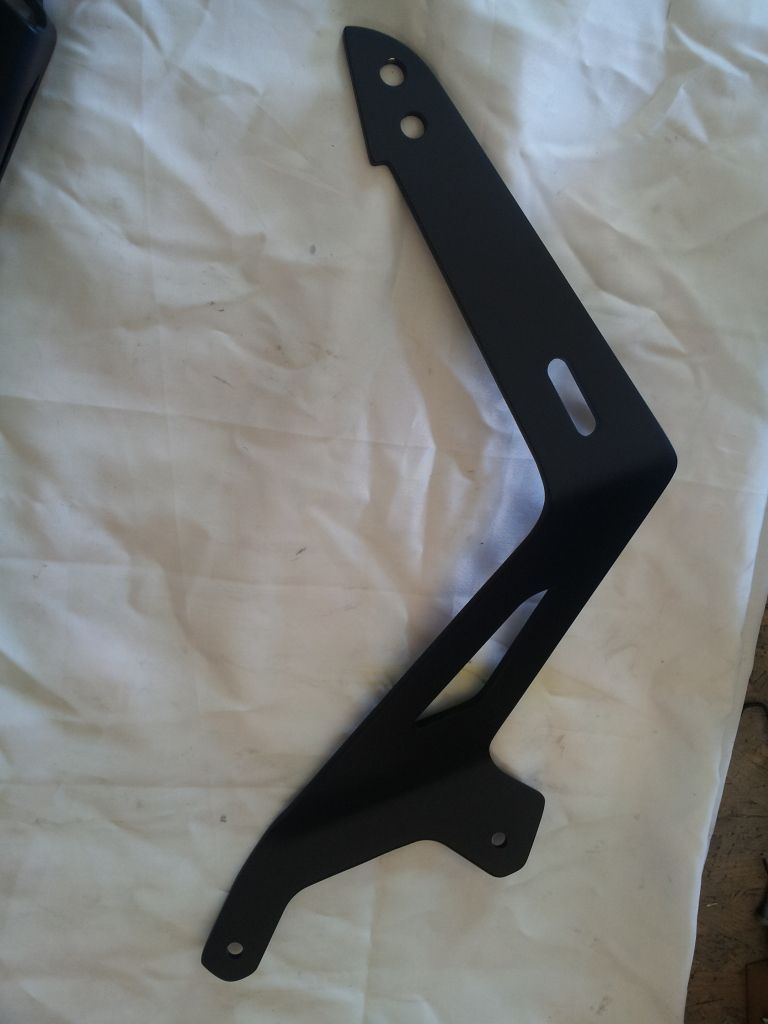
Daves Eclipse is coming along. Ordered new nuts and bolts for the intake manifold, finally found the right gasket size, studs, nuts and washers for the turbo, clutch and flywheel bolts, etc. Installed the flywheel and clutch, went to install the trans and found yet another snag. 2G transmission’s bellhousing doesnt exactly match the 1G block the motor was built with. One threaded block boss was suposed to be a through hole, and there is a giant casting section missing for one other mounting point and bellhousing support on the 1G??? block. So, I am making a bracket to bolt to a pair of unused threaded bosses on the block, will make a plate for the bellhousing, and tie it all together and gusset the crap out of it.
Pics coming soon on that also.
Do you guys have a pulley removal tool? Looking to switch to a smaller supercharger pulley soon
we have a few, i am sure we can find one that will work for that pully.
Cool! I’ll keep you posted