Some of our projects!!

It doesnt really matter if you pay attention to everything. The only difference laying something flat vs verticle vs slanted or what ever is gravity right?

If gravity is effecting your paint job, you have much bigger problems to worry about! IE, runs, sags, drips. When your gun is set right and the materials are mixed properly for the tempature in the booth, thickness, etc, your basecoats will flash quickly. If you have metallics or pearls, and those effects are sagging, puddleing up, or flowing around on the part then you need to review your mixtures, gun settings, or gun movements.

That door was painted front and back one shot. Its alot easier to shoot the underside that way than working a gun around 4 mounting posts and the stand itself if it were hung on our stand.

Lastly, coverage. You dont need to put the doors and bumpers on the car to paint them and have them match if your not blending. Those were easy, becasue it was a black primer and a black base. so just count your coats and keep each one consistent on the overlaps and coverage. If it were a big contrast difference between primer and base, its alot harder… but thats why they make tint’s for primers. :slight_smile:

What would it run me to have these repainted a glossy black?

http://img5.imageshack.us/img5/4010/dsc0157co.jpg
http://img805.imageshack.us/img805/7526/dsc0158tr.jpg
http://img577.imageshack.us/img577/9540/dsc0159e.jpg

Gotcha fellas. I remember seeing something on like Overhauli’ or one of those shows where they were resto-ing some hot rod. They painted a door that way and when they put it on the car, Foose didn’t like how it matched everything else so they sprayed it again the right way. Was prolly some crazy paint tho.

Need some subframe connectors welded in this spring… Need a rebuilt trans first tho. FML!

see ya in the spring! You and me both man. i have a 4l80e that needs some love ASAP too

They need a bit of body work, I would say about 2 hrs to DA them down skim a coat or two of filler and block them out, high build primer, block, seal, base, clear. They would look like a million bucks… for $200 labor and materials included. Just any old straight solid black right?

:number1

Pretty much, solid black. They are tank sliders so IDK if I need them to look like a million bucks when odds are they will eat it at some point. Going to have to think it over the price for paint is about the same as a new set of tank sliders.:lol

Ohh I didnt know what they were. They look like tail side pieces! so i figured you would want them to look minty!

Take the decal off, clean them, i can scuff them and just shoot them quick for $75. The other $125 was body labor and materials; papers, filler, and both primers.

:number1

Sounds good I will be in touch.

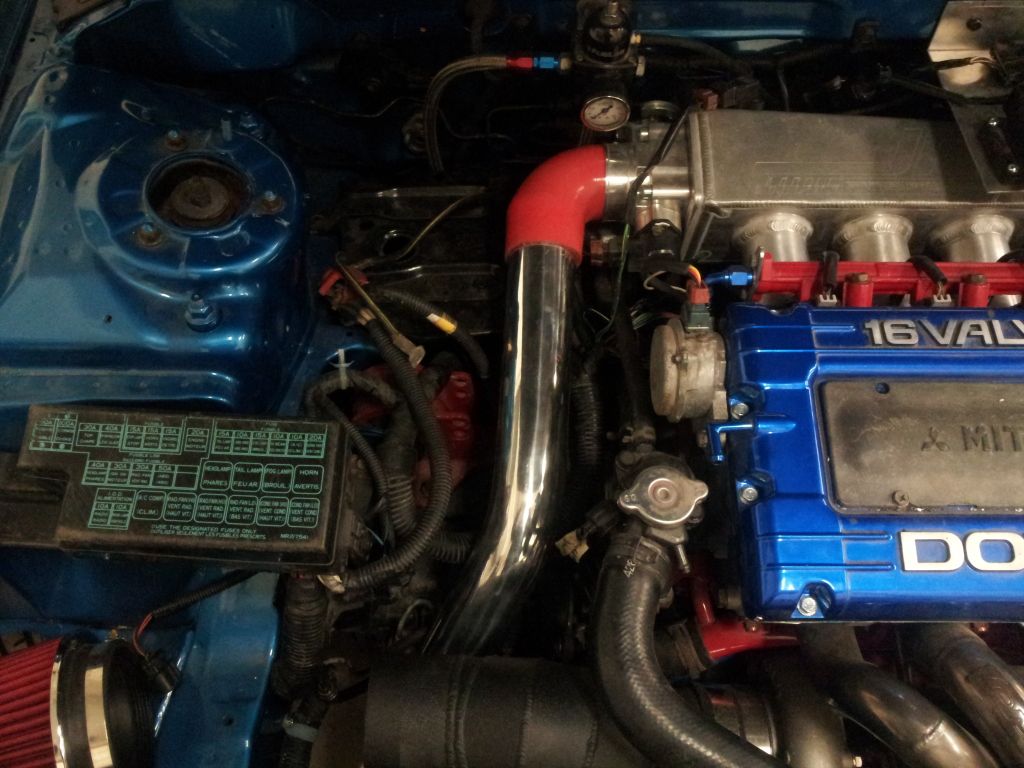
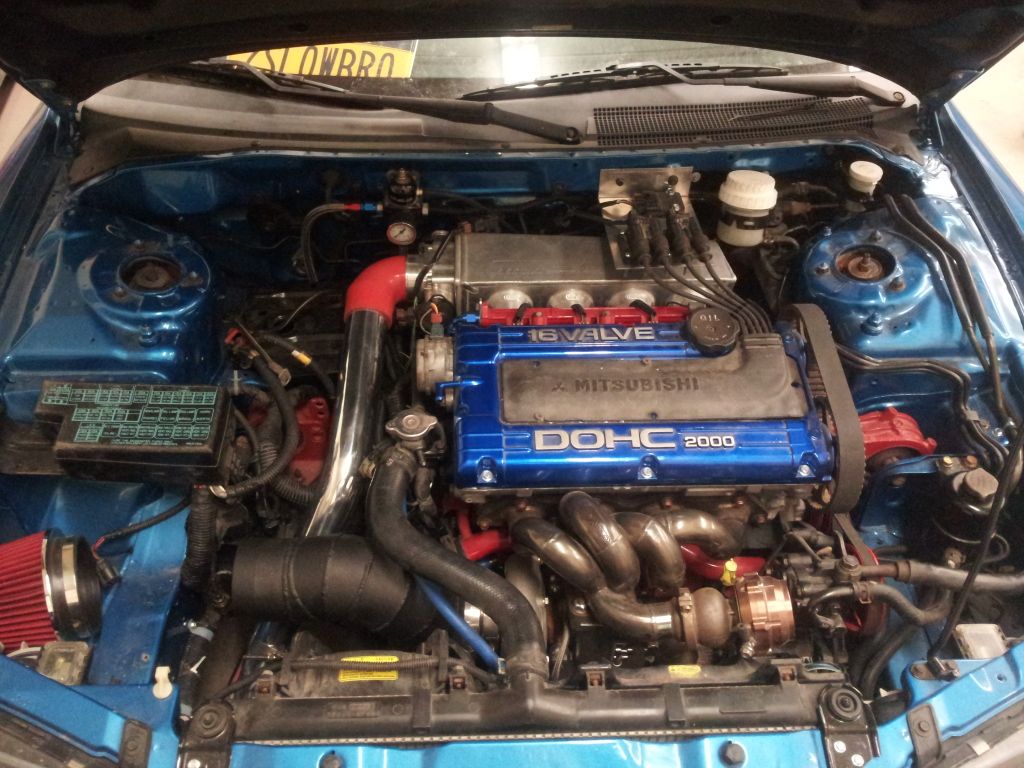
Getting some more of the eclipse done for dave.

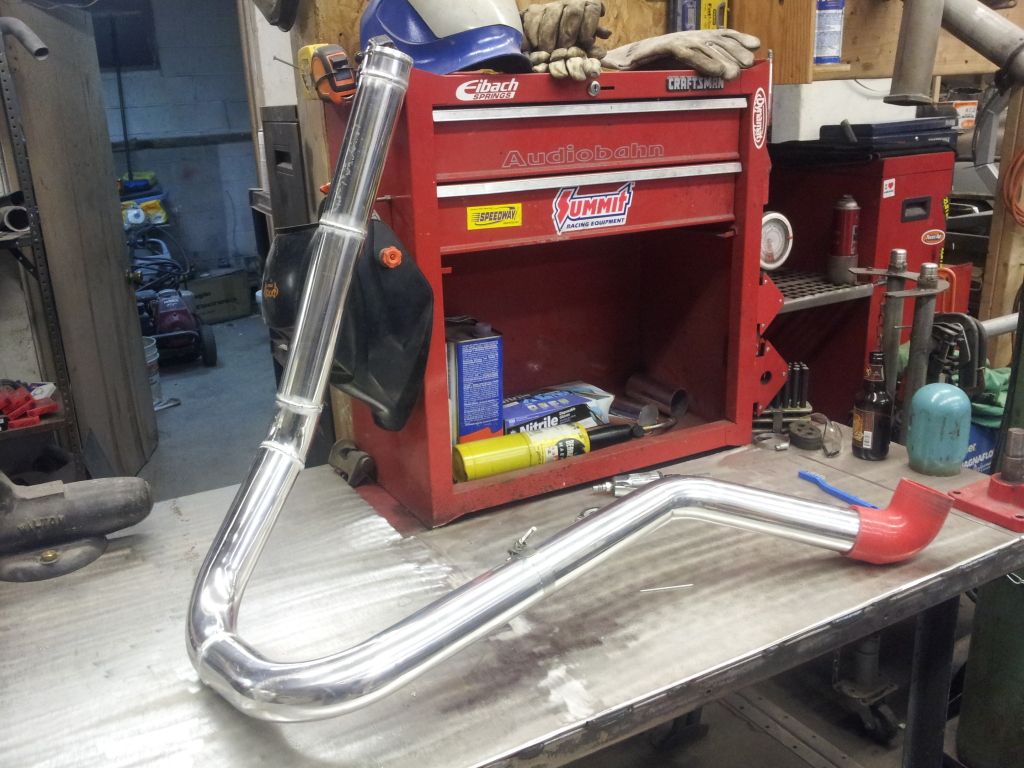
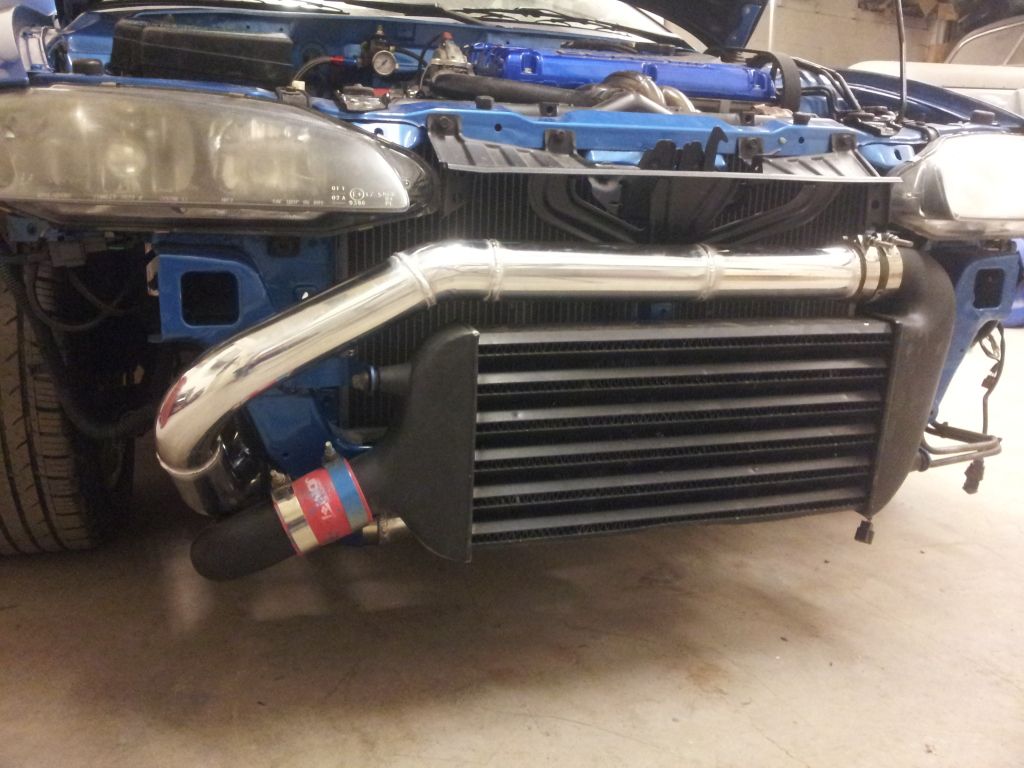
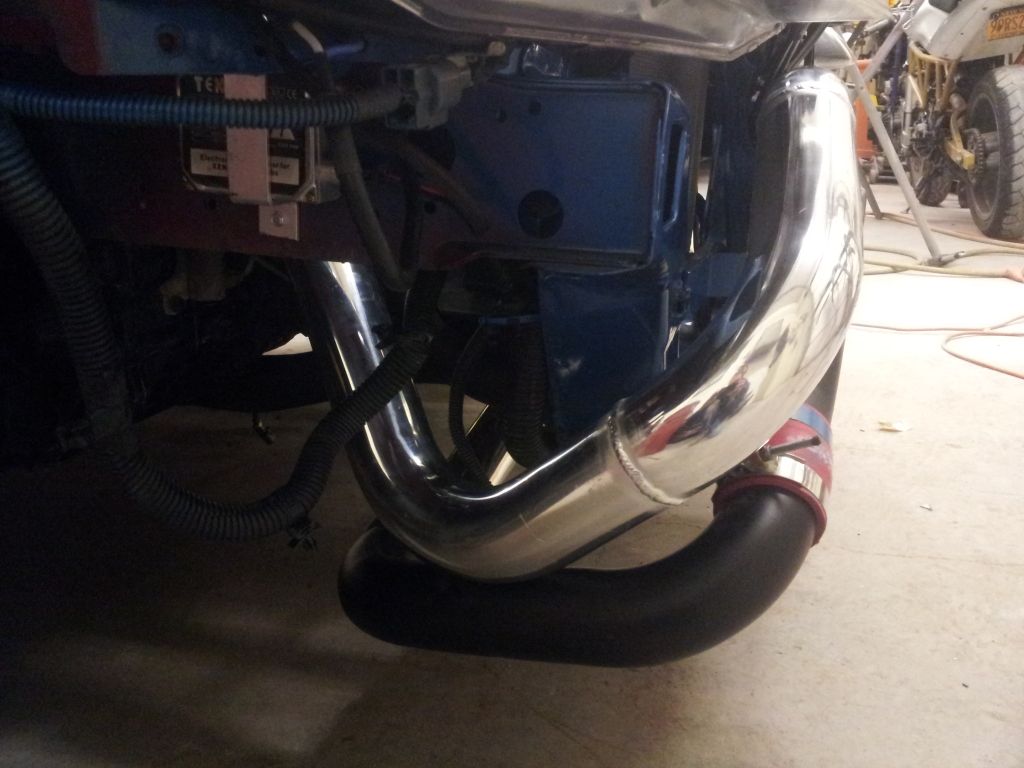
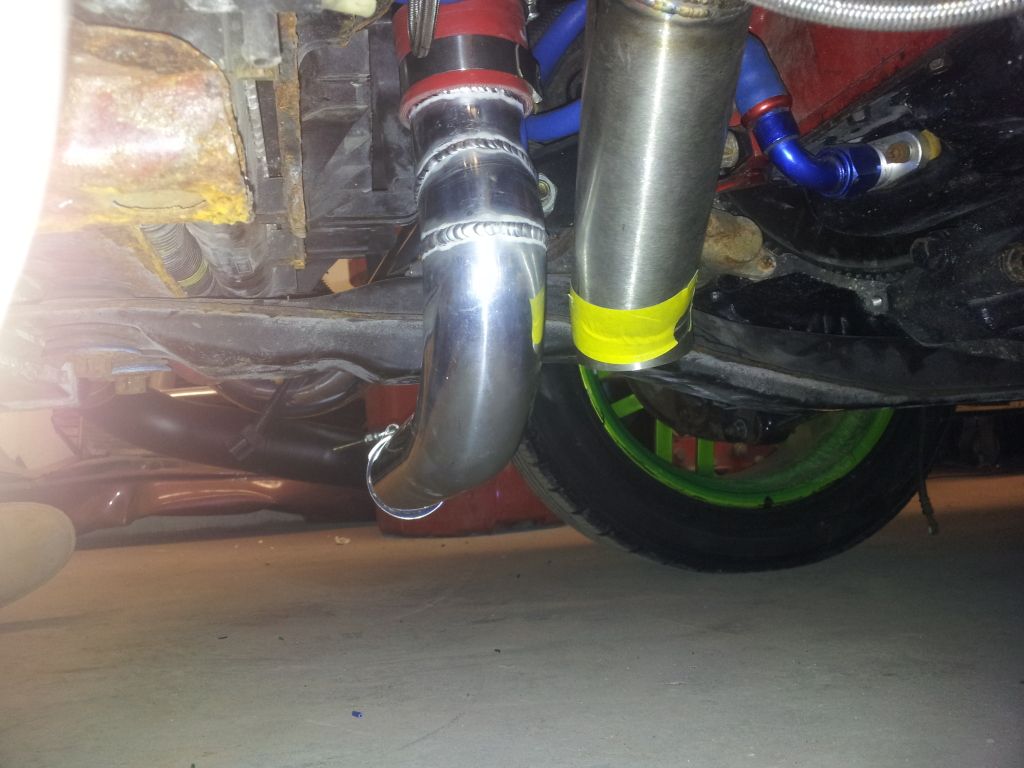
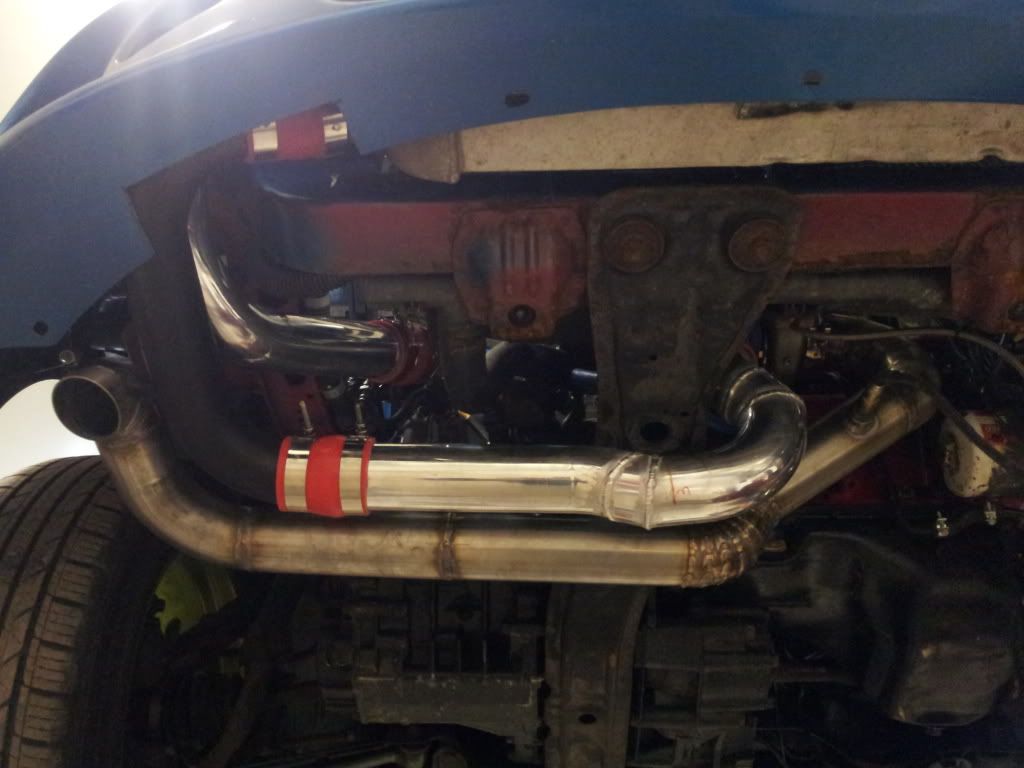
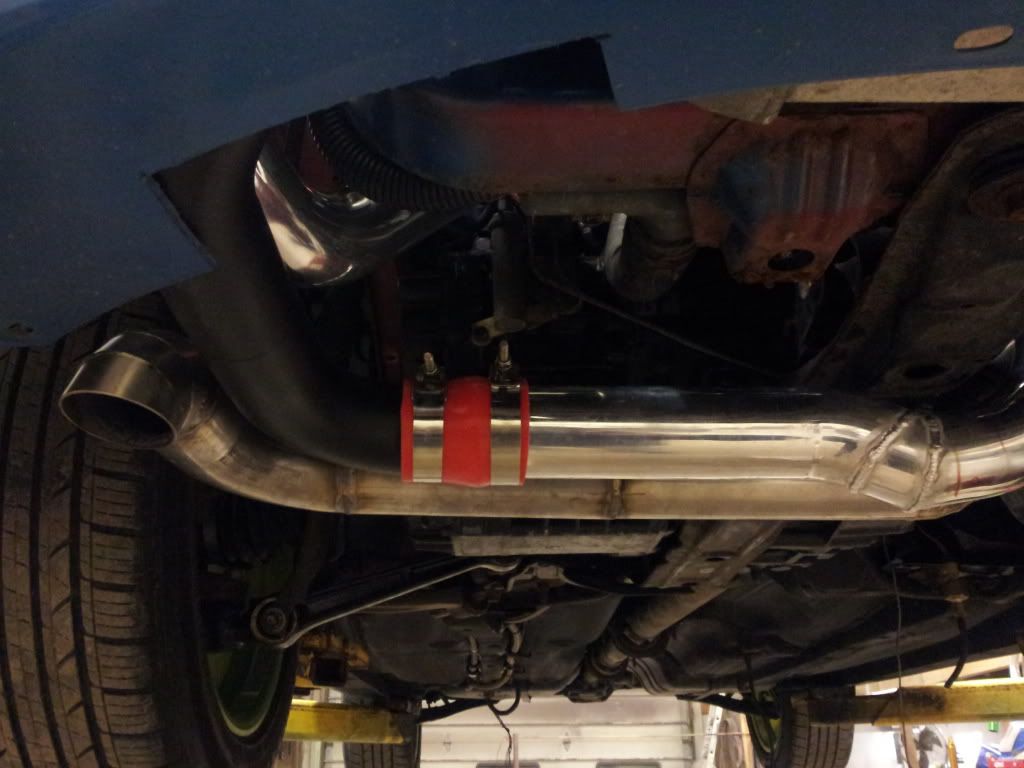
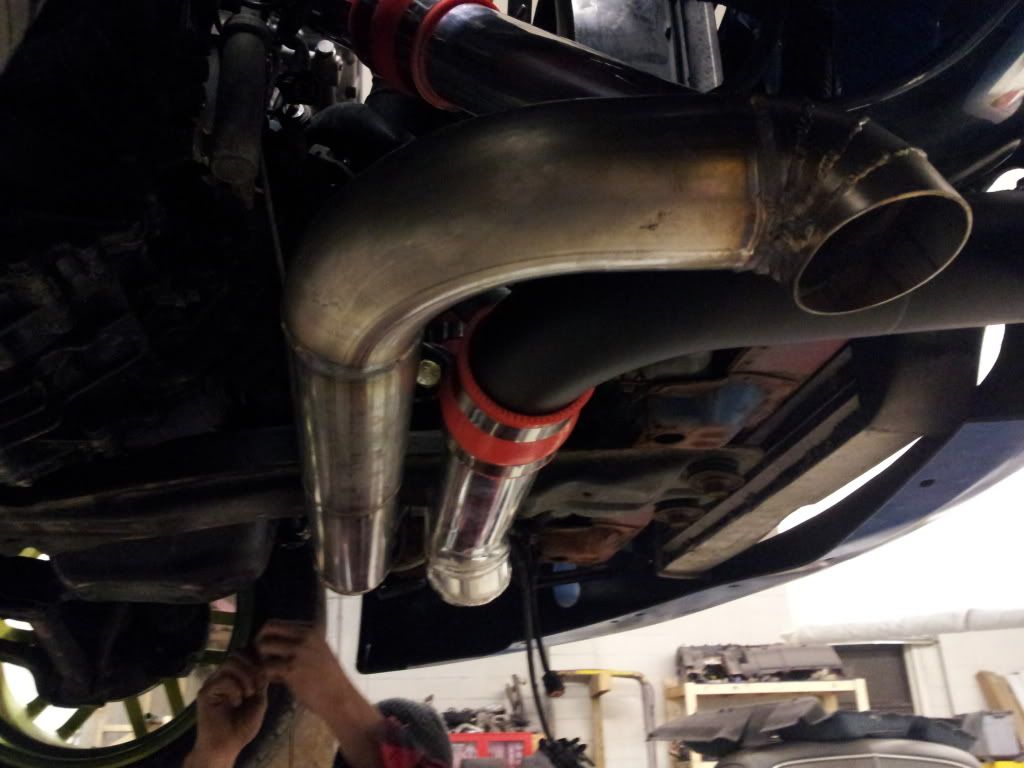
I hate how the hotside has to cross under that front crossmember, but thats the only space under there to put a 2.5" pipe through. If the IC inlet was on the other side, and the backside of the end tank, instead of the side it could be swung the opposit way and tucked in better, but thats the best with working with what I have. also the clamps arent tight I can pull it up tight to the crossmember, but thats the as far as my 16hr day ending at 1:30 am again took me! lol

Wiring is 99% done. We ommited alot of stuff the motor doesnt need to run; so befor I go snipping back wires to clean it up, I need to print out the wiring diag and make sure I know what can be cliped out. I need to extend the 02 wiring becasue we have something special with the exhaust we are doing. (which would have been done, but the bandsaw blade broke 2 cuts into making the rest of the downpipe so its off to Grainer we go in the morning) and the GM 3" MAF needs to be wired in. But everything the engine needs to run is installed once the 02’s and MAF are in place. I had to extend the coil pack and controller wiring becasue the JMR intake doesnt allow the coils to be mounted in the stock location. Cam and Crank sensor mods are done to work the 1G motor with the 2G ecu. We found belts that work with the mix and match of 1G 6 bolt and 2G 7 bolt accessories so they are on.

I am finally out of the woods on building stupid little brackets and adapters things to go from 1G to 2G, the mix and match of finding the right combo of 4 different parts options are over. At this point its just cleaning up, tidying up some loose wire, I have 2 calipers I still need to rebuild, then fill the car with oil, coolant, diff fluid, trans fluid, fuel, brake and clutch fluid, put a battery in it and check for fuel leaks, prime the motor and turbo and turn the key!

Stuffs looking great man! Looking foward to having this damn headliner of mine fixed as well as see what spring brings for you guys!

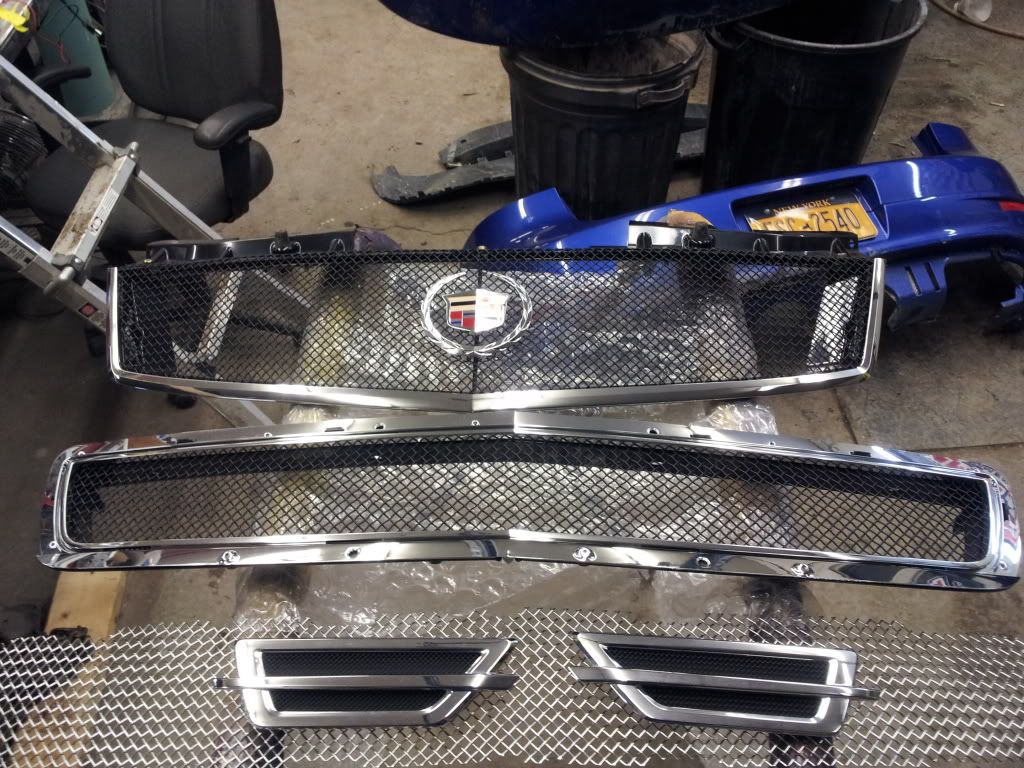
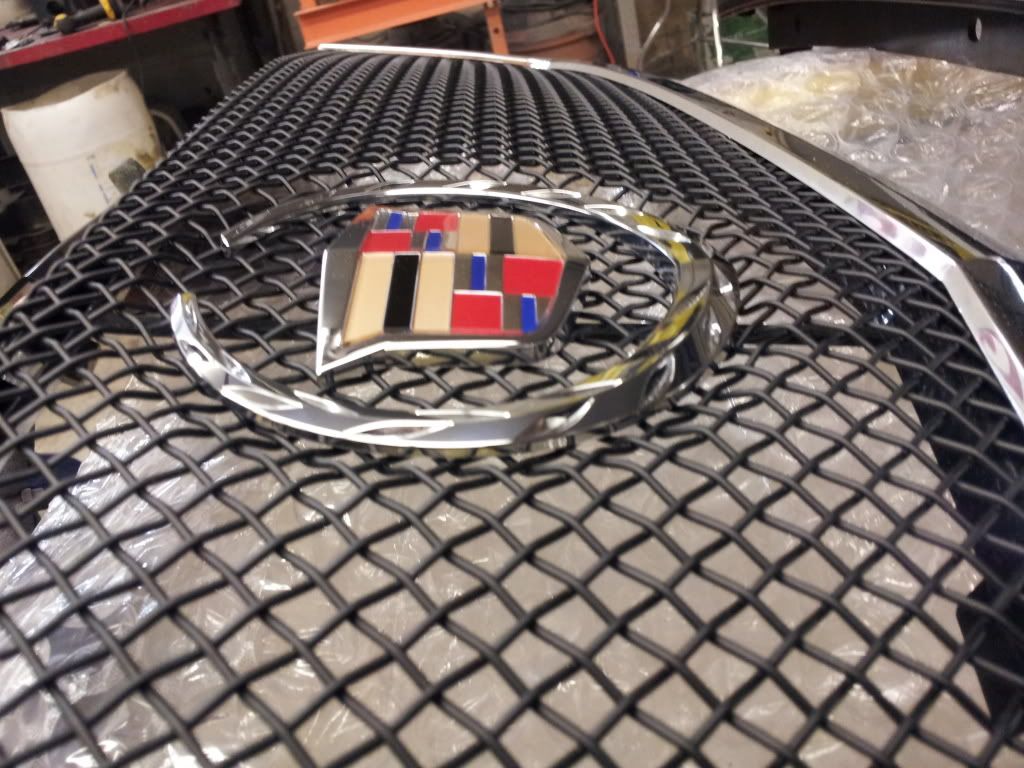
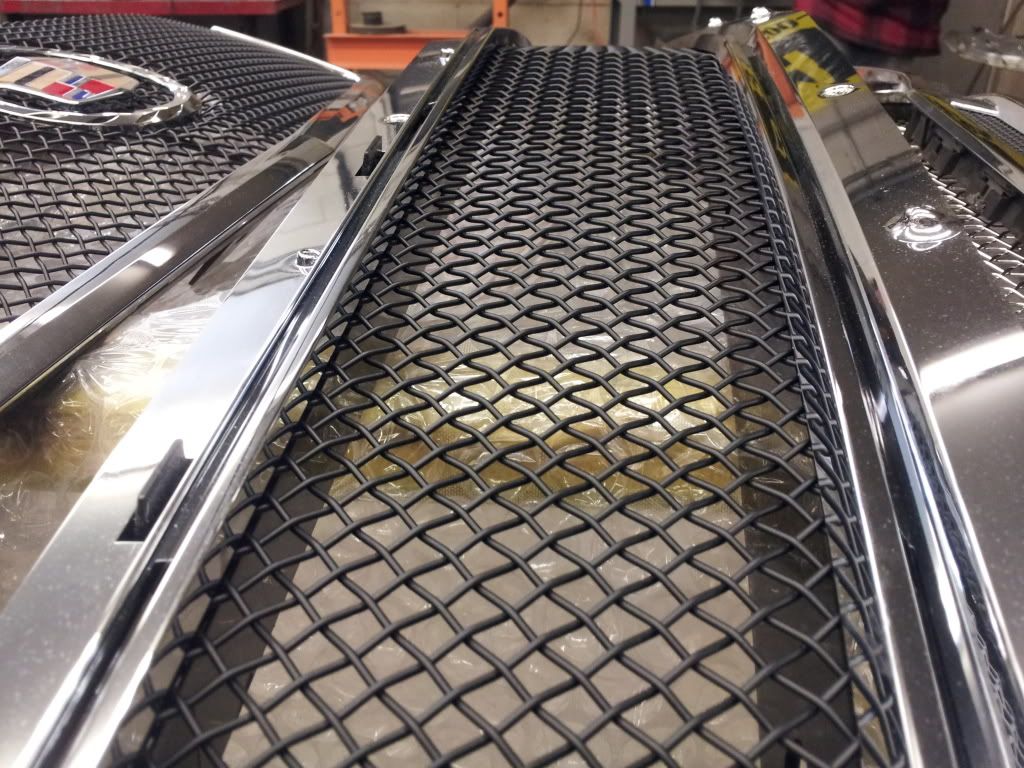
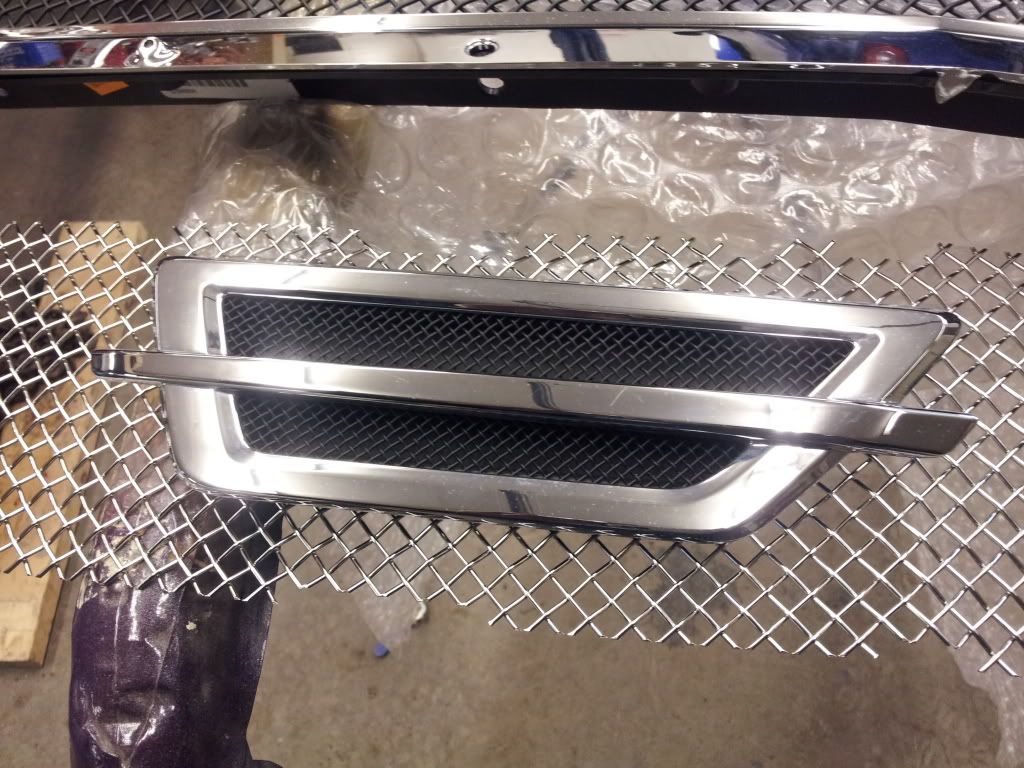
CADALACK GRILLZZ

For such a simple job, it was HELLA stressfull. Taking apart brand new grills worth more than my daily driver, sandblasting them, powdercoating and putting them back together without scratching or breaking something was not fun! But they came out PIMP so it was worth it.

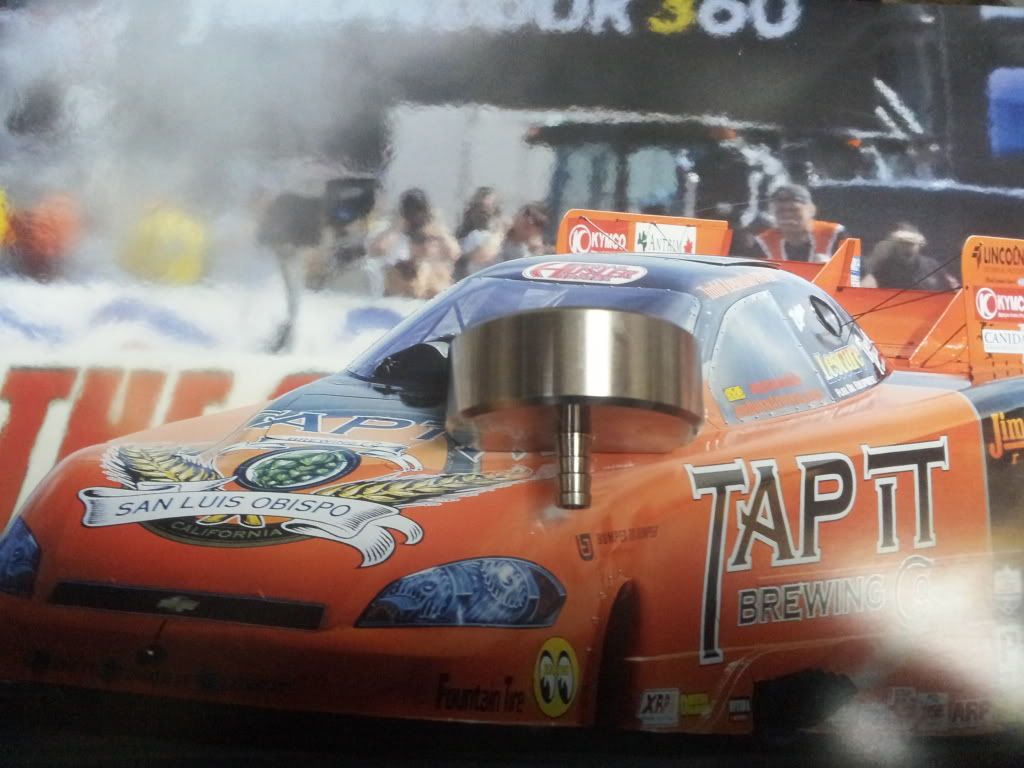
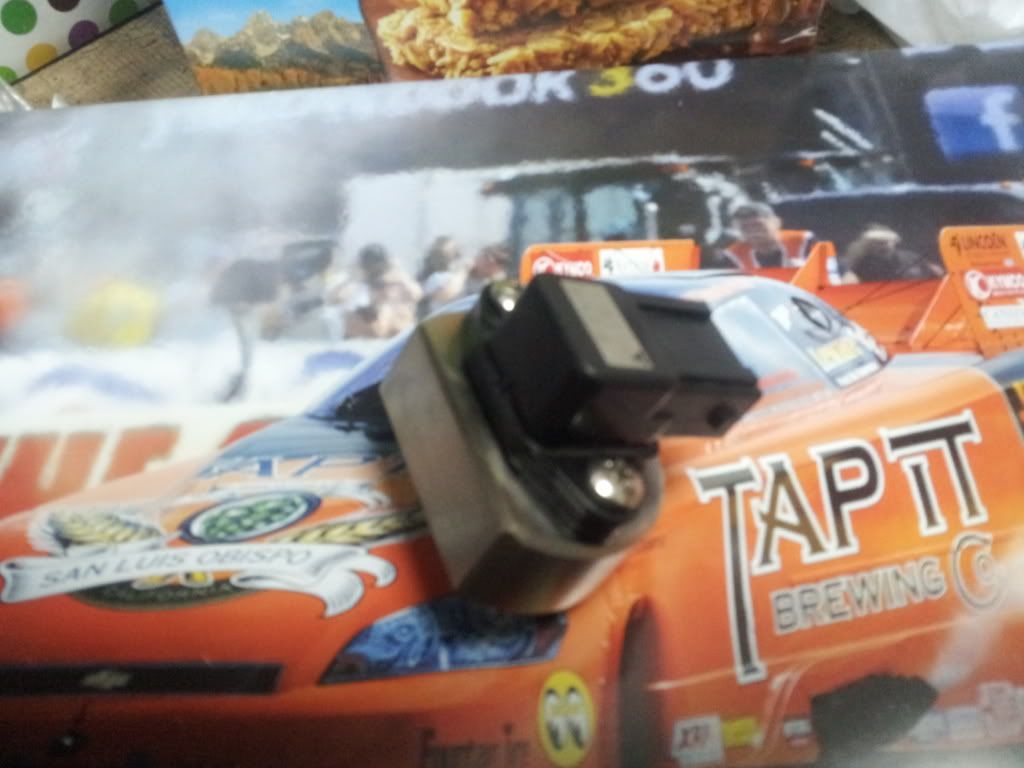
The JMR intake on Dave’s Eclipse doesnt have a mount/bung for the MAP sensor, but it does have a bunch of hose nipples to use for a boost/vac ref. So big shout out to Bowman for machining this on his lunch break! Fitment is perfect and I tigged on a bracket to remote mount it.

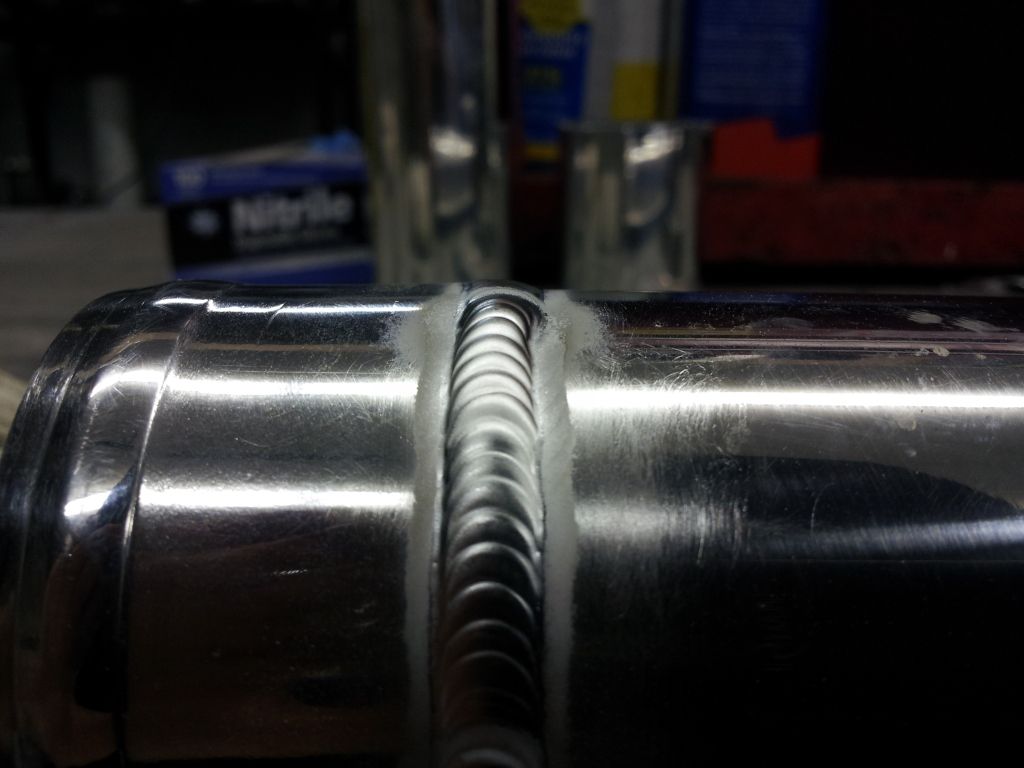
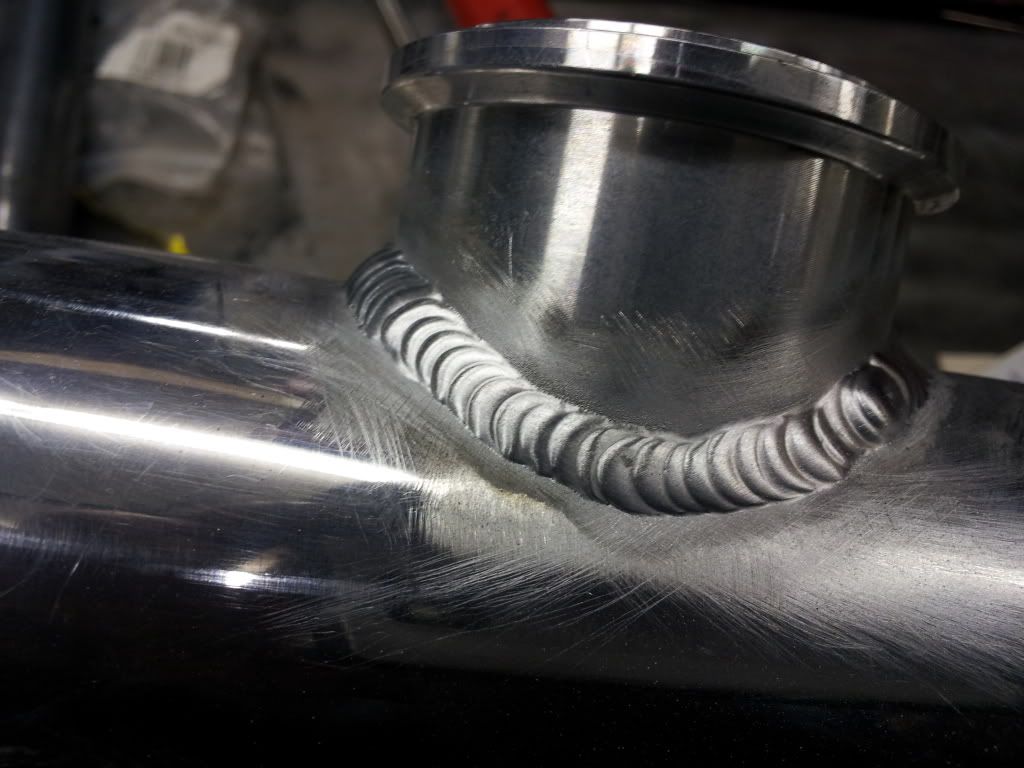
Tial Q flange for the eclipse cold side pipe. I love welding aluminum!

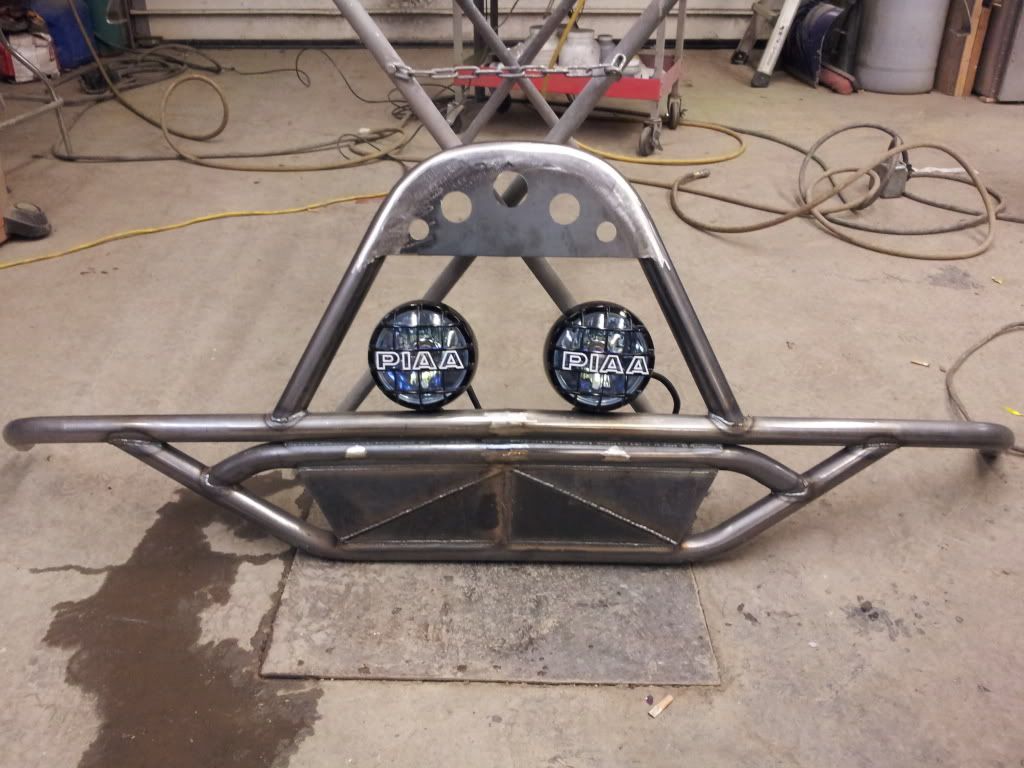
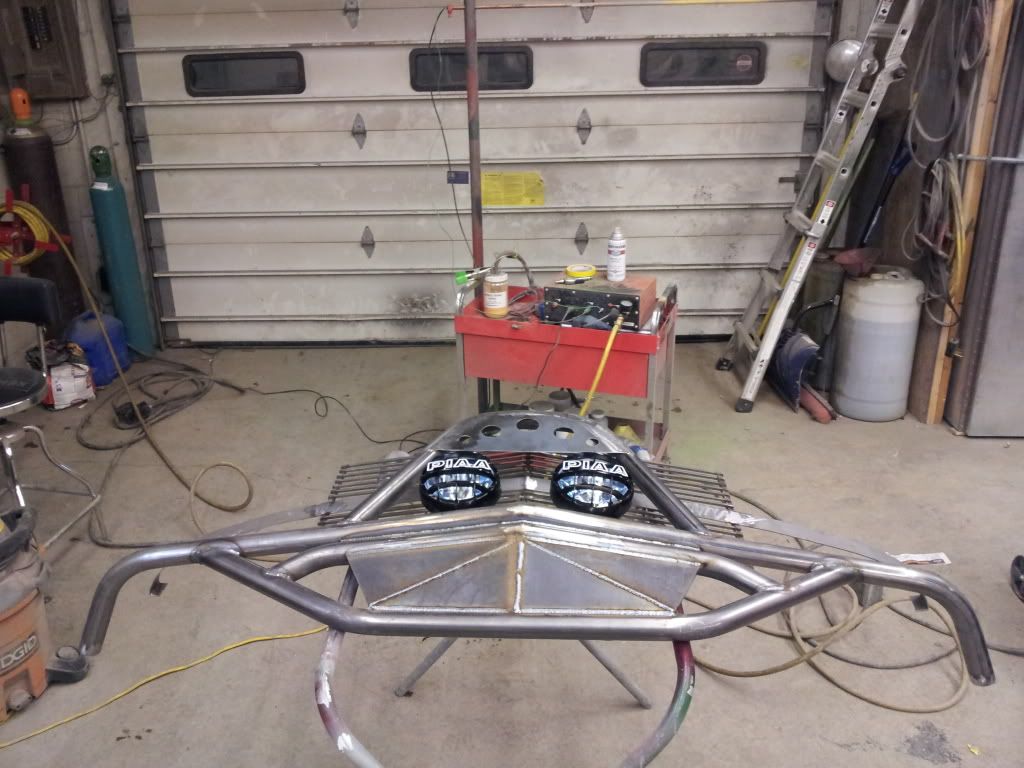
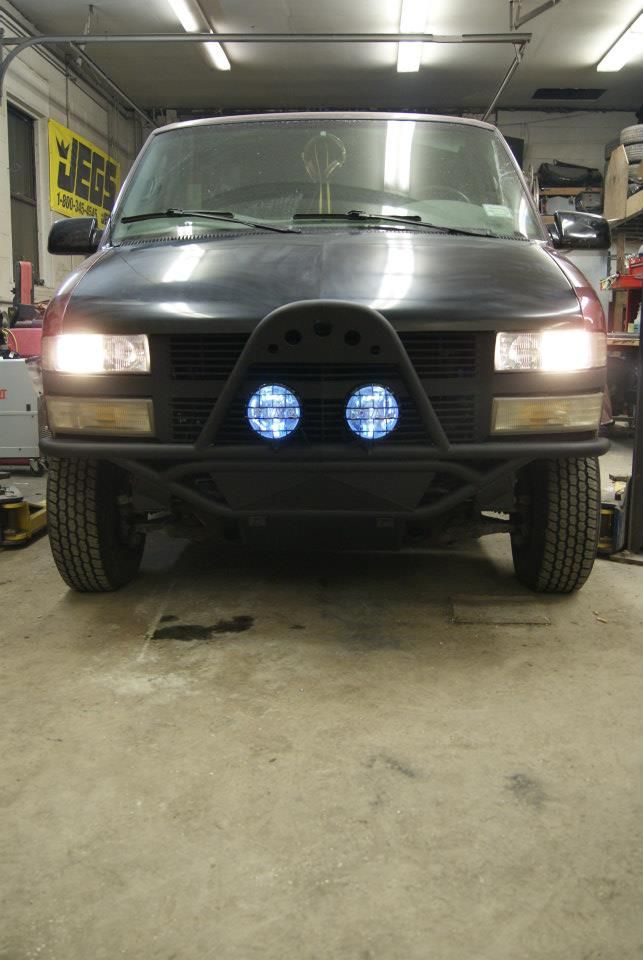
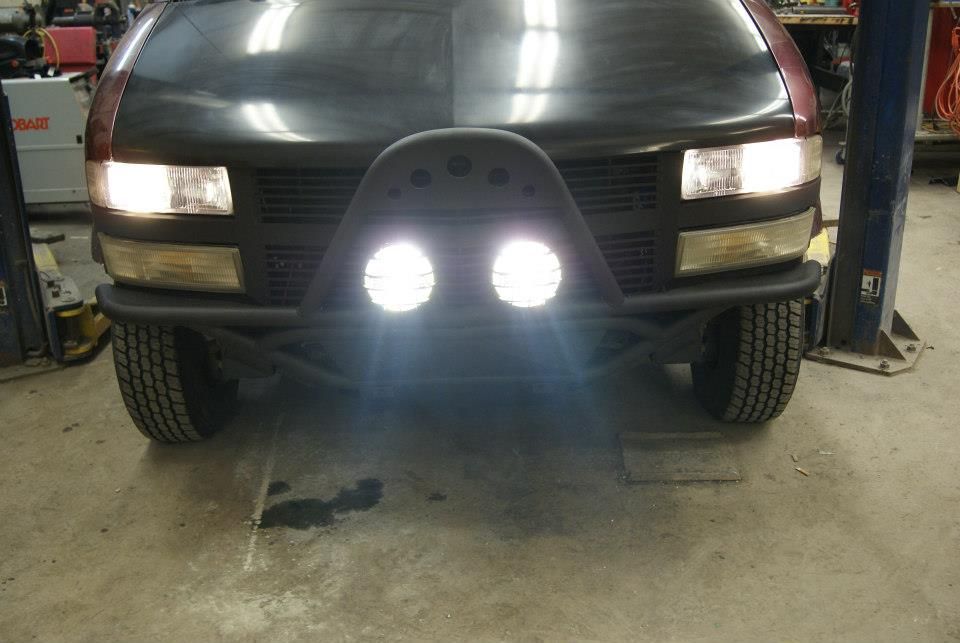
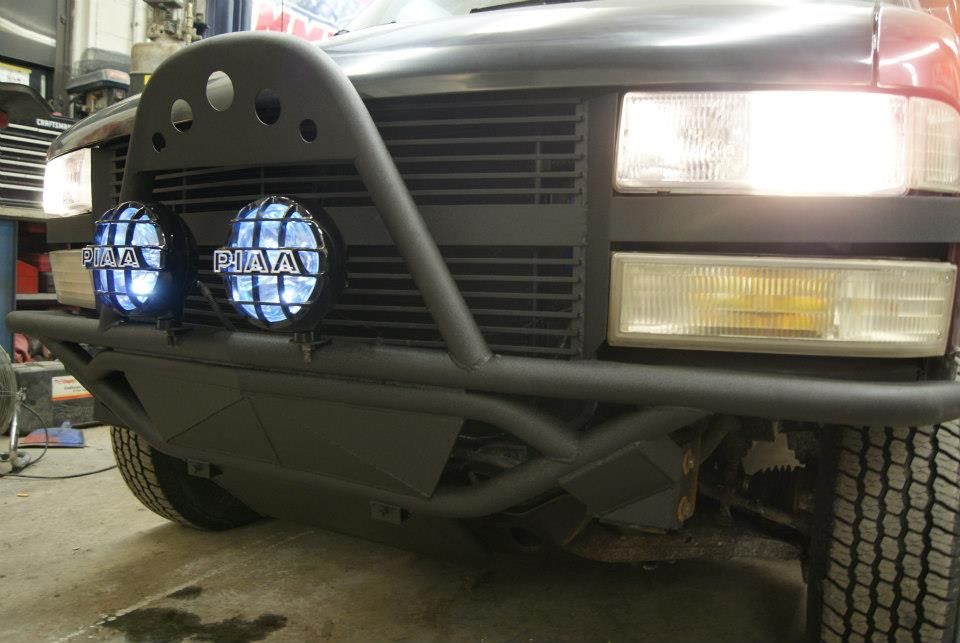
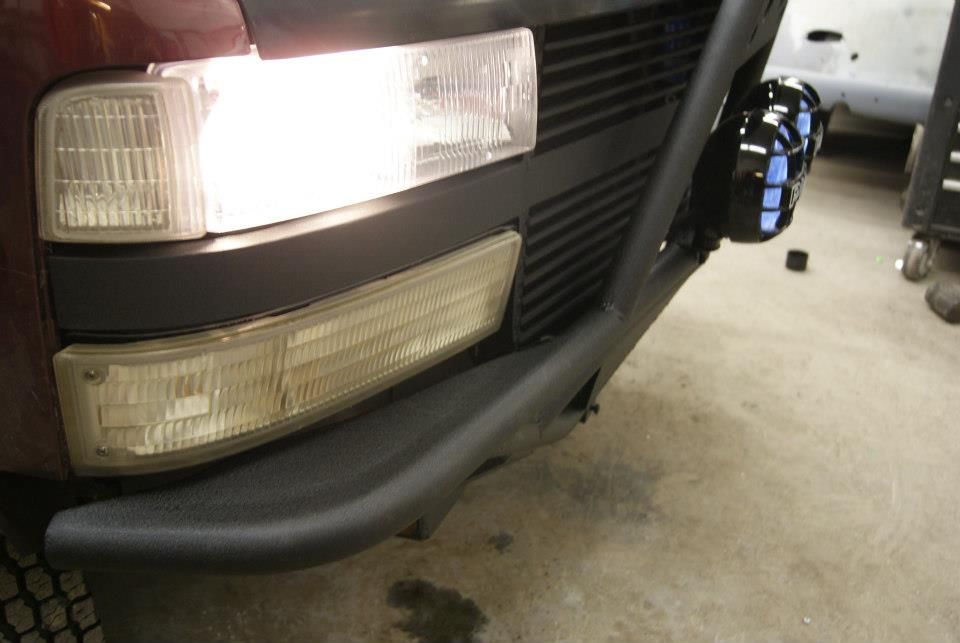
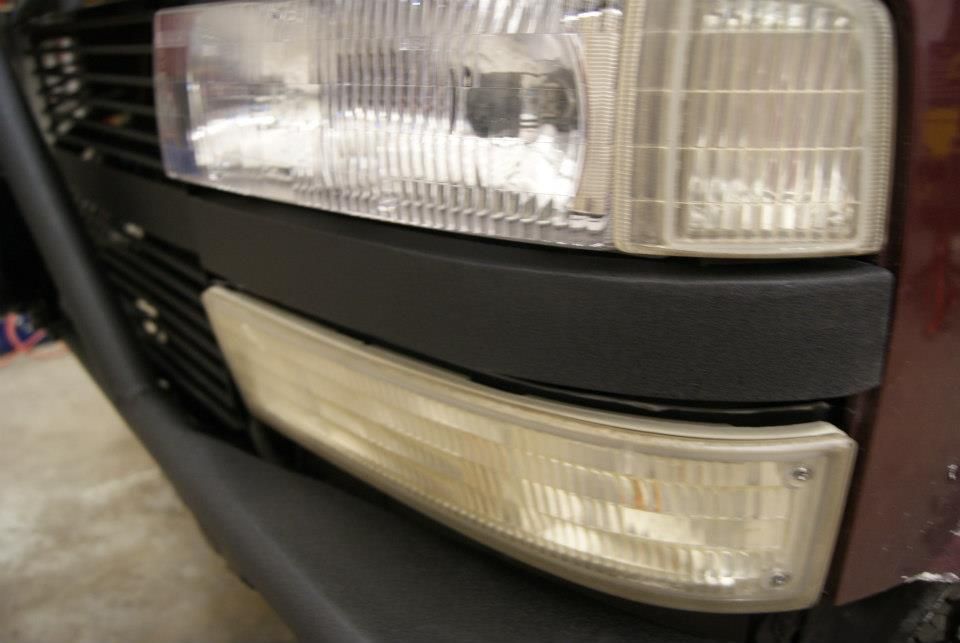
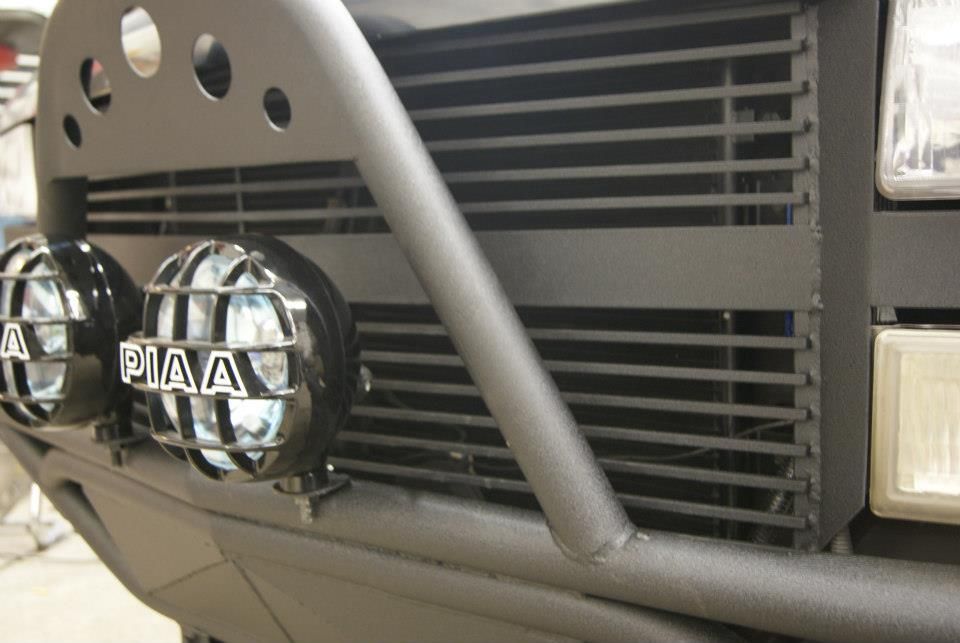
Building a badass front bumper for H0TWheelz. 1-3/4" tube and 3/16 plate. Need to mock it up on the truck to make the mounting brackets and the lower skid plate. Then blast it and powdercoat it. Also making a steel billet grille too.

Exhaust is done on the eclipse. 02 sensor bungs welded in. Have to extend the wires tonight and plug them in. Got in the rest of the silicons couplers to finish final installing the chargepipes and swapping in the GM 3" maf to the turbo inlet pipe. I didn’t get a shot, but the Tial SSQ is welded on and installed. MAP sensor will be remote mounted tonight, then I can plumb the BOV, Wastegate, MAP, Boost gauge sending unit and the dual stage boost controller in to the intake. Then its time to put fluids in the car, bleed the brakes and clutch, check for leaks and fire it up! Cage is the last on the to-do list after that!

Some other cool stuff going on at the shop. We have a MK5 R32 that went for an unexpected off road excursion. Front and rear bumpers, center grille, exhaust, wheel, rocker, door, side skirt, battery tray, rear trunk panel, … quite a bit of damage. All the body work is done and already painted, just waiting on a BIG order of OEM replacement parts to come so it can be put back together.

A M3 is coming in for a minor rear end hit. This weekend a 81 Vette is coming for a full paint and body job. Progress here and there on the 41 Plymouth’s body. 57 Buick is in for some body work and a full respray along with some mechanical mods in a month or so.

good work. stayin busy i see!

What truck did Chris get? Making a 1/1 scale Slash? Looks BA

a chevy astro van. But its a GMC so whatever they call it in GMC land.

Safari

Tell me its going to be lifted this time?! “Trail Rated” :rofl

Safari bar on the Safari, while you Safari

That bumper you guys built looks sick! whats something like that go for??

http://blogs.centrictv.com/shows/oncentric/wp-content/uploads/2010/03/the-a-team.jpg

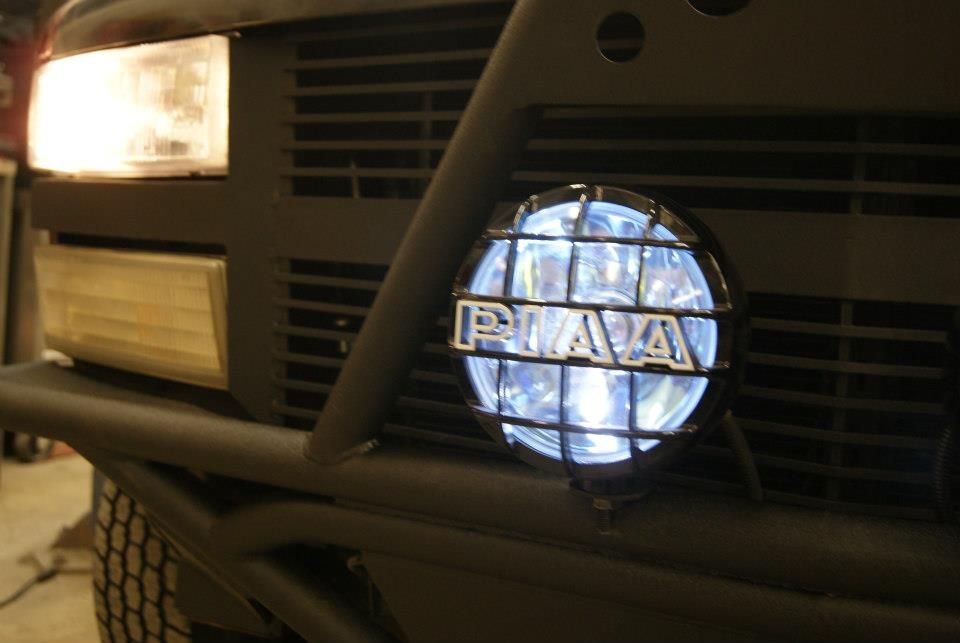
We made the bumper and grill from tube sheet and plate. Powdercoated in wrinkle black. Its actually lighter than the OEM bumper, support and everything else surprisingly. Looks badass!

This one we did for $650 for the bumper. Less the custom grill, foglights, wiring, and add ons. It was a prototype if you will, and the time involved in it was more than we assumed it would have been. Now knowing what it took to do it, I wouldn’t do another one like it for less than $650 coated for a basic design.

checks thread

doesnt see a red convertible

:lurk

:tongue

i am such a tease aren’t i. Pm coming in a sec