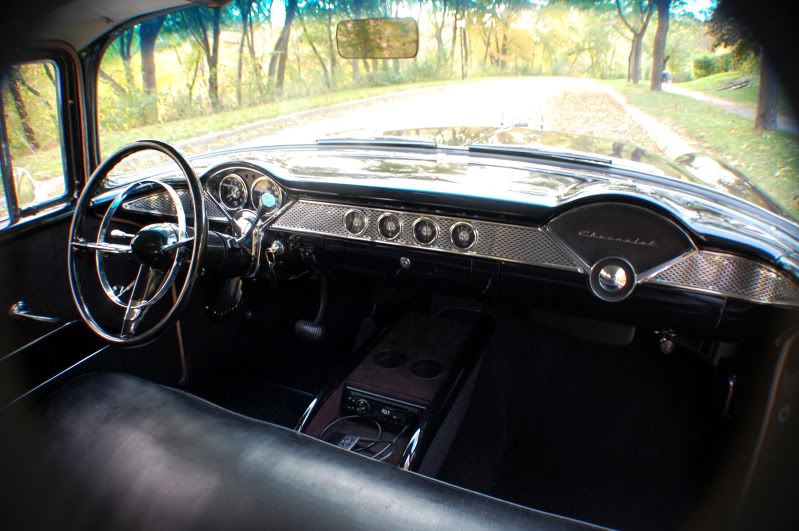
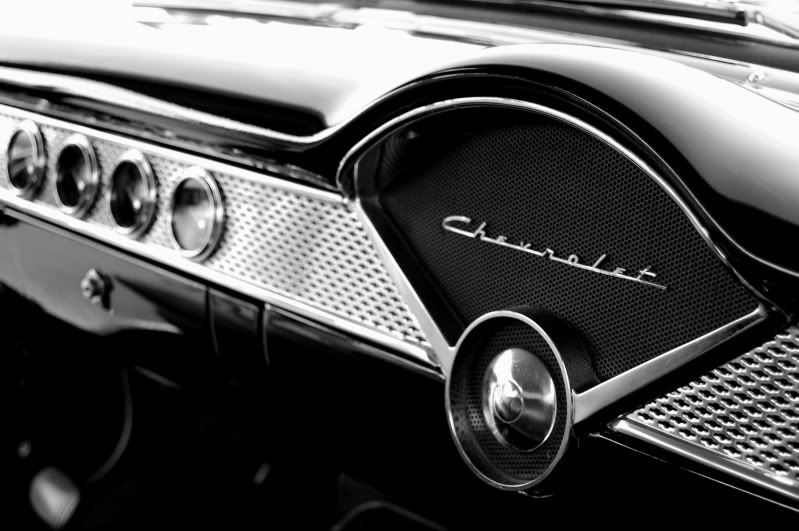
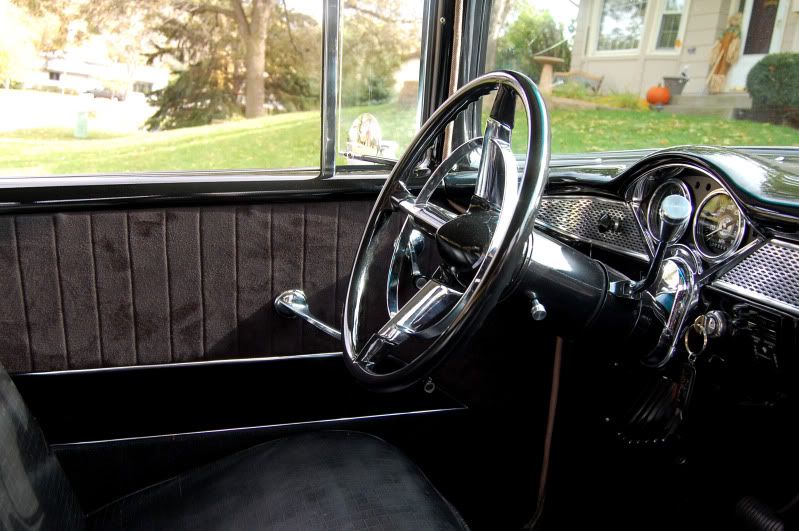
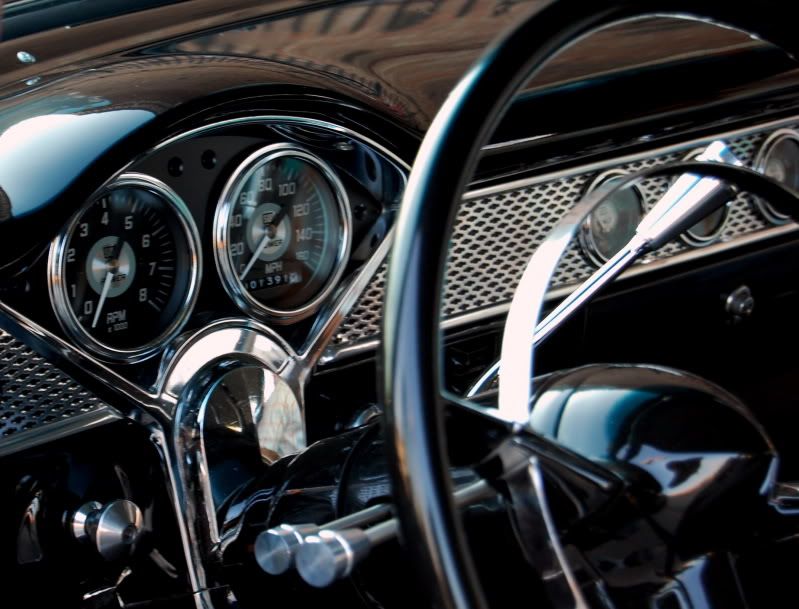
Fucking gorgeous. The tach and speedo look right at home in there, like it was a factory option. Nice work. :tup:
looking good!
Nice!
nice work mike!
Wow!
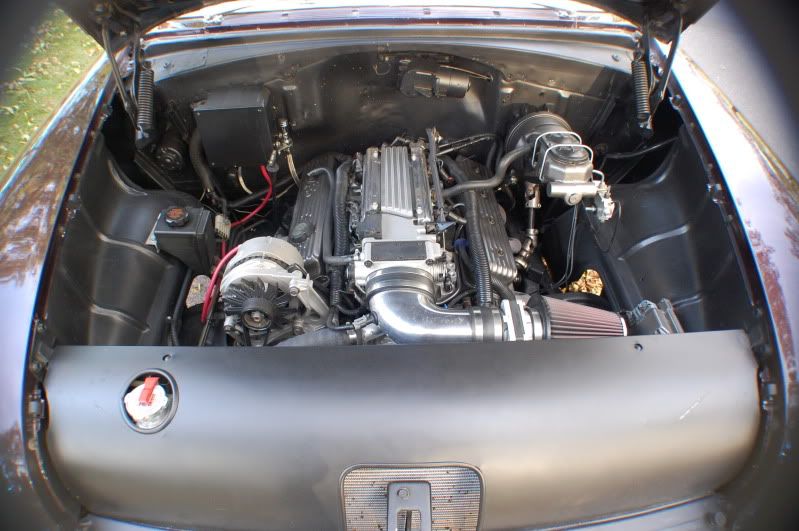
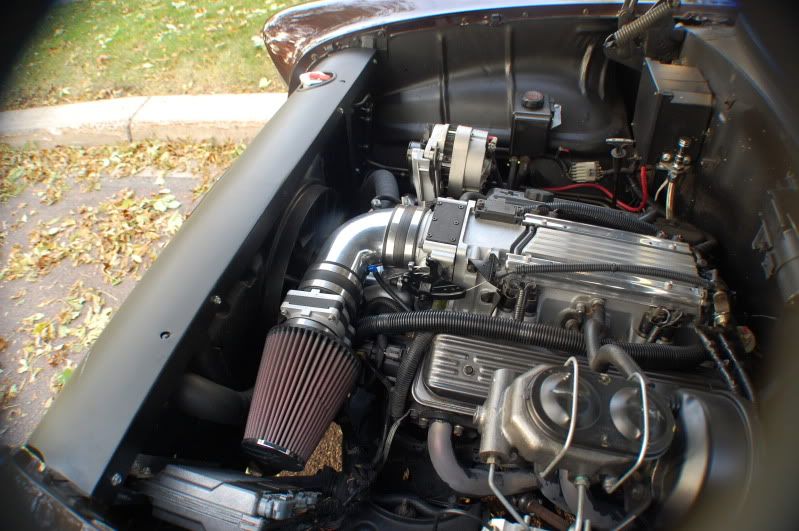
May I ask, why the LT1?
Thanks for the kind words all:)
Because LT1’s are the greatest engines ever made!!!:eekdance:
JK…this same question was asked earlier in the thread, and my reply below:
$700 for a drivable Caprice was the initial motivator. The 4L60E had been rebuilt recently so that helped too. The Caprice was owned by a friend so I knew the history of the car. I had wanted to go LS1, but the cost was too much for the build. My parents are building a cabin at the moment so getting funding has been tight as it is. In the end, the car is being put together for my old man, and all he is looking for is a comfortable cruiser that has EFI, overdrive, and a little more power than what he had before. I know the LS1 is a great engine, but the LT1 can more than do the job as well.
Great progress. That dash looks awesome. Is their a reason why you used Styrene to mount the Speedo/Tach instead of Acrylic or Aluminum? It actually maybe a better idea because it looks like that is already textured…?
Nice work.
Never seen your Mustang but I’m sure it is nice. Hope you get it out this year…
Still looking great. :tup: :tup:
^Thanks Hank!
The styrene is 1/4" thick, and is very easy to work with in regards to cutting and trimming to get it to fit snuggly. I could have gone as far as hand-cutting aluminum…or even building geometry and having a part CNC’d…but I felt that was unnecessary from a time standpoint. Once painted up, the styrene would have the same visual effect so I was comfortable going that route, not to mention it only took a few hours to do.
True. I always get carried away very easily…I will try to remember that little trick. I like that you got rid of the stock mesh on the passenger side. MUCH cleaner. Keep it up.
Wow, I kindof forgot and neglected to ever bring this thread to a conclusion…here’s the rest of the story.
With the dash coming together I moved onto painting some of the interior metal parts. I don’t have pictures of everything, but all of the window trim, the steering wheel, steering column, cig tray of dash, glove box door, floor vents, and HVAC bezel were painted to match the dash.
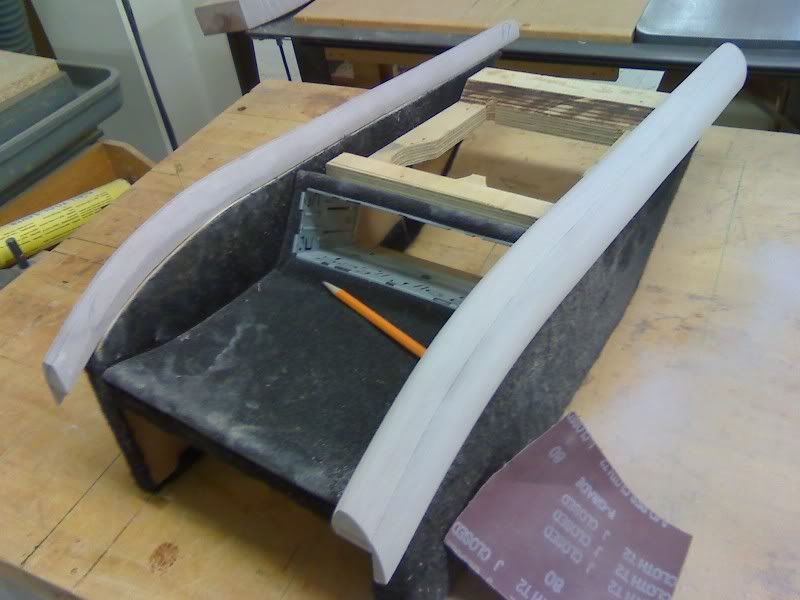
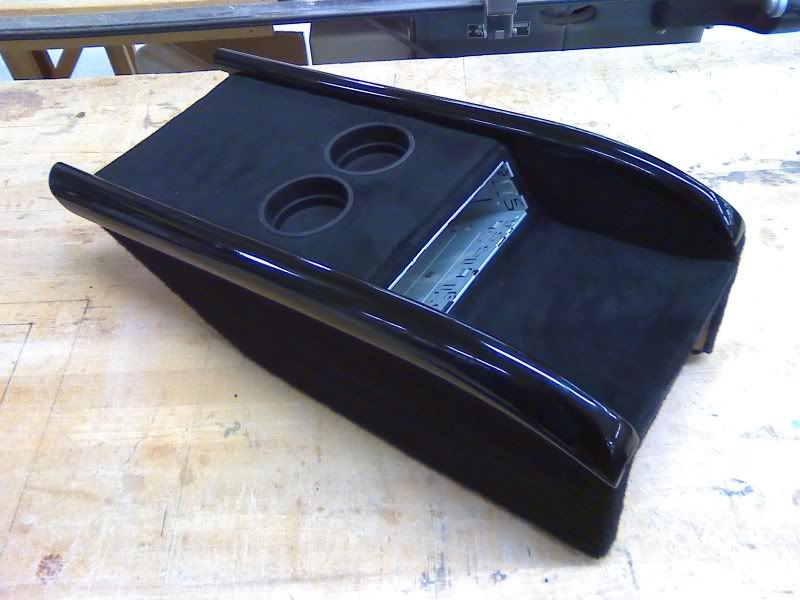
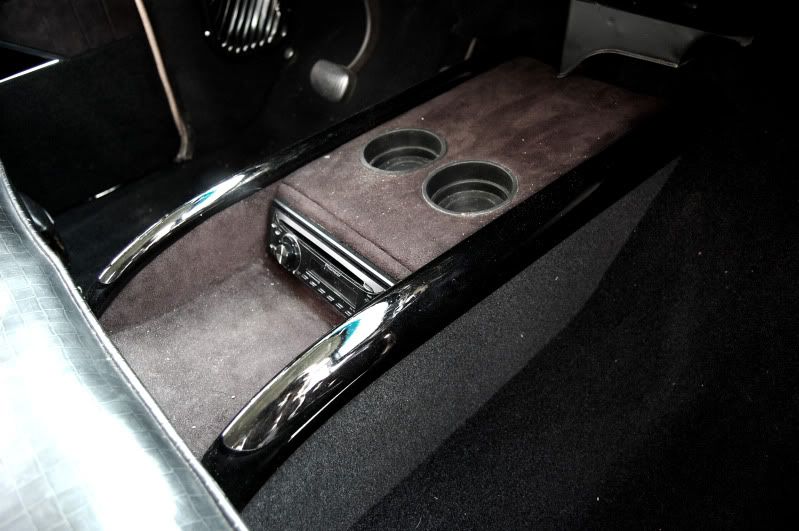
Wanted a center console to hold the cd player, have a few cup holders, and junk tray, and rails to mimic some of the style lines of the car. Was built with wood and ren, then covered with carpet on the sides to blend into the floor, and suede on the top to batch the soon-to-com door panels. The ren pieces were sculpted by hand using the bandsaw, router table, and a little massaging with sandpaper.
From here I hit the door panels. I built them in thirds as I wanted to have 3 seperate materials. Bottom: carpet; Middle: painted panel; Top: suede with vertical stitching somewhat relating to the stock look.
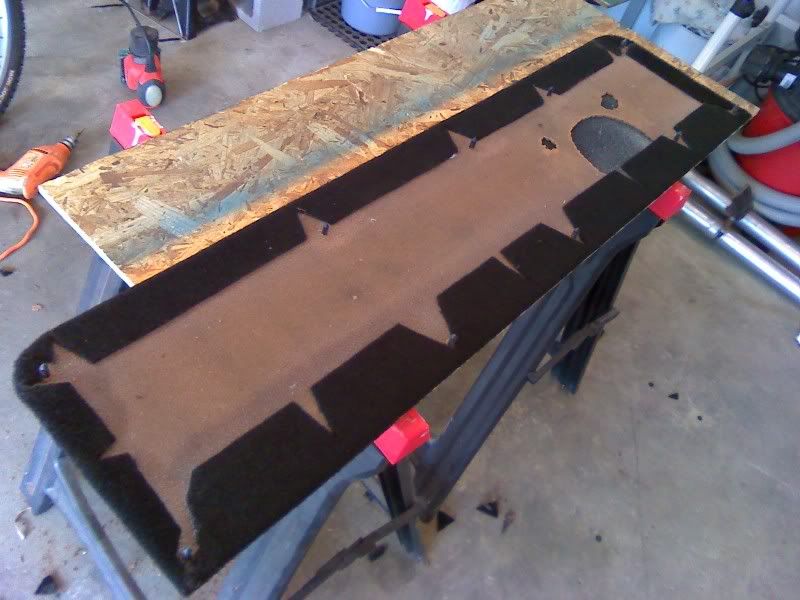
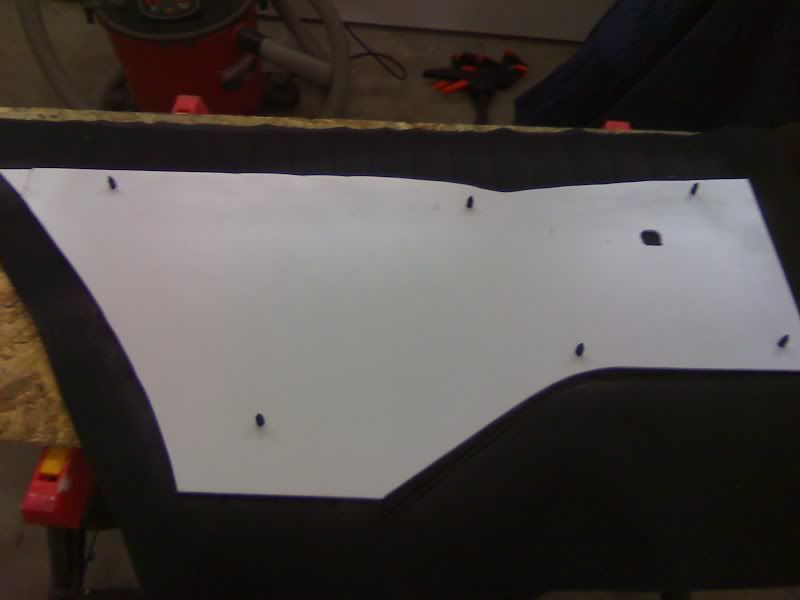
Here’s the back side of the bottom panel. You can see the 6 1/2" opening for the speaker the is 100% hidden from view, just the way I like it:) I really wanted to conceal and/or have the moderna ameneties blend into the interior.
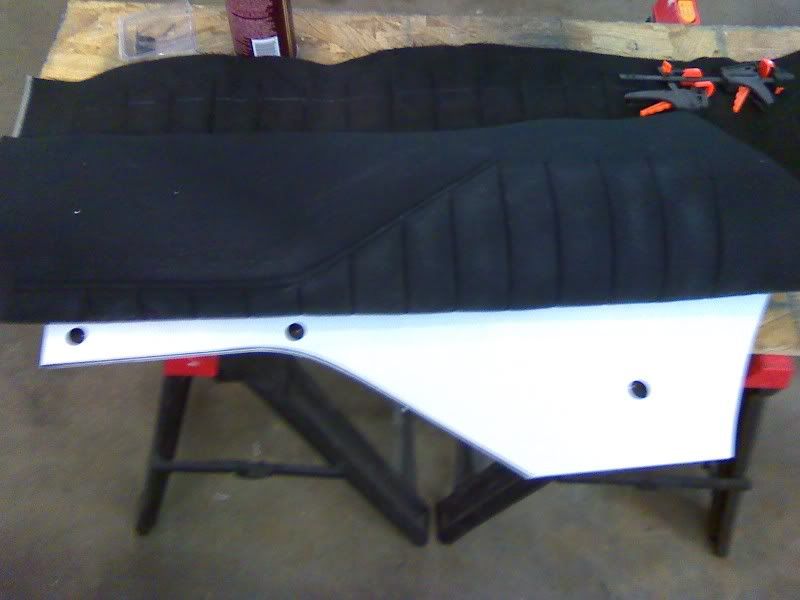
The top panels going together. Again, I’m lacking pics here but this is suede sewn to a foam backing, with vertical stitching spaced ~2" apart…glued to a styrene sheet with christmas tree plugs to snap it into place.
The back panel…
There will be more pics of these pieces installed in a following post…
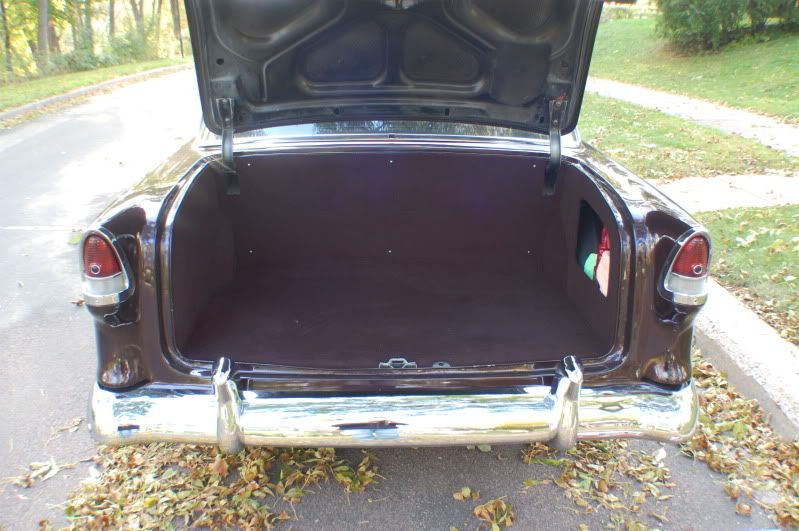
Lastly, I finished off the trunk in the same manner as the interior panels. Left a cut out in the passenger side to serve as light duty storage for towels, spray wax, etc. Note: the 6 metal screws are temporary as the original black plastic removable ones proved to not hold.
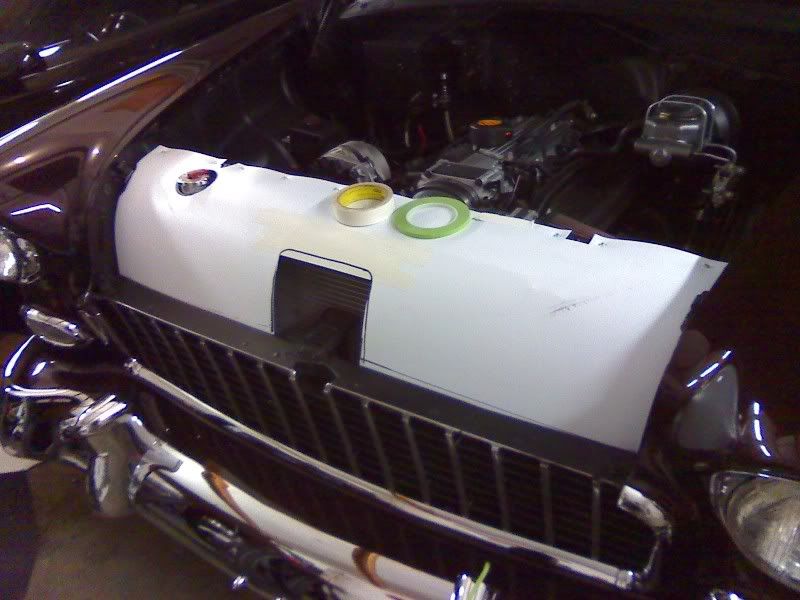
With the interior and trunk completed, I moved on to making a radiator cowl piece. Started with a styrene mock up…
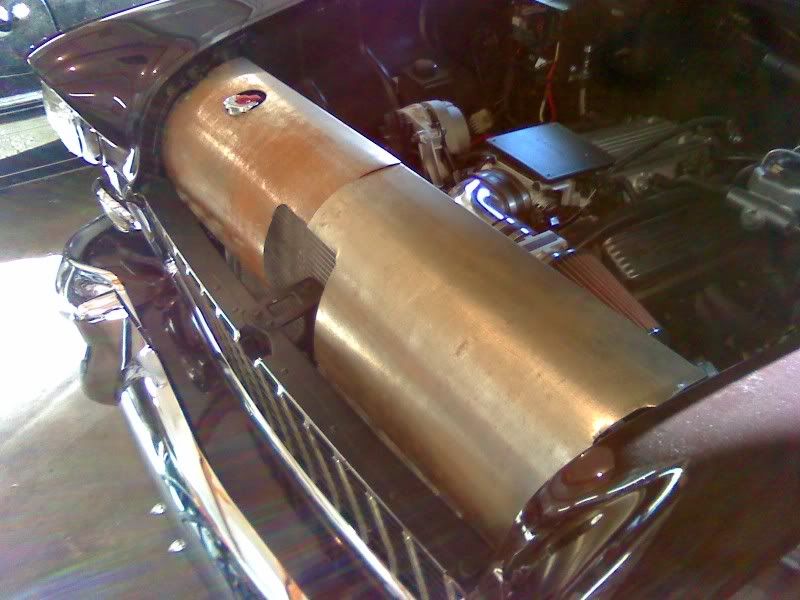
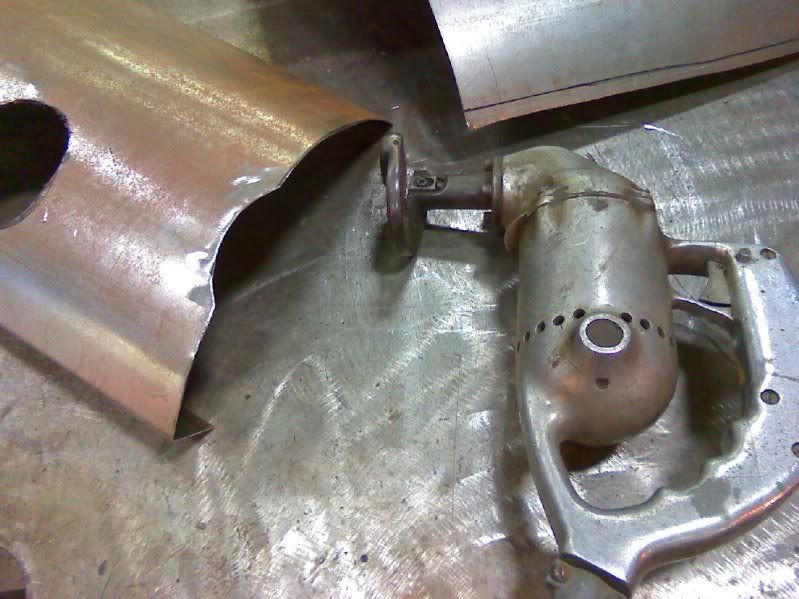
…that was used to make these 2 pieces of 16 gauge steel. I had to use 2 pieces since the roller and break I had available to use at work could only handle up to a 36" width. Oh well, work with what you have sometimes!
The cool cutting tool:)
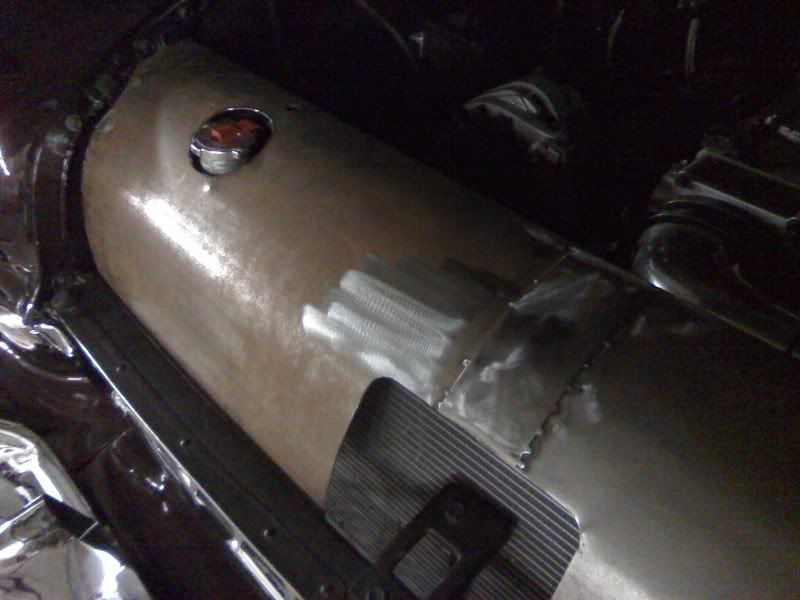
Welded together…
Painted, and installed…
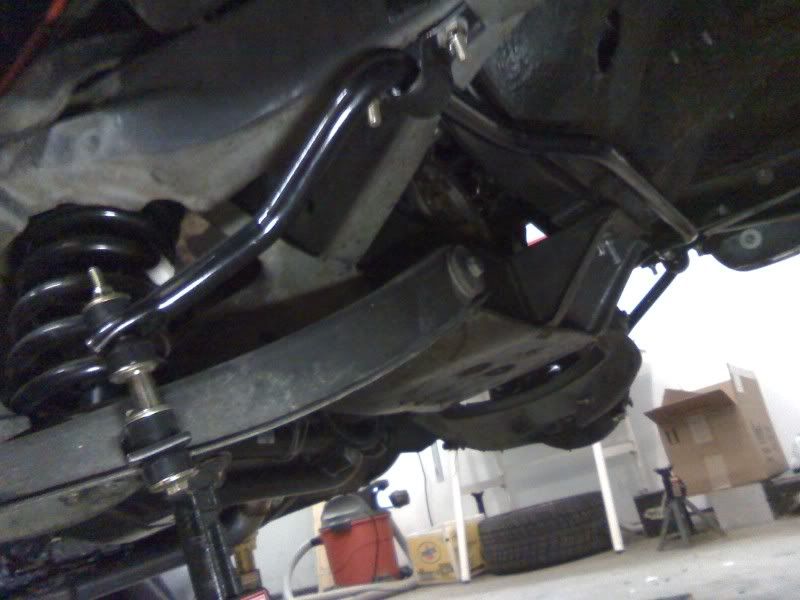
So with the days approaching fast of when I had too drive this thing back to Minnesota, I wanted some better handling…so on went a front sway bar:) This made a HUGE differnce in how the car drove, I was amazed that this big boat could now be driven like any modern car could.
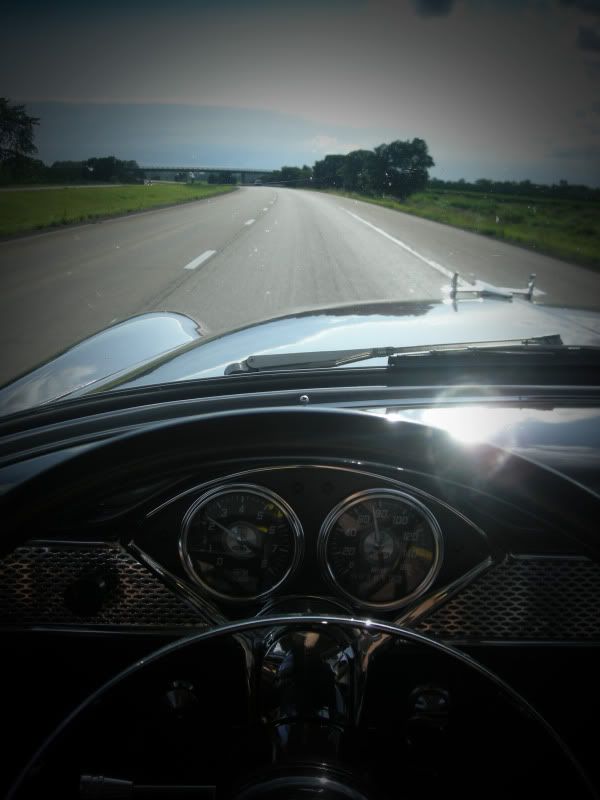
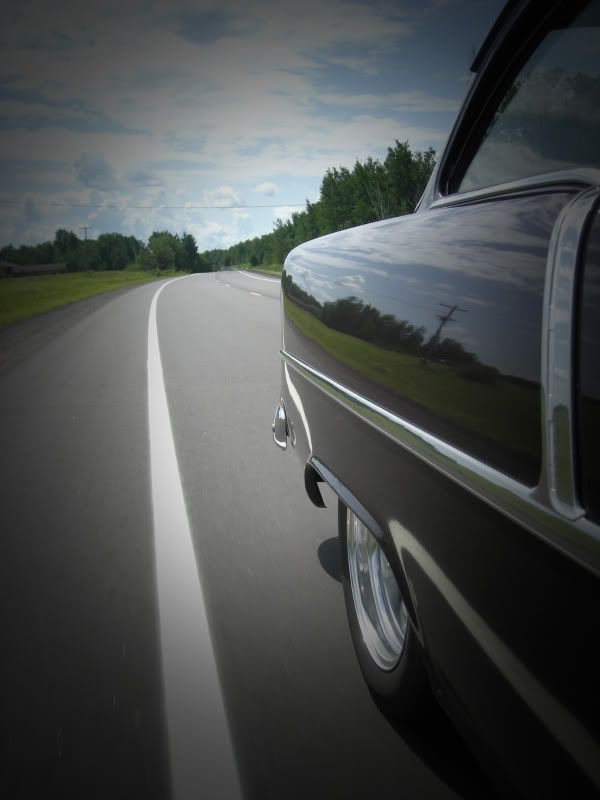
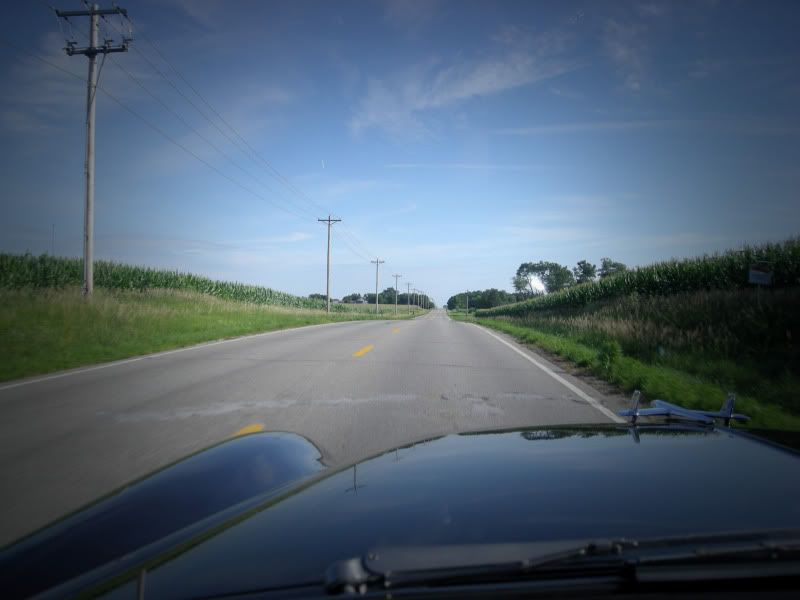
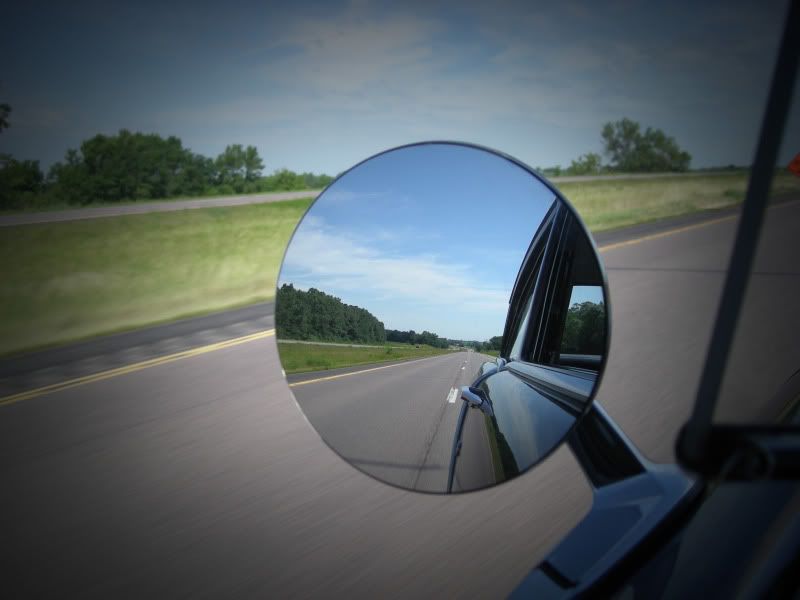
At this point, the car is done and I’m ready to make the 1200 mile journey back to Minnesota. Here’s some glamour pics from the drive…my route took me to Cleveland for the first stop to visit some friends, then 10 hours to Des Moines, IA to visit my mom, then 3 hours to Minneapolis, followed by another 3 hours to the cabin in Northern Minnesota. Of all the roadtrips I’ve taken in my life, with many different car, this was by far the most relaxed and enjoyable trip to date:)
*75mph and ~22mpg average on the trip
and the arrival into my most favorite state ever:) NY needs to take a lesson on how to greet their incoming travelers…
NICE, this has come along way since the last time I saw it .
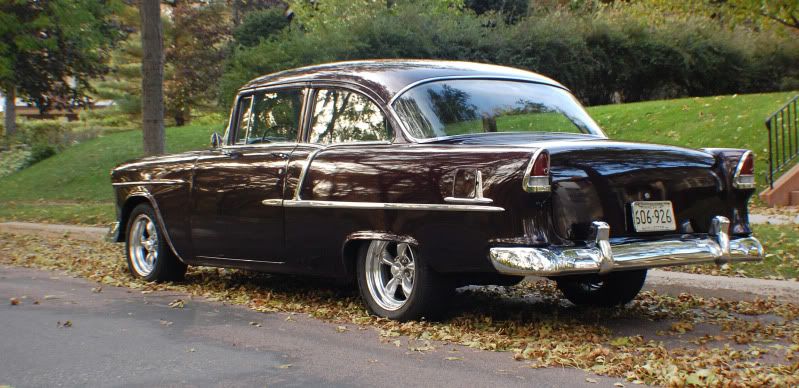
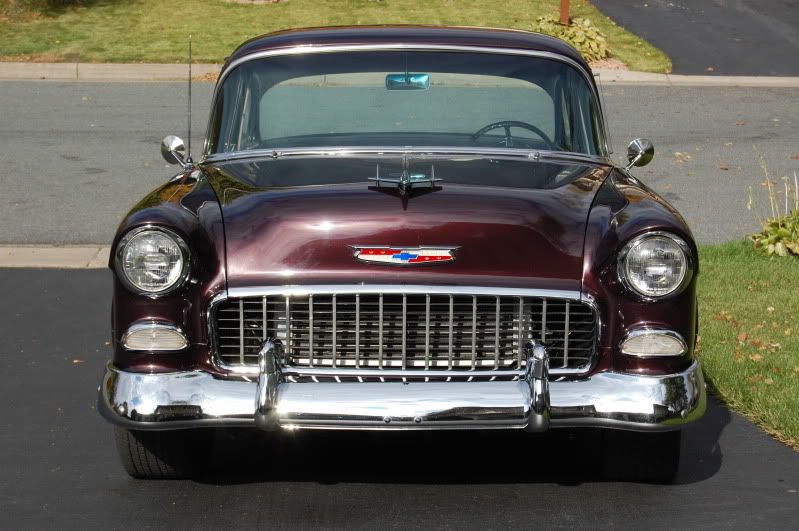
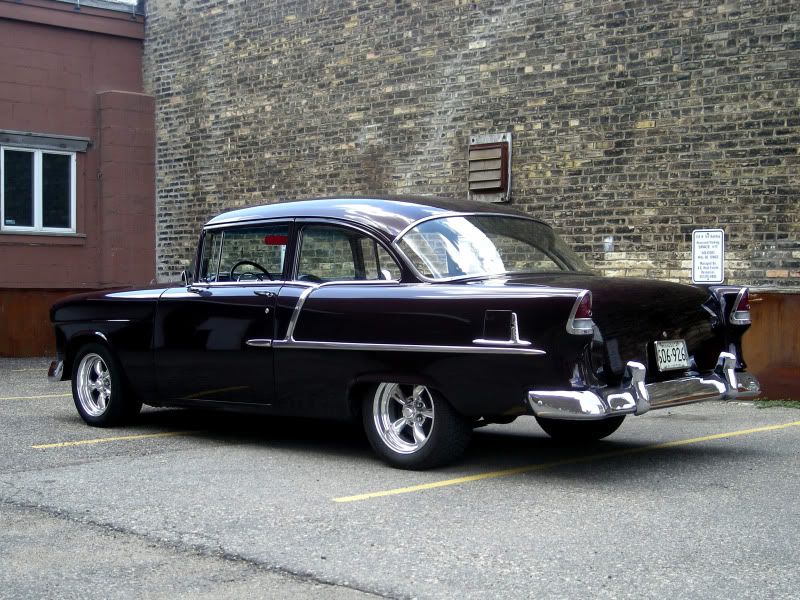
…and some exterior shots. Okay, I think I’m done in here!
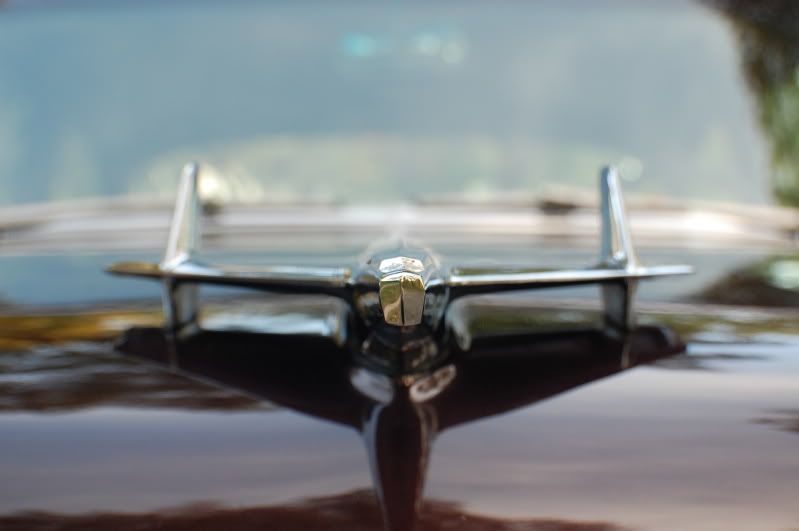
LOVE the hood bird…may get one of these for the '59 wood boat…
Taken in Minneapolis…
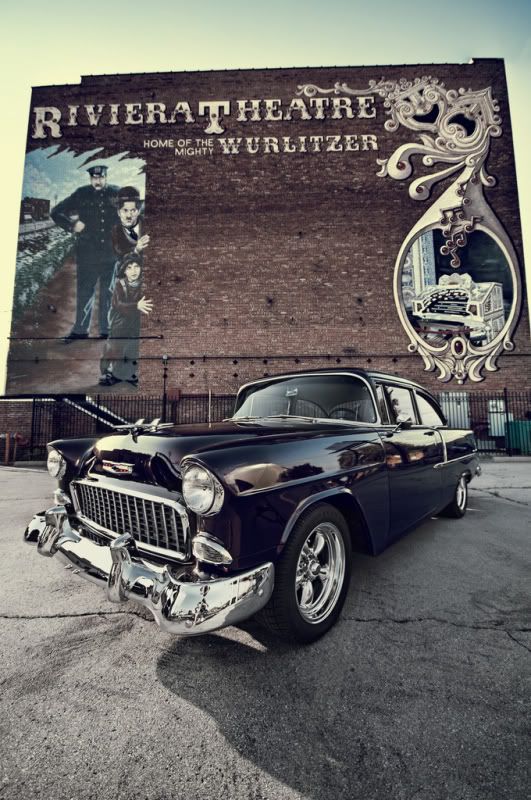
This one taken by IanK in Tonawanda area…
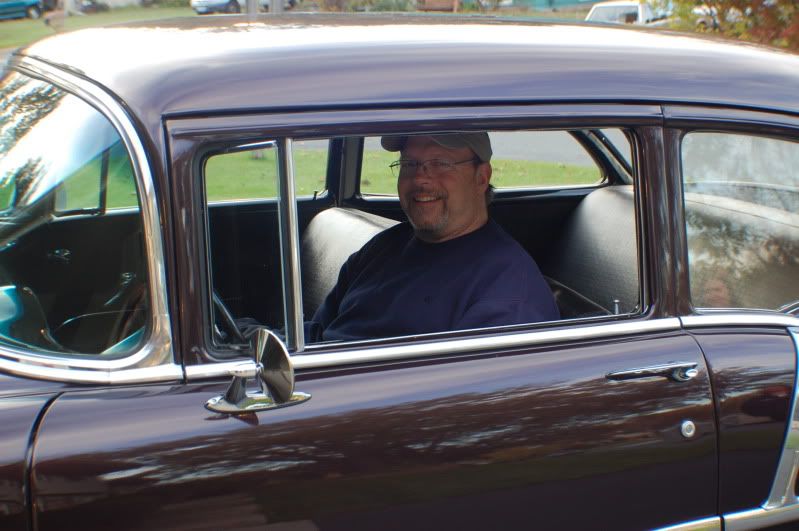
And FINALLY…Dad wearing a smile in his ‘new’ '55 Chevy:) Made it worth all the time and efforts when you see something like this.
so cool. great job on this, that picture in front of the riviera is amazing.
great job, looks awesome
Such an awesome build. I like that center console…
Great Job Mike :tup:
Good fucking job sir! That is one sexy ride.


