I’ve been meaning to post up some pics for a while, just finally getting around to it:)
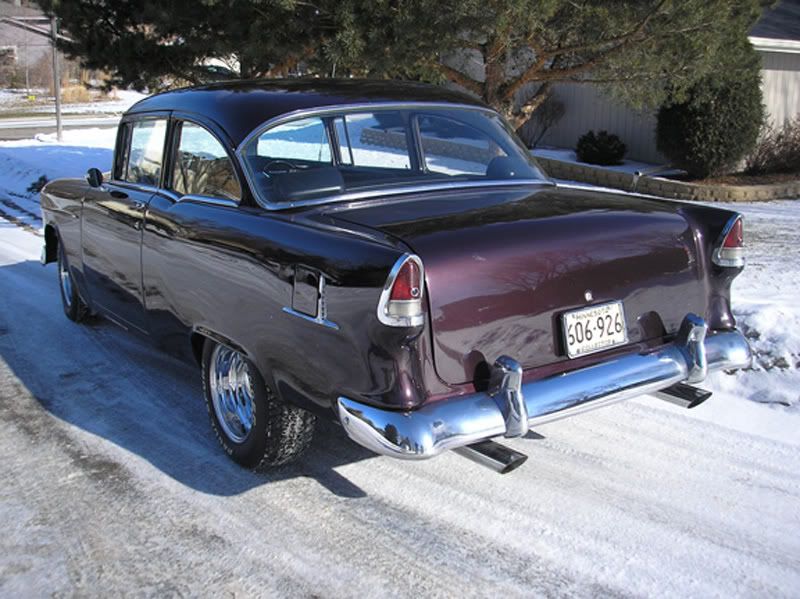
Little background, the car is a 1955 Chevy 210 that my father picked up a few years ago for his 55th birthday. I flew to my old home state of Minnesota for a surprise visit, and the next thing I know we bought this car and drove it 3 hours home in 0 degree weather…with no heat…and no defroster…and the floor vents stuck open, pumping ice cold air right on our feet. I’ve never been more cold in my life, we had to switch drivers every 30 minutes, but it made for a memorable story. Anyway, here’s what the car looked like the next day when we got home:
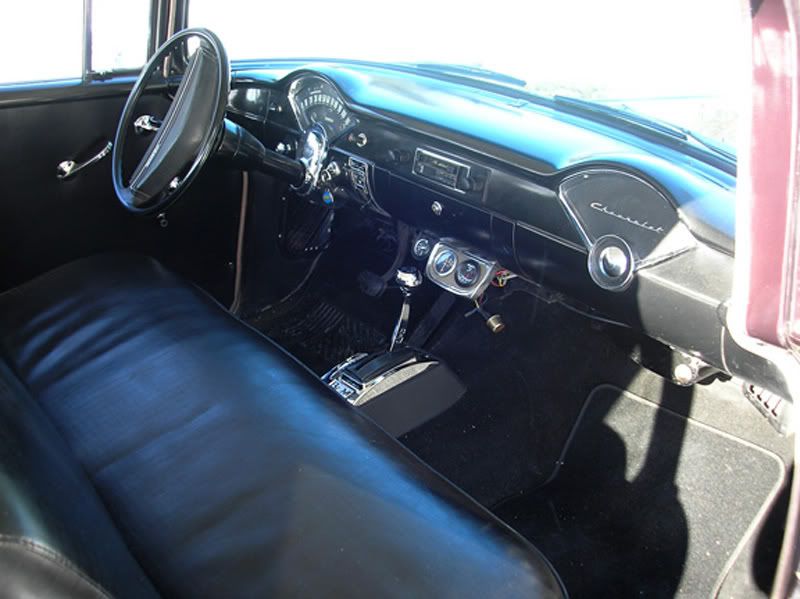
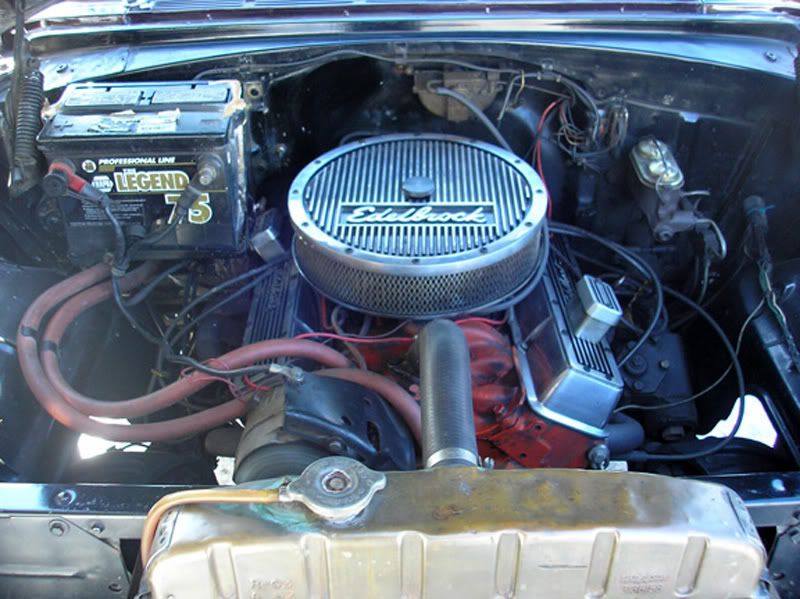
Car info: 210 post model, so it’s pretty much void of the chrome and flash that the Bel Air cars had. Interior is pretty basic, and for reasons unknown to me has the most hideous steering wheel, gauge set, and floor shifter. Engine is a 400 with a Rochester 4 barrel hooked up to a Turbo 350. Not fast, but not a slouch. Very thirsty, and very annoying about 60mph as it feels like it’s topped out.
We don’t know much history of the car, all we can come up with was it was originally a 6 cylinder with 3 on the tree (manual shifter on the steering column). Frame and underside are solid and incredibly clean. Nice paintjob, color is up for debate but we intend to go with a two-tone later on.
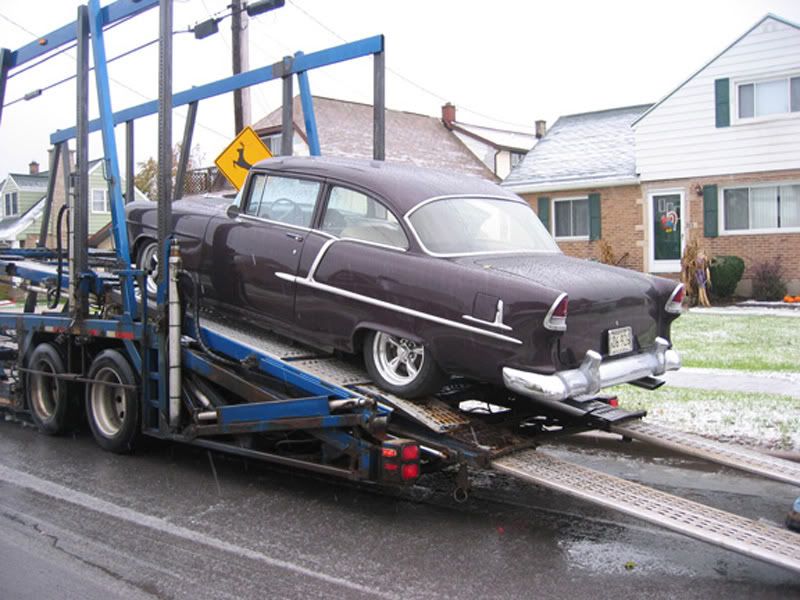
First things we did were tune the car up with some plugs and wires, added some Bel Air quarter panel trim, lowered it, converted to power front brakes, and put on some new wheels. This is how the car was set up when my dad shipped it out to NY last November. I wish it sat as low as it does in the pic below…but that was from being strapped down on the hauler:(
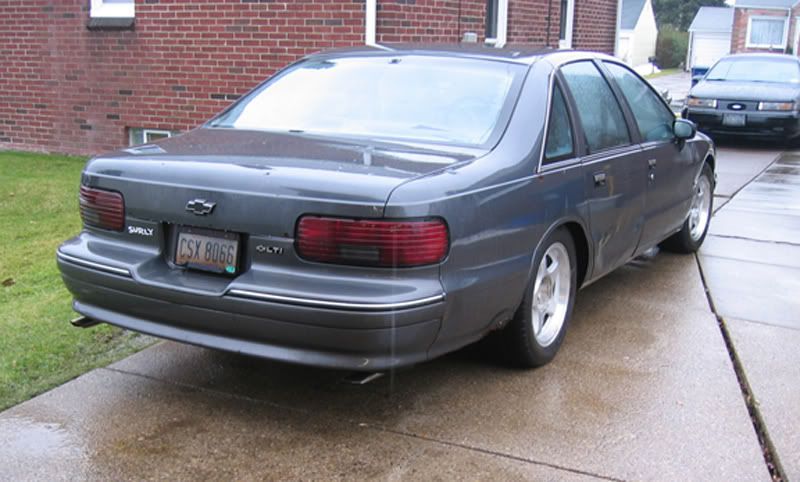
Donor car for the swap is a '94 Caprice 9C1 cop car. Basically, this has the drivetrain of the Impala SS, an LT1 rated at 260hp/330tq stock. The car belonged to my old roommate from college and the car had been sitting for the past 2 years in Cleveland.
Here it is when I got it home after a long day driving down to pick it up from the impound lot (long story)…
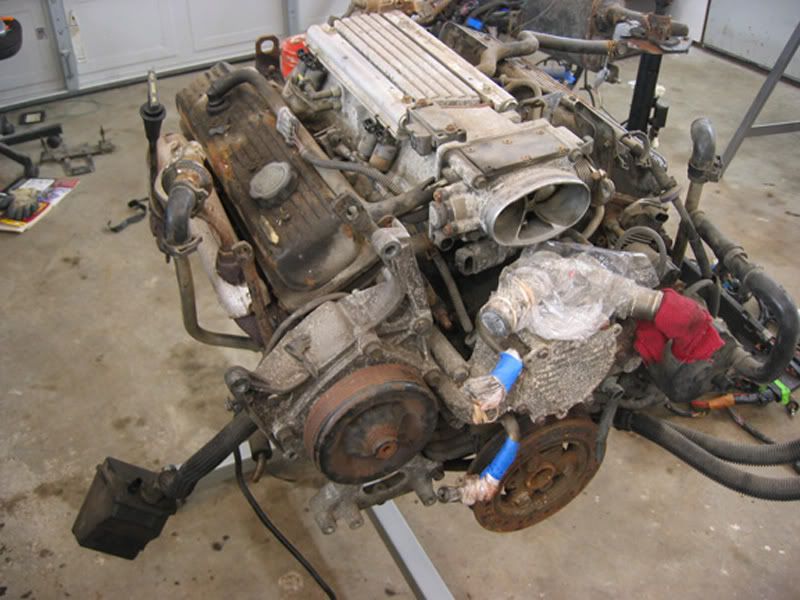
The engine, in it’s beat up glory. I ran it in the garage before pulling it to make sure all was well. Replaced the starter, added some fresh gas and it fired right up:
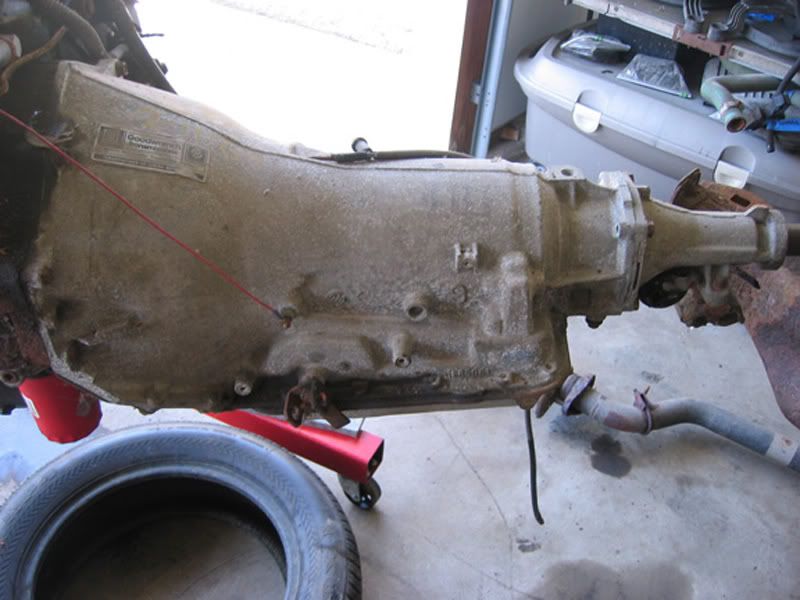
The 4L60E, reman unit with only a few thousand miles on it. I still have to cross reference the part number for the convertor, was told it’s a step up from stock.
If it isn’t obvious what are reasoning behind this is, it’s all about fuel injection, overdrive, and some more power than what the car came with. My dad is looking for a car he can comfortably cruise 3 hours away to the cabin with. I’m also going to try to get power steering and air conditioning into the '55 since the Caprice has the parts and bracketry to make this pretty easy.
For the moment I have it sold to a friend of mine, but if that falls through it will be up for sale…along with the starter, fuel pump, long tube headers, radiator, etc.
I figured you’d be happy to see it:D
After the motor was out, I started bringing parts into our machine shop at work where I have access to a few bead blasters. This was about 3 weeks ago…
I also sprayed the block. It was pretty rusty so I scraped all the loose metal of, wire brushed as much crap as I could, then threw down some flat black engine paint. The idea is to have the block kindof fade away after all the top end and accessories go on.
The whole time I’ve been working on this my dad has been asking for pictures of what I’ve been doing to his car…here’s what I sent him:)
Being computer illiterate (to a point) he had to call my back t oask how to open the picture up properly, claimed it was “blurry”. I led him on for a few minutes, then sent him the real one. I took apart what I could, such as fuel rail, alternator, throttle body (not shown)…and got some new gaskets for the oil pan, valve covers, intake manifold, etc. EGR delete plates are in the mail, and new headers will be ordered. As I mentioned above, EGR is being deleted as well as all smog equipment. I believe the computer will have to be sent out to be recalibrated.
All of the paint work was done with off-the-shelf paints from Advance Auto. Our paintbooth at work has a nice oven that I could bake everything in. A luxury budget paint job is there ever was such a thing…
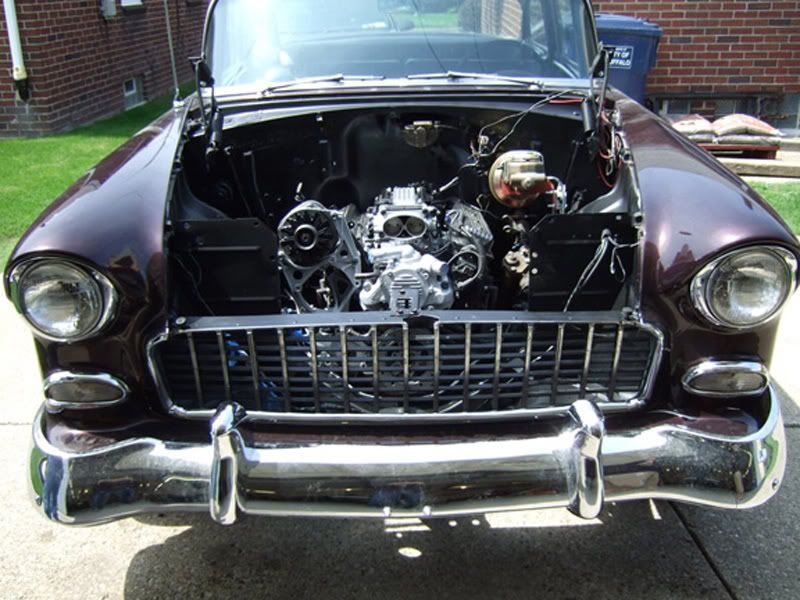
This past weekend my dad flew out here to help pull the old engine out and drop the new stuff in. The 400 ran a front mount engine mount, the LT1 runs side mounts. Eckler’s Classic Chevy had the conversion kit which bolted right in, was very easy and a nice quality product.
While the engine bay was empty, I degreased and pressure washed it clean. Then, took a can of semi-flat black Rustoleum and sprayed the firewall and inner fenders. Total cost: $4.50…again, this is a budget build. We had originally intended to just drop everything in and drive on it until the new paint job comes, but for a few extra bucks and a few hours we decided to do a quick clean up. Hopefully it all holds up for another year or so…
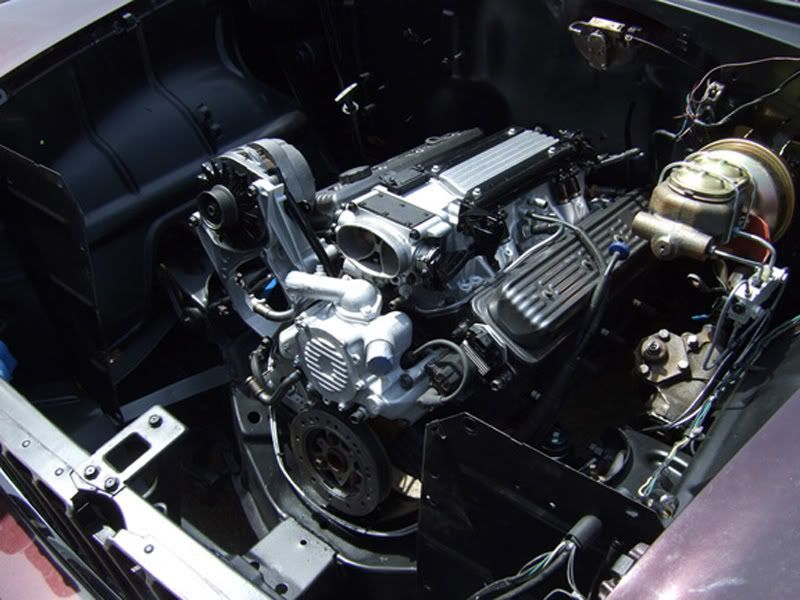
Here’s the engine/trans dropped in. Install was stupid simple.
Sorry I didn’t make it out last Friday…hopefully when the weather turns I can make it down there.
Here’s a quick update:
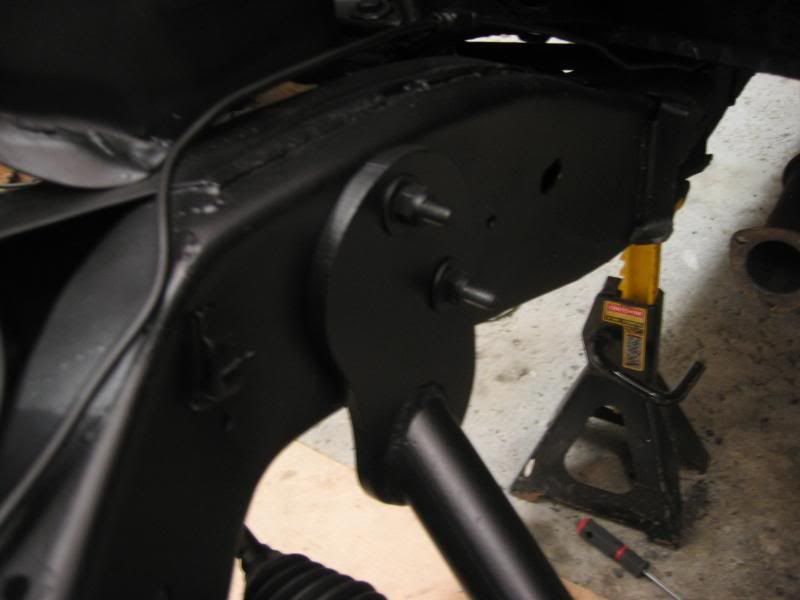
Since I posted last I removed the engine/trans as I noticed a handful of clearance issues going on. Most notably was the frame mounts (aka mid mounts?), the headers were exiting right at them. SO…out came the sawzall. Each side took maybe 30 minutes. Notice, the manual steering crap is gone now:)
I found that about half of the wires under the dash go absolutely nowhere:( After beginning to feel a little overwhelmed since I’m still learning this car, I decided to call it an early night. Wiring aint my thang…
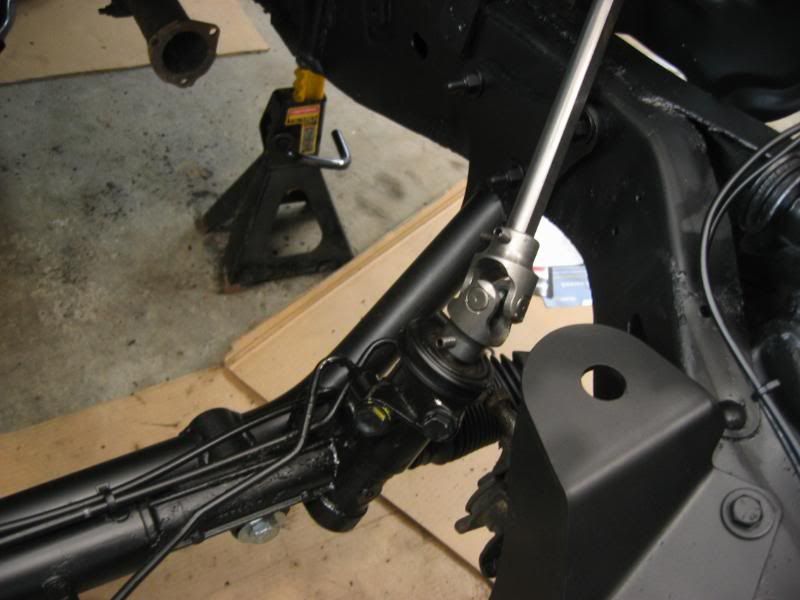
*Rack and pinion kit
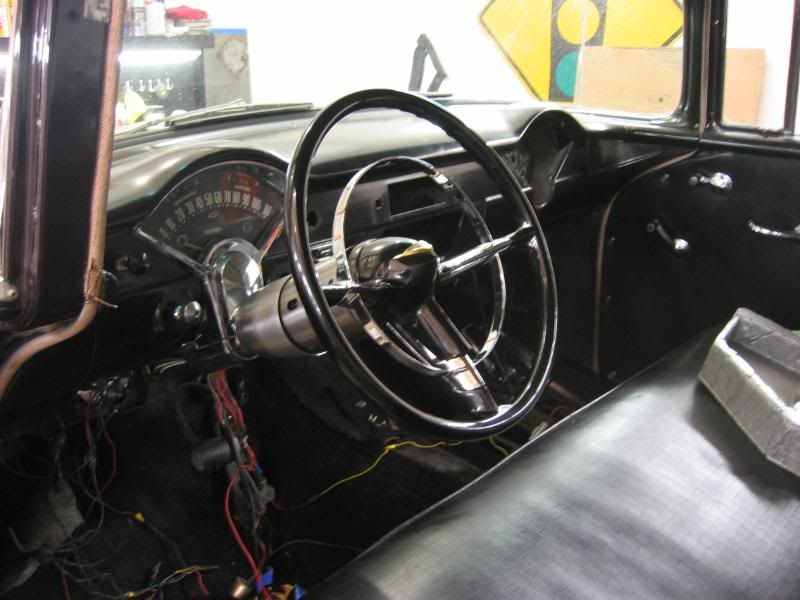
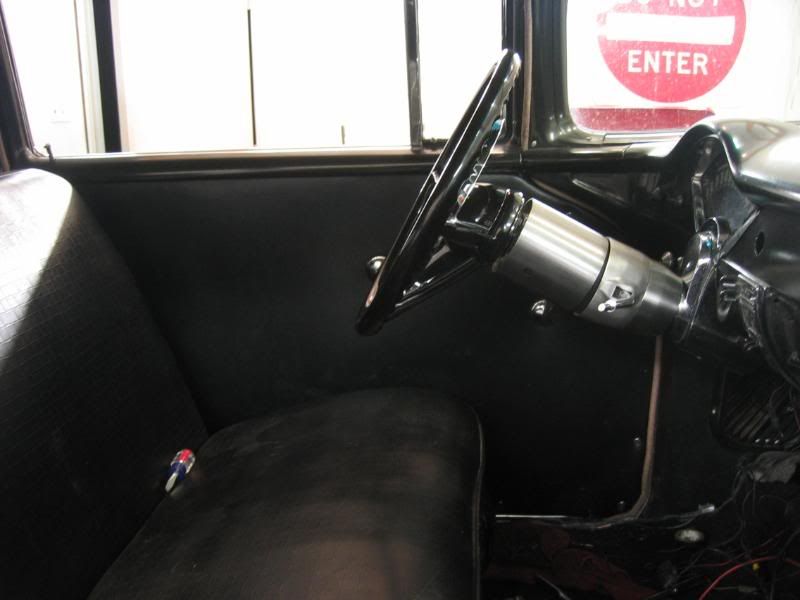
*Ididit tilt steering column
*15" replica reproduction steering wheel
*New gas tank
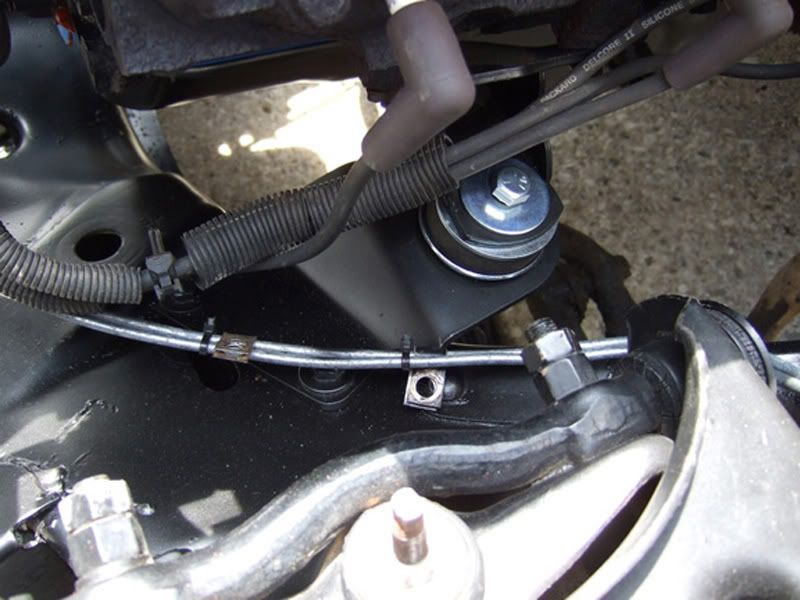
Began with putting the rack and pinion in. The cross member bolted right into the stock steering box location on the driver side and the drag link location on the passenger side. Rack then bolted to the crossmember. I almost feel bad posting this up as a DIY since I’m pretty much just bolting in parts someone else developed…
And here’s a few shot of the column and wheel mocked up…note the gap from the wheel to the column, I just snugged it to fit for now. I’m still undecided about whether or not I’ll paint the column. I really like how it looks in it’s virgin machined steel, but it clashes a bit with the chrome. The column has handles and knobs for the turn signal and tilt functions, however those haven’t been installed yet.