Bacon's AE86 gets some love.

http://i450.photobucket.com/albums/qq228/Ionesque/New86.jpg

Got the replacement chassis home last night. Was covered in mold from sitting, tried a number of things wasn’t working to well. Tried a Mr. Clean Magic Eraser took it all off with near no effort I certainly sold on them now. Still waiting on piston rings, this has been a huge hold-up on the engine seems like the ball has been dropped on their end.

-Gave it a good cleaning outside
-Started stripping interior to clean it out on the inside.

Todays goals:
-Finish stripping the interior
-Inspect for cracks/visual damage
-Start transcribing all of the maintence records over to one book

Great thread. :tup:

I have boxes of them. It’s almost magical how they remove dirt and stains. I go through about 3 each spring when I detail the boat. I’ve never seen anything that will clean vinyl seats so well.

Magic man magic man. I just wanna be squeezed.

In for more!

If redbull actually sends you product I’m gonna include them in my pictures from now on. LMK

LOL

X…

looking good so far :tup:

http://i450.photobucket.com/albums/qq228/Ionesque/0324101938.jpg
So I tossed an alternator in, fired her up. Idle was shit, half turn of the idle screw fixed that. Then put my two other tires on and took her for a spin. Putting about another 50 miles on it before I got back home. Put it on a lift as well, took it back home.

http://i450.photobucket.com/albums/qq228/Ionesque/0324101943.jpg
I love the south. Not even a slight bubble of rust on the rear fender.

http://i450.photobucket.com/albums/qq228/Ionesque/0325101930.jpg
So anyways back to the de-construction aspect. Dashboard has been kicking my ass for the past two days but finally after much muscling I won out.

http://i450.photobucket.com/albums/qq228/Ionesque/0325101930a.jpg
Not without casualities however, the weather worn clock bezel litteraly fell apart in my hands. Also got some random lines disconnected, pulled the fan shroud, heater core, and evaporator. The black interior will not be going back in this car, nor will the bad-ass factory radio, as it’s getting the Mk. II Supra radio that’s in my other car. Most of it will be sold off once cleaned up, full of tobacco, dirt and other nasty bits from the past two decades.

http://i450.photobucket.com/albums/qq228/Ionesque/0325101836.jpg
Yo dawg, we put some vaccum lines in yo vaccum lines so you can suck while you suck.

Update:
-Suspension ordered
-Wheel bearings ordered
-Hardee’s grilled cheese bacon cheeseburger, check
-Car stripped 100% of all interior
-Bottom-end of 4AG inspected/re-assembled.
-Got a majority of the dent in the right rear out using a hammer/dolly.
-Found gaping hole from improper lift usage under drivers seat. :frowning:

Goals for tomarrow:
-Get hole floor welded up
-Clean interior with a fine bristled toothbrush
-Order carbs
-Finish getting dent out, fix small area of rust under hatch.

I am not really a fan of the ae86, but clean southern cars ftw!

http://i450.photobucket.com/albums/qq228/Ionesque/0410101231.jpg
http://i450.photobucket.com/albums/qq228/Ionesque/0409101314.jpg
http://i450.photobucket.com/albums/qq228/Ionesque/0408101840.jpg

Still has a long ways to go, progress this week.
-Fixed rust under weather striping in the trunk area
-Removed all old carpet padding to eliminate last bits of cigarette smell.
-Straightened/Brazed the hole in the floor.
-Resealed tail-lights after a storm revealed some leakage
-Replaced trunk weather stripping
-Cleaned up spare tire, and factory toolkit
-Partial interior installed.

This weeks to-do list:
-Finish bodywork on right-rear.
-Get carpet padding, sound deadening material. Install it with the rest of the interior from the old car.
-Finish seals and re-assembly of top-end of the 4A-G
-Cut new piece to fix floor reinforcement under car.
-Remove/re-apply sealant over body seams, old sealant cracked/falling off.

buy a camera should be on the to do list :stuck_out_tongue:

lol @ RedBull pics :slight_smile:

Are you trying to get. A sponsor from red bull? Lol

I love the ae86 keep up with the build

update?

Been lazy with the log, interior is all in. Still running on the original 4A-C with 285k drove it up to NY and back to SC a few weeks ago. Looks pretty decent all cleaned up, has a lot of work left to go though.

Before:


After:


To do:
-Finish building 4A-G, on hold until rusty car is gone.
-Fix recently damaged exterior door handle
-Fix minor rust on hatch area
-Replace worn/missing pedal pad.
-Install upper steering column cover
-Replace headlight switch, interior light adjustment is intermittant
-Fix front-left channel Mk II. Supra Radio, ditch OEM analog radio.
-Sand down both bumpers, and respray
-Refinish fuel filler cover
-Replace trim on front right fender with correct size trim.
-Fix dent on hood
-Fix alignment on front bumper and trim pieces, a tad off from prior body work/accident

No red bull, no care. LOL, looks a thousand times better, great work!

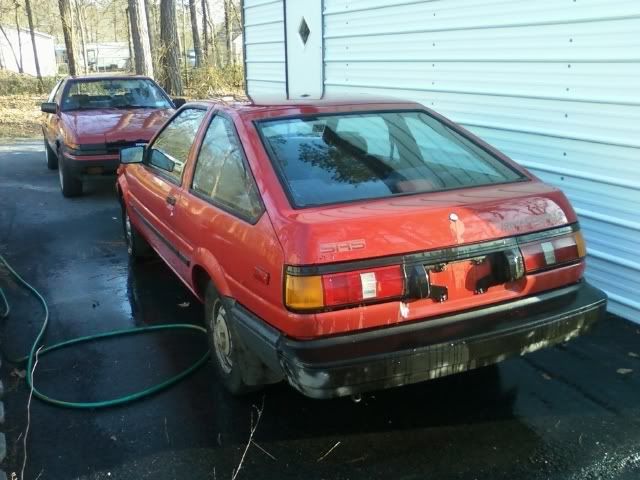
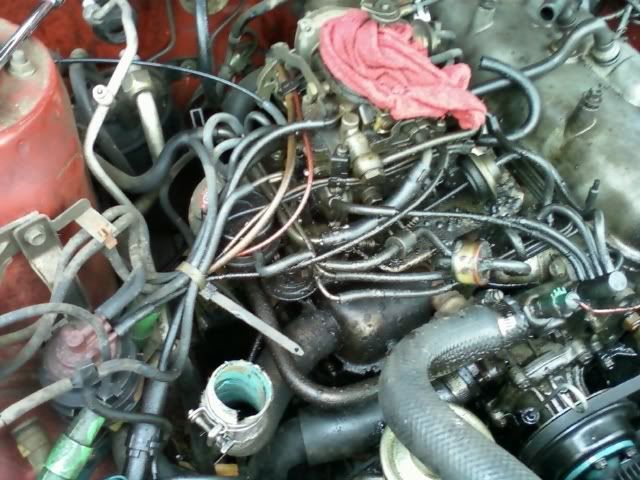
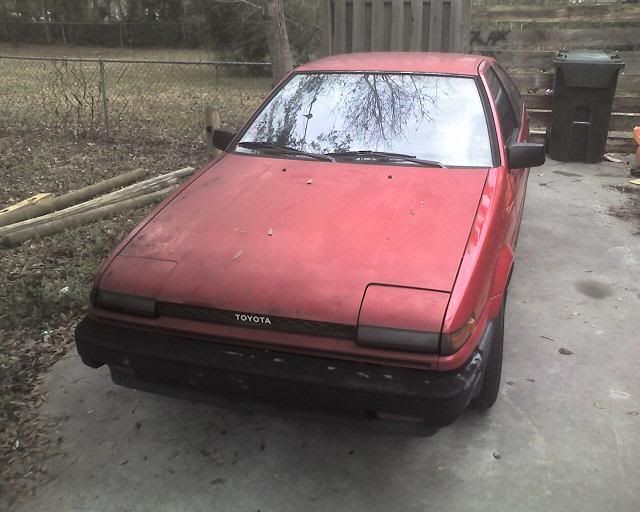
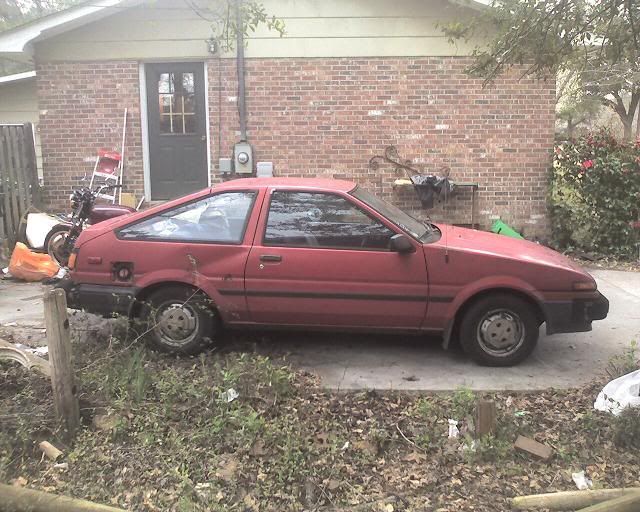
Figured seeing as I’m coming back up to Buffalo for a bit I might as well post an update. Engine is still on the stand, looking for a suitable 1.8L bottom-end for more stroke, and a few other goodies. Also got the carbs I was looking for, so once I am back down in the carolinas I’ll continue working on it.


I <3 goodies.


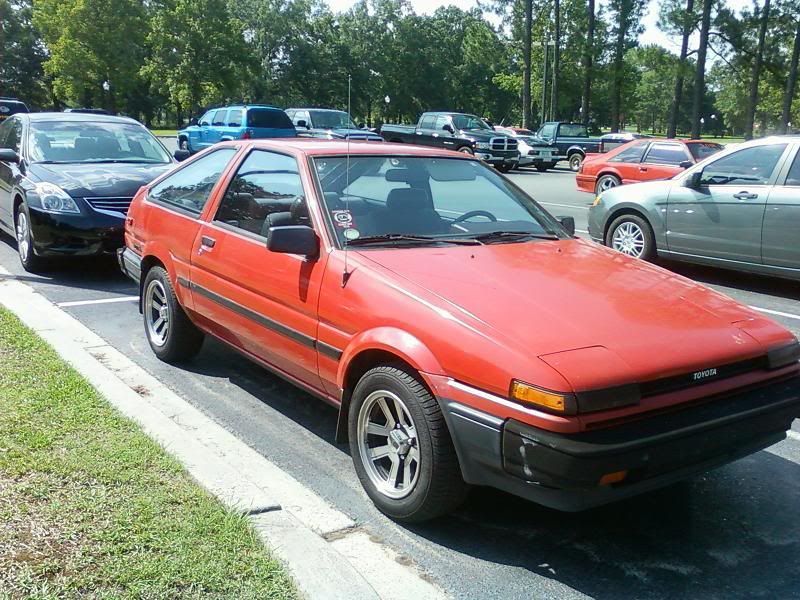
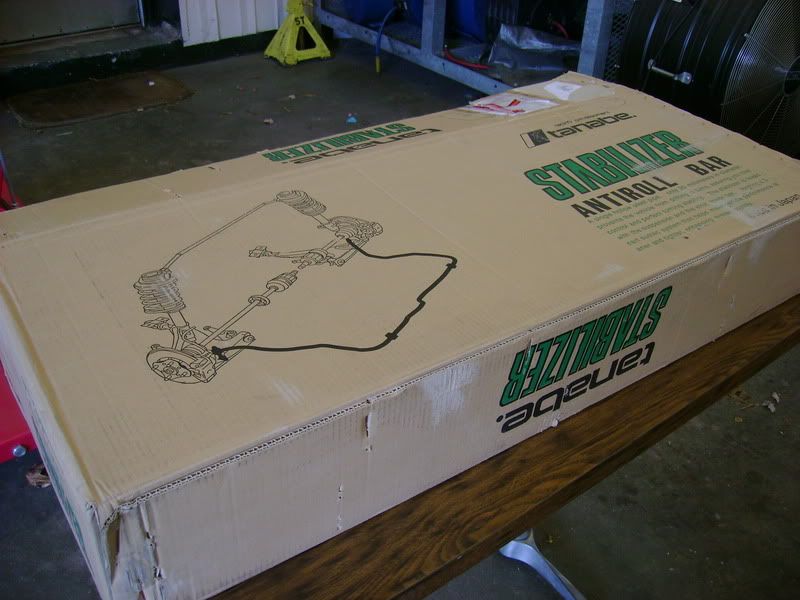
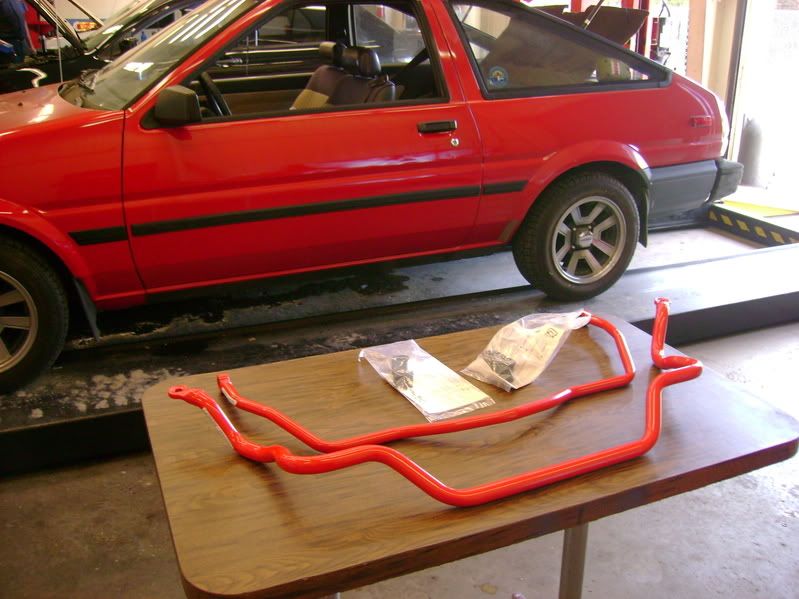
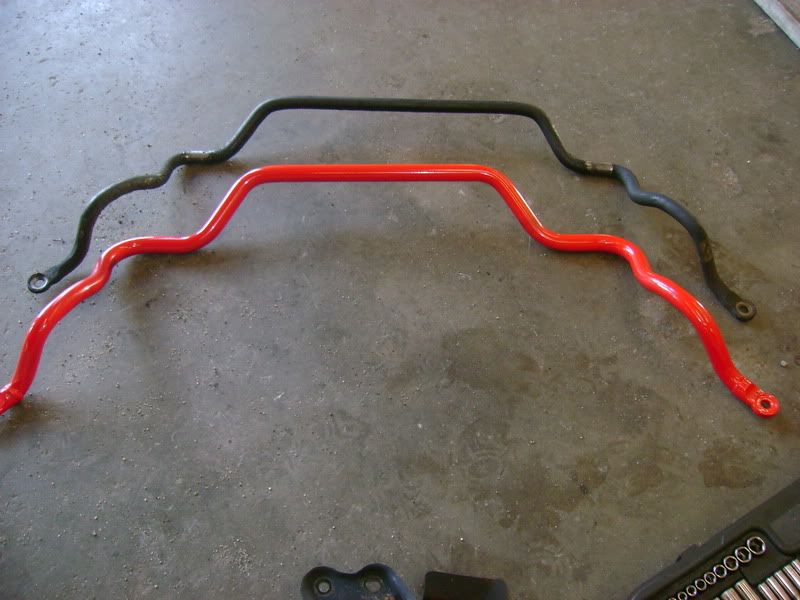
And suprisingly enough they were also red go figure. Generally I prefer less flashy colors, but it’s not like it’s visable.


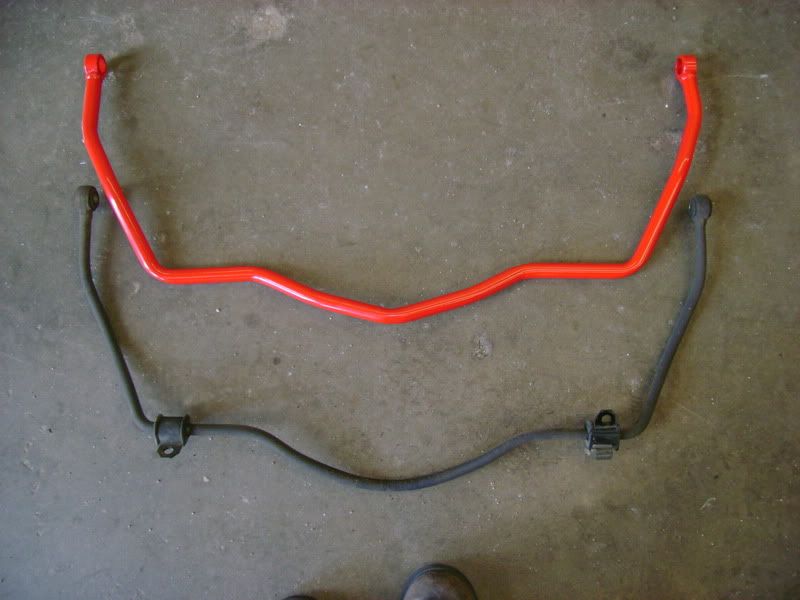
Side-by-side comparison of the rear swaybar. Took all of 10 minutes to remove from the car, a bit of weight gained on the rear, nothing too notable maybe a pound.


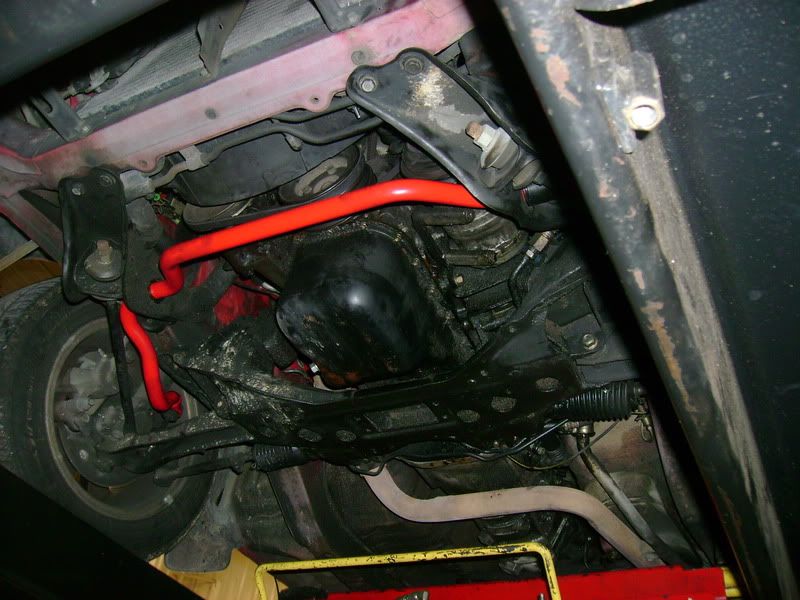
After installation, this also involved proper lubrication of all bushings old and new. Again took next to no time to install. Hardest part was pressing out the old bushings.


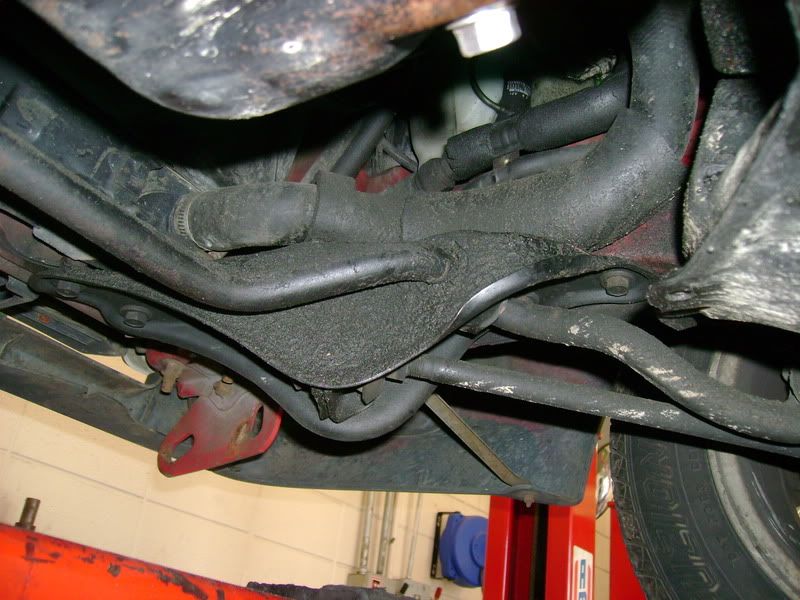
Now on to the front swaybar. This should be pretty… fuck my life.


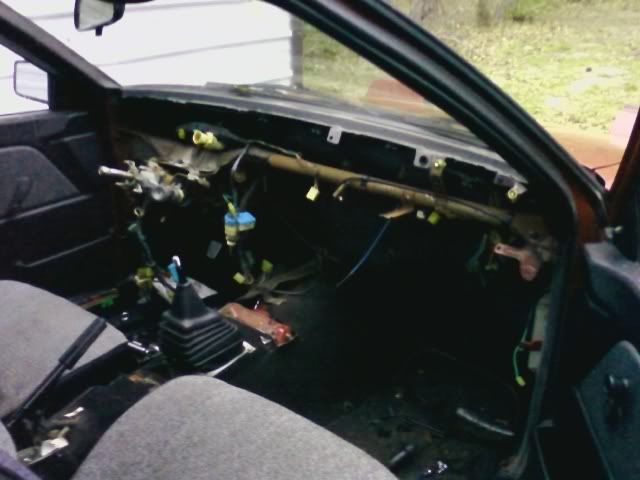
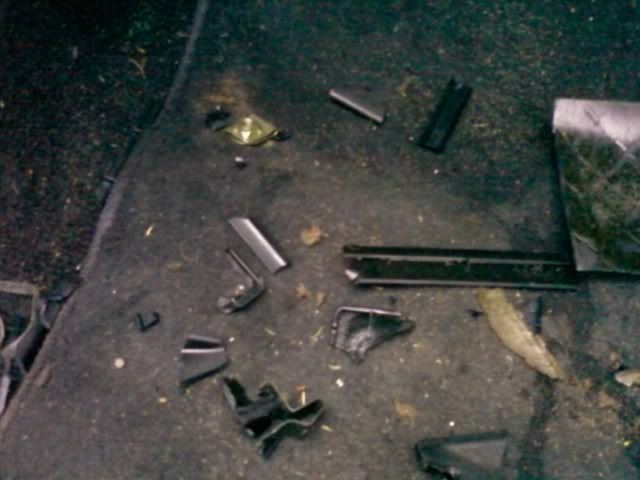
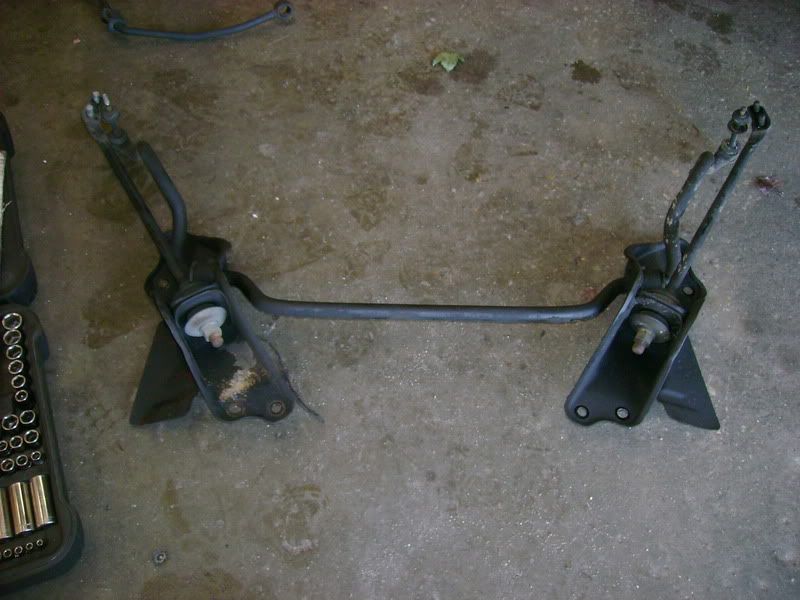
An hour later radius arms*, bracketry, bushings, and bar removed.

*incorrect term?


Bar removed with size comparison, I certainly prefer the construction of the OEM a bit more. But that is generally the case in terms of aftermarket quality. But the stock swaybars are also my biggest complaint. Again minor weight gain, while I’m trying to remove weight from the front the benefits should outweigh (OH LOOK A PUN) negatives. Mainly not riding bumpstops on long sweeping corners.


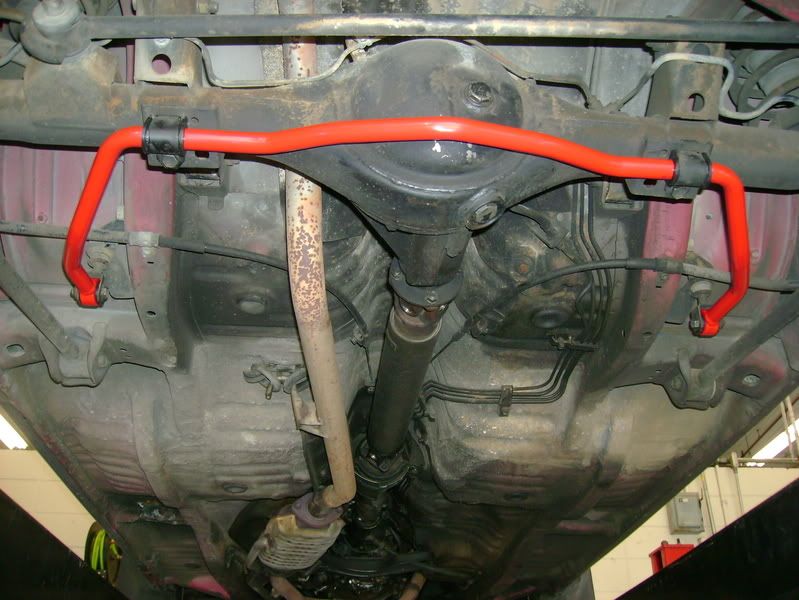
And finally after a a bit of swearing, a good amount of grease, retap/die some cross threaded bolts, and hole. The new bars are in, haven’t really had a go yet in it. I’ll give it a bit to make sure it’s settled fully into place before I do as well to see what it can do.

Regarding suspension mods I am done for now, as I want to keep stock height on the car as it’s a DD, and all the bushings are in excellent condition despite the age. Might upgrade shocks/struts much later on, but that is later on down the road once they wear out. But for now they are holding up well, also for shits and giggles I put the stock engine on a dyno for quite possibly one of the more laughable baseline dyno charts put out.

That doesn’t make any sense. Why does the torque and power change over at 4000 rpm or so??

That is the original engine. The stock engine is a single cam non-crossflow head, 2bbl downdraft carb, crippled by 80s emissions, and compression in the 9:1 range. Rated at 76HP at the crank on a good day, torque band on the other engine will be quite a bit on the upper-end if I ever finish it.

It doesn’t matter what engine it is, the horsepower and torque always cross at 5250, that’s how horsepower is calculated:

Because torque and rpm are divided by 5252, torque and horsepower are always equal at 5252 rpm. If you solve the equation at 5252 rpm, the rpm value cancels out, leaving horsepower equal to torque. If you plot torque and horsepower curves on a graph, the lines will always cross at 5250 rpm (rounded off). If they don’t, the curve is undoubtedly bogus.

They only cross at 5252 when the scales for both power/tq are the same, look at his scales 42,45,48,51 etc v. 25,29,32,35 etc