Finishing Basement

So I decided it was time to finish our basement and give us some needed additional living space after having our second child. We moved into our new home back in 2009 +2400sqft with the basement adding another 1200sqft. All work is being done by myself, my brother and two best friends including framing, drywall, electrical, flooring, plumbing for bar and bathroom and all finish work.

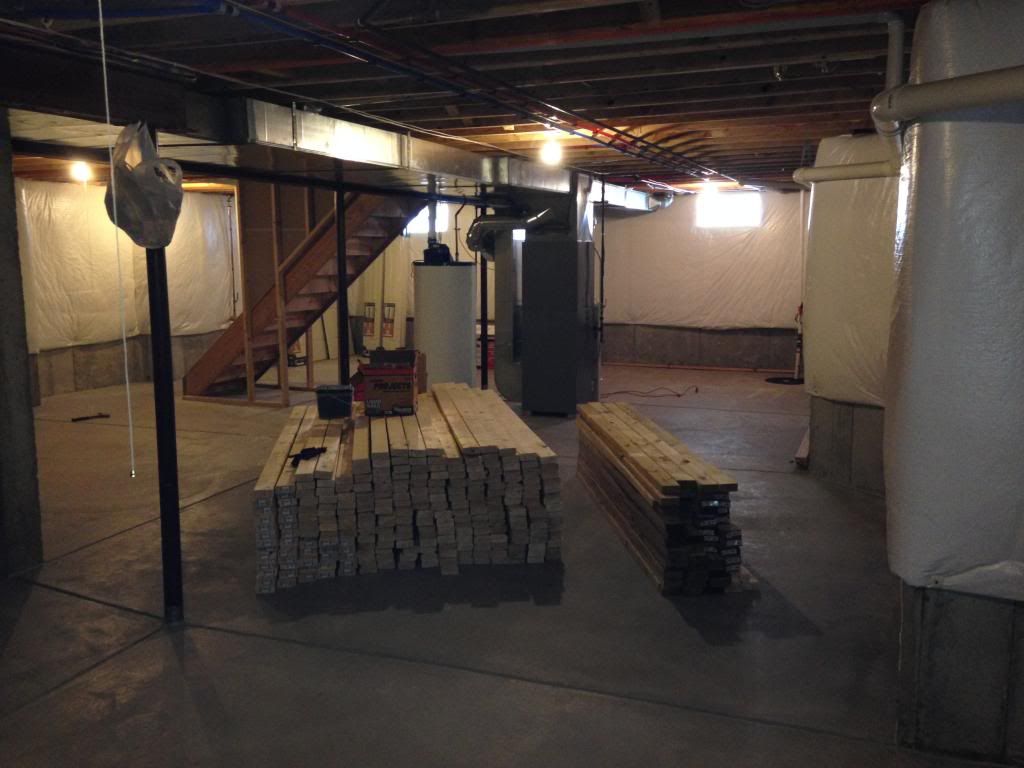
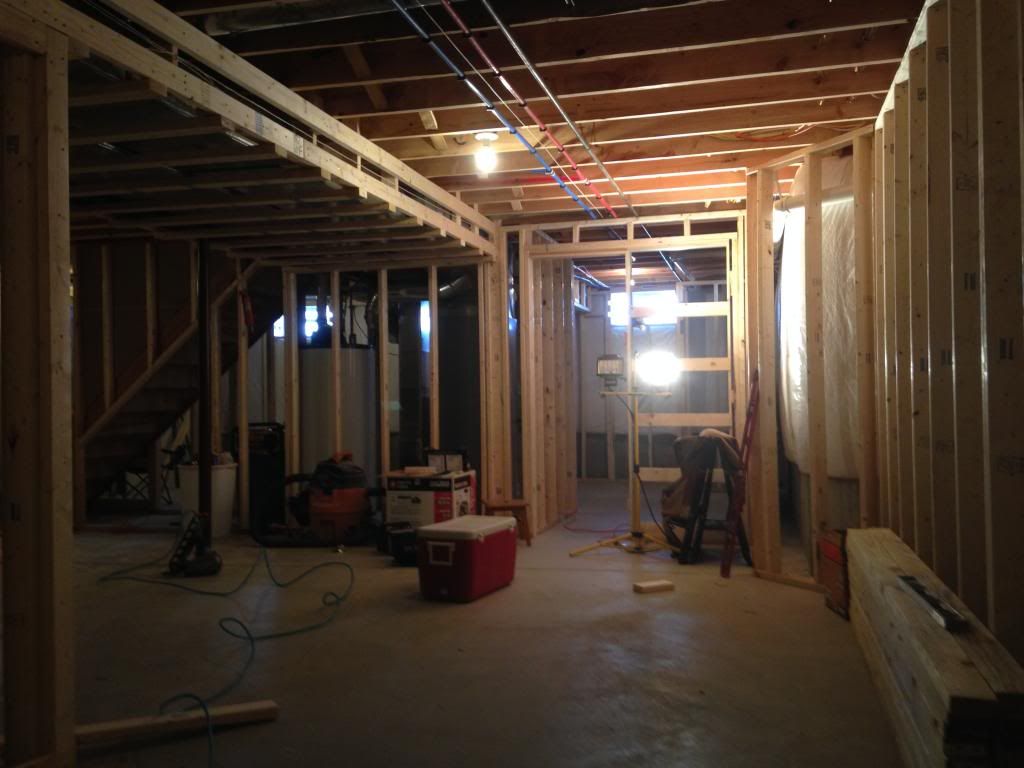
Here is how it looked 2 weeks ago, cleaned out with all bins and “stuff” packed into the third car garage.
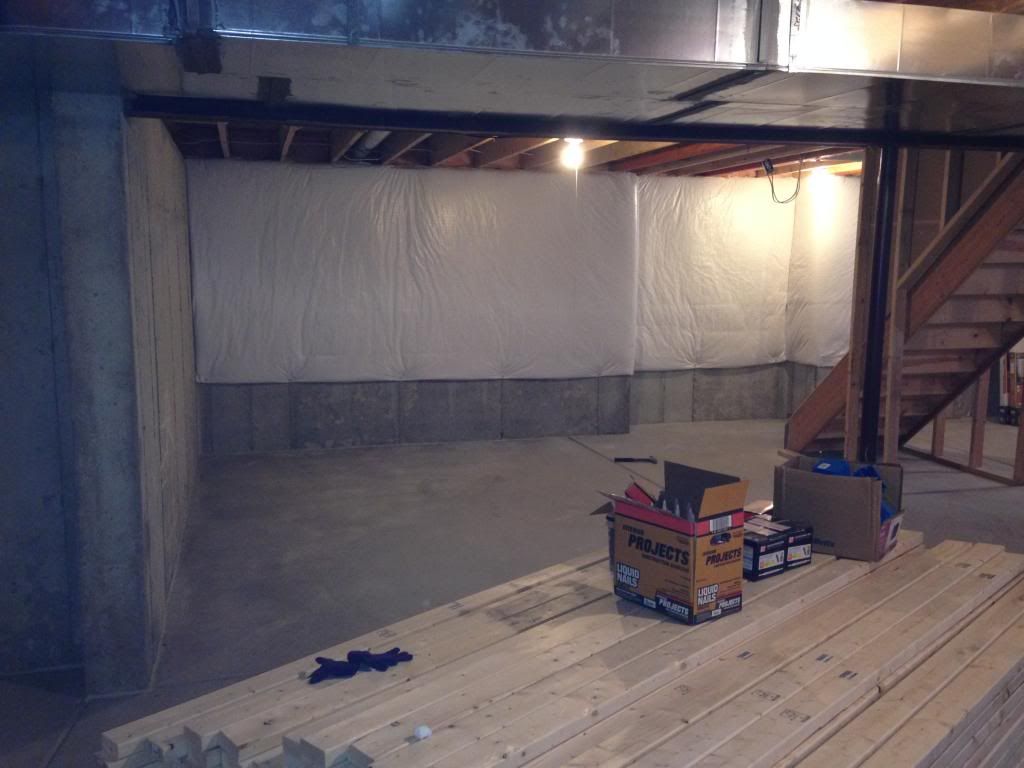
Began the timber walk, bringing 400+ studs downstairs.


Below is a professional :tup: drawing done by me…lol. Just wanted to get overall dimensions and an idea of room placement


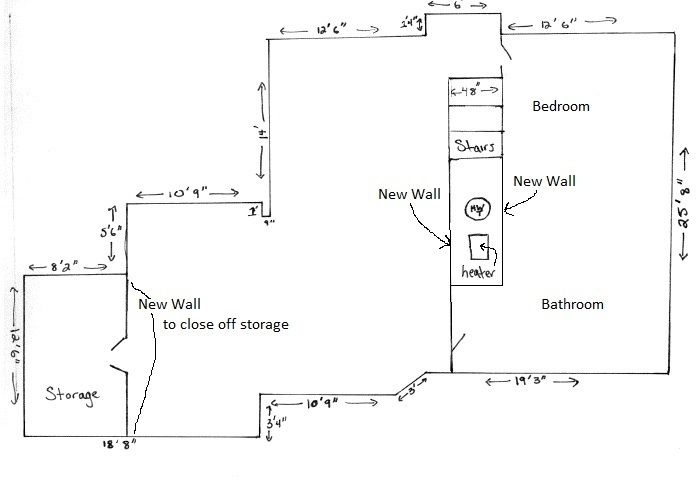
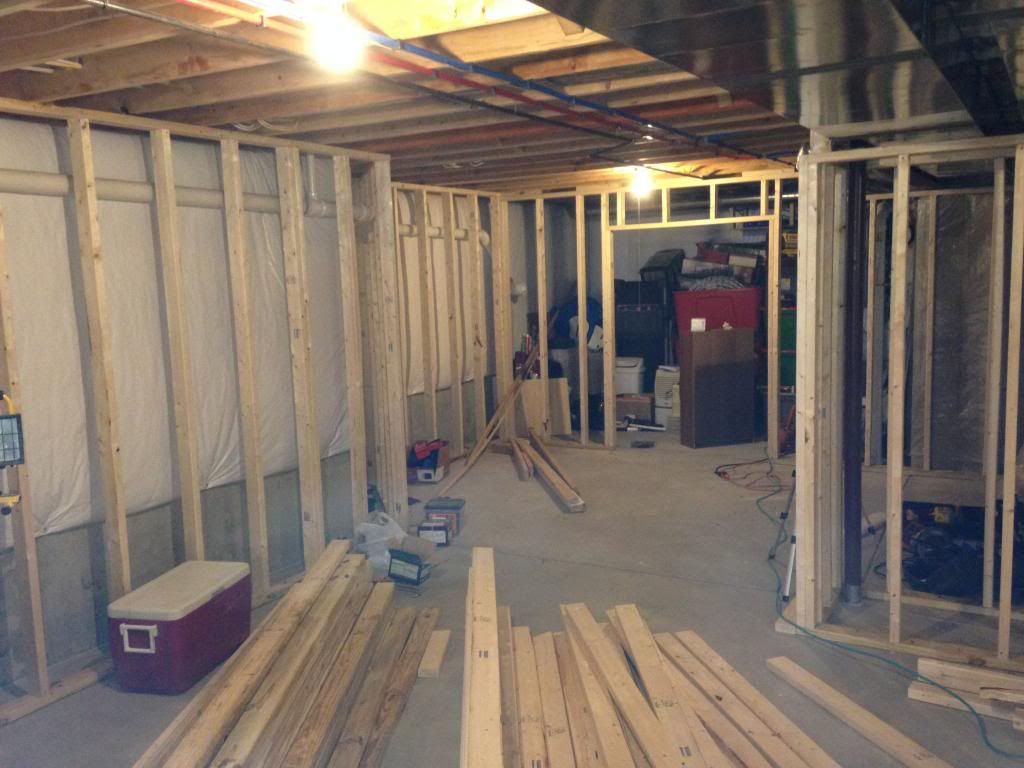
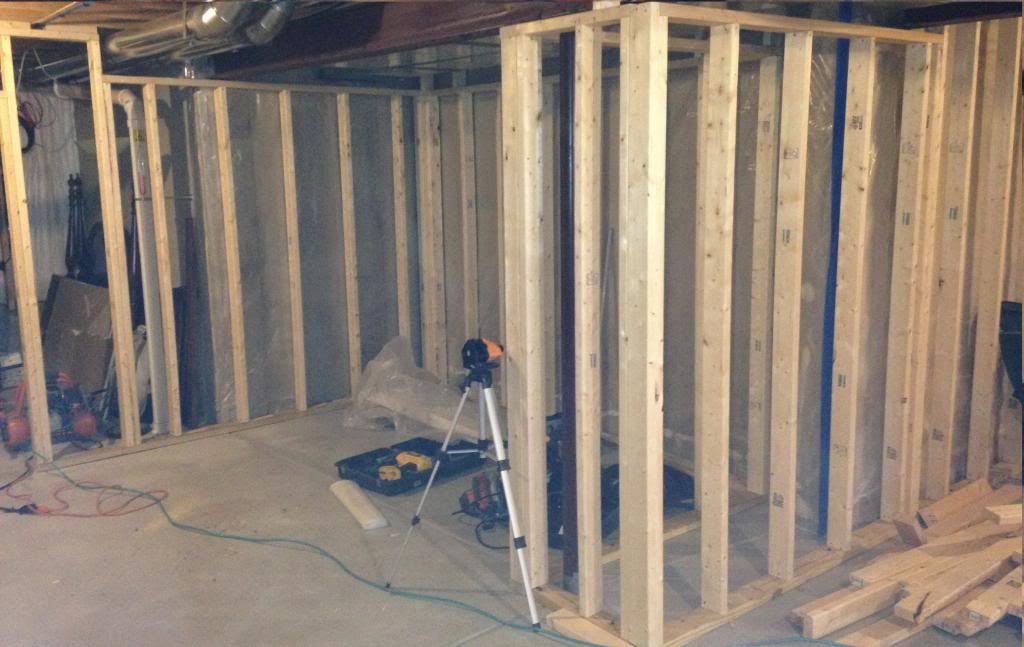
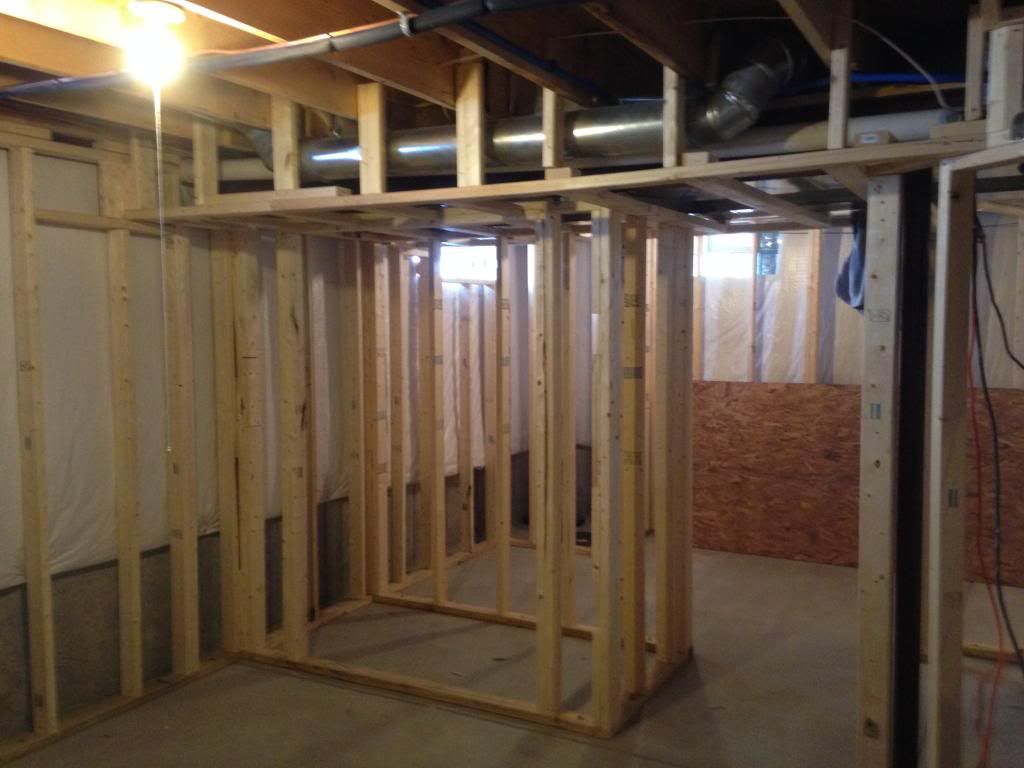
After 2.5 days we had the entire basement framed and both pocket doors installed (one to bedroom and other to bathroom).
400+ studs, ~125 ramsets, ~3000 paslode nails

Pics were taking throughout day 1 and 2


Bar area in the near future with room out front for poker table/etc

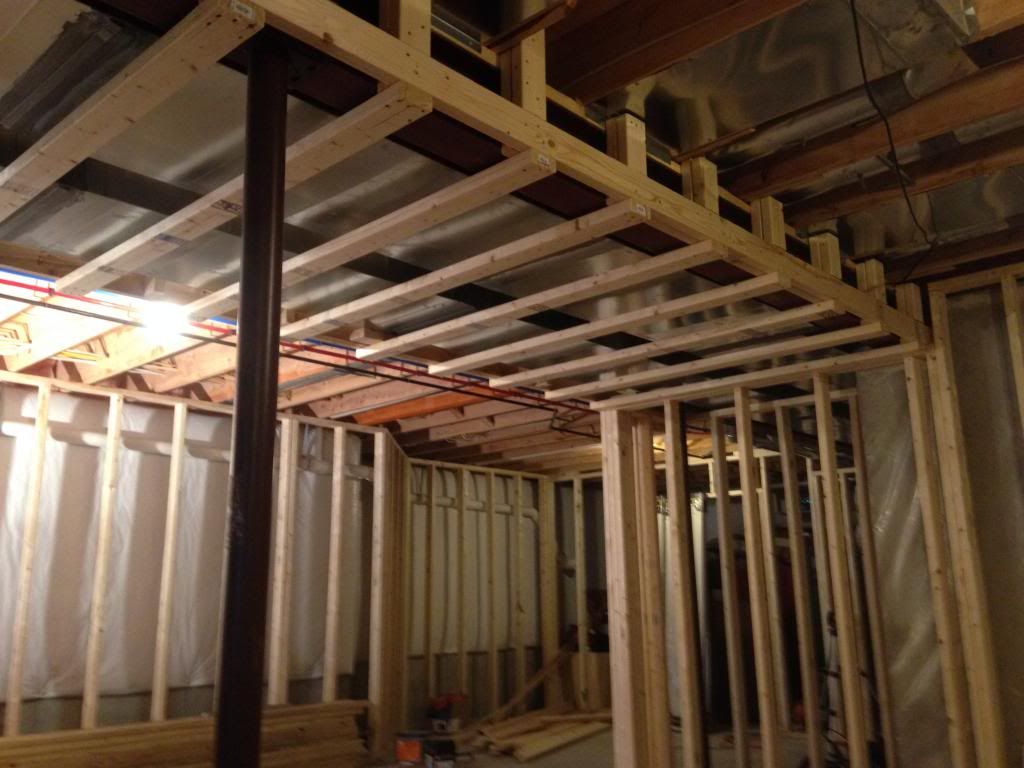
Soffits being done around all heating vents and drywalled

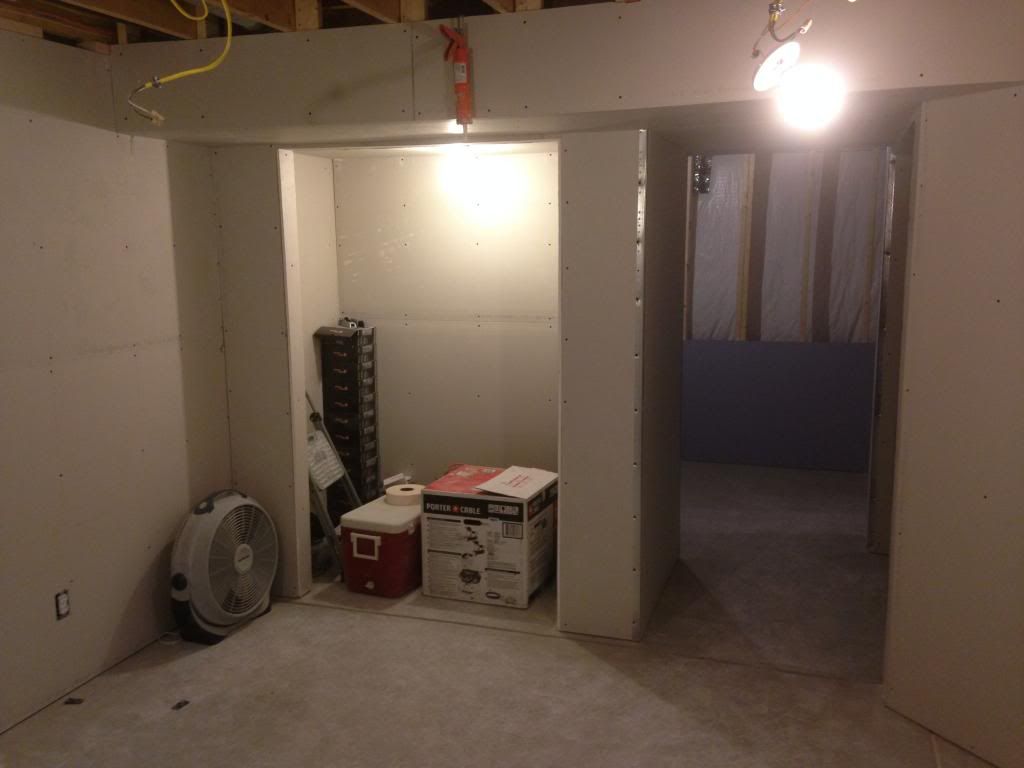
Media area looking to bathroom pocket door

Bedroom looking to bathroom

We spent 1.5 doing electrical, took pics during but can’t find SD card…will upload at later point
800 ft of wire ran, 20 outlets, 22 LED can lights (love them, sooo bright and only 13w each), 8 switches and 6 puck LEDS in bar and cubbies

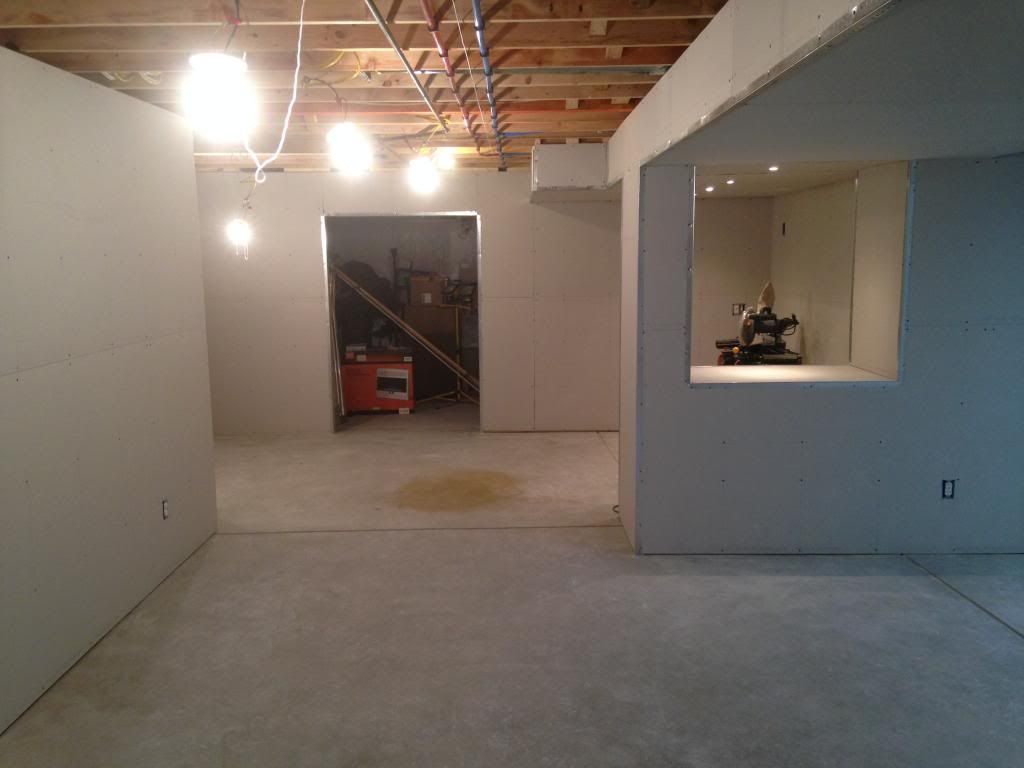
Next we spent 2 days hanging drywall, 82 sheets of 1/2 inch and 10 sheets of moisture barrier for bathroom.
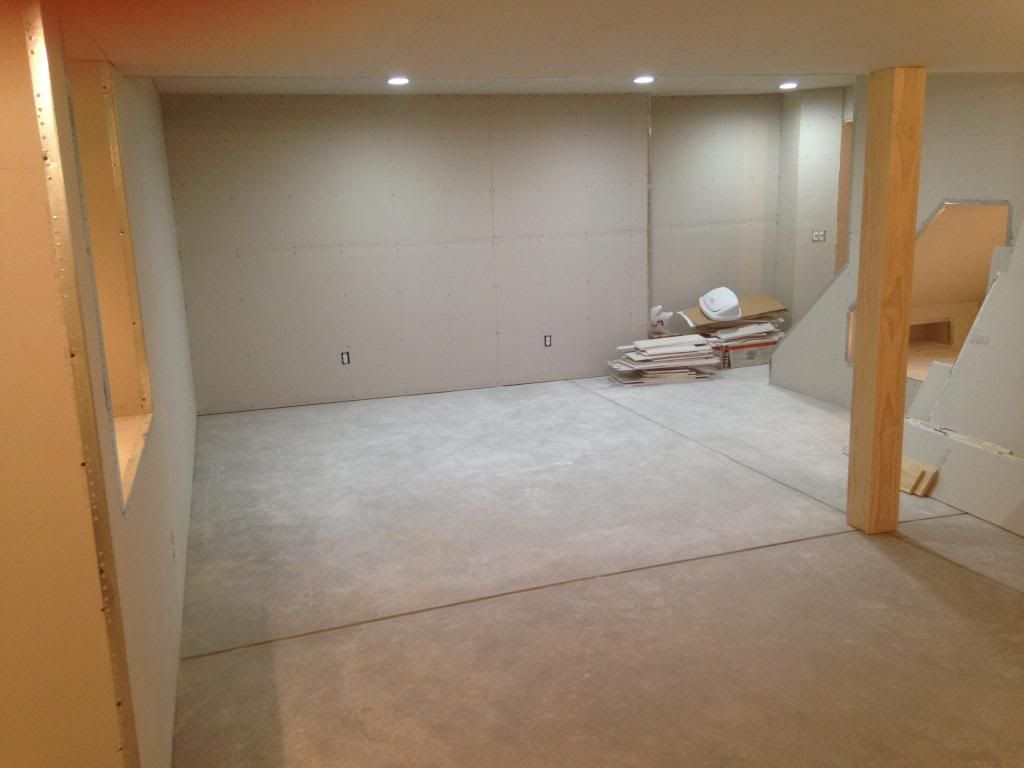
Media area looking to bar area with cut-out, previous soffit shown now wrapped


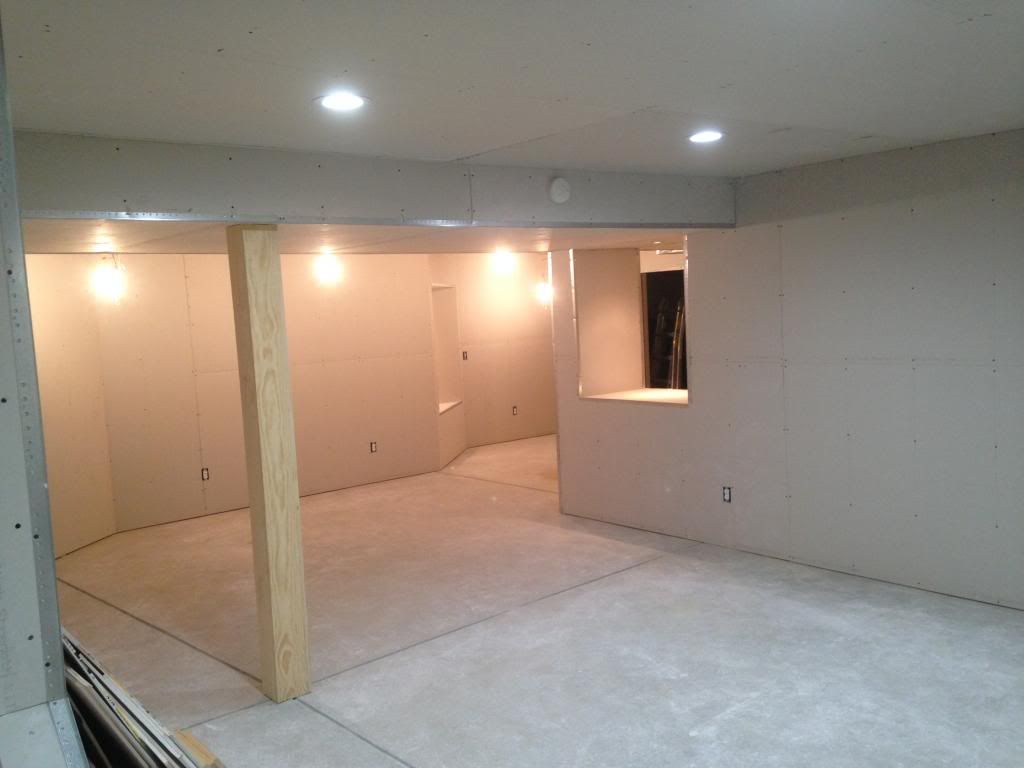
Looking out from bar, open area for poker/etc

Support post wrapped in 1x6 select pine

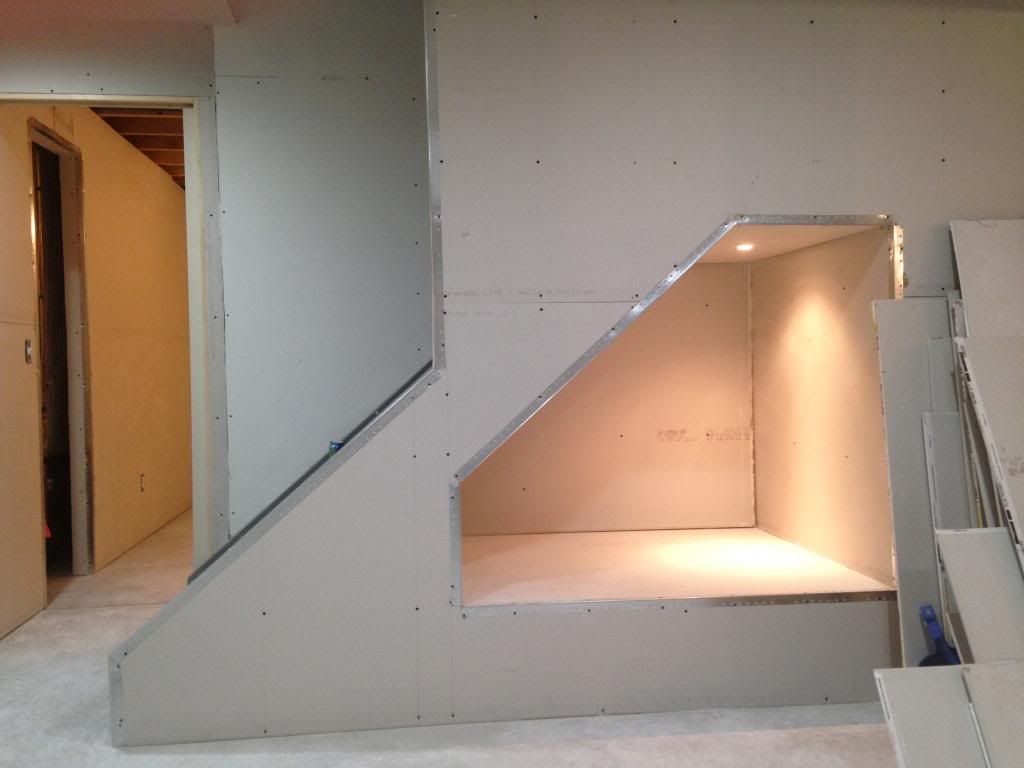
Reading/hang-out cubby under stairs for my kids with inspiration pic below…something my wife found on Pinterest I think


Bedroom looking to bathroom

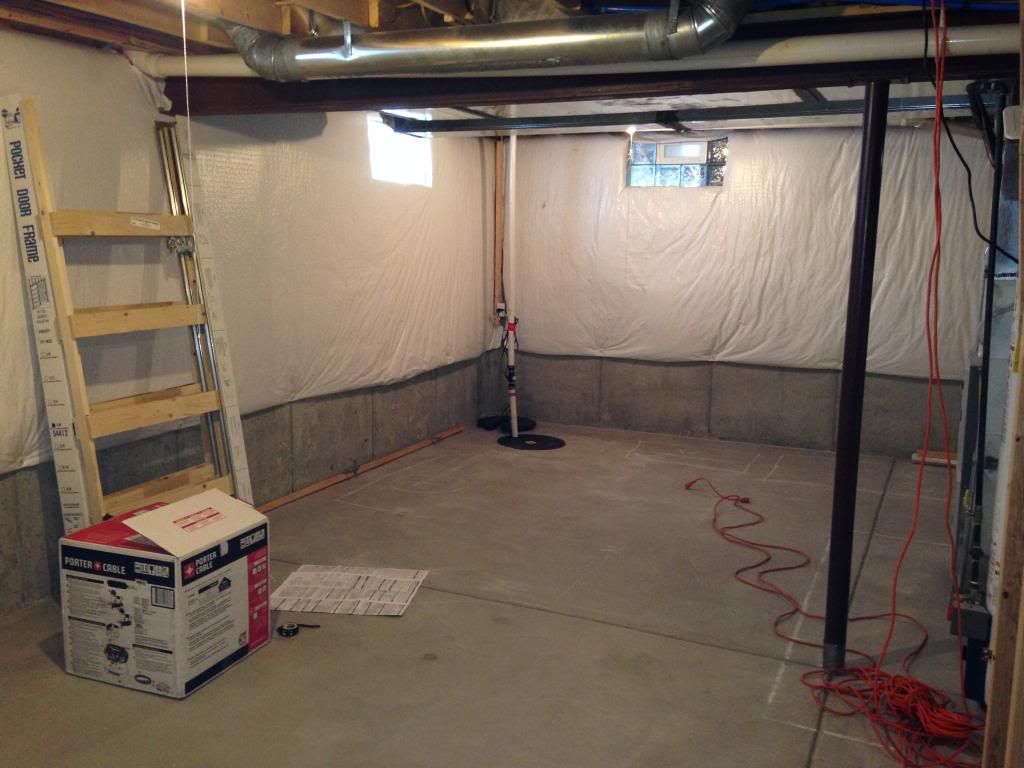
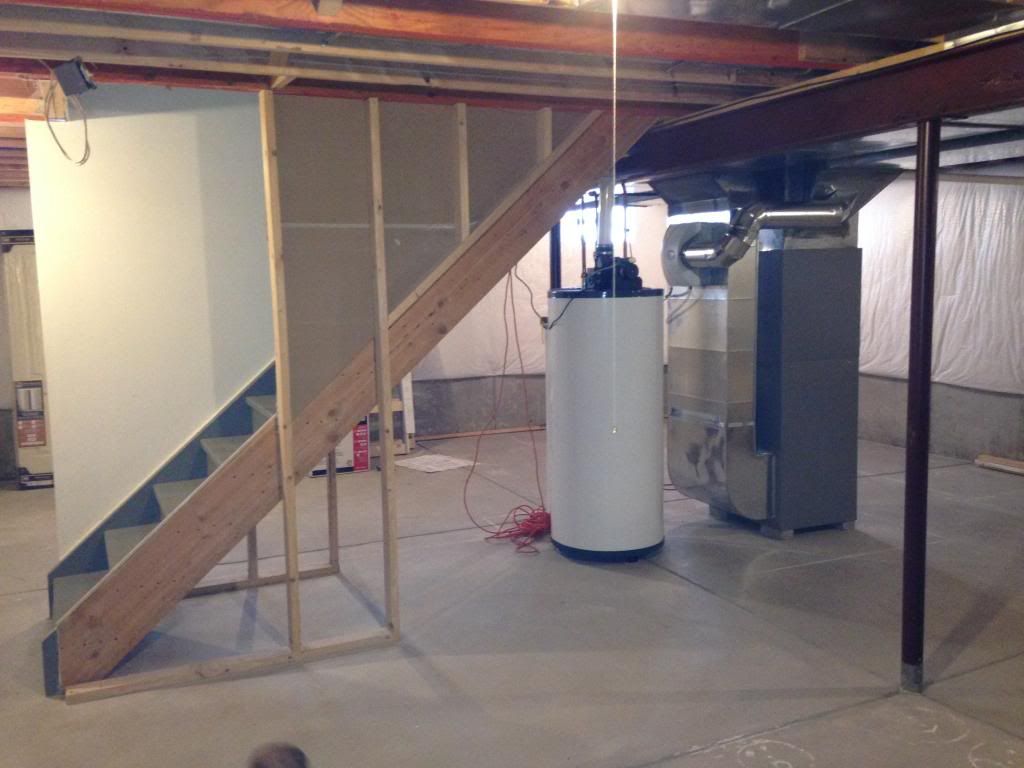
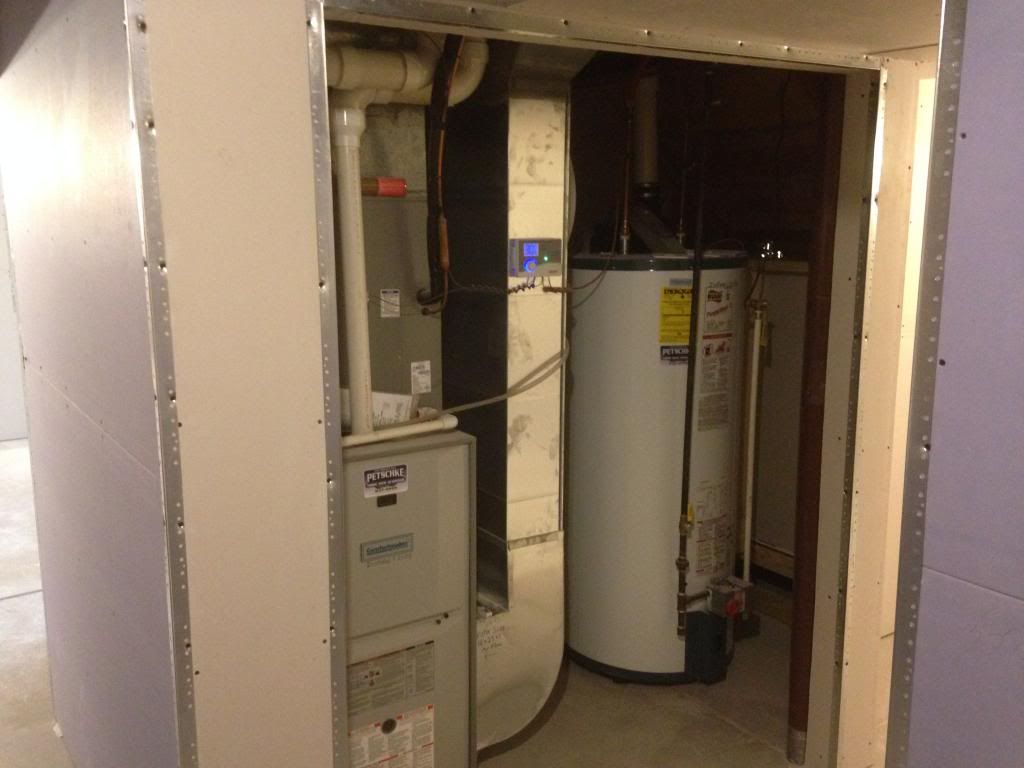
Furnace and HWT room

So after only 6 working days we are framed, electrical ran and drywall hung ready for tape/mud. We took a break and starting up next week.
Will keep this as updated as I can along the way until finished.

To do list…
Drywall finish work
Paint
Lay ~1100 sqft of handscraped toasted Hickory flooring
Full bathroom install (vanity, toilet, 58x36 custom tiled shower)
Drop ceiling in bedroom and media room only done in 2’x2’ cofferred tiles (remainder drywall, no access needed)
Trim work
Lastly, bar area/media room/decorate

no slab cutting for plumbing?

Still 50/50 on that decision, either cutting or looking into a multi-input macerator that can handle 3 inputs and do 30 vertical feet and 150 horizontal. I only need 8 ft up and 15 ft across to reach my main septic run. We did not fully frame out the bathroom area as that will be one of the last to-do’s.

Having a close plumbing friend stop out to give me some options/ideas for us to do, but I’m thinking cutting will be the best.

Wow, that looks terrific so far!

Wow, looks awesome.

pocket door FTW! I love mine

that nook under the stairs is cool :tup:

man you guys made some progress in a week! thatll be awesome when its done!

Damn dude, nice work.

When can you come over and help me frame my bathroom downstairs? LOL.

Great work, keep it up! :tup:

Awesome job. I feel sorry for you with all the mudding you have coming up.

Thanks for all the compliments guys, we are really happy with how it is turning out so far.

Hahaha, yes just putting the corner bead on alone took some time. Many lbs of mud and many cases of beer will be had for sure. So glad I have a dustless sander, hose goes through 5 gallon bucket and then to shopvac, stops 95% of dust.

Next week? lol I would be down for helping after my project is complete, loving doing this work.

Pocket doors are so nice we love them just with the framing there, thinking about putting them upstairs now too…lol.
Yes that nook is going to come out awesome. Usually that space is so wasted and just used as under stairs storage. It took some time to frame, especially getting the bookshelf in there but loving it.

That’s sounds interesting. I bought one where the sander attached directly to the shop vac. It helped, especially after adding the super fine shop vac filter, but adding a water bucket in between sounds like a much better idea.

Lol I’ll hit you up when I’m ready. Gotta do some plumbing work first to get a sink down there, rip out the monstrosity of a room that the previous owners erected, then plan my attack.

Great job!

Looks great so far! Is there no requirement for an egress window in a basement bedroom where you are? That’s the one thing holding me back from adding space in my basement is I would have to add one per code.

Yes it works great. It’s something my dad fabbed up, I think you use to be able to buy them in HD or somewhere but not sure anymore. Very simple DIY and great to use for drywall, sawdust, really anything you dont want in the air.

Unless you are going to market it as an “official bedroom” for resale no need for an egress. We are just adding a bedroom for when we have more guests/relatives stay. We have a 4 bedroom but thought we might as well add a second master down there will full en-suite bath (it will probably nicer than mine…lol).
For right now the whole downstairs is considered finished “bonus area” if I were to sell, but not live-able bedroom for MLS considerations.

When we do sell I will be putting in an egress but didn’t want to spend $5k on a big window hahaha, it won’t be for quite a few years.

Ahh, that’s nice then. We have to include an egress window in order to get a permit to remodel the basement, whether there is a bedroom or not.

Without an egress it is not added into the SqFt of the home. With proper egress it will be. It looks open enough to not be a huge hazard, but I would make sure to put a few Smoke/CO2 units down there.

Also, nice work! everything looks very well done. Good luck with the joint taping.

As an amateur drywall guy I found the mesh tape was much easier to get good results than the solid tape.

Looks nice!!!