Well, when I bought my house, it had a back porch that had long ago been enclosed and used for pantry storage. I liked it, but the storage was less than adequate and the looks of it were less than desireable. On top of that, the door was small (28x77) and the window was awful. So at the beginning of summer I decided to re-do it. Demo took place back in june, and I have slowly been working on it since due to being busy with work throughout the summer.
here are the progress pictures so far, starting with the before pictures
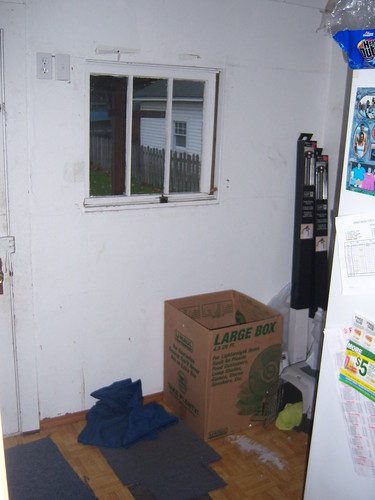
This is the door and the built in shelves

And this is the window. To open it, it just slides on a 2x4 into the wall to the right and is held in by some molding
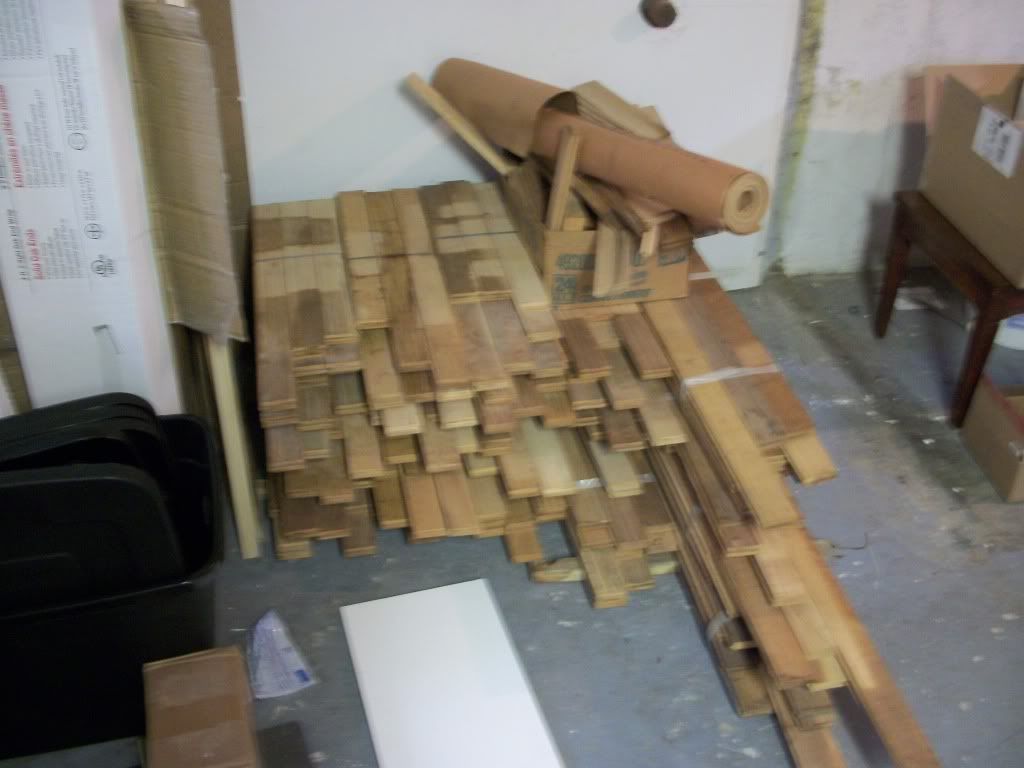
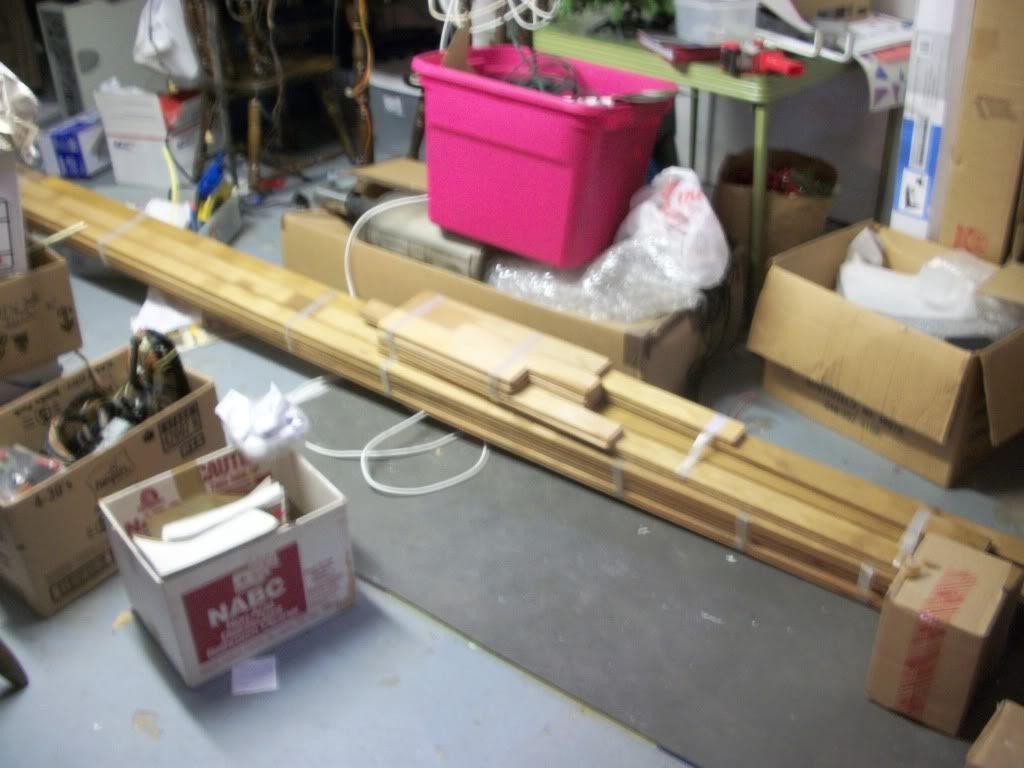
Now my parents were re-doing much of their house, and knew that I was going to be re-doing the room, so I got a couple freebies from them. They replaced 4 cabinets from their pantry, and also re-did all the windows. So From that, I got these:

I don’t have many pictures of the Demo and initial build up cause my camera was left at my buddies, but lets say that when I tore everything out, I was a little surprised. I originally was going to replace the wall covering cause the stuff behind the cabinet was just Wavy 1/4" masonite, and the rest of the walls were 3/4" fiber pressboard (the stuff that swells 5 times it’s size when wet) Well, I removed it all, and found two surprises. The first was ants, but it looks like I got them early in their endeavour into the room, and I got them killed and treated the areas, so no returns.
The second surprise was the architecture. The wall behine the cabinets and the one opposite had just 3 2x4’s in it. Running horizontally! And the corner post of the room was just a single 2x4. Not exciting. The door frame was just a 2x4 on either side of the frame with a 2x4 across the top. No jack studs, no header, no center bracing above. The window was a horizontal 2x4 above and below, with a couple 24" oc 2x4’s vertically between. Needlesstosay, it was a mess.
I ended up basically ripping out the entire inner wall structure, doubled up the corner posts, installed new studs 16" OC, and replaced the door and window framing with the proper support.
Fast forward the pictures til I can find the others
This is the new (old) replacement window in for a test fit. The framing is not done yet:

Here is the walls up, with wiring complete and new insulation going in.


All the wires running in the cavities were stapled to the studs after this. The switchbox by the door works the outside like and a 3-way switch for the inside light. The new door is 32x80 french door, and the window is a double pane replacement window. Since the room isn’t heated, and there is no insulation under the floor or in the ceiling currently, it should do fine. At some point I will blow in some insulation up there, and do under the floor, but for now it stays above freezing much better than before (no insulation)
Drywall going up. Drywall was also Free thanks to someone on CL ordering too much, which just happened to be exactly how much I needed.

The other side:

Starting to mud. You can see my new $100 Larson Tradewinds storm door (orig. $300, thanks clearance section) and $20 CL interior door to replace the one upstairs the previous owner lopped off 4 inches from the floor.

While working on this we installed a new front door, got the hall tree, and Wegmans Coffee table ($30 on clearance)

and painted the garage doors (since i was running out of nice, warm days) because they were getting bad. Before (left) and after (right). Neighbors have already commented that it looks much better.

Finished the doors

Went out for some hardware and came back with a girlfriend-approved livingroom picture.

And finally where I am today. Got the walls mudded, primed and painted.


So far so good. had trouble with the cabinets cause the wall still isn’t straight at the top, but got them close to lining up. Going to be putting a shelf under them, and to the right of them. The 4 plugs are there to be a charging station for the various battery-operated power tools I have. The other side of the room will have coat, shoe and hat storage, as well as broom and swiffer storage. There will be a bench under the window to allow for putting on shoes and such.
The room is already much warmer than it was this time last year, and you don’t feel the wind in the kitchen like you used to. I still have to paint the ceiling, Install the door, window, crown and baseboard molding, and pick out and install a floor since the current one isn’t really refinishable.
Hopefully it comes out good in the end. I know this isn’t as high end as some of the remodels here, but I believe my total so far on the room is around $210 for door, studs and joint compound.
Breakdown:
Cabinets: Free - parents
Window: Free - parents
Door: $110 - Bargin Outlet
Drywall: Free - Craigslist
Electrical: Free - Parents
Drywall Supplies: $30 - Lowes
Studs and lumber: $50 - Lowes
Primer: Free - Previous owner
Paint: Free - Laura’s (GF) Cousin
Light: $10 - Lowes Clearance
Screws and nails: Free - Mechanic’s Buddy
Ceiling Paint: Free - Previous Owner
Floor: Unknown
So not too shabby for for a budget remobel, and will definitely add value to the house.
And suggestions for flooring? No tile. I would like wood, but it’s expensive, and not a huge fan of the cheap floating floor, but probably will end up going that route. Suggestions on brand? Thanks.