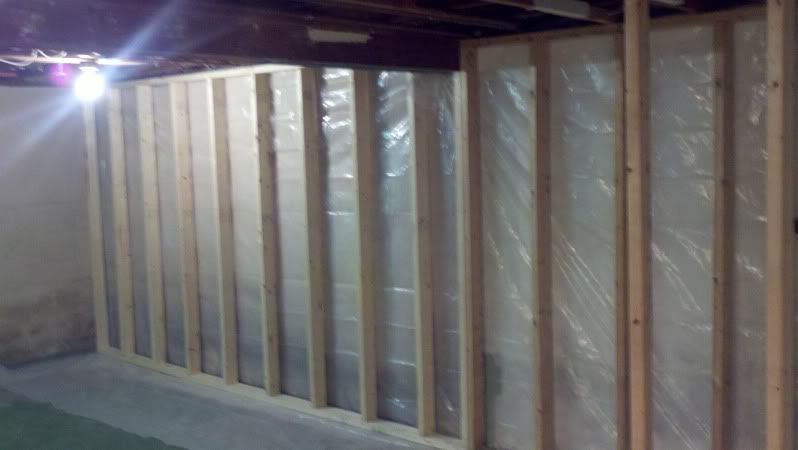
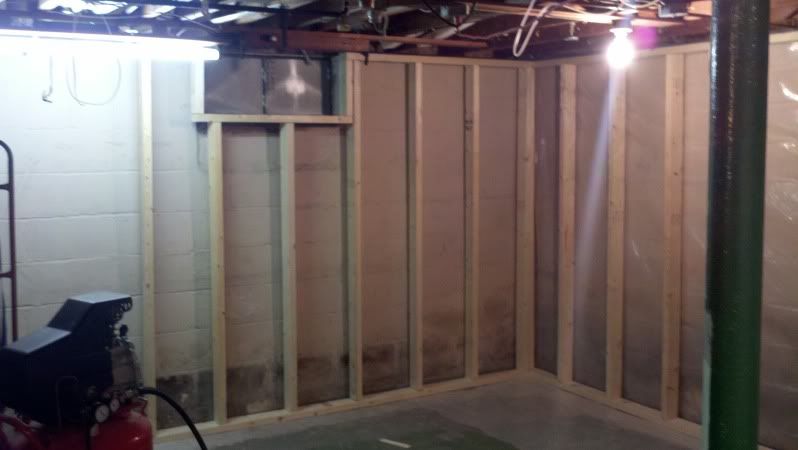
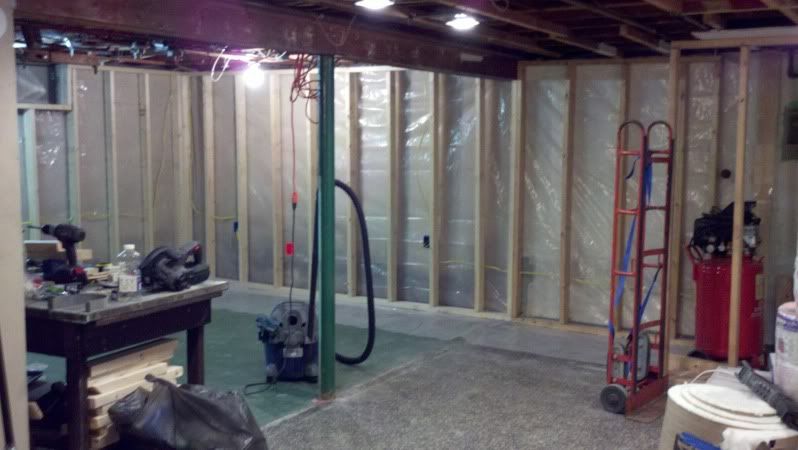
I really do have a dry basement. I know everyone says that, but I had new drain tile put in back in 2000 and the walls were freshly drylocked before I moved in. Are you guys concerened that the insulation itself is resting right against the block wall? That’s what worries me the most. I think the best way to do it would be do vapor barrier first, then studs and insulation and then drywall. BTW, my studs are not screwed to the foundation walll. I went off the existing first floor and I used a Ramset for the bottom plate.
Whether or not the insulation is actually touching is irrelevant. If it’s touching, or just 3 inches away from the wall, the moisture will still affect it and cause a mold situation. A vapor barrier on the concrete might help, but then your just trapping water behind a sheet of plastic…eventually the water will get through that plastic if it is a significant amount.
If you are confident that it’s dry, then I honestly don’t think you have anything to worry about how you did it. My suggestion was simply a method to determine if you had any moisture issues.
The plastic taped to the wall is usually the 1st step in basement finishing.
Fiberglass will not be effected by moisture. It’s just paper and drywall are enjoyed by mold. Wood too I guess, but not as fast.
Hydraulic cement is Supposed to be good at stopping leaks and patches, but as someone tried to fix a leaking crack in my place, it is not going to last. The solution they tried after that was to just drill a 1" hole near the base of the crack so the water would go under the house.
Also, I do not see any outlets on that wall. You are going to kick youself in the ass for not adding at least 2. IIRC, I think that any wall longer than 3 or 4 feet requires one these days as per NFPA70?
(Like I’m one to talk about the NEC… non of my outlets in the upstairs have proper grounds :D)
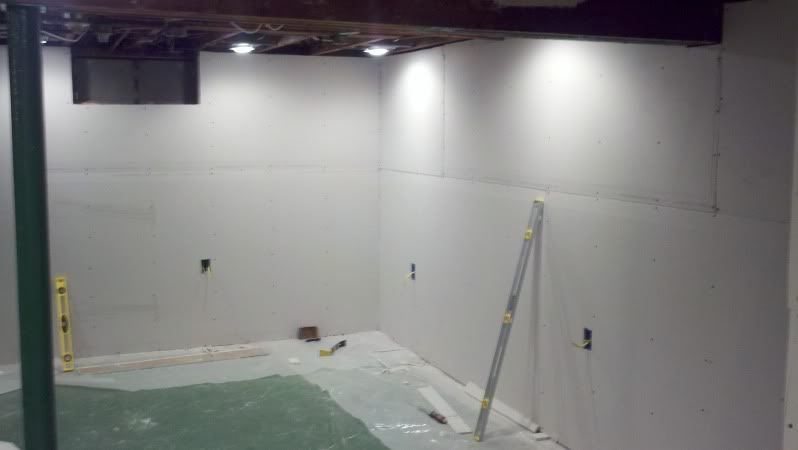
Well the wall you are looking at is my pool table wall. There no outlets needed. I am going to run a few outlets to the ceiling for the pool table light and by TV spot. I will be running power to the left off my box. In this area I am not going to worry about going back to put plastic in. From this point forward I will put plastic behind the studs.
qikz and I were having a conversation about this in another thread except on exterior walls.
I wanted to do exactly the above, but my inspector advised against it.
Kraft paper is a vapor retarder and the plastic is a vapor barrier. The plastic will more or less block all flow… so it’ll just be damp as all fuck in between the plastic and the cement. If you HAD to do plastic, I’d put it right up against the concrete. I probably would just ask an inspector in the area about it honestly… even with plastic behind the studs, the moisture will get trapped there… perhaps seep through the bottom and rot the studs out there? I don’t know. It would take years for any damage to appear I’d bet.
I dunno if you got it all done, but (this is kind of just a personal preference) when you’re laying drywall horizontally I like to put some blocking in between the studs where the drywall will seams will meet. I guarantee if you go to the drywall seam in between the studs and give it a push the drywall will move/separate a little. I will admit that this makes it an ABSOLUTE pita to use fiberglass then. But at least you won’t have to worry about a crack appearing there if someone falls in to your wall, gets pushed hits the wall hard, whatever reason (it seems like I’m following a domestic abuse trend… but you get the idea). It’s probably overkill, but it only takes a bit of time to run around and do it all. I ended up just blowing in cellulose though instead of batts.
Looks awesome though man. Are you enjoying doing it? or hating it?
I haven’t finished it yet, in fact I took the 2 pieces of drywall down and took the plastic down. I decided to run outlets after all. The more I gave it some thought, the more I realized that for the $60 that it would cost me to put in a few outlets, I would be crazy not to.
I love doing this type of stuff, especially knowing that I am going to be using this as my mancave for my pool table, poker table, my sectional couch, tv and beer fridge. I’m going to take a picture and post it in the “all that is man” thread.
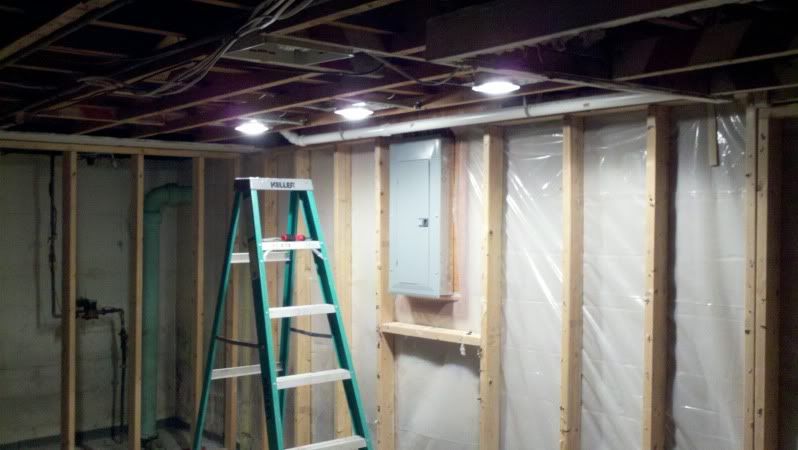
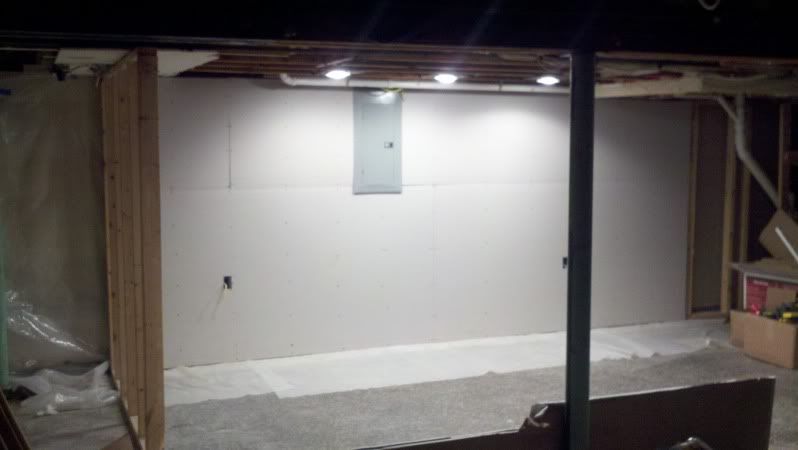
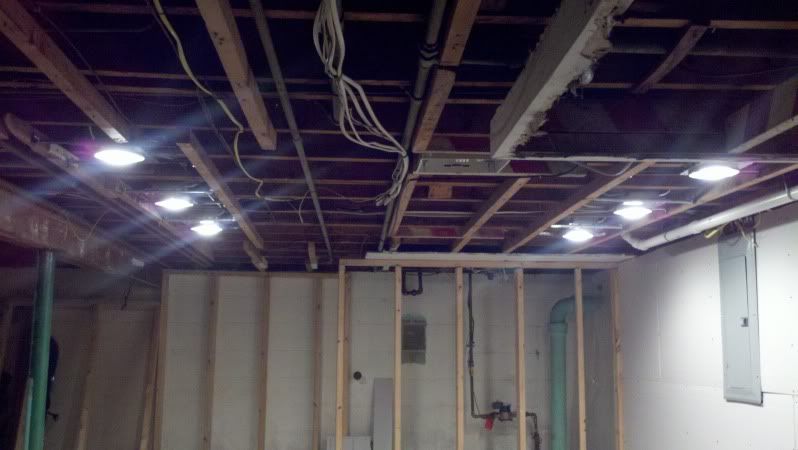
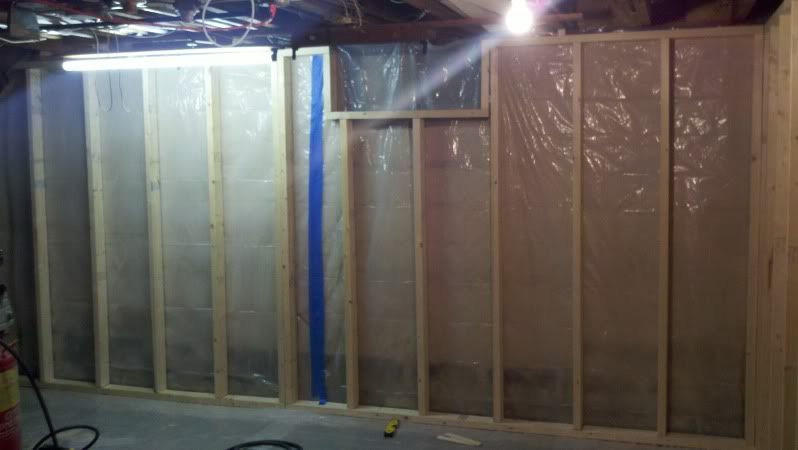
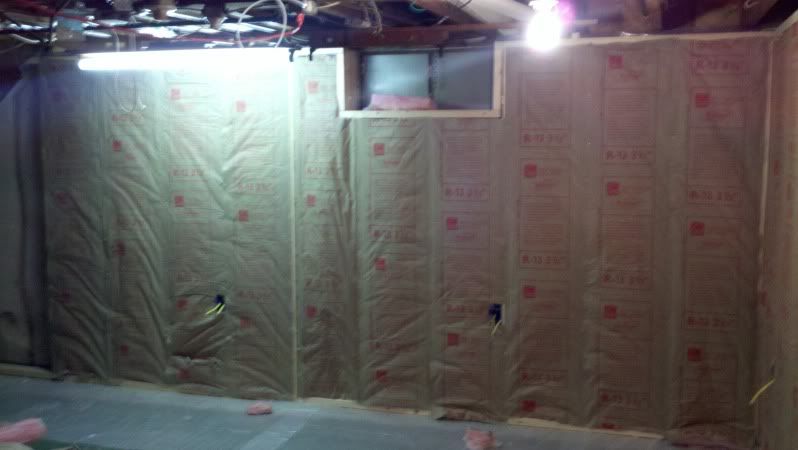
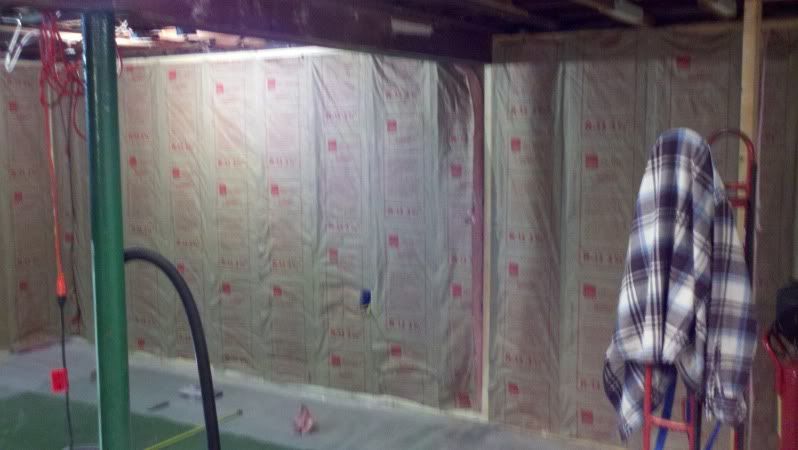
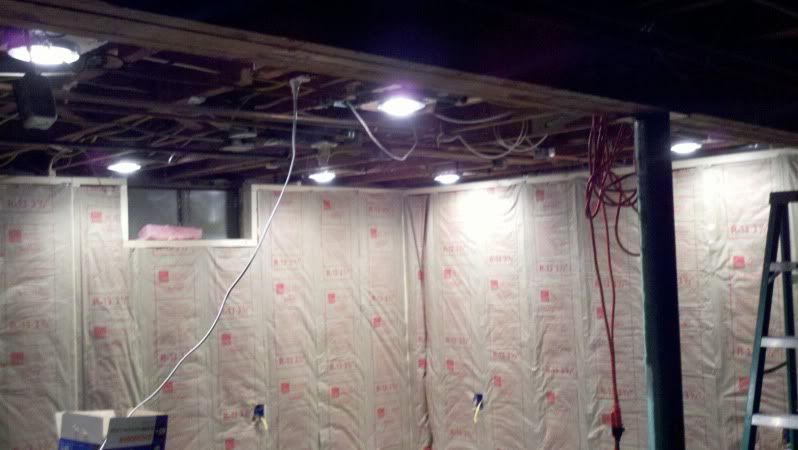
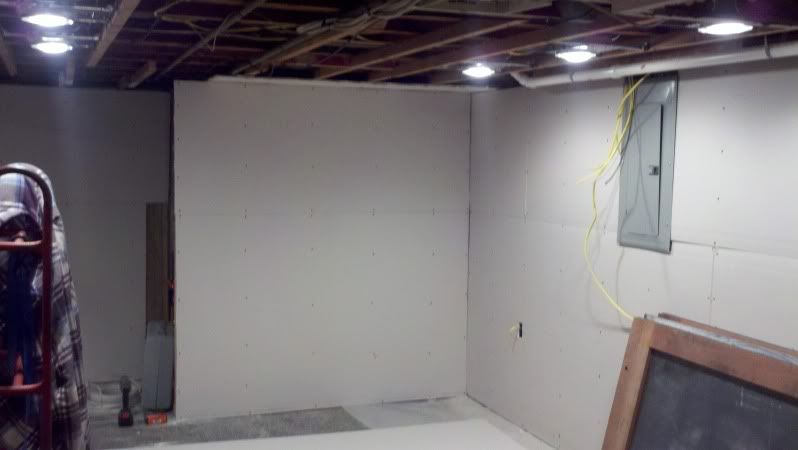
So after a few days of not having any time to work on it, I finally got back down there last night and got a lot of work done. I took the wall apart and put the vapor barrier on correctly. I started by installing some recessed lights, I am doing 3 on each side of the pool table.
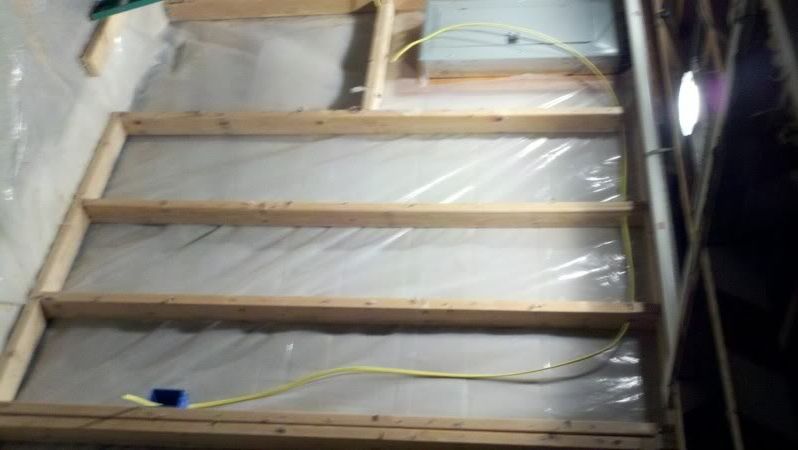
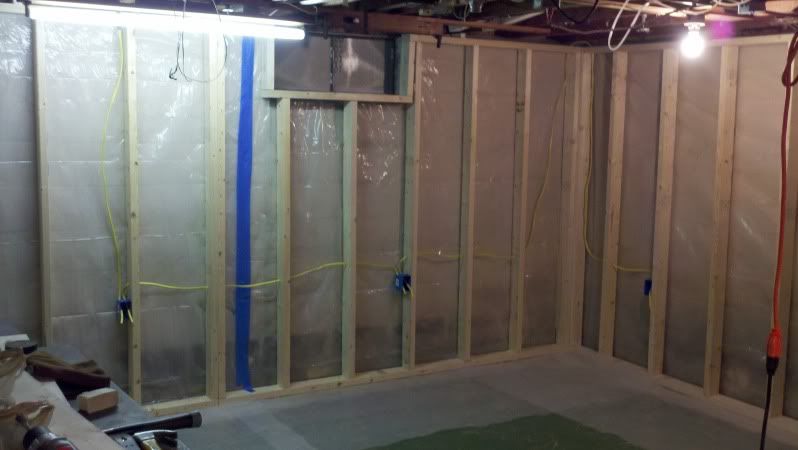
Got some wires put in for the outlets, I still have to staple it to the stud, hence why I didn’t inslate it.
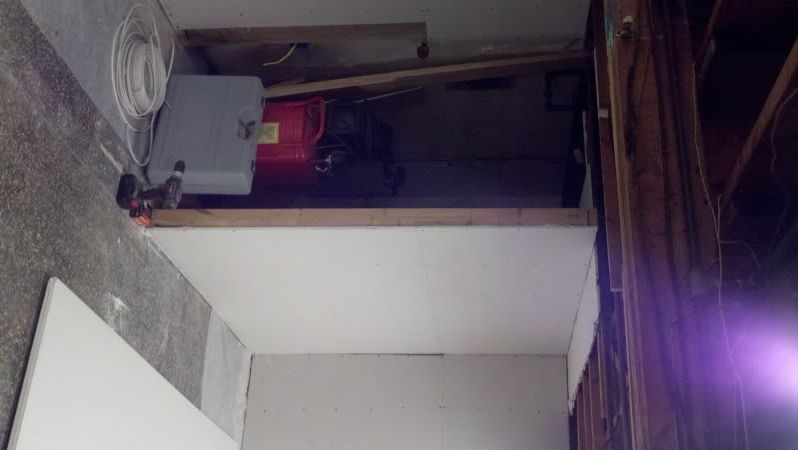
You can see what I am working with for the pool table, it is 9’ x 5’. It is going to take up a lot of space. I just got a poker table to add down there too. I will be leaving a spot in the closet where I will put the fridge in, but it will still be accessible, kind of a flush mount to the wall.
The recessed lights above the pool table are a nice touch.
You should start a “Garages of NYSpeed” thread, everytime I click on this link I keep thinking it’s going to be more garage pics.
The garage will be my Spring project. It’s way too cold to work out there now.
---------- Post added at 12:13 PM ---------- Previous post was at 11:46 AM ----------
I’m also going to add 6 more recessed lights on the other side of the room where the sectional, poker table and TV will go. I will put it on a dimmer switch seperate from the other side.
This is the pool table area? Looks pretty small in width, maybe its just the picture? Seems like you would need more room to play/shoot from the sides.
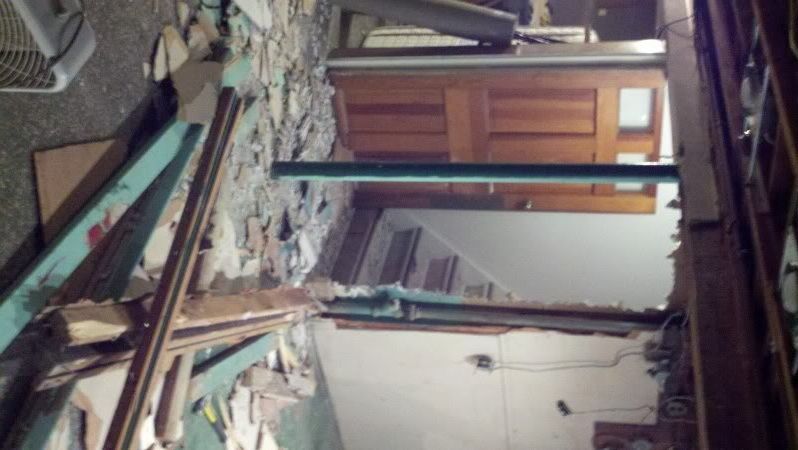
It is a little tight, but the pictures make it look a lot smaller than it is. I plan to knock another part of the wall down( not shown in picture) to make more room.
Moving things along as planned. Got the second set of recessed lights put in tonight and finished the wiring. I put the rest of the drywall up for that wall and framed a little bit more. Thursday morning I will be going to get more 2x4’s, insulation and drywall for the rest of the walls. My plan is to have the whole basement framed up and drywall put up by Sunday night.
Another update for you guys. I have been hustling the past few days to get some work done. My dad just had surgery and is in the hospital so I have been trying to keep my mind off things and that has resulted in more work getting done. Anyways, on to the good stuff…
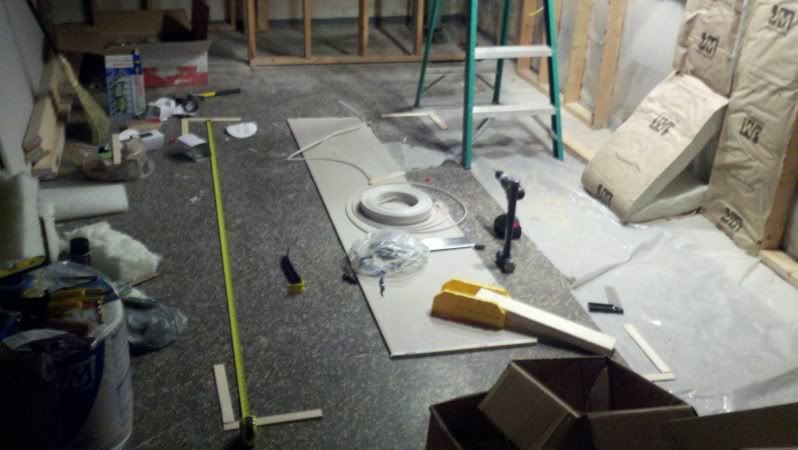
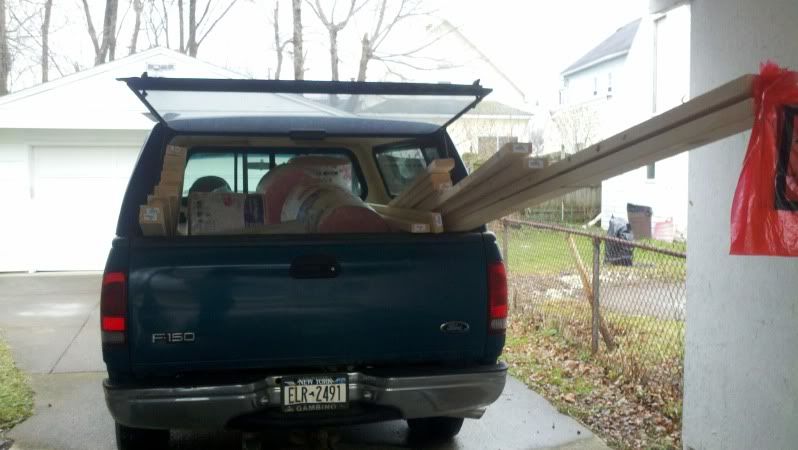
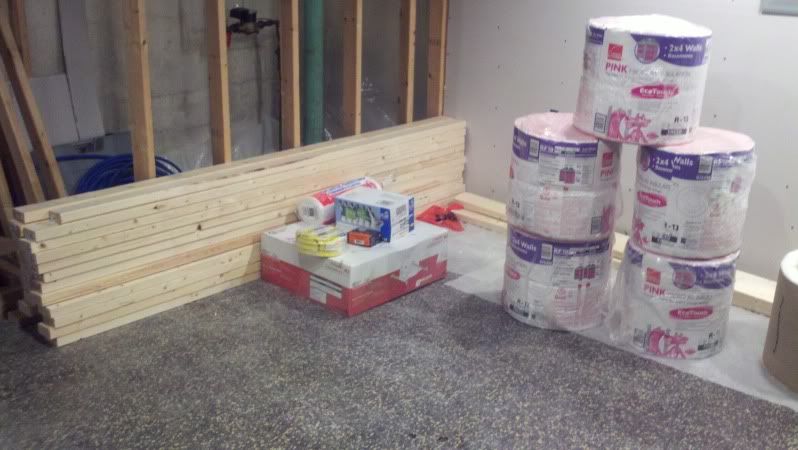
Here is what $400 worth of building supplies looks like:
My sidekick for the day:
2nd wall up
3rd wall up
3rd wall with vapor barrier installed
Electrical lines run
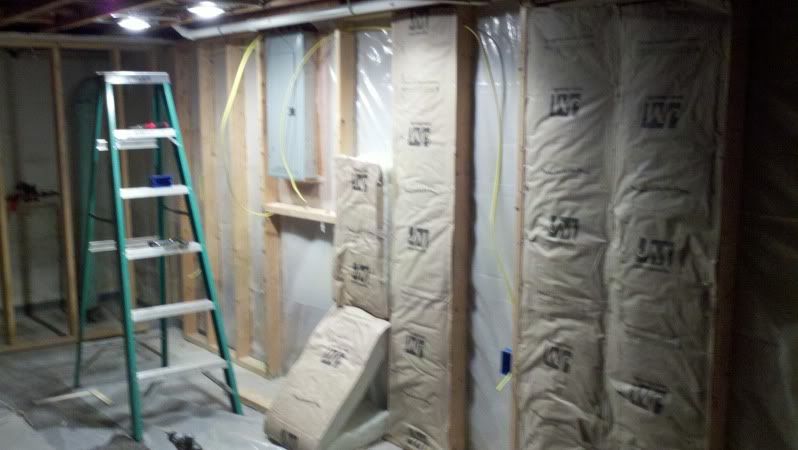
All electrical lines run and ready for insulation
3rd wall with insulation
More insulation
More recessed lights on the theater side of the basement, I also installing dimmer switches for both sets of recessed lights.
I took a break for the day to make some Venison jerky and to visit my dad, but I will be back at it tonight to install some drywall and get ready to mud and sand this week. Should be ready for primer/paint by the weekend. I’m hoping to spray the ceiling next week and I still have to figure a plan for the floor.
Looks great man!!!
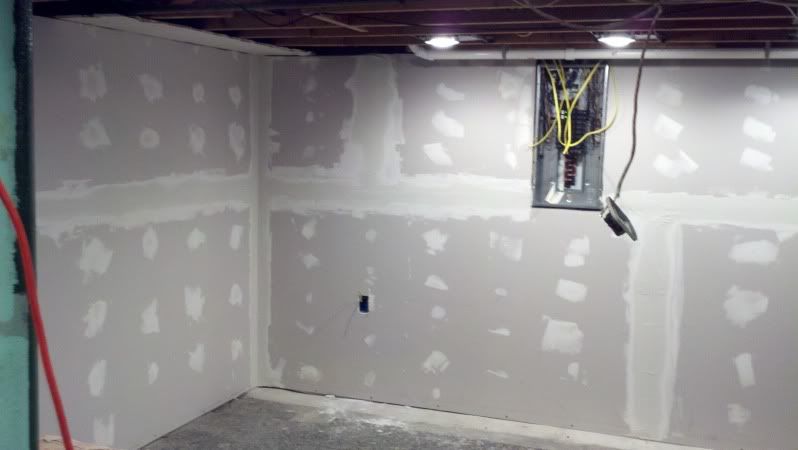
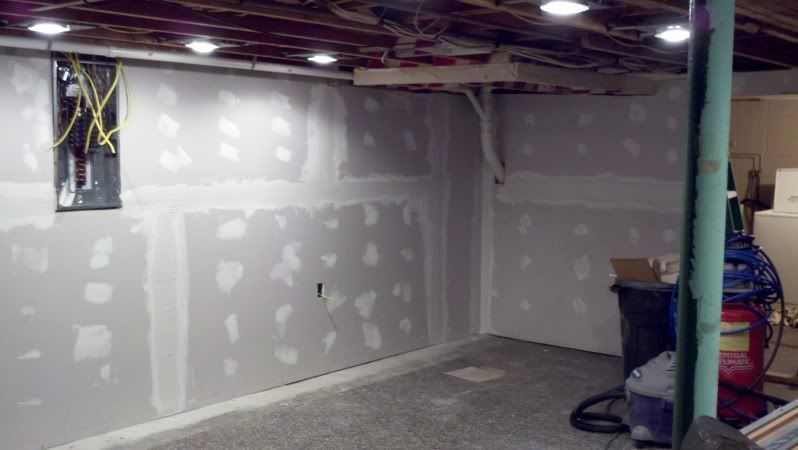
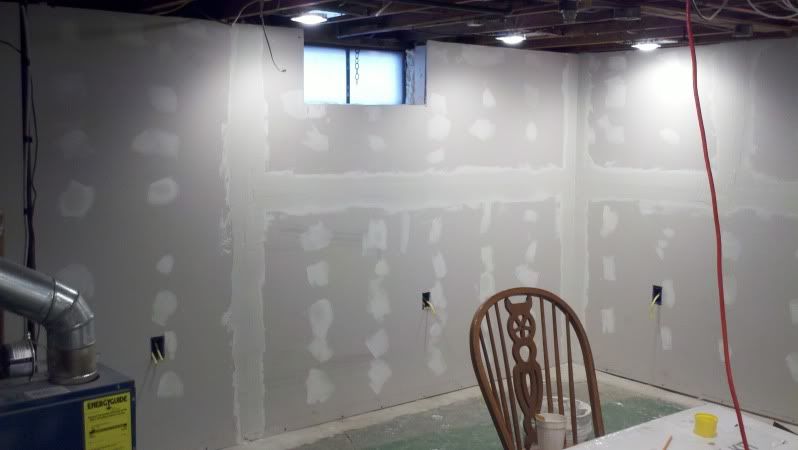
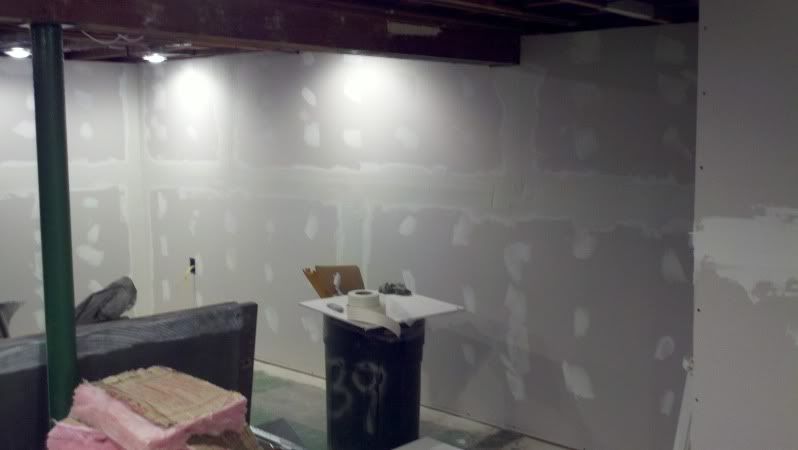
Got a lot done in the past few days. and more should be done today. I am going to put another coat of mud on and install the sub floor. I have decided to not rip out the tile since I just don’t feel like dealing with the asbestos. I will be installing the Dricore flooring system and putting a sheet of linoleum over it. Enjoy!
---------- Post added at 11:02 AM ---------- Previous post was at 10:52 AM ----------
And yes, I am aware that my mud job is the suck. It’s honestly the first time I have every done it and I attempted it with no help.
It looks great, good job.
Looks good so far. Too late to mention this, but your electrical wire should have been secured within 12in of entering a box for Code I believe.
Suggestion for that basement window would be to go with one of these Vented Block windows.
http://www.homedepot.com/h_d1/N-5yc1v/R-100061488/h_d2/ProductDisplay?langId=-1&storeId=10051&catalogId=10053&superSkuId=202766017

They are inexpensive and offer privacy and better thermal protection than the old windows. I am looking at these for the home I am purchasing, and my cousin has had them in his basement for 10+ years now without an issue. The reviews are good as well, with install times mentioned at 30-45 minutes per window.
I did secure it before I put the insulation in. I stapled them to the studs since you can’t leave free wire hanging in the insulation. I thought about replacing the window. That will probably be a project when the weather is better outside. I left enough room around it to remove it at a later date and I am going to hold off on finishing around the window. I sprayed it with great stuff to help with the insulation for this winter.
Lookiing pretty good. You are really moving along quickly with all this.
I just finished priming a room I was working on, but it’s all angles and shit so the drywall took forever (hung 24 sheets of 4x8, and none of them were full sheets), so I have a real feeling for how much work this is that you are doing. Did you hang all the sheets by yourself too, or did you have some help (besides the dog)?
X…
I have done everything on my own. I put in a lot of late nights on this. Between chasing the dog away from eating pieces of drywall and cleaning, I really don’t stop working on it. My goal is to have it totally done in less than 2 weeks. Today I will sand my first coat on the one side and then lay the sub floor.
Just finished mudding the first coat on the couch/tv side.
