Only took ~22 days.
Hoping to work on the flywheel this weekend.
Ended up buying that house. Guess I get to move to my own shop in a few months.
Only took ~22 days.
Hoping to work on the flywheel this weekend.
Ended up buying that house. Guess I get to move to my own shop in a few months.
Titties and tires, nothing but problems.
Keep up the work!
ITB’s are awesome…
Yea, I’m pretty stoked. For sound and throttle response, they can’t be beaten. I’d like to get my manifold fabbed up and at least start testing it by the end of the summer. For now, standard induction will do just fine. I’ll be happy to have the car running well enough to move in July without a tow truck.
And they look fucking awesome when showing off the car!
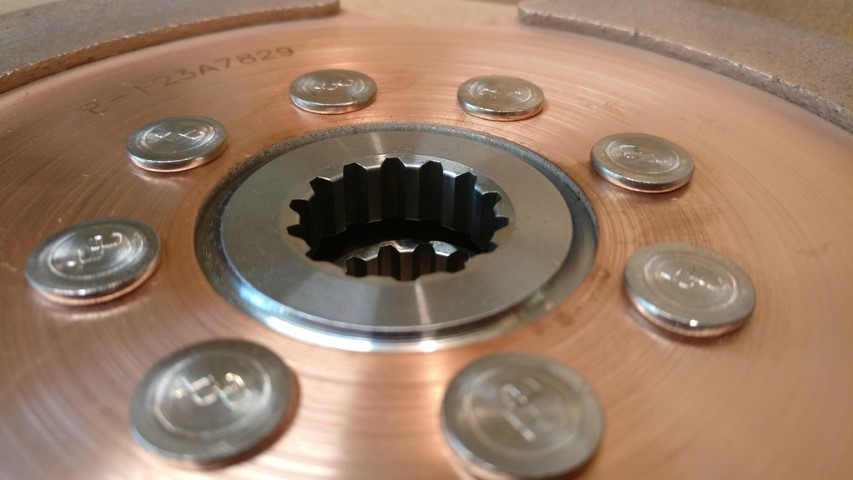
Worked on the flywheel a bit today.
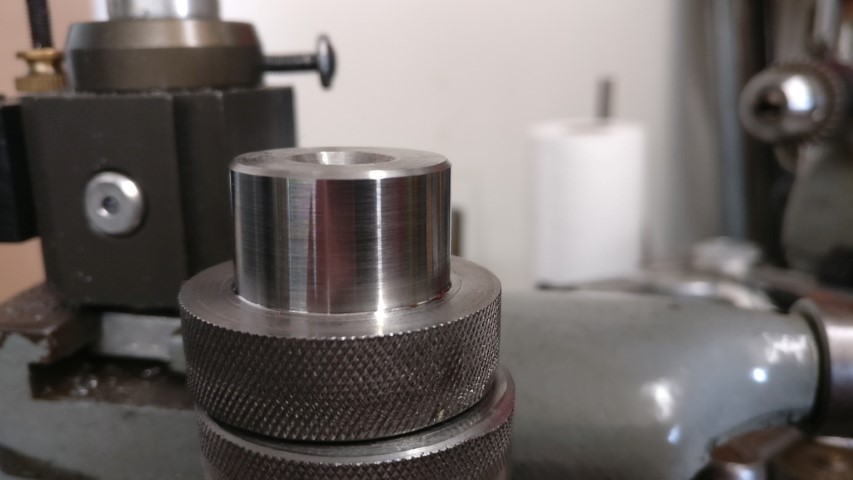
I bought one of those little 6-ton presses from Harbor Freight for like $60 the other day.
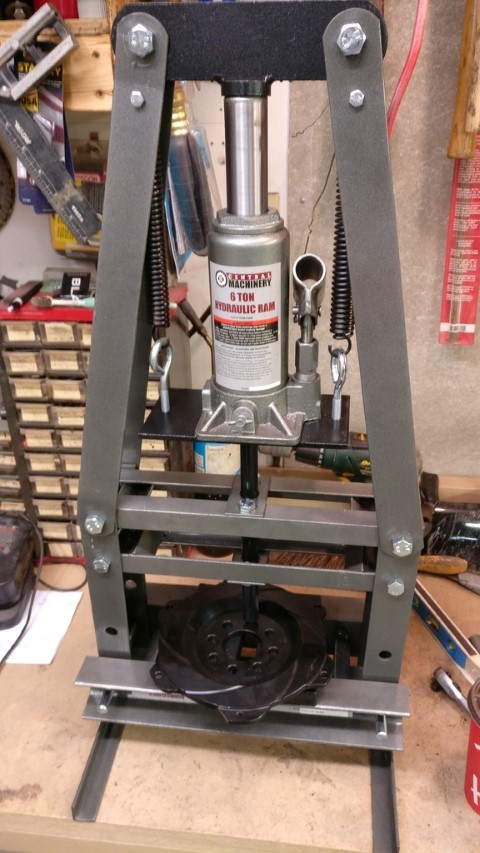
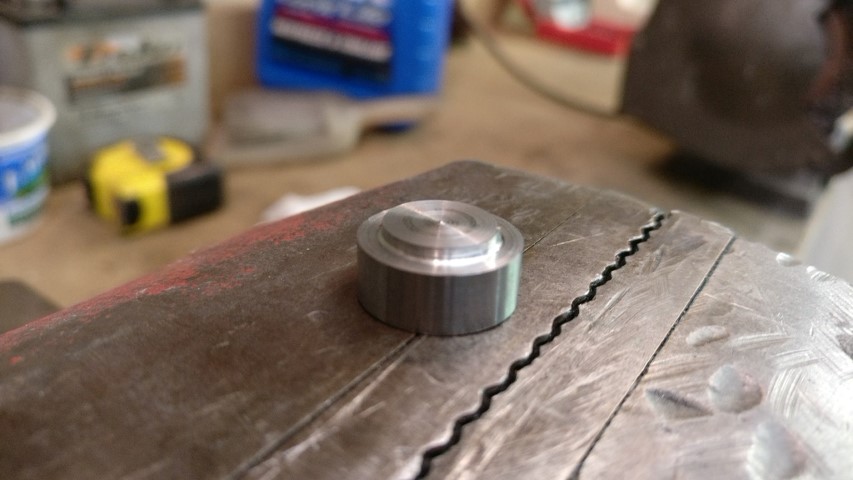
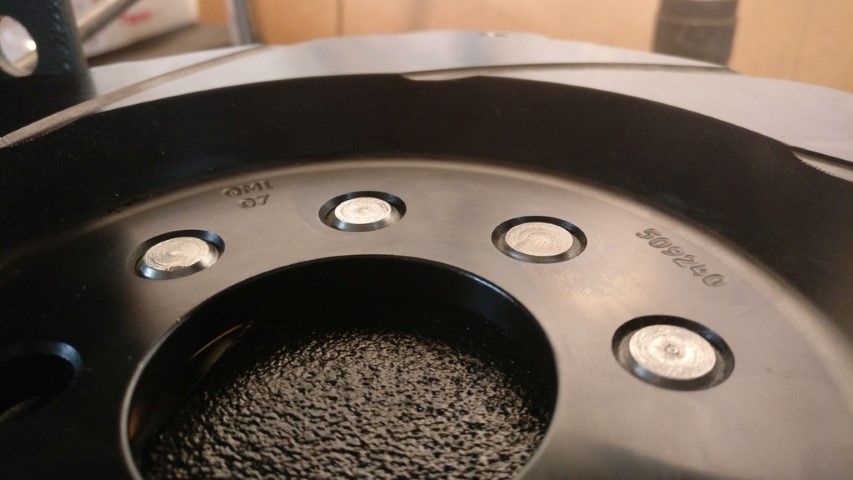
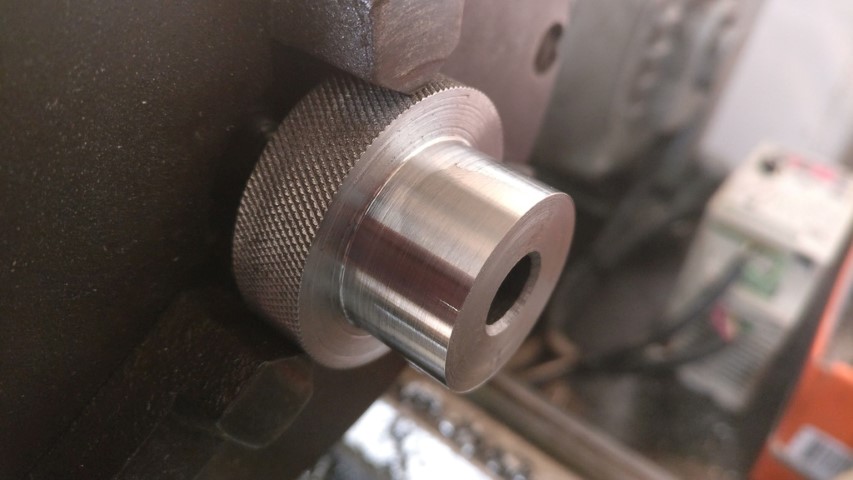
I assembled that and then got to work turning some ~.750" 4140 rod into .455"x.300" plugs with a 45° chamfer about .035" deep
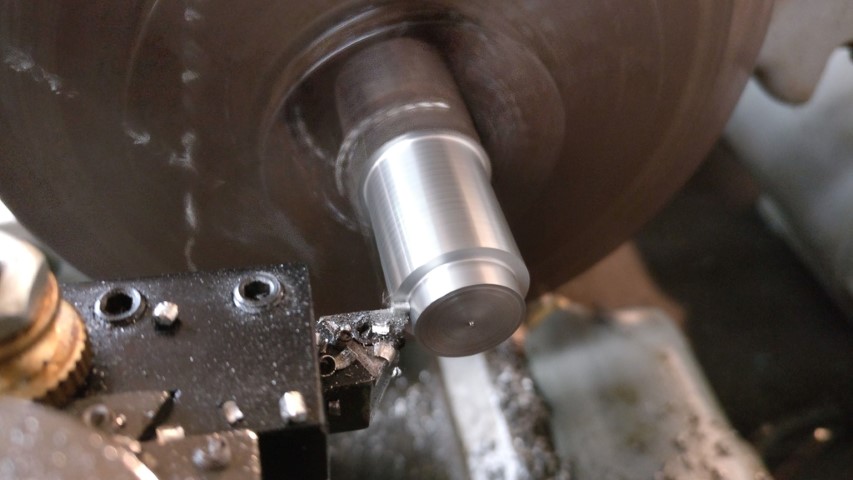
Ended up with something like this.
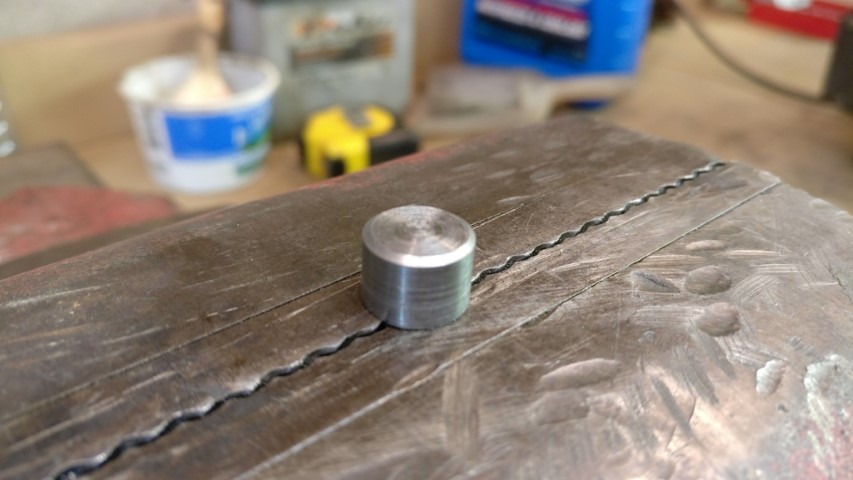
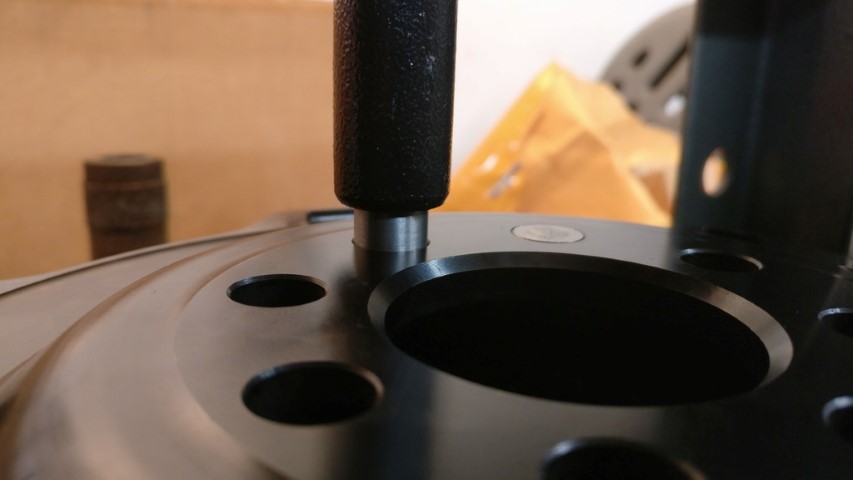
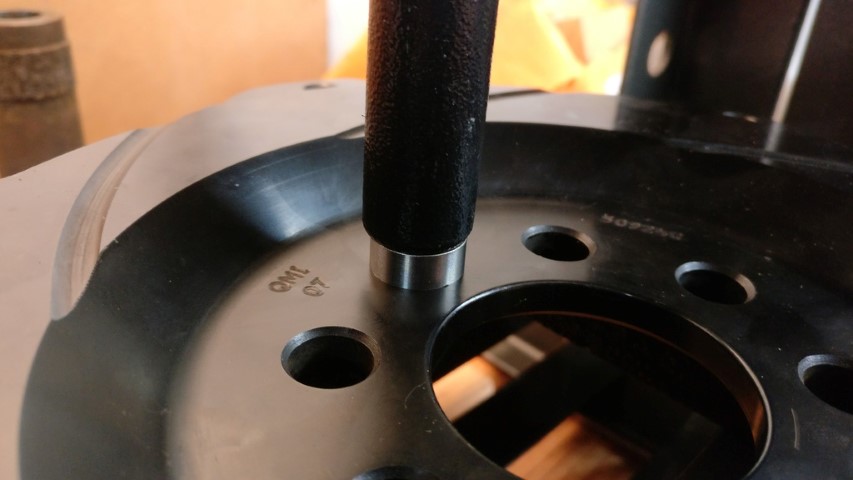
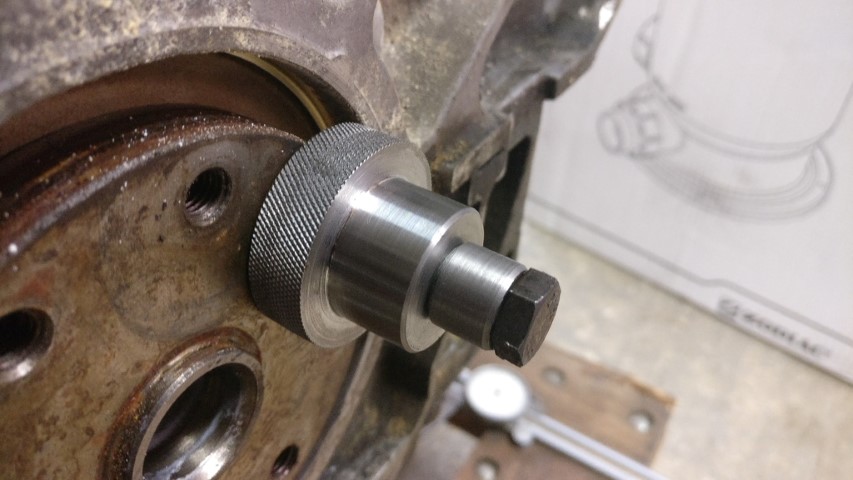
I also made a drift of sorts, to allow pressing only on the plug itself. My initial intention was to machine the faces flat and recess the plugs to the bottom of the factory countersink in the flywheel with that tool.
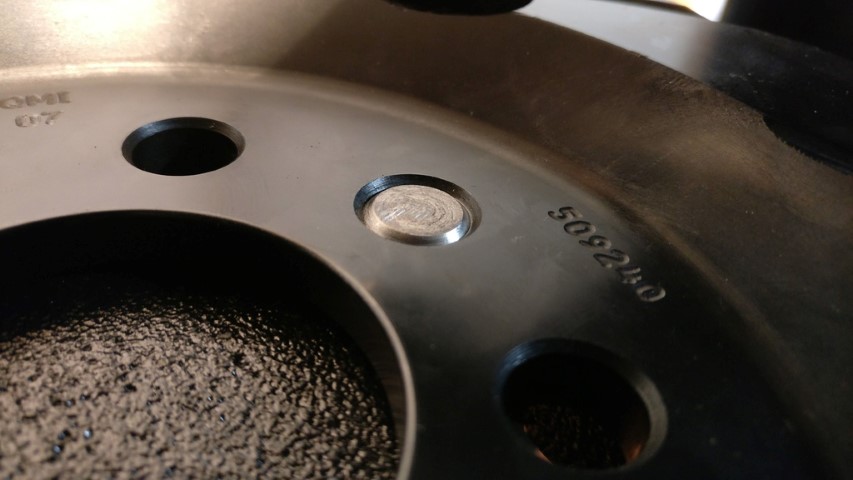
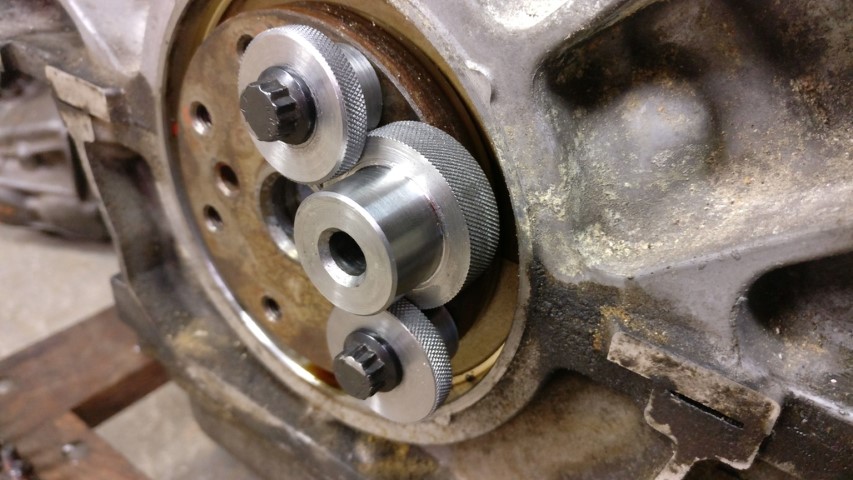
I ended up making the plugs the same overall thickness as the flywheel with a matching chamfer and I pressed them in with LocTite sleeve retainer. They’re about a .005" interference fit.
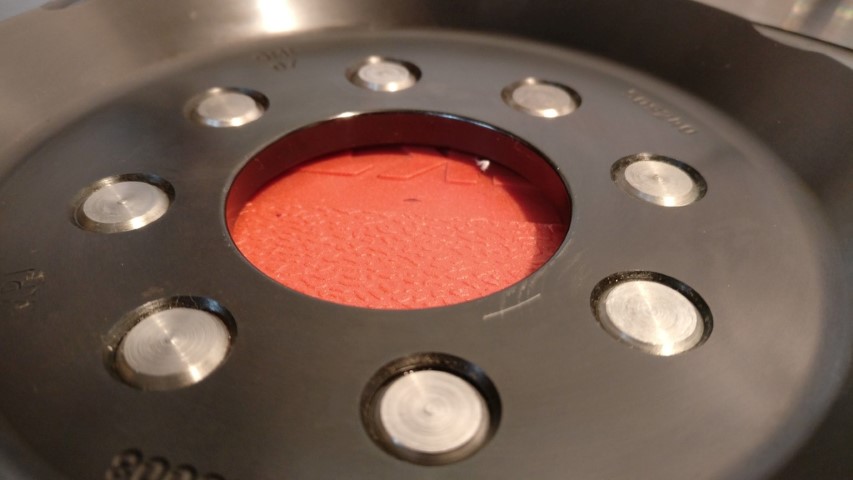
Here’s a plug going in from the back side.
Managed to get four done tonight in a couple hours. I’ll go back tomorrow to finish. Then hopefully Friday I can take it to work with me and put the appropriate bolt pattern into it.
Clutch should be here tomorrow as well. Can’t wait to see that fella’.
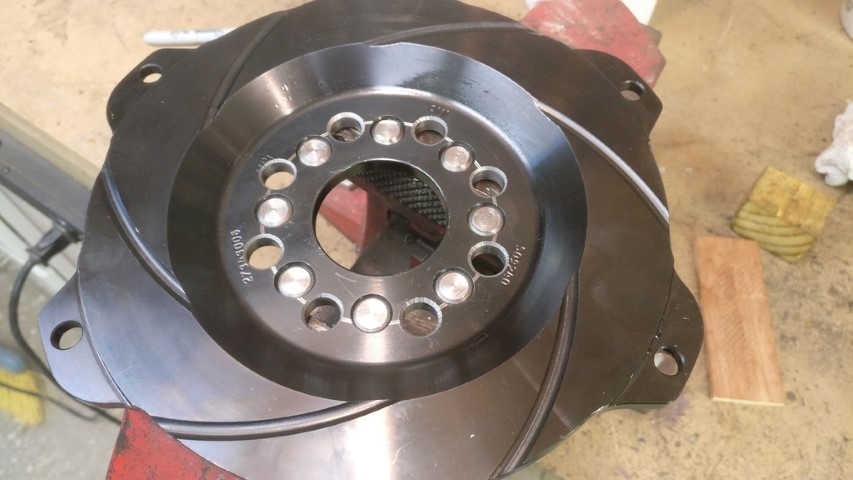
Got that flywheel mostly finished up. Just need to take it to work with me tomorrow and drill the new bolt pattern. We’ve got a big honkin’ drill press hiding down in the bowels of the building.
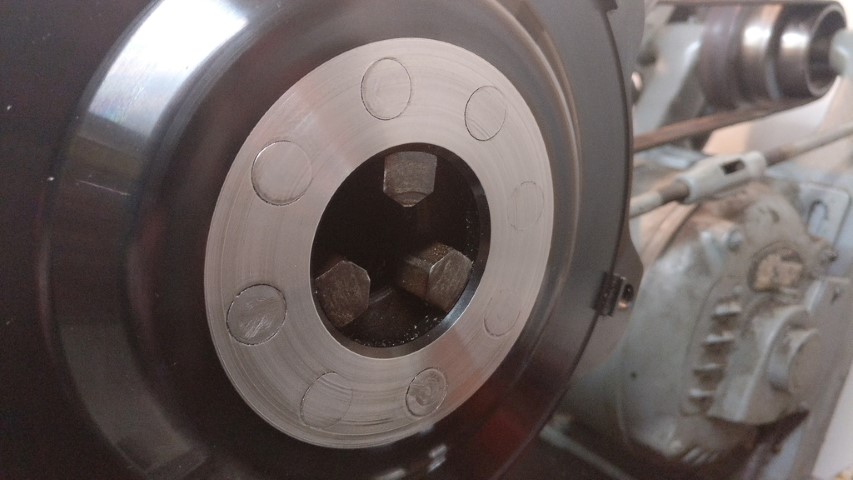
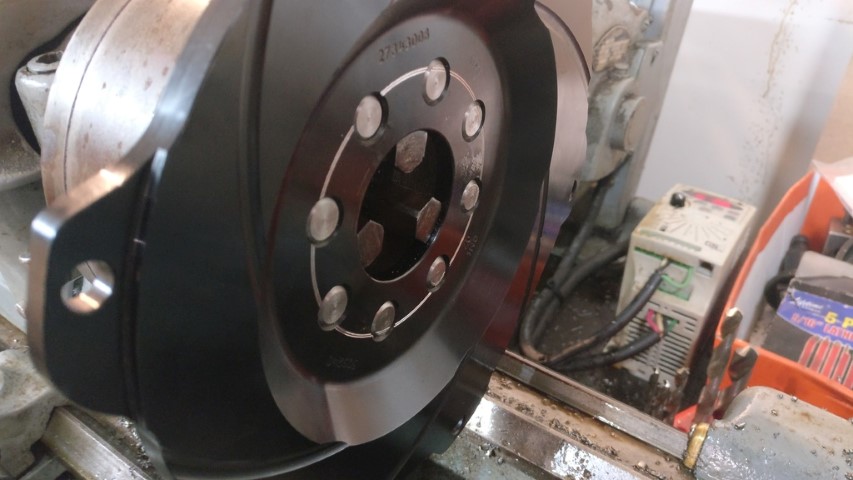
Last picture there is the BCD for the new bolt pattern. I’ll lay the new holes out by hand, pilot drill and then bore up to ~7/16".
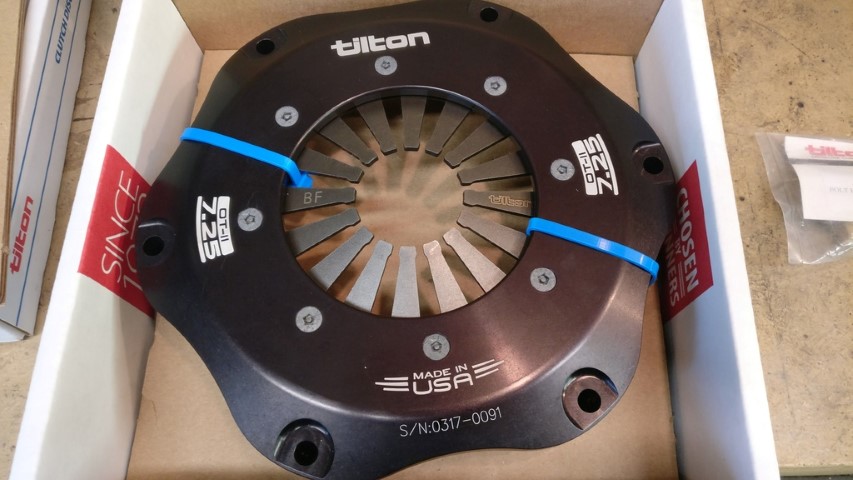
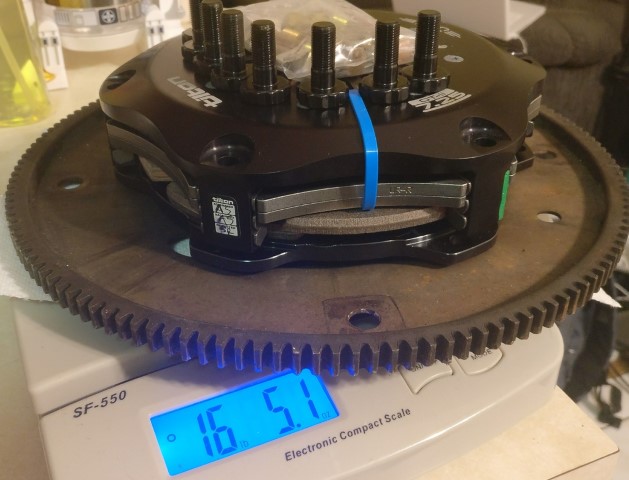
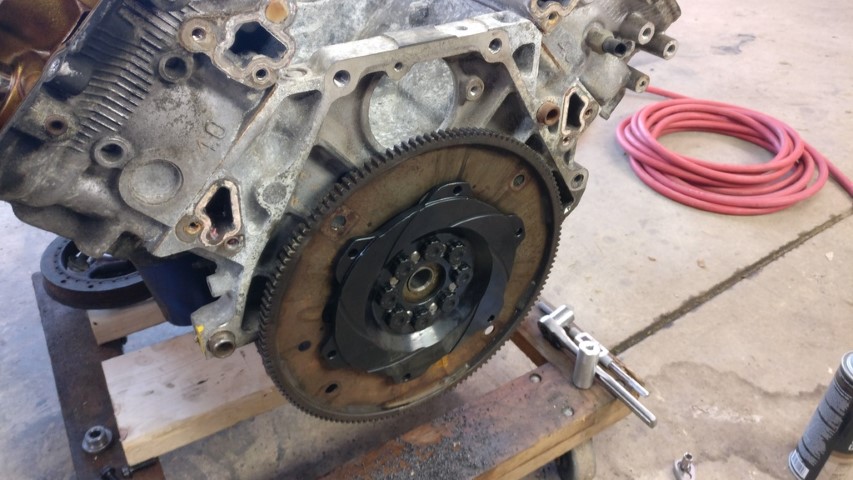
New clutch showed up today. Damn it’s pretty. Why didn’t I do this years ago? Oh yea. Dumb kid with no real tools.
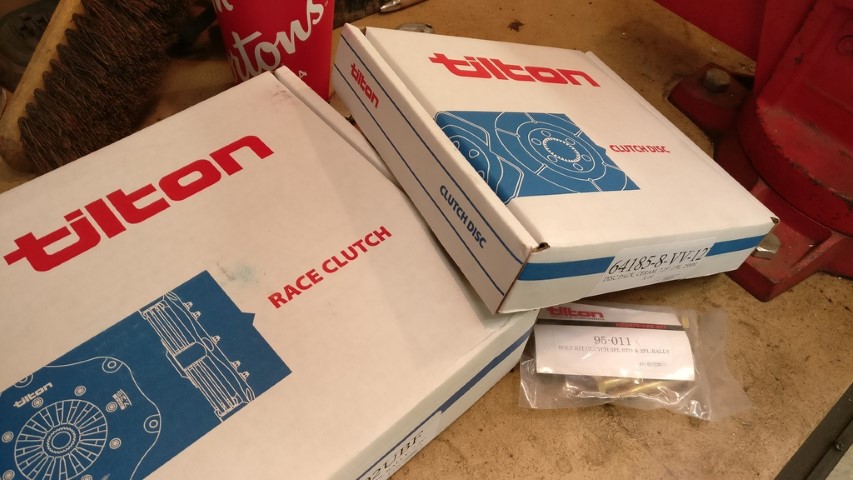
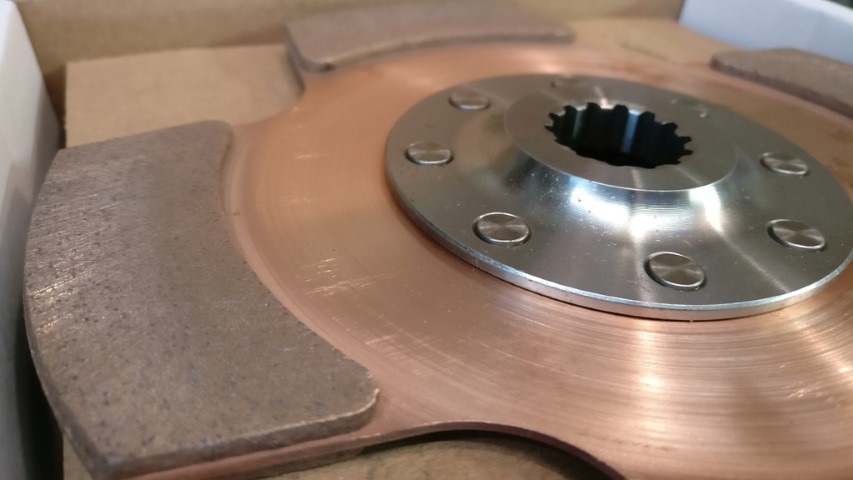
…and finally, the entire package WITH all hardware.
If I finish the flywheel at a reasonable time tomorrow, I’ll head back over to Eden and finish up the tooling I need for crank flange redrilling.
I finished up the flywheel today.
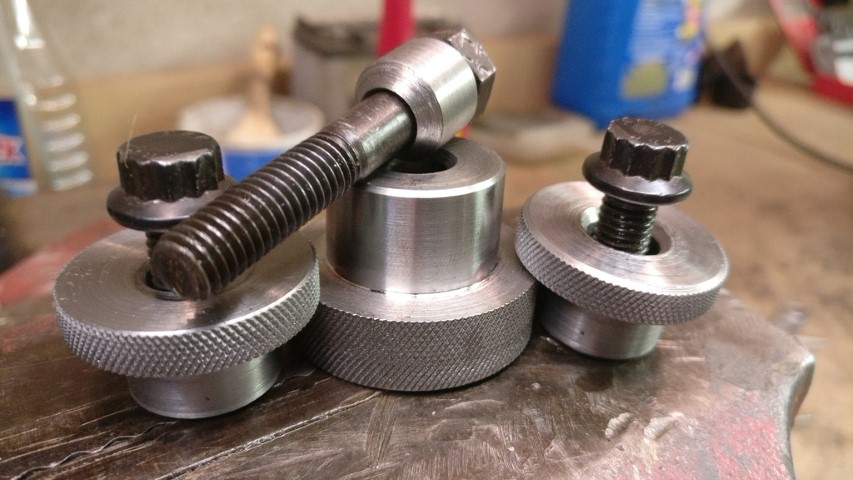
I also started rethinking my crank flange drilling jig. I don’t like that bootleg strap that holds it to the flange. I decided to machine a shoulder into the bit guide itself, and I’ll make mirror image ‘washers’ to clamp against that shoulder when bolts are torqued.
This will also more easily allow the use of the two different sized bolts used during the drilling process.
Hoping to get over there Sunday and make the rest of the clamps and stop collars I need for the bit and tap. Then I tear down and reseal the new motor. Realistically, I only have a couple solid days worth of work left. I really just need to find the time to spend in the shop.
Walk over to my house next time you’re in Eden. We can make vroom vroom noises on the motorcycles.
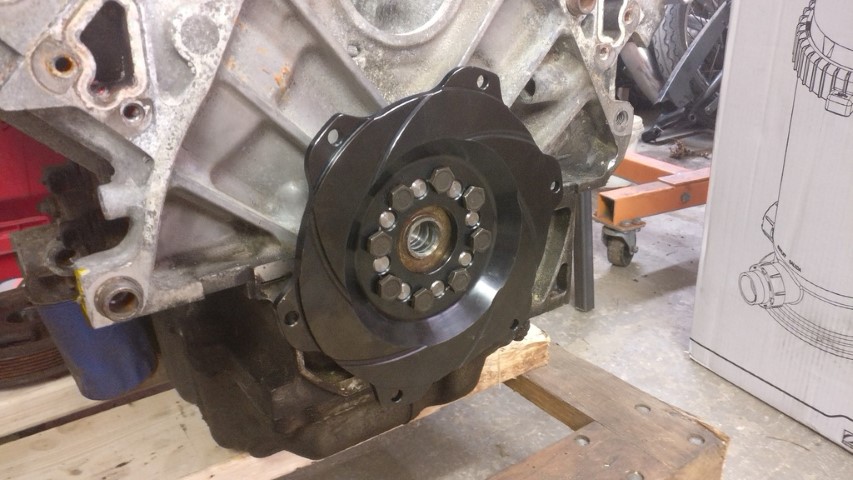
I reworked that flange re-drilling jig. Much better.
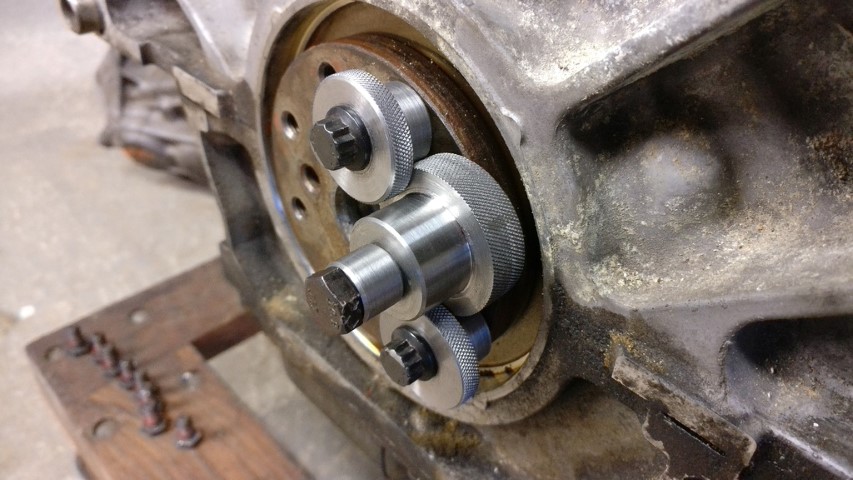
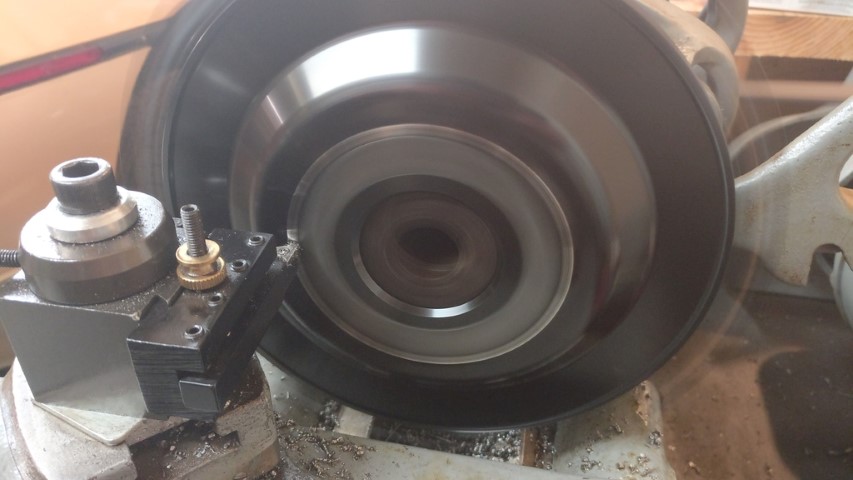
Getting pretty decent with this lathe. Beautiful surface finish.
I’d like to get back over tomorrow to make my flywheel centering pilot and tap guide. I’d also like to get the crank flange drilled and tapped. We’ll see what I come up with.
Ugh cannot wait for this to be up and running again!
Holy shit, it worked.
Nice man!!!
I am very into this thread - I haven’t posted in it yet but always look forward to updates. :tup:
Hah, thanks. I’m heading over tomorrow to tear down and reseal the bottom half of the block as well as stud the head bolt holes.
Side note, I want to use the old heads as they’re already ‘built’ and generally in better shape, but I do need to swap two intake valves to complete the process. Can I get some lapping compound locally anywhere?
Most autoparts stores carry water mix valve grinding compound on the shelf.
Napa part # is7652657
Permatex # is 39835
Thanks! Managed to find some of that along with a lapper and some Ultra Grey for gluing the motor back together. Should be just about ready to put it back in after tomorrow.
So, I got the new motor broken down. I’m not in love with all of the corrosion all over the block, so I’m planning to take care of that after I get the bottom end degreased and glued back together.
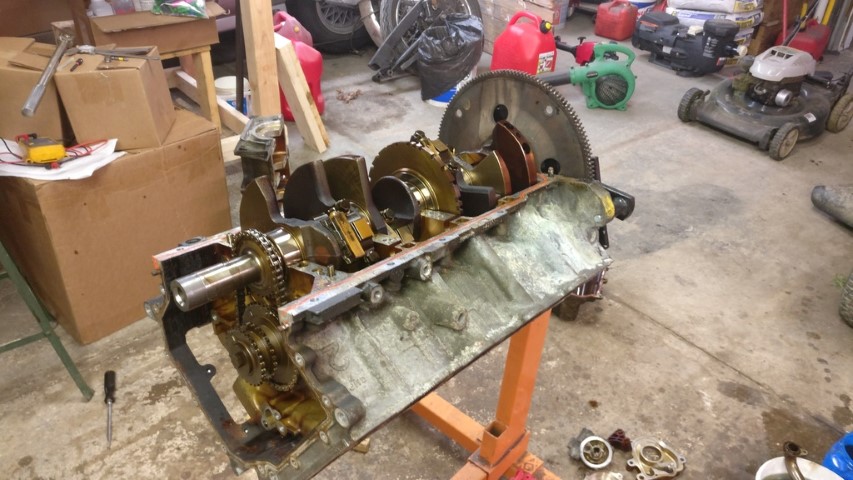
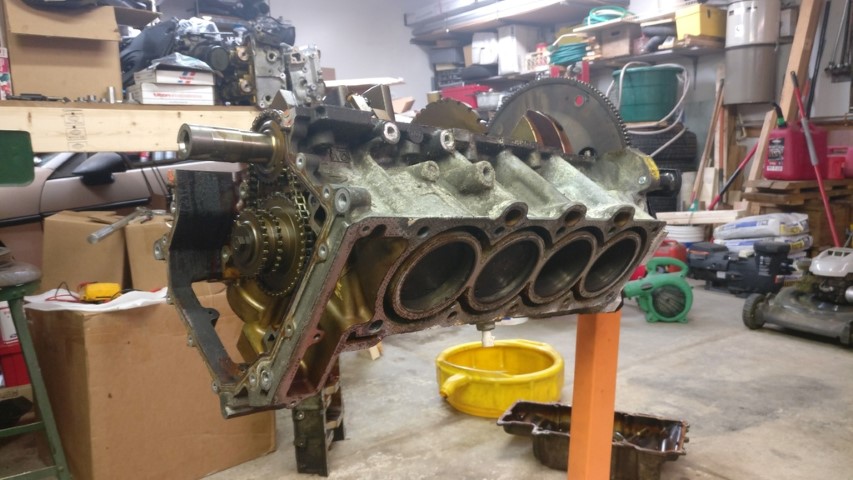
I still have to tape off the cylinders and repair the head bolts, so I’ll probably do the block reseal first and then the head bolts, then unfuck the block walls.
I didn’t take a bunch of pictures, but I’m sure all of you have replaced and lapped in valves at some point. This was my third set of Northstar heads tearing down and not one single valve showed much of any wear. Just some carbon. Seats were impeccable. Lapped in nicely with that Permatex stuff and a little lapper.
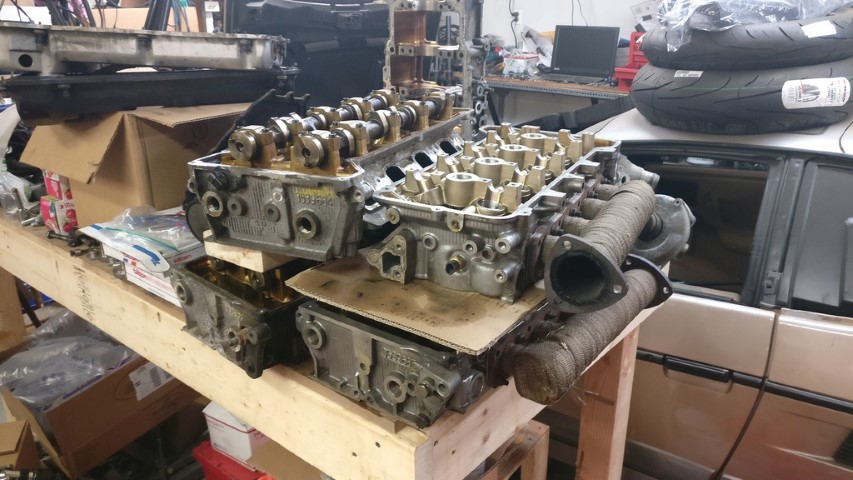
The heads from the old motor are in much better shape, so they’re going on the new shortblock.
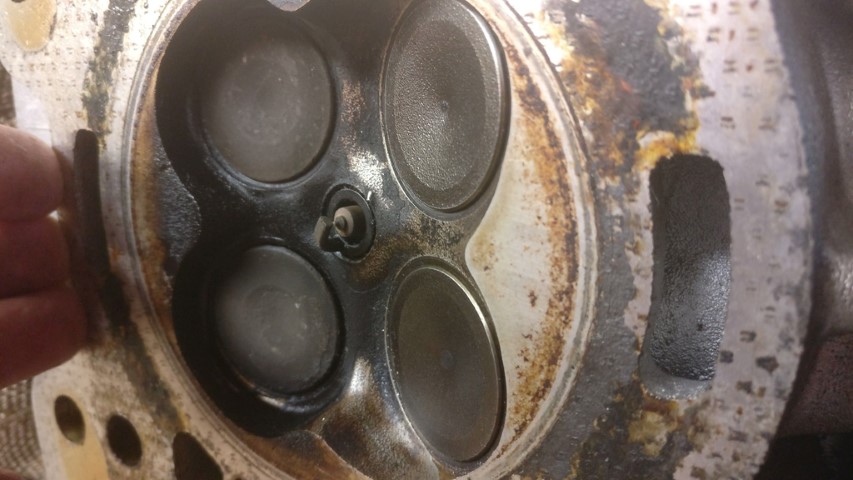
‘New’ valves, nice and lapped in;
I’ve got half of the motor parts soaking in diesel, the other half in commercial chemical degreaser. I’ll be back this week to clean everything further. This engine was filthy from the case half down.
Still waiting on parts to soak in degreaser. Plan is to finishing cleaning and reassemble on Sunday. I have to work all damn day tomorrow.
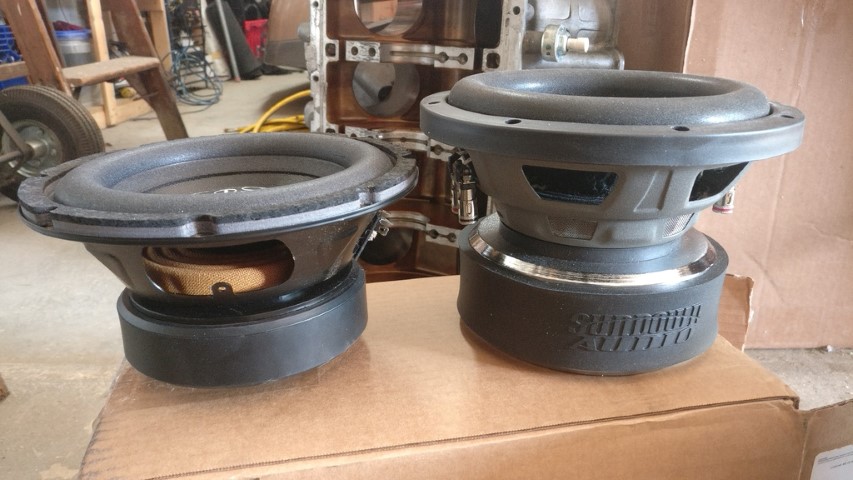
Having said that, I got this today.
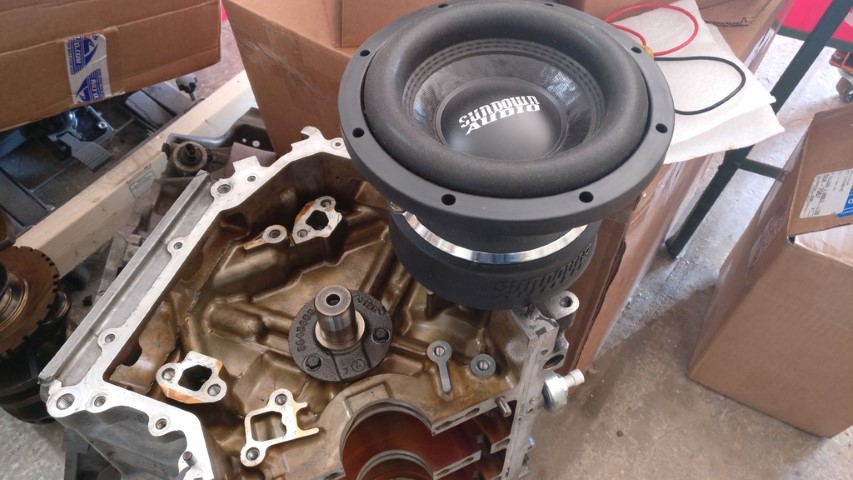
…and it’s a lot of subwoofer for a little racecar. Here it is compared to what it replaced;
Here it is tucked away in the tiny [.3 cubic feet] sealed box.
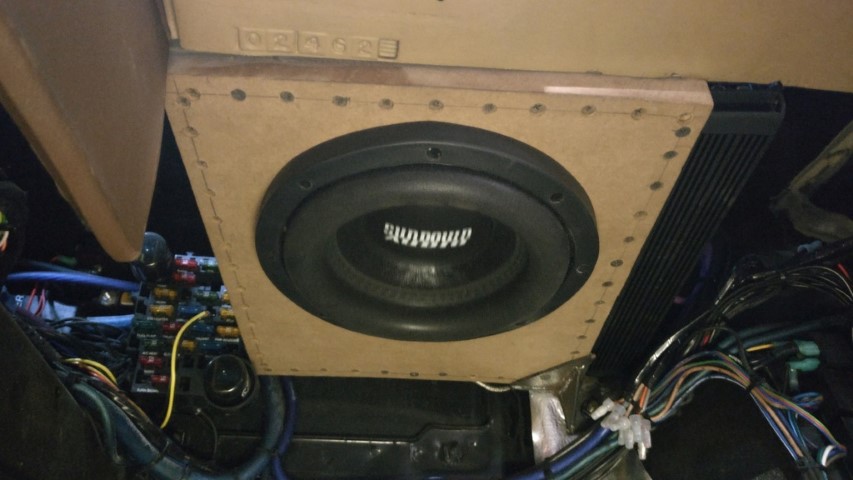
Didn’t have to modify the box or even retune the amp. Score. The main reason I replaced the sub is that the old one only had one four ohm voice cool, limiting amp power to 220W RMS. This new one has dual four ohm coils, so I can wire them down to two ohms and get 440W RMS out of the amp. Much moar better.
Hopefully Sunday I have a mostly completed motor.
Nice progress! I miss having a sub in my cars lol I always thought it would be cool to “free air” them, but only certain ones can be done that way and not sure why it’s done, I guess I’ll look it up now.