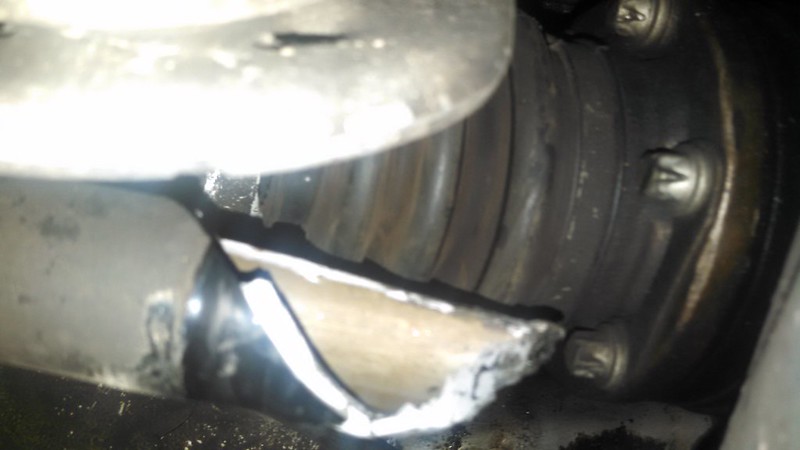
so, decided to try something new in the name of science and research (who am I kidding…). Leaving my neighborhood at around 10mph, I give her a lot of revs and sidestep the clutch - with the end of the season nearing and my tires nearly dead, I wanted to really get every last mile out of them. The usual wheel hop comes around, and I get one loud violent bang - then we stopped spinning tires Initial thoughts are broken diff, trans, or axles.
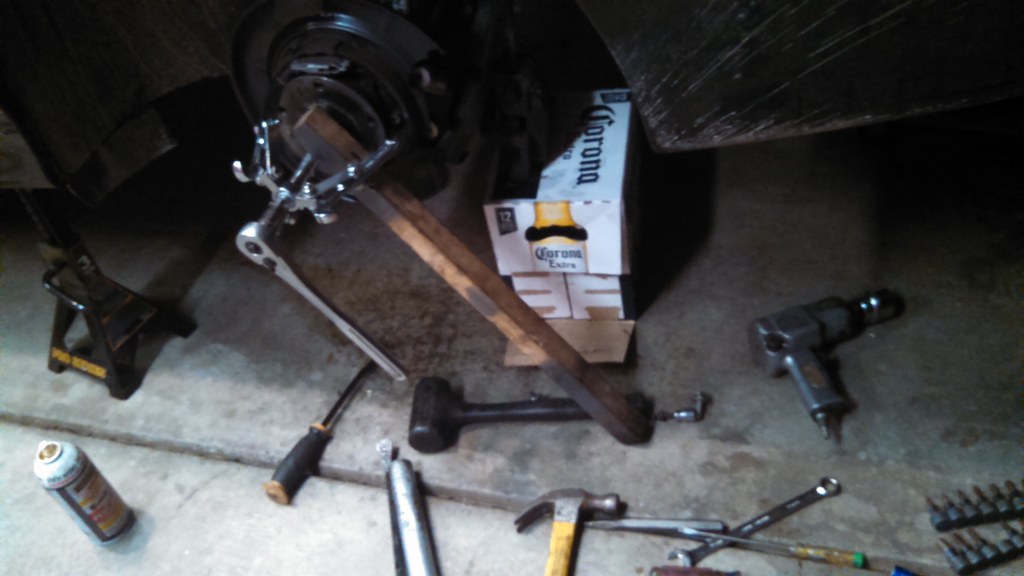
Pushed her back home and she sat for a week before I decided to get off my ass and see what was going on
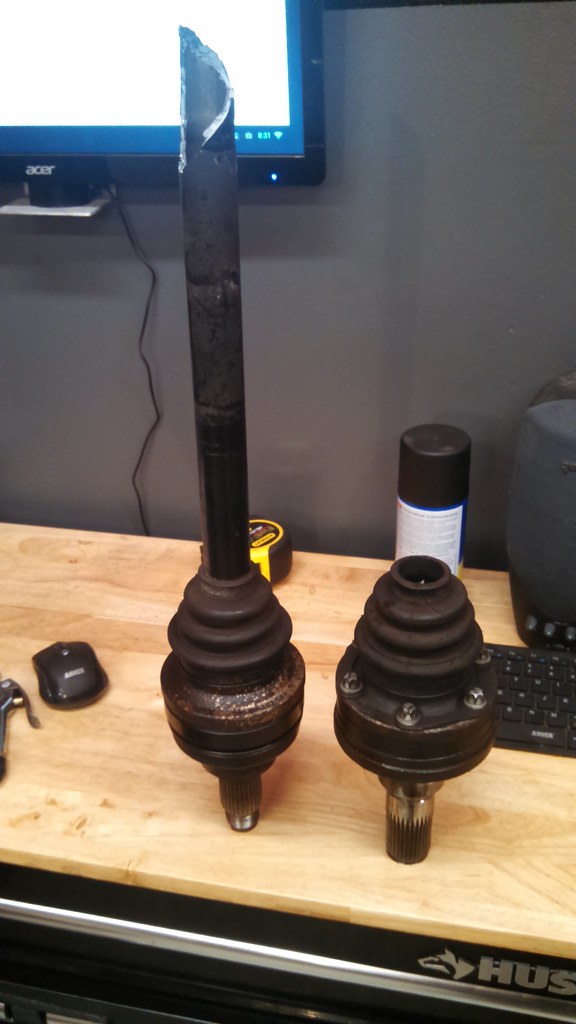
I have to snap some pictures, but the autopsy of the failed axle shows a broken roller bearing cage. The axle definitely didn’t break as a result of too much torque, but moreso the severe wheel hop that put too much stress on the inner CV joint. My guess is that the huge stress on the CV joint while bouncing up and down broke the bearing cage, which seized that CV, which then put huge stress on the shaft and then snapped it.
The good news (other than the fact that nothing else broke) is that I have been wanting to test a theory for a while now in order to cure the wheel hop. Apparently OEMs such as GM have used axles with different diameters in IRS applications in order to prevent wheel hop - so this was a great opportunity to try that out. 1 junkyard M5 axle later and I was back in business. Didn’t get a chance to actually test the wheel hop theory yet but the good news is that there are no ill effects in running one 540i axle and one M5 axle, bolted to an M5 diff, using 1 M5 diff flange and 1 E34 540i diff flange (what a mouthful)
Technician117 came to the rescue with some hardware and we were up and running.
Sit-rep:
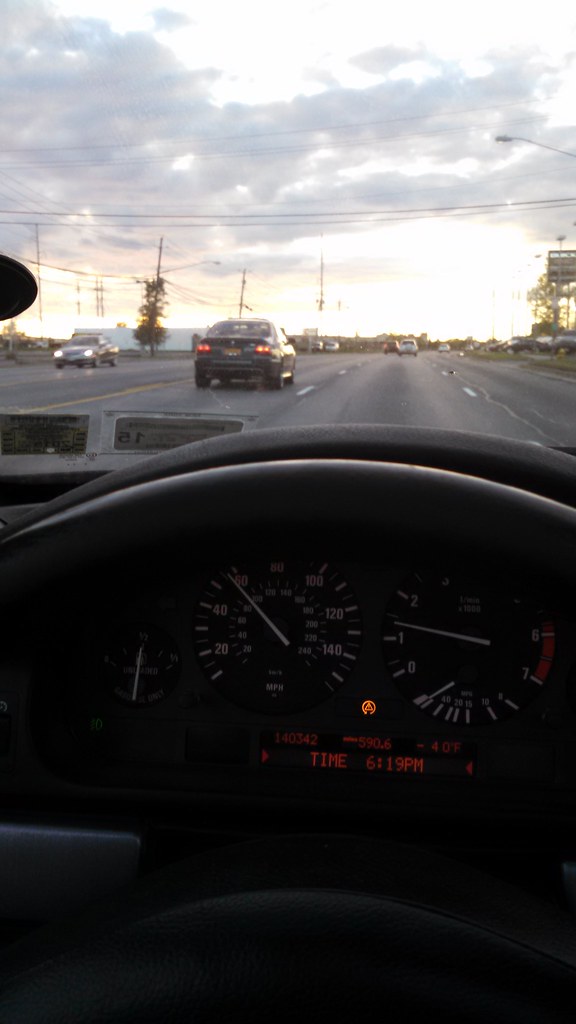
Now have a bit over 15K on the swap, no issues at all other than what I personally broke.
Needs rear tires (understatement)
Needs alignment. Hasn’t had one since before I owned it, and I’ve done a TON of suspension maintenance since then
One of the front M-Parallels has a bend/crack on the inside lip (pothole damage at speed). The upside to running reps is that I can buy 5 new wheels for less than what it would cost to refinish some OEM wheels.
I bought detailing supplies (buffer, chemicals, pads, etc) a few months back and will be undertaking a slow, tedious paint correction over the winter, learning as I go. The plan is a full wash/claybar/wash/correct/polish/finish/wash/wax treatment. Despite a fresh respray just a year ago on both front fenders, hood, and bumper, I already have some clearcoat swirling on the hood - poor washing technique by me. Besides that the only big project I have for this winter is to install AC - have parts sitting on the bench.
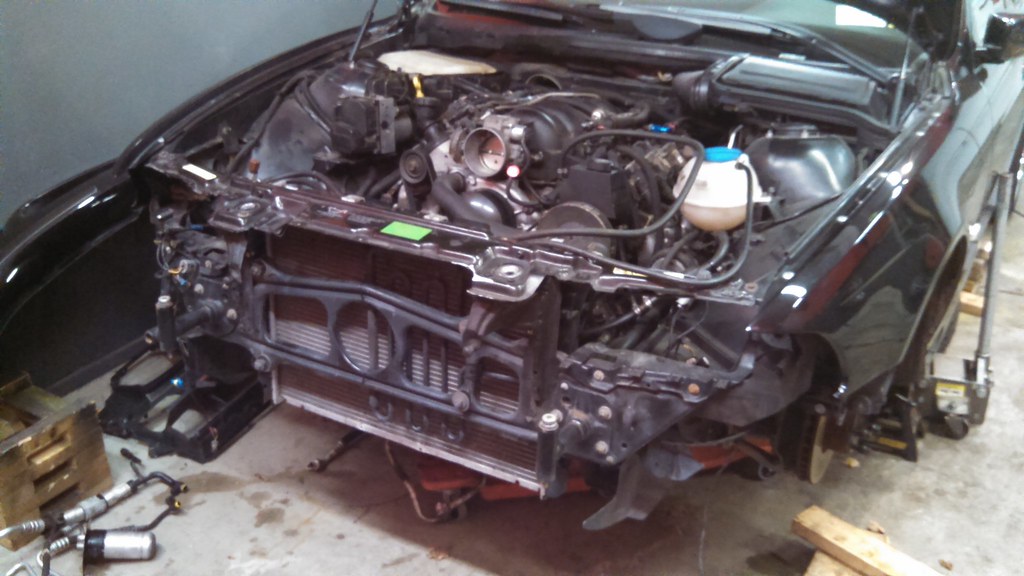
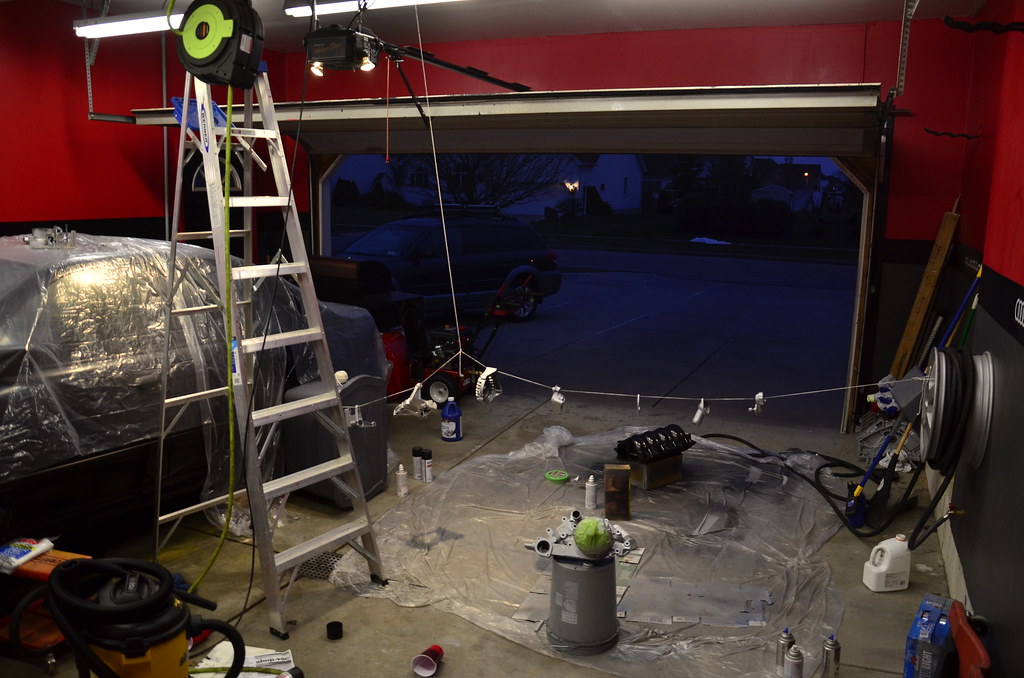
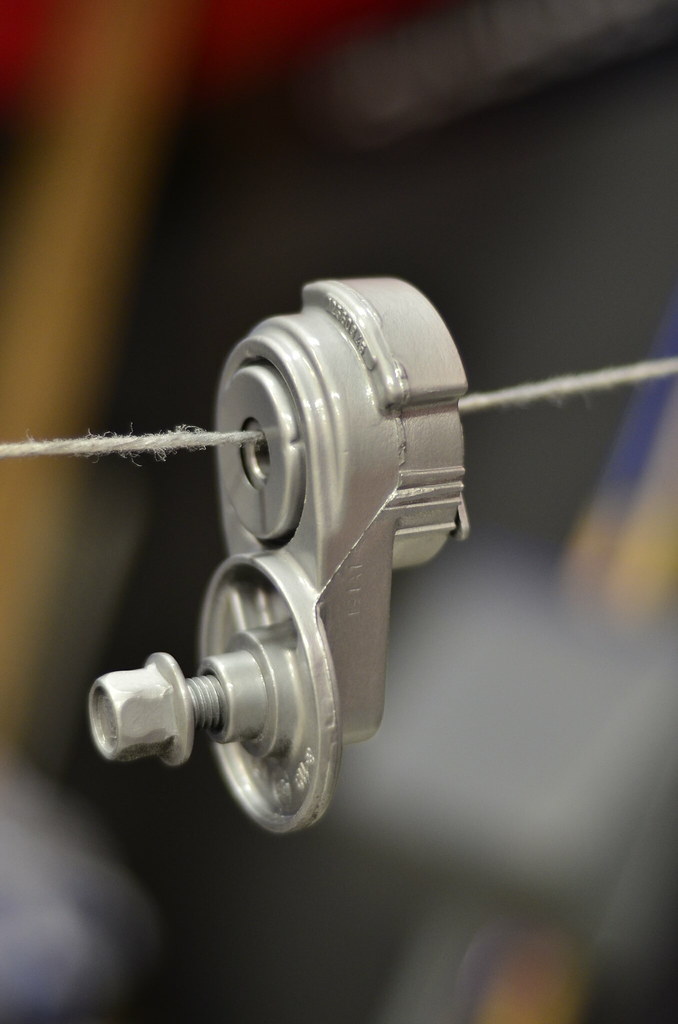
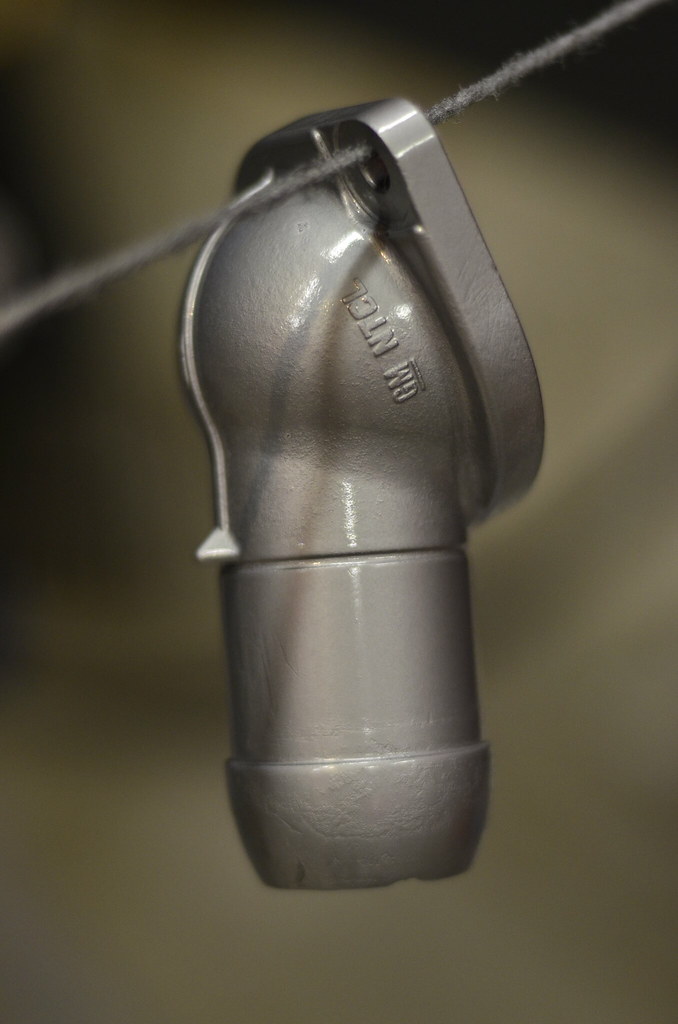
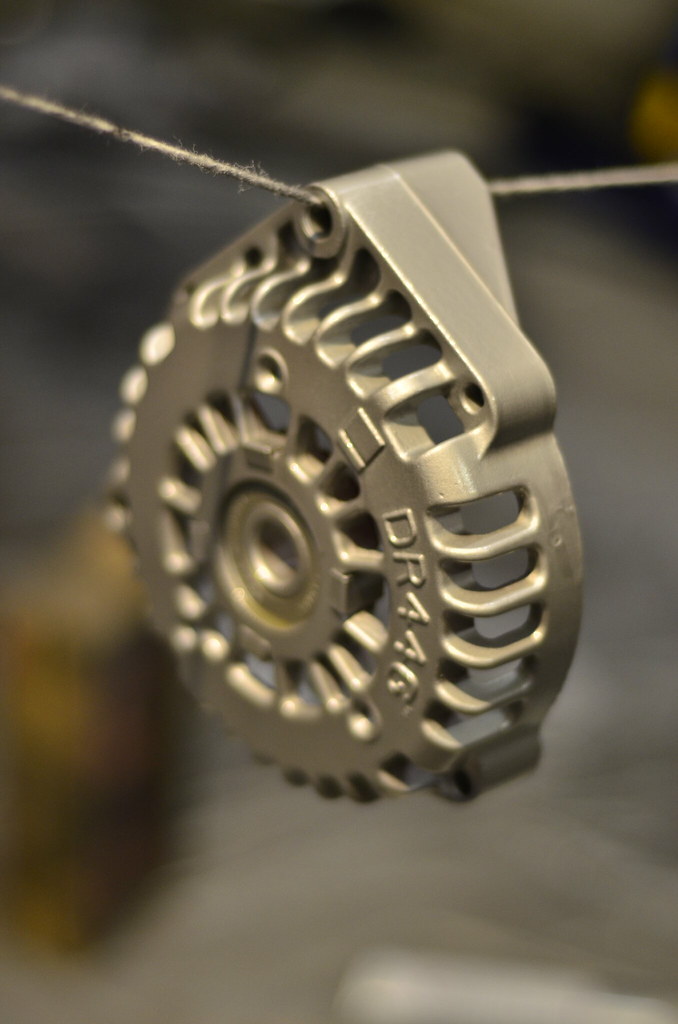
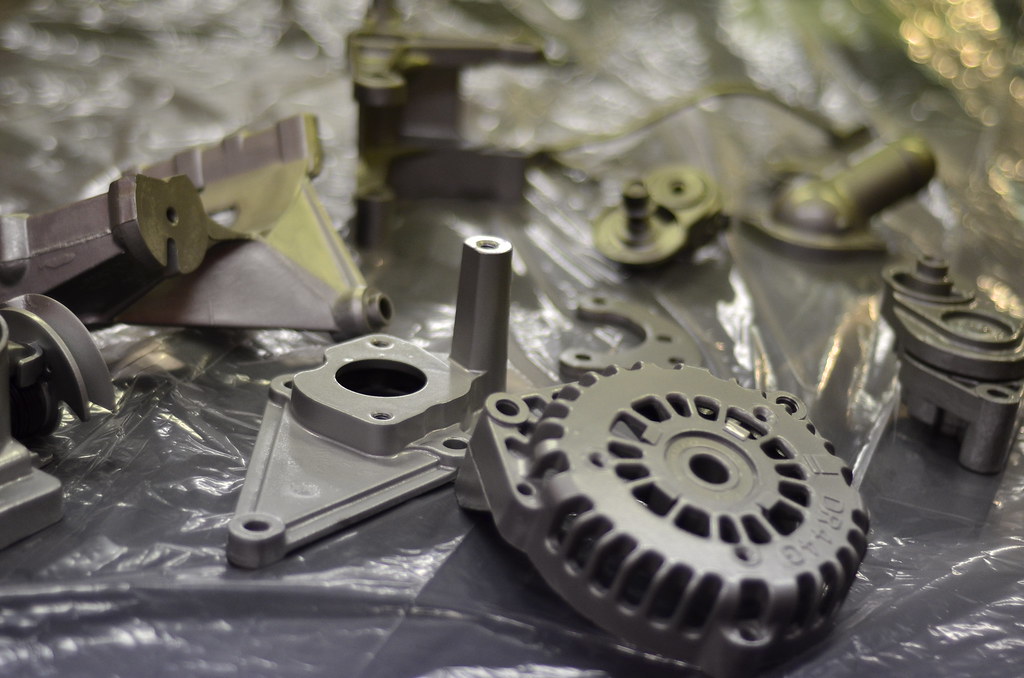
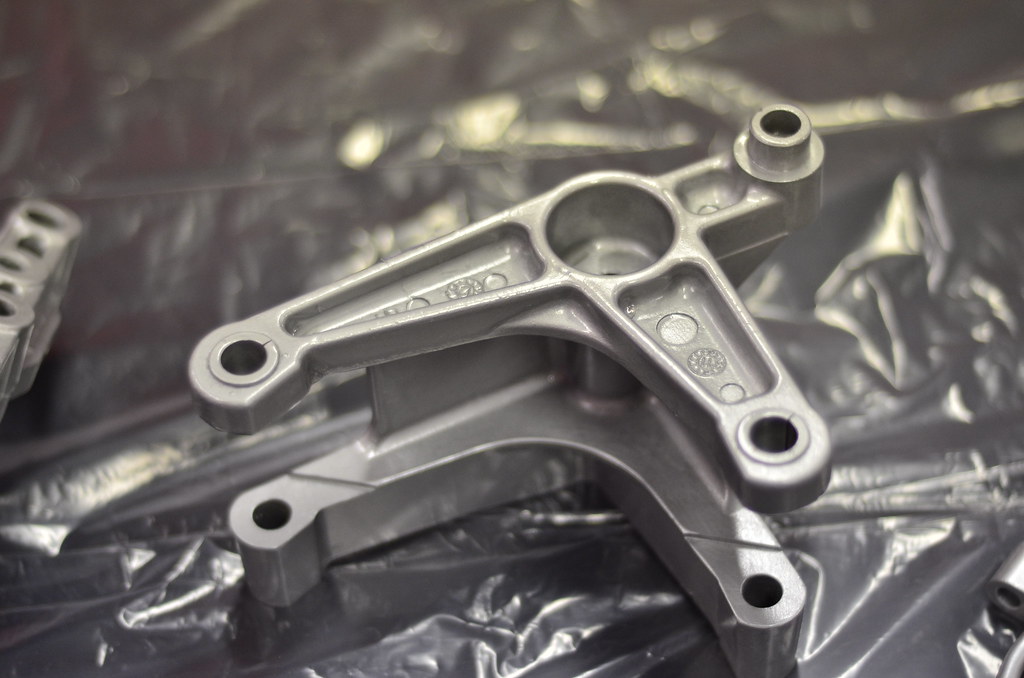
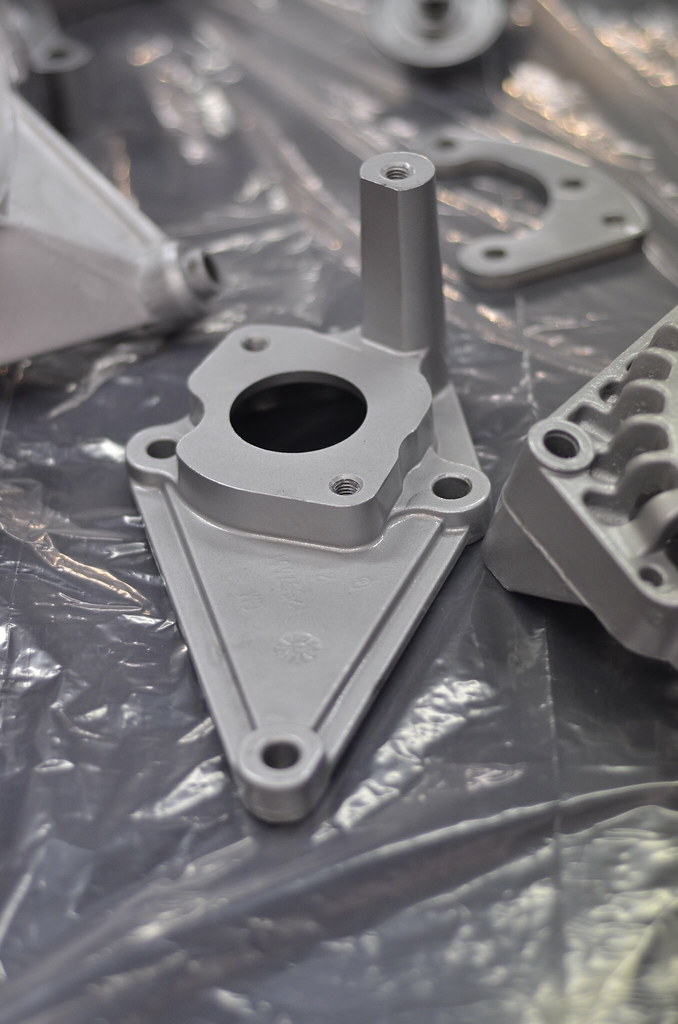
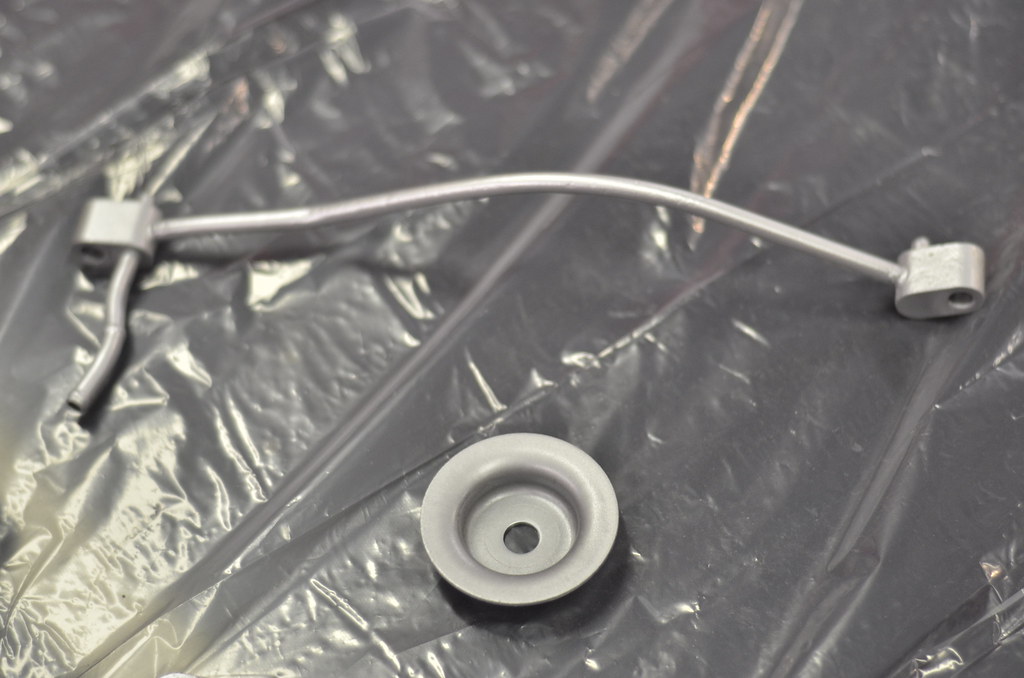
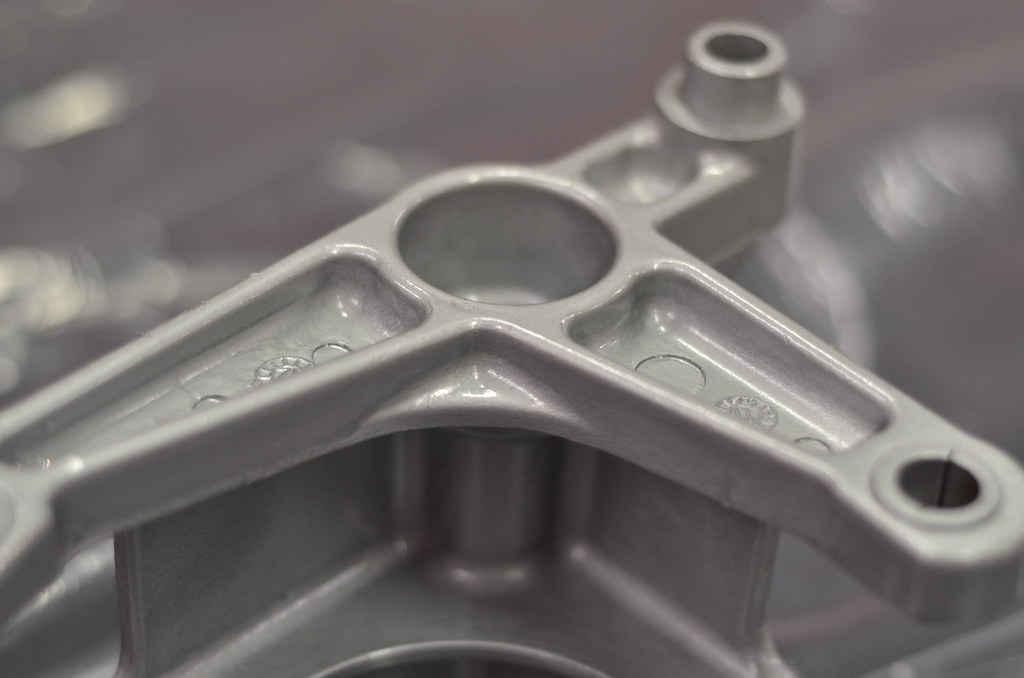
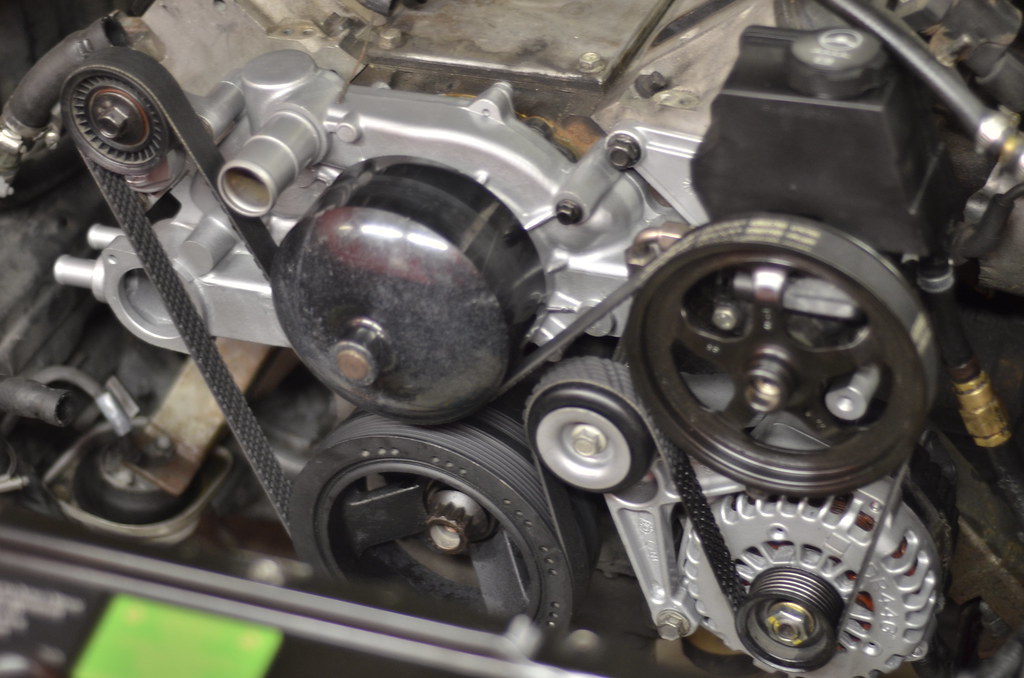
The mantra I had always held while building the car was “get it on the road, work out the bugs, and enjoy it”. Safe to say most of the bugs are worked out so it was time to turn some attention to the generally ratty engine bay. I removed all the front accesory drive parts and started to refinish them. The whole setup definitely had a junkyard Joe Dirt feel to it. All parts were scrubbed, soaked in a degreaser, cleaned and dried, and then silver engine enameled + clearcoated
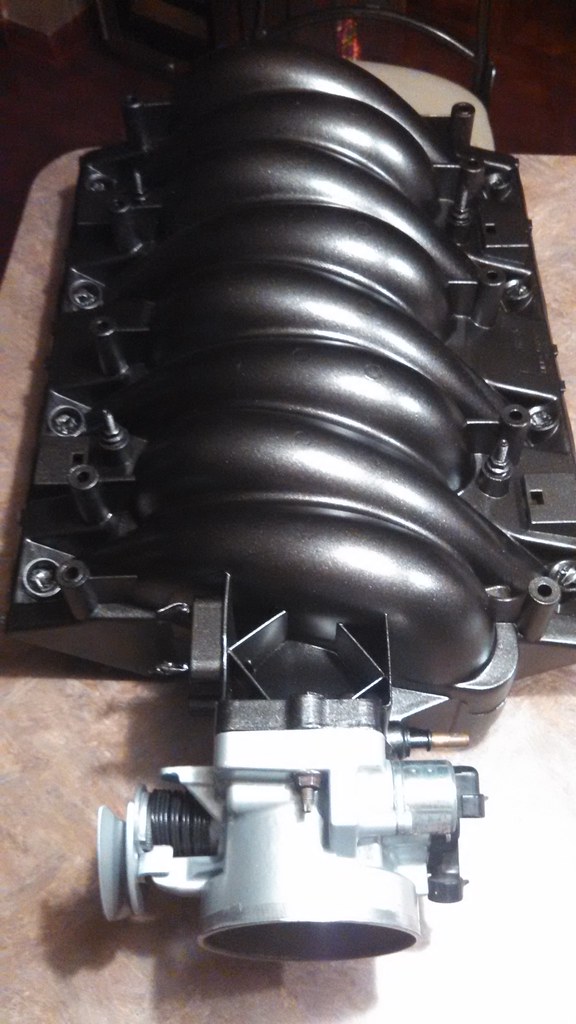
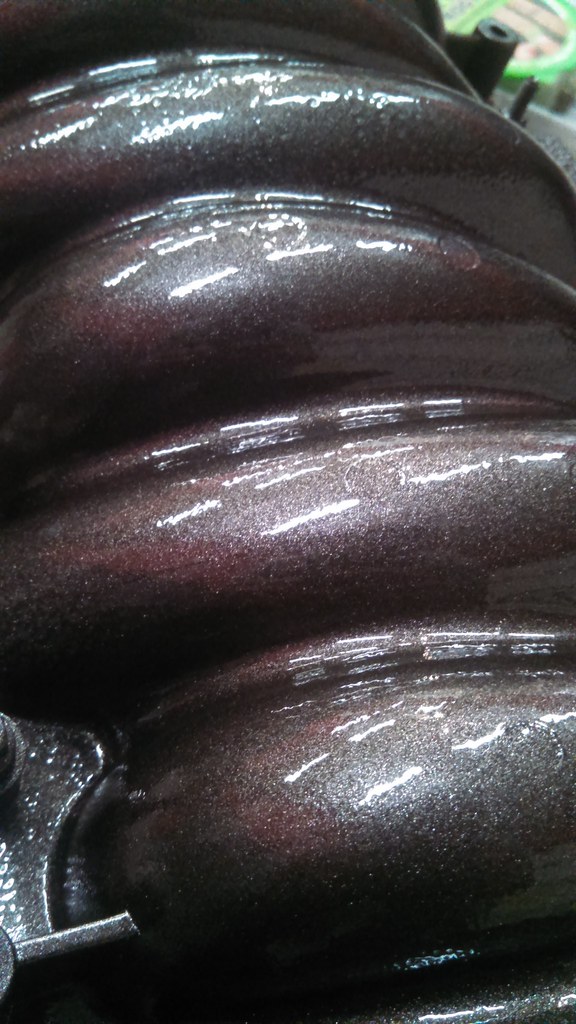
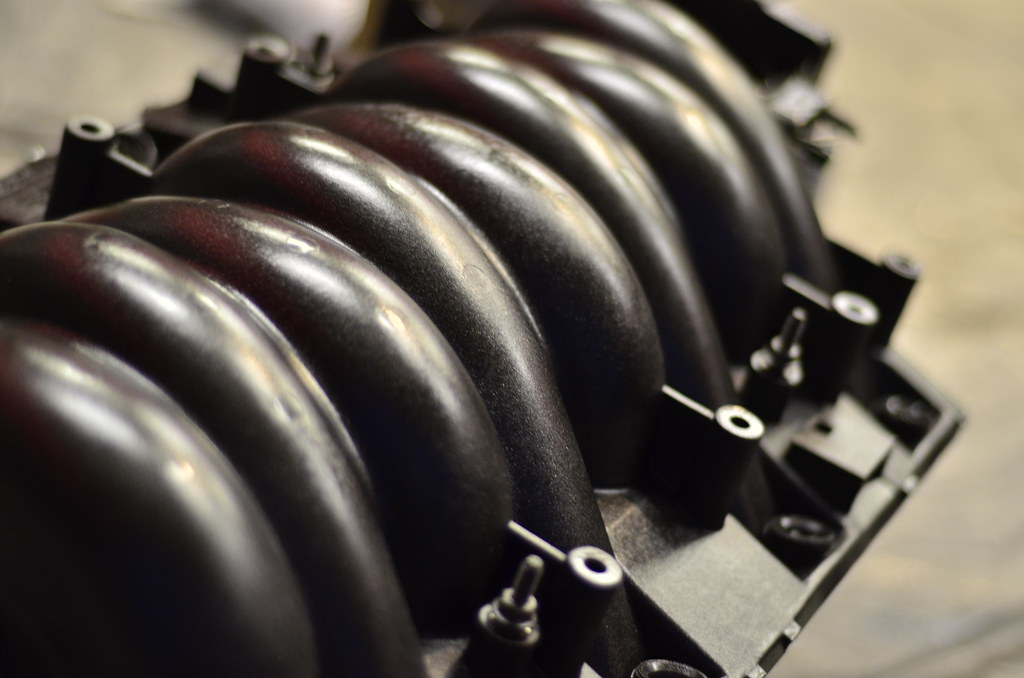
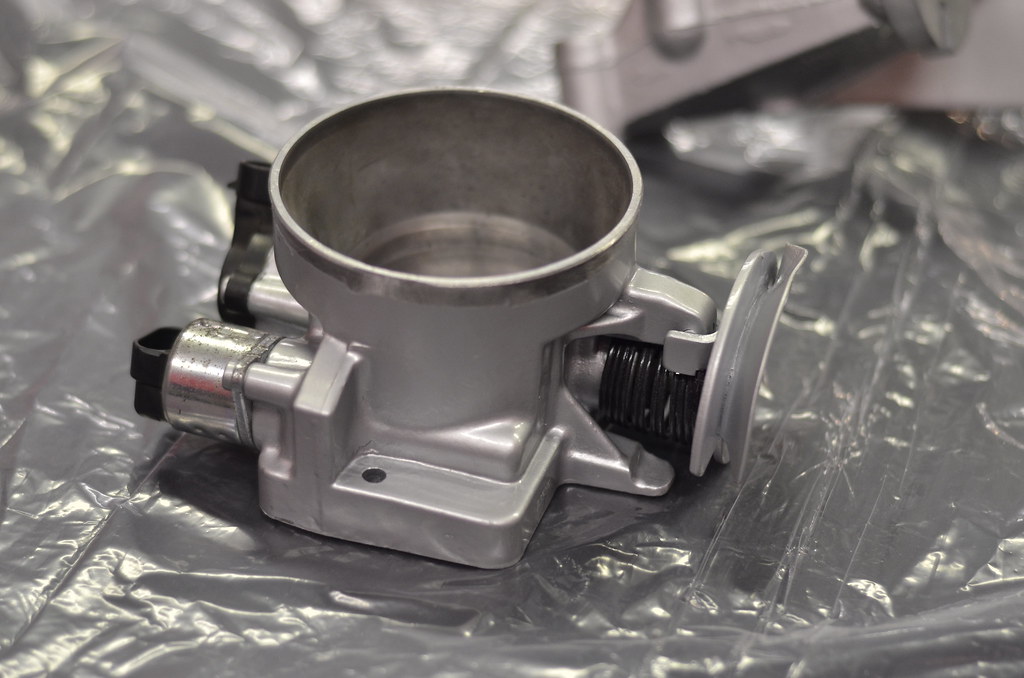
LS6 Intake manifold and throttle body disassembled, painted
during paint process- thankfully dried without the gloss finish, but retained the metallic. The paint is a dark gray metallic Rustoleum. I took a gamble on it as I didn’t know how it would come out but it looks great.
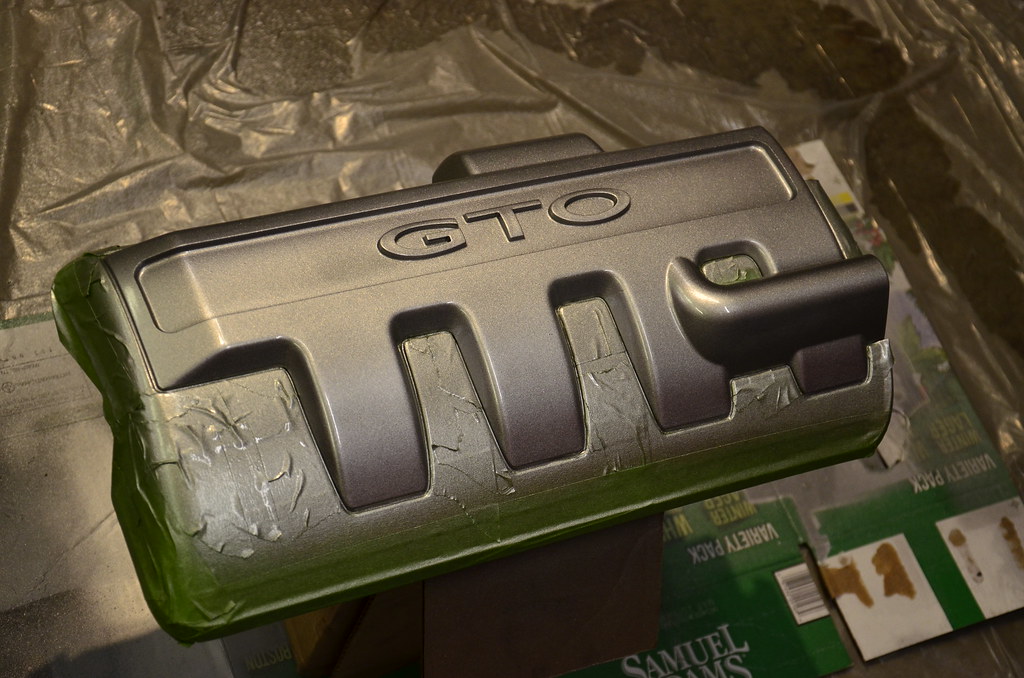
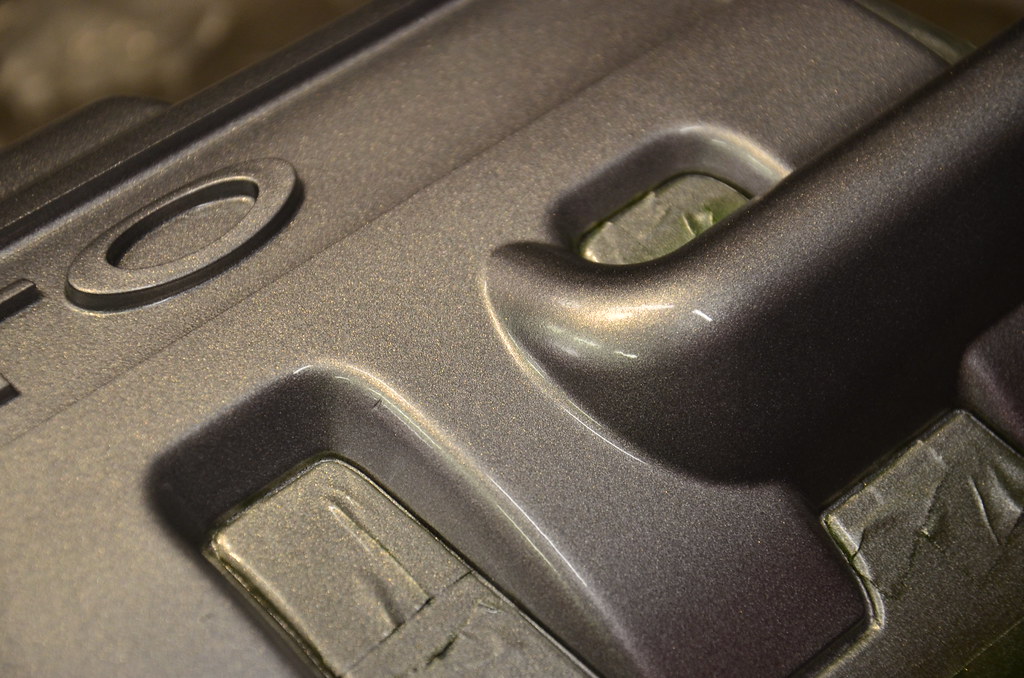
Engine covers, even after a cleaning, were still faded and stained 10 year old parts, so they got paint too. Still tossing around ideas for a final scheme
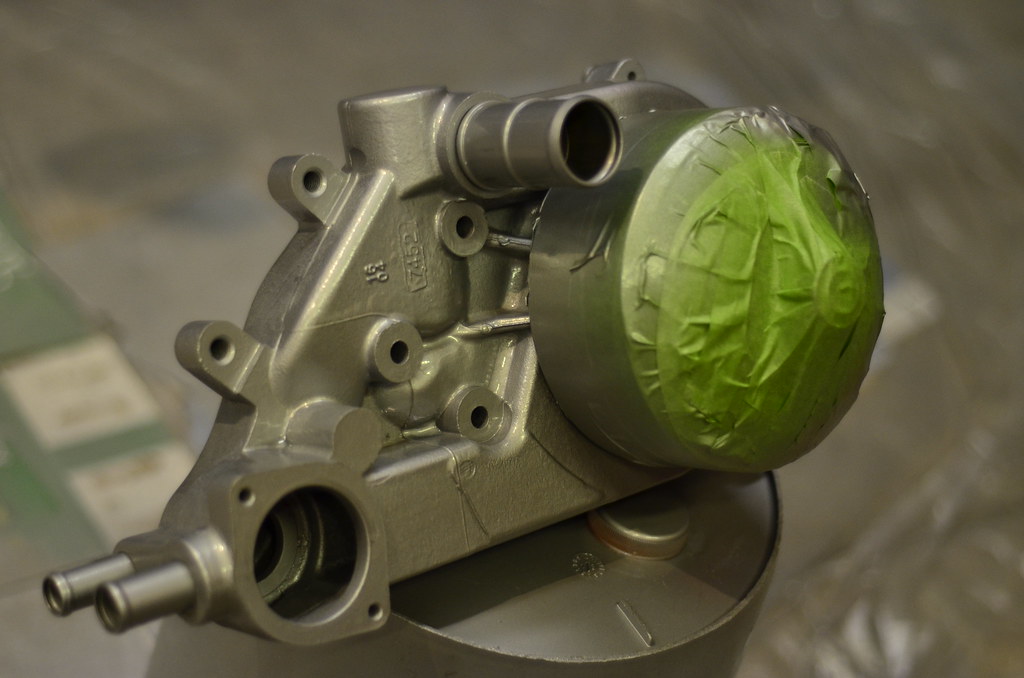
All this started because I wanted to mount the condenser to begin putting together AC, but the OEM power steering cooler was in the way. So I chucked that guy in the trash and bought a nicer finned Derale unit, which can be mounted out of the way. Removed the pump to change up the lines and realized the bracket looked like junk, so it was a snowball effect from there.
 Initial thoughts are broken diff, trans, or axles.