Yeah when you do this for a living the expensive tools become life saves in the end. The PM’s are nothing new and do work for the most part, but having been building cages for over 15 years now you just learn faster ways to get the job done than dick around with some finiky pin-type markers.
Lolz’s at the grinders/cutoffwheel method. The joints are only as strong as the fitment of the material. Get a coping machine, The cheap ones are not that expensive and will suit this just fine.
You need a coping cutter/notching tool Something like this from northern tool is a very cheap but effective machine to get the job done. runs off a drill press on the table, or clamped in a mounted vise and large 1/2" electric drill to drive it… You’ll get 3-4 10pt cages from one of these before the bushings shits the bed and the saw starts to wander. There are other more expensive versions with needle bearings that are quite nice, but far from a production machine.
Harbor Freight also has a version of above for $60.
I have a massive machine I built to handle the demands of full time rollcage and tube chassis production. 2hp motor, 4:1 reduction. It’s a beast. I copied the design of Baliegh Industrial, only made it three times as large to handle up to 4" tubing. About 6’ long and weighs about 350lbs. Their machine picture below is about $2500. I built mine from machine spares at the machine shop and steel. Would retail around $4K if new, but again when into this stuff good machines don’t come cheap.
nice stuff, but my grinder method worked this time. I just won’t be trying it again.
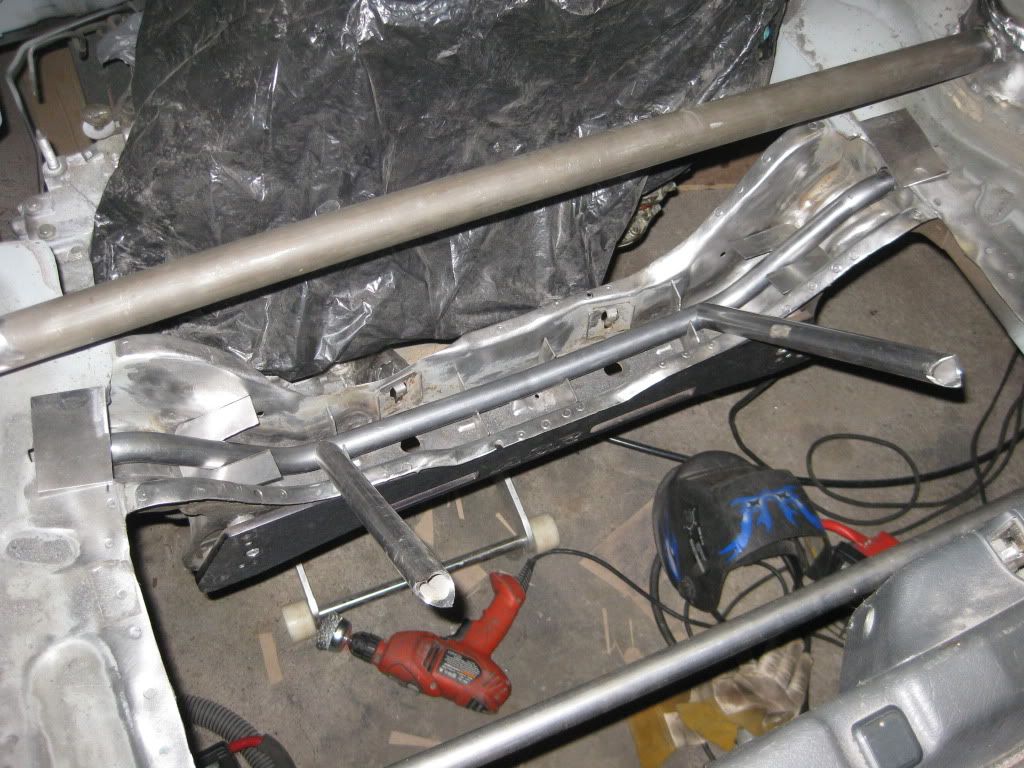
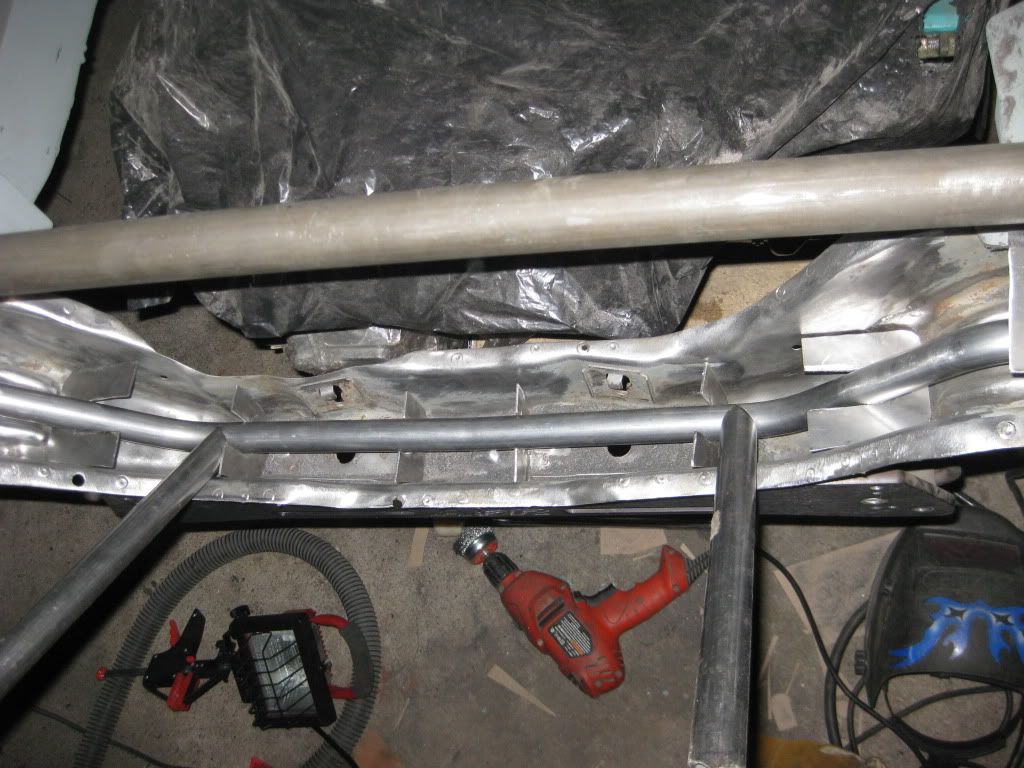
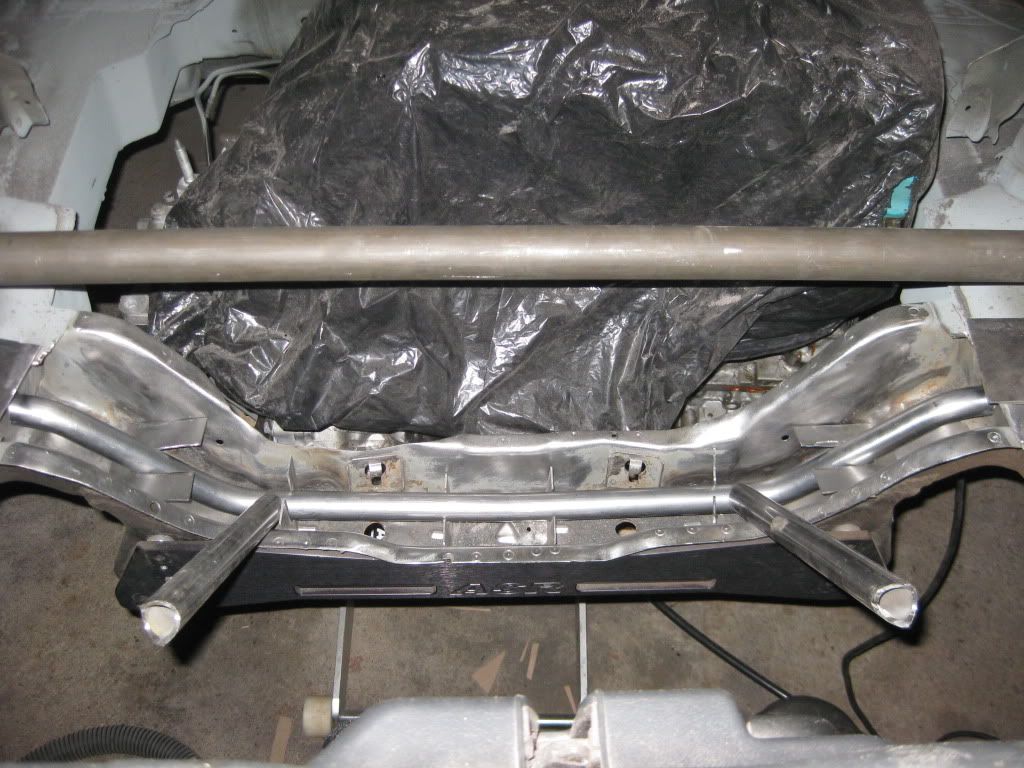
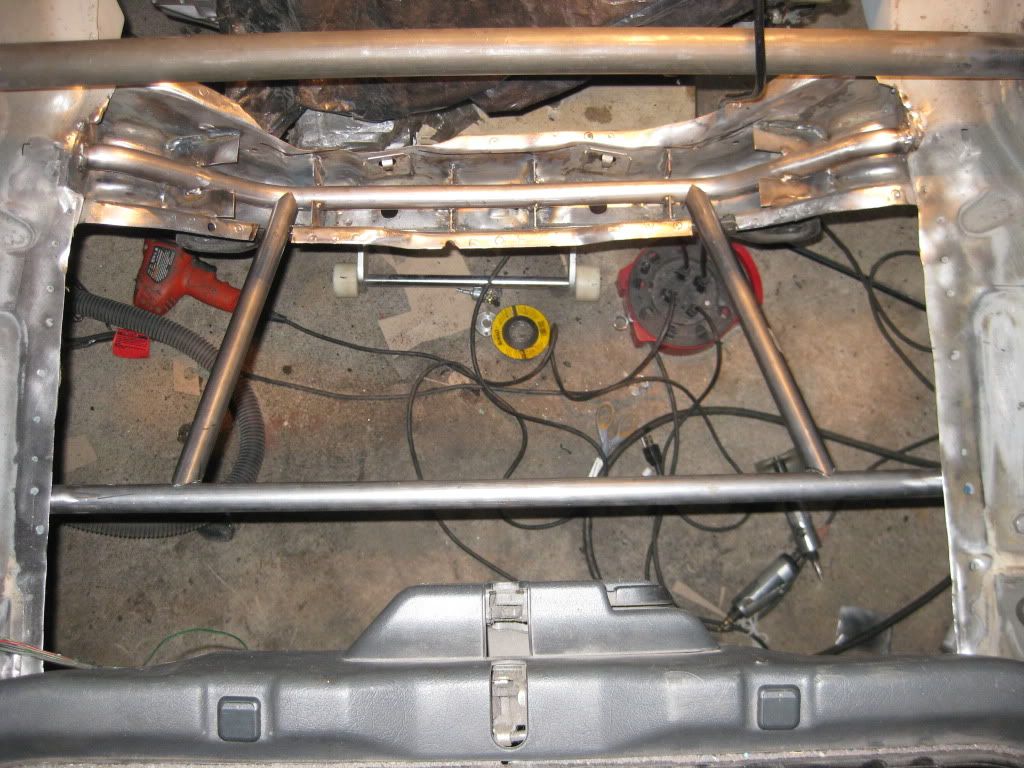
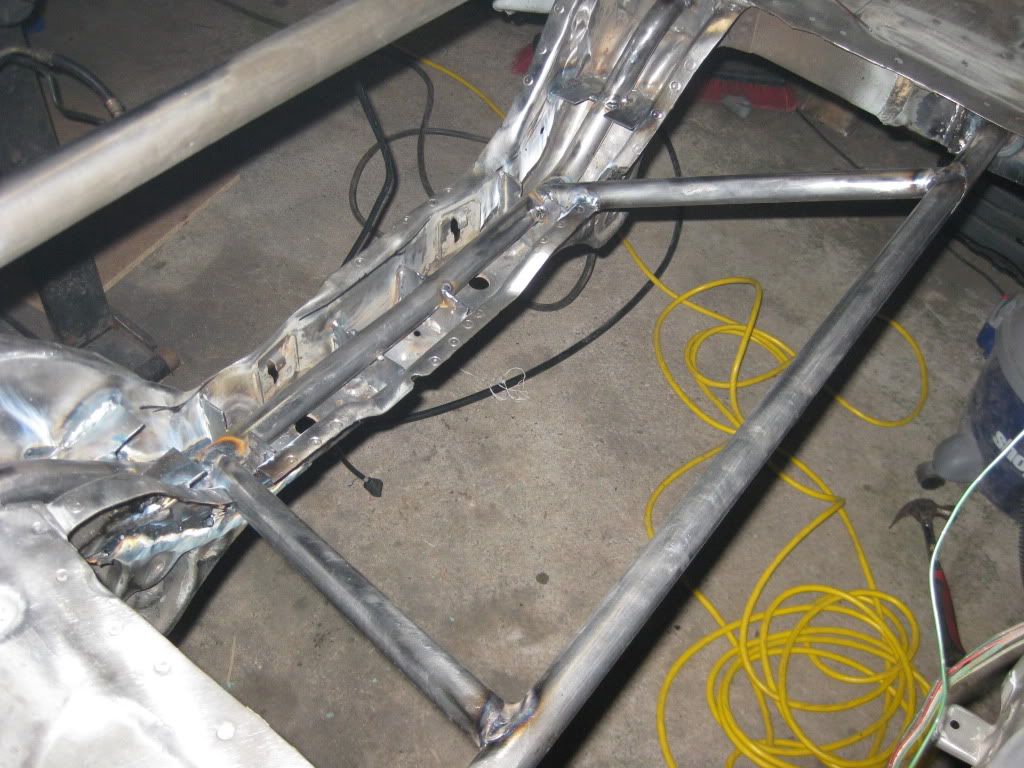
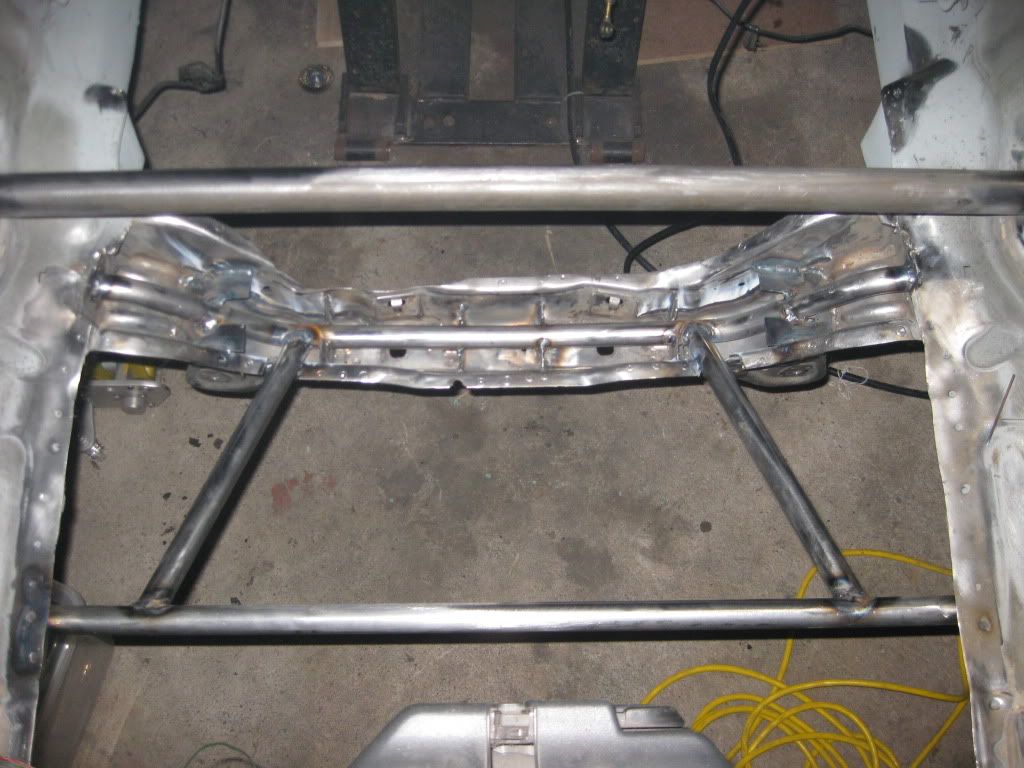
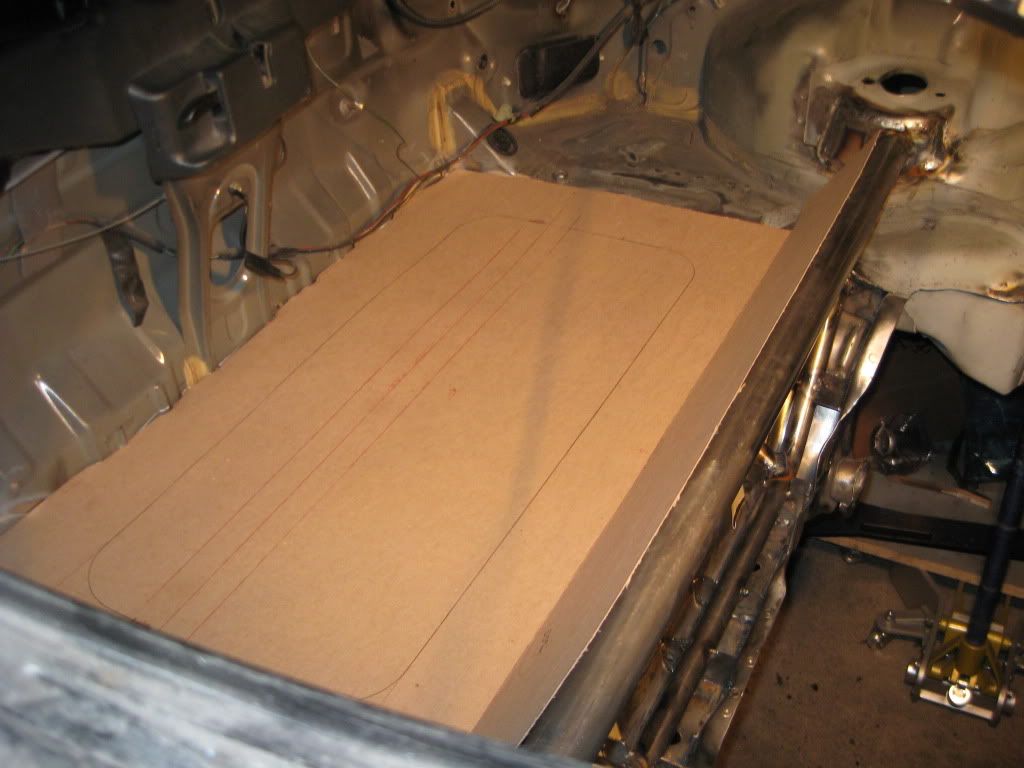
Some more work tonight. Started putting together pieces for bracing and tying together the subframe. I’m still not 100% on the idea, but I’m still don’t have a better one yet.
just had a good idea for your tubing deal there in the sub frame.
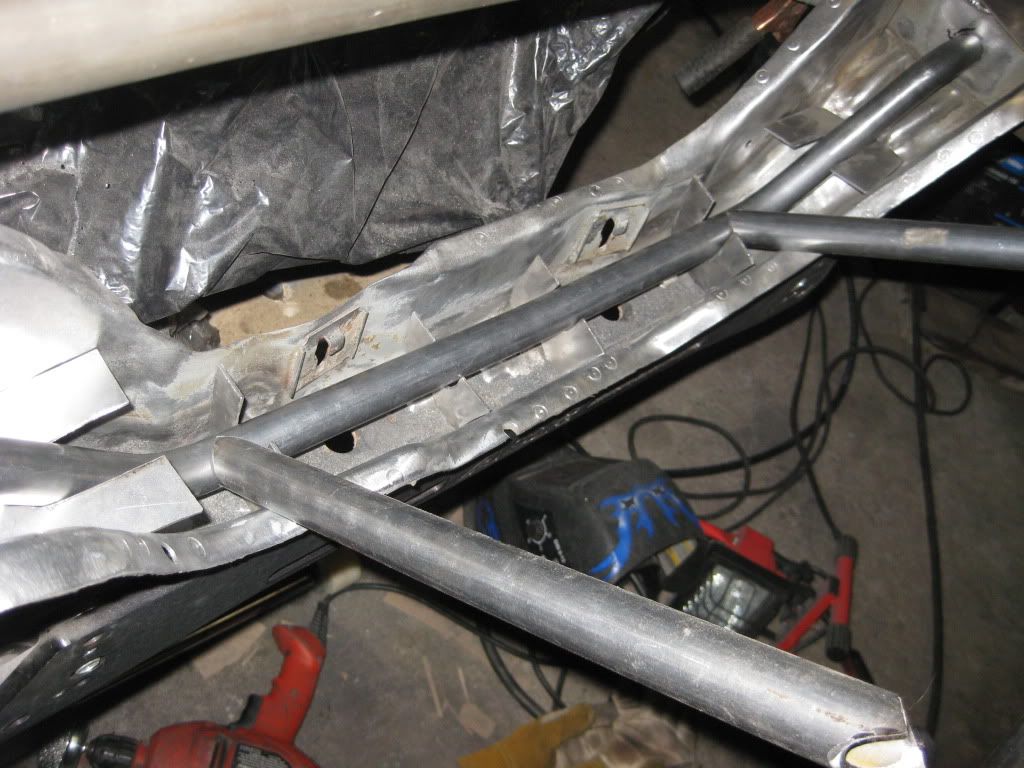
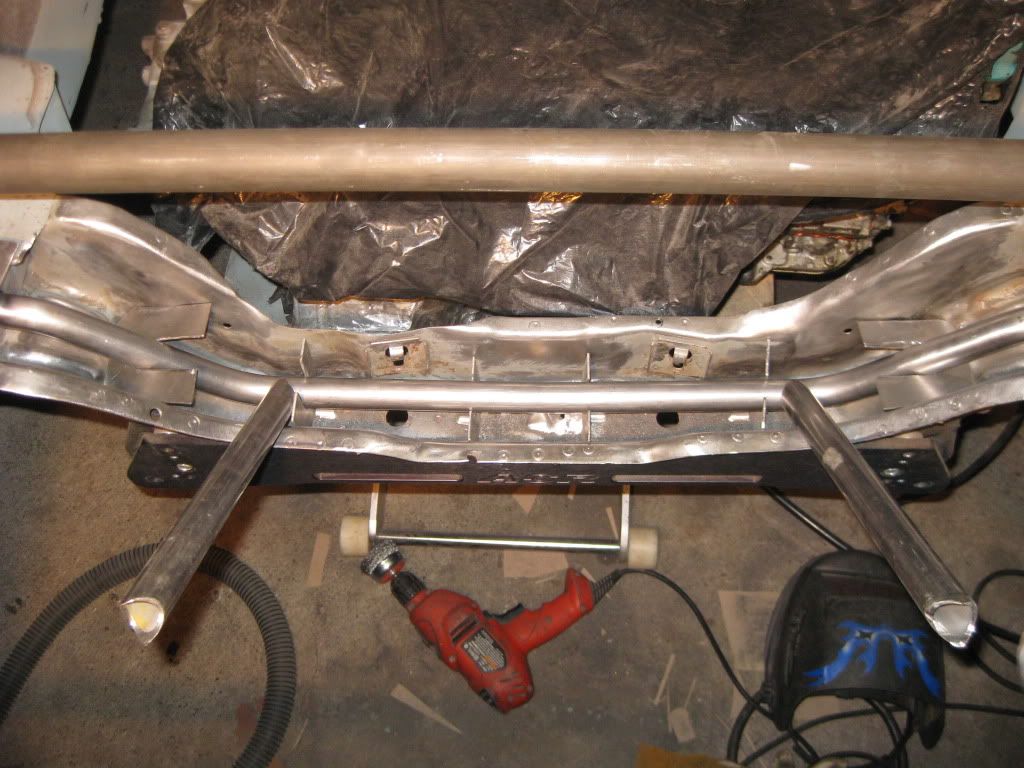
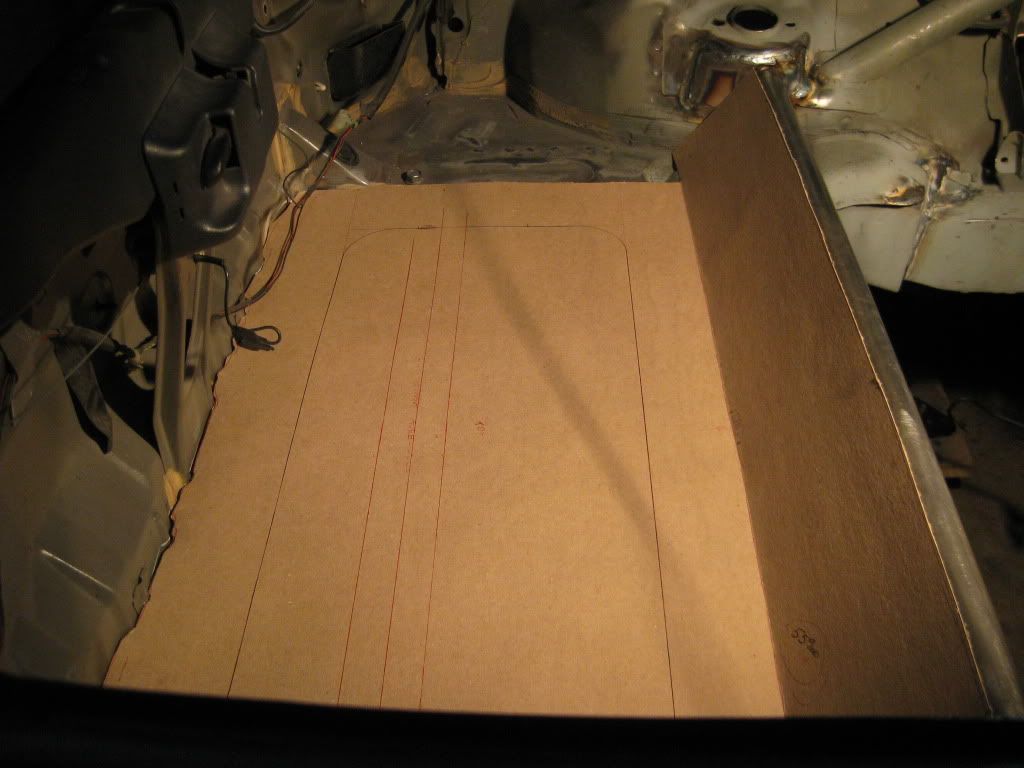
With the ribs like you have them now, I think its plenty of connecting points for the tube inside the existing rail to be strong. Weld them to the crossmemeber and the tube to start. then how about cut a few more of the U shaped plates you have there and put them on the top half on the sides of the ones you have in place now. completing the gusset 360 deg around the tube.
blue spots are where you can weld for strength.
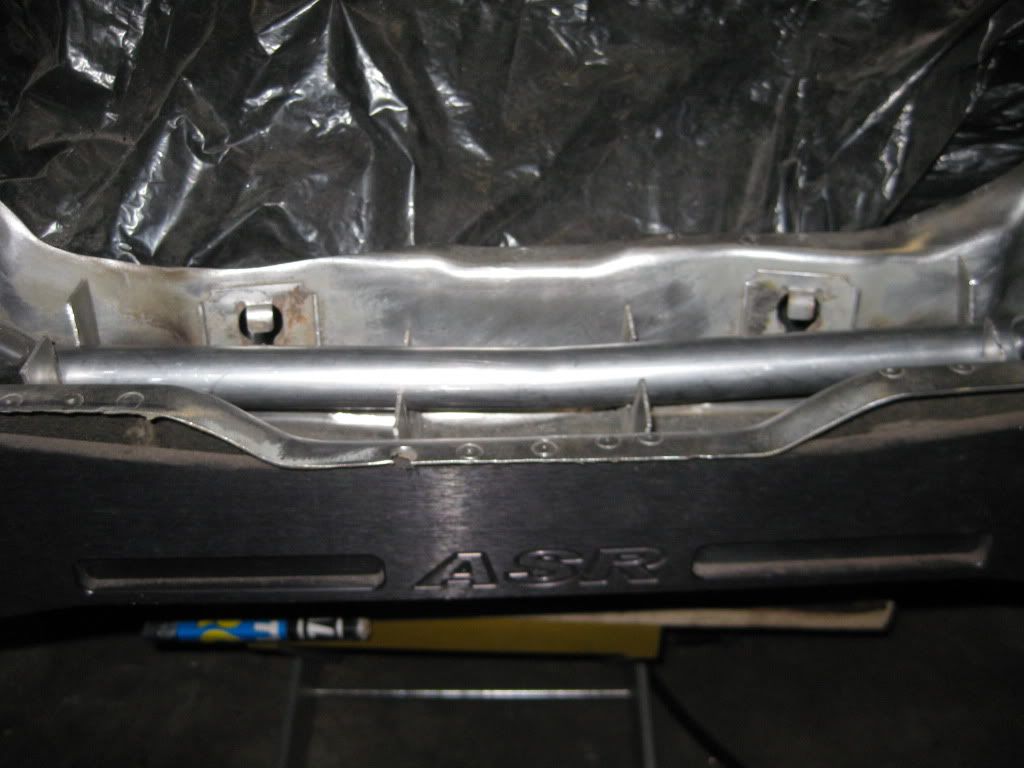
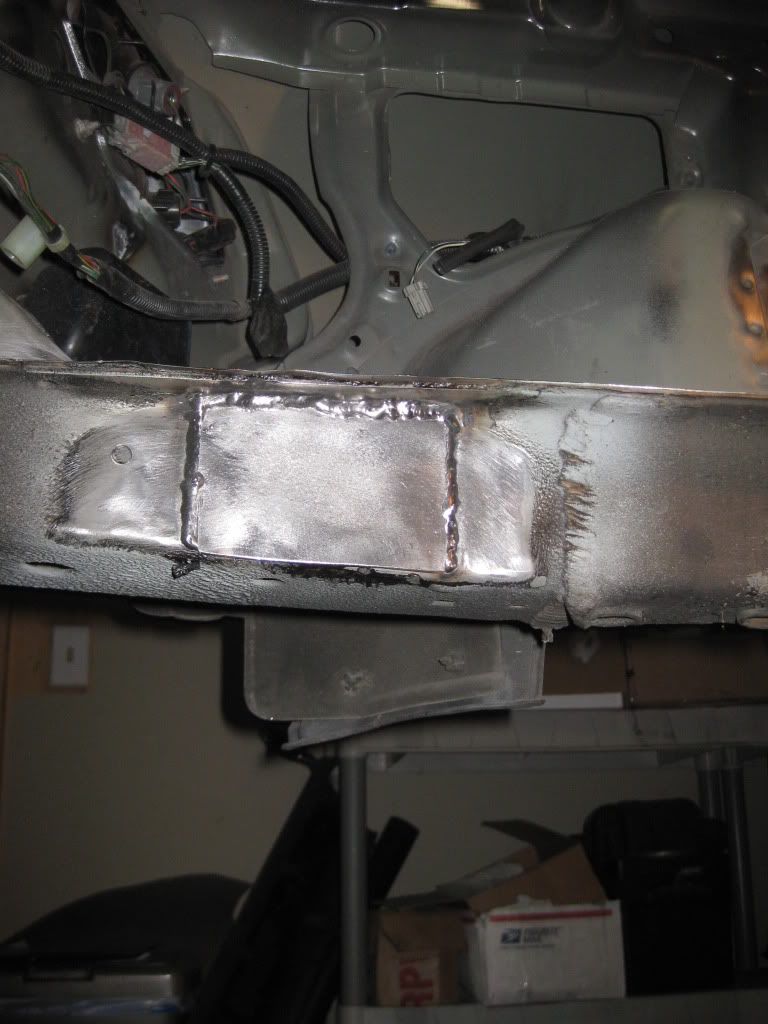
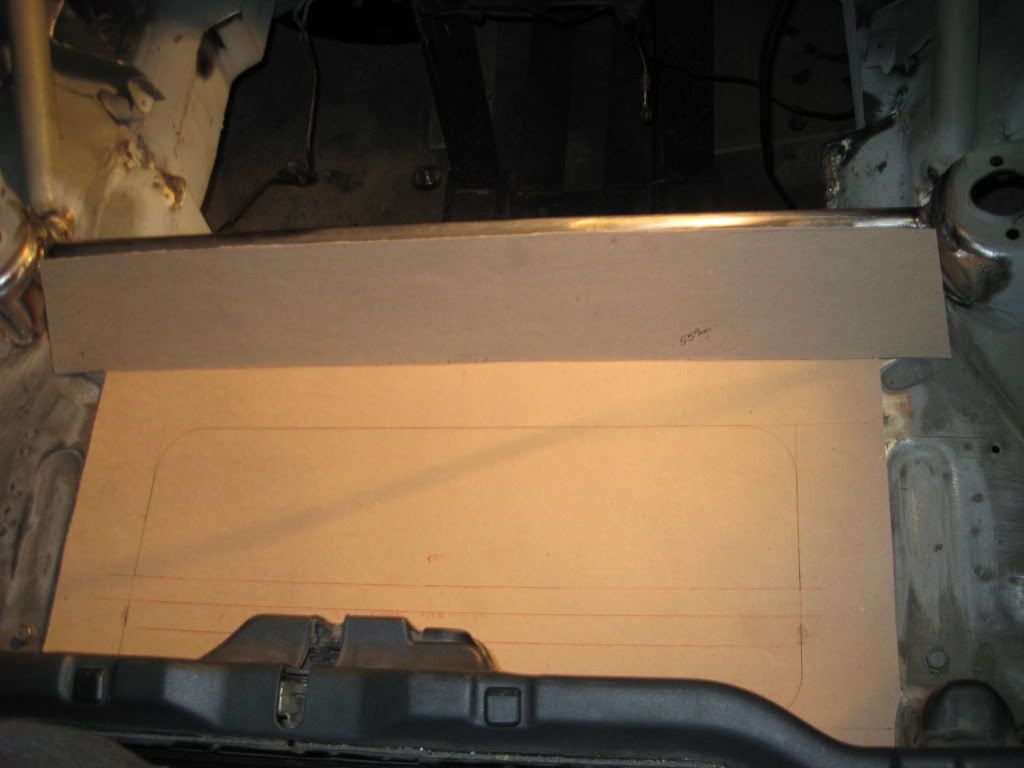
Then onces its all set cut out a top sheet that would fit over the rail, flush with the bridge gussets you made above. mark where the bride gussets will be, and drill out some 3/16’s holes in the sheet right above where the plates end up, so you can plug weld the holes up welding the top sheet to the top edge of the gussets. :thumbup
Harbor Freight also has a version of above for $60.
I used one of these to install the cage in my camaro. They work reasonably well, but like you said you run into issues making complex node junctions or steep angles. I would up using a combination of that tool and a grinder to fine tune fitment.
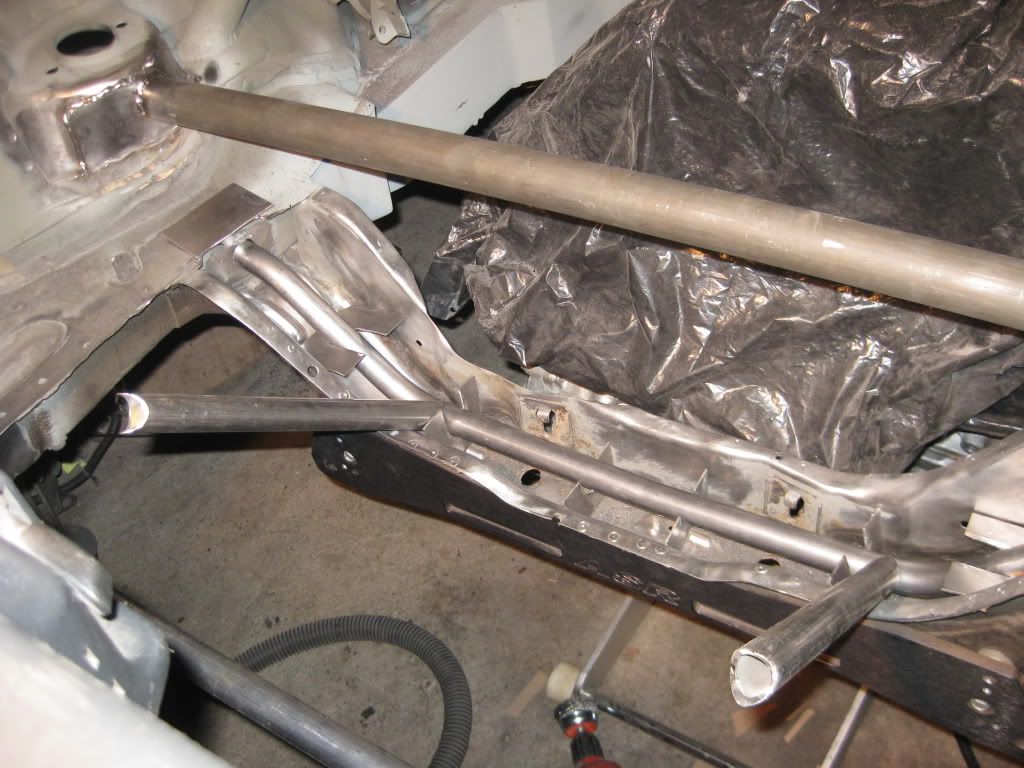
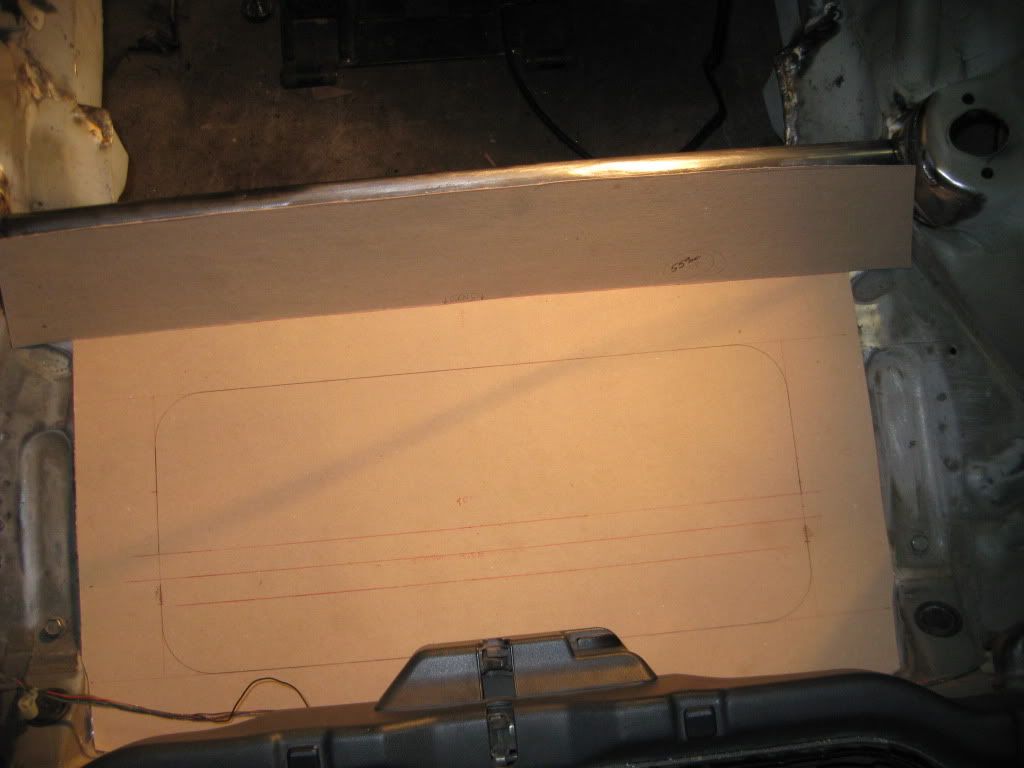
That’s the direction I’m going. It will definitely have a top plate with spot welds through to the bridge gussets to tie it all together as much as possible. The only thing I probably won’t do is add top half gussets to surround the top half of the bar. I’m not entirely sure its necessary.
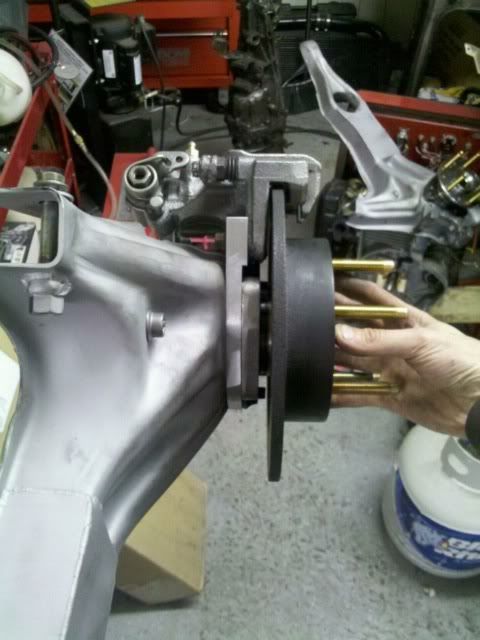
Yesss Trailing arms are here. Thanks Adam!! just need to scrub, primer, install. I have someone in rochester whipping something up to use as the lower control arms and struts so I can roll it onto the trailer in 3 days. Holy shit
glad they made it in one piece. I’ve never trusted shipping companies with that type of stuff.
Do NOT paint the inner or outer diameters of the hubcentric register on those spiders or you’ll never get the bearings in/out or get the spacers on/off. There’s only a few thousandth clearance, just mask those surfaces then paint, then put a layer of grease on them before installing the parts permanently.
Holy shit I have a lot left to do. I’m not sure if I’ll be able to do a write up with pictures before the move, but right now the car has no bumper, hood, fenders, trunklid, targa, wheels, rear bumper, steering wheel, nor hood… I would prefer to get ALL of those on in order to move it, but obviously some things in that list are more important than others.
Oh, and I’m not sure if I mentioned on here yet, but I finagled my way into bringing the car for the first 5 months of training. I probably wont’ be able to get it done but at least when it goes into storage it will be prepped for it.