Project Phoenix - Formula WS6 Resurrection!

No Progress, too much life getting in the way… and waiting on tools/materials to continue working on seam welding and fabrication in the engine bay.

But… I did talk with the guy who I’m getting my Engine/K-Member from… He gave me a choice of K-Members (He works for one of the big F-Body aftermarket Suspension companies)… and the one I’m getting for my build isn’t released to the public to order yet, I’m getting one of the first ones of a “new” design; This one has the MOST room for Turbo Downpipes that you could possibly put under the front of the F-Body, should support 4" easily, and from what he’s said this design should support 5" if done properly. (Now I probably won’t go that big, but still nice to know if I want to stuff a pair of T-6 frames in there I could.

Nice!

Motor was delivered to my work yesterday, I’m trailering it home today. Looks good, and packaged great (Awesome deal and shipping from one of the Tech’s at BMR Suspension).

Suggestions for a re-ring/bearing/gasket kit?

Also, finally started making some progress in the engine bay. Have the PS all first past seam welded, now grinding everything smooth; probably one more pass for touch-ups and grinding on the PS side. Started prepping the DS for welding, got the fusebox mount removed, and started paint removal around the seams, have that about 1/3rd done. I will say quality sanding discs and scotchbrite discs make a HUGE difference. 3M >>>>>>>>>>>> the stuff at Lowes/Napa.

So, I got the motor home Wed night; ate dinner and got kiddo to bed, then headed out to the garage to unwrap the goodies…

Packaging was damn good, no tires under the pan, but properly blocked with 2x4s under the motor mounts and oil pan. 2 tiedown straps, and TONS of shrinkwrap. Gotta give hats-off to the guy I bought it from for a good packing job.

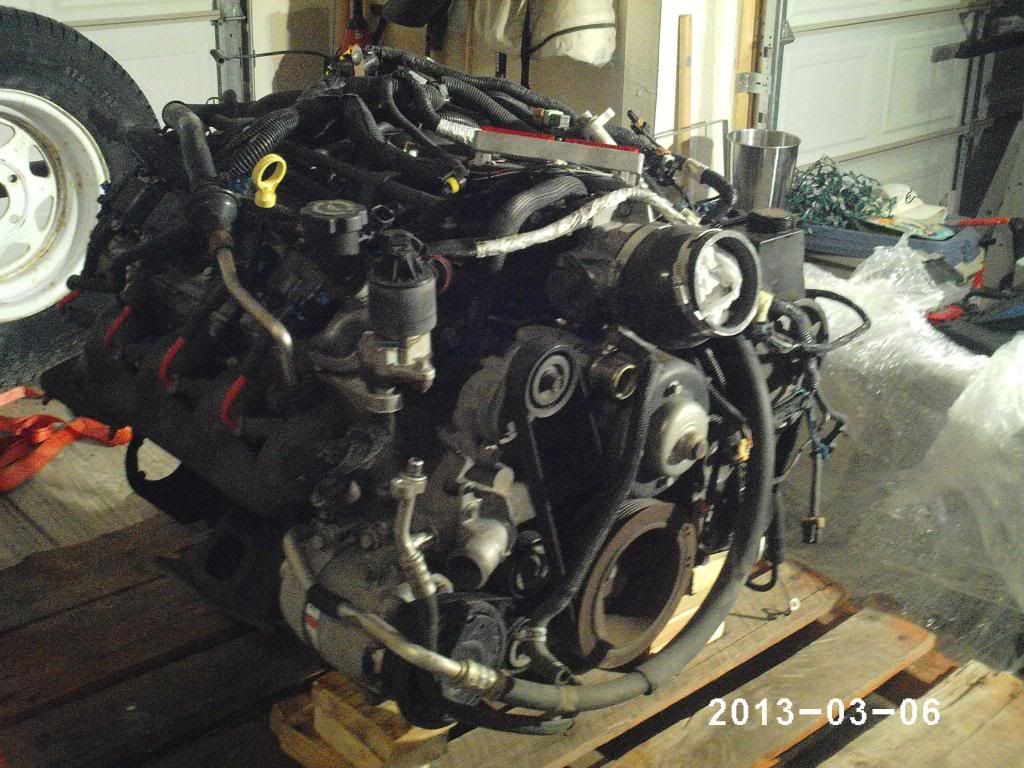
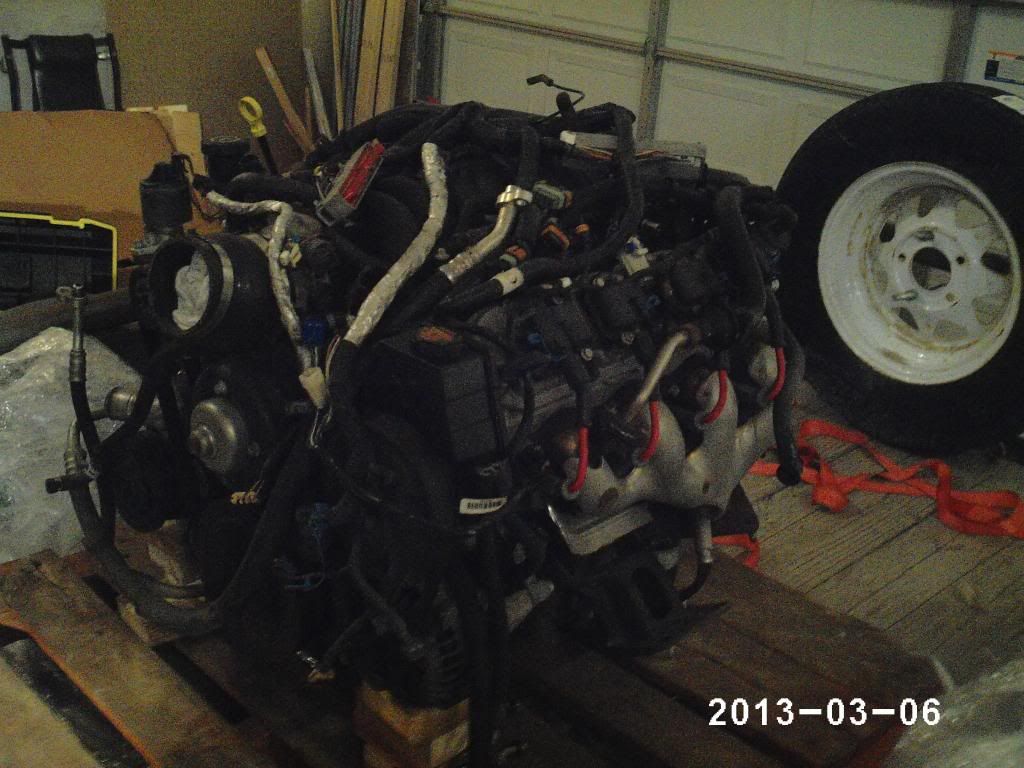
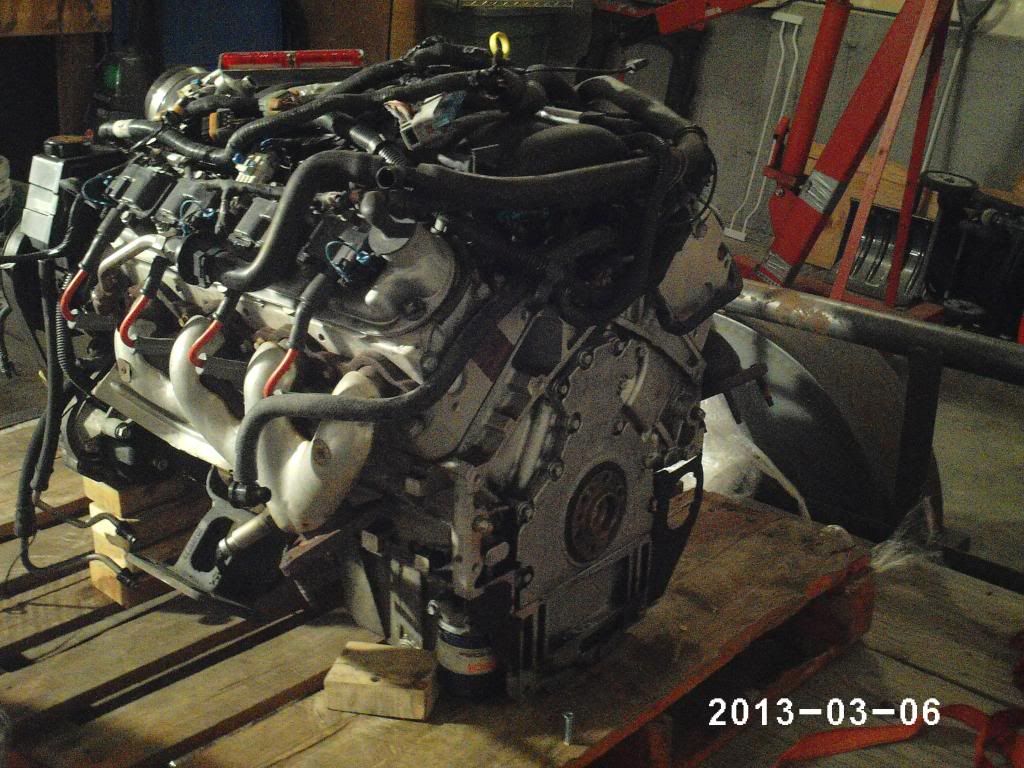
After unwrapping the box and motor, here’s what I’ve got…

Not too bad from an initial look for a '98 with 125k on it. Guy I got it from Garden Hosed/Simple Greened it before palatalizing it. I can tell it’s already got some nasty oil leaks, but nothing too crazy.

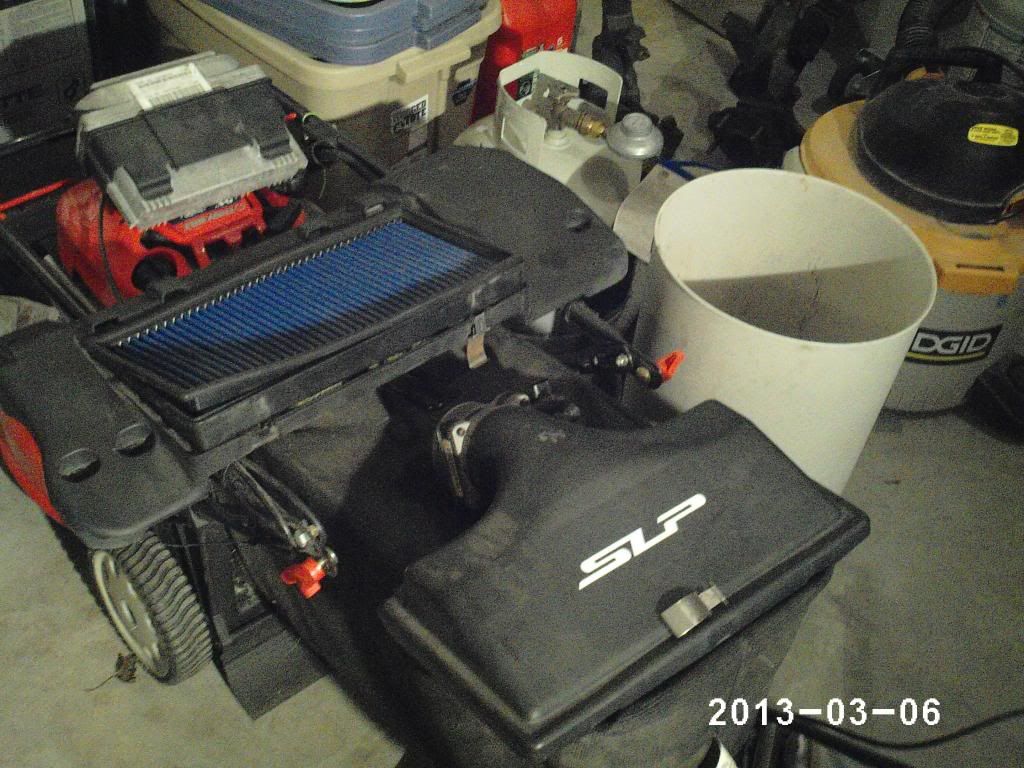
Also, in the box with the K-Member, the PCM, and intake plastics/sensors… Not too shabby!

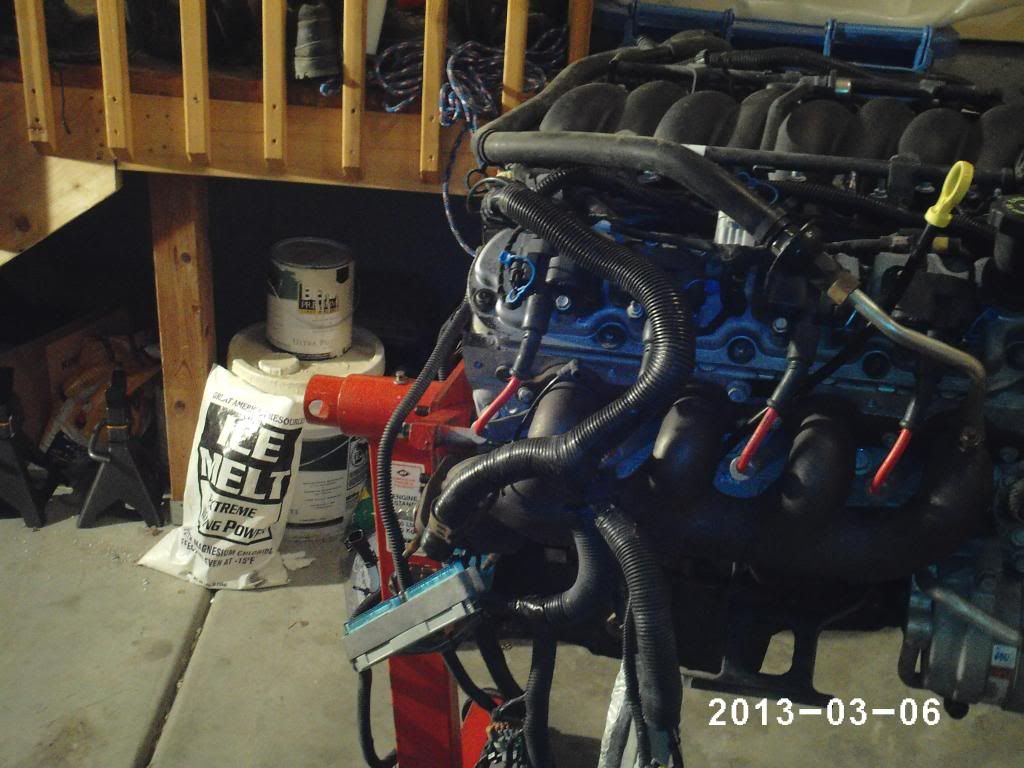
Got it up off the pallet/trailer and onto the engine stand, and slowly unwrapped the harness off it… damn that cooregated tubing cracks/breaks easily. Good thing this whole harness is getting gone through with a fine tooth comb, repaired, re-pinned for the newer PCM, and new sheathing installed everywhere.

Then it was time to slowly tear into everything… Got the front accessories off (No problems there, everything was clean other than expected oxydation, did find one trashed belt tensioner on the AC compressor, but whooptie fucking do).

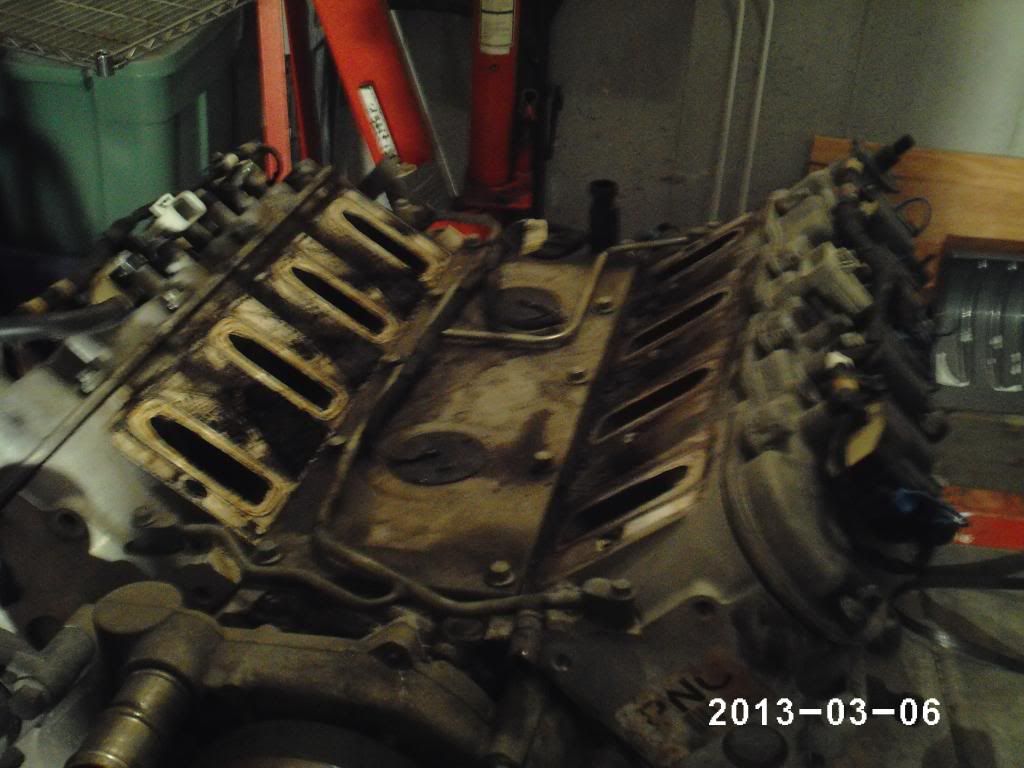
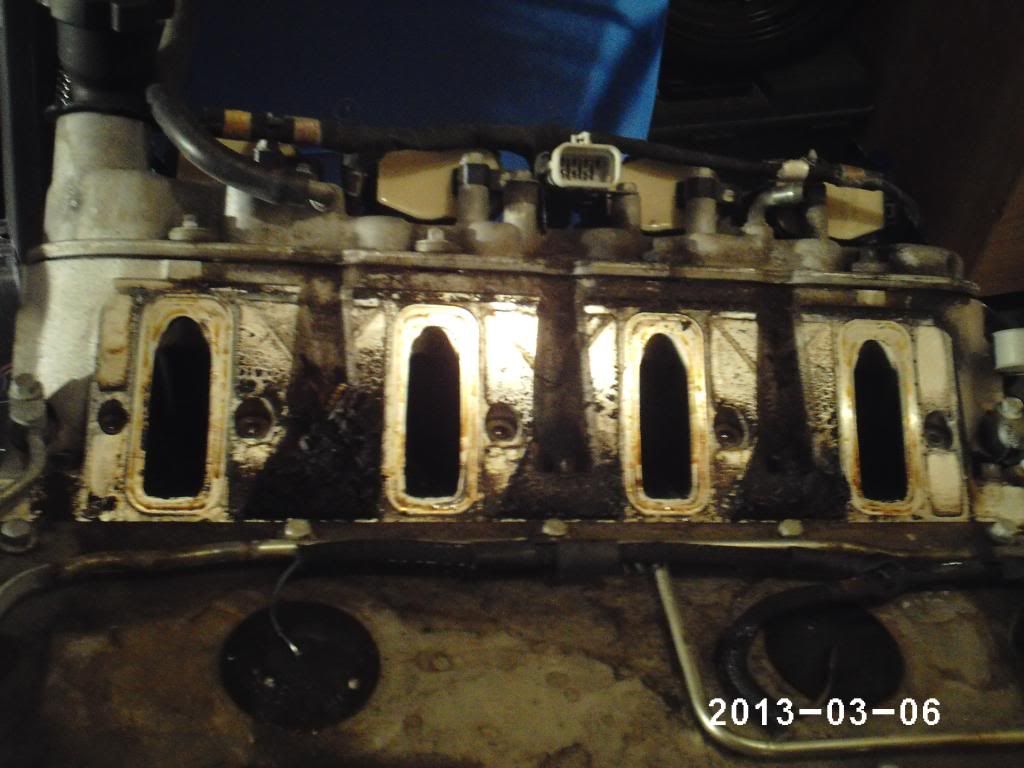
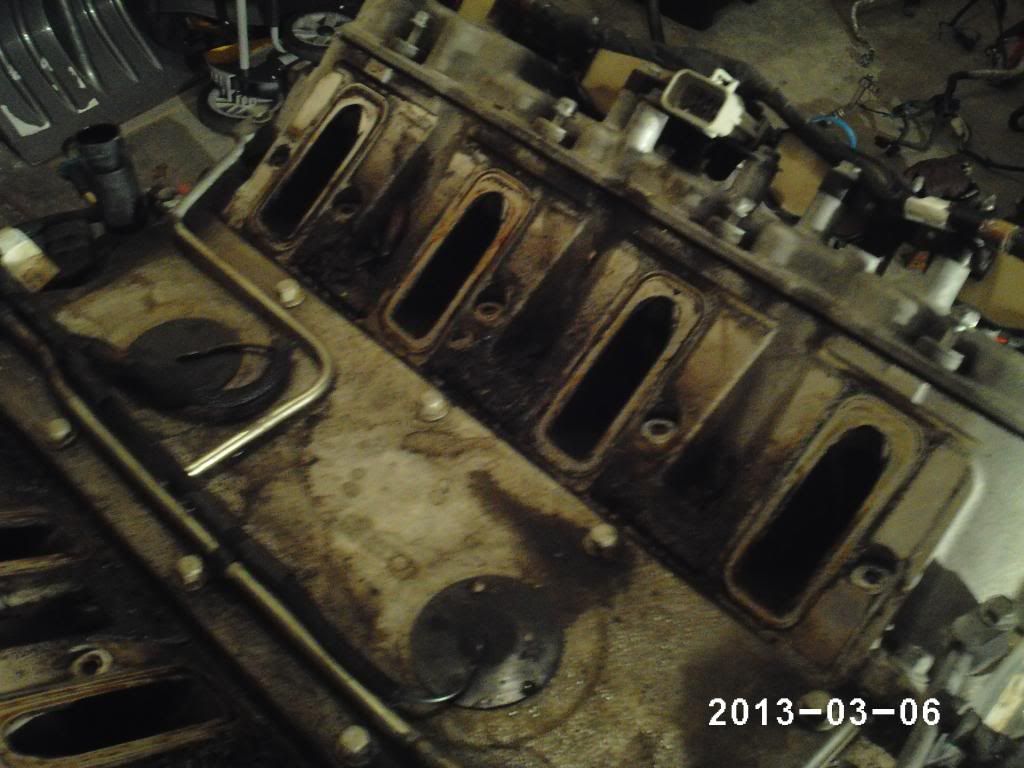
Then went topside, and pulled the intake. Easy enough; shocked how easy this thing came off (I’m used to the glued down old style SBC intakes!).

Looks like the seals went bad topside at one time, lots of oily debris.

Then it was onto the Exhaust Manifolds, those came off without a hitch. Exhaust ports were nice and clean, valves were slightly residued on the exhaust side, but nothing crazy at all.

Pulled the Motor mounts next, the PS one was completely trashed, good thing I’m not using them at all (Onto the scrap pile they go!).

Then I remembered, I might as well drain the oil so I pulled the the oil pan plug…

Then the OH FUCK moment happened… Chocolate Milk on the plug (But nothing came out of the pan oil wise)!!! At that moment, I’m swearing like a motherfucker, and hoping I didn’t waste my $$! (Although even if the motor was bad, I still didn’t waste my $$, all the accessories/PCM/wiring/pan/etc were worth what I paid for the whole motor!).

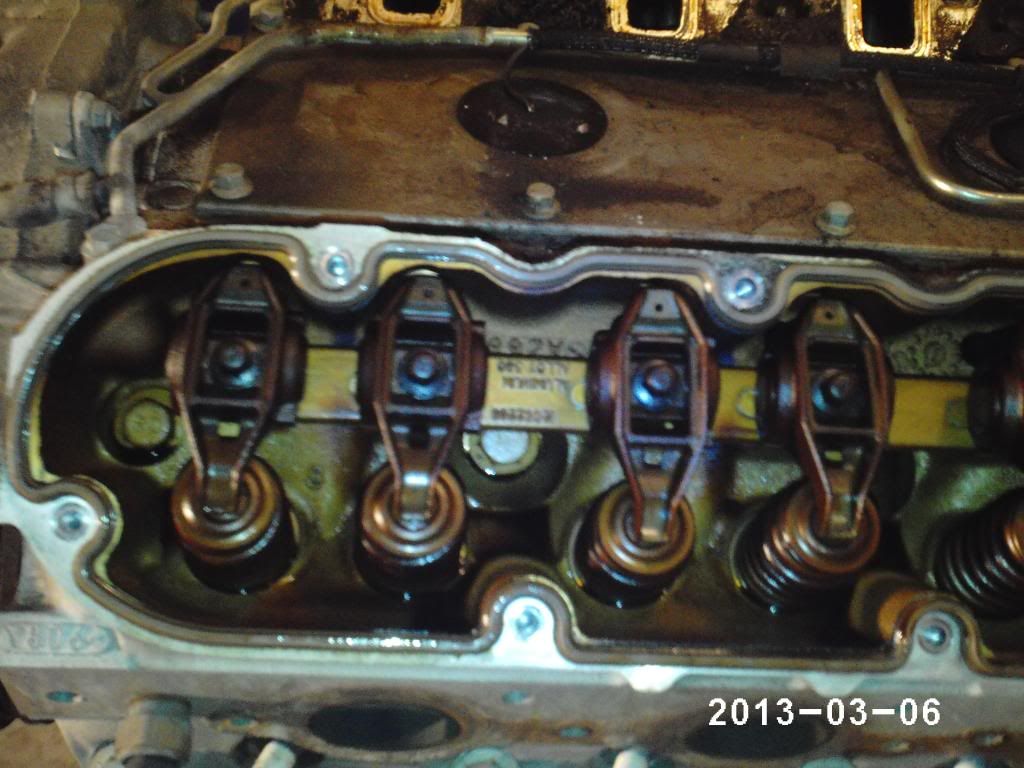
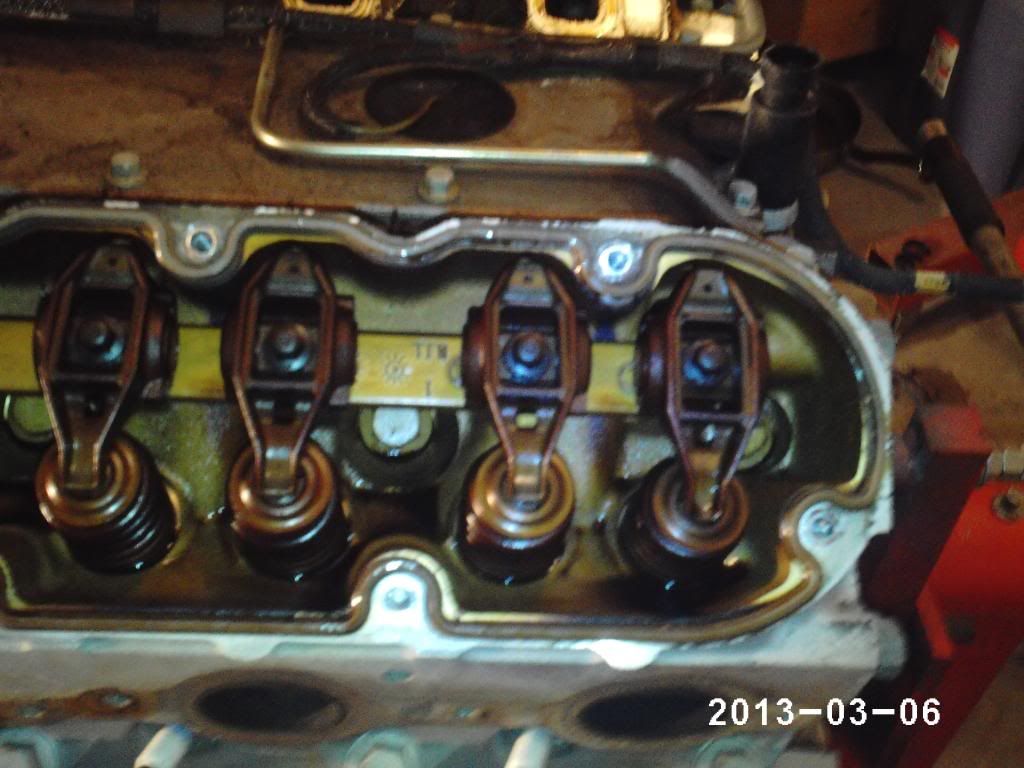
Pulled the valve covers next, expecting the worst…

Both side were like this… nice discoloring, nothing broken, no chocolate milk…

(Sorry no pictures for the next part, I’ll snap some tonight, camera died).

Ok… so onto the lower end… flip the motor over, and out pours more chocolate milk all over the floor… at this point I’m thinking best case, condensation/leak from when he washed it; middle case, popped head gasket; worse case, fucked block or heads.

Unbolt the pan… and pray as I pull it off. The pan looks identical to the inside of the heads except for the sump and where it ran down into the motor and out the heads. Ok, so it appears that it’s a condensation/wash issue. Thank god.

I’m going to pull the heads tonight or this weekend and tear apart the bottom end. Then send that off for hot-tanking and to get checked over at the machine shop.

So overall it looks like I got a decent deal; just shy of $2200 for the complete motor and new BMR (Still Unreleased, no date as to official launch; but similar to the DKT one they sell) K-Member shipped from FL to UT.
doesn’t look too bad! mine was in about the same condition under the valve covers.

considering how much actual RPO LS1s are going for nowadays, you got a good deal on that motor, especially with all the accessories/harness/PCM/etc etc.

Just talked with one of the machinest we have here at work; he’s big into the car scene out here; to get an idea of a machine shop he trusts.

Not too bad pricing from what I can tell, should cost me anywhere from $135 - $550 including tax to get the block done. $135 = Clean, Cam Bearings Installed, and Freeze Plugs Installed; $550 = the $135 items, plus full machining (Line, deck, and bores).

Doesn’t seem like a bad price at all to me.

I assume when you put it back together your coolant/oil milkshake will go away after it is machined. I think your are FINE.

That motor is in great shape…from what I can see.


What are you wrapping the harness in? F6?

Hopefully you’re right, I’m 99% sure you are though. My thoughts are from the washing with no oil in it plus the temp swings in and from FL to UT. So far, I’d have to agree with you on the condition as well. Will find out more tonight/this weekend though when I tear the rest down.

What am I wrapping the harness in? Honestly, I have zero clue. I have the Engine Harness and Front Clip Harness to do. The Front Clip Harness is going to be a lot worse (Relocating a fuse block at the same time).

Make sure you use only one color when rewiring the harness.

Of course, everything is going to be red, so it matches the car!

Get a universal fuse block and relay panel…it will make your job 100 times easier; and cleaner.

---------- Post added at 05:50 PM ---------- Previous post was at 05:45 PM ----------

Here is a really nice one I thought about using before: http://www.speedwaymotors.com/Painless-Universal-18-Circuit-Fuse-Block,5157.html

Painless = $$$ but they are by far the best I have seen “off the shelf”

Ok, more updates… Spent another 2 hours out there last night and got it 90% tore down (Still need to get the Balancer off and pull the front/rear covers & crank).

Everything looks good though. All cylinders are cross-hatched still from top to bottom. Pistons are clean (Did find that cyl #3 was running like shit, about 10X the carbon buildup as all the other cylinders).

Bearings were as expected with “normal” wear patterns. Crank rod journals look/feel good, should just need a polish.

And onto pics…

Oil Pan (Only the chocolate milk in the lower part, everything else is clean)

Lower End:

Top End dis assembly:

And onto the Bottom End

Rod Journals:

Looks like someone didn’t keep up on oil changes

Just who I was hoping would chime in.

Semi-agree. Any other thoughts on this motor from the pictures? Think I can get away with re-using the rotating assembly? (Obviously depends on what the machine shop finds after cleaning/inspecting). Already planning on a full gasket kit top-to-bottom, new bearings throughout, and new rings.

  • note, this is a budget build, super basic is fine; not doing anything crazy at all with this motor, other than getting the car running. Big $$ will be spent on the next motor.

Guess not the end of the world. I would clean up the pistons put a set of basic npr or hastings rings. Maybe run a ball hone through it real quick. New rod and main bearings and call it a day. Crank might pass with a polish but you would be better off turning it 010/010. New oil pump and reassemble

Well… I’m officially a dumbass and have run into a snag… I didn’t pop the balancer bolt off before disassembling the block… :picard::hang:

So now I gotta figure out how to pop that one off. Thought about the wood-block between the crank and block, but I’m concerned about fucking up the block with that method… (If it were a steel block I wouldn’t be concerned!). So now I gotta figure something out to get it off.

Ordered a new 1/2" impact (Aircat 1200); that’ll be here Wed, so I just have to rig something up to hold the balancer while I use the impact. I saw what a few others had done, and might try one or two of those methods. (1" square tube with 1/2" bolts inserted into/through the pulley used as a “stopper”).

Once I get that damn balancer off, then I can finish pulling apart the rest of the motor and truck it to the shop.

Did your motor come with a flex plate? If not, I have one you can borrow. Stick it back on, jam a screwdriver through it, crank locked. An impact MIGHT do it (granted I have a shitty one) but the cheater bar method always works.

Nope, didn’t come with one… wish it had.

And I’d love to borrow it… only problem is, I’m 2000 miles away from you! LOL!

Ah fuck I forgot you’re in Mormon country.

I would put a wood block between the crank and block and not look back, but if you want to do it right you could probably pick up a junkyard flexplate for super cheap and toss it in.

That’s one of my options… I’m still considering it. but with the weaker '98 Aluminum block… I’m nervous about that method.