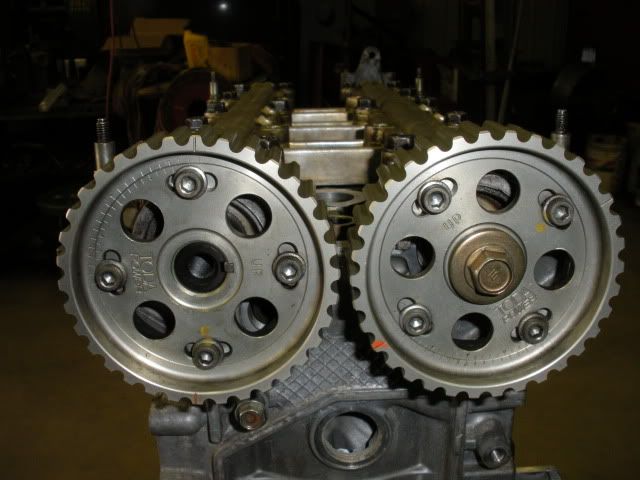
ya better safe than sorry true, if you want you can clay it
but if na motors with high comp dont run into problems with them i doubt a 9:1 motor with bigger valve reliefs will have a problem
ya better safe than sorry true, if you want you can clay it
but if na motors with high comp dont run into problems with them i doubt a 9:1 motor with bigger valve reliefs will have a problem
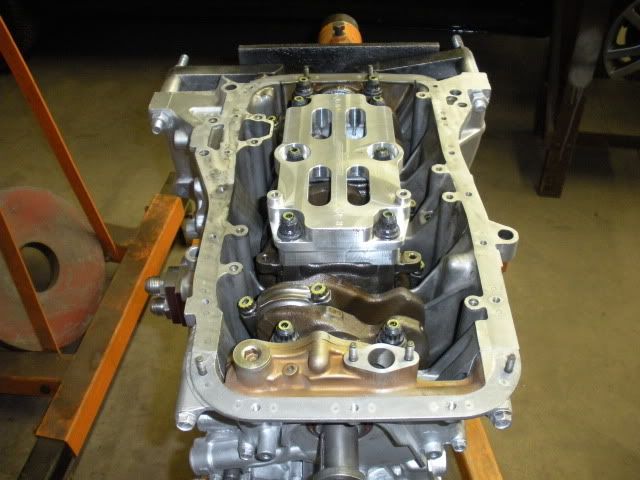
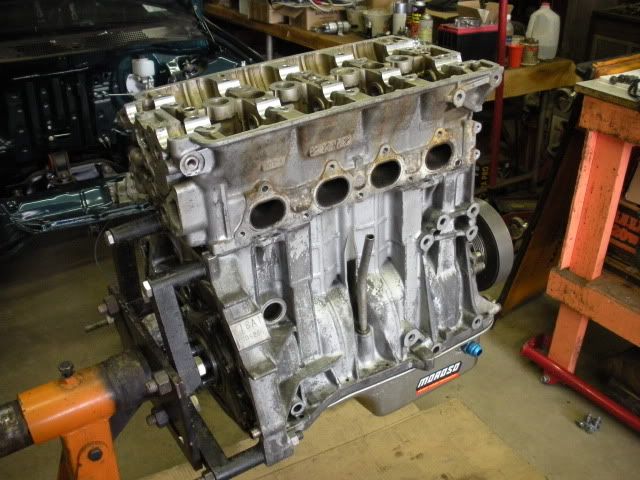
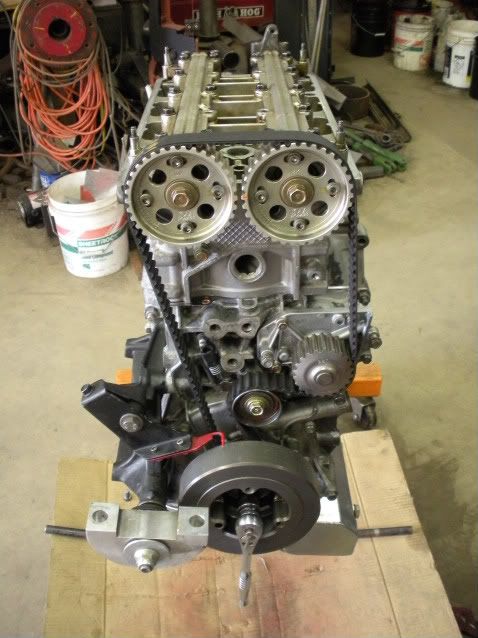
nice job
I love this build thread.
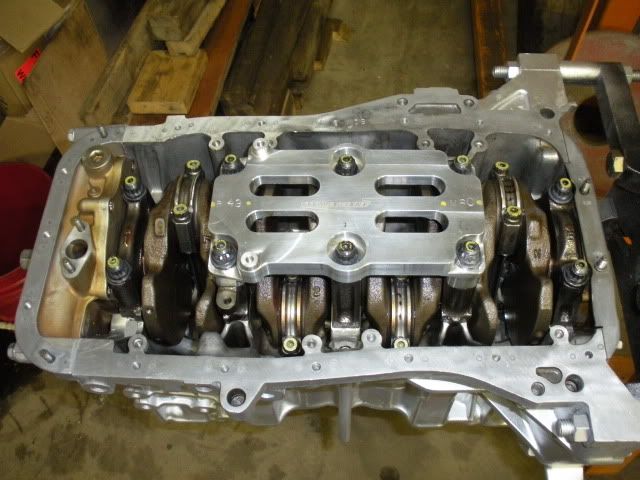
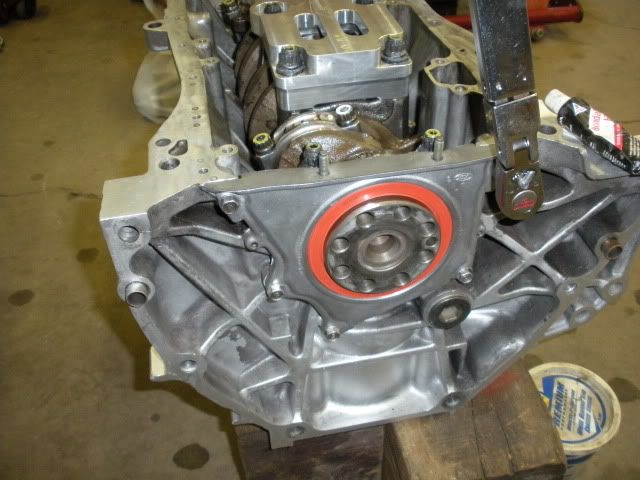
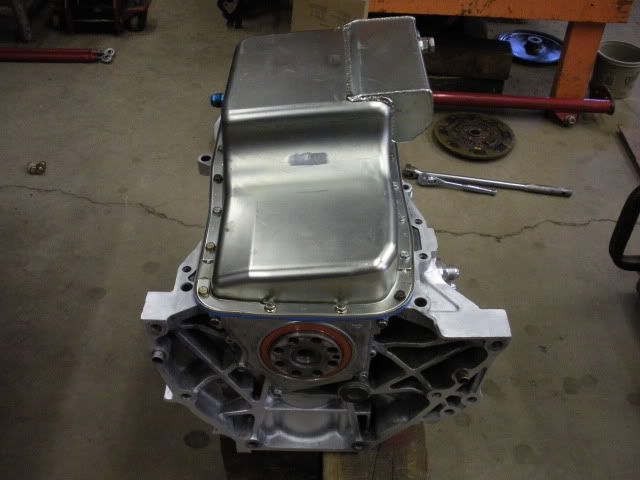
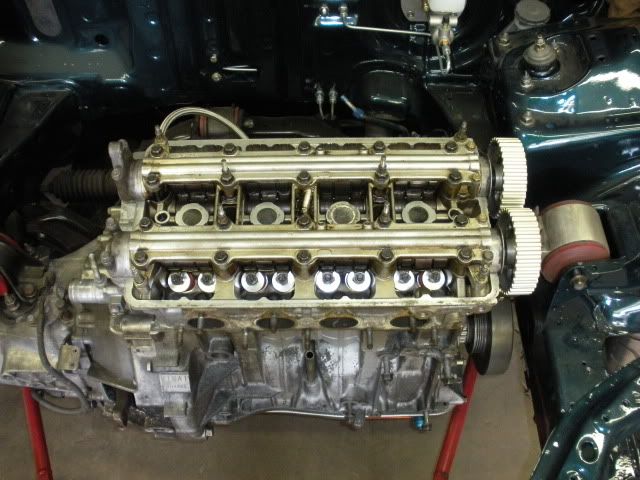
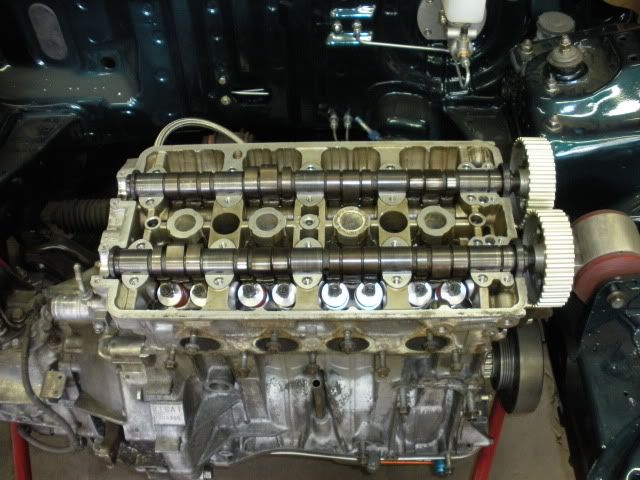
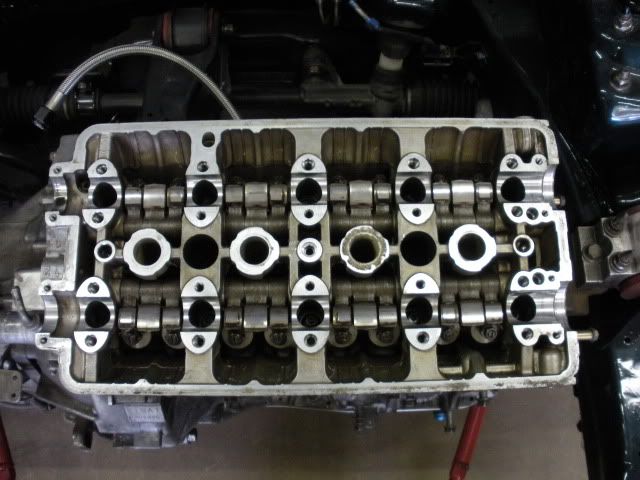
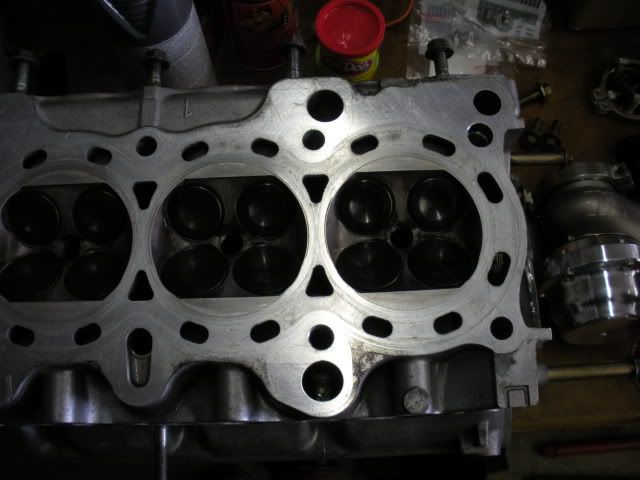
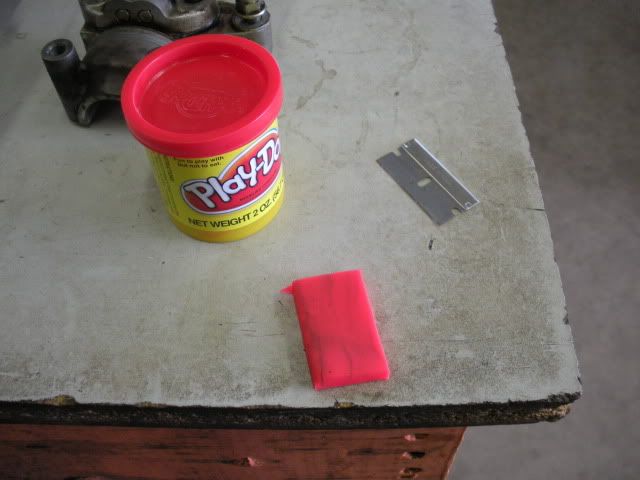
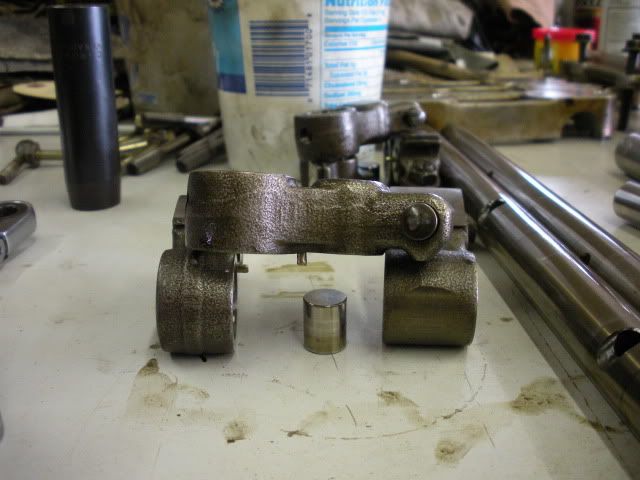
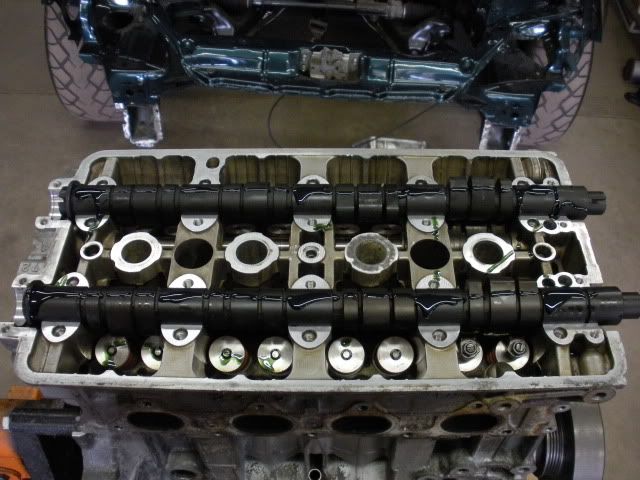
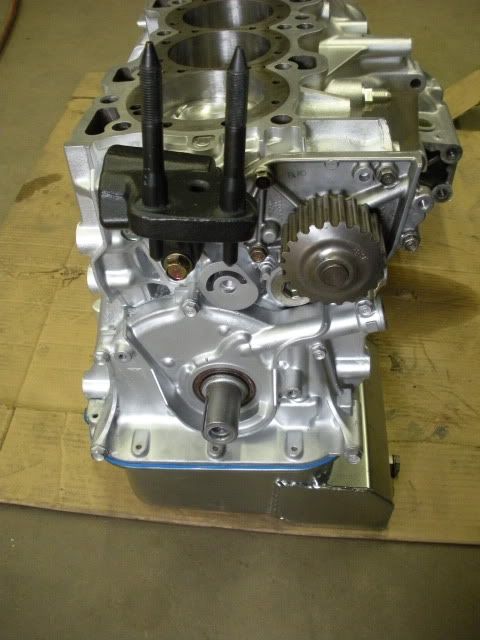
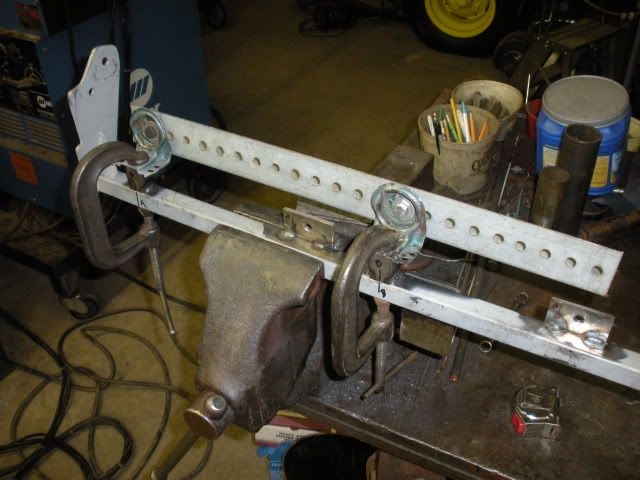
what does the play-doh do?
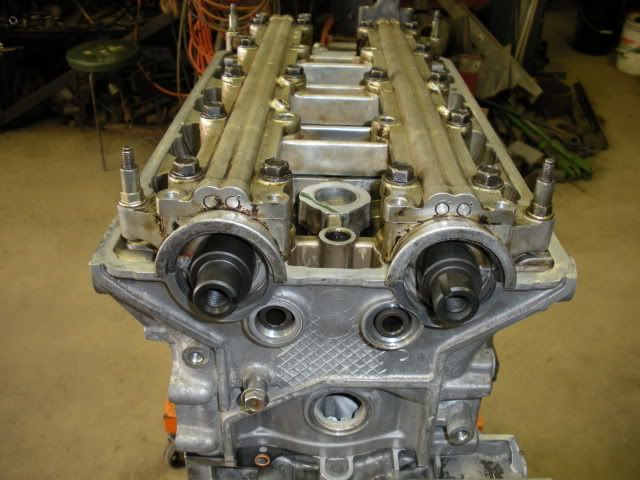
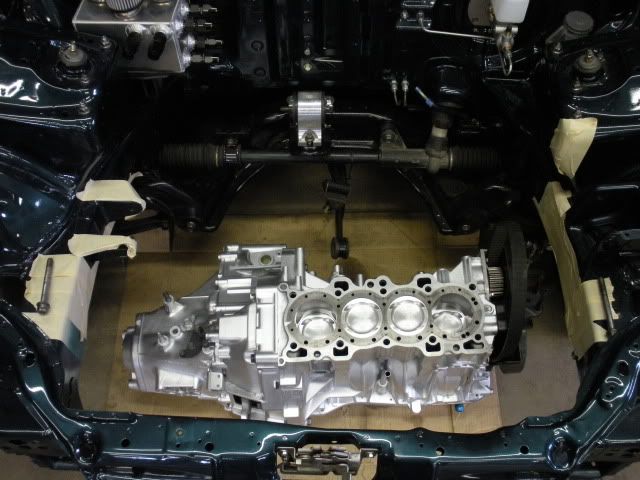
Shows you how much piston-valve clearance there is.
that’s what a ifigured, but then his next few pictures he has the head bolted on… so i didnt know what happened lol
increases compression, j/k, the question got answered. shows how close expensive parts are… congrats on the avatar and signature btw.
Yeah…you can’t check p-v clearance if you don’t have valves. And if you just set the head on there without torquing it down…that’s just dumb.
The head was torqued down.
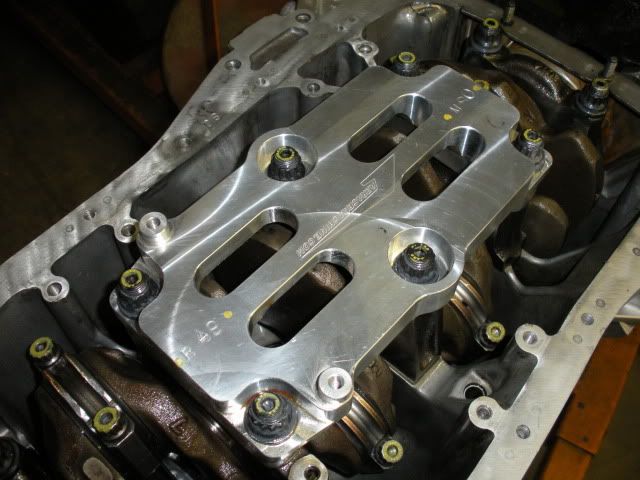
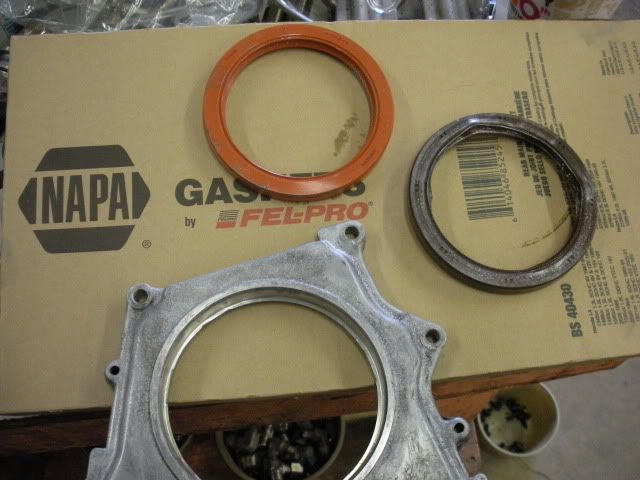
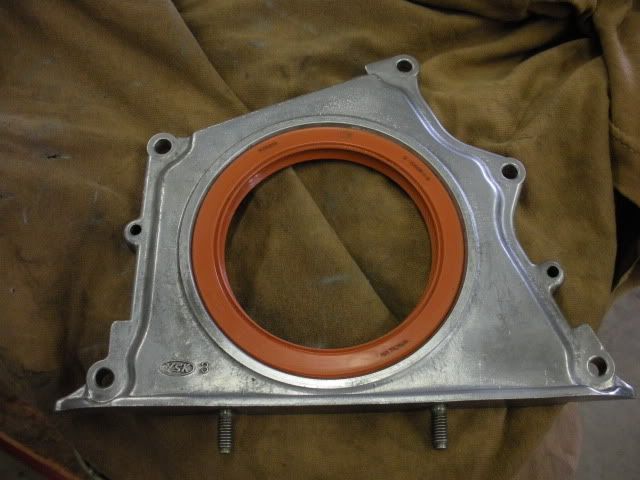
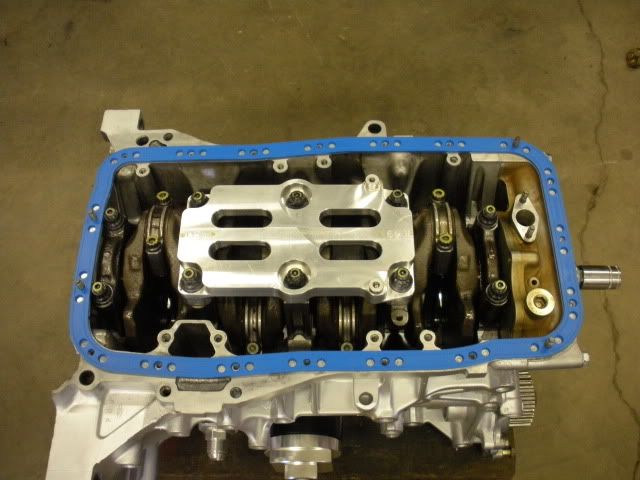
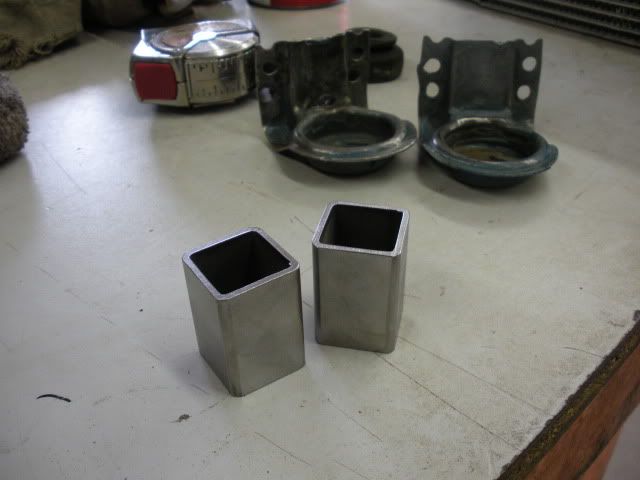
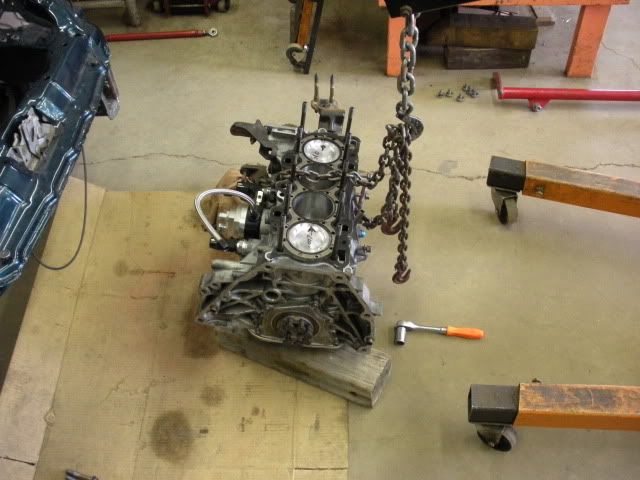
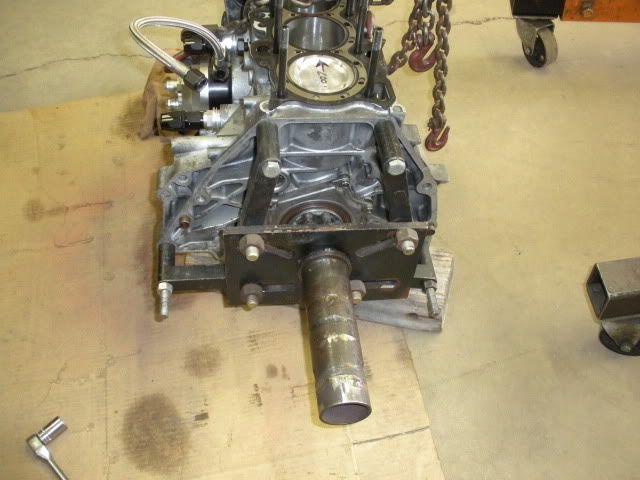
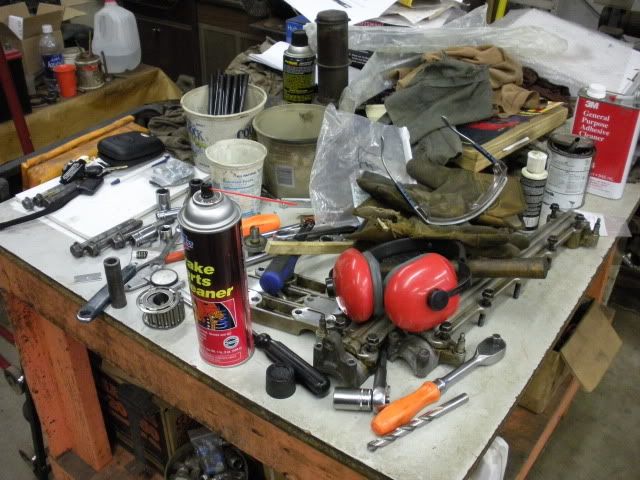
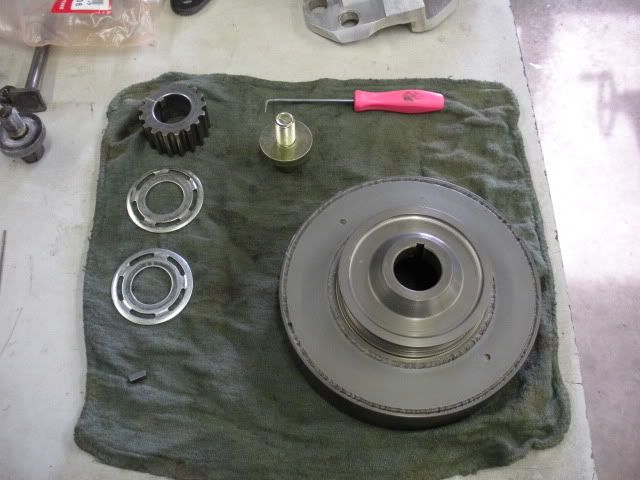
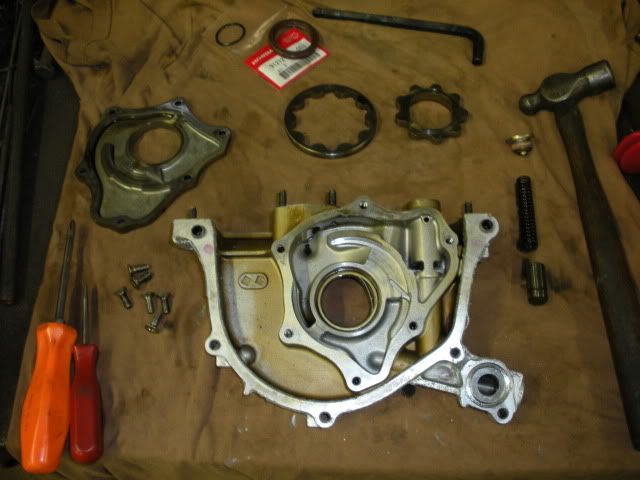
Parts to clean.


Yeah, I figured you had, I just just saying if someone used clay without torquing down the head…they’re a simpleton.
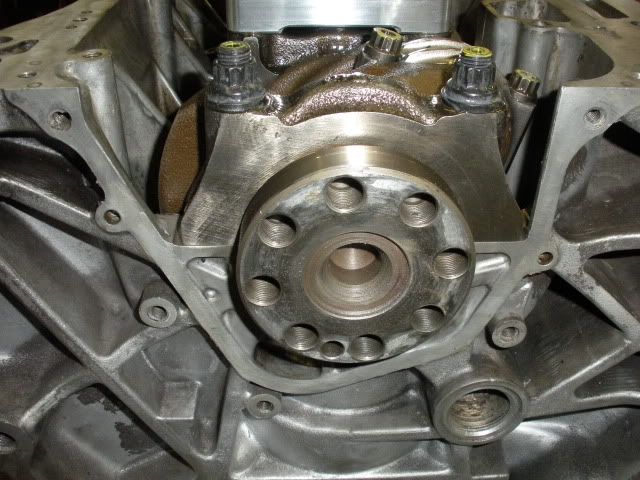
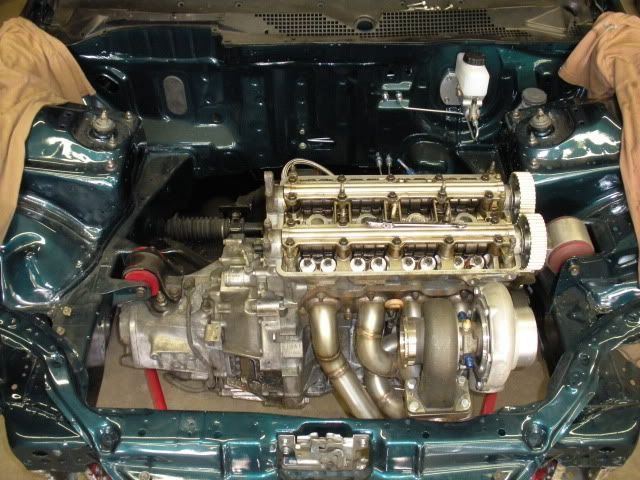
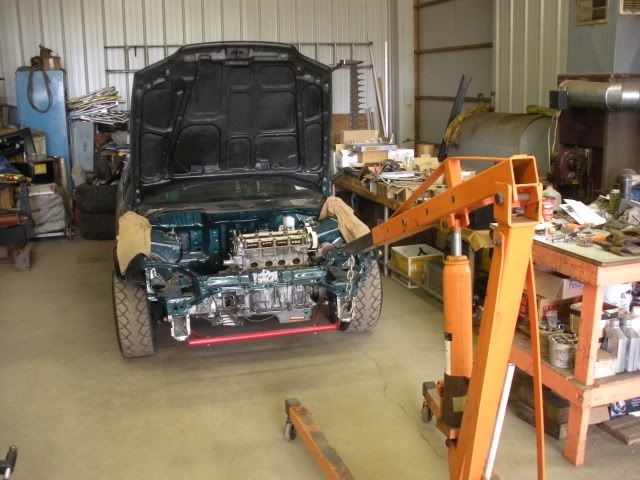
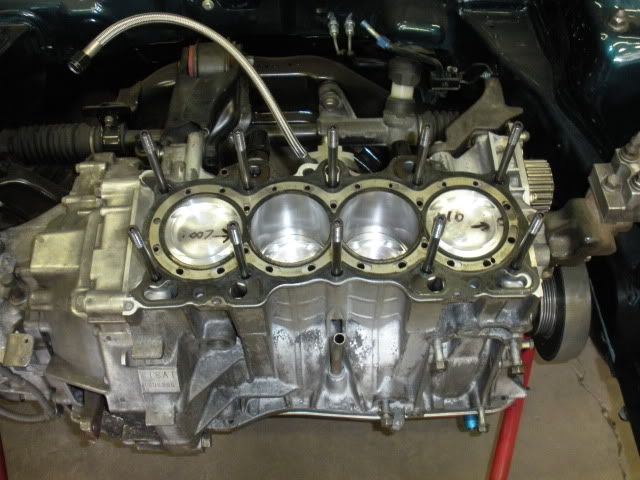
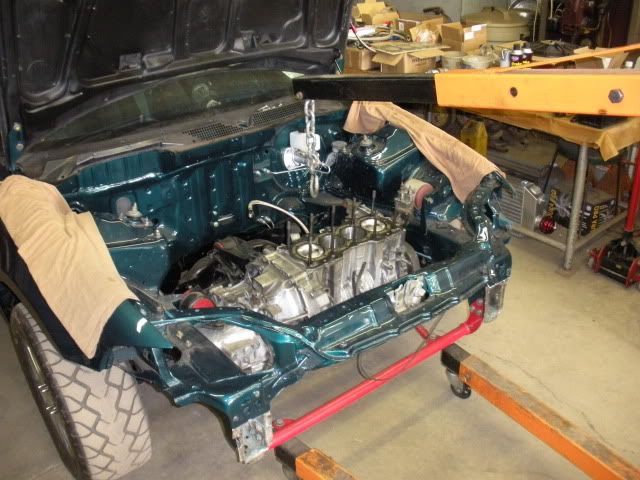
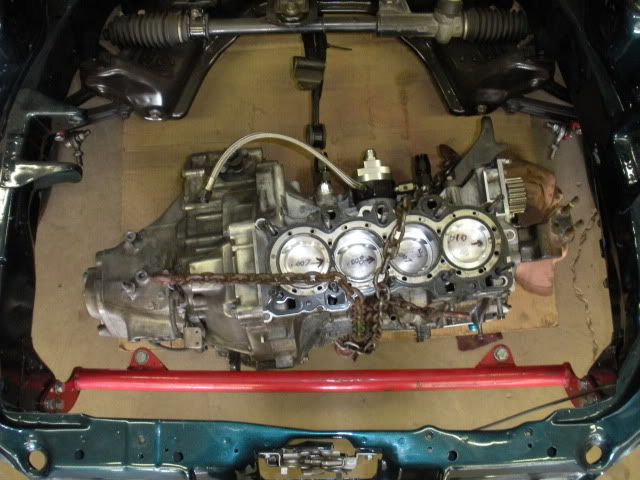
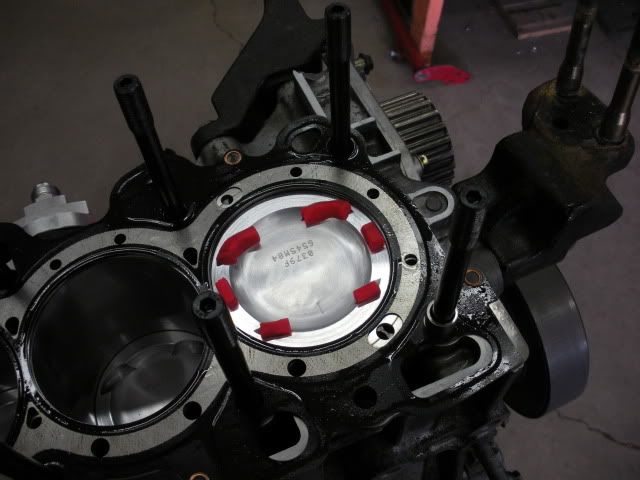
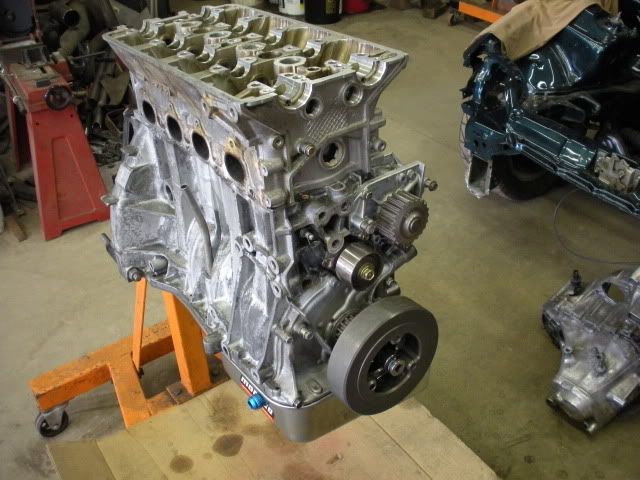
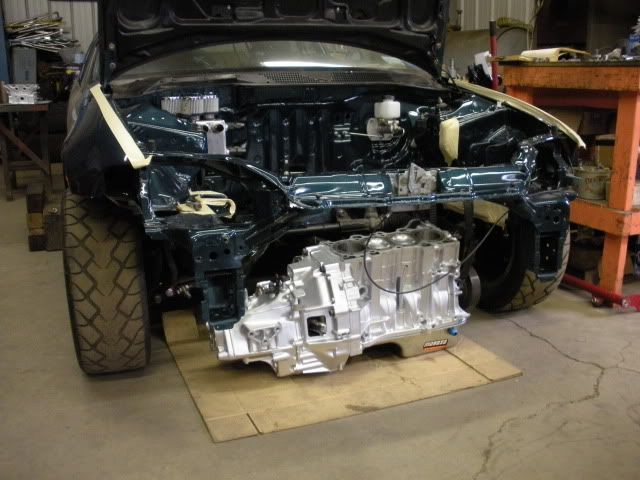
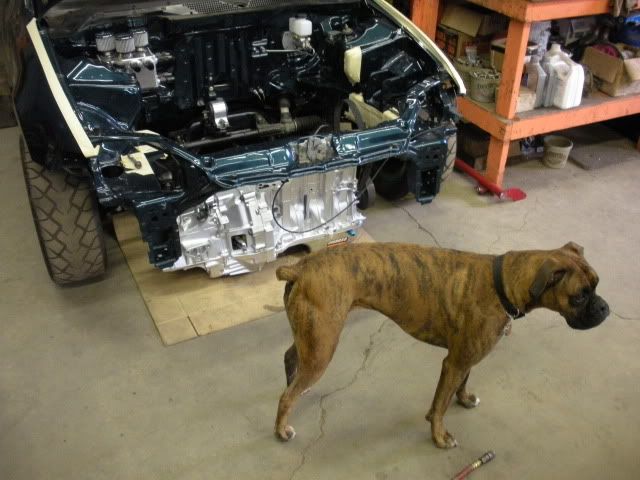
It was a great weekend, got a lot done. It was nice being able to drop the engine out the bottom and roll the car out of the way. The claying was successful but Saxon was right…more then abdicate clearance. One less thing to worry about though.
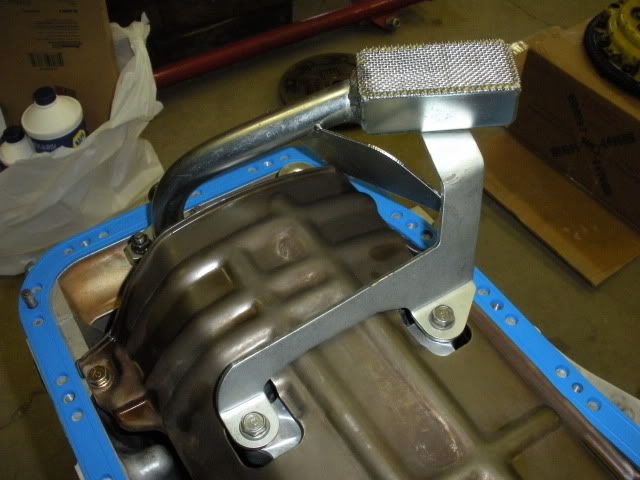
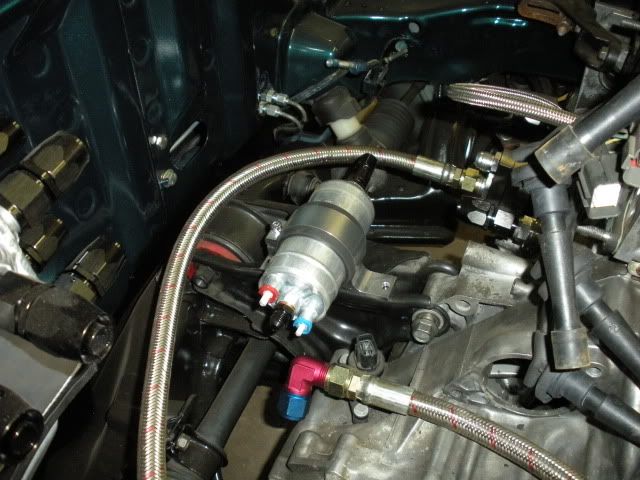
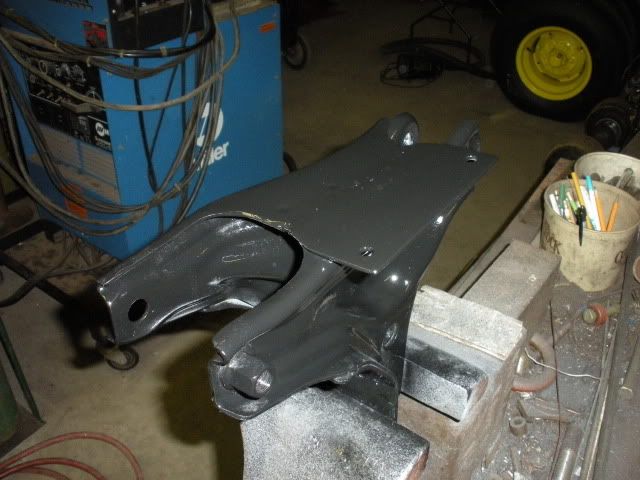
Decided to mount the fuel pump to the rear T-bracket. Just need to weld it up and paint.
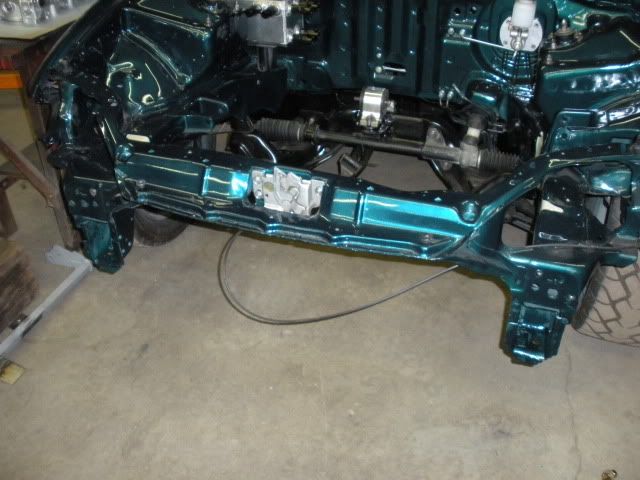
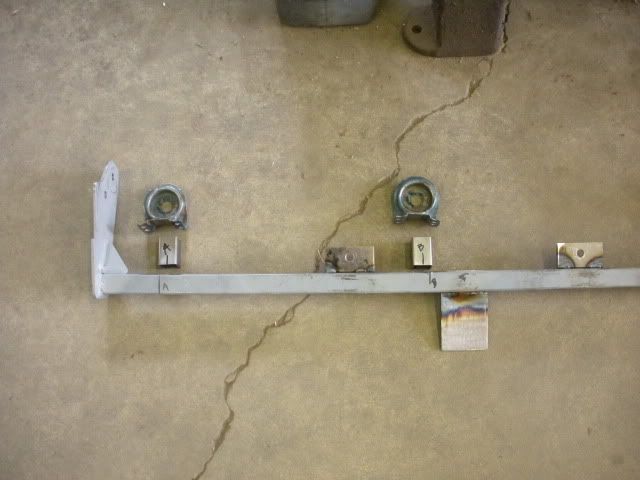
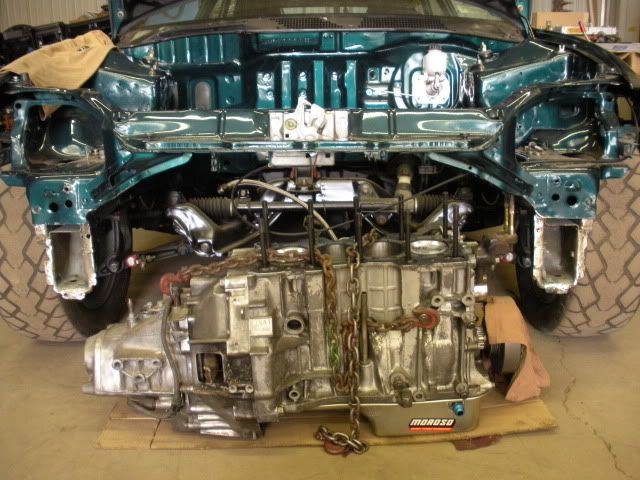
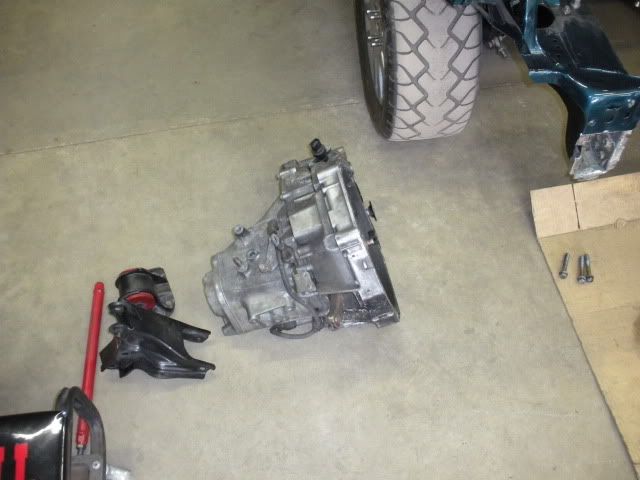
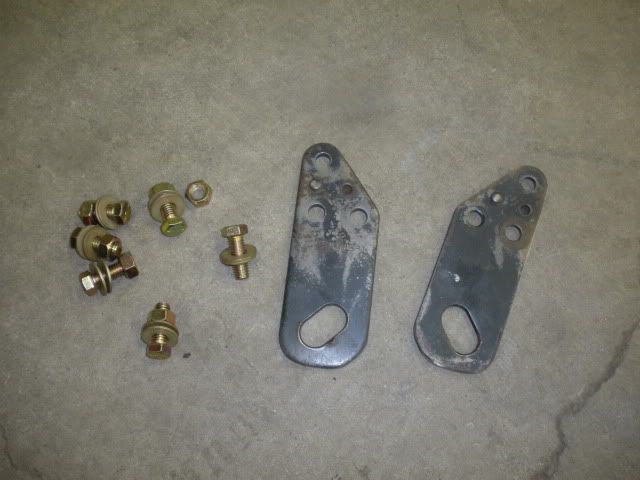
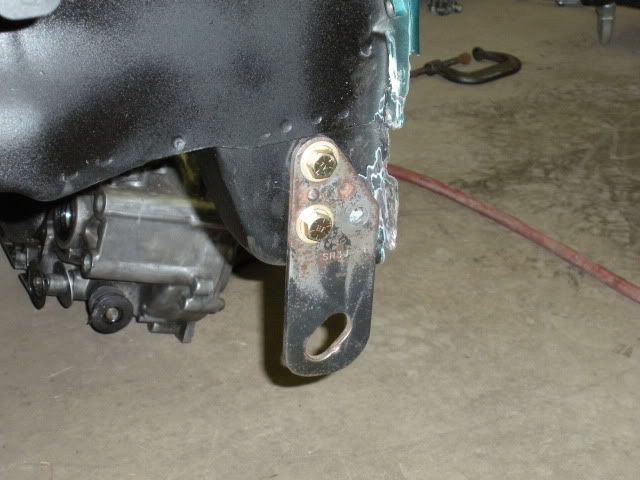
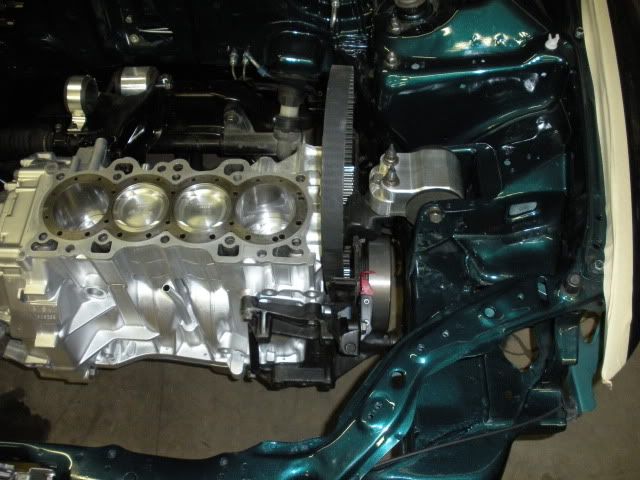
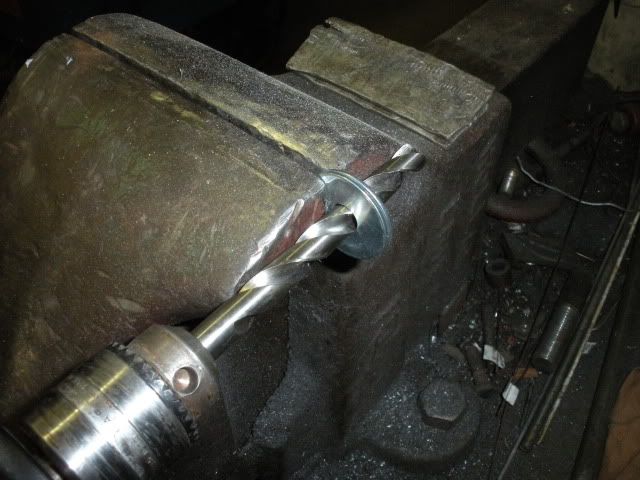
The rear engine mounts need way longer bolts then stock. Now to think about it I should have checked all three.
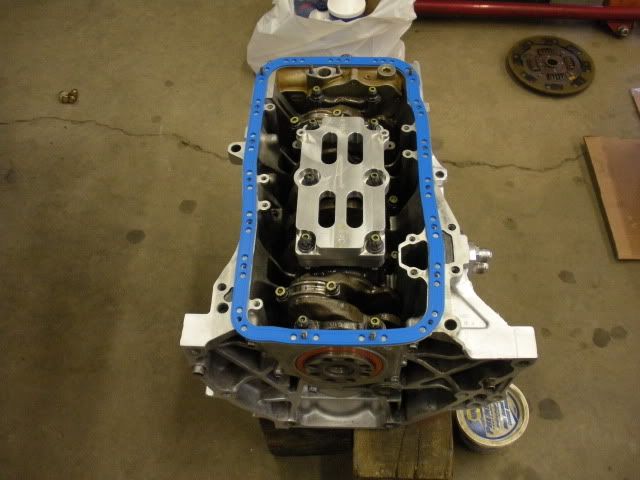
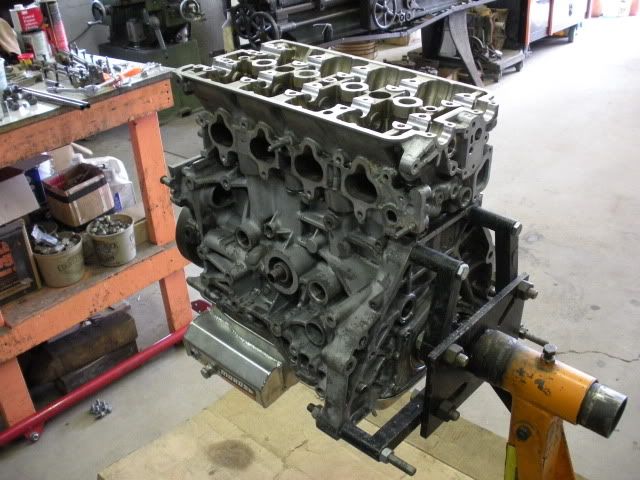
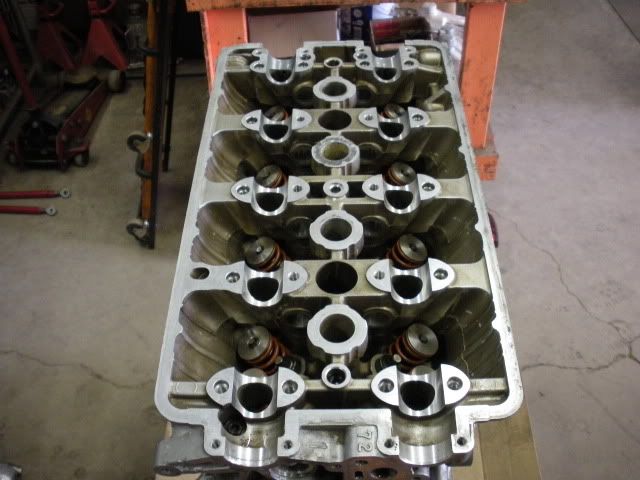
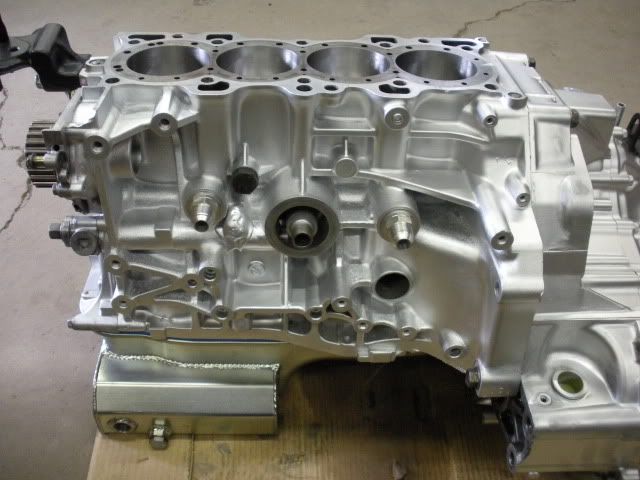
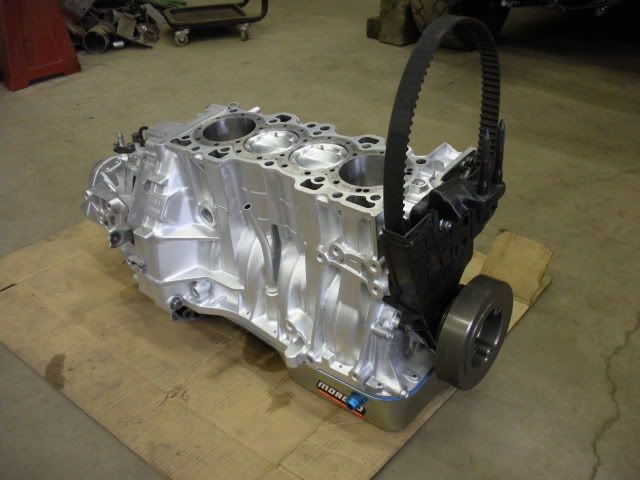
I try to let the pix do most of the talking but if there’s any questions just ask.
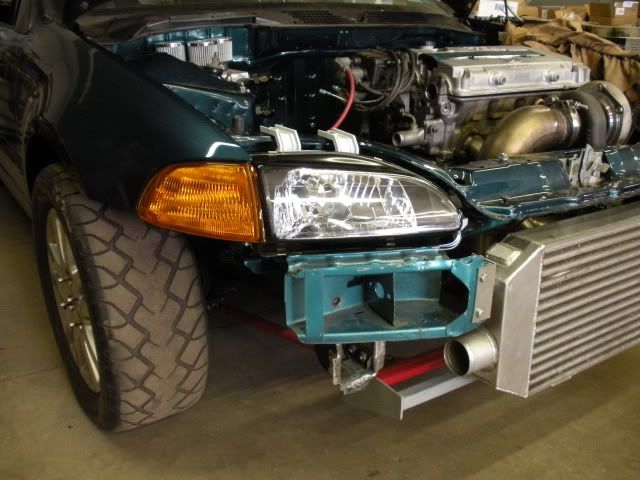
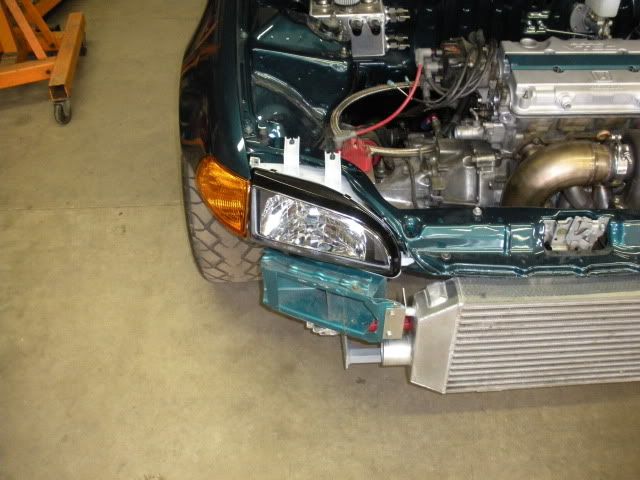
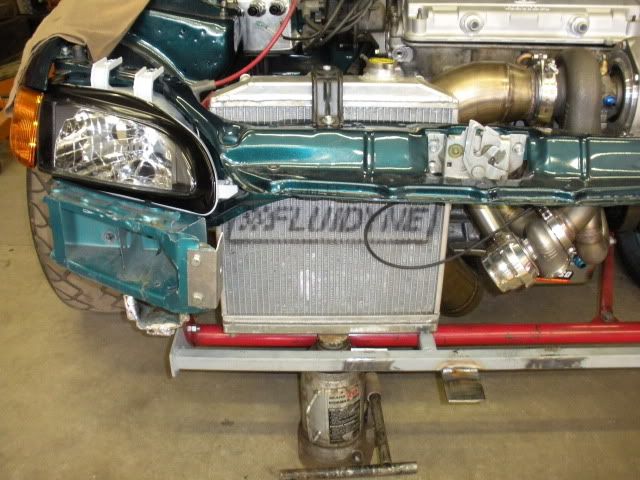
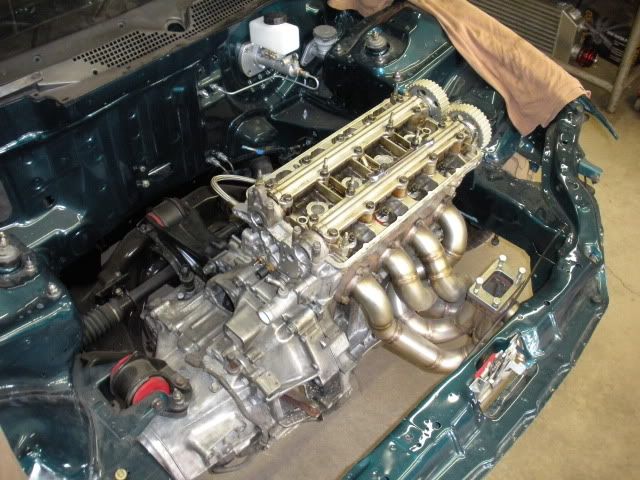
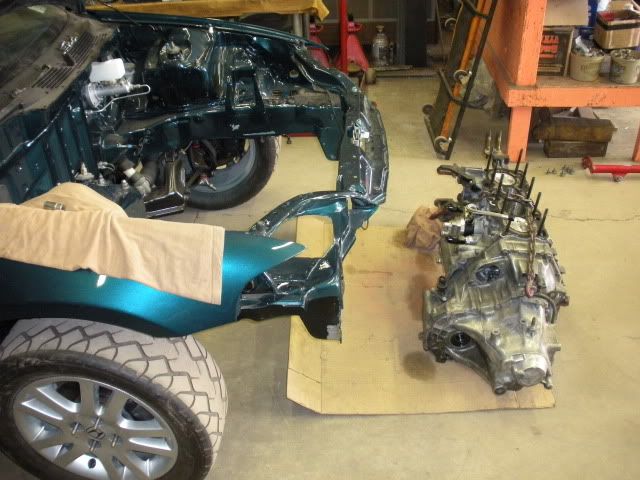
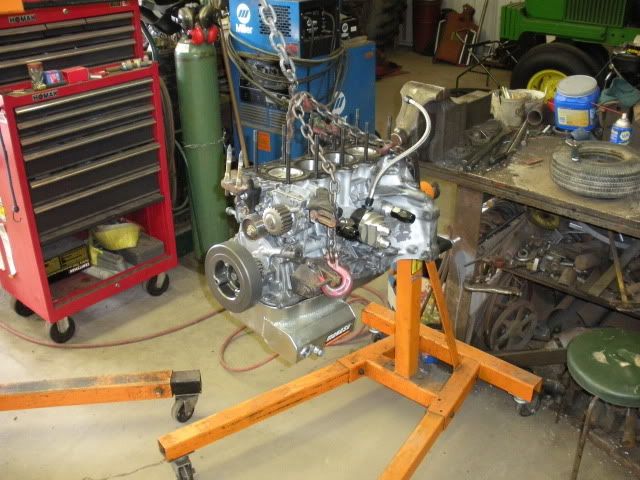
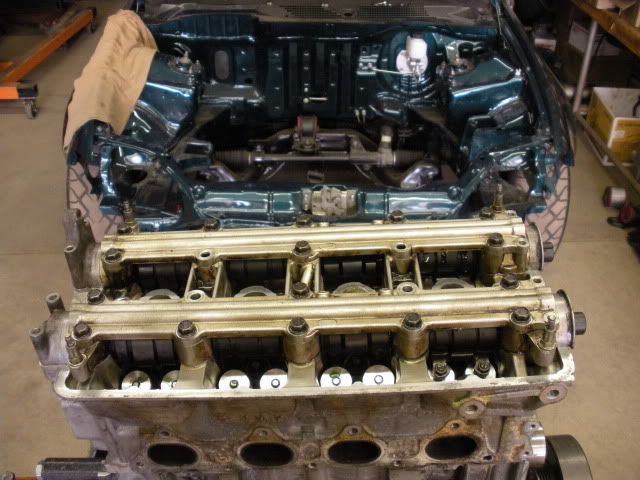
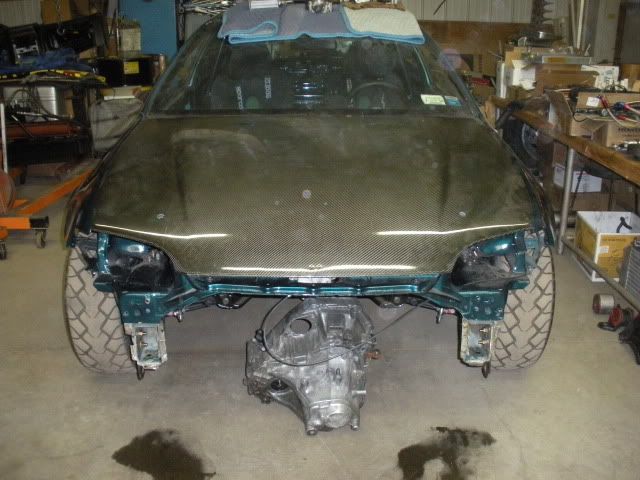
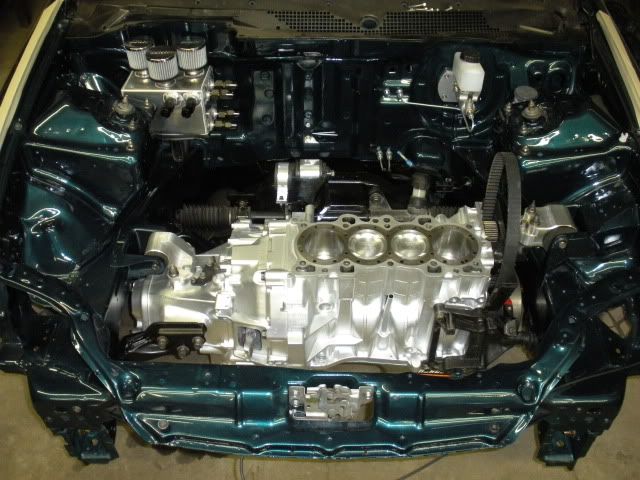
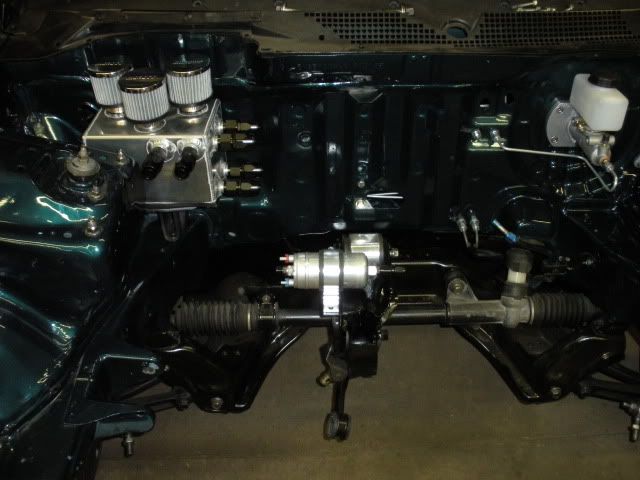
Next I’m going get some touch up paint for where I scratched the frame rails going in. Then I also will paint all the exposed front end stuff. Once that’s dry I can install the oil pan, block and trans. I’m going to assemble most of the engine while its in the car to help prevent more paint accidents
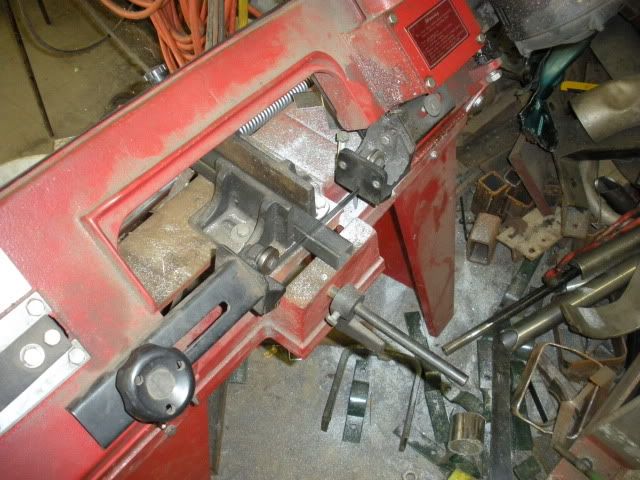
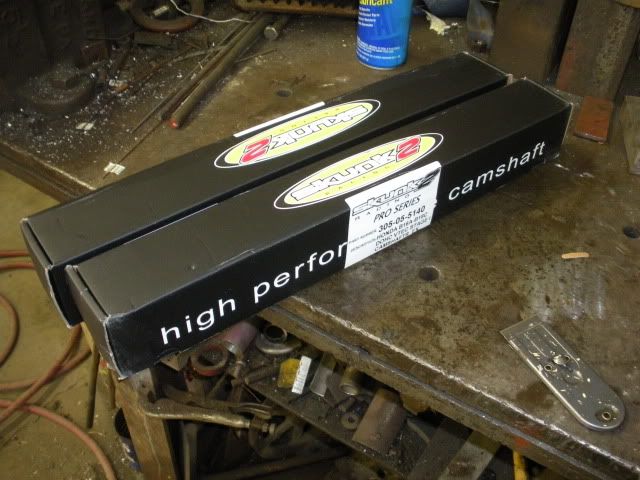
ps - new toy

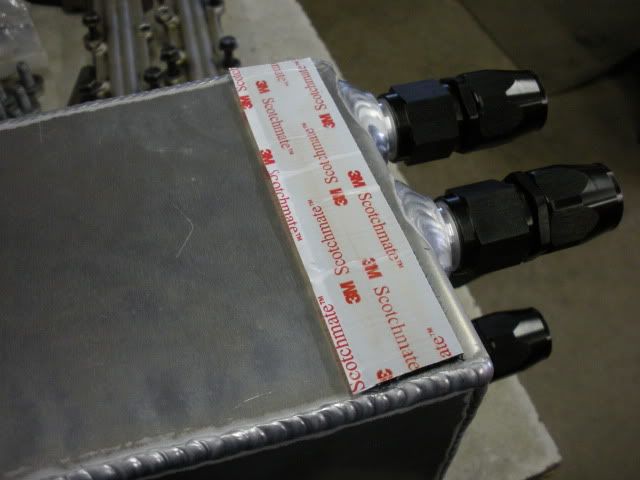
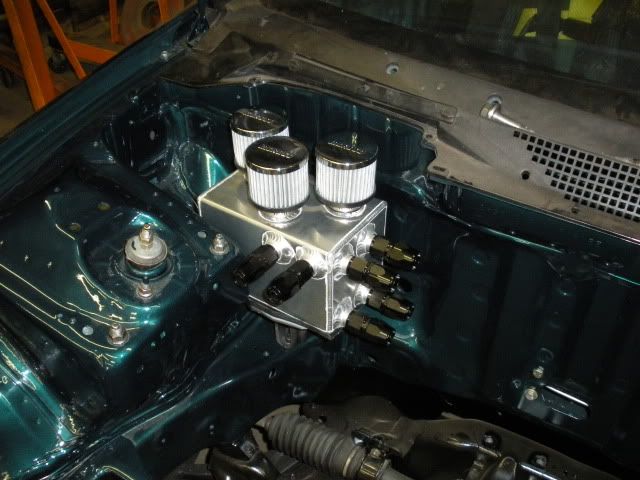
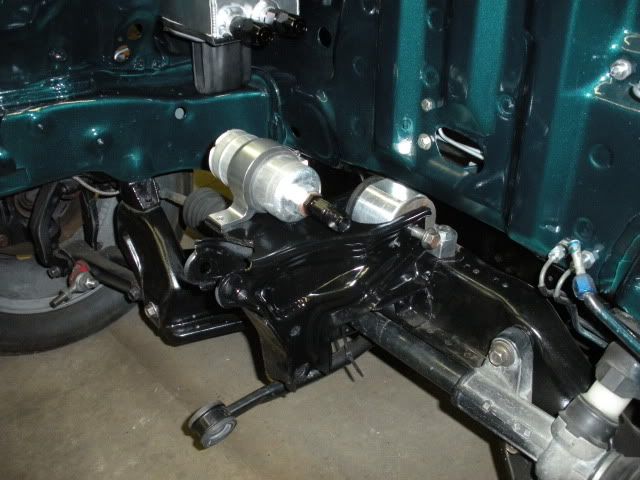
Cut the end off the org. batt tray so the fittings cleared. Used some velcrow to help hold the vent box b/c it only has a braket on one side. Worked out well.
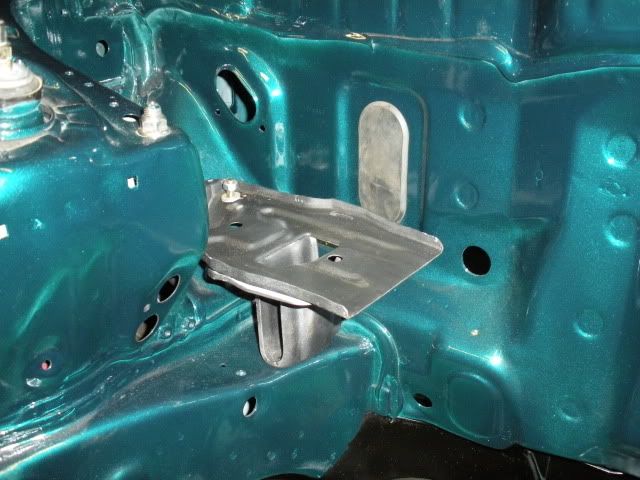
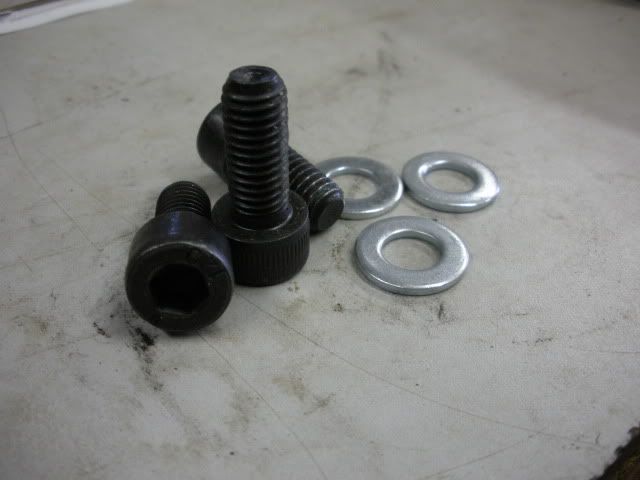
Had to get longer bolts for the rear mount
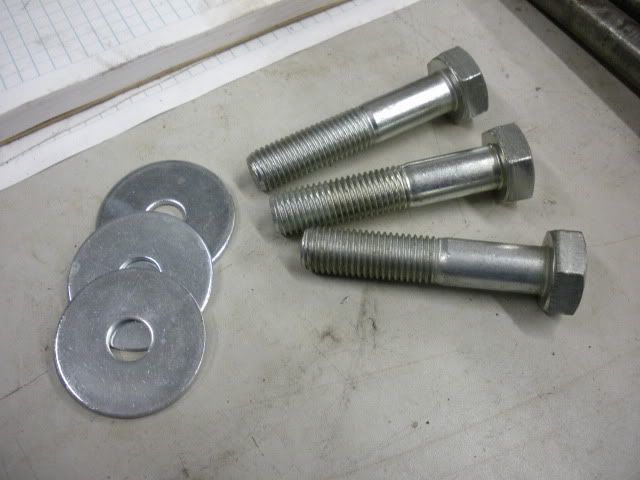
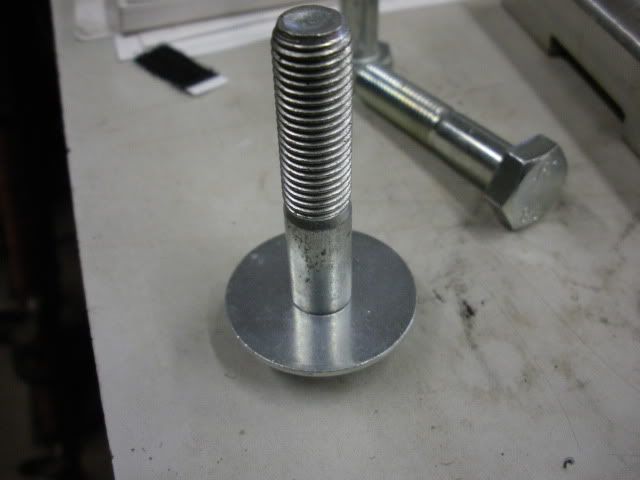
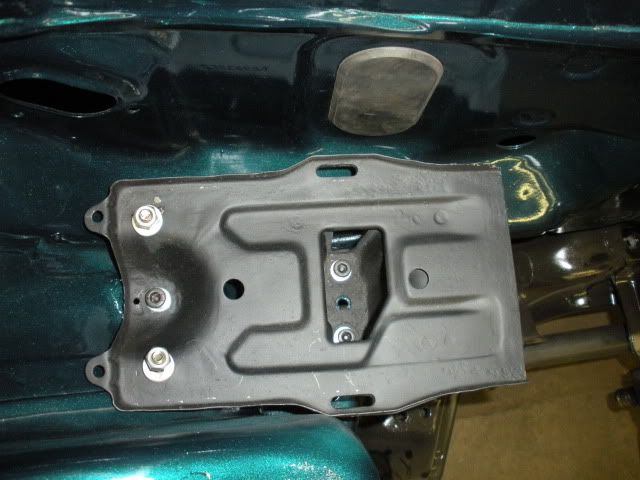
I need to get bolts for this still but I am happy how it turned out.
:tup: looking good.
Dan
Nice work! This is going to turn out super clean!
catch can looks nice, where’d you mount the battery? Did you make your own tray for that?
I want to make my own and throw in a mini battery, no way am i paying 180$ for a tray that looks like it will take 25minutes to make lol
Haven’t mounted the battery yet. Not sure where it will end up. I wanted to keep it up front but I cant seem to find a good spot with the way my inner cooler pipes run. Prob going behind the passenger seat and bolt it to the floor. Also maybe under the rear bumper but I’m not sure I like that idea enough yet…