You mean the sealant used for the oil pan and front cover? Or am I not seeing something?
No, that’s just the lower cylinder block.
Chemicals won’t make it crack, at least not the ones I’m using.
Still cleaning. Put some stuff back one, but also took more off.
I cleaned up/off the firewall area (dunno if you can tell)

Took apart the lower manifold

Noticed the injectors were pretty dirty:


Also noticed the lower intake runners were pretty dirty (headside). I’m assuming this is just back splash from the valves:


So I got to scrubbing, half cleaned up

All cleaned up

Runners clean


Then started messing with the upper mani
Before pics and things I’m going to shave off


Shaving started (far from done)


I also put the side mounts on so I could pull the crossmember. Also threw on the a/c delete and tensioner.

Crossmember out

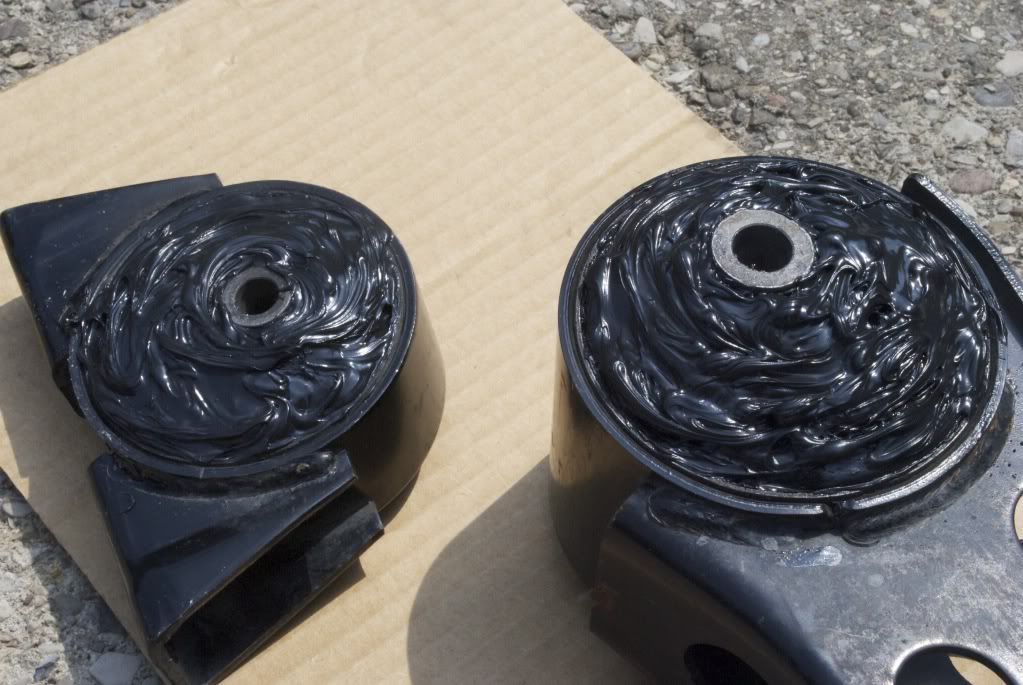
Mounts off, motor mount inserts goodbye forever

Gettin’ clean

I was going to do them last night but my filler hardened in the tube, so I’m going to have to go buy a new one today.
Still have a ton of wiring to do ahead. Need to check/clean the nitrous solenoids. Touch up a few things, etc. I feel like I’m making some progress though, so I’m happy.
did the mounts, happy with the turnout. some may say I went overboard, but my intention was function > form, and I knew that going into this.
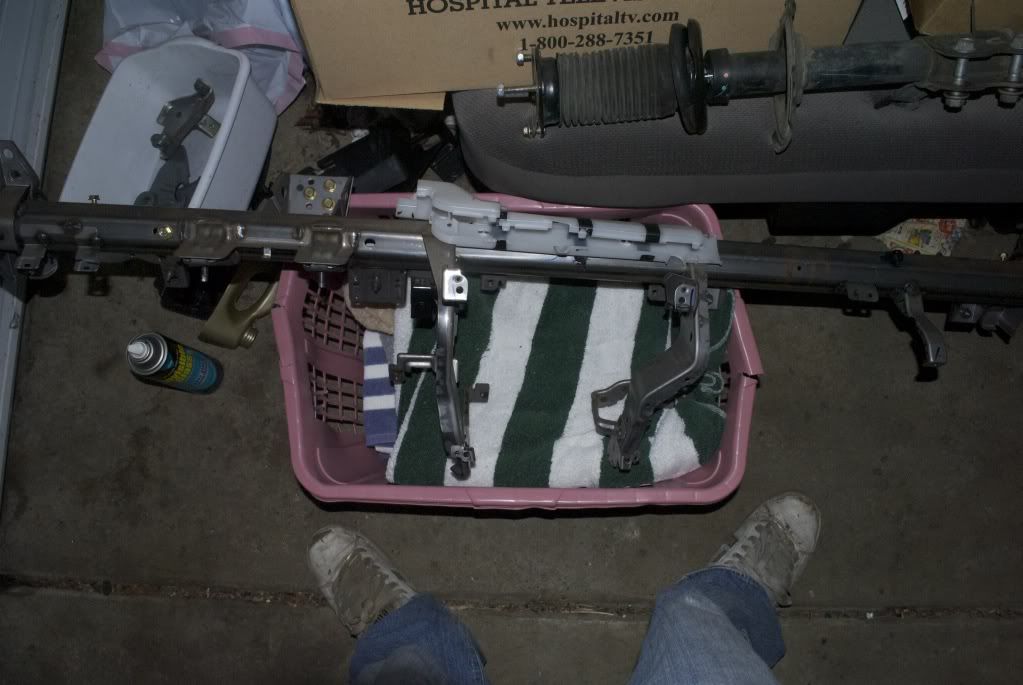
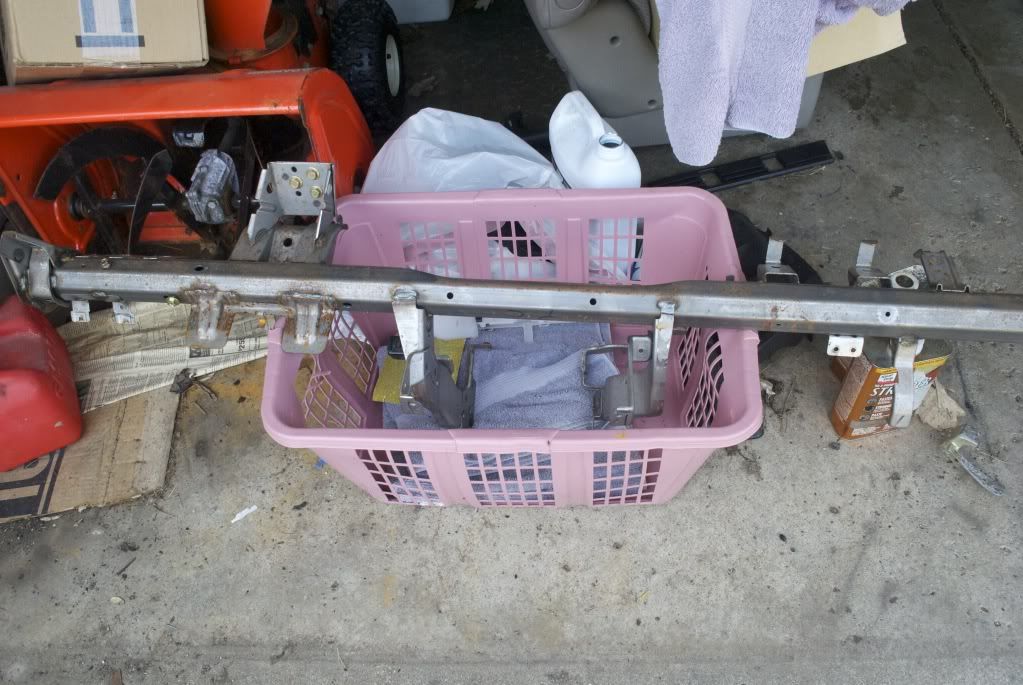
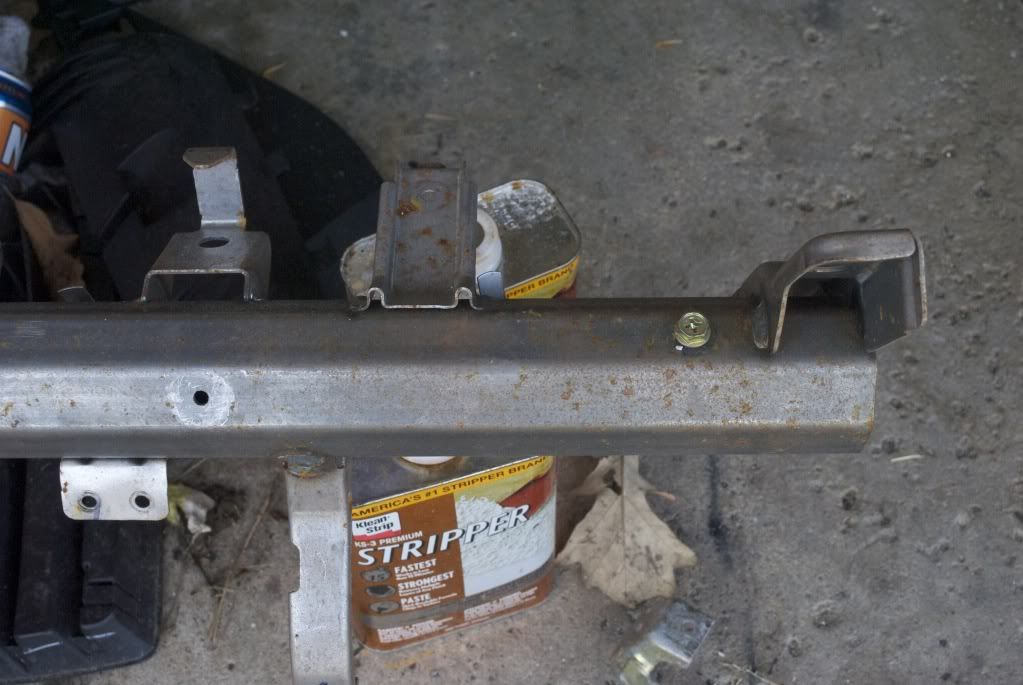
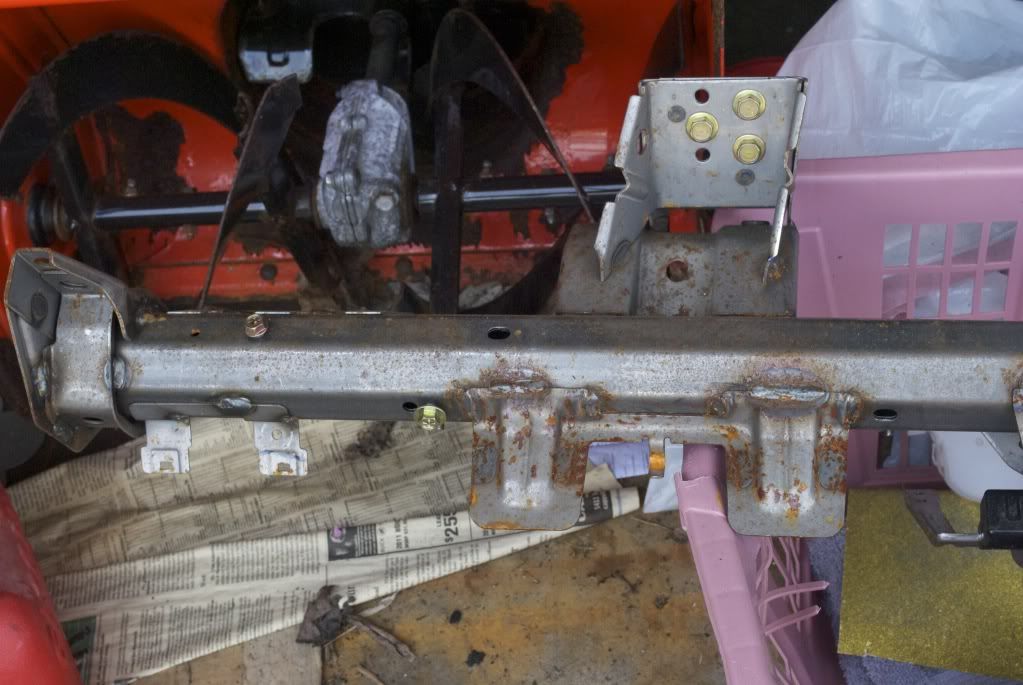
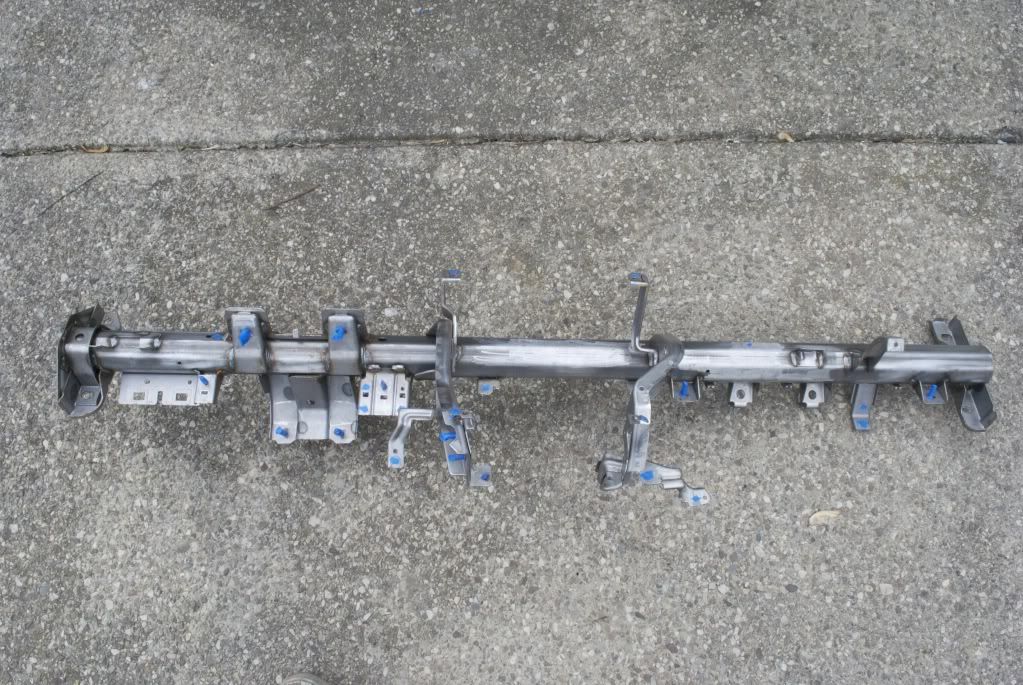
also, just from about a month of sitting out, the dash support obtained a great deal of surface rust
when I first took it out (very minimal rust):
how it was yesterday:
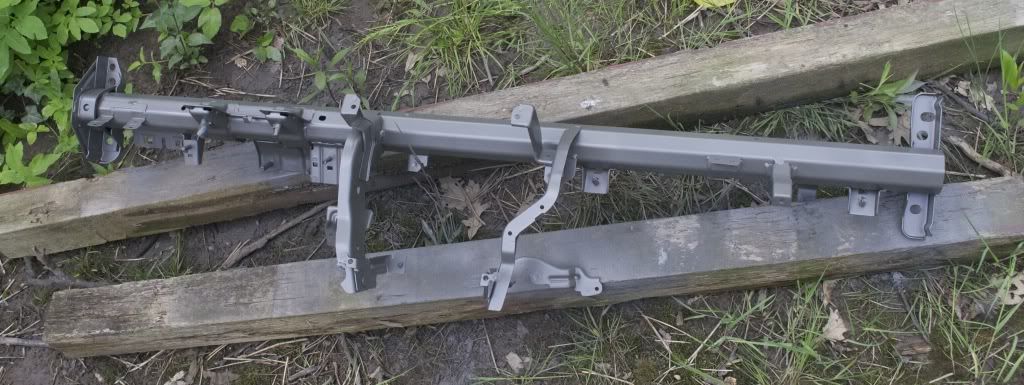
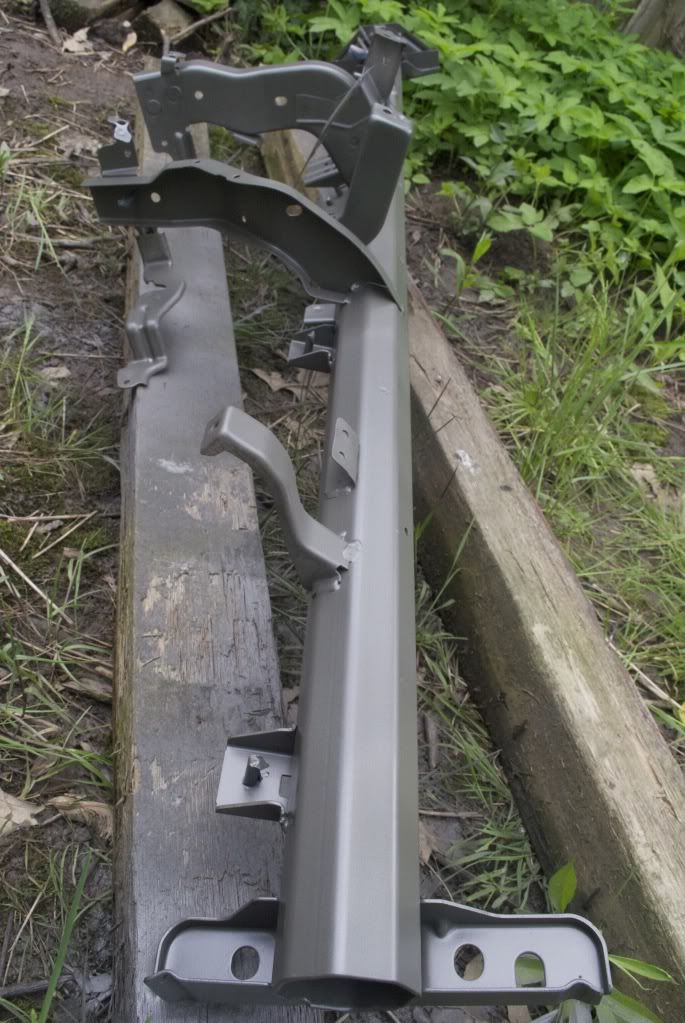
so i cleaned it up and gave it a quick spray.
still working on the mani, but should be finishing up the shaving tomorrow and blasting it later this week.
Some pics of recent stuff.
Lower mani:

shaving the bottom of the upper mani


and an obx pulley came in

blasted upper mani pics to come 
Nice
^^thanks man.
pics of stuff I blasted today.
strut tower ends:

alternator bracket (touched up from last time, a lot more happy):

and the mani <3 :
(don’t mind the dirt, messy machine shop/tapping oil; it’ll be cleaned)


---------- Post added at 09:05 PM ---------- Previous post was at 09:02 PM ----------
oh and one of my plates to cap the pcv

*dbl post
laid out the passenger harness yesterday. ugh nasty.
here is it with pretty much everything separated. all the stuff jumbled at the top is going to be in the cabin. I’ve already snipped about 5 wires just to make the organization on the ground easier; 2 connections between 02 sensors and other components, and 3 ground connections. also notice that most of the wires/connectors on the left are pretty short, which means most of them will need to be lengthened; including the timing, injectors and coil harnesses.
started mocking everything up. in doing so i realized im going to have to work on the drivers harness simultaneously to make sure i have lengths right.

shot from the back. its a rats nest atm. very intimidating, tedious and somewhat annoying. but also, anyone notice the shocked face puking up wires?

i did, and then i had an artistic moment

and so it begins…
i probably wont get much done today as im going to thursday at the square and plan on getting fairly wasted. but this weekend/next week should definitely be interesting.
So how do you plan on KEEPING it this clean… besides not driving it 
Does someone make aluminum undercarriage cover?
Unfortunately no one makes an undercarriage cover, but I have access to a good amount of sheet aluminum and was considering making one later this summer. Also, it’s just a summer car; it won’t see snow or salt which will help a bit.
The whole project wasn’t originally supposed to be about cleaning either, moreso a wire tuck and relocating things, but I just couldn’t help myself since I finally had the access. I won’t slit my wrists if things get dirty; and honestly with everything out of the way now I could probably wipe clean visible parts pretty easy (or spray it with a hose). ![]()
It WILL require a good wipe down/degrease every few weeks or so though to keep crud from building up, but I’m fine with that.
LOL love the artistic shot.
Alright. I’ve spent a HUGE amount of time on these harnesses lately. It’s basically all Basically my entire the last 3 days. I’ve honestly probably spent about a good 14-18 hours working these bishes to perfection. It’s really hard to take pics of wiring cause its not that interesting and it slows you down big time. Hacking the harness like this is something you have to kind of get into a groove with, and taking breaks for boring pictures all the time can really fuck that up.
Over the last few days though I basically mocked up the entire accessory harness. I still need to shave a little metal off some edges of the frame and bag/tape up the relays, but the latter will wait until the fender is back on. And then the fun part, the main harness. I basically separated everything, taped each clip up individually, then mocked it up in different areas for how I wanted to route the clips. I’ve probably honestly mocked this thing up about 15 times now, im a pro at ripping it out. Lots of things on the trans side were shortened and/or pulled back into the cabin. Injector clip, timing clip, and all coilpack clips have been lengthened. The entire harness needed new grounds, which is the last thing I need to do. After that I can do a final mockup and tighten all wires to make things clean and as close to invisible as possible.
After that, I need to rewire the nitrous and accessories; shouldn’t take too long. Still have to hook up/reroute fuel lines, mount solenoids, finish the upper IM, cure it, cure other parts, then throw in the heater core, tighten all pullies, get some coolant, throw in the radiator, and a do a test start. crosses fingers
Enough essay, here’s some boring pics.
some random shit mocked up

other stuff (this whole area is done and tidy now)

all wrapped up

this will all be in the cabin (used to be in bay/fender/firewall)
coilpack clips after being extended

mockup of injector clip extension

Some pics of how I’m doing my wiring, not that anyones really interested. I know people like heatshrink, but I’ve always been a fan of solder so thats the route I chose.
striping each wire a good amount

twisting tightly. (after 3 days of doing this I have some serious sandpaper fingers)

applying solder

tape

random other solder shot. solid.

so, boring to take pictures of, yes. super tedious, yes. extremely frustrating, hell yes.
mysteriously accomplishing, most definitely.
those solder joints look a bit cold
also, you should shrink wrap them after the soldering, instead of using electrical tape
Also its not that people choose solder or heat shrink. We just use the shrink in place of where you used tape on top of solder.
Love the artistic shot btw ha
this. moisture will still get at them with just tape.
I didn’t really think of putting heatshrink over it. More than half of them are taped, taped over again for the entire clip, then will be loomed with others, and tape again over the loom, so hopefully they’ll be good.
As for cold joints, I used brand new solder with flux paste and cleaned all wires before soldering. Each joint looked pretty shiny too, so from what I know they were good.
by “cold” i think he means that it looks like the solder is on the wires but not intertwined in with them.
i got that shit deep.  no worries.
Nice attention to detail.

