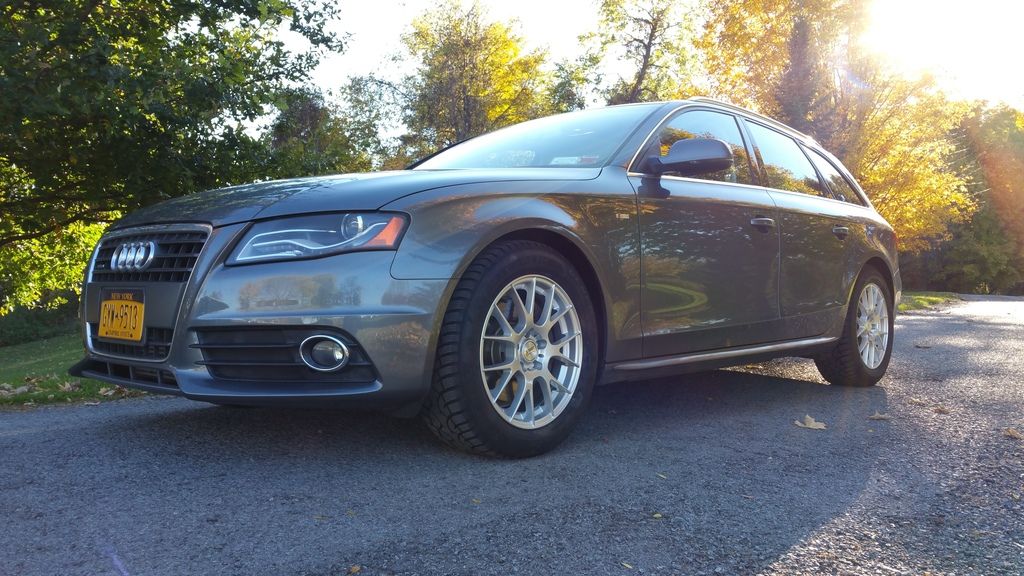
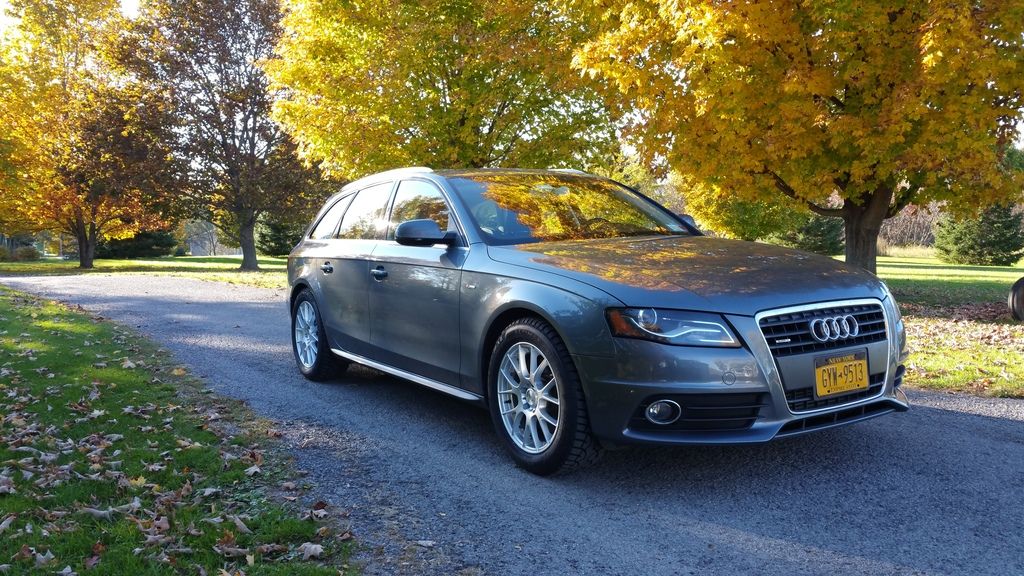
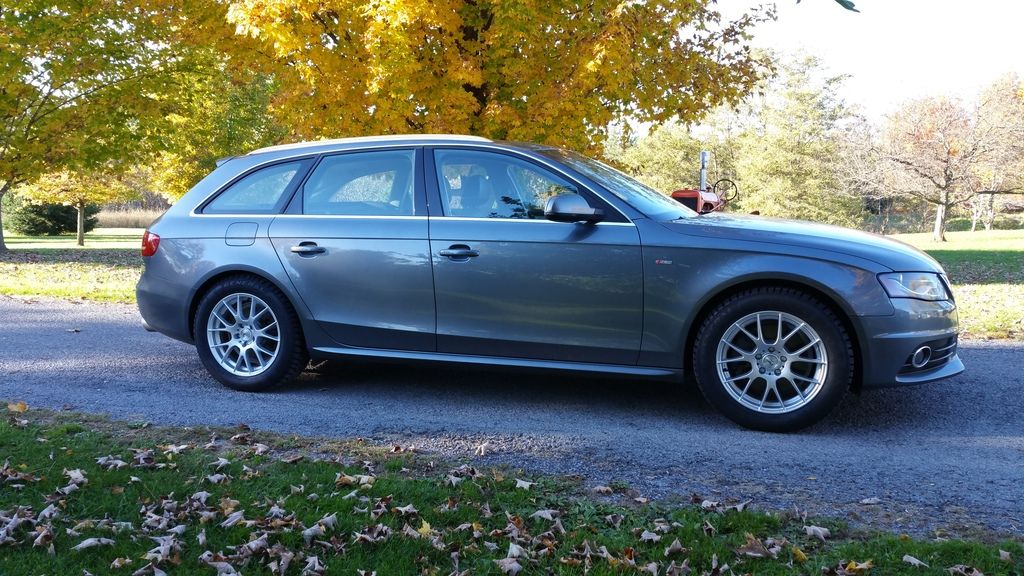
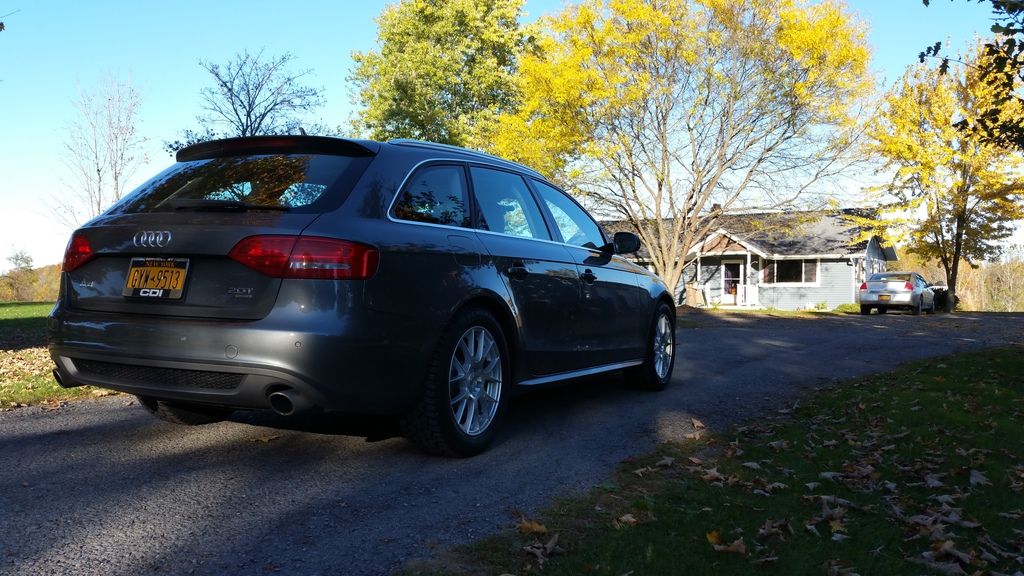
:tup: It’s great how much you can access in the computers of these things.
Agreed, alot more on this platform than mine :tup:
I use the windows up/down from the key fob almost everyday in the warmer months.
Yeah it kinda blew me away how much you can change, and how much they hide for whatever reason.
Almost forgot I enabled the emergency stop flashing tail lights and it now turns on the fog light on the side of the turn signal you’re using so you can see through turns.
Being able to put all the windows down from the fob should be standard on all cars. I rarely use the window up from fob feature though we did have one quick rain shower this summer where it was fun to watch all my coworkers running outside in the rain to put their windows up while I just stood in the foyer and rolled mine up from there.
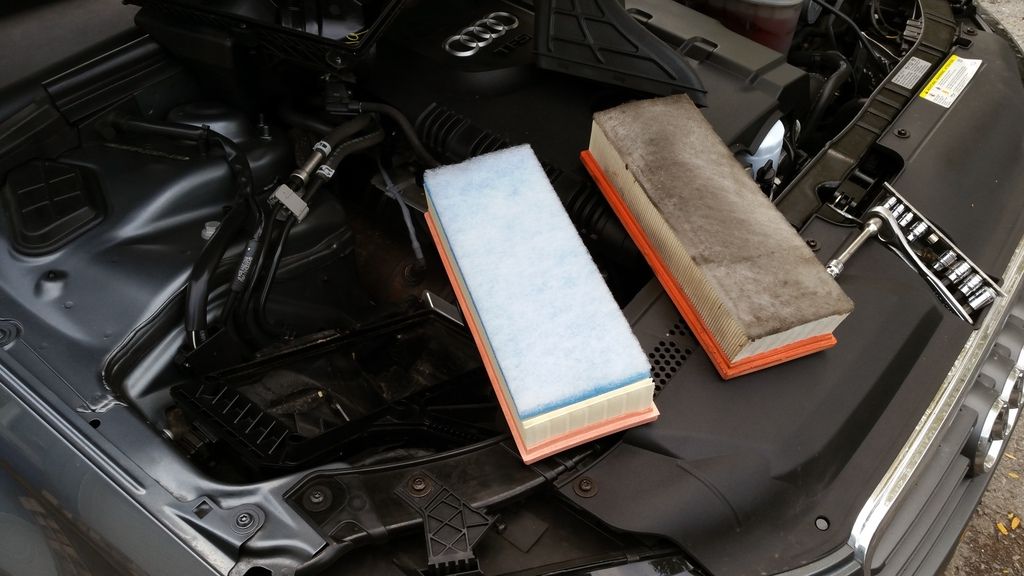
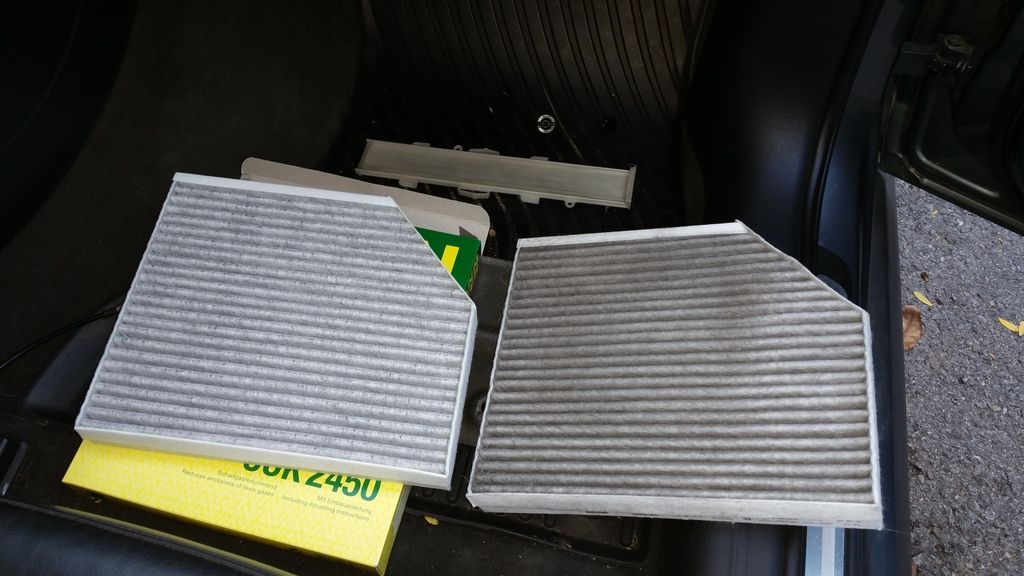
Replaced the air filter and cabin filter with nice clean new ones today, cabin filter is carbon filled as well. Cabin filter was surprisingly easy to replace, no tools required
nice pickup! will be nice with that new steering wheel/paddle setup.
Jeller you can walnut blast? pretty certain my N54 could use it 
I will happily loan you the blaster ![]()
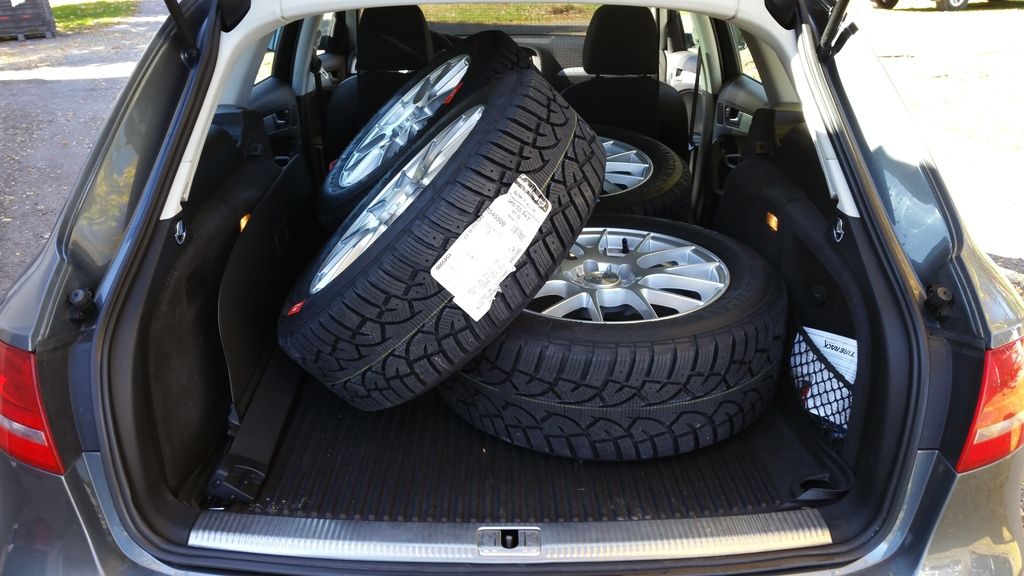
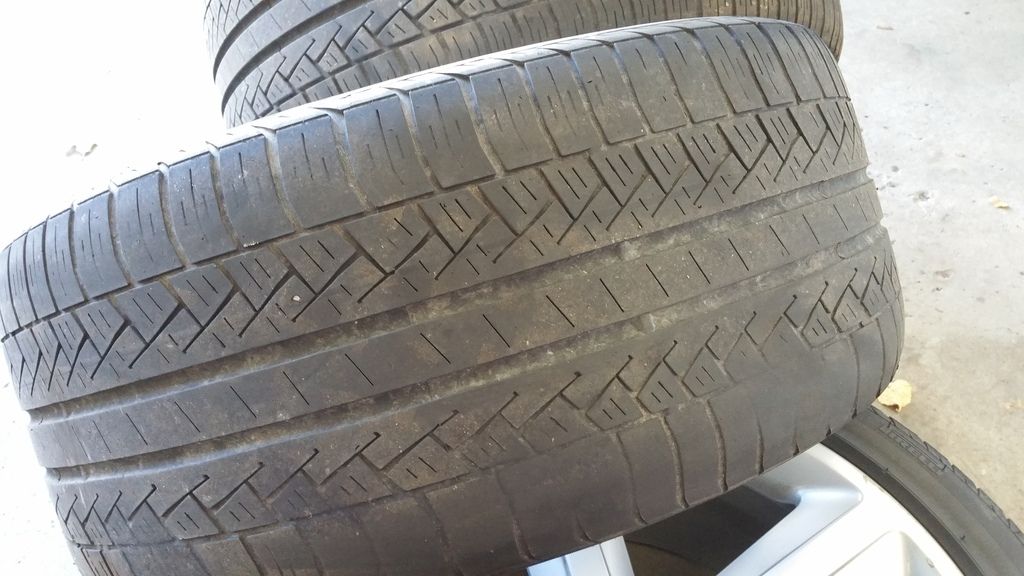
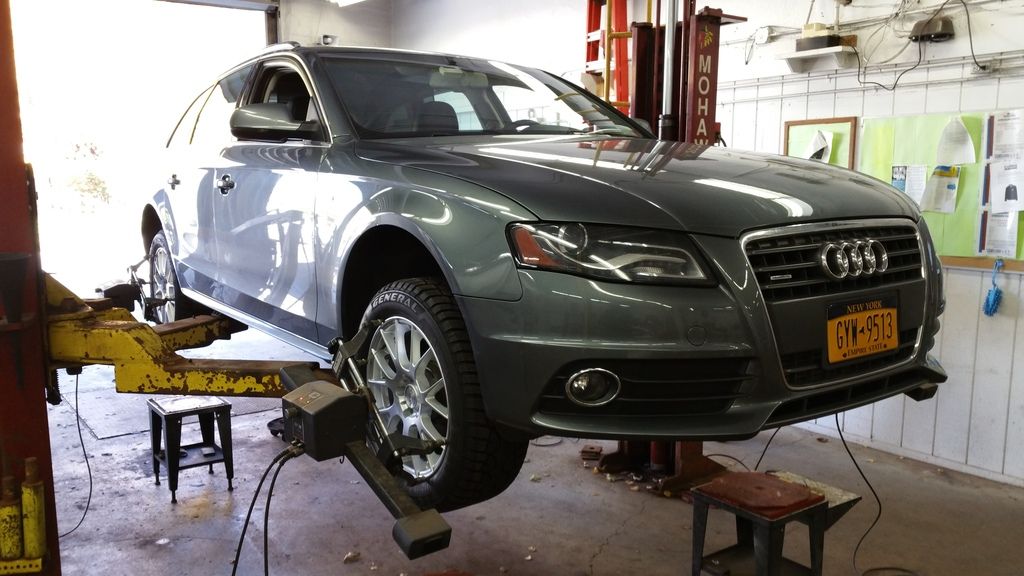
Snow tires came in last Thursday on some new winter wheels, threw them on Friday and headed off to get an alignment since the rear right tire was slightly cupped.
The shops alignment rig is pretty old, but they let me be picky about the numbers and do it for super cheap so I can’t complain
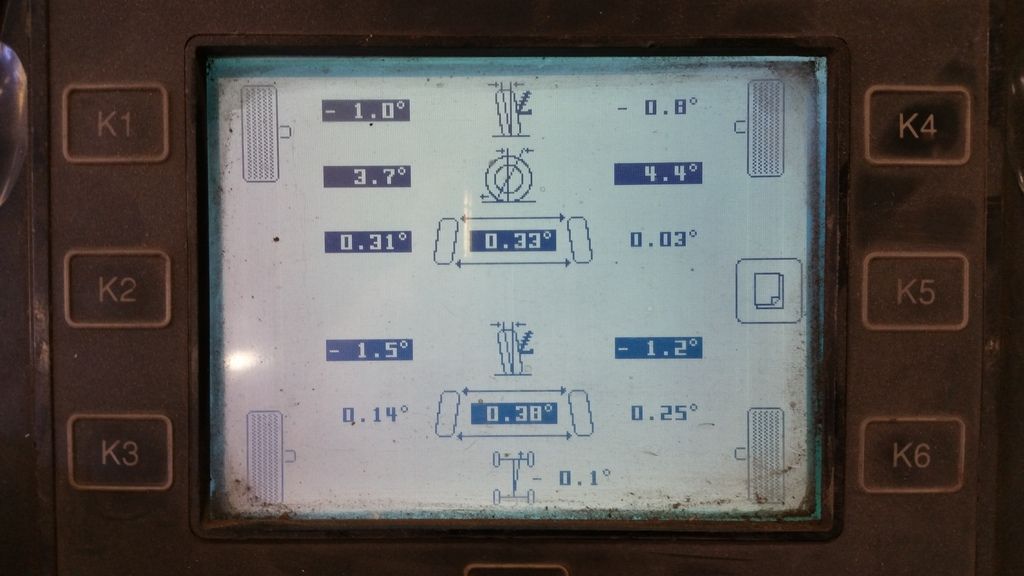
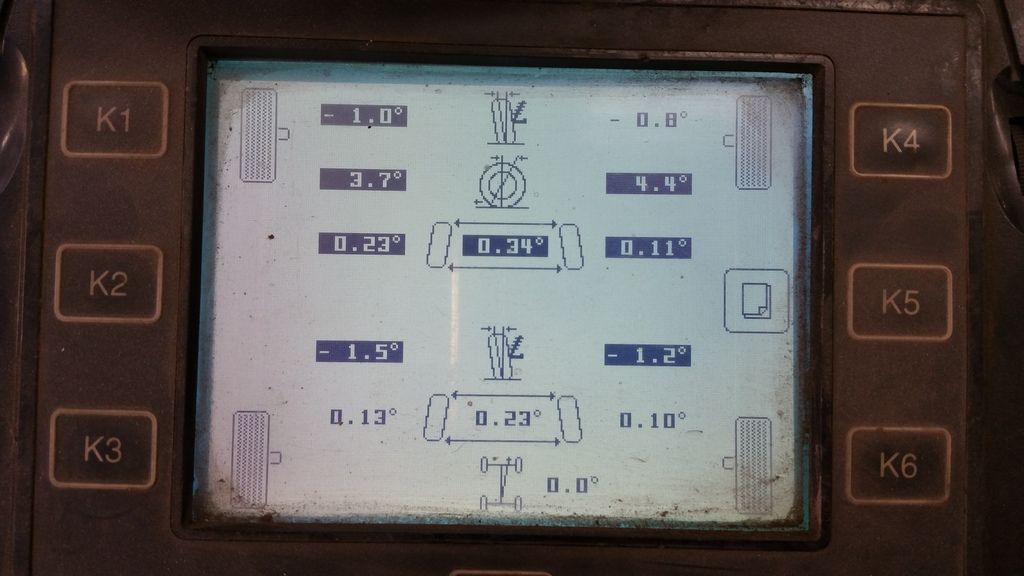
Rear toe was right at the high end of the limit, which is what I was expecting
With a tweak to the eccentric bolt in the rear end it brought the toe closer to the low end of the limit, also found out I have the sport suspension due to having a degree of camber all the way around, standard suspension is zero on all four corners
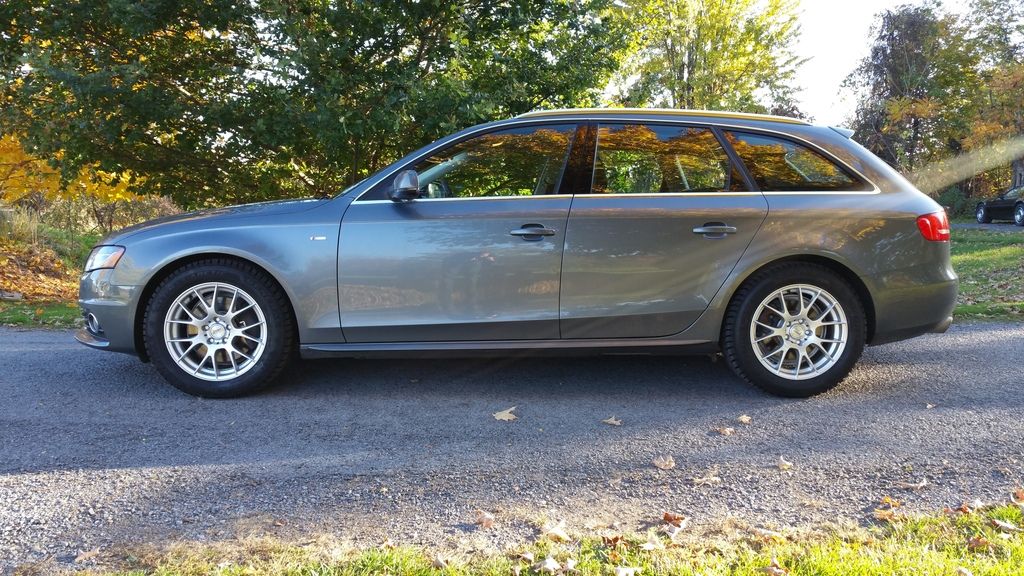
With the new inch taller 225/55/17’s
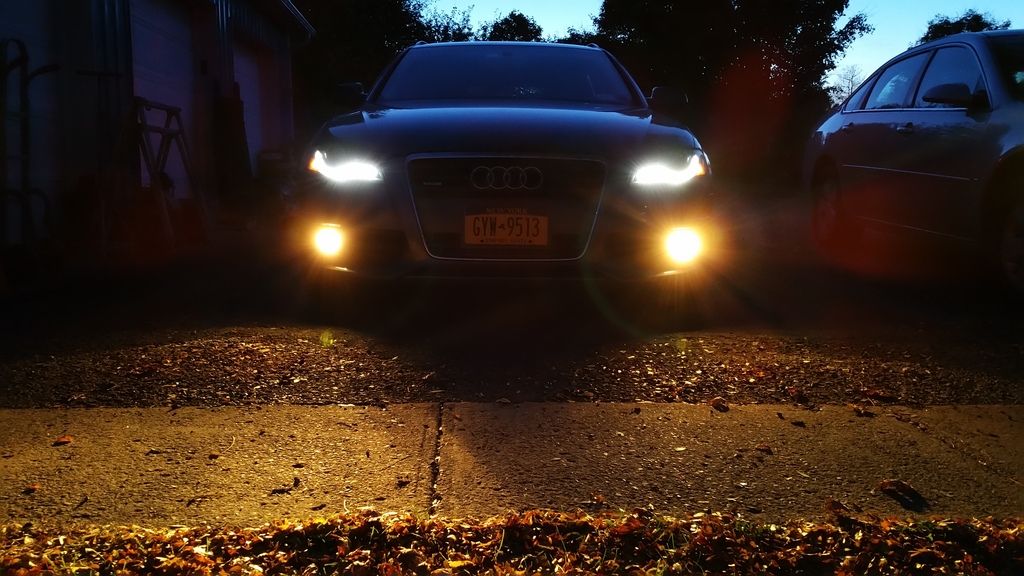
And also installed some Hoen yellow fogs this weekend
That thing will be a beast this winter on those tires.
Been having fun launching off of snow covered stop lights and watching the bro dozers next to me slither around trying to keep up, lol
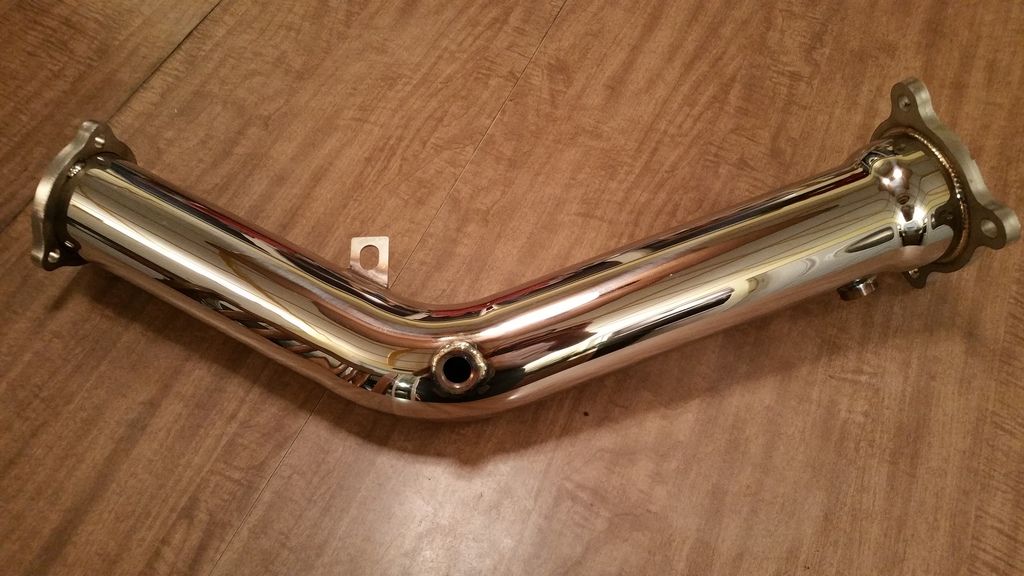
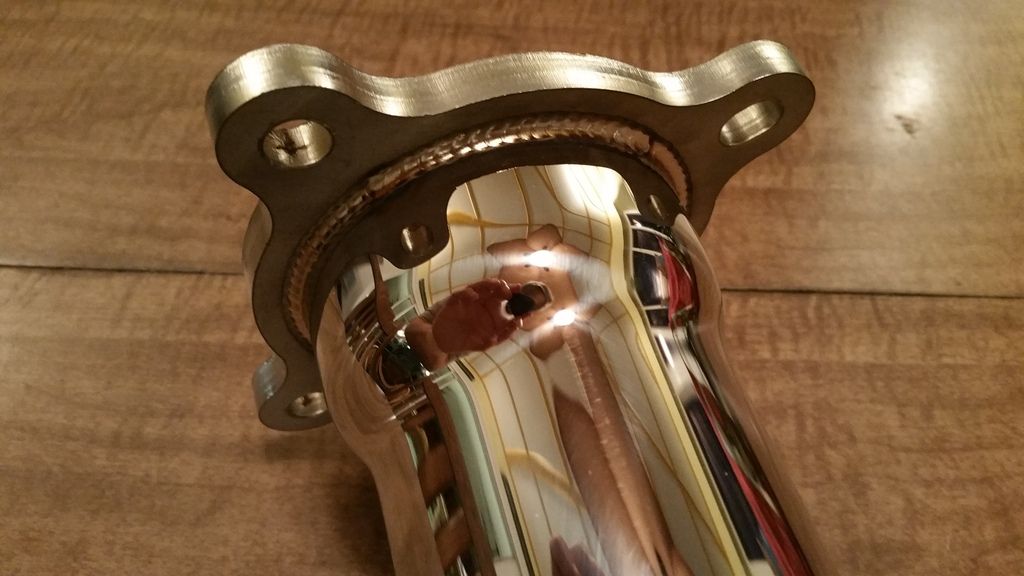
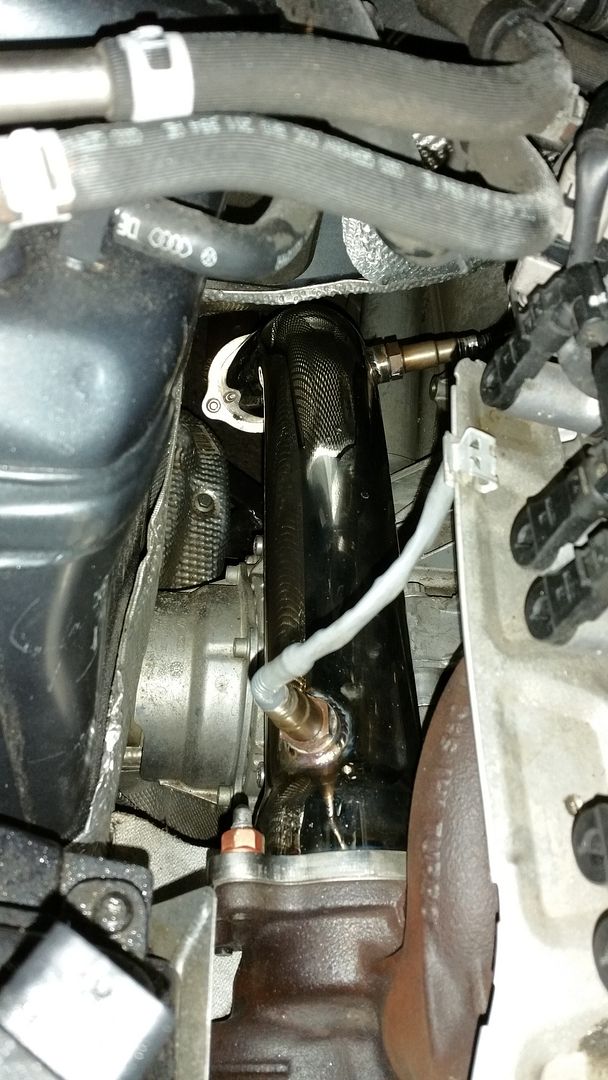
Picked up a EuroCode downpipe a few weeks ago, gasket and hardware kit showed up a day later. Been trying to hit the turbo studs with penetrating oil every day so they come off easily.
Stopped in to RocEuro last Wednesday, have to thank John for answering about 3 months straight of questions, and giving me advice on which parts to go with and what I’d be getting myself into with the downpipe install. He flashed it to APR Stage 2, which according to APR is roughly 291 CHP and 354 CTQ, up from 211 and 259. To say it’s a whole different car is an understatement. Torque peaks at about 2700 rpm, that tiny turbo packs a hell of a punch. Took me a couple days to re-acclimate to the snappy power band, hard to drive it smoothly now, haha.
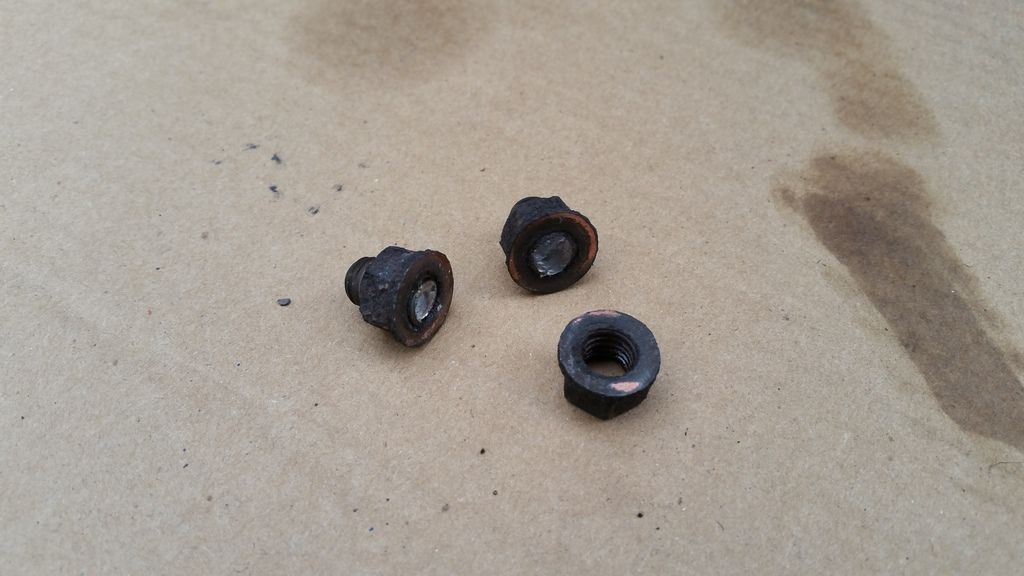
Test pipe install went alright, broke 2 bolts on the downstream side, I was just glad it wasn’t at the turbo.
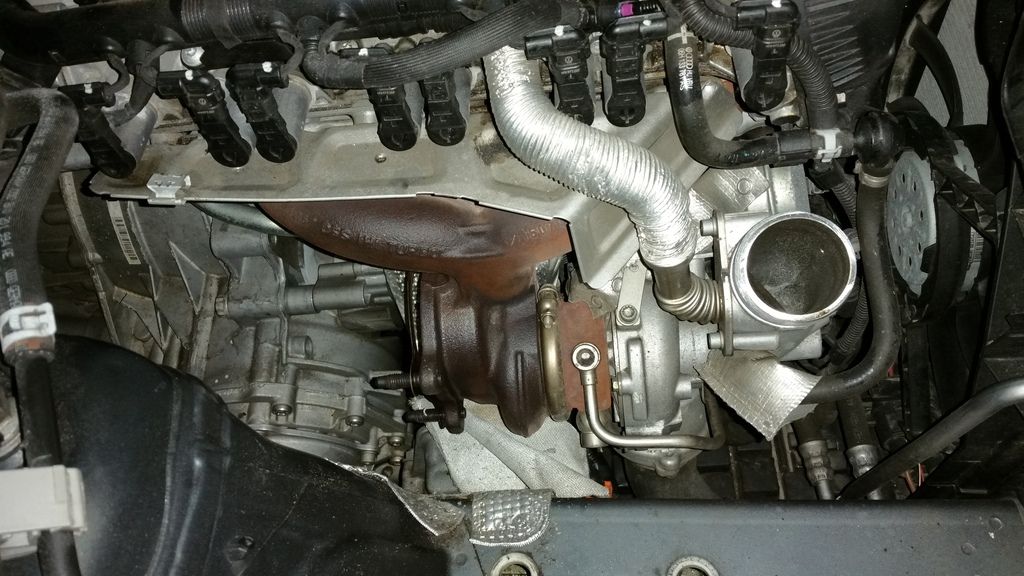
Cooling everything down so I can start taking the stock cat off
Two broken studs
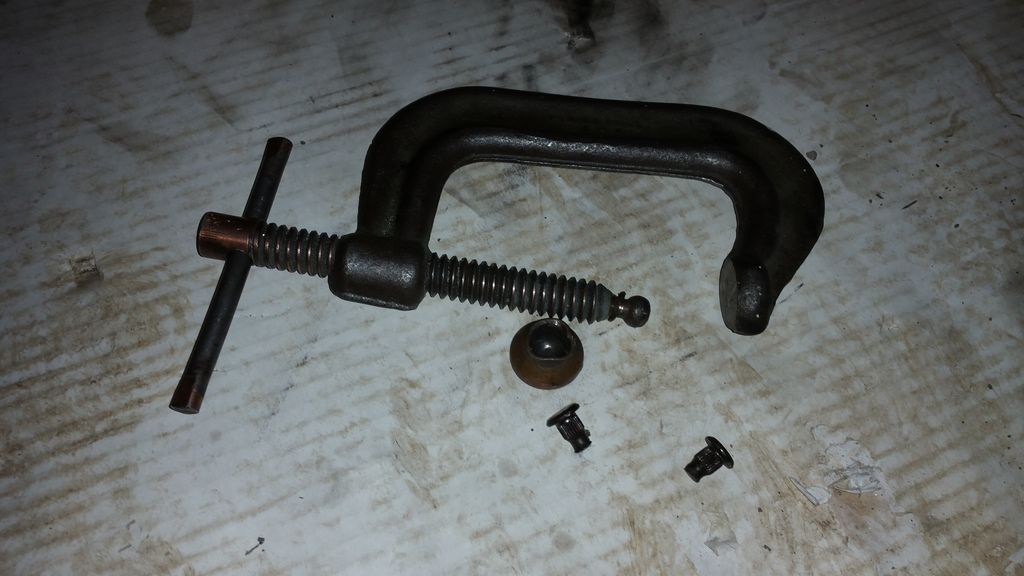
Even broke a C-clamp getting the second stud out of the flex pipe flange
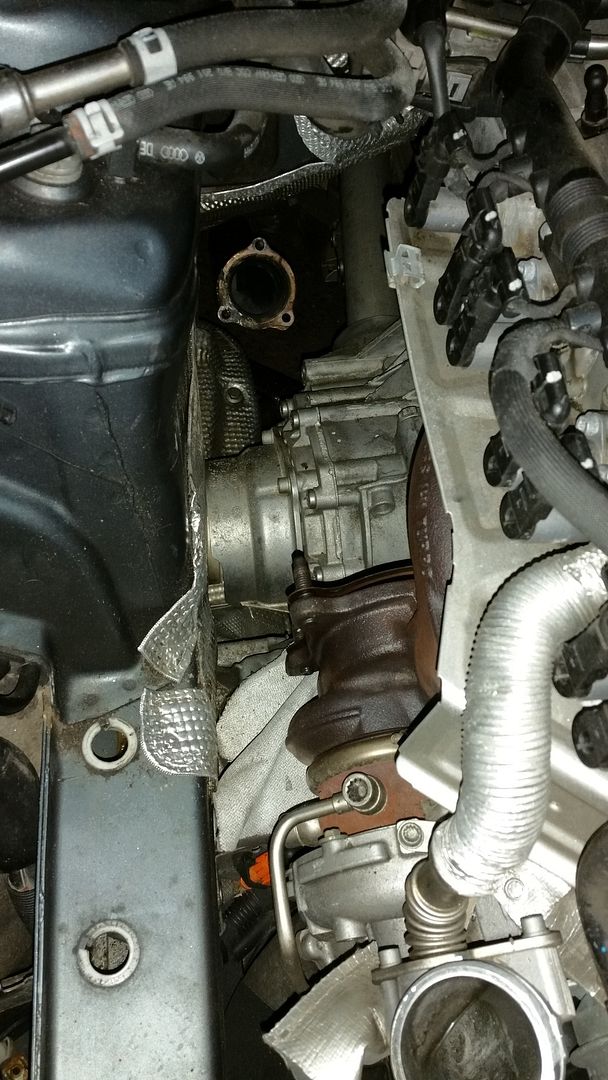
Stock cat out
Test pipe in
Took a before and after video for comparison.
Stock
APR Stage 2 with EuroCode Test Pipe, I have to launch it with traction control off now, or it’ll spin all 4 tires and slam the throttle shut, haha
And a side by side
http://youtubedoubler.com/hhFx
Also messed around with the time stamps last night to figure out the before and after 0-60 and 0-100 times.
Stock
0-60: 7.15 sec
0-100: 16.61 sec
Stage 2 APR
0-60: 6.34 sec
0-100: 14.78 sec
Difference
0-60: 0.81 sec
0-100: 1.83 sec
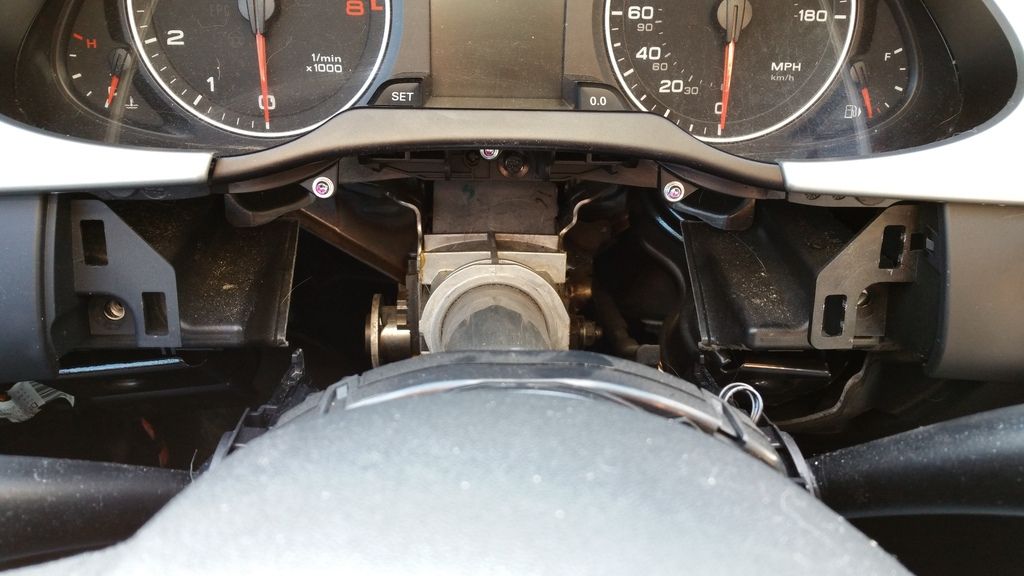
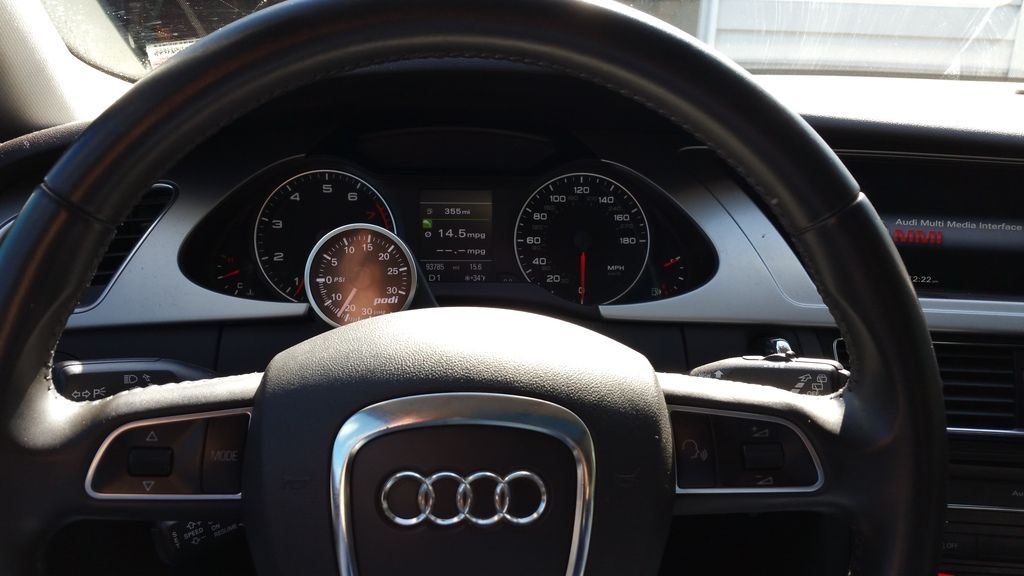
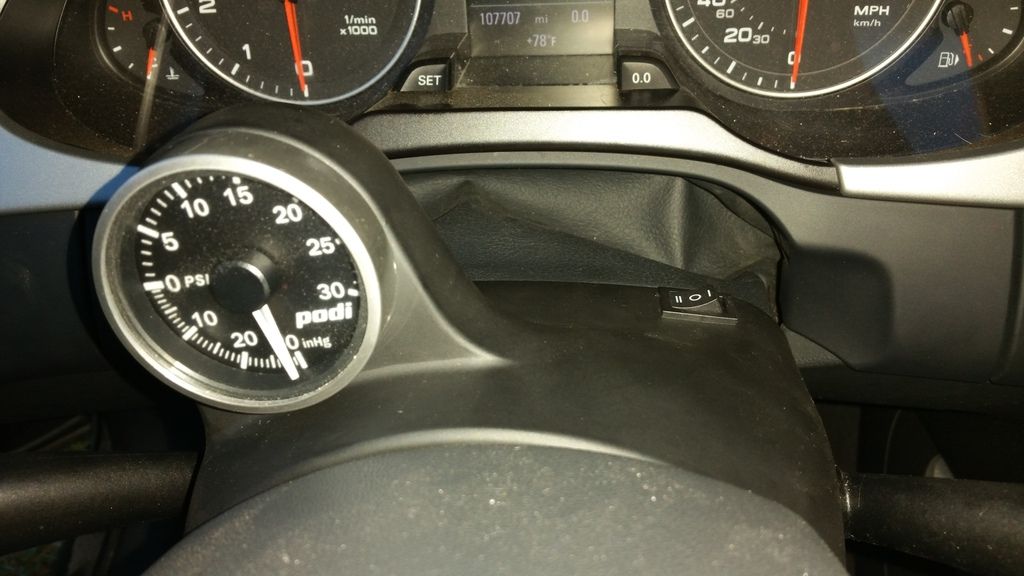
Picked up a Podi stepper motor boost gauge kit last week, spent this morning installing it. Thankfully I got the knee panel and steering column cover apart and back together without breaking any tabs. Helped a lot to warm the car up before I started taking things apart so things weren’t so brittle.
Column apart
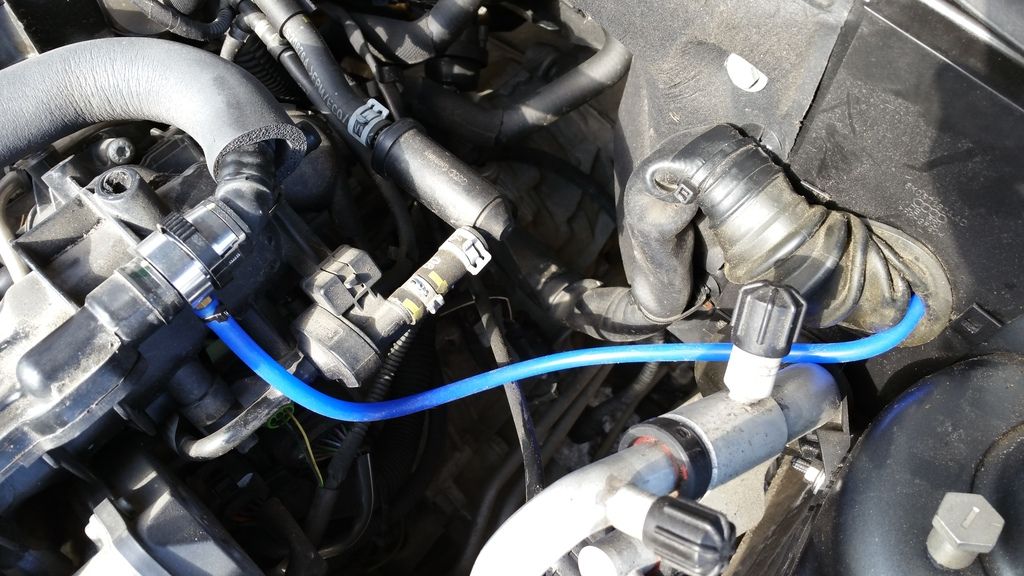
The kit came with a nice aluminum boost tap that snaps in place of the main PCV system line. Nice that I can remove it by hand with no tools, in case I develop a boost leak on the gauge line at some point. I just wish the high temp silicone line they sent in the kit wasn’t bright blue, might have to replace it at some point.
And the gauge installed, it covers some of the tach, but only below 1000 rpm and above 7500 rpm, neighter of which I care about. I’m just glad I can still see the gear indicator on the center display.
:tup:
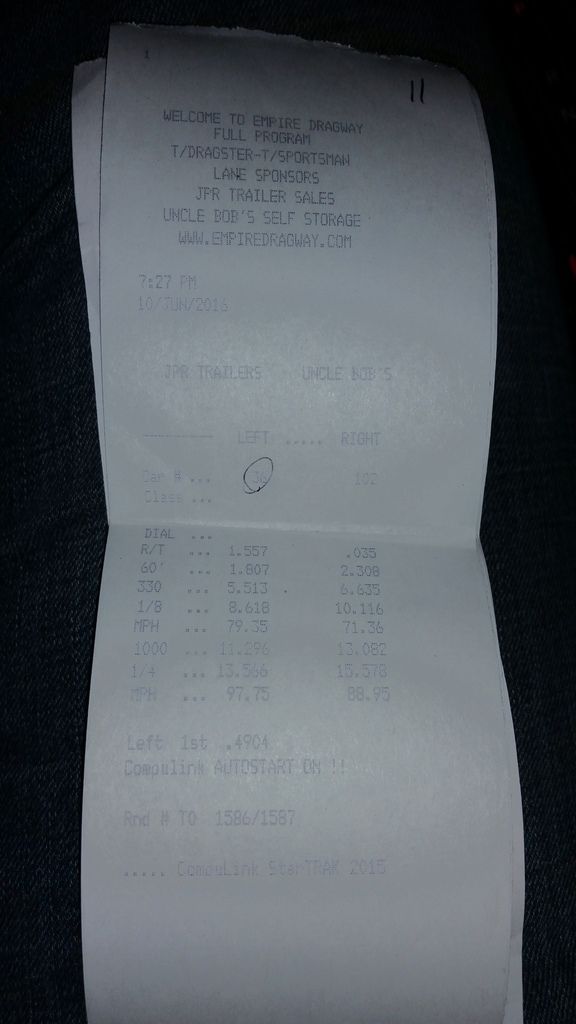
This Friday ended up being a great night to make a trip down to Empire. I was hopingng to make it into the 13’s but wasn’t real sure it was going to happen. Showed up nice and early, let the car cool for a bit, then did three runs back to back, ending up with a 13.7 @ 97. The best time I had seen for a similarly moded Avant was a 13.5 and he had a full exhaust, so I spent the night slowly working up to higher and higher stall rpms at launch. By about 9:40 the air temps had dropped to around 60F and I had worked up to launching at 3800rpm and about 20psi. I put down my best time of the night, 13.566 @ 97.75 with a 1.807 60’. That’s the first time I’ve ever gone to the strip and not been disappointed, haha. I’m so beyond ecstatic, and not having to worry about traction for the first time was really nice, still managed to chirp the tires on my last couple launches though.
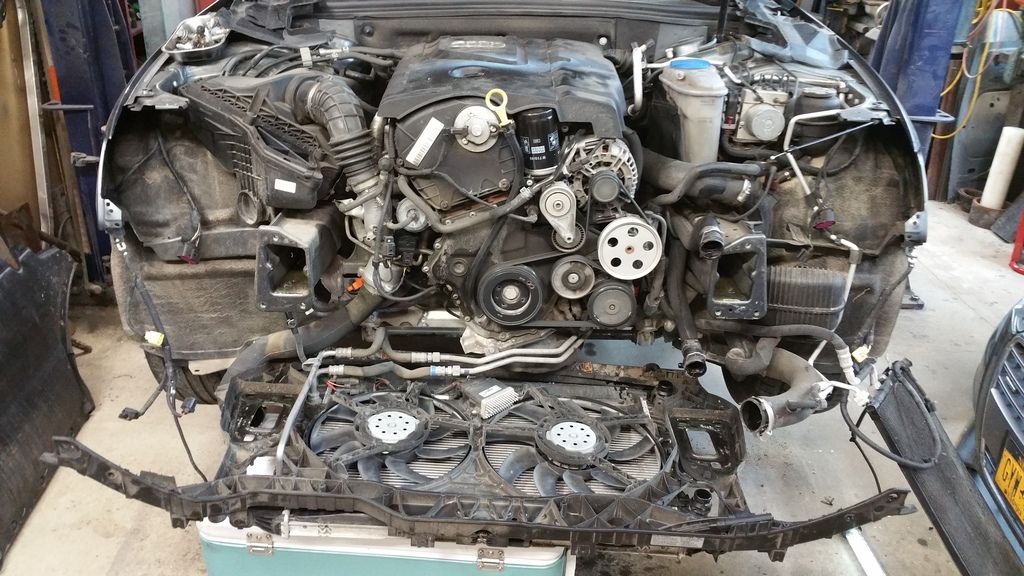
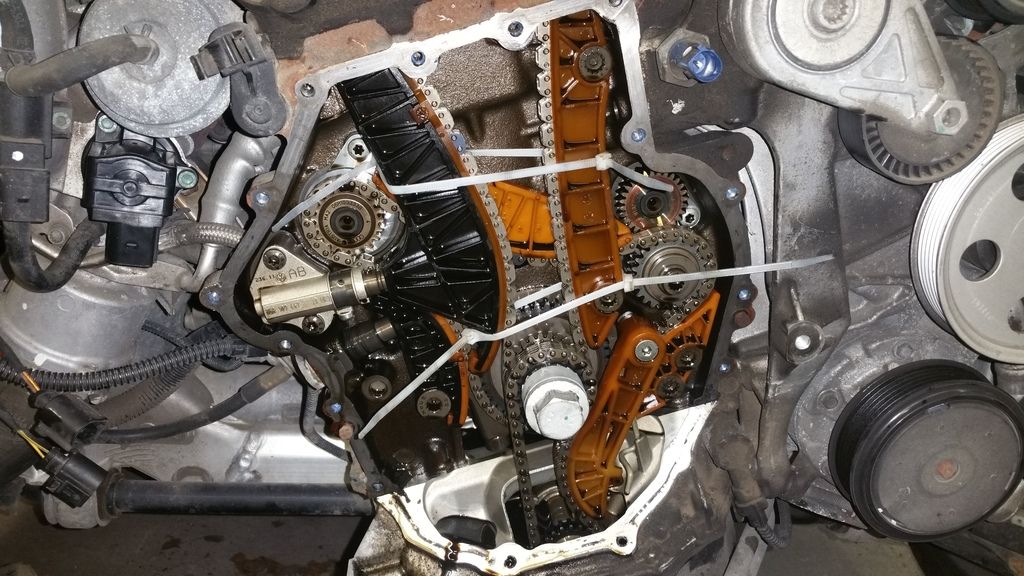
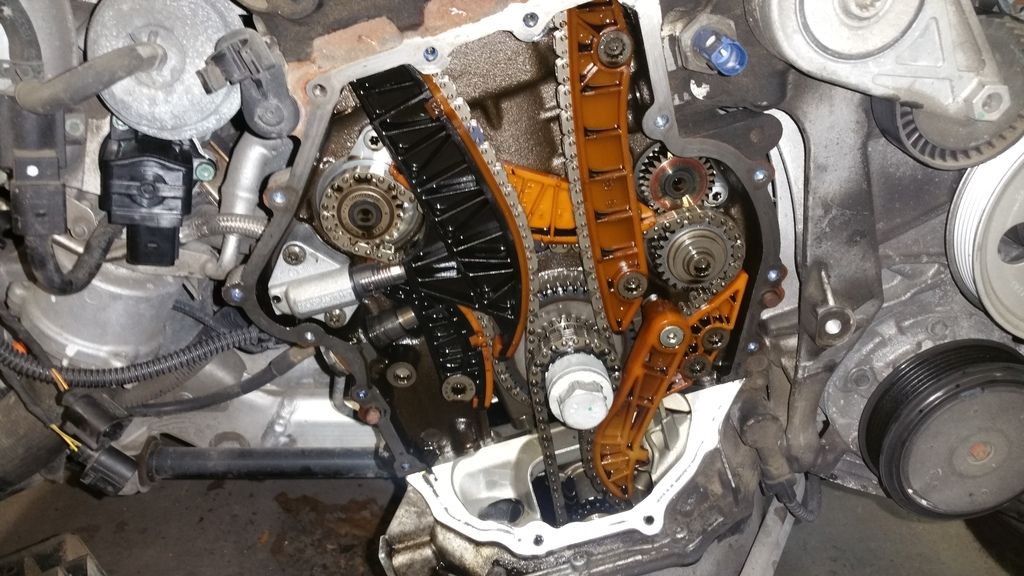
Timing chain tensioner kit from Deutsche Auto Parts showed up Friday afternoon, as well as a new diverter valve since it was going to be much easier to replace it at the same time. Ended up not being a bad install at all, but man I used to be way better at remembering where bolts went.
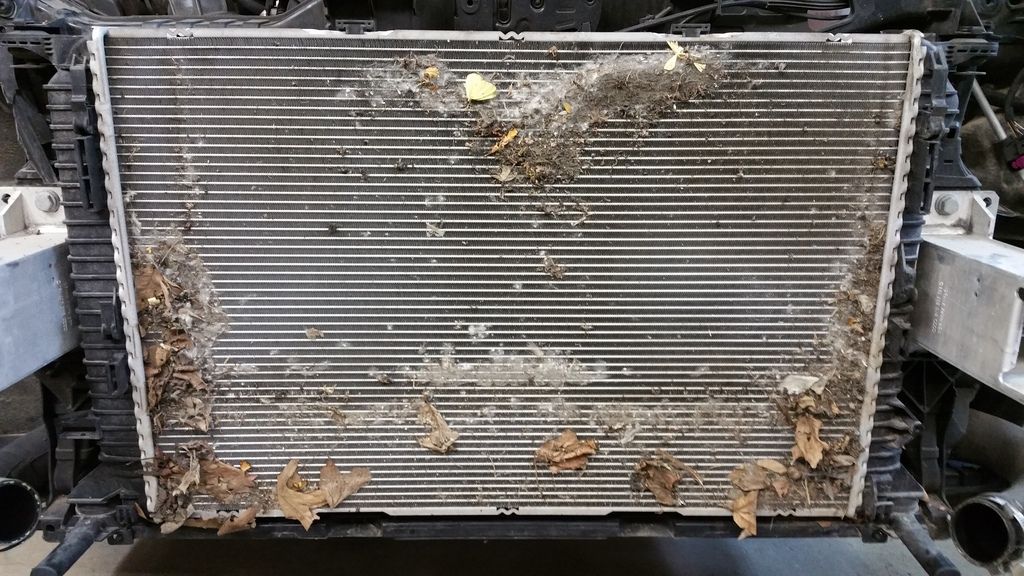
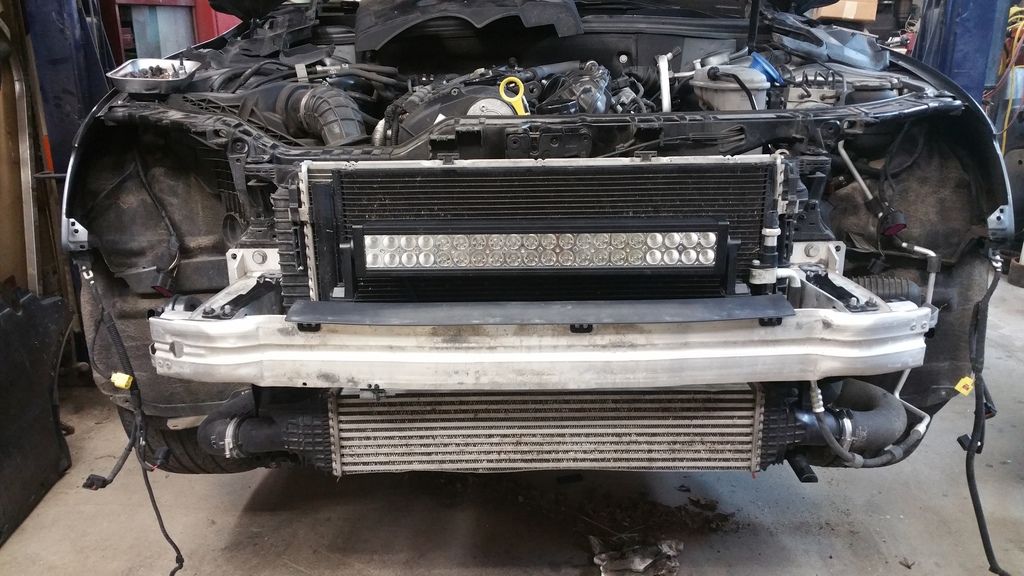
Intercooler ended up being pretty well blocked off with cottenwood seeds and leaves.
Front of the engine is reasonably easy to get access to
Old tensioner
And new tensioner installed
I dig it, but now you have me worried about an intake cleaning on mine!
Yeah that’s my next project, probably in August.
Just throwing this one out there if you’re interested…
http://www.nyspeed.com/showthread.php?284807-MSW-Type-23-18x8-35-5x112
Thanks but I just put brand new rubber on the OEM wheels
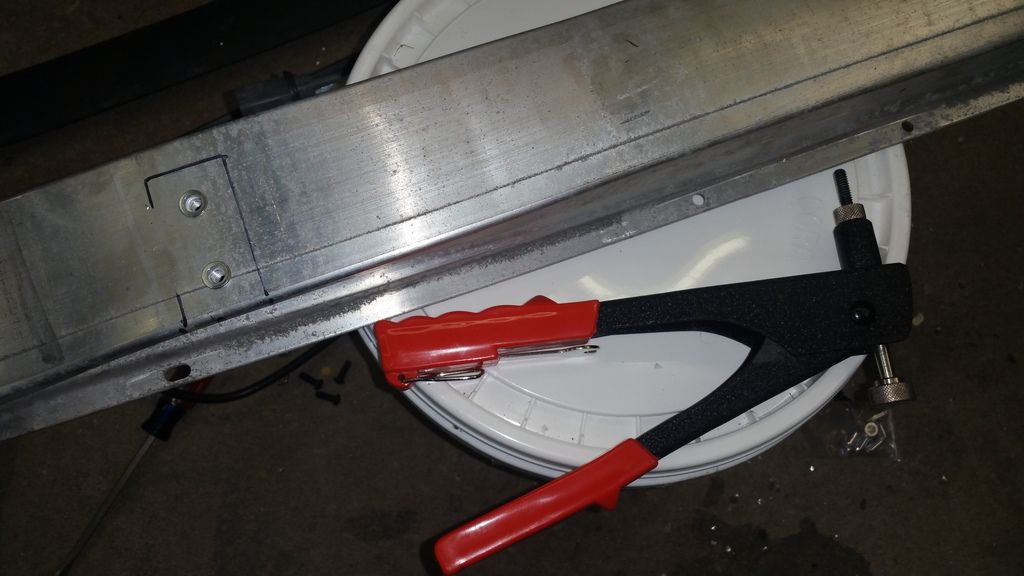
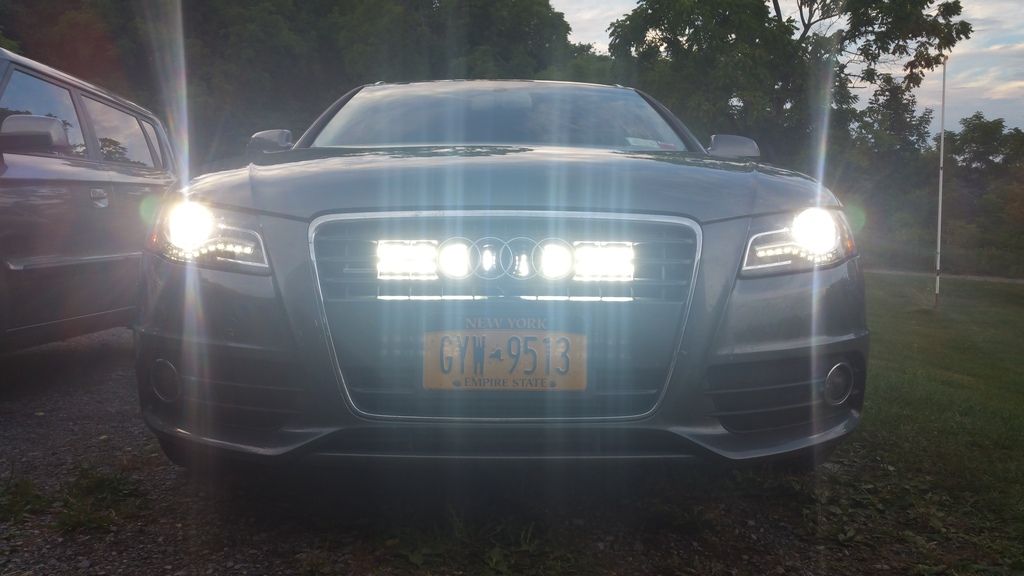
While I had the front end apart for the timing chain tensioner, I also made a couple brackets to mount the 22" light bar I had on my Jetta behind the grill. I had never used rivnuts before, they work pretty slick.
This weekend I finally wired it in.
And the little three way switch to control it. Left position activates with the high beams, center is off, right is on when the ignition is on.
