I contacted Dave at Rebello Racing (http://www.rebelloracing.com/) as he is a bit of a Nissan Guru and has set up a lot of race versions of the roadster.
I was looking for a cam grind recommendation to meet these requirements:
-not too lumpy
-if I had to choose I’d go for low end grunt versus top end HP
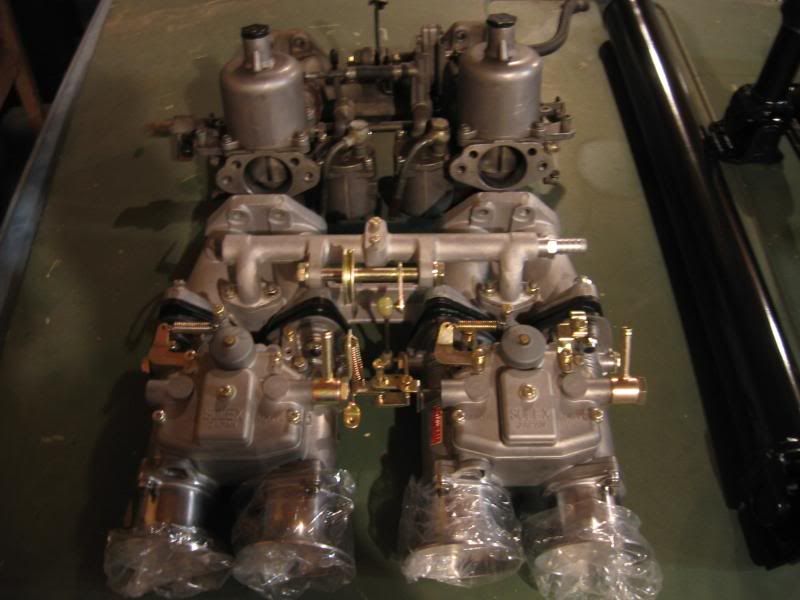
-work well with the Solex carbs
For comparison the “A cam” is the regular cam profile that came stock with the car at a supposed 135 HP at 600RPM.
The “B cam” is also a factory cam that came with the Solex carbs…think 60s version of a Nismo upgrade ordered at the dealership. This set up is supposed to produce 150HP at 6000RPM (suspiciously even number)
I don’t have torque numbers for these cams.
Here is what Rebello recommended, “We have been using one of our tight lash cams on our street engines. The B cam is too lazy on the bottom end, our cam is about .480 lift with about 270deg advertised duration on 110 LC. It makes more power than the B cam and pulls on the bottom.”
For comparison…
The B cam Lift is .456" and duration is 280 degrees
Monday I am sending off the cam to have it reground to Dave at Rebello Racing. I was going to have it done locally but after asking a lot of questions I don’t trust anyone here in Edmonton to touch it. So, instead of just getting a recommendation from Rebello I’m just going to have them do it.
Should be about two weeks for me to get it back including all the shipping BS.
Next up is to get the clutch friction material redone. Years ago I had Edmonton brake and clutch do the same on another car and had good luck with them since I didn’t need an entire new clutch.
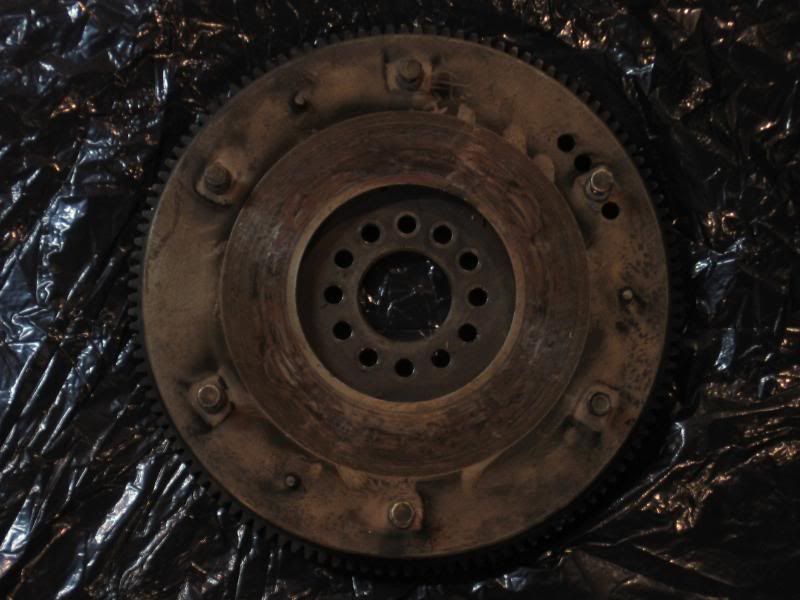
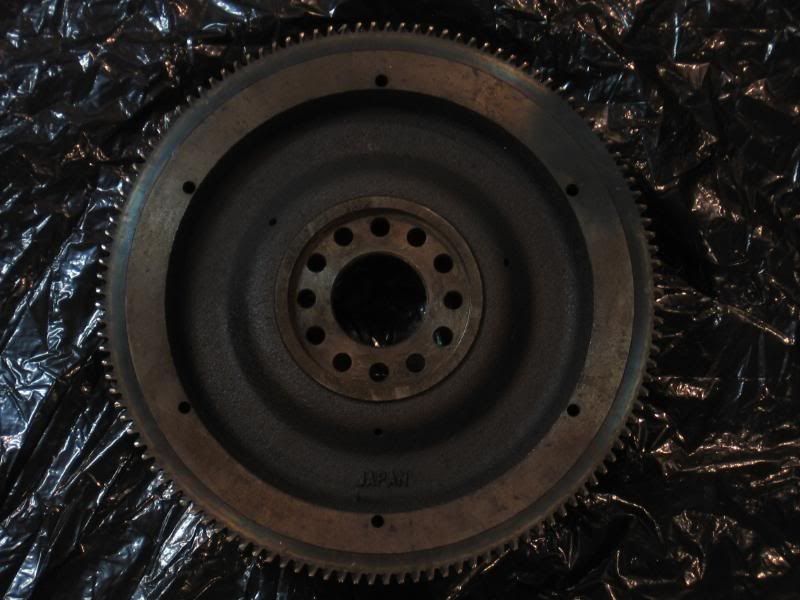
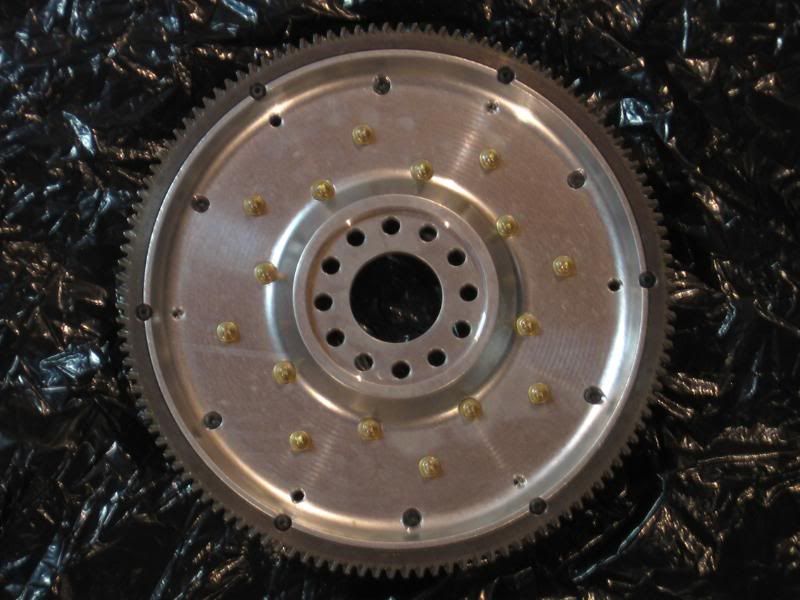
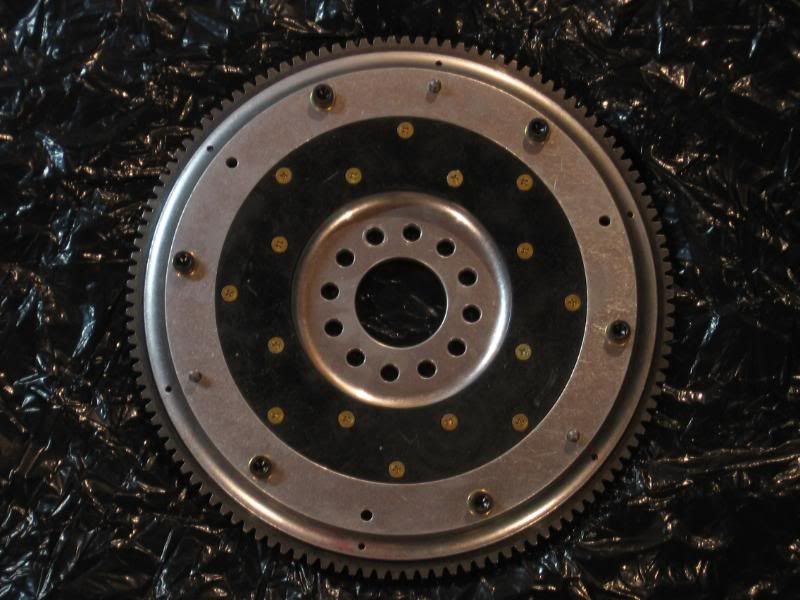
I was going to get an aluminum flywheel built for my car by Design Products but that will be $400 US plus shipping so that is a bit steep. May just leave it stock. Anyone know anyone here in western canada that can make me an aluminum flywheel?
I’m thinking about adding some stainless steel plumbing to the build. Anyone have any of those fancy AN wrenches I can borrow for the assembly? I really don’t want to buy them to only use them a couple of times to assemble the hoses.
Good places to get the lines in here in Edmonton. Someone told me Gregg Distributors had 'em.
I know Mopac sells the connectors and tubing and wrenches. You may also want to check Greenline Hoses. I think Ryan can get you a deal at Mopac. I can as well. All I would need are part numbers and quantities.
I’ve been effin’ around with the machine shop and tracking parts all this time so not much has happened since the last update.
As I have been waiting I have spent some time inspecting, cleaning, and painting parts. Here is what is up so far…
Please excuse the camera…
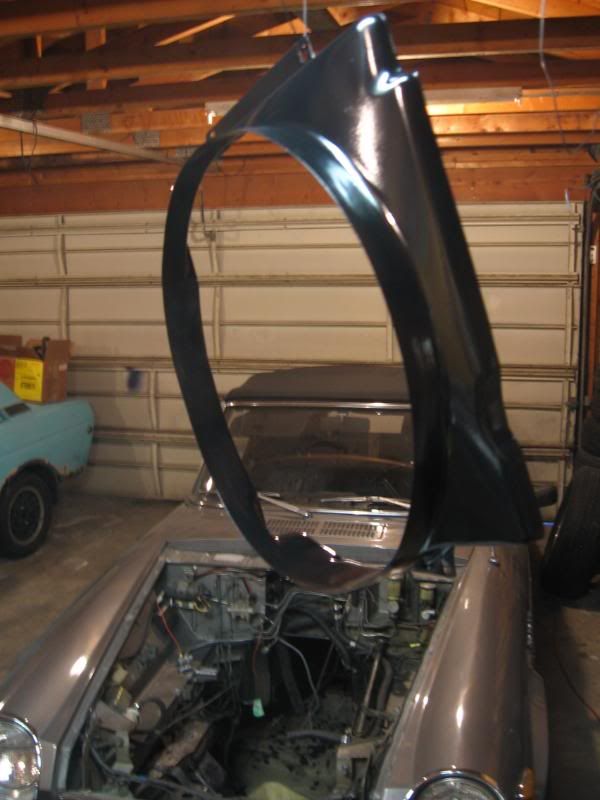
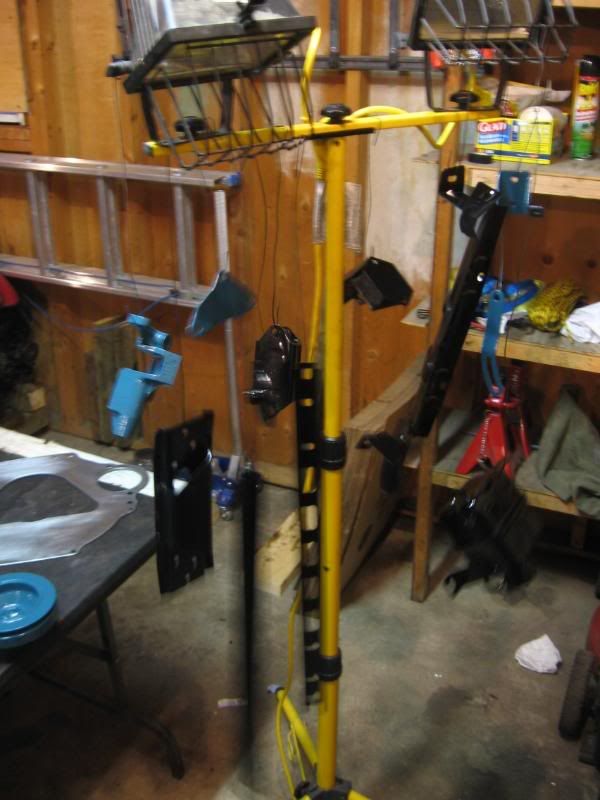
Here is what the engine bay looks like empty. You will note that I have spent a lot of time stripping off old grease and paint from the frame so I can put on some new chassis paint before the engine goes back in - trying to clean up the engine bay as much as I can. You will also note the mess of wires which I will try to clean up some. Also, check out the “death spear” that is the solid steel steering shaft from the steering box (lower right corner of picture) and follow it up to the driver’s position. Think front end collision!
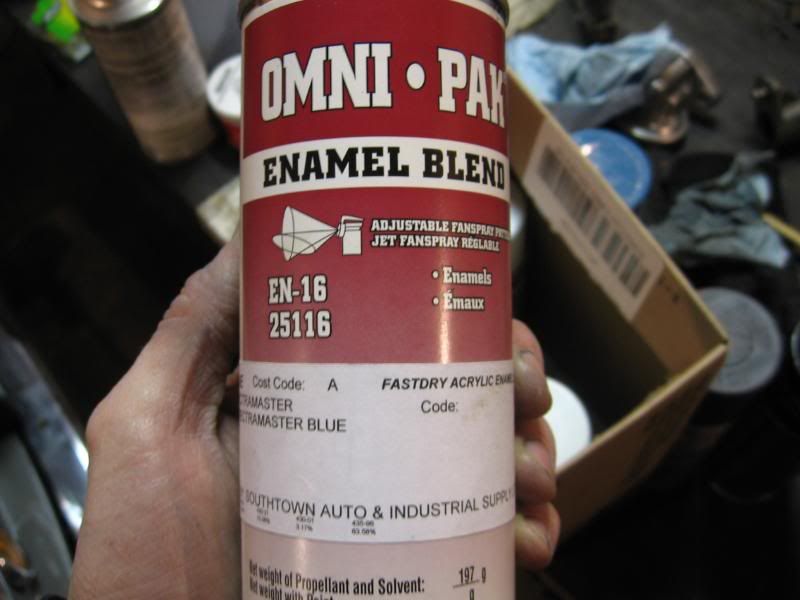
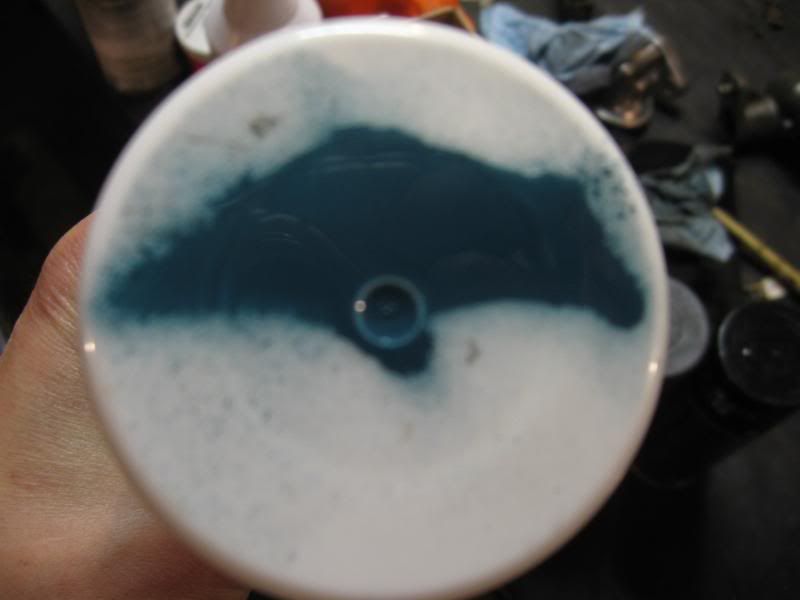
I went today and got a custom paint mixed up to match (as close as I could) the original colour. Like everything else with this car, the paint isn’t off the shelf and therefore is stupid expensive. 90 bucks for 4 cans of paint!
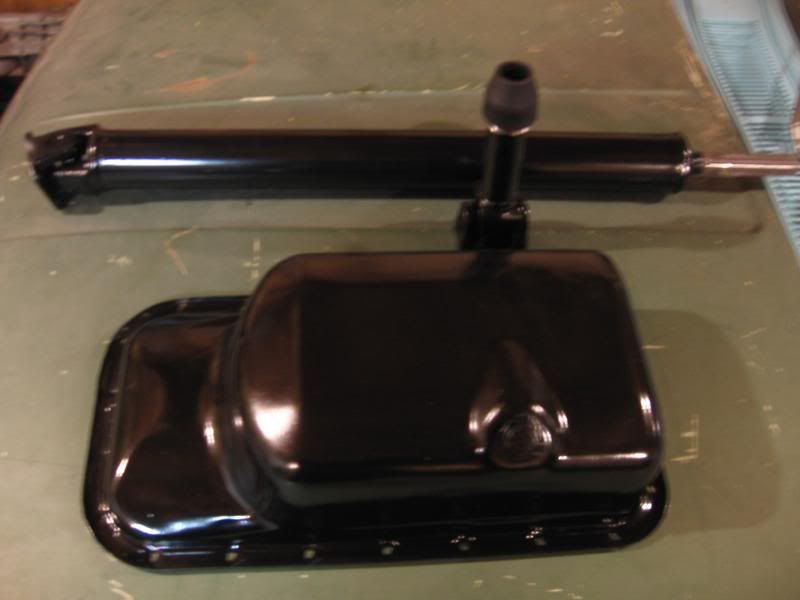
I also put some black on the parts that are supposed to be black.
Here is a shot of the nice glossy driveshaft, oil pan and input shaft for the transmission (if that is what it is called) - it looks like a big tool! I laughed the whole time I painted it.
Here is a “painted parts tree”. Let’s see what’s there… Blurry air dam, radiator overflow tank, radiator support brackets, some mounts for the alternator, the crank pulley on the table, transmission cross member, engine mounts, etc.
As with any old car, the sins of the previous owner reveal themselves at the most inconvenient times…but first some background.
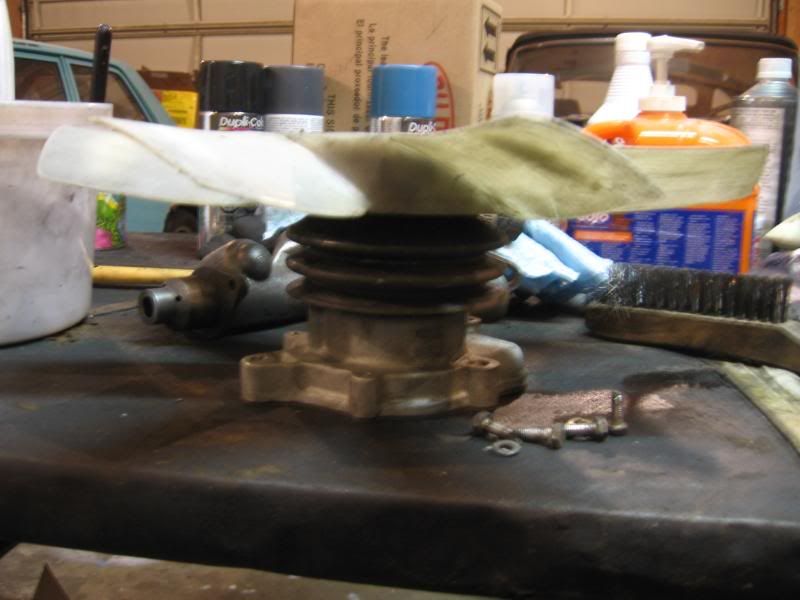
Here is a side shot of the waterpump with the pulley then a fan spacer and finally the fan sitting on top. Originally, Nissan had a clutch driven fan that was faulty on virtually every car and had to be replaced. What they came up with is a fan that runs constantly. Engine on = fan on. Engine off = fan off. The stock fan is a 7 blade that makes the car sound more like an airplane than a car…it really sucks.
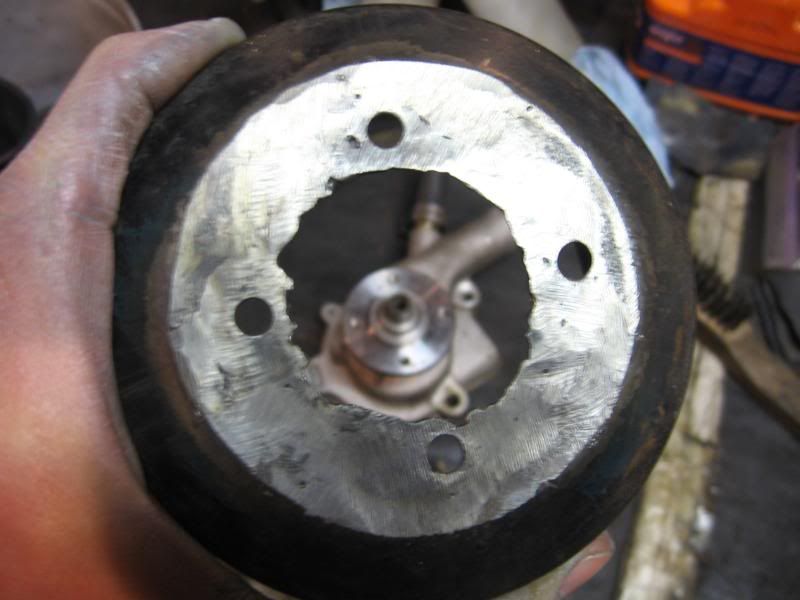
I took the thing apart and look at the crap I found!
Here is the fan spacer…check out those “quality” welds. You can see the 7 blade fan in the background.
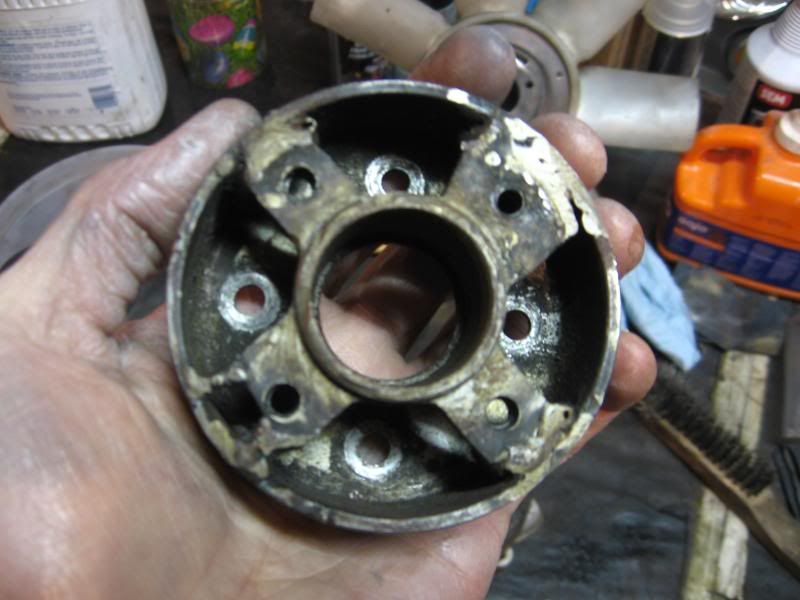
And here is the fan pulley. I don’t know how the hell it got into this condition but the metal is really thin and doesn’t centre nicely on the water pump which you can see through the centre of the pulley in the photo. You can imagine how this will be screwing with the lifespan of the water pump with all this unbalanced mass spinning along.
I was going to repair all of this but figured with the time invested and a less than ideal result, I’d be better off just buying some new parts. There is a kit available that also includes a 4 blade fan that pulls the same quantity of air as the 7 blade (and is waaaaay quieter so I’ll be able to hear those big carbs instead).
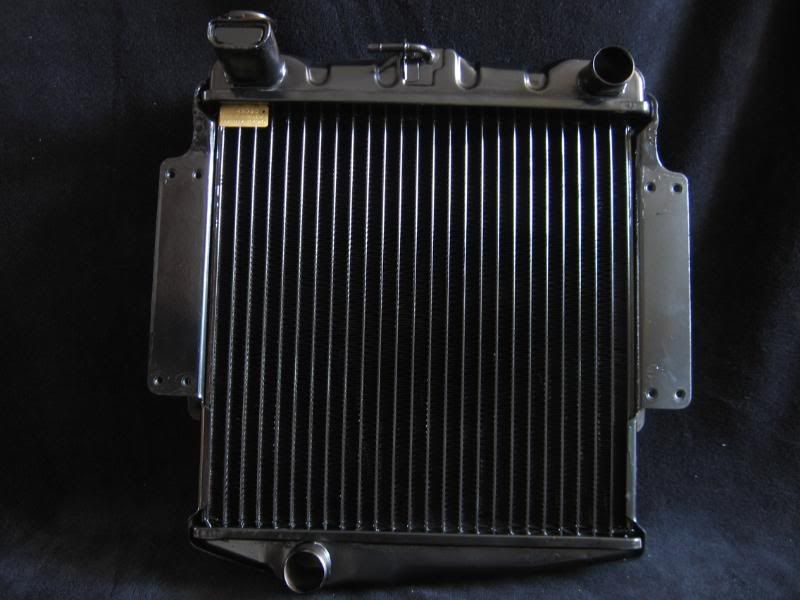
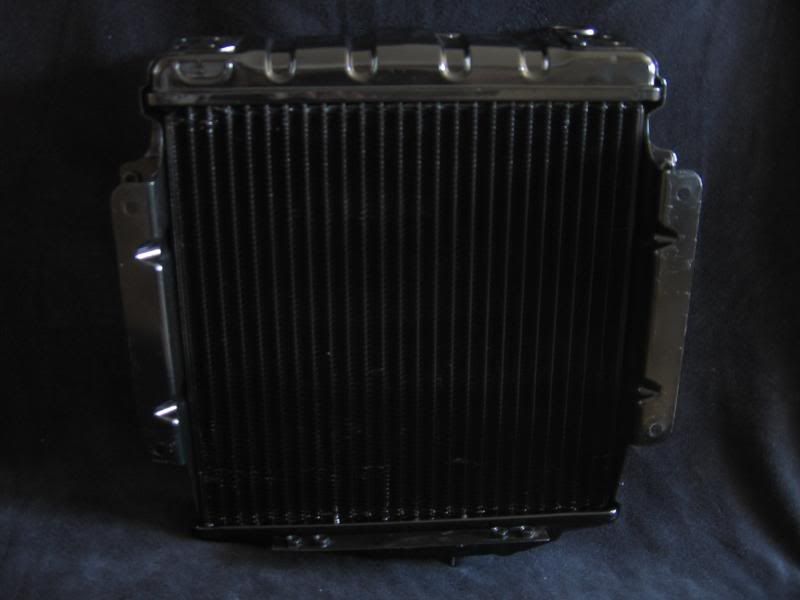
Had the radiator re-cored. Just picked it up. Looks like I need to do a bit more painting but I am pumped I won’t be running old crusty, rusty, musty water from that old core into my new engine.
It is too bad it will be going into a less than pretty engine compartment. I have to be careful how much I disassemble, etc. If I pull apart too much to clean and paint, I run the risk of breaking something that I can’t replace easily or quickly and I am shooting for this thing to be back on the road and engine broken in by the May long weekend.
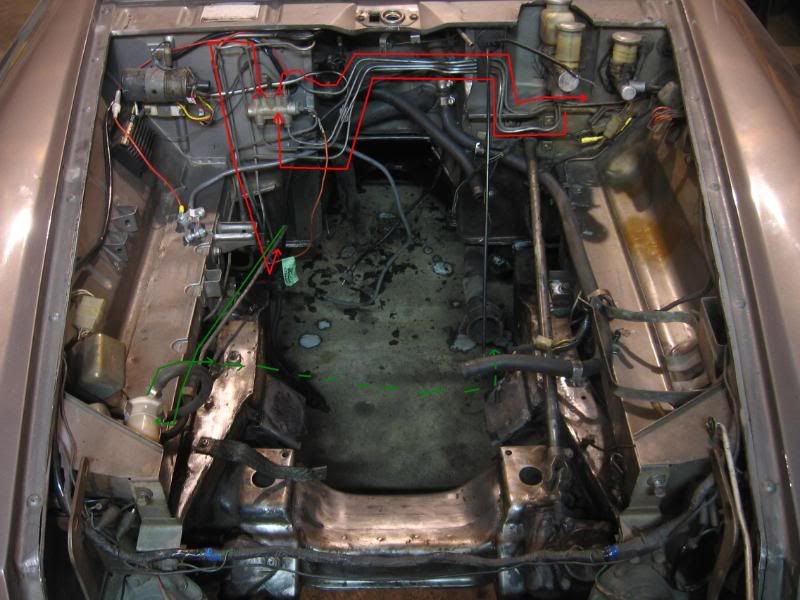
Check the picture below. I hate how some of the brake lines, vacuum lines, fuel lines, wires, etc, are run but in some cases there isn’t much I can do about it right now. In a complete frame off I would run things differently.
To give you an idea, the mc is on the left side and the brake lines run across the cowl to a proportionating valve (?) and then spider out from there including running right back and past where they started to go to the left side…follow the red line. I’d prefer to them to run straight down and then spread out from there - hidden. Perhaps they are where they are not due to the location of the exhaust.
The fuel line also comes up from the tank on the right side to the filter at the front right corner of the engine compartment and then across the front of the engine to the inlet tube on the front side of the front carb…goofy. See the green line.
The mess of wires at the right cowl also bug me but maybe I can clean those up a bit.
Anyone know of any other GOOD machine shops in Edmonton? I am getting such a major run around from the current machine shop. I have had my engine at the current machine shop for 7 weeks now and they have done nothing by clean off the block and measure for pistons and rings.
I have received a BS explanation that my engine has to sit because other people are “racing for points and when the season (drag racing) starts the points start counting”. Apparently the fact that my engine was there before some of these others is a point lost on them and I keep getting bumped back.