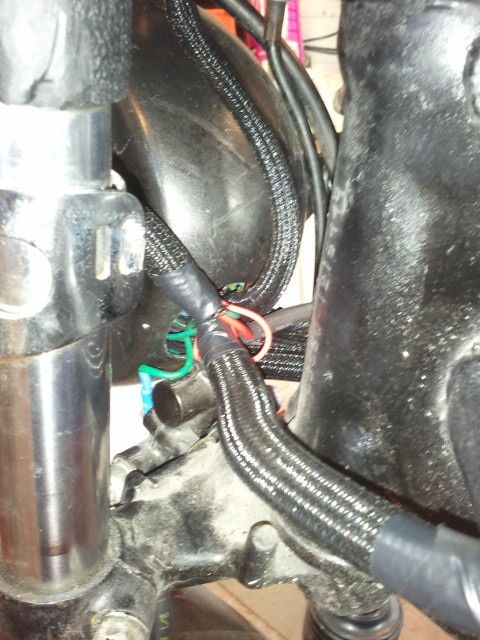
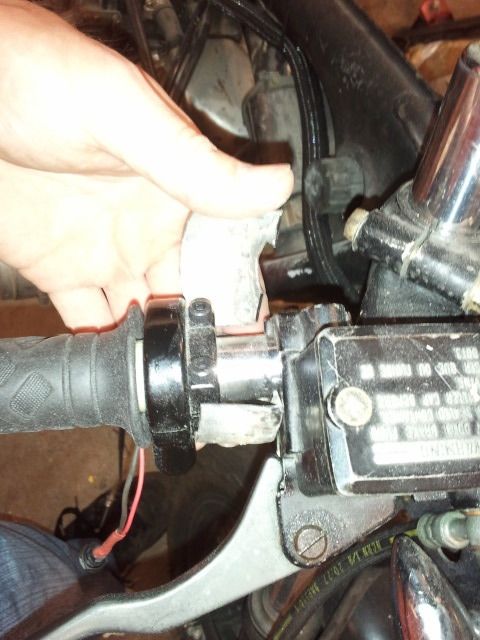
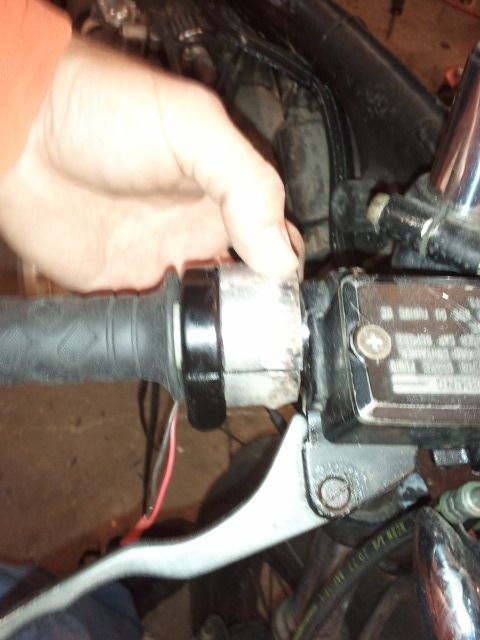
^Glad were both in the same spot lol. It’ll get done dude. Mine…that’s another story.
FUCK WIRING
Checko and Pirite came over with wiring diagrams, and we figured out a bunch but still have shit not working. Got the signals, headlight, tail light, and key switch working…but the following itmes still don’t work:
-Starter button
-brake light
-horn
-gauge back lighting
taking a break and looking at it again possibly wednesday or the weekend. I’m getting really sick of only making progress once a week.
this thing is really trying my patience. The big problem…is that stock every single wire goes up to the headlight bucket FIRST before to its home, even if it’s home is the tail light. The creates a mess in the bucket and I wanted to eliminate that mess. There are also wierd things like 4 wires going to the stock turn signal switch for inexplainable reasons (in addition to the wires to each signal on the other side of the switch)…I am using simple toggle switches so theres wires that can’t possibly go where the schematic says they went so it’s difficult to trace down issues when sometimes a wire goes to nowhere now.
Sorry for ranting, I just needed to vent about this crap cause it’s making me really wish I never sunk any money into this thing.
Work on the tank/body work and then come back to it.
Beer helps, ask Cougarspeed lol.
I asked if he had any beer. The answer was no.
Well, been chipping away one swear word at a time. got another 3-4hrs into wiring tonight and got a bunch more figured out. Strangely enough, black wires are power, not ground. ground is green on this thing.
Anyways, all that’s left to get working now is the starter button and the kill switch. The rest works. pretty glad I’m this close now. once everything works its just tidying up my handywork and looming stuff up nice.
Tank is probably a day’s worth of bodywork/paint, and I bought what I’m going to use to make the panels that hold the switches. I probably won’t get to mess with that stuff for a few days now, so my next update might not be until the weekend.
Definitely coming along :tup:
that wiring looks like a nightmare
That wiring fucking sucks. Every last inch of it.
Well beleive it or not, I finished wiring before I ran out of swear words!
got everything loomed up nice, just have to build housings for the switches up on the bars and finish the tank…oh, and order $200 worth of cables and steel braided brake lines.
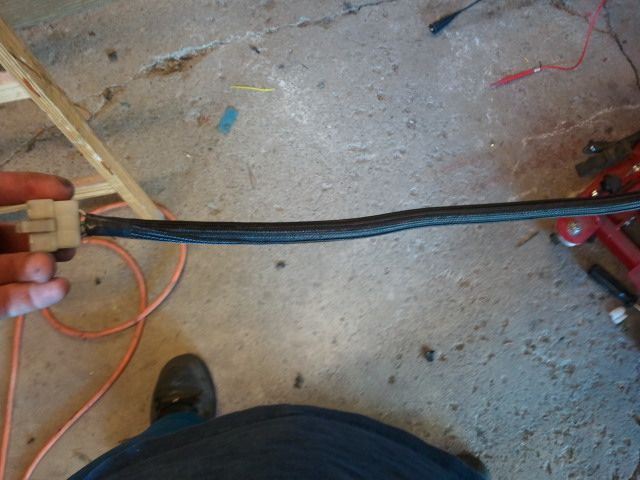
found out you can get the PAINLESS wiring mesh loom from K-S Auto on River rd. so I took a trip and got a bunch, looks awesome and is super nice to work with for maybe 20% more invested over that shitty corrugated plastic bullshit you can get at autozone and the like
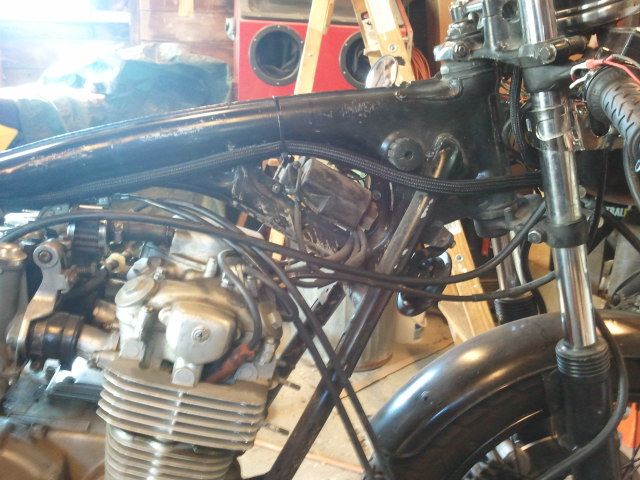
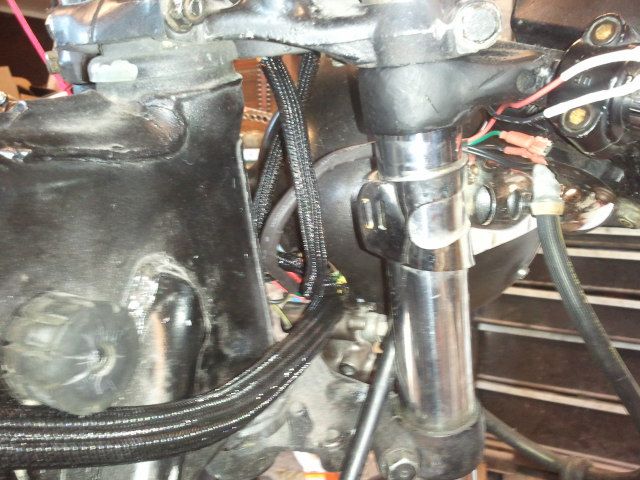
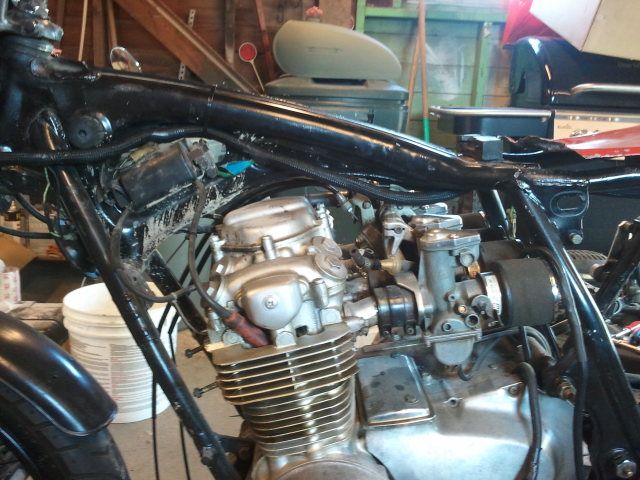
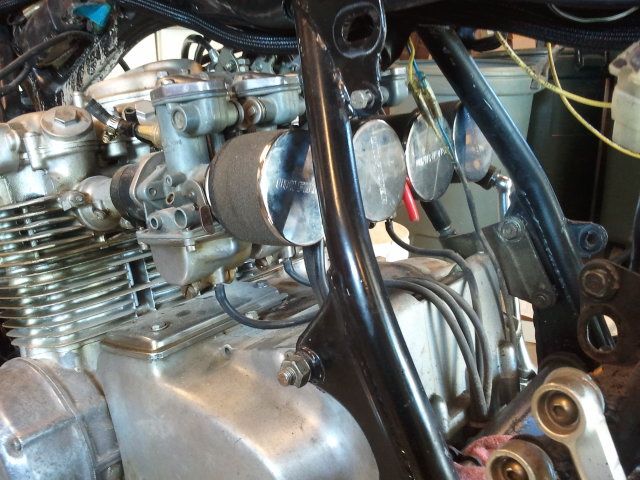
probably going to finish the tank and build the bar controls sometime over the next week, hope to be riding by next weekend if I can get the tank painted in time.
Nice.
This is why under my hood looks so medicore. I hated doing my wiring and it works.
looks good :tup:
That wire loom mesh is great stuff. Wiring sucks but you’ll get it. Keep it up, this is an awesome project. :tup:
mocked it up back together for the most part…decently pleased with the results, need to finish bodywork on the tank and make switch housings and side covers. Might get through all that this week MAYBE.
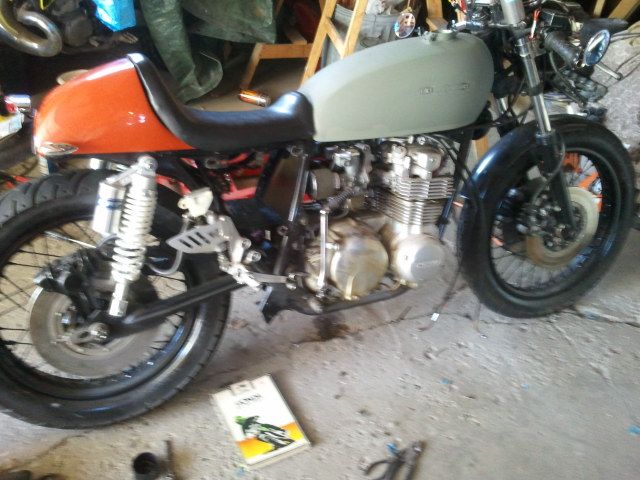
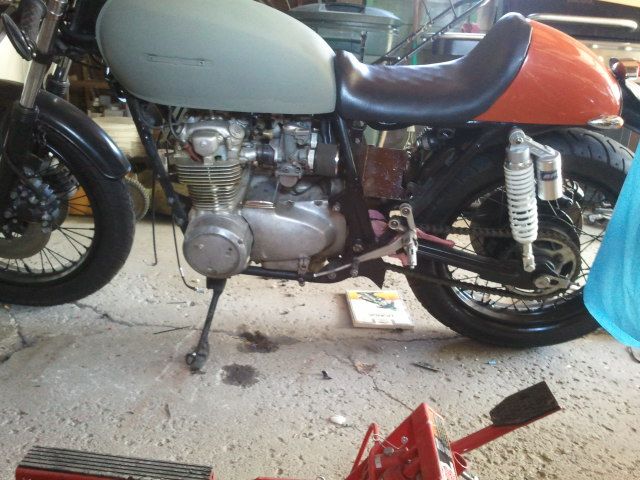
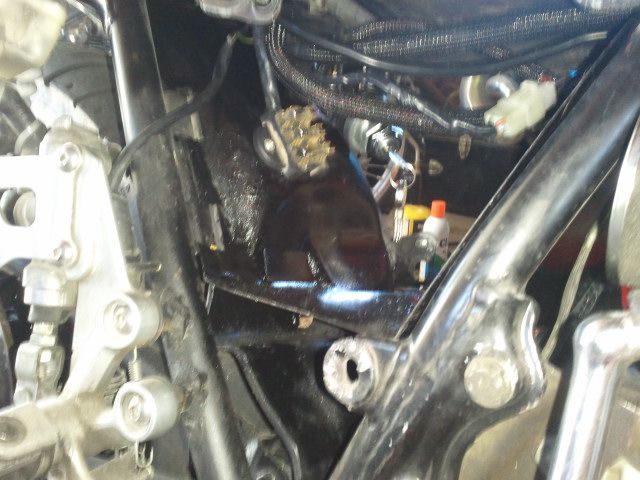
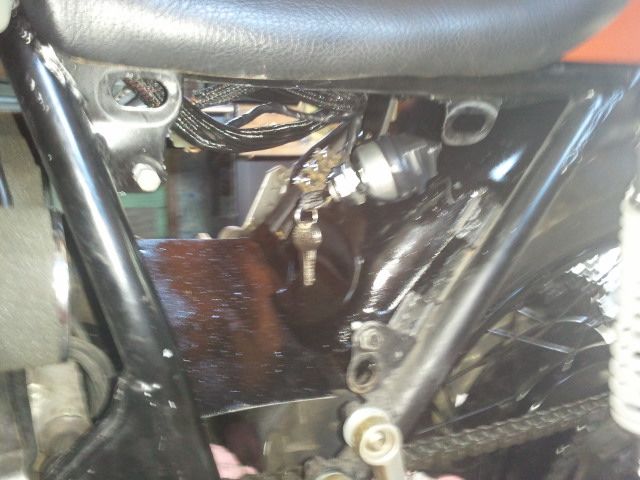
Got the key/ignition switch and the fuses mounted inside the “glove box”, just have to get the wires that run just under the seat tucked up somehow and I’ll be ok with that setup
Started making switch housings… what a clusterfuck lol
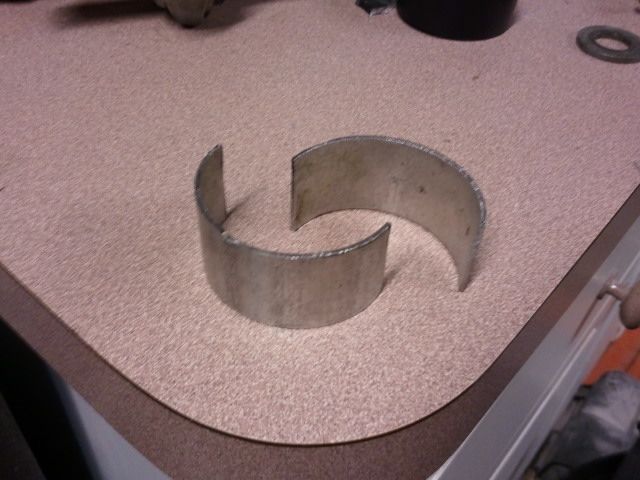
took a 2" exhaust adaptor and cut a section out of it, then in half (later I ask “Why the fuck did I do that?”)
Then I capped it, and sliced the cap also in half. The idea was to make it so I could weld a nut inside and make the two halves clamp over the bar between the throttle and brake housings…
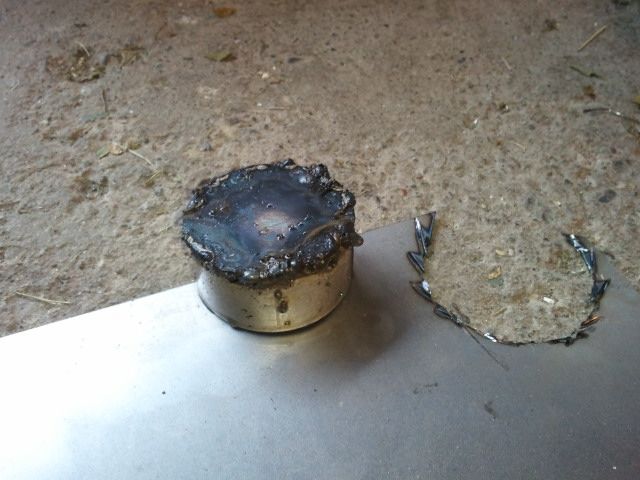
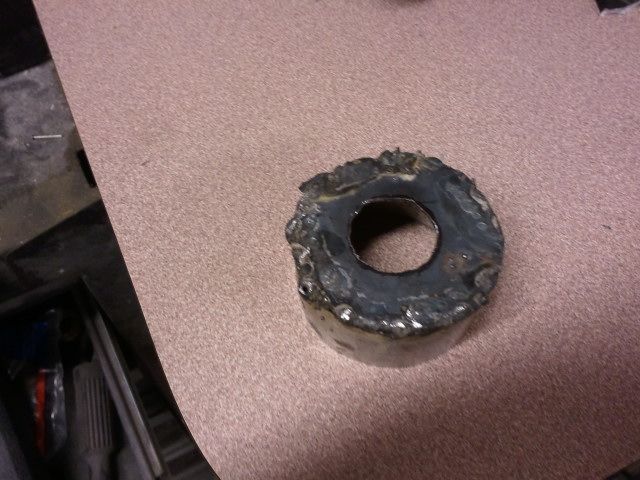
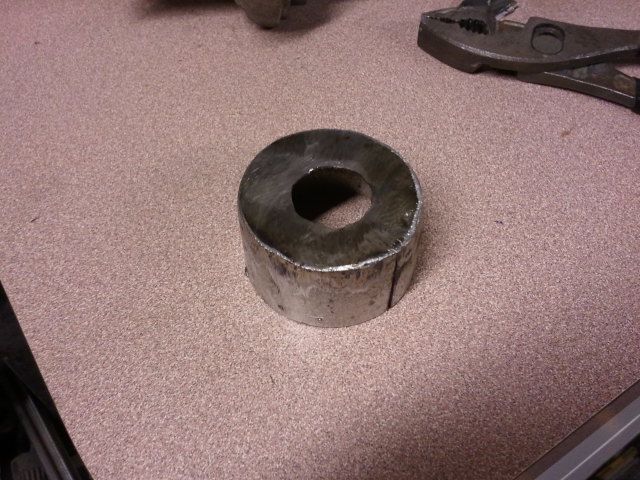
Concept:
(flashes are ghey)
Then I am looking at the switches, and failure dawns on me…if I weld nuts inside, there’s no room for the back of the switches. FML. EUREKA! If I weld the two halves back together, I can just sandwich this thing between the throttle and brake instead of giving it it’s own mounting system! (FUCK, now I have to weld this thing back together, what a waste of time)
So I welded it back together and then smoothed the welds down with the grinder, drilled holes for the switches, and painted it black (cleaned it, lol).
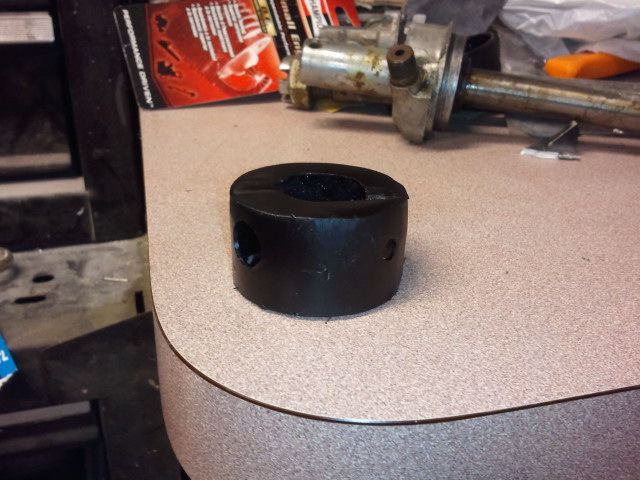
I didn’t go on to do the other side because now I have to come up with another way to mount that side because there’s nothing to sandwich it between. I’ll have to walk around the hardware store and ponder some more over the weekend. I bought the materials to frame out the side covers and a piano hinge so one side can open, so all that’s left to buy is the perforated steel mesh material and some paint supplies. I blew up my compressor (again) so I’ll have to coordinate with MotocrossX23 and hopefully paint my tank while I paint his tins for his cafe…
FUCK this SHIT!
long story short I’ve been in the garage all morning wrenching on this and my motocross bike and copius amounts of swearing was involved.
The switch housings are just plain not going to work out. The switches are too bulky on the backside, and these are the smallest I could find. I ended up breaking the starter button switch I installed and now need to get another one and re-think the switch housings.
Basically I have two options as I see it, both of which are going to be ugly and stupid looking in my opinion.
choice one is to make a box basically, that sits atop the handlebar and holds all the switches in it. this would end up being the side of a ring box as you would get from a jewlery store. square, large, ugly. Terrible option.
choice two, is to basically weld a peice of flat stock accross the top of the bar, round the corners off, drill holes for the switches to mount to, and leave them open on the back and try to shrinkwrap the wires black to make it all less noticeable. This is less work and probably more aesthetically pleasing than the last option, but still ugly in my opinion…but I may not have any choice at this point.
I’m out of ideas, and pretty burnt out and stressed with the project as of late. motivation is low, and yet I still really want to finish it and go to vintage motorcycle days July20-22…haven’t bought the weekend pass or booked hotel yet, mostly because I don’t know if I can finish the bike and it’s looking like Motocrossx23 isn’t going to be going now so I’d be riding solo for two days down and two days back.
if anyone has a fresh idea for mounting the switches, please speak up. ( I thought about mounting them up by the gauges off the tripple tree, but its pretty important to have them all at thumbs-length while riding)
I’m going you fool!! Regardless of my bike being done or not lol.
OK, so I think I’ve got ideas for the switch housings that I won’t completely hate.
for the right hand side, I think I’m just going to mimic the shape of the brake master cylinder as if it’s being extended, and mount the switches into it. If you look at the pitures from when I was fabbing the round housing, you can see the squarish shape of the master, I’ll just “extrude” that shape and have a little tab sneak between the part that clamps onto the bar to hold the housing.
for the left side, I think this is the only non-bulky non-stupid way I can make a switch housing. It’s going to be sort of a pain in the ass to make, but it ends up setting up the switches all aiming towards my thumb so it should be comfortable to use, and it should look like part of the bar when it’s done. This will get the backsides of each switch aiming towards the point of exit for the wires, so I won’t have as much clearance issues like I did trying to cram the wires inside that round housing I made that is now useless. In this rendering, I didnt make the clutch lever because that would have taken longer than this whole 3D image took to build in CAD.
the black is the grip, the silver is the bar.
The red would be one continuous strip of 22g steel I have kicking around that I can bend the “steps” into and the blue would be a “cap” I’d make to go over the red peice once it’s welded onto the bar and blended it with some files to make it all look one piece. The green would be the wiring loom coming out of the housing.
Thoughts? Improvement ideas?
What was wrong with the stock ones? they seemed fine.
They were huge, and were smashing into the gas tank at full-lock causing dents and chipping paint on my gas tank. the only way to revert back to original or similar switches/housings would be to re-wire the whole back; AGAIN. not happening lol. fuck wiring
Took my 3D housing and translated into a template to cut out.
Printed it out at 1:1, I think I’ll have to revise it a bit because looking at it on paper the backsides of the switches might have a wider bas than the 1/2" I made the “steps” at for them to mount into.
I’m clearly not involved in this project in any way shape or form but in reading this this morning, why not use the stock ones and massage the tank a bit to stop the hitting at full lock?
Rewire it with the factory stuff. I have a feeling in the long run it would probably take less time and look better too…
:shrug:
If it isn’t already obvious, I’m seriously regretting the re-wire project. but going back to stock is just not going to be an option.
The way the harness has been modified at this point is irreversable, and finding a decent condition used stock harness will be impossible. I have no interest in hammering “releifs” in the tank, I like the aesthetic of the round unmodified stock tank, which is why there is also no knee-releif dents in this tank either.
So I have to come up with some type of compromise to mount the switches that are now wired in, or strip the bike and part it out (lose an ass-ton of money)
