Fair enough, just take your time with it. If you miss the cruise so be it.
I think the bike looks great and will be killer when done!
Fair enough, just take your time with it. If you miss the cruise so be it.
I think the bike looks great and will be killer when done!
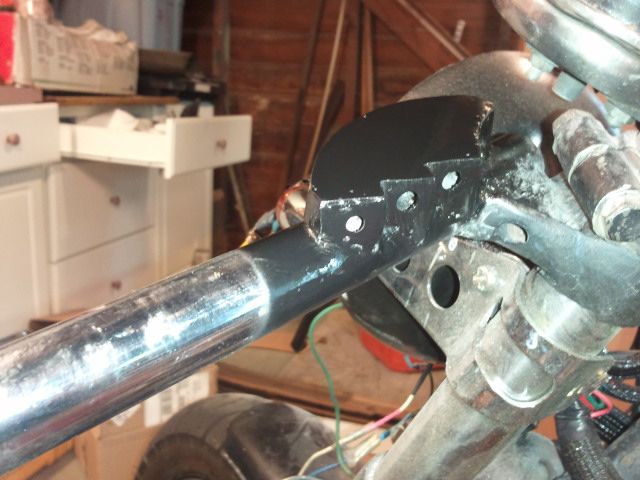
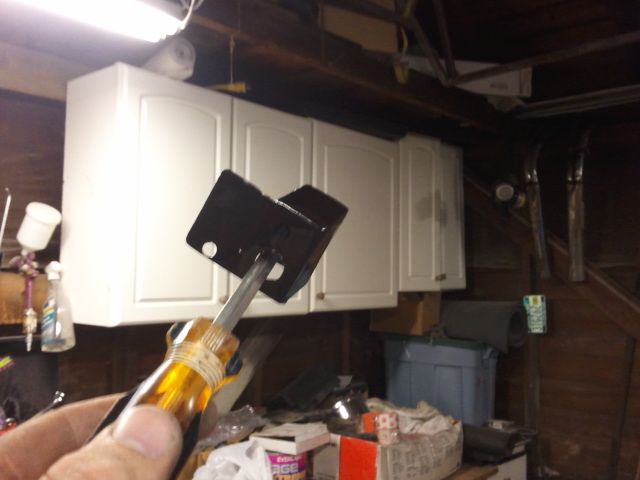
Switch panels are compeleted, and I am OK with how they have turned out.
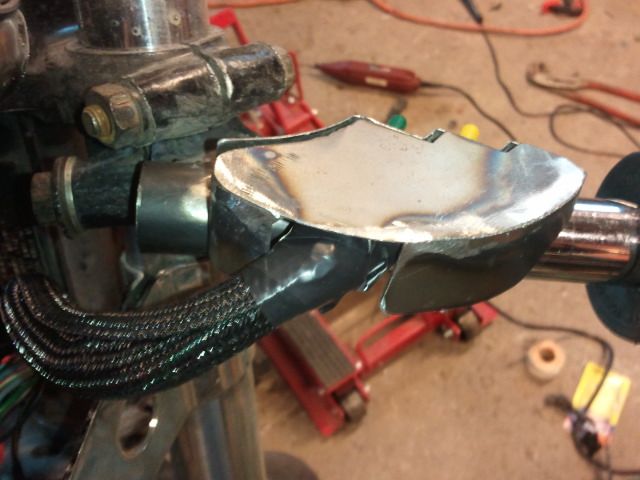
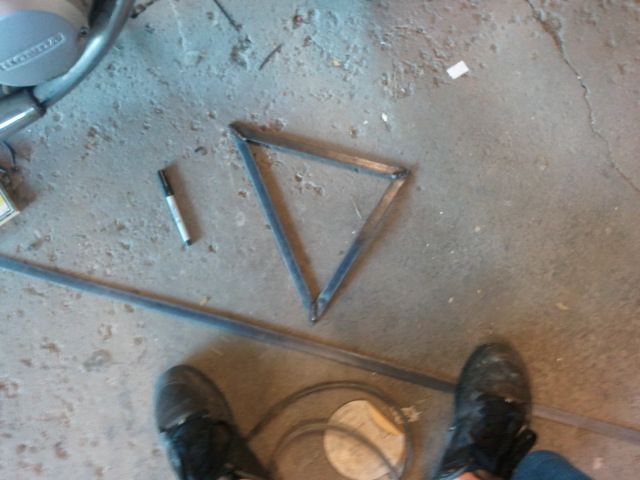
Template I made from CAD was very close, but needed some massaging once I cut it out and bent it up…here’s the process:
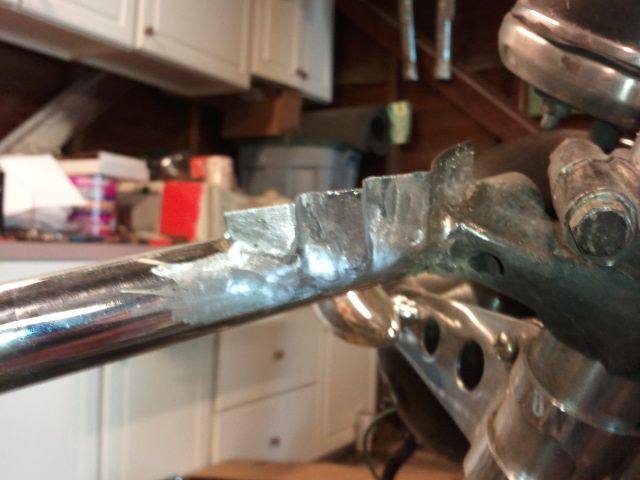
mocked up switches
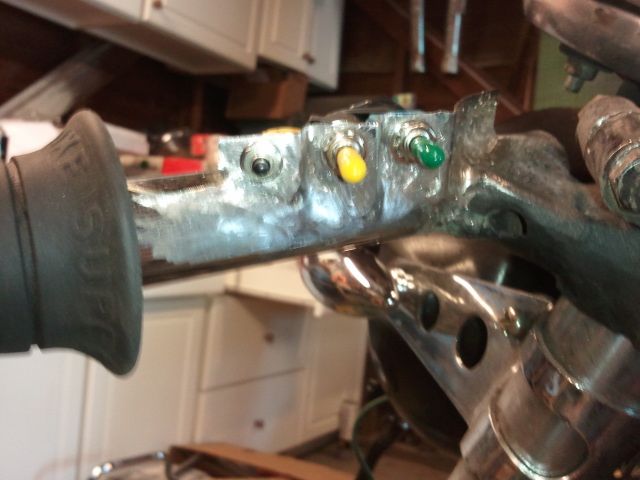
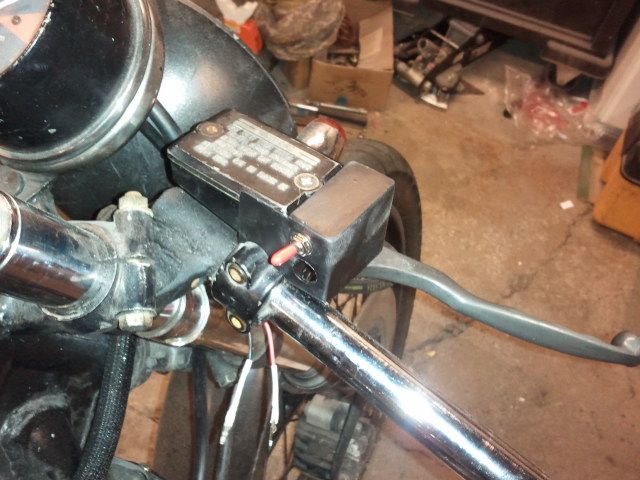
after I made the side and front, I made a cap. I left the bottom open so I can install and remove the switches as needed.
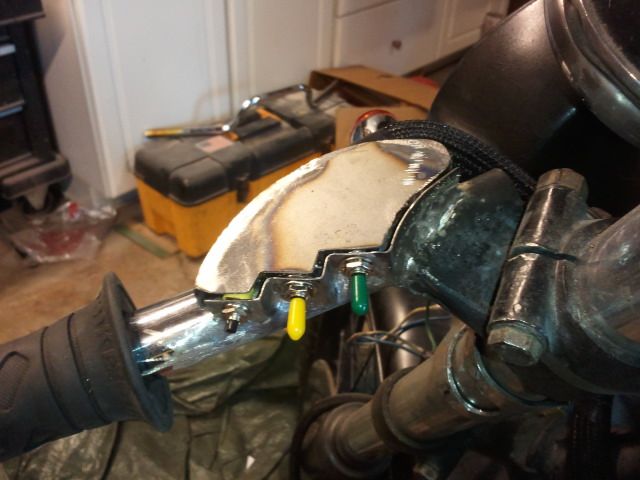
ground it all down smooth and painted black
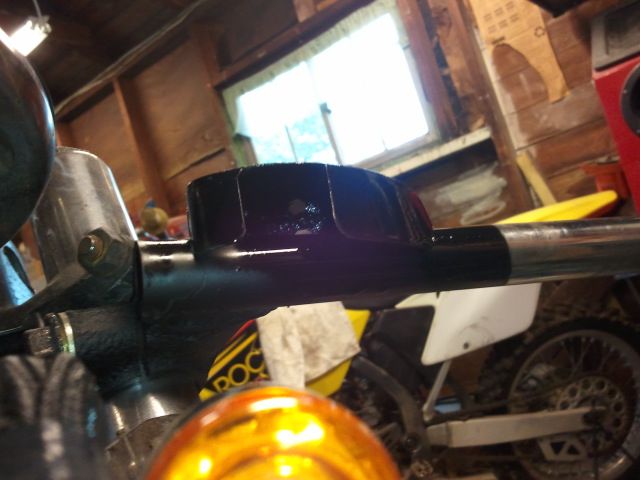

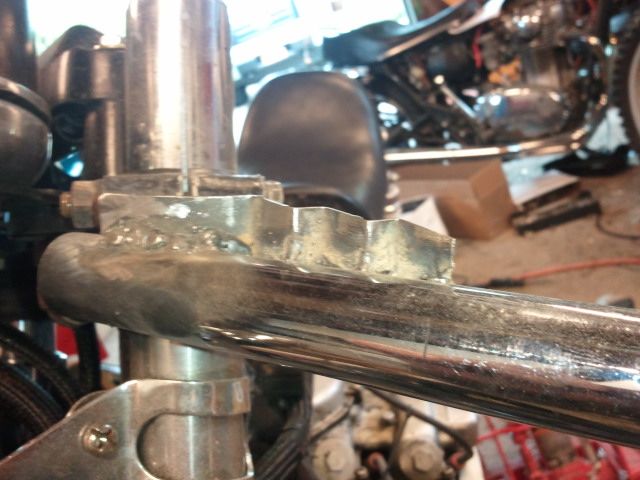
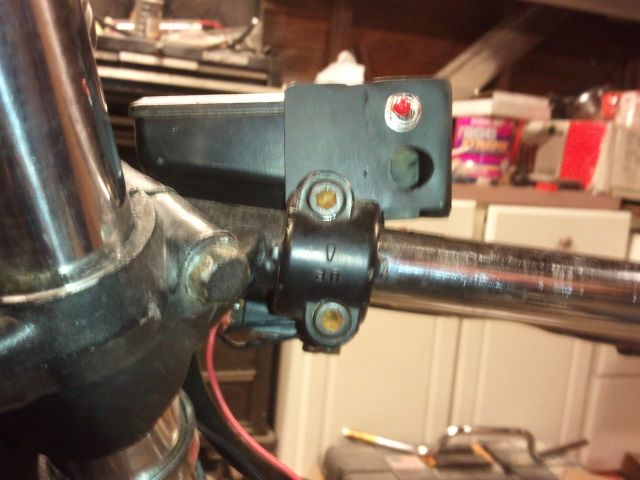
Other side was much simpler
made a box chanel with a flange out of one peice bent around

capped it off, ground smooth, painted black
What’s left to do:
-Make side covers
-paint tank
-replace start button that I ruined by being a Tard
-swap power and ground wires on signals, wired them backwards by mistake and they don’t blink (LED’s are directional unlike incandescent bulbs)
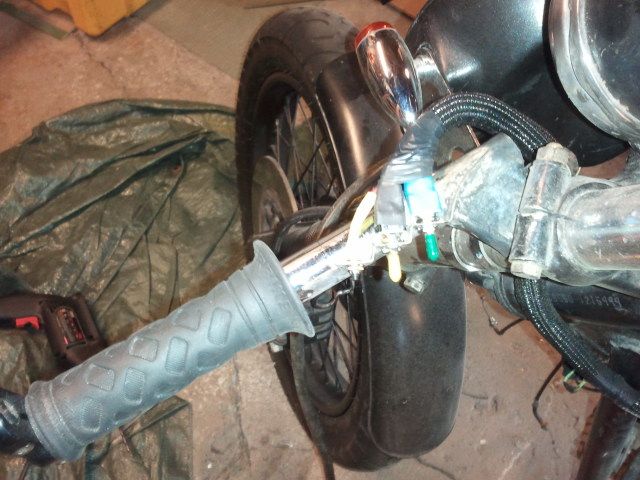
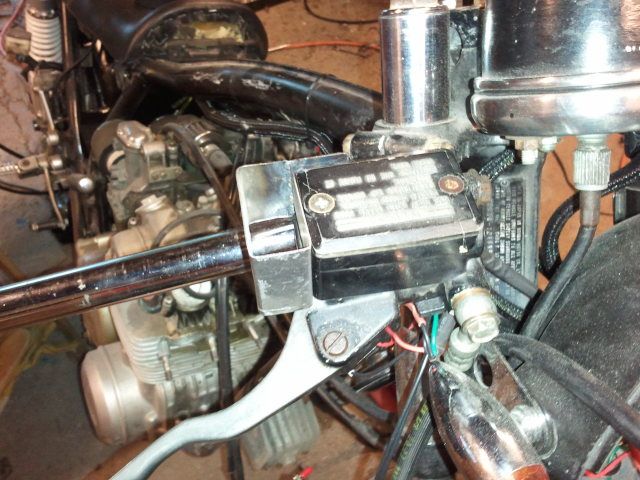
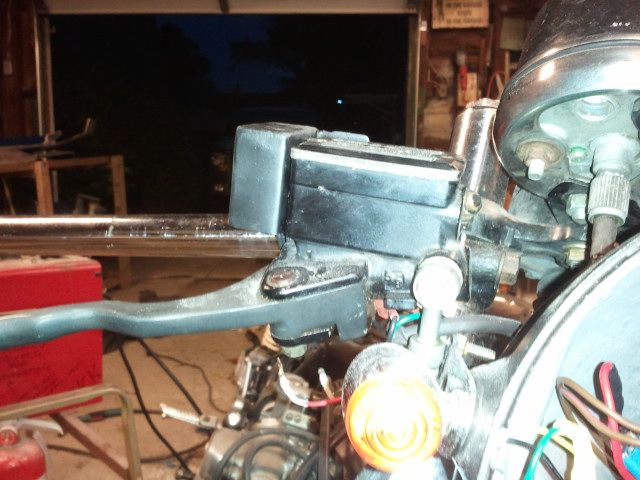
Got the exhaust back on, grips back on, mirrors back on, seat permanently mounted, and connected all the stock cables…
I really wanted to get shorter cables and brake hoses on, but the cables are custom order and $150 for the three cables I need, and they probably won’t make it here in time for Vintage Motorcycle Days even if I order them at this point.
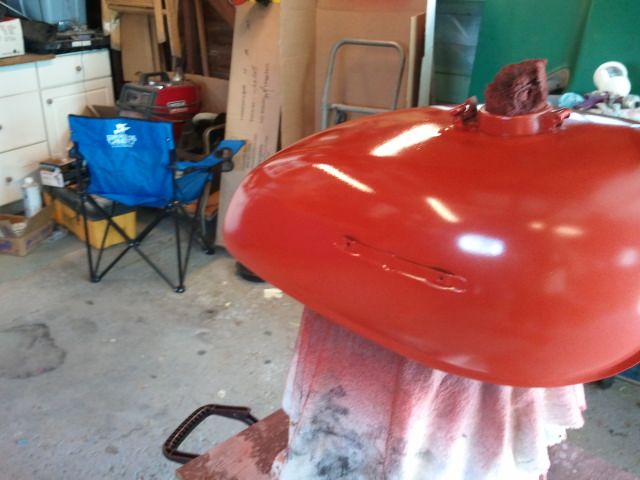
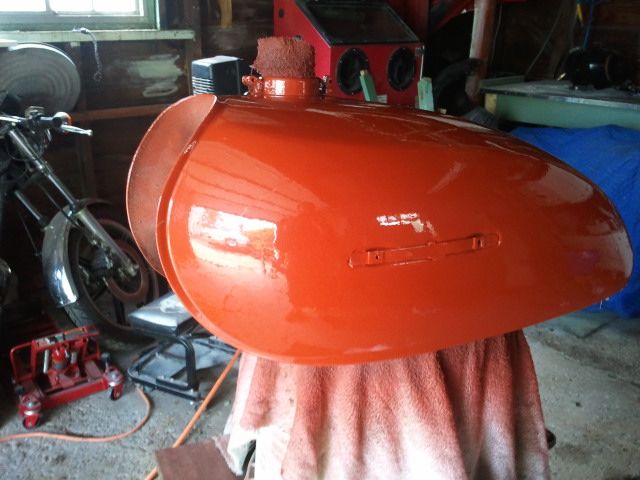
Tank is in sealer, ready for paint. Probably going to take it over to my parents house and paint it this weekend because my stepdad has a mini-paintbooth in the basement from when he was building his airplane.
I might jump on making the frames for the sidecovers, replace the start button, and swap the signal wires tonight if I can find some motivation…
If I manage to do that and paint the tank over the weekend, I could be riding as soon as monday, maybe come to Tea Leaf Tuesday…
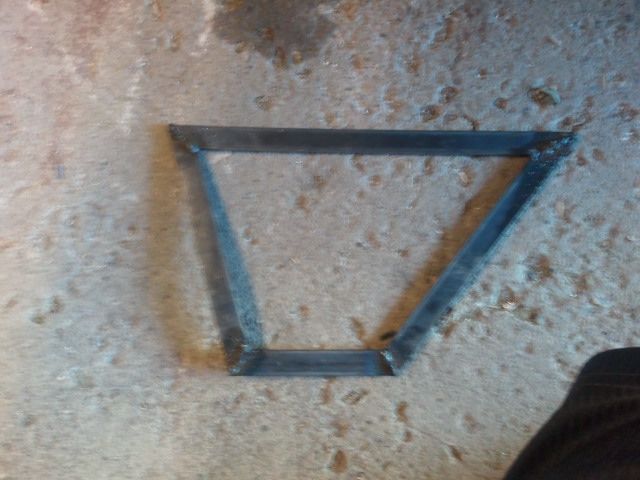
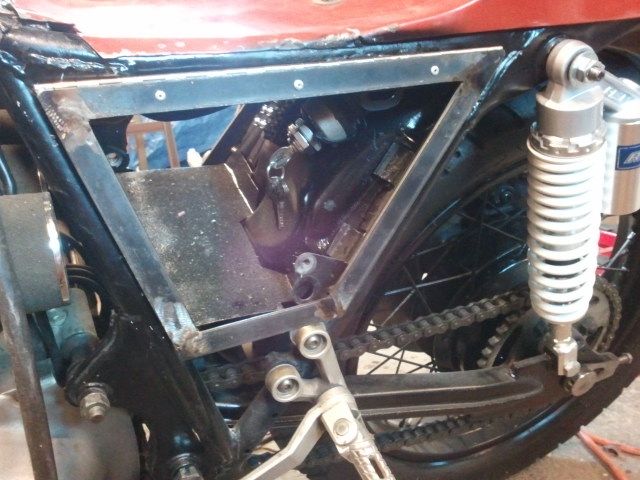
Made the sidecover frames yesterday…
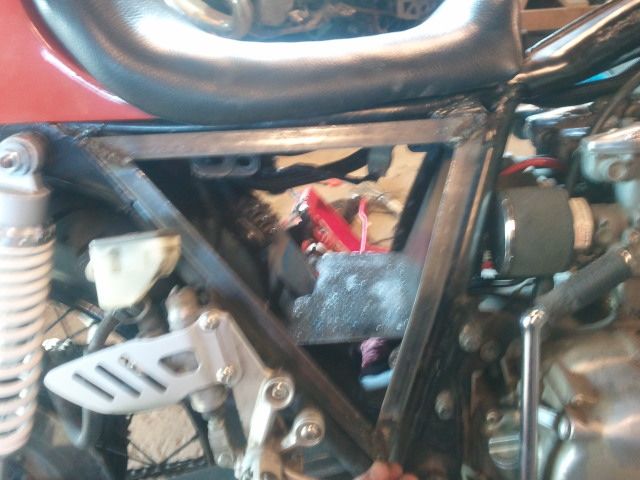
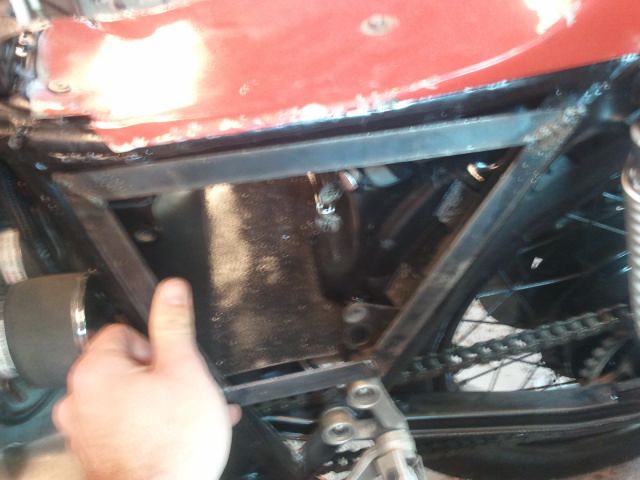
I used a piano hinge on the left side so I can open it up and use the storage space
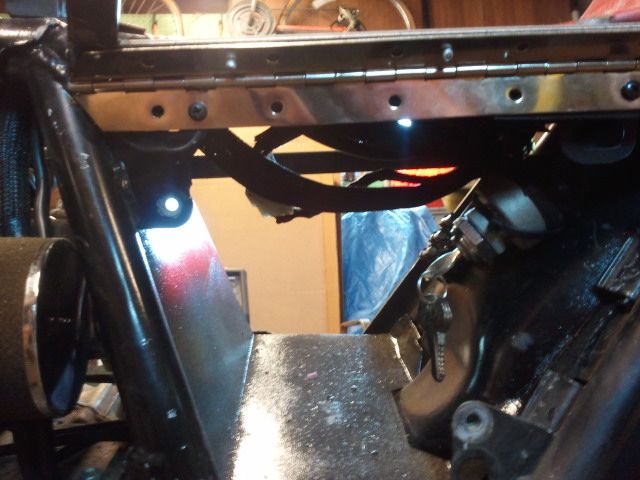
But then I started running through some of the electrics…and new problem. No spark, regardless of the position I have the kill switch in…fantastic. I fucking hate wiring!
Pirite…I need you this week lol, we have to track this down ASAP. 39 days 'til Vintage Motorcycle Days. I’m getting super nervous the bike won’t make it…
Oy vais.
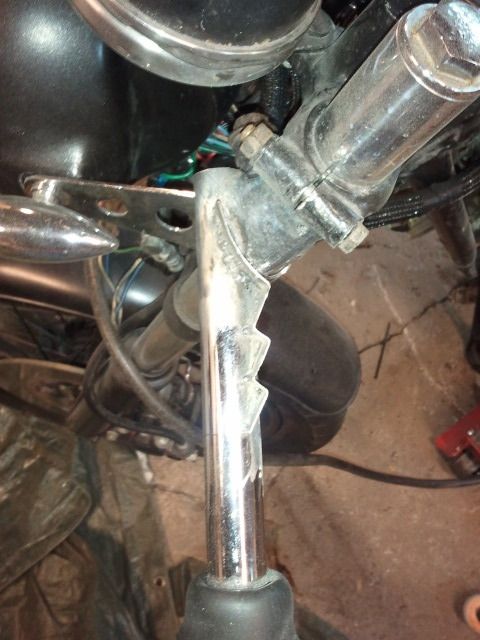
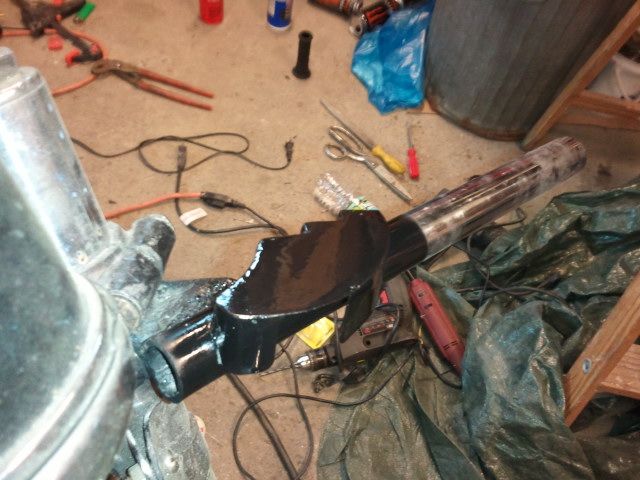
The ideas are nice but the process is a little lacking. These would look great if you invested in a tig welder and some time. There is a right and wrong time for MIG and something as visible as this I would consider the wrong time. A TIG weld on the bars might be better for the switch housings aesthetically and while MIG is strong, yours do not inspire confidence. You can only spatter and grind your way to a finished product so many times. I would be concerned about some of the more load bearing stuff you have welded such as the bar to clip on. I’d be a little concerned.
This is not ment as a slam on your work but more of a constructive criticism. Keep at it and be mindful of the safety of the person riding it.
Thanks don, no offense taken. I just cannot justify investing in a TIG…the bars on there I rode with two seasons, and just recently re-positioned the way the tube was connected to the clamp…I did pre-heat everything with mapp gas to ensure good penetration…I know things aren’t done the “best” or “prettiest” way, but this is the only way I have the rosources to build this thing. The bars are the only structural part I have welded on the bike. The frame and everything else associated are stock.
Understandable. Time to make friends with someone who has a TIG welder.
Im off wednesday and thursday. Lets make this shit happen!
So I traced back wiring, and everything in the ignition circuit that is supposed to get power, DOES. And I figured out which side of the killswitch is “On” and “off”…traced all the way to the end of the plug wire, and I get voltage there…but it was weak…the battery is super low and wouldn’t even spin the starter, so I have it on charge…hoping its simply not enough juice to fire the plugs cause the battery is low (This has happened to me before on stock wiring two seasons ago)
MAN, I wish there was a permanent magnet setup available for this thing…that would solve the weak electronics problems…
Kick start only Bro!
I got it figured out…I traced the signal wires from the generator and one of them had came unplugged. I hate shit like that, makes me feel like such a Rookie lol.
OK, all thats left is paint and side cover mesh!
34 days till Vintage Motorcycle Days 
thanks to an incredibly generous freebie from 95dime, I just came in from painting the tank.
after two coats of base
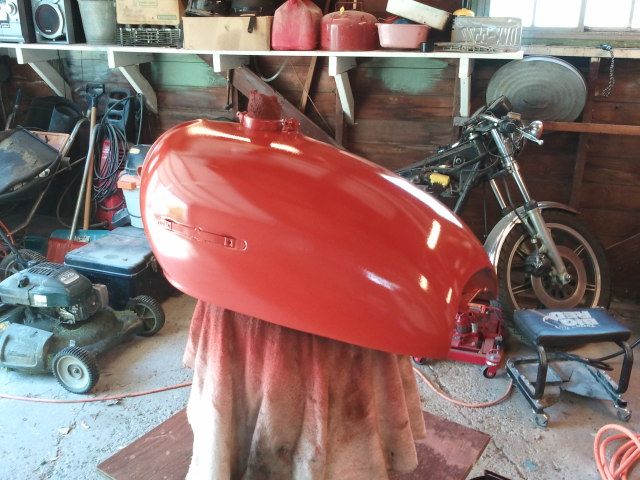
after two coats of clear
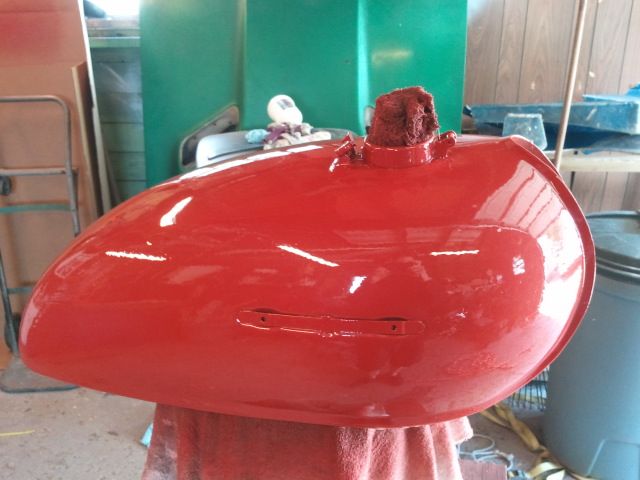
Pretty pleased with the result…this is only the second time I’ve sprayed something non-rattlecan lol… Clear has two runs in it that I’ll have to wetsand out, but they aren’t really bad so I’m not concerned. should come out pretty nice after wetsand and buff job.
got too much going the rest of the weekend to mess with it more, but I’ll probably take it for a ride monday or tuesday and see how she feels with these new shocks and bars…then if all’s well I’ll pickup some mesh for the sidecovers and finish those off, then it’s done for the season. (because let’s be serious, I’ll probably change a bunch more next year again haha)
:tup:
Since I’m almost done with this year’s mods… I’ve started planning for the winter already lol
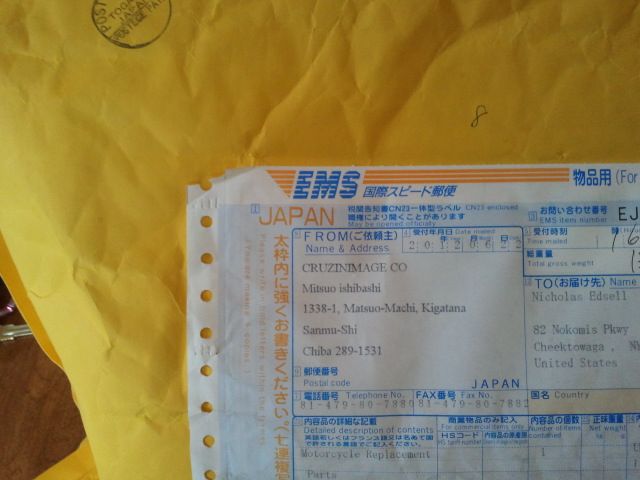
Overnight parts from Japan (not really, but somehow this shit got here in 4 days lol)
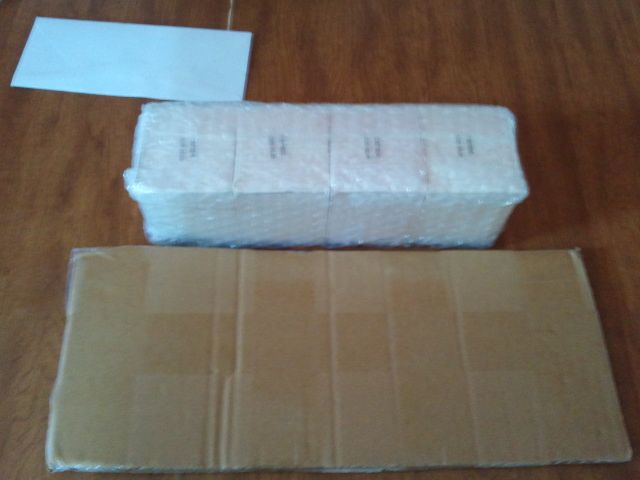
this is the 836cc big bore kit meant for CB750’s. The plan is to use the 650 motor shown a page or two back, with cylinder liners from a cb750, then these pistons. The 650 cases need to be bored a little to accept the 750 liners, then the 750 liners need to be shortened a little and bored for the 836 kit, and the 836 pistons need the shoulder modified a little bit for proper squish clearance. end result with be 740cc and about 11:1 compression, yeilding between 80-100hp depending on carb and exhaust setup. Should be pretty gnarly. I just have to order a headgasket meant for the 650 motor at the larger bore and drop everything off with specs for machining. Total cost for the engine build parts included should be somewhere in the $800-1000 range when done.
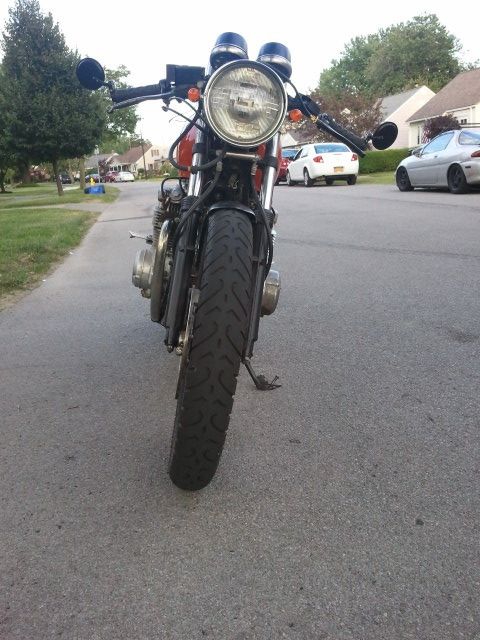
FUCKS YEAH. shit’s done for this year… threw the tank on, put some gas in it, and fired the pitch up…diagnosed/fixed the blinkers-not-blinking issue, and discovered I buggered the horn switch… so I have to replace the horn switch and start button. All that’s left besides that is the side cover mesh. Super stoked. Took it for a spin, and holy shit what a difference these bars and shocks have made…TOTALLY different riding dynamic now. Much more comfortable than before, yet the stiff shocks/springs being about a half inch higher makes turn-in feel way more awesome…I have even more confidence in the handling on this thing. Pretty happy right now. Snapped a few pics:
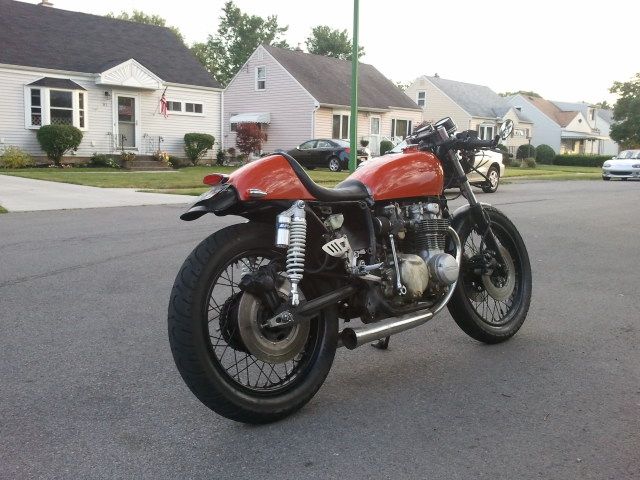

Probably riding it to Tea Leaf next tuesday if the weather is nice.
:tup:
Runs like crap, looks like poop, rides like a wet whore.
Just kidding, this thing rocks lol. It definitely felt MUCH better than when I rode it before the teardown.
I love this bike man. It was a total bitch dealing with wiring and shit, but this thing is forever mine lol. I still plan to see greater than 100hp out of it…if I can’t get there with carbs, I might look into adapting fuel injection hahahaha
Snapped a couple dickies…and BOOM there she is. Looks good chooch.
Ohh shit! Looks good man!!