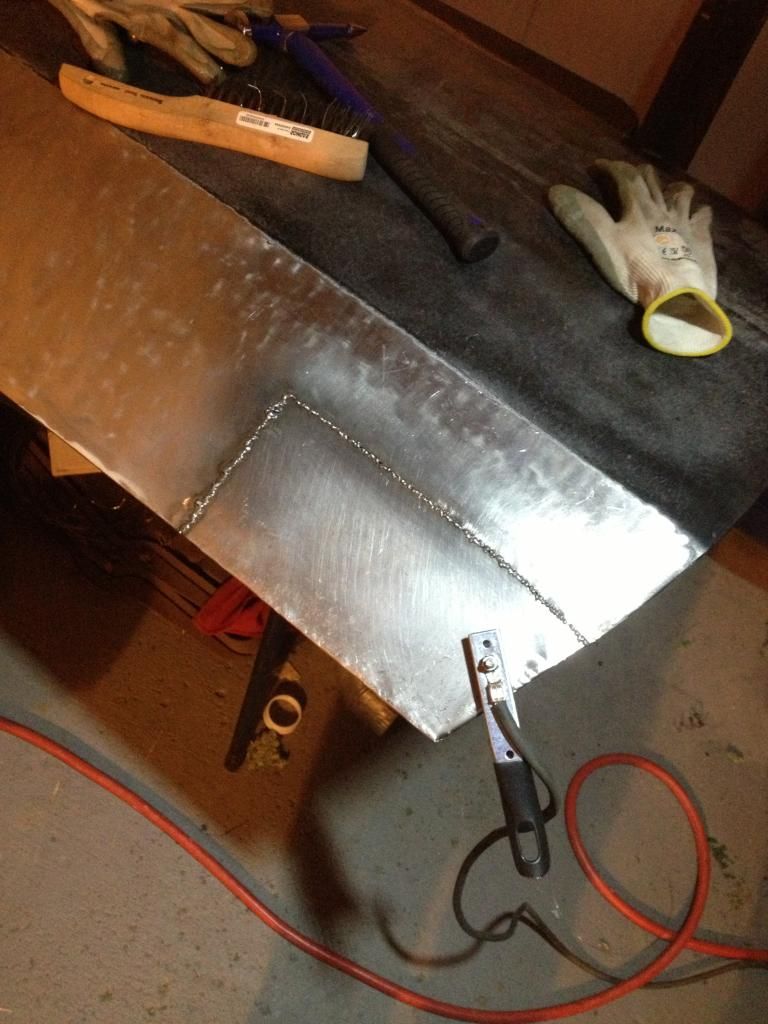
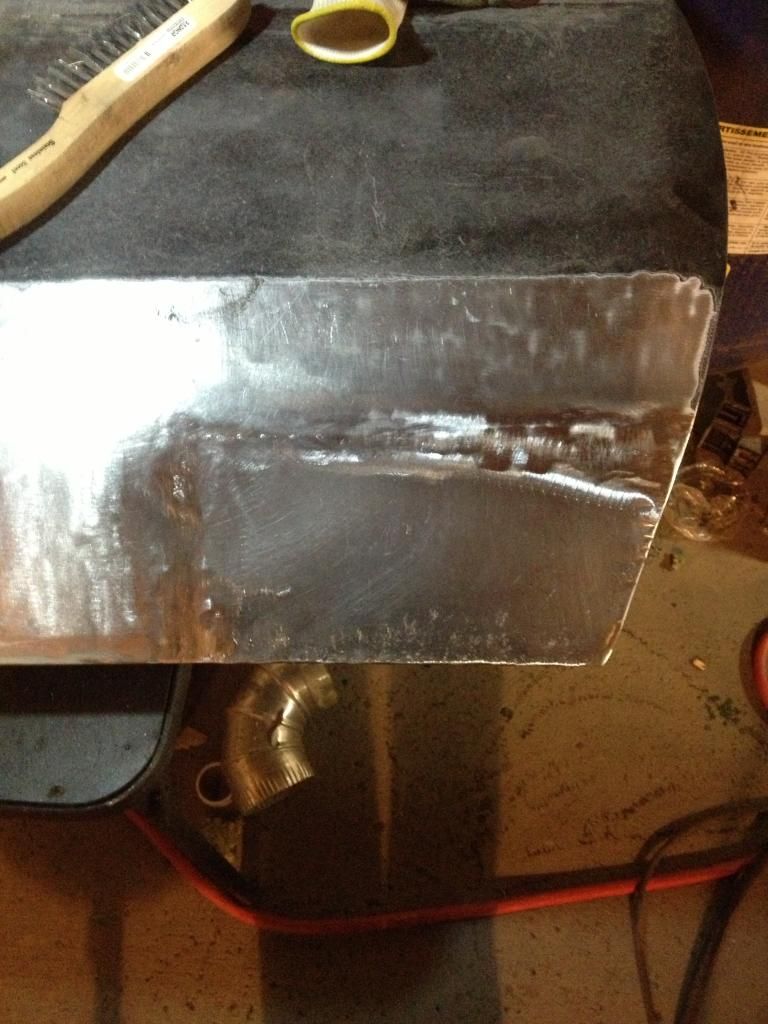
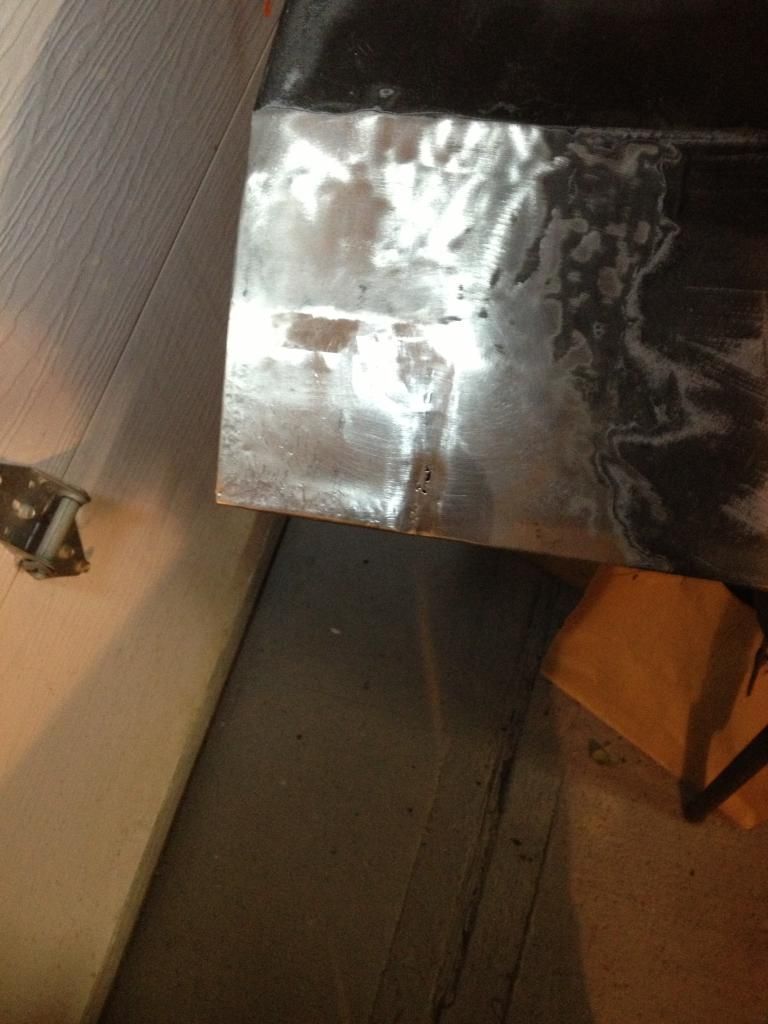
So I bought the harbor freight one and it sucks. You use some C-clamps to hold everything in place and for me my sheet metal and the straight metal forming die(not sure what its called) slid. So it didn’t really work for me. Might need to step up to the next size tool.
Get it as close to the shape as you can when you start, then it’s a matter of tack, bend, tack, bend, tack, bend, etc until the piece is in properly. When I put the filler panel in to remove the gas-line hole in my engine bay, I got it as close as I could with a hammer and vice, then tacked it into place, then formed it as I worked my way around it with the tack welds.
looks to me like the panel you’re trying to patch is deformed along its cut line, not the piece you’re trying to put in…
So I returned the cheap sheet metal brake and I can order the patched pre made for the car, I’m just gonna order the patches, that way I only need to cut them to fit them.
that’s ALWAYS the way to go.
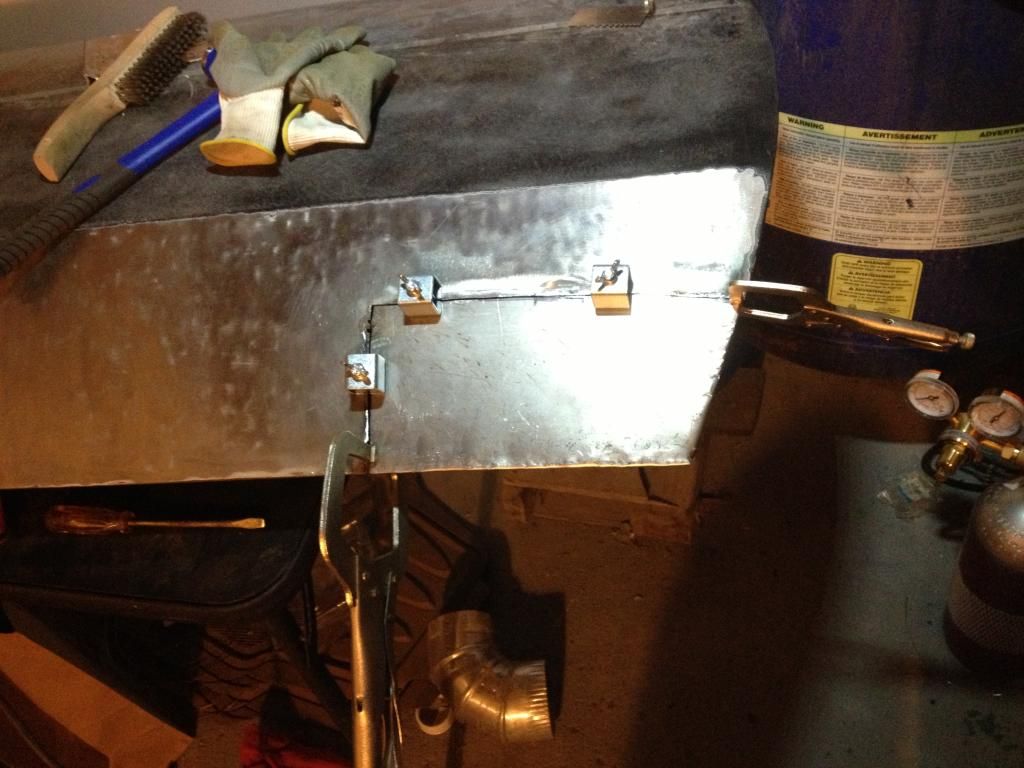
So I bought the gas, and made the panels for the door again. This time I pre bent the folds on the bottoms and fitted everything together. I just used my hammer and vice to make the bends. My friend stopped by and helped me do it and said if its not perfectly straight I can grind the bottom and re weld it if I need to until everything straight.
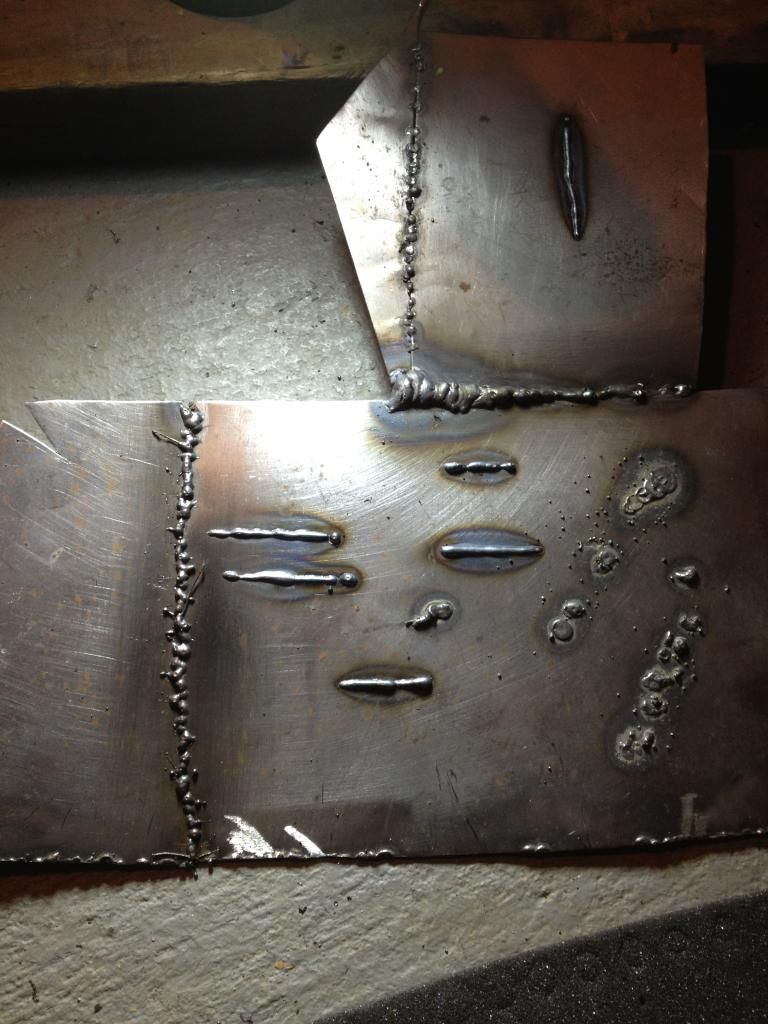
So I liked the way everything fitted but figured I should practice welding first.
You can see the bottom right weld is all splattered and that’s what the flex wire was doing.
then everything else is me just testing settings for penetration and also bridging gaps.
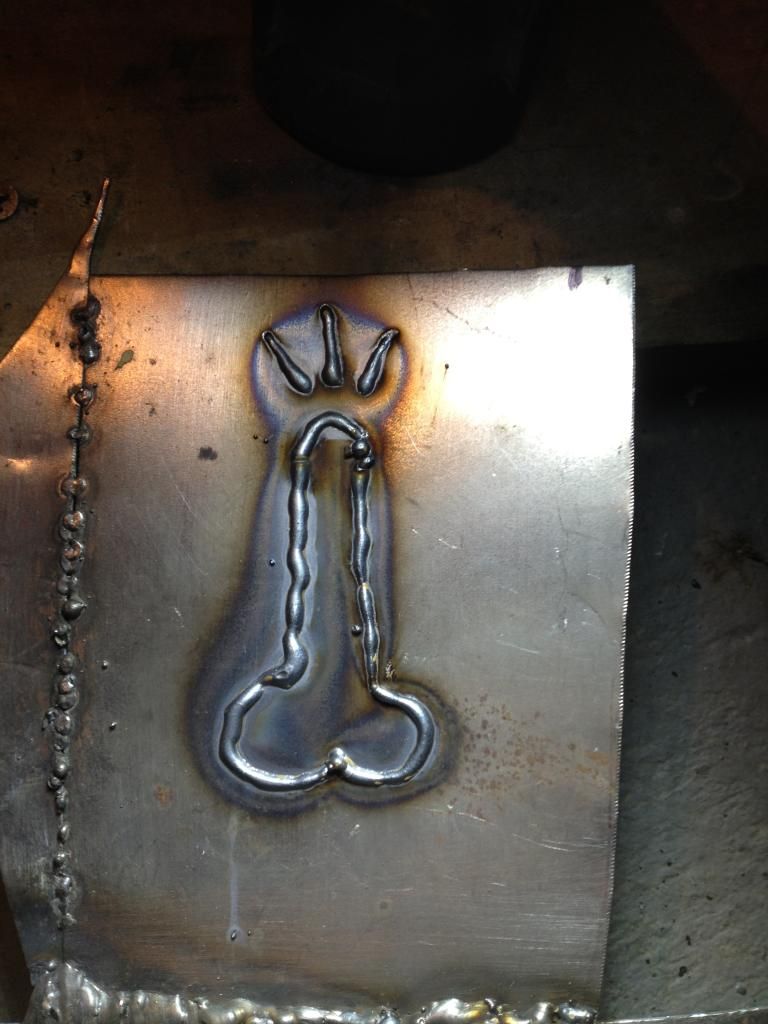
sent the first pic to my friend and he said make him something so I did /
now I just need to get a grinder to knock down the tacs and then tac some more! Had fun and it went well, the other door I plan to make the patches for but a few other areas near the wheel wells ill probably buy the patch panels because it would be hard to make.
nice… it’s always nice to get some progress and develop skills.
what size wire and tip were you using? on your practice stuff, I see maybe 1/2" stitch that looks about correct and the rest is either too fast, too cold, or looks like too much trigger playing, once you grind down I suspect you’ll need a good solid pass over the entire seam…and when you do that keep a small bucket of water nearby with a drenched rag in it to keep wetting the areas as you weld, and do 1" stitches staggered around that patch to reduce the chances of warpage from heat.
.023 wire C25 mixture. Are you talking about the practice welds or when I welded the panels?
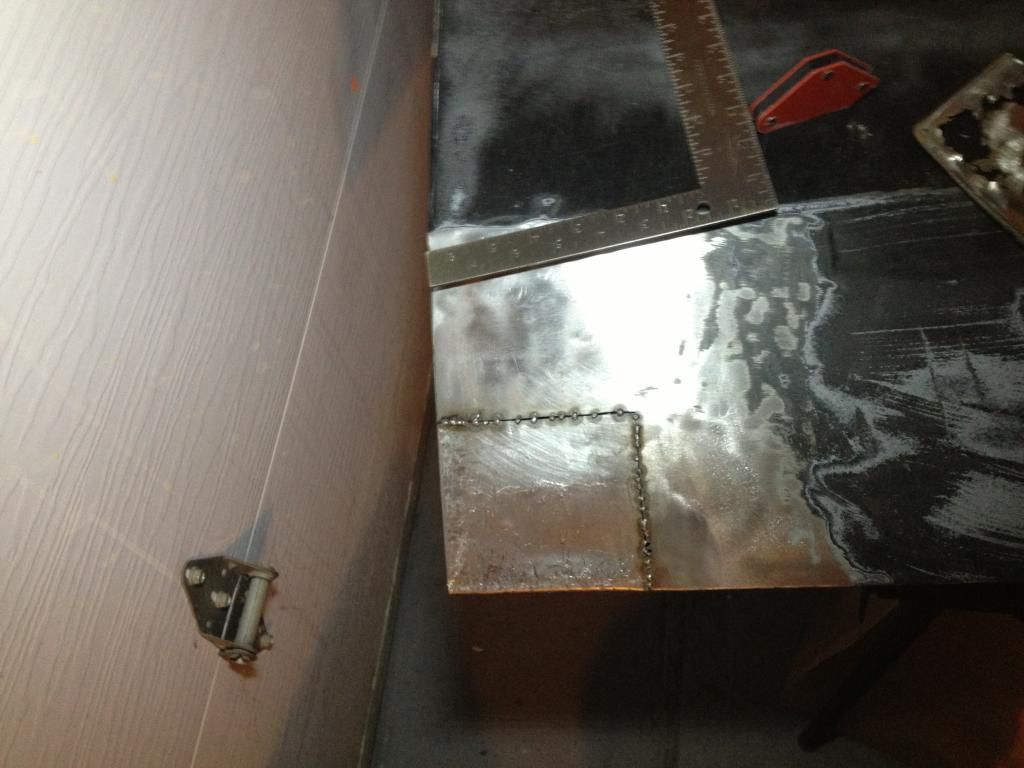
i used my air compressor to cool the panel down, and I tac’d it only no beads.
on the practice panels on the underneath I saw penetration so figured it should be good.
-
-
- Updated - - -
-
Some of the practice panels welds are when I was using the flux wire so maybe that’s what you’re looking at?
[ATTACH=CONFIG]33782[/ATTACH]
circled what I assume to be flux core with red. the little blue circle looks like the only spot in that particular seam that is good. towards the right of it is moving too quickly or letting go of trigger while moving. to the left of it looks like you slow down exponentially as you carry along the seam causing that big buildup of slag on top of the panel. The yellow looks spot-on, and if that were along the seam would sit really nice and nearly flush and not require very much grinding. the picture of the patch welded in looks closer to the way the flux core came out, which looks like a technique similar to trying to rapid-fire a paintball gun that doesn’t have an full-auto trigger.
I am not saying any of this to be a dick, and I hope that’s transparent. I’m just trying to help, because I know as well as anybody how stressful body work is and started exactly where you are now. When I started getting into it I didn’t have anyone to show me, so I had to experience failed welds and other miserable consequences from my first attempts. Just trying to help the cause so you hopefully get a nice finished product that isn’t going to crack from vibration after you’ve done the body filler and paint and started driving it.
I’ve got to agree, something doesn’t look quite right; I’m looking for the “roll of dimes” or “roll of nickels” look that is typically seen on welds. I’m thinking it’s a combo of moving too fast, not enough power, and too slow wire speed.
This is what I was looking for:
roll/stack of dimes doesn’t happen as much in MIG if you maintain a constant pace across the material without letting go of the trigger, The metal/wire stays pretty molten and tends to settle/puddle out. it’s also partially due to the fact he’s just laid beads onto a sheet of metal, rather than a seam where the weld has somewhere to go other than attempting to melt the plate where all it can do is sit on top (unless it’s TOO hot and then it all falls out and makes a nice hole)
I guess I’m use to “stitching” when doing seams, which does leave that pattern.
Yeah those are the ones that I did with the flux core wire. It didn’t weld too good with the roll of .030 flux core wire it came with but I also just stuck with the chart for the settings so that could also be why.
The yellow you circled was with the .023 wire and the C25 gas, turns out a lot better and was so much easier to use.
but I would never stitch the panel together with that long of a “bead” it would warp the shit out of it lol at least that my belief.
when I welded the actual panels I just spread out the tacs, 1-2sec trigger pulls. I hopped around and kept doing it until it basically went all the way around. That way I don’t over heat and warp the panel.
ill post more pics later, I’m going to buy a grinder and see how it thrned out, and then tac some more.
actually the top left red you cycled was with the .023 and gas, but I didn’t mess with the settings yet just put it to what the chart said. Also it was probably the first tacs I did on me knees lol.
but I think the panel on the door turned out pretty good, I’ll see later when I grind it.
another thing of note is that flux wire is supposed to be welded the opposite polarity of plain wire with gas. there’s usually wing nuts inside the case of the welder itself to swap the (+) and (-) leads for this. If you got the welder set up for one and tossed the other in it and tried to weld, it would come out like shit. may explain your flux wire issues.
I’d also recommend a flap-wheel on the grinder instead of a regular grinding disc. you’ll take less material off and have more control.
Yeah I changed the polarity when I got the gas, it came from the factory setup for the flux wire. Thanks for the tip on the flap-wheel, I’m going to harbor freight later today lol
that tidbit was a game-changer when I discovered it. regular grinding wheel always rips tons of material away fast… flap wheel is more predictable and can get pretty damn smooth results that only need a skim of glazing putty if you did your metalwork right.
Thanks again, so do you do metal work often, or is it a hobby?
Well I picked up some grinding discs and some flap discs. It seems hard to just knock down the tacs, like I screwed myself a little because the tac is thicker then the panel and trying to knock down the tac you end up grinding on the panel a little as well and in a couple areas by the time the tac was knocked down I thinned out the panel around it slightly causing me to blow through in 2 spots and it took my hours to build them up/full the holes. I had to literally pull the trigger for the shortest time possible. Welder is on the lowest voltage and wire speed pretty low it burns up to the tip that’s how slow I had to have it. But I did build it up and fill it slightly.
the panel I think turned out ok, I’m definitely going to have to use glazing puddy and a high build primer but I think it will turn out decent in the end.
i didn’t get to finish because it was getting late and didn’t want to bother my neighbors.
If I had more free time id just come weld this for you and give you some pointers in person. Where is the car? panel is fixed to the car right? Like a quarter so we cant pull it?
