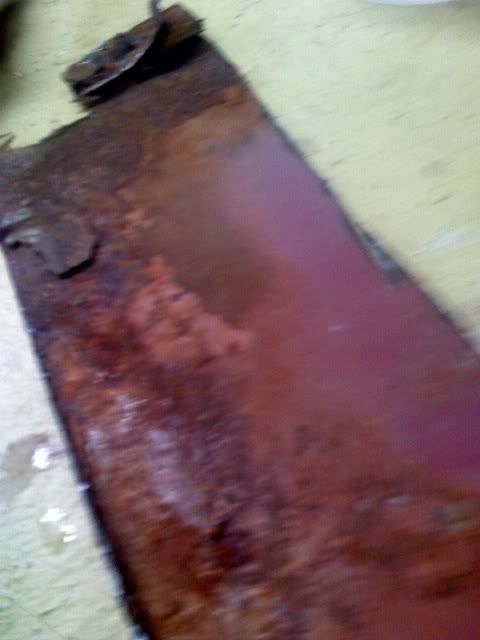
picked up this car about a year ago in decent shape for the year of the car.I mean there was no crazy amounts of rust all over the wheel wells.There was just a few rust bubbles in some different spots. The paint was faded to different colors of red all around. So she was do for some rust repair and a nice respray. I have never done body work before but i figured i could figure it out. Mechanically advanced i guess you could say. I spent a few weeks browsing some auto body forums(autobodystore,hotrodders,etc.) I spent the days in school day dreaming about how i was going to get this all done, and how i was going to tackle the job. I decided on fiberglass, because i figured that i wouldn’t have to worry about the rust again.
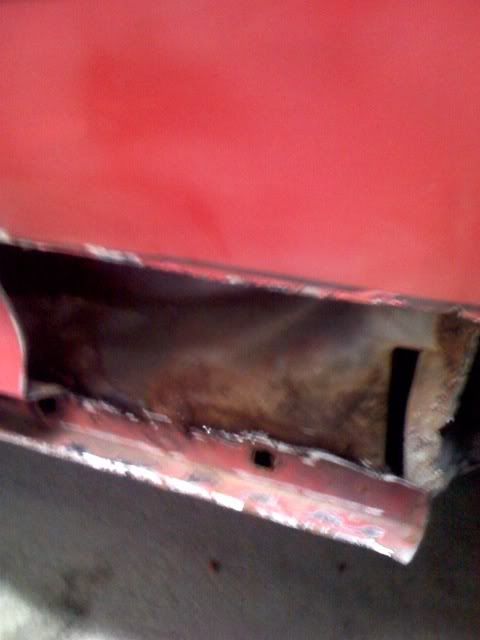
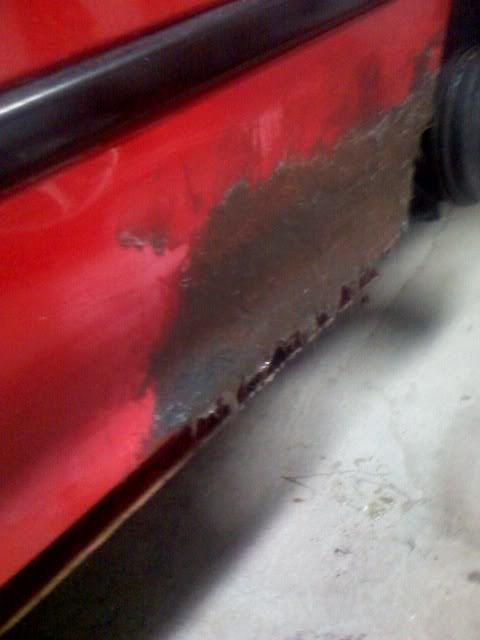
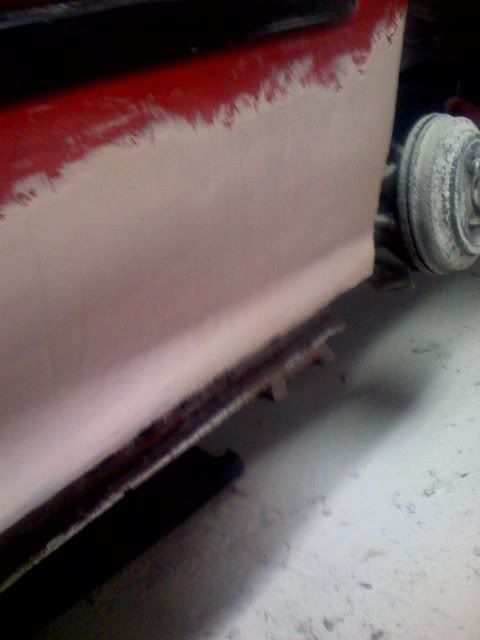
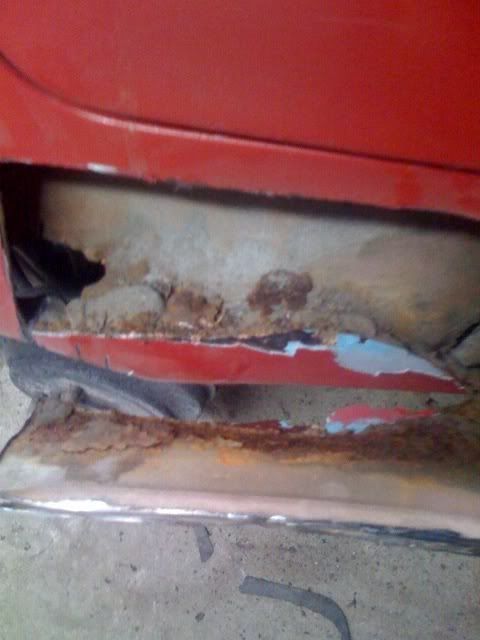
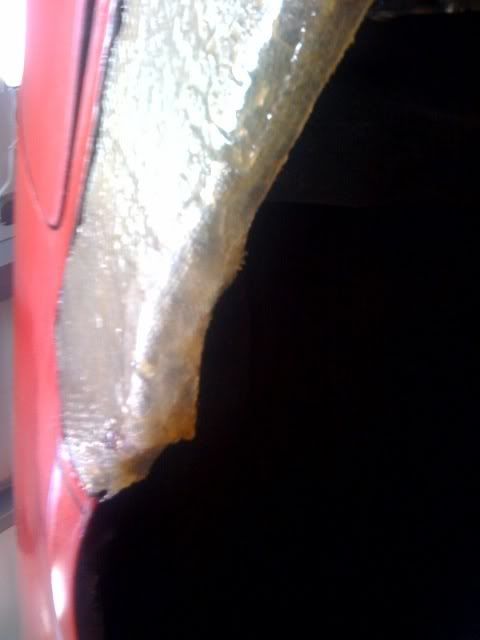
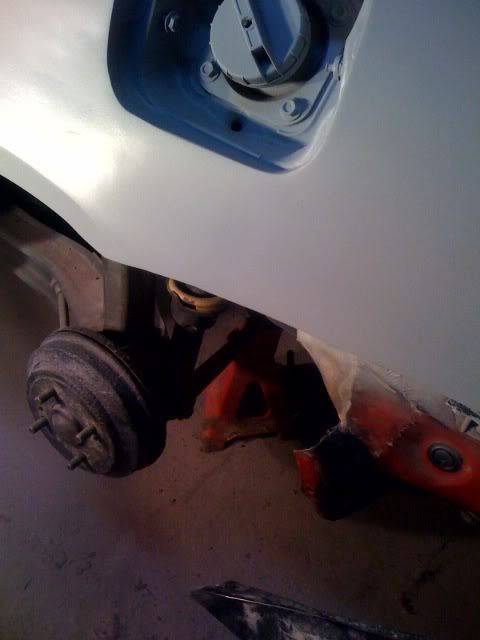
The picture is kind of blurry but you can see the rust that was in there.
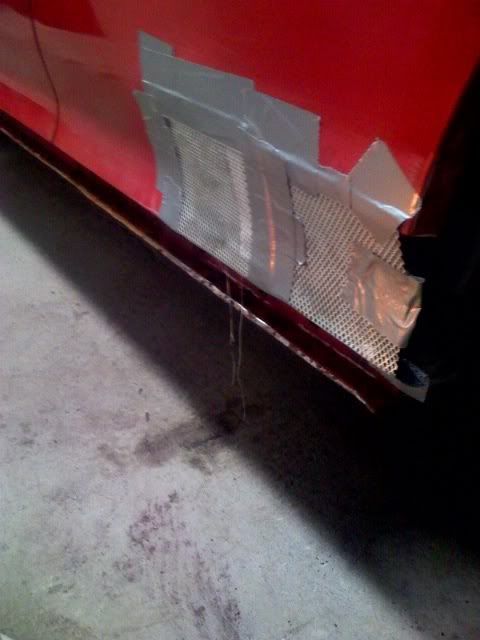
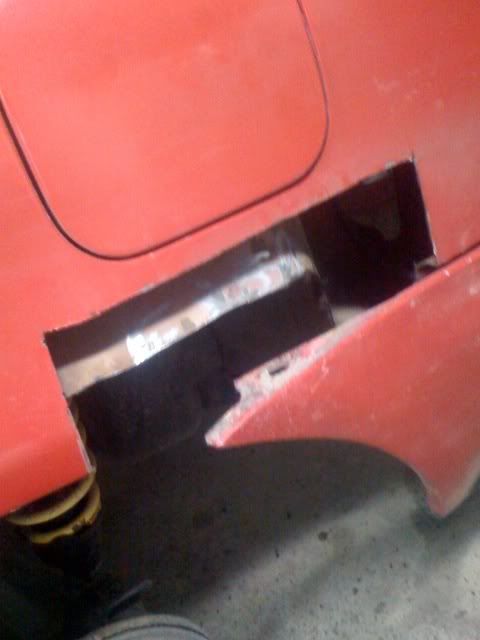
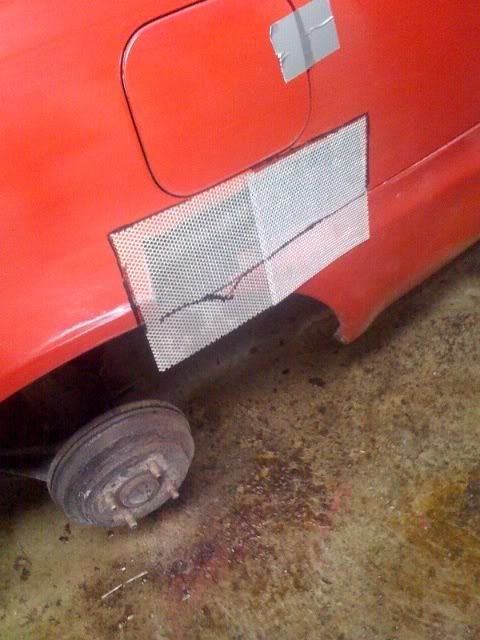
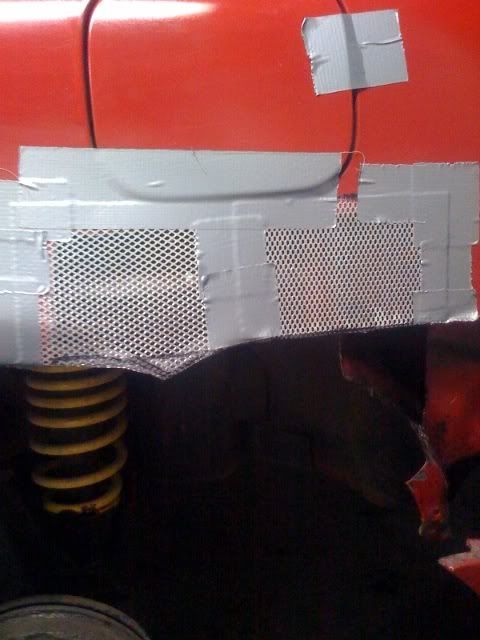
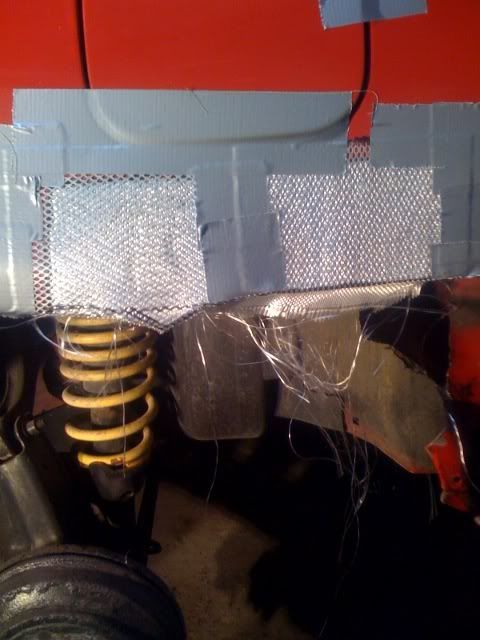
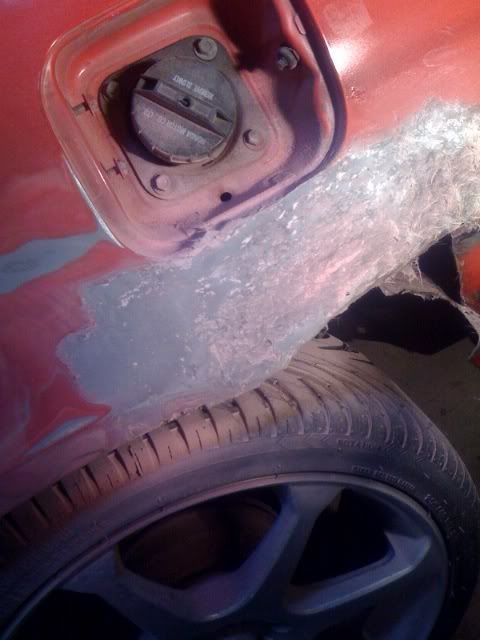
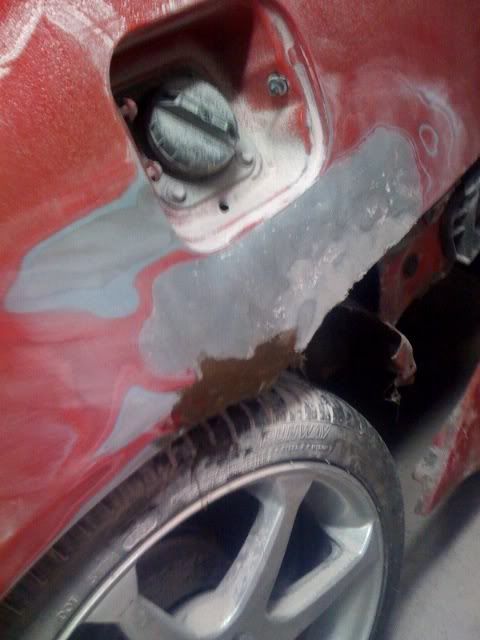
I took my wire wheel on my drill and brushed out all the surface rust that was in the car. I then took these mesh panels that are for patching holes.I put it on the outside of the car in hope that the self adhesive backing would hold it on, but i needed to take the duct tape out anyway. I took fiber glass cloth and cut a piece out to cover the whole i cut out and over lap it by a few inches from the inside. I brushed on the fiberglass resign and waited for it to dry. I did three coats of that adding a new sheet a little bigger then the last time.
Welding in metal would be the best but if your going the glass way you should of cleaned all the rust out of the inner quarter pannel either lightly sand blasting it or using a rice cake wheel. Brushing por15 on the inner and up along the cut edges and letting it dry for 24 hours then scuffing it with something around 320 and applying another coat will prolong the life of the repair
you should have welded in ametal patch. the fiberglass contracts and expands diff from metal so it will crack down the road. in addition to rusting again.
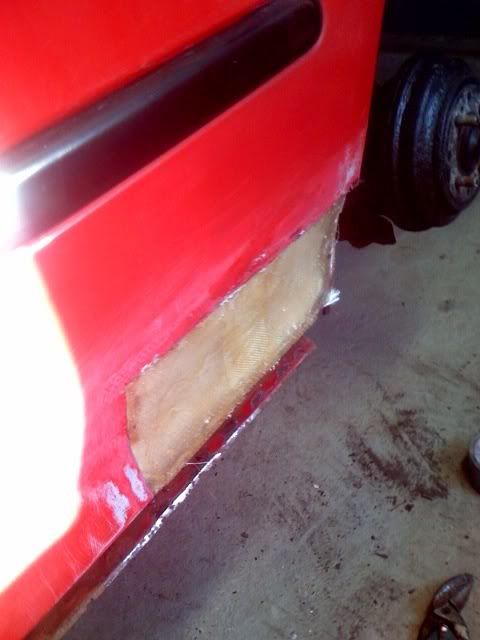
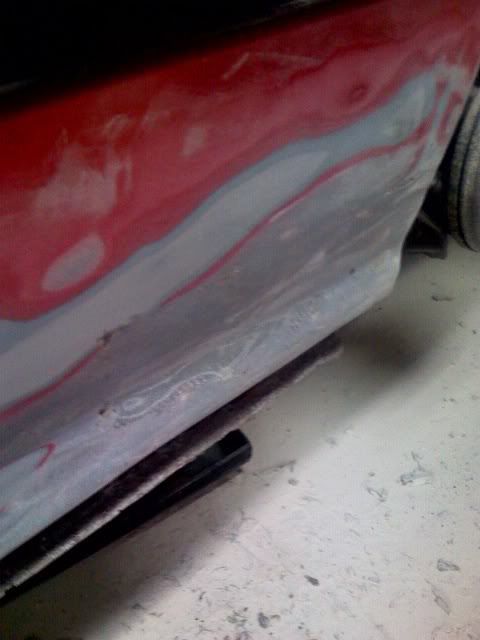
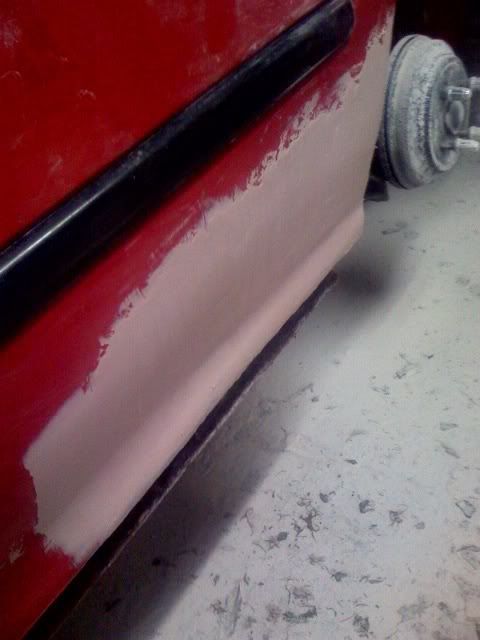
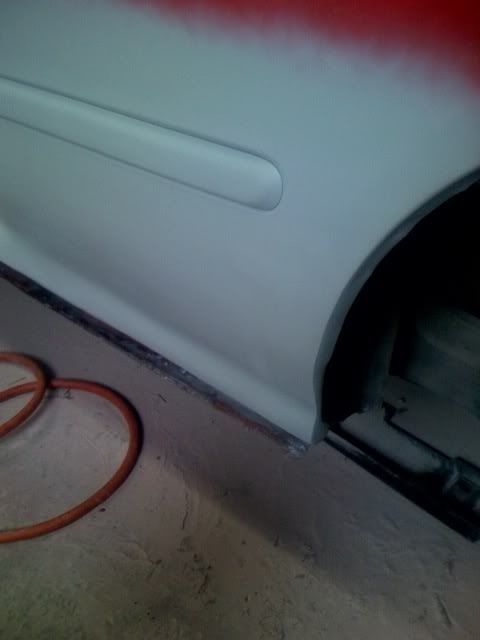
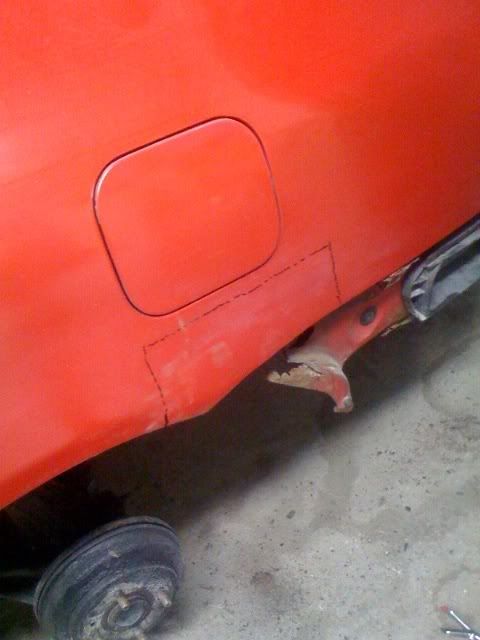
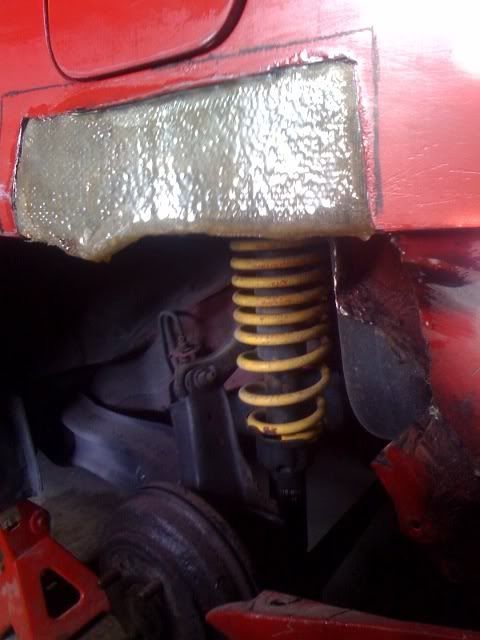
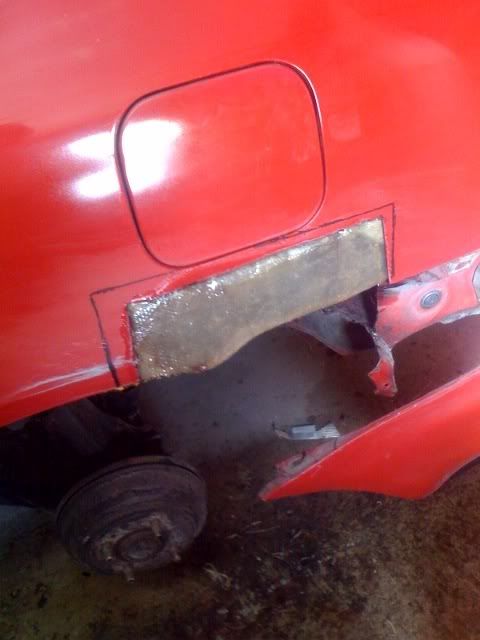
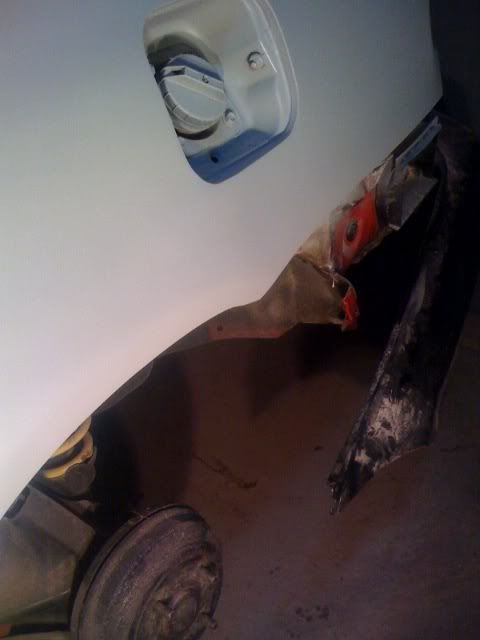
So i finish up the bottom part on the driver side. Sprayed it with filler primer for now.Ill end up spraying the whole car with a epoxy primer when the whole car is ready. So i moved on the the next spot. This spot like the others never had rust come through it just began to bubble under nieth the paint.
who the fuck is gonna listen to u!!?? it’s not like u work for lazare doing there aout body work or anything. besides it’s fiberglass it wont rust and moisture will NEVER get behind it so why prep meatal u can’t see!!.
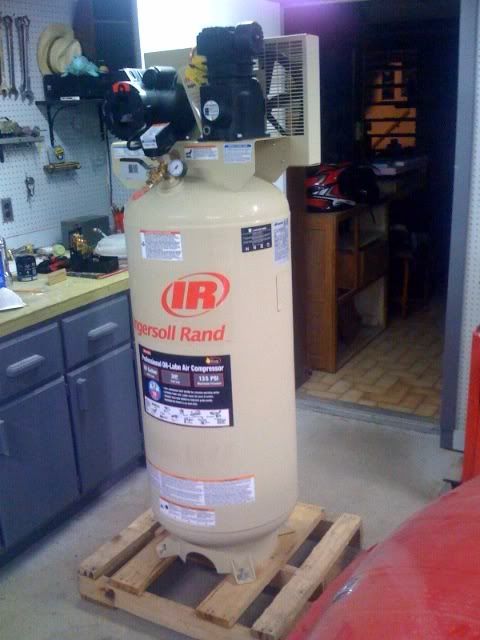
I started out with a tiny ass 25 gallon compressor that i knew wouldn’t last long for me.I got sick of waiting for that thing to try and fill up to keep up with me so i went out, and got myself a new Ingersoll Rand 60 gallon compressor with 11.3 cfm at 90psi. Probally going to be my best investment of this whole build.
After i found a spot to put the compressor i put a coat of tiger hair over the whole, and tried the DA out with the new compressor. Worked great kept up with me sanding and then some.
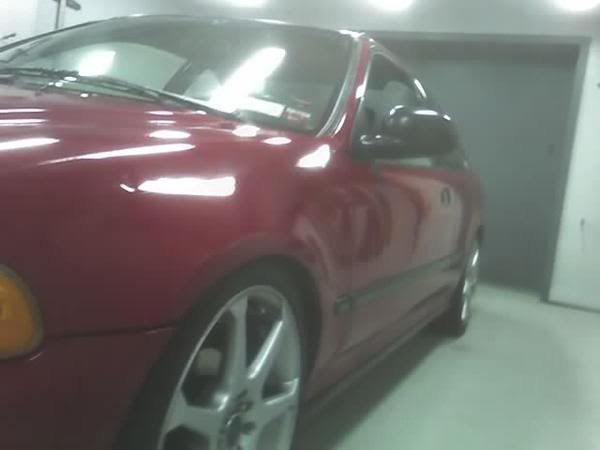
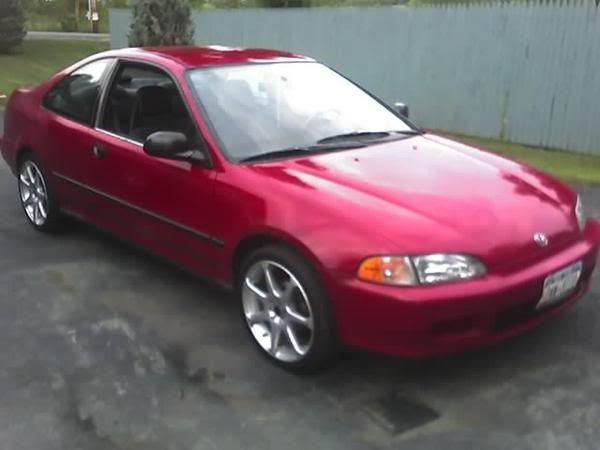
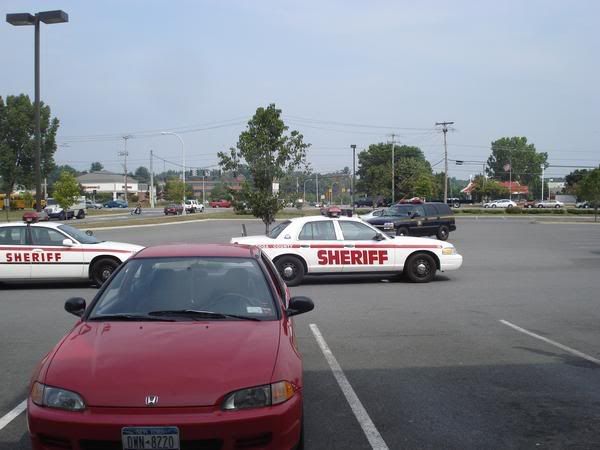
Very nice progress… Did you recently pick this car up or have you had it for a while? Some overall pictures of the car wouldnt hurt the build thread…
Very nice though…
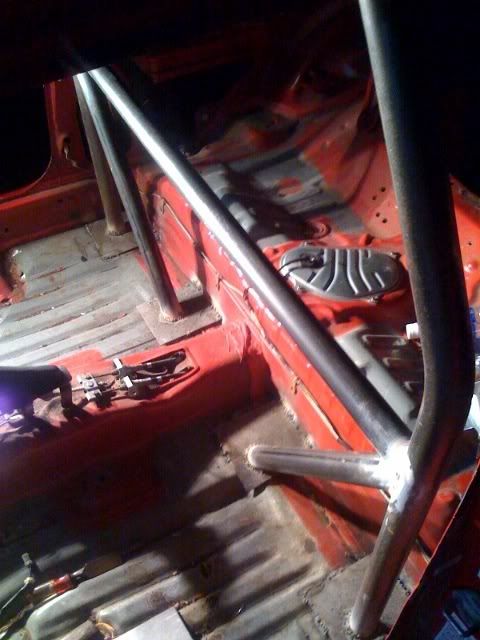
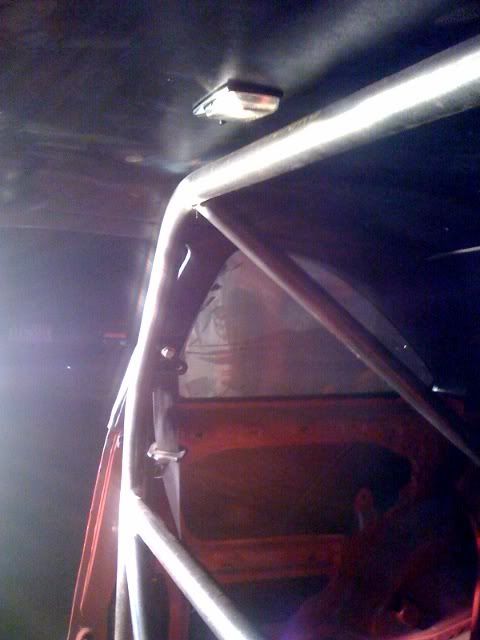
I Welded in the back half of my roll bar in. I didn’t weld in the front bars because i need to get new seats in there before i weld the bars in just in case the seats wont fit in over the bar.