DIY budget paint matching. Lots of pics

This was a small side project that I did while performing other maintenance on my car. Much of the info provided here should be somewhat universal to paint matching other small parts.

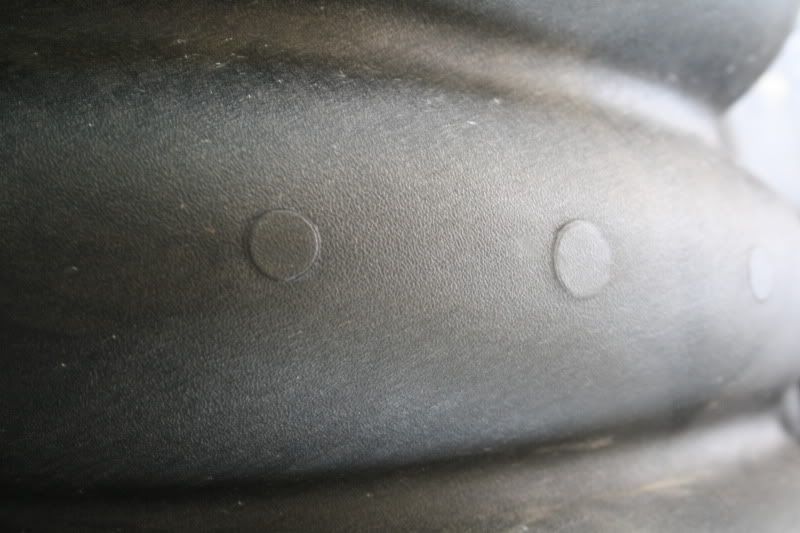
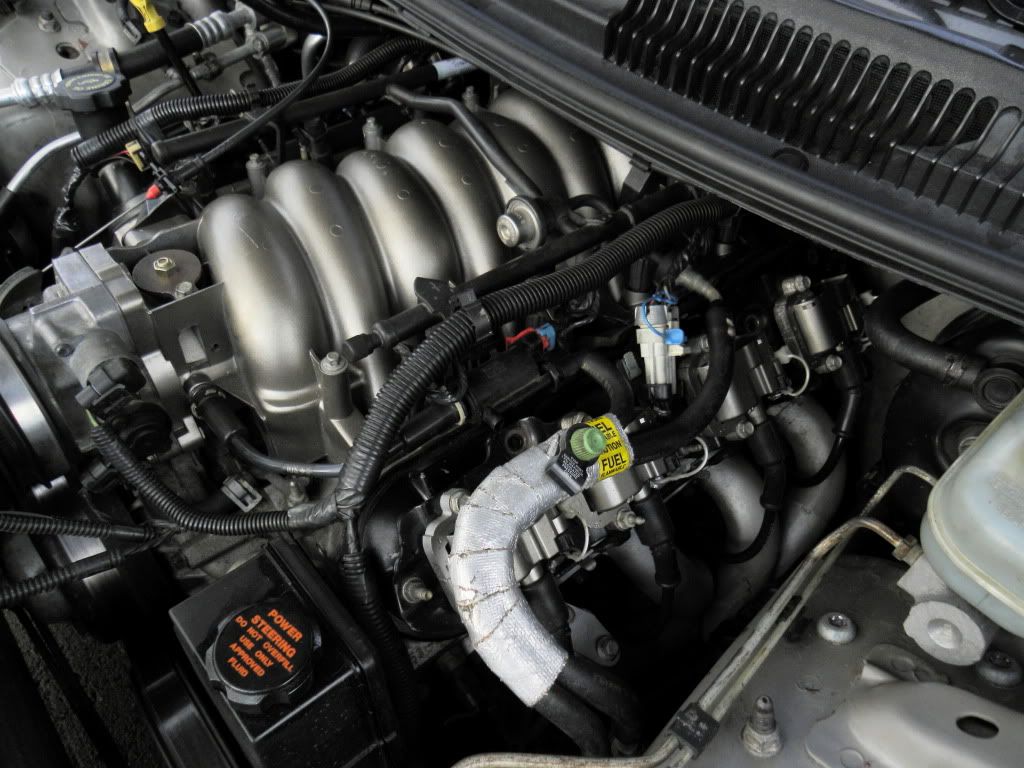
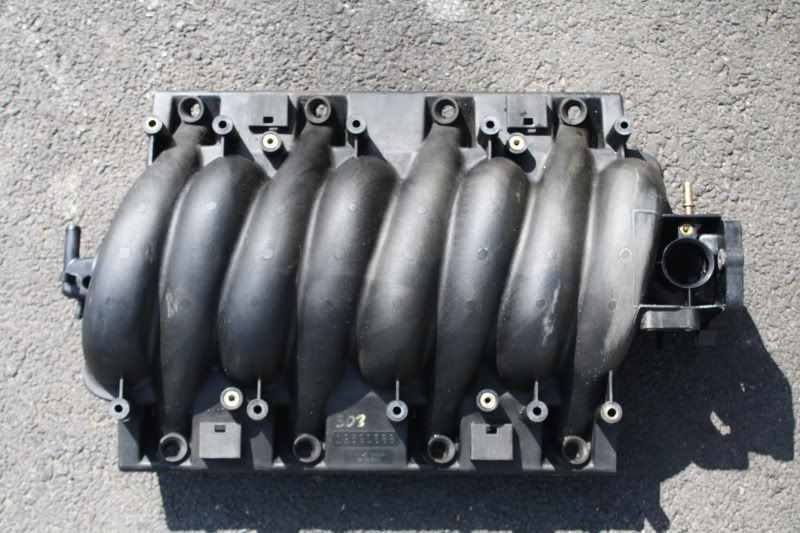
Here is what I started with. The polymer LS1 intake manifold. As cast it has a number of blemishes from the factory and a overall rough finish.

PREP
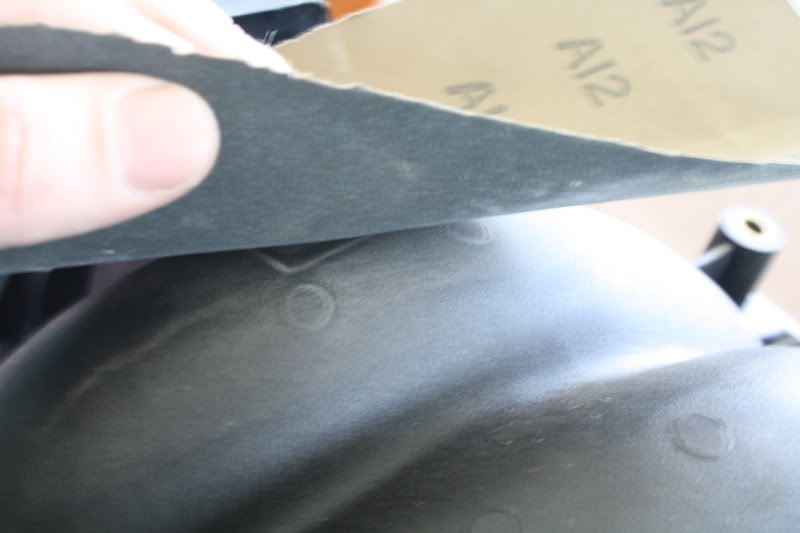
Sanding first with 300grit. Sandpaper clogged up pretty quickly with plastic but a few slaps usually cleared it out enough to conserve some sand paper.

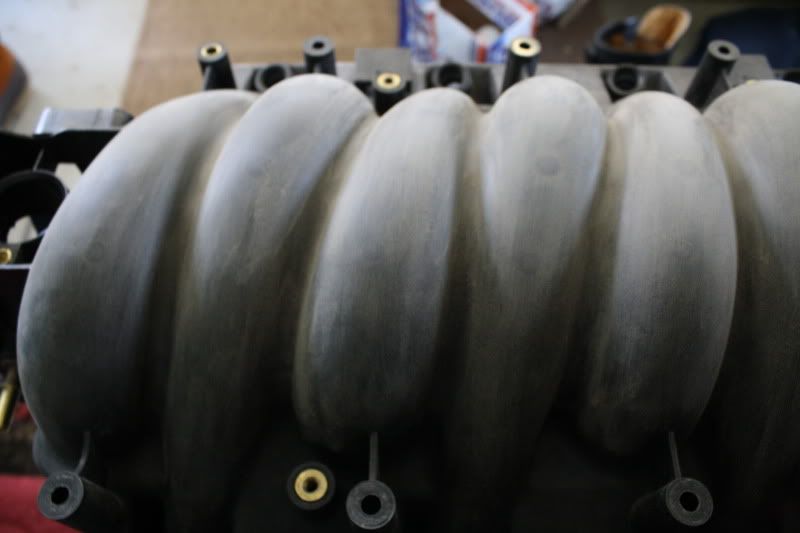
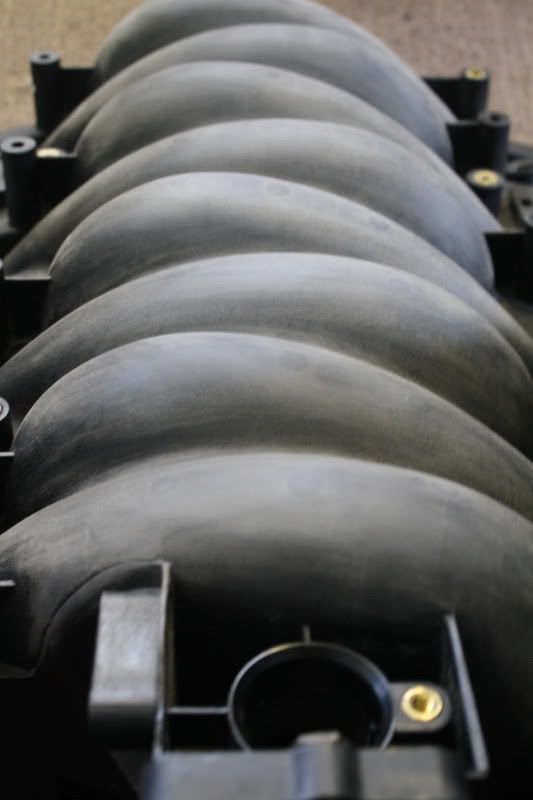
Contiued sanding with 400 and 600 grit. I didn’t go finer than 600 to leave a lot of bite. For the primer.

-Find a well ventilated area because this stuff is overwhelming!
An area that is clean and well lit with plenty of room around your work is also desireable. Keep in mind that most spray products call for temperatures above 60-65* Honestly my location only met the temperature requirement.

Make sure all surfaces are cleaned first with air if a compressor is available and wipe down surfaces with an appropriate wax and grease remover. I used lacquer thinner followed by denatured alcohol.

Tape off vacuum ports, PCV, EVAP, throttle body opening, ect. Anything you don’t want paint in. Threaded holes can be plugged or cleaned out with a tap or bolt later on

Then for may plastic polymer application I used an adhesion promoter (Follow instructions). A few gentle coats will get you a satin finish.
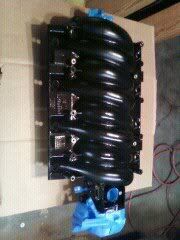
http://i219.photobucket.com/albums/cc107/PontiacGTA0316/98%20Trans%20Am/190073_10150141493391848_512306847_6821099_3266351_n.jpg

PRIMER
With appropriate wait time (read directions on your products) start to apply the primer in light coats first.
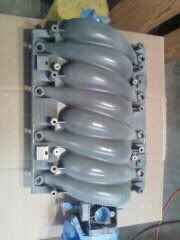
http://i219.photobucket.com/albums/cc107/PontiacGTA0316/98%20Trans%20Am/206916_10150141493851848_512306847_6821107_3127551_n.jpg

Use as many conservative coats as necessary to ensure no sagging or running until surface has a uniform coat of primer. Let coats stand for 10-20min to tack up, or as instructed by product label.
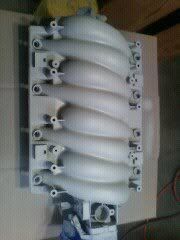
http://i219.photobucket.com/albums/cc107/PontiacGTA0316/98%20Trans%20Am/207653_10150141494036848_512306847_6821112_2765372_n.jpg

You may need to do some sanding to get the primer smooth as a good base for the color. Do not sand through the primer or you will be applying coats to cover damage. Make sure primer is completely dry. I wouldn’t reccomend going to fine with sandpaper here as you still want a bite. I would limit it to 1000grit

COLOR/BASE COAT
Next is the color! Try to have patience just like with the primer. Your ADD will result in poor end product. How do I know you have ADD? Cause other wise you wouldn’t be painting your intake manifold.
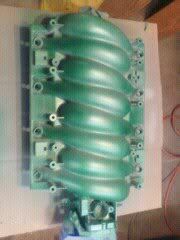
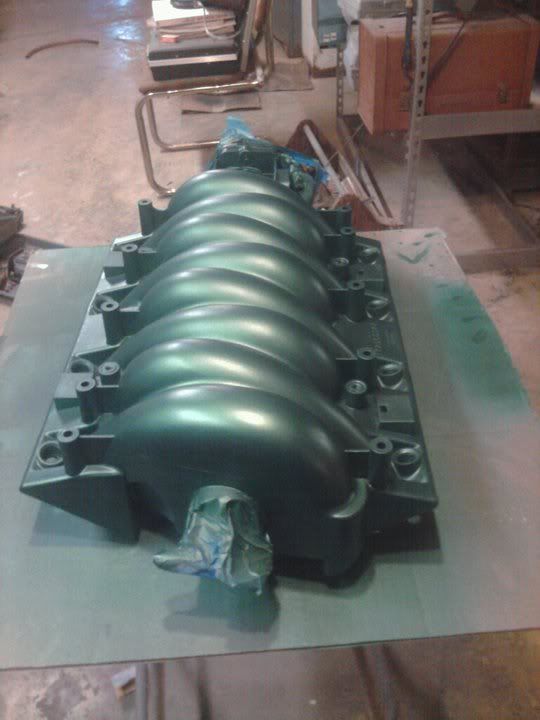
http://i219.photobucket.com/albums/cc107/PontiacGTA0316/98%20Trans%20Am/197552_10150141494281848_512306847_6821117_980303_n.jpg

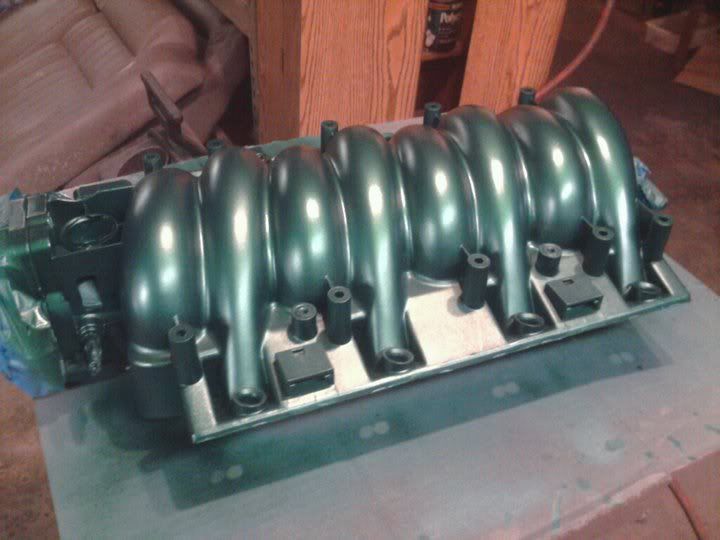
I did a few very light coats to get some extra metallic laying on top for that added bling factor…

CLEAR COAT
As you may have noticed the paint does not have a true gloss shine to it. Don’t panic. This is not a typical spray can gloss enamel. We will need some clear to duplicate the factory finish.
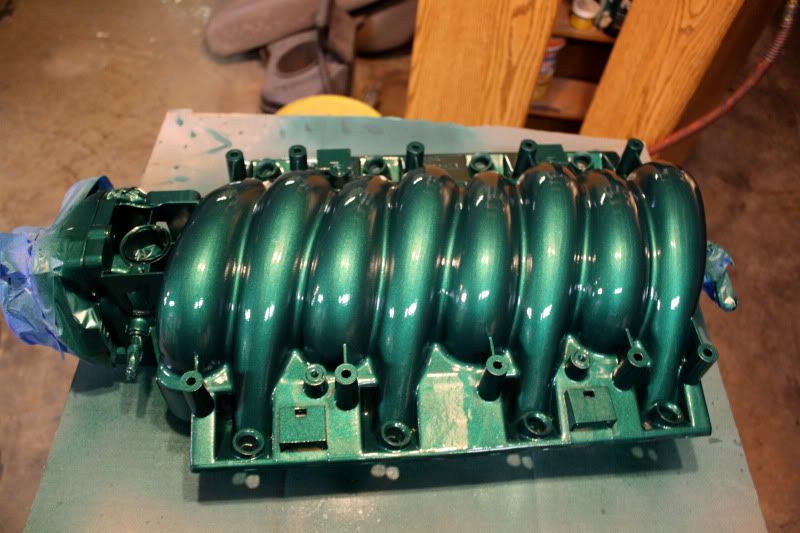
Again, refrain from hosing this down like a back alley rapist with pepper spray. light even coats will get the job done. One last heavy wet coat may be needed to get the gloss you’re after but be careful cause this stuff loves to run.

FINISHED
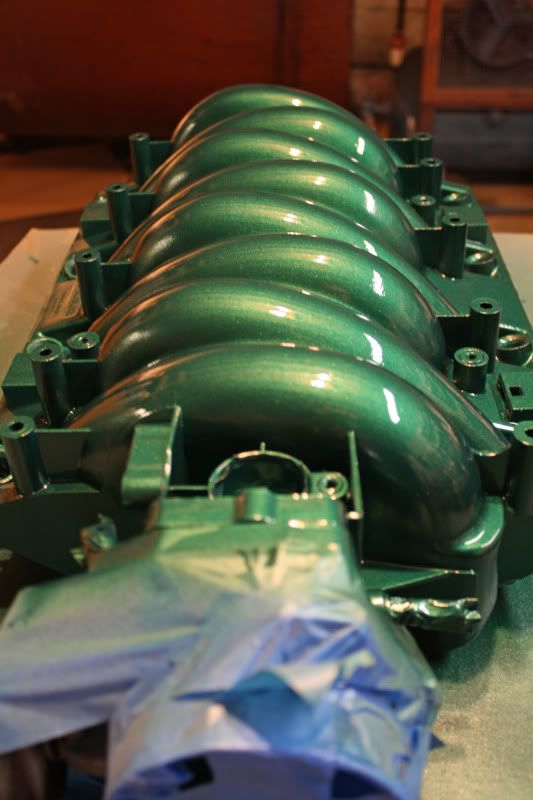
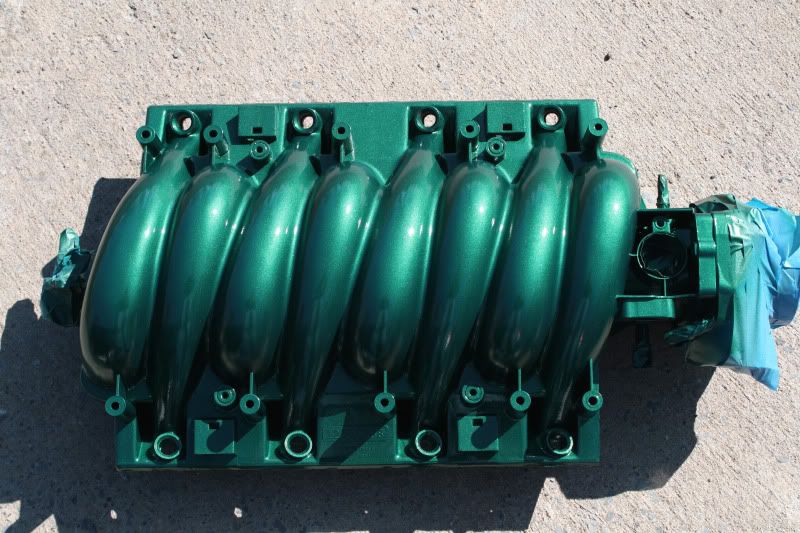
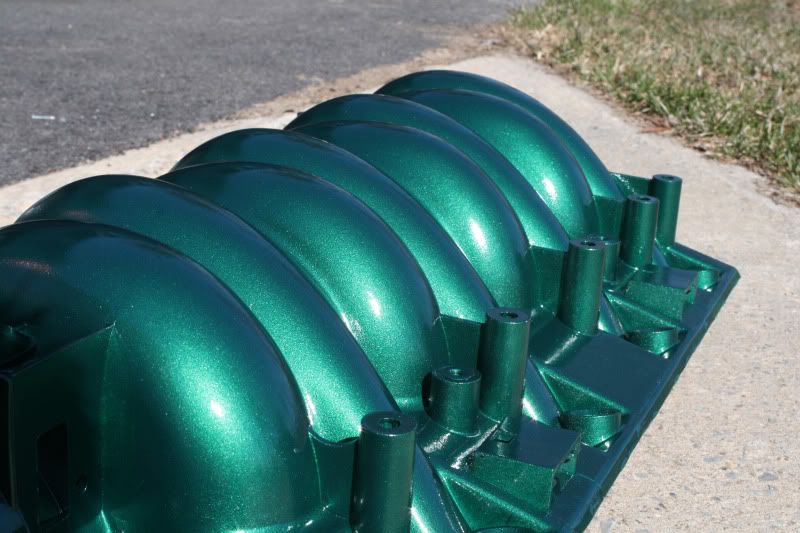
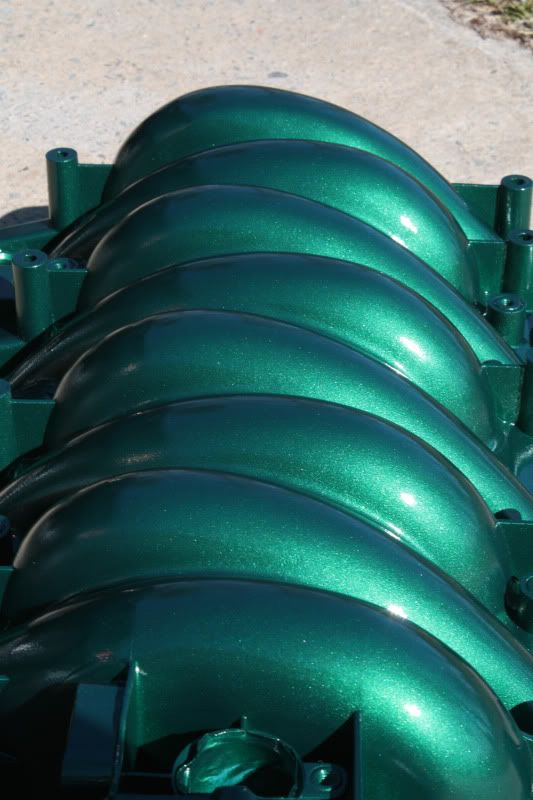
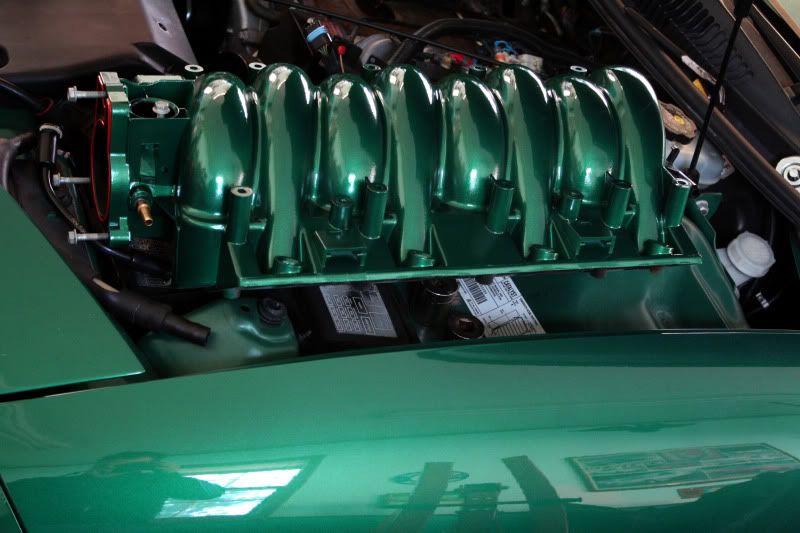
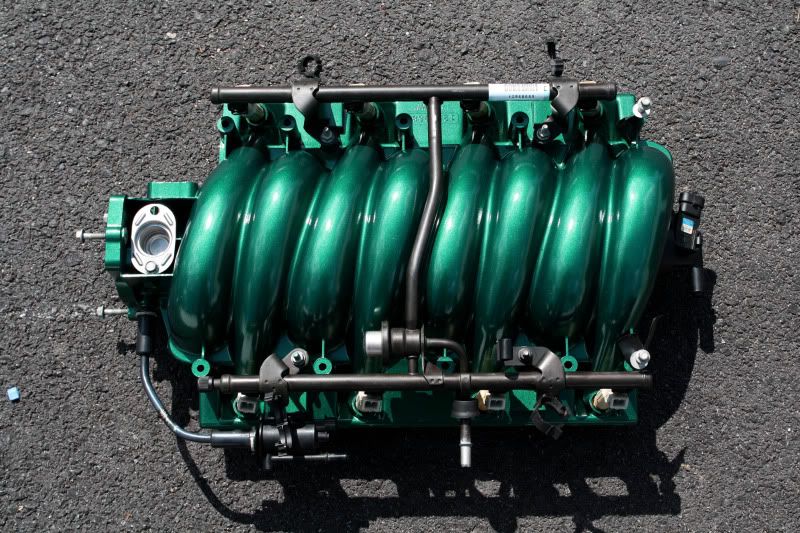
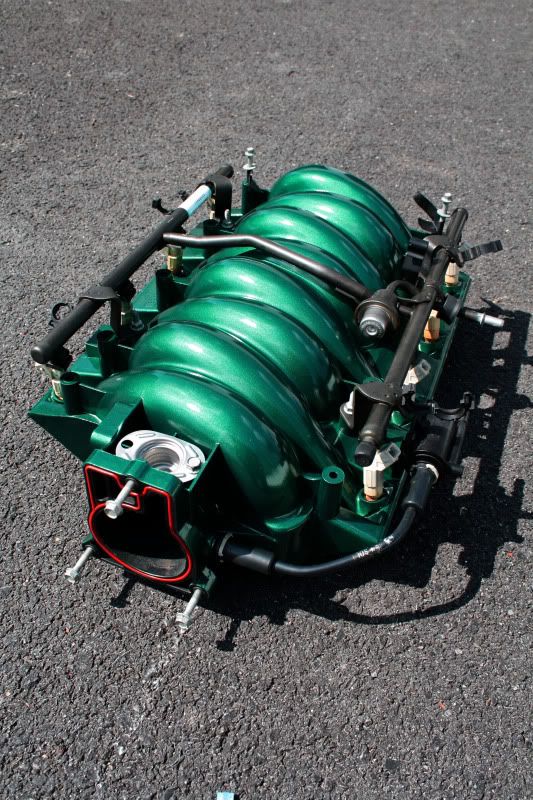
The finished product in sunlight.

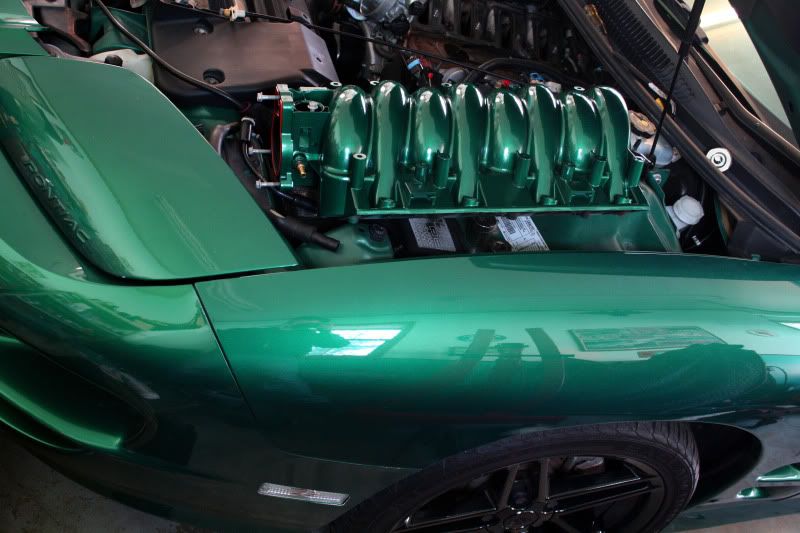
And the ever important match!!!
very nice eoj

Looks good man, Schenectady Auto Body is a good place too. I should really paint my car this year. /pjb

wow! great write up and the end result is baller.

I gotta get a pic with the fuel rail back on. Looks dope… for a GM.

Did come out awesome dude

Looks fresh

great work man!

One thing I would have done to save you a TON of time sanding.

Clean the intake really well like you did, dish soap and water. Once it drys get a can of Prepsall. Spray it on, wash it off, etc. follow the directions. It preps plastic very well for adhesion.

Rough sand the bad spots, like the circle casting marks, big casting lines, etc, then instead of sanding the entire thing smooth, get some high build primer. The automotive grade stuff is tits. it needs a BIG tip/needle to shoot, because its somewhat thick. Once it drys it fills in 200 grit scratches at least. I bet the textured finish on the manifold would take a coat to start, a quick wetsand once it drys, then another coat after that. MAYBE another quick wetsand then primer/sealer, basecoat, clear.

That stuff is a big time saver. Say body filler repairs. Rough shape it with 80, 120, 220 and shoot that stuff over it. It fills in low spots (scratches, pin holes, small dimples) then some 440-600-800 wetsand after that and its glass. Also that high build primer is WAY easier to sand than plastic, or even body filler.

Also like you said about the rattle can clear. That stuff sucks to spray and get true autobody results. WAY too thin out of the can. Shooting true autobody clear from a gun with 2-3 proper coats give it about 2mills more coating, resists running, and keeps from thinning out as bad on the crest of sharp contours. (like an edge, gravity will pull the clear off the peak and run it down each side. even when it doesn’t look like a run, NEVER wetsand or buff a crest like that because it is very thin there, gravity is a bitch!)

Cheap HVLP gun, $20 off ebay, $30 a pint of “panel repair clear coat” and clear hardener. Mix 4:1 or as the directions say to, and shoot it. It costs a bit more than unloading an entire rattle can of clear on a project, and will come out better in the end. (you wont risk runs, orange peel, etc by rushing the rattle can clear coat)

Other than that the end results look like something I would have shot out of my $200 body work guns, with autobody grade materials! Great job!!!

I just wanted to prove it could be done with rattle cans in my poorly ventilated and lit basement. LOL

you took the intake off and didnt switch to a ls6?

solid work

I don’t have $350 to blow on possible gains of 10hp. I had a bad knock sensor to replace. If I want more power I’m gonna go headers or power adder first.

And thank you for all the compliments.

rgr that! Damn good results for $15 in rattle can!!! I am so proud of you. :hug

really nice job. good write up aswell.

paint was about 6 times that Krazy kid, IIRC

Damn looks good

To get the lacquer mixed and then put into the spray can it was $60 but I also have a few ounces they gave me cause it would not fit in the can. The adhesion promoter, primer, and clear coat also in spray cans were approximately $7, $7, and $10.
Its all better quality stuff then I probably could have purchased at Pep Boys or Advance Auto. The clear especially surprised me. Much better than other rattle can clears I have used.

Looks good dude!

Here is one somebody didn’t sand down first. The extra effort goes a long way…

that looks awesome nice work homie!!