I edited my original semi-useless thread into a more useful DIY thread…
I am not a writer by any means so bare with me here. I do hope you find this useful if you want the safety and added structural rigidity of a full 6 point rollcage whether it is a welded in custom, or a direct fit bolt in. A large part of this write-up is making it look good when it’s done by the way of painting and carpeting.
This is a step by step, write up of my bolt-in 6pt roll cage install on a 1g DSM. These methods can be applied to any uni-body chassis car. After some research on what I can and can’t cut into, I decided to go for it.
First thing was to strip out almost all of the interior pieces minus the dashboard. I opted to take out everything including the carpet because my interior was in dire need of an overhaul. Most of us, depending on cage design, could just get away with taking out the seats and the larger interior trim pieces, in order to get the cage in the car.
Next I planned how and where the cage would be mounted in the car and plotted a mark about where each point should mount to the chassis.
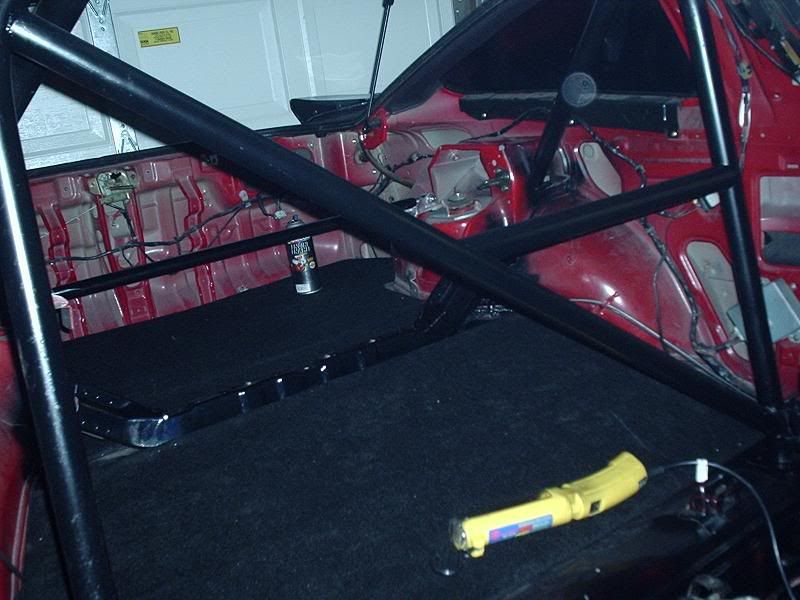
Then the test fit. I had to do some trimming of the rear trunk barrier over the strut towers to get my rear mounting points to line up. I cut as little as possible (even though this is not a key part of the structure) to keep it clean looking.
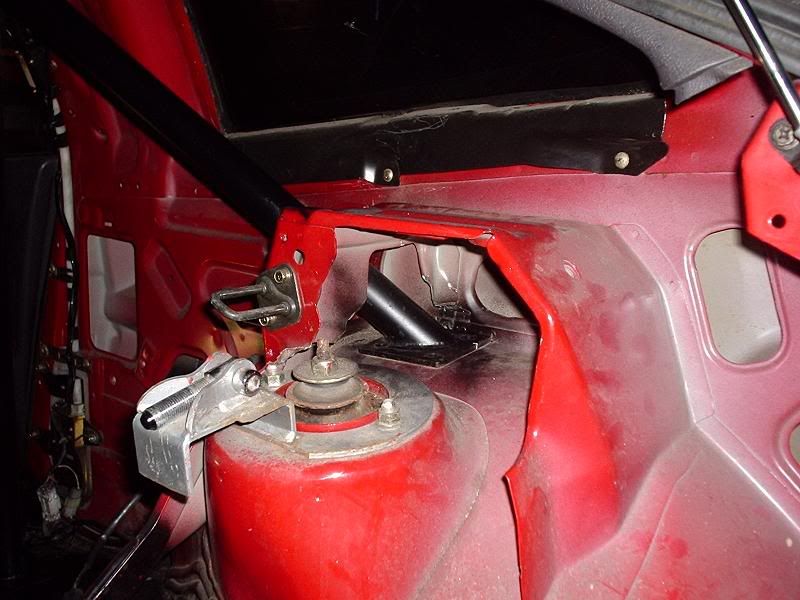
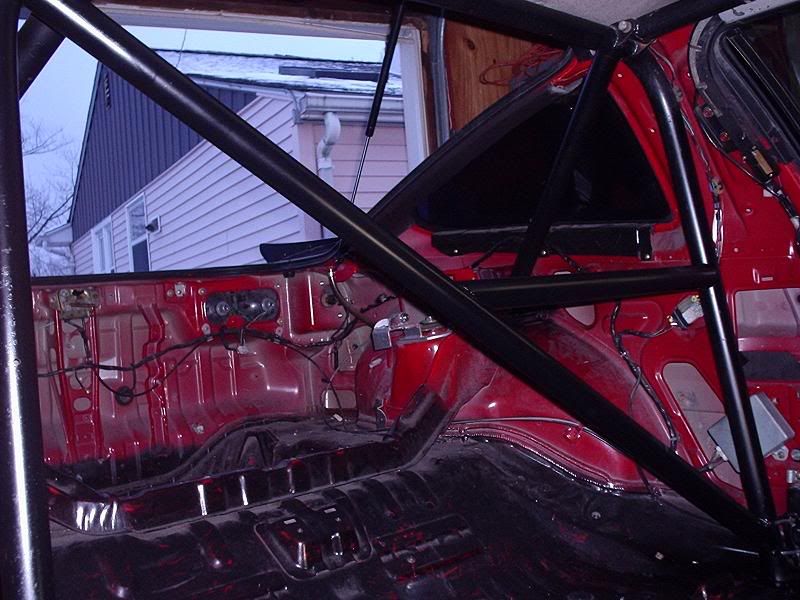
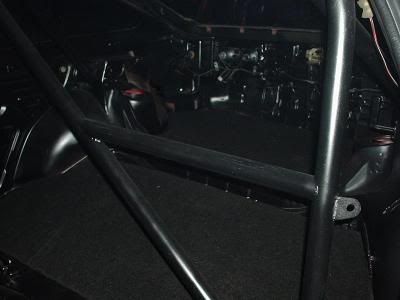
After this was done I could see how the rear section was going to fit and made slight adjustments to make it straight and symmetrical with the body. It is important to get all of the mounting points in exactly the same spot on their opposing side for strength and rigidity, amongst other things. KEY WORD = measure. After that was done I marked all of the points of installation with a paint marker and started on the side bars. They were a little tricky to manuver in, but I finally got them. I bolted these to the rear portion and the front roof support so the cage was complete. Then I went back to the rear section, made sure everything was still on the marks that I painted, and marked the front points.
So now the cage is in the car but not bolted in… but everything is measured and marked to be symmetrical.
I triple checked my measurements, made sure all of my bolt holes were marked and proceeded to take the thing apart, and got my drill ready. With the cage out of the car, I used a template for the bolt pattern, along with my paint marks as a guide for drilling. Before I started drilling, I checked for brake, fuel lines, or anything that I wouldn’t want a cobalt drill bit going through underneath the car. I actually had a clearance problem with the rear point’s but I just went from underneath and it came out fine.
Now, I have ugly holes in my car and my interior looks like sh1t because most of my interior panels won’t fit with the cage in place. To make matters worse…my car used to be red, so there is this ugly red blotchy mess in the back of my car. Not that I am trying to win a car show here, but that looks like ass. So let’s make some DIY carpeting and floor panels.
I bought some cheap (lightweight) carpet, some black Rust-Tough paint, and some 3M spray adhesive through my NAPA store. Next stop was Home Depot Motors to get some 1/2" thick home insulation panels for the ugly spare tire well, and rear seat gap. I got an assortment of sizes for my project. The reason I decided to use this stuff is because it can be cut easily, and it’s very lightweight. I could write a whole DIY just on how to do this, but to keep it brief…Cut and paste. You get my point…
Here is the floor carpeting mostly done, which was just a matter of laying the whole pice of carpet in the car after sanding and painting the floor. Then I simply cut away what I didn’t need. A lot of spray adhesive was used here to keep it on the floor.
Now, to get the rear floor panels to fit. This was a game of trial and error. I figured that it wouldn’t be perfect so I just cut and checked it a few times until I had a good fit. The actual carpeting was fairly easy. Some spray glue, and staples go a long way here. This is the backside of one of my panels.

as I learned, cutting the carpet properly and getting it “tight” on the panel is key. I used very liberal amounts of spray glue to ensure a good bond.
This is how they look in the car with carpeting.
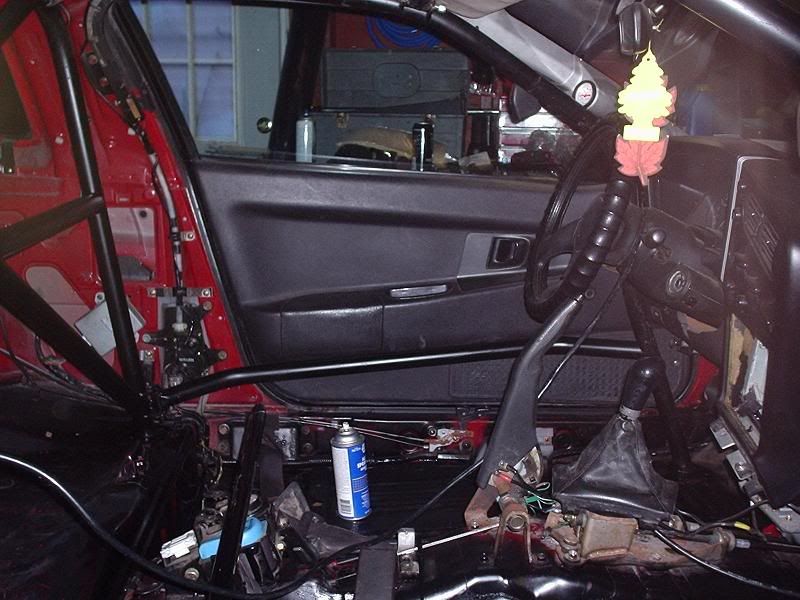
I now have to do something about that nasty red crap and all the dangling wires. I did not want to reinstall all of the heavy plastic molding so I decided to paint it black. First I took all of the nice fresh carpet panels in back out, then all the random clips out that hold wires in place, and unbolted all of the now useless metal brackets and such. Then the windows were masked off, and the weather-stripping was removed. I sanded for about 4 hours straight, then vaccumed all the dust up and primed it w/black primer. I made sure to get in all of the cracks, crevices, and holes. Then I rattle canned it semi-gloss black, cleaned up the wiring a little, and I have to admit, it came out pretty damn good.
I learned from prior experience that prep-work is the key for painting. Even a spray can job can look good for years if you prepare the surface properly.
After this, I bolted the rear portion (4pts) down with the supplied grade 8 hardware. I also put silicone on the plates that the bolts go through under the car in order to prevent water from coming up and drenching that nice new carpeting job.
As of yet, I don’t have everything finished but the hard part is done. I just need seats, some touchups to the carpeting and some padding for the cage. More pics to come!

