Your mission, if you choose to accept, is to wet sand and polish your faded, hazey tail lamps. Some of you may call them “tail lights” and some of you may be under the influence to refer to them as your “tails.”
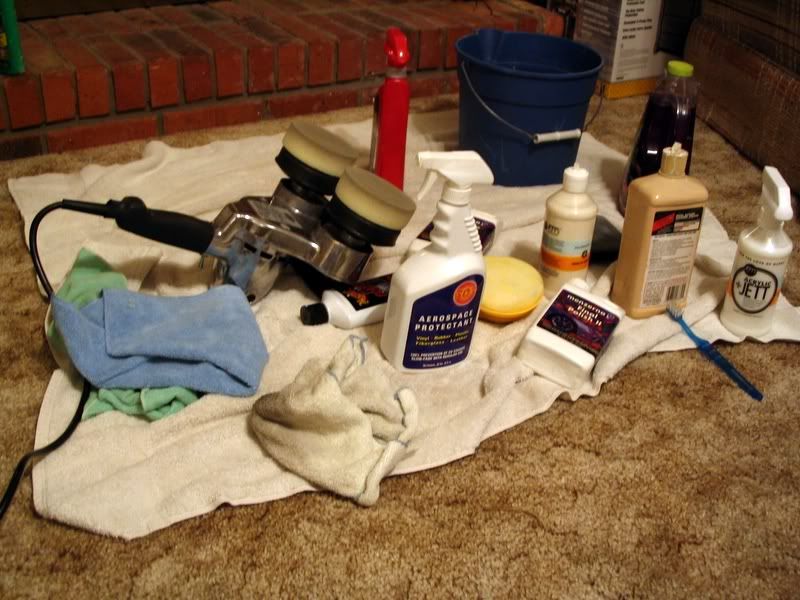
What you need:
>hazy/scratched tail lights
>bucket
>car wash soap
>nylon brush (you may call this a tooth brush)
>wetsanding paper (1500 grit/2000 grit…2000 should suffice if you don’t >have very deep scratches, plus it’s so much easier to buff out than 1500)
sanding block. Urban paint has it in NT. I like Urban Paint. They’ve done business with my grandfather for 50 years.
>medium paint polish (Meguiars Dual Action Polish Cleaner #83–carquest maybe, Mother’s Power Polish–Pepboys, certaim 3m polishes which I’m not really familiar with–urban paint on oliver in NT, Mezerna Intensive polish–various online places AND I love this polish)
>milder polish (various pre-wax polishes including mothers, meguiars, s100–harley davidson store, Mezerna Final Polish II–I <3 this as well)
>few applications
>few microfiber towels
>spray bottle
>water (it’s this stuff that comes out of a faucet, which is a shiney thing with knobs. you turn a knob and you get the type of water you want. hot and cold. really neat.)
>wax/sealant. I used Jeff’s Werkstatt Prime and Acrylic Jett because they’re very durable and look great.

Some people say to use metal polish. Or “aluminium” polish. I tried it once. I tried a little this time. It doesn’t work well, and I suspect that the solvents in it create the illusion that the wetsanding marks are being taken out. I advise against using metal polish (okay and for that matter–Noxon is terrible and should die a horrible death). Anyway.
-
Soak the paper in a bucket of soapy water for 20 minutes. The soap is lubricating and I like the luxurious foam bubbles it creats.


-
So my advice is to clean them first. Then use a light polish and see where you are after that. If you have just haze and not many scratches, it’s probably not worth the effort to wetsand. You can get rid of the oxidation by polishing alone. If you’re not confident in your polishing abilities, don’t wetsand. Of course, if you can’t polish out the wetsanding marks I’ll point and laugh and then help you. tpgsr can also help. I’m sure there are other members that can help.
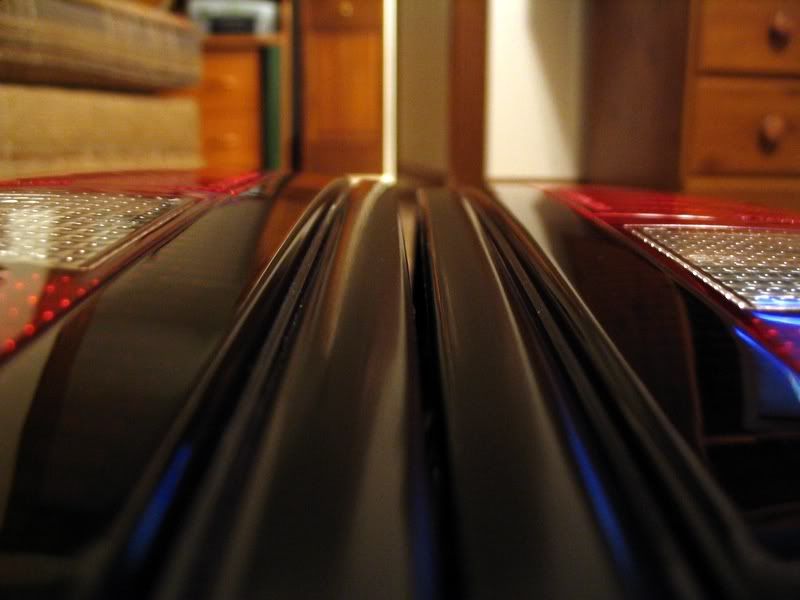
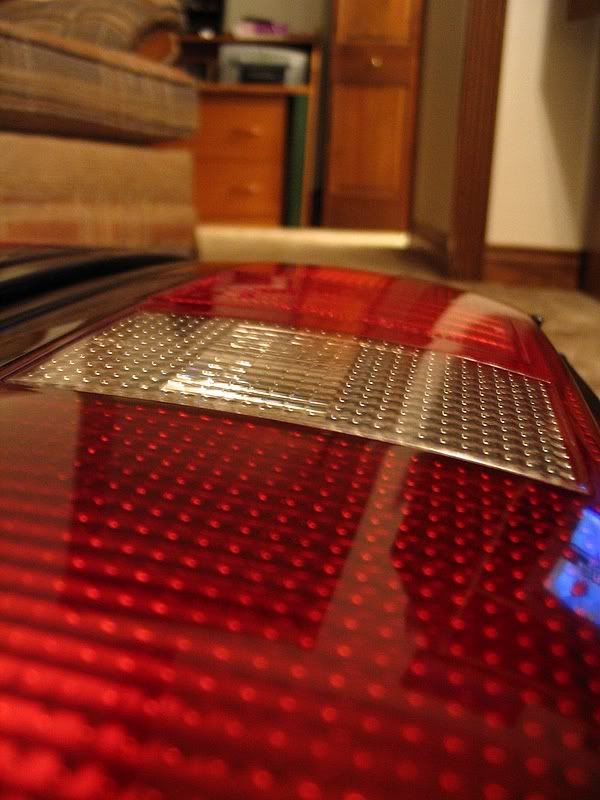
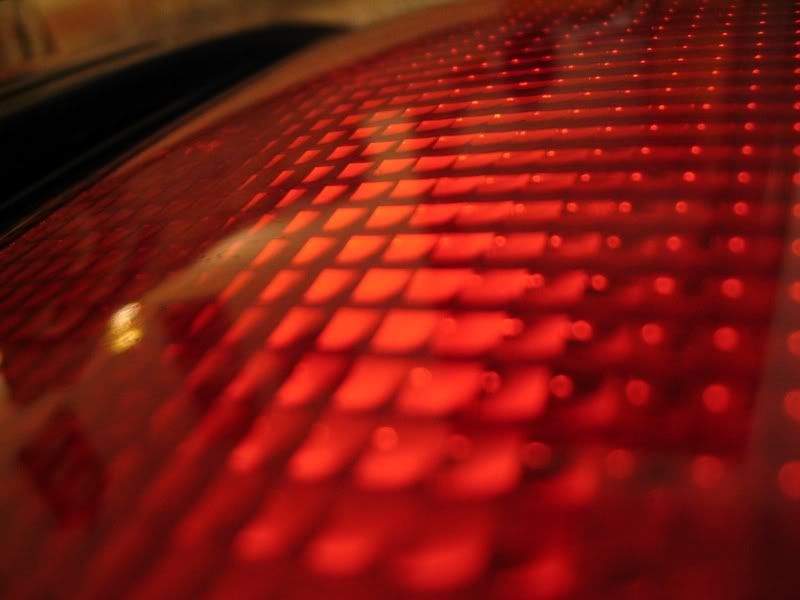
This is what they looked like before. They weren’t that bad. I’ve seen worse.


- So now you have to wetsand. Take your pretty strip of paper and put it on the pretty sanding block. I like sanding blocks. They’re easier to use than just paper. They help to provide even pressure, so you don’t get high and low spots.
Fill the spray bottle with water and add some soap. Please don’t add the soap and then the water. You’ll get that luxurious foam and not soap water. You can shake it up after.
Spray the tail light. Get it juicy wet. This lubricates. You don’t want to sand dry. Not a good idea.
And now you must sand. Linear motions. Not circles. If you want to polish out small circles, be my guest. They’re a royal pain to polish out and I wish you good luck. You can go the long way a few times, and the short way a few times. Just make sure you’re even. You don’t have to sand much, just enough to get the scratches down (you’ll likely not get them all out, and it’s not a good idea to try to get deeper ones out). Keep applying the soapy water as it dries out. Keep a wet edge.
Voila. You just wet sanded.
- Now you must polish. This is pretty simple. If you are doing it by hand it’s going to be something else, and you may need a more agressive polish to start. If you are doing it by machine take extra care with how much heat is being produced by the friction of the pad against the tail light. Plastic cannot tolerate the same amount of heat that paint on a car can, so you don’t want to end up with convoluted tails. Just keep the pad moving.

I initially polished with my rotary polisher and then went to my cyclo. I love my cyclo wyclo. Dual head. :headbang:
-
wax! And continue to wax them. Don’t let them get this way again!
-
use the teeths brush to get any residual wax/polish out of the crevices. It’s a bit tedious. Dip the brush in the bucket of water and it should be a bit easier. It helps with the raised lettering, too.
Ding.
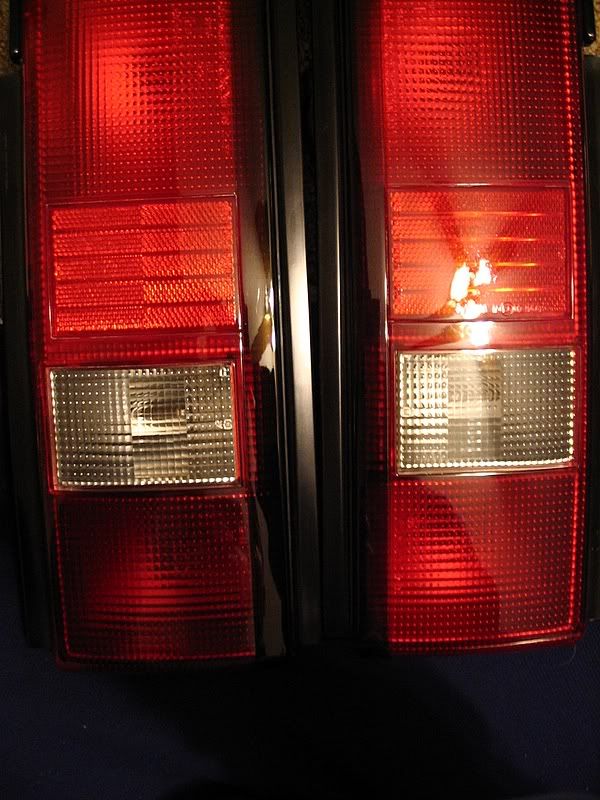
right: wetsanded. left: wetsanded & polished


finished product:


I cleaned the backs up a bit. 303 aerospace protectant wooo.
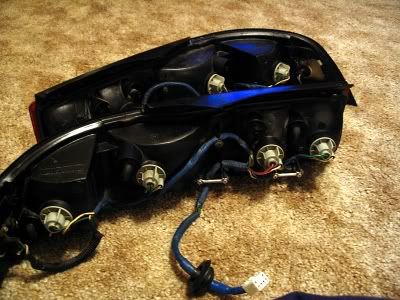
aftermath: