DIY: Headlight Restoration

So I figured I’d throw this DIY up on here, as I feel most of you guys could benefit from it.

I like this DIY method much better than any kit you can find because unlike restoration kits, this method restores the UV coating that comes from the factory. For those of you that have ever buffed and polished old headlights, you’ve noticed that after a year it gets worse and you have to redo them. This method will save you that trouble.

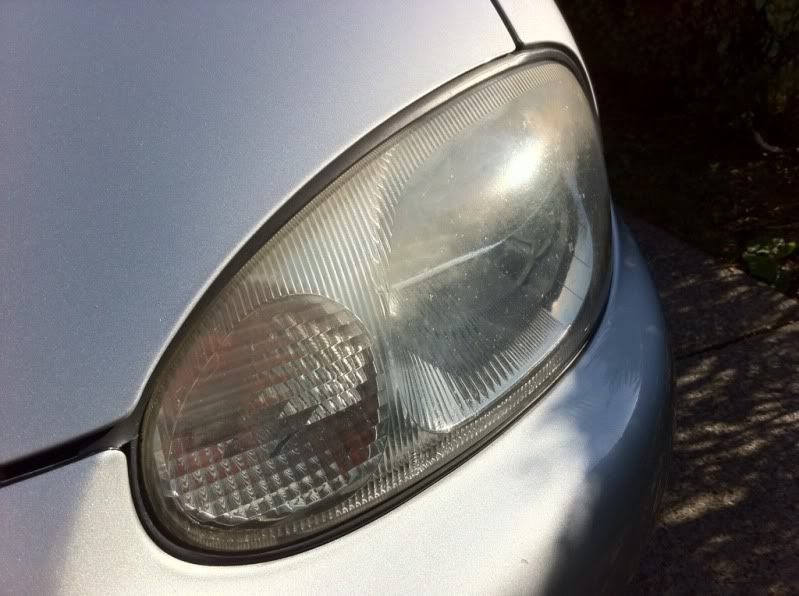
Following these steps, you can go from this (Oxidized, hazy, unsafe):

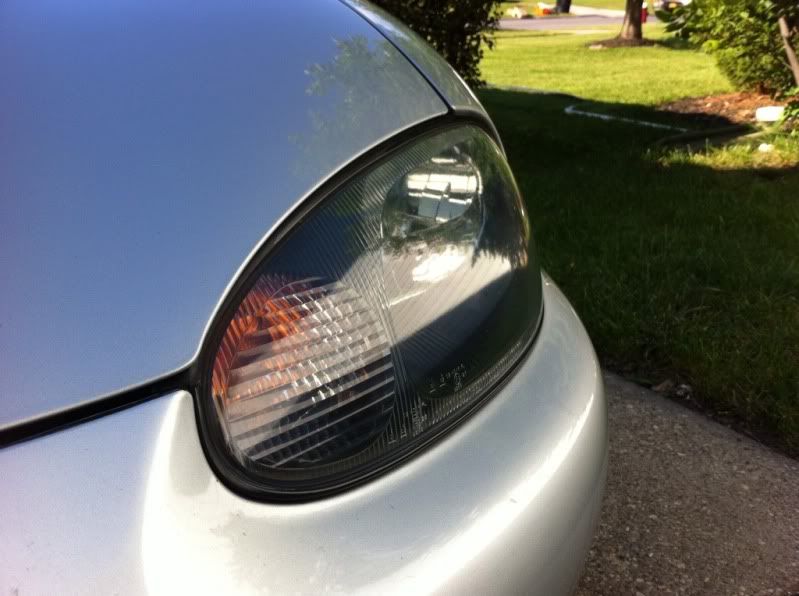
To this (clear, polished and bright):

To begin, you’re going to need a few supplies.

-Wet Sand Paper 500/800/1000/1500/2000
http://www.detailsupplyonline.com/images/sandpaper.jpg

-Random Orbital Buffer (Or some really strong hands/fingers)
http://desmond.imageshack.us/Himg527/scaled.php?server=527&filename=buffml4.jpg&res=landing

-Polishing compound for plastics
http://ecx.images-amazon.com/images/I/412bRIbTuVL.SL500_AA300.jpg

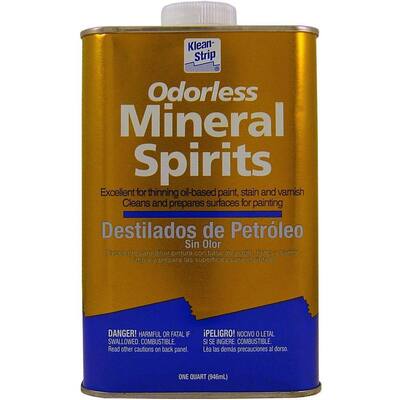
-Mineral Spirits (smallest container you can get at Lowes)
http://www.homedepot.com/catalog/productImages/400/bb/bb3bcdc5-7b2a-4c32-8a63-42f414e6280e_400.jpg

-Helmsman Spar Urethane - Clear Gloss

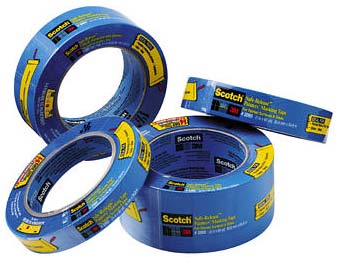
-Painter tape (if you going to do this with you headlights still on your car)
http://www.westernwooddoctor.com/images/img_4_blue_tapes.jpg

-Shop rags (incase of any spills)
http://screamingeagleairsoft.com/images/100_cotton_red_shop_towels.jpg

-Scott Blue Rags
http://www.oppictures.com/singleimages/400/138490.JPG

Now that you have all your supplies, you’re ready to start.

Step 1:
Begin wet sanding your headlights, starting with the 500 grit and working progressively up to the 2000 grit. Be sure to clean the headlight in between grits to clean any residue and grime. I used Windex as a lubricant instead of water, as it dried quick and was easy to spray.

Step 2:
Once you have wetsanded your headlights with the 2000 grit paper, you’re ready to buff the headlights with the rubbing compound. This will give your headlight lenses a nice surface. If you’re using the random orbital buffer, be sure to keep even pressure across the headlight.

Step 3:
Clean you headlights with the mineral spirits using a Scott towel. Do not touch the lense after doing this as it needs to be oil free.

Step 4:
This is the step that sets this process apart from other products.

In a mixing cup/red solo cup, mix 2oz of Spar Urethane with 2oz Mineral Spirits. Mix well until both liquids are combined completely.

Using a Scott towel, fold the towel into a small square and dip the towel into the mineral spirit/urethane mix. Do not over saturate the towel.

With the saturated towel, carefully and slowly apply the mixture to the lense of the headlight. Be sure to evenly distribute the mixture over the entire lense. Any drips can be cleaned up with mineral spirits, and if you apply too much simply wipe away with the mineral spirits and apply the mixture again.

Why use the Spar Urethane? It has a UV coating that, when reduced with mineral spirits, will give your headlights a UV resistant (factory) coating, as well as a tough/glossy finish.

From what I have read, this finish will last up 3-4 years with regular driving before needing refinishing (mineral spirits and reapply the mixture).

I’m very happy with the results and hope that you guys give it a try, it’s worth it!

Thanks guys,

Chris

Nice write-up, I’ll have to try this on my Prizm…er wait, maybe in the future when I have a car worth doing this to.

I plan on doing it to my Prizm, I have the materials still and it was really easy.

Nice. My mom’s car needs this BAD.

If you saw my Prizm you would understand lol.

You clever, or cleaver, son of a bitch. SPAR huh…? I like that idea.

Looks awesome too!

Here is a DIY I did on my Cluster: http://www.nyspeed.com/showthread.php?82303-DIY-Removing-scratches-in-your-guage-cluster

Nice, I will add my taillight resto to this thread also:
http://www.celicasupra.com/forums/showthread.php?63178-Taillight-Restoration

Great write up.

I just found my weekend project…

Very good write up :tup:

very nice DIY, my current car doesnt need this but on my next one that does ill be sure to look this up :tup:

Motocrossx23 , I know you’re a highly respected member of this forum, Your intelligence goes far beyond that of most… but could you please put an “r” at then end of every “you” that needs it? Pa Pa Pa Please???

Step 1:
Begin wet sanding youR headlights, starting with the 500 grit and working progressively up to the 2000 grit. Be sure to clean the headlight in between grits to clean any residue and grime. I used Windex as a lubricant instead of water, as it dried quick and was easy to spray. (very good point)

Step 2:
Once you have wetsanded youR headlights with the 2000 grit paper, you’re ready to buff the headlights with the rubbing compound. This will give your headlight lenses a nice surface. If you’re using the random orbital buffer, be sure to keep even pressure across the headlight.

Worst grammar nazi shit ass bump ever twisted noodle, you fggt.

I’m not quite sure why I didn’t catch that. Sorry that it bugs you that much?

still have extra supplies? come help me do mine! they are Tuuurrrrable.

http://i285.photobucket.com/albums/ll48/xx7mychem7xx/Movies/RINGER.jpg

JK

mine are getting bad on my 05 civic. we should have a meet for this

meh i have done 9 vehicles on my street in the last 6 years and only one of them have returned to the faded look (an F150), all the rest still look great! Last step is not required but if you have the supplies laying around go for it! And fyi the kits from autozone/walmart DO NOT WORK!

Buffer and rubbing compound, takes 5 mins and looks brand new. Nice write up though.

I second the motion, 19 post, vs. almost 6k? EAD.