Thought i’d post some info on my jetski reinforcing/build thread. I don’t have all the pics available yet, but i’ll add them when they are available…
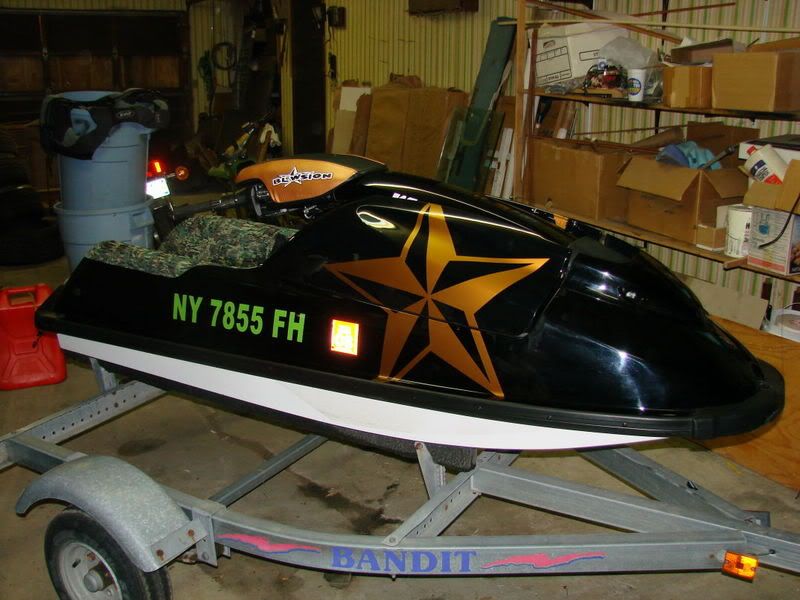
This is how the hull looked returned from the dealers. They are giving me 200 for materials and pulling the motor out for me under warranty. I did not trust them to do the labor on the hull build. At this point, the footwells have been installed, but the pictures are elsewhere… that was quite a task in itself…
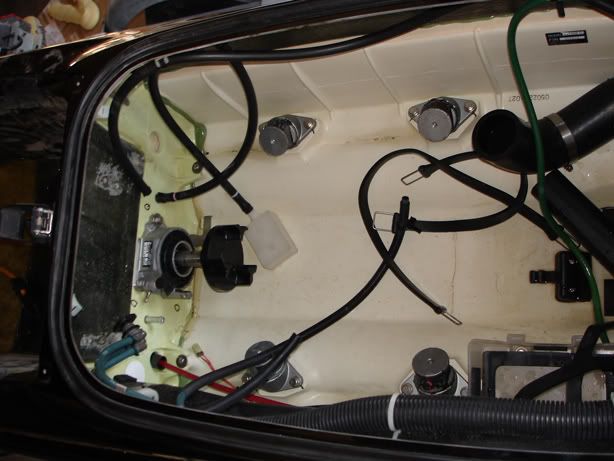
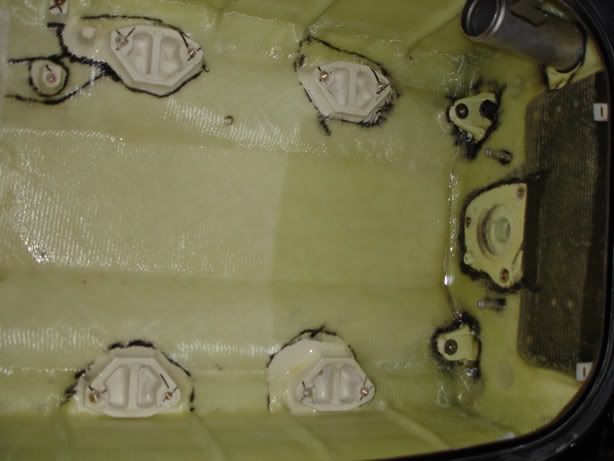
With the remaining parts stripped out.

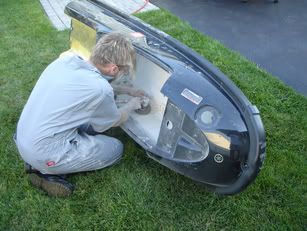
sanding the hull to remove mold release and promote adhesion
filling in cracks with foam… it was this crazy 2 part foam… pretty sweet stuff… expands like 20x in secconds…
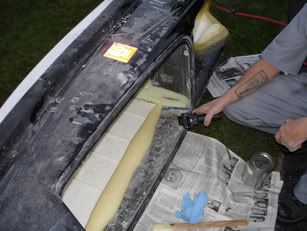
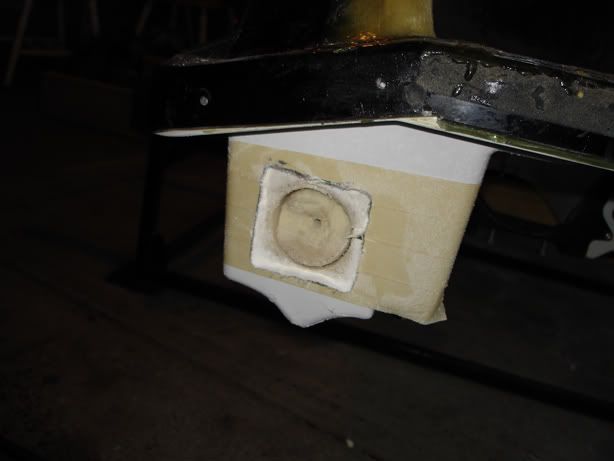
cutting a hole for a scupper valve to be installed. A scupper valve is a one way valve that allows water to exit as the craft moves forward. This hole will eventually go all the way to the engine compartment.
The foam is sanded out so that just the negative space is filled. This is mostly along the bond line (where the hull uper and lower are glued, a common cracking spot) and under the handlepole mount (this allows a piece of glass to join the handlepole to the sides n one straight shot)
Measuring up the glass. There are 3 layers here of increasing width. This section will bond the entire top to the entire bottom and strengthen the entire craft… It is common for the craft to break on the sides. We used 16oz biaxial cloth.
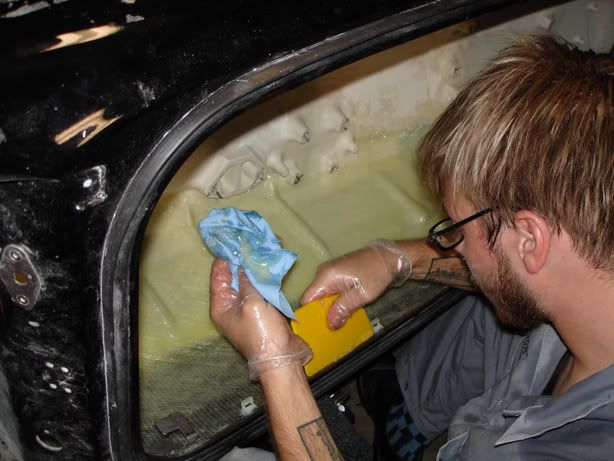
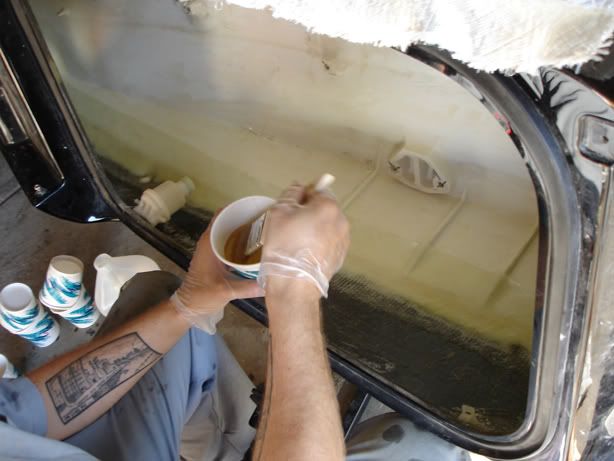
Starting to lay the resin. It’s a 2 part epoxy with a fast cure ratio. 4:1 mix, super hard.
This looks so slutty. It was a fucking mess. You need to squeegie the shit out of the glass to get all the air bubbles out. It’s not easy, i got better as we progressed… The strength doesn’t really come from epoxy, it comes from the glass.
Other side. This is the thinnest strip
Medium width strip
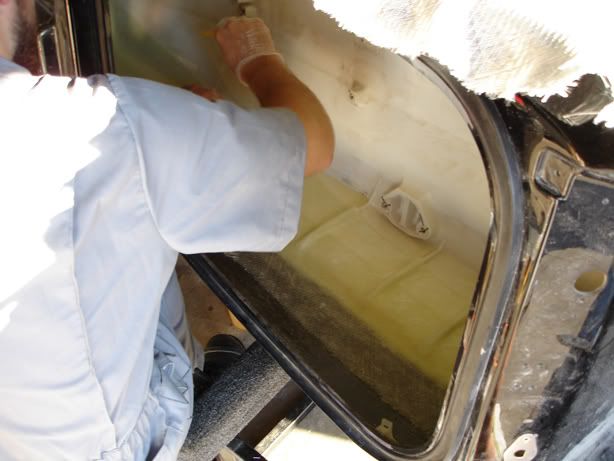
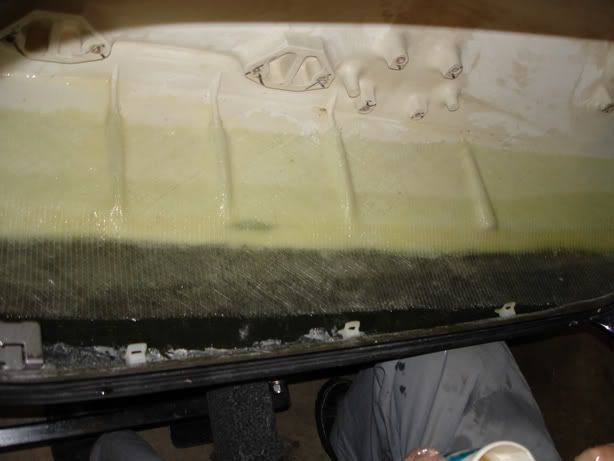
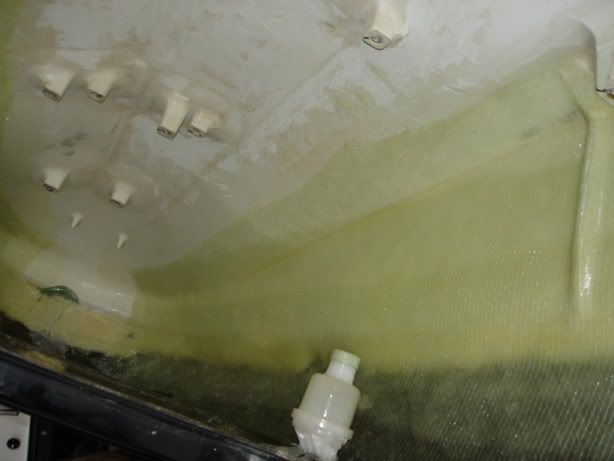
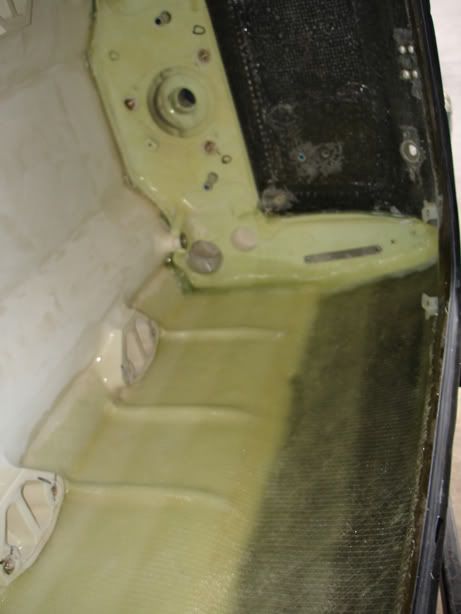
Widest strip. It goes from the edge of the hood lip all the way to the bottom of the motor mounts. You can see the 2 part foam through the glass on the bond line. The idea is to make a strong beam shape with a high moment of inertia.
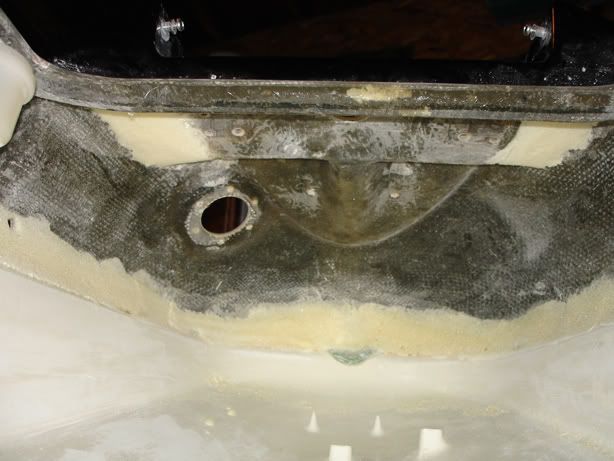
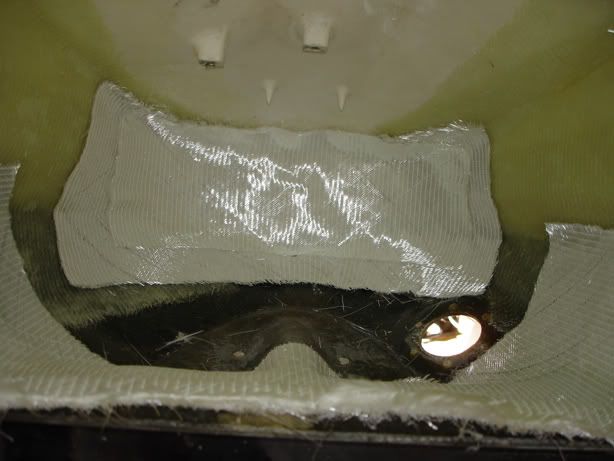
Another shot of the boat on it’s side. Here you can also see the unreinforced bulkhead. This is the area where the boat was breaking at and will require the most care. you can also see the 2" hole we drilled for the scupper valve tube.
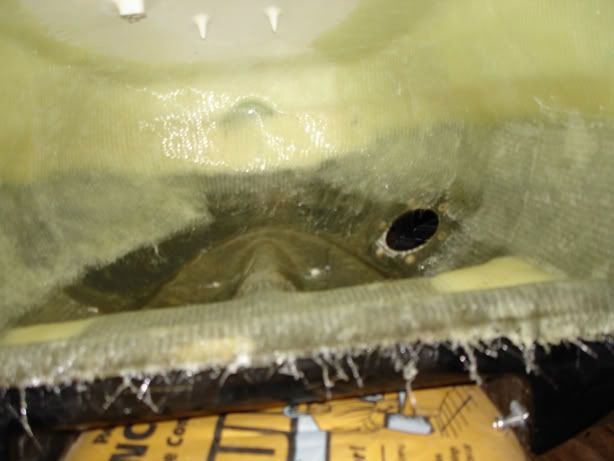
The bulkhead reinforcement. there are two layers here (you can see the line of the bottom layer) with two additional strips on the sides. This ties the bulkhead deeply into the floor.
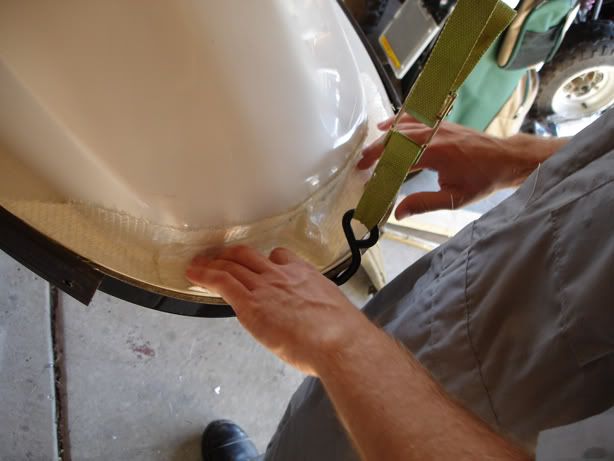
Measuring glass for the nose… My nose was already smashed pretty good from hitting bottom, so it needed much attention… We loaded the seam with 5 minute epoxy then glassed over it.
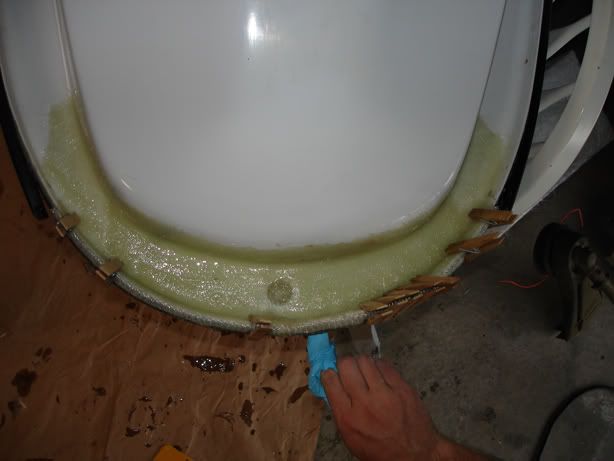
The nose finished. We used 3 layers here of 16oz cloth
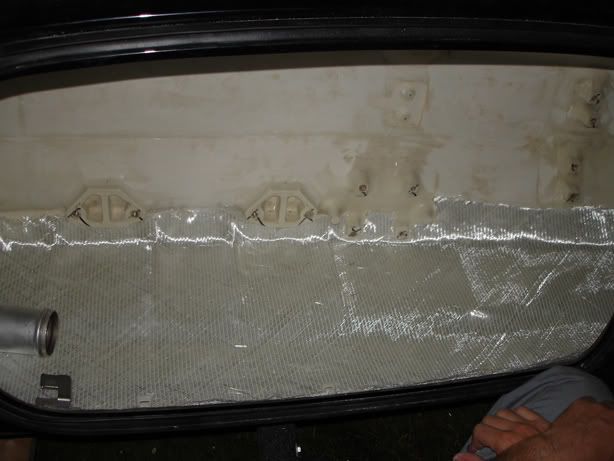
Measuring up the glass for the inside. 2 layers in the nose. 2 layers under the handploe. (that’s the fuel cap hole). The handlepole reinforcement also grabs the hood corners, another common cracking spot.
The nose and handlepole done.
I also reinforced the rear hood corners and the hood latch mounting location. (above the bulkhead)
Now we have to finish installing the scupper, install the aftermarket parts and motor and go do some flips…